CNC plastic sheets into products
.png)
In this how to, I will show you our process to cut HDPE Sheets using a X-Carve CNC.
Here is the full video in spanish with subtitles <a href="https://www.youtube.com/watch?v=4LrrFz802To">https://www.youtube.com/watch?v=4LrrFz802To</a>
—
Attachments
Resources
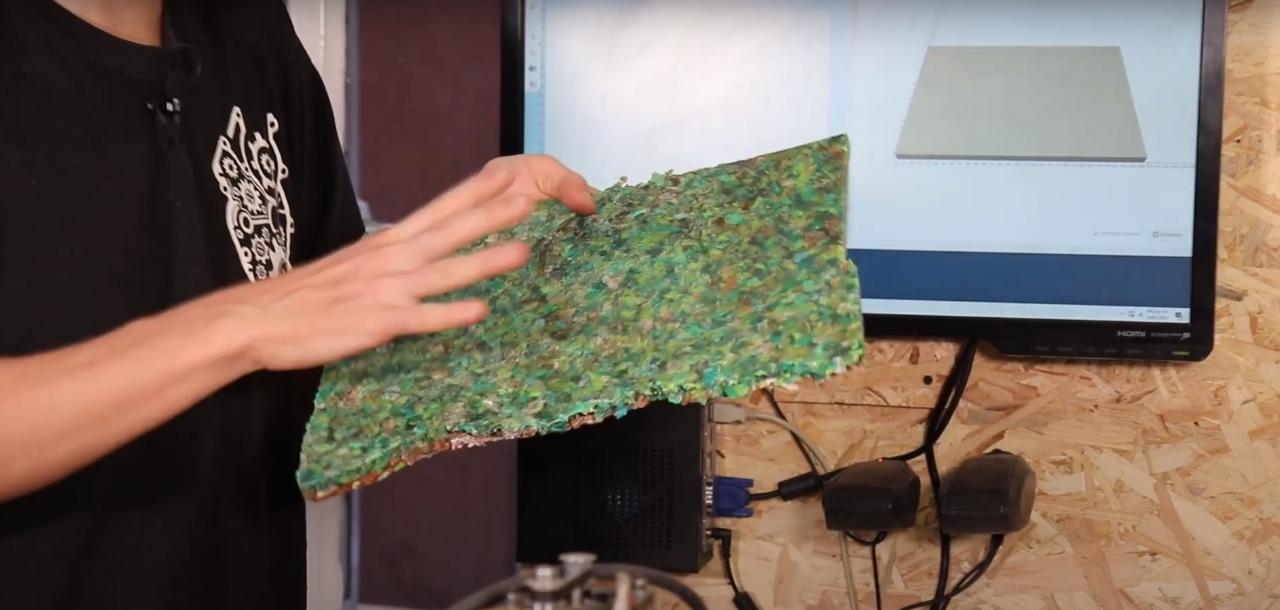
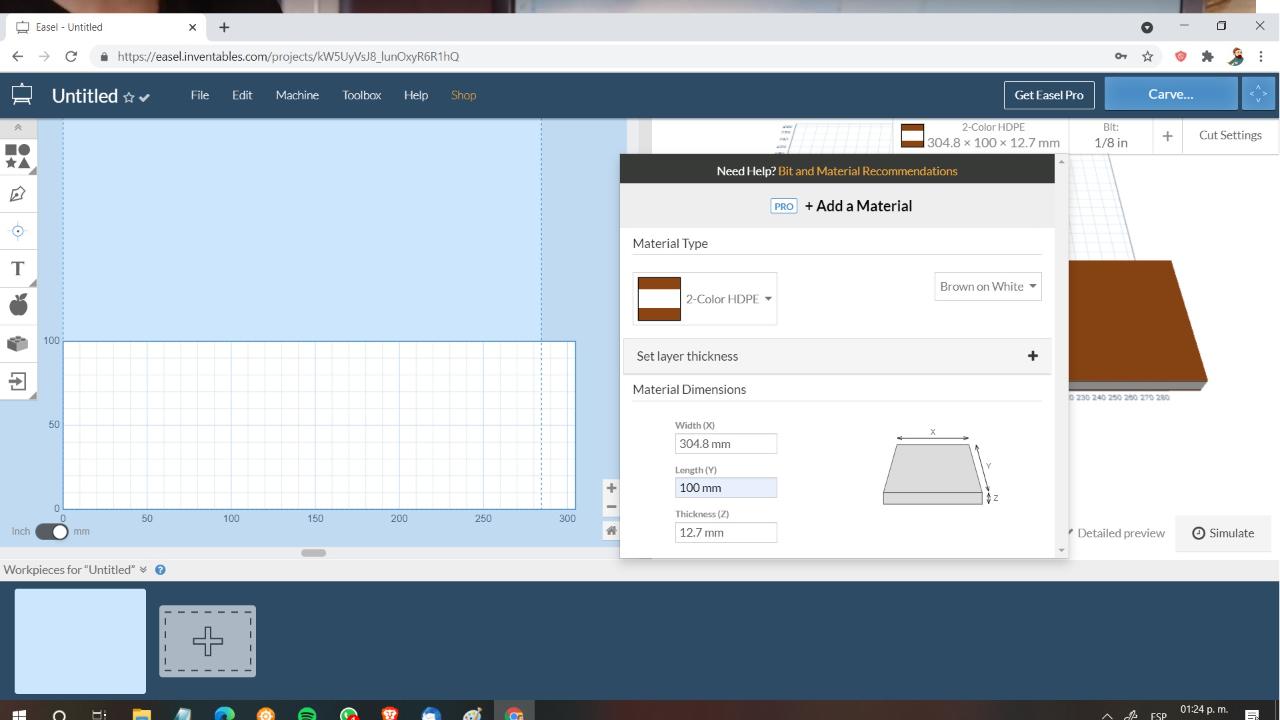
Step 1 - Meassure the plastic sheet
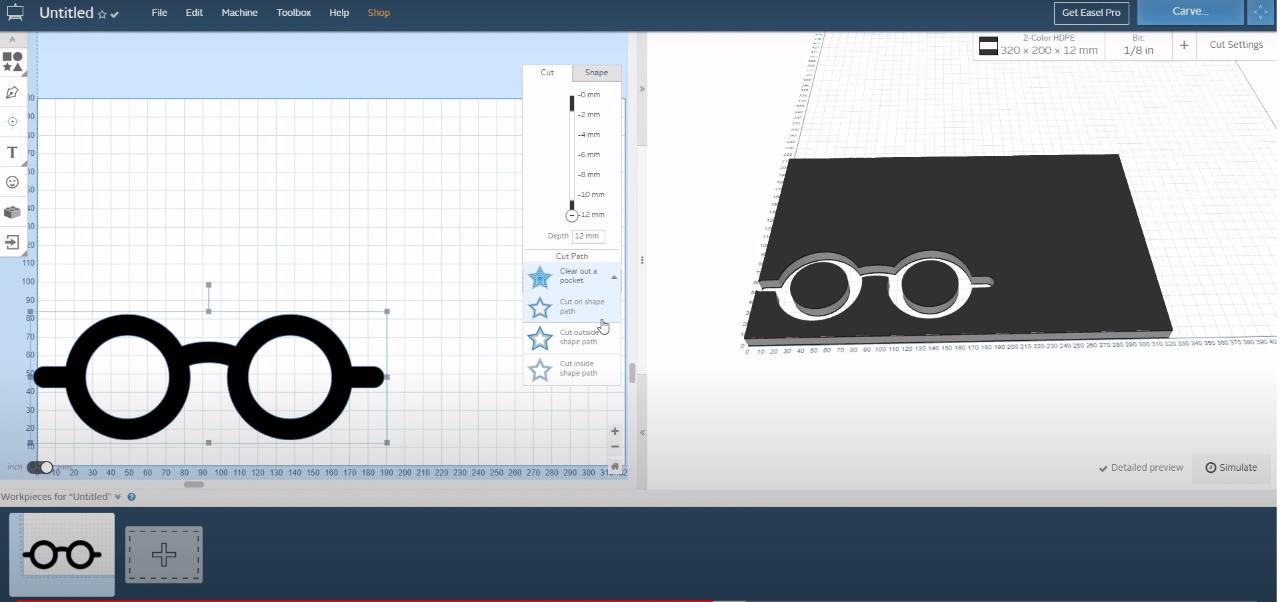
For this step we need to meassure our plastic sheet: Height, Width and Thickness. Our X-Carve machine works with the CAM Software EASEL, for me, the easiest software for CNC milling out there.
The cool thing about Easel (https://easel.inventables.com/) is that you can "simulate" you actual material and THEY EVEN HAVE HDPE 2-Colors in their cutting material lists!!
The cool thing about Easel (https://easel.inventables.com/) is that you can "simulate" you actual material and THEY EVEN HAVE HDPE 2-Colors in their cutting material lists!!
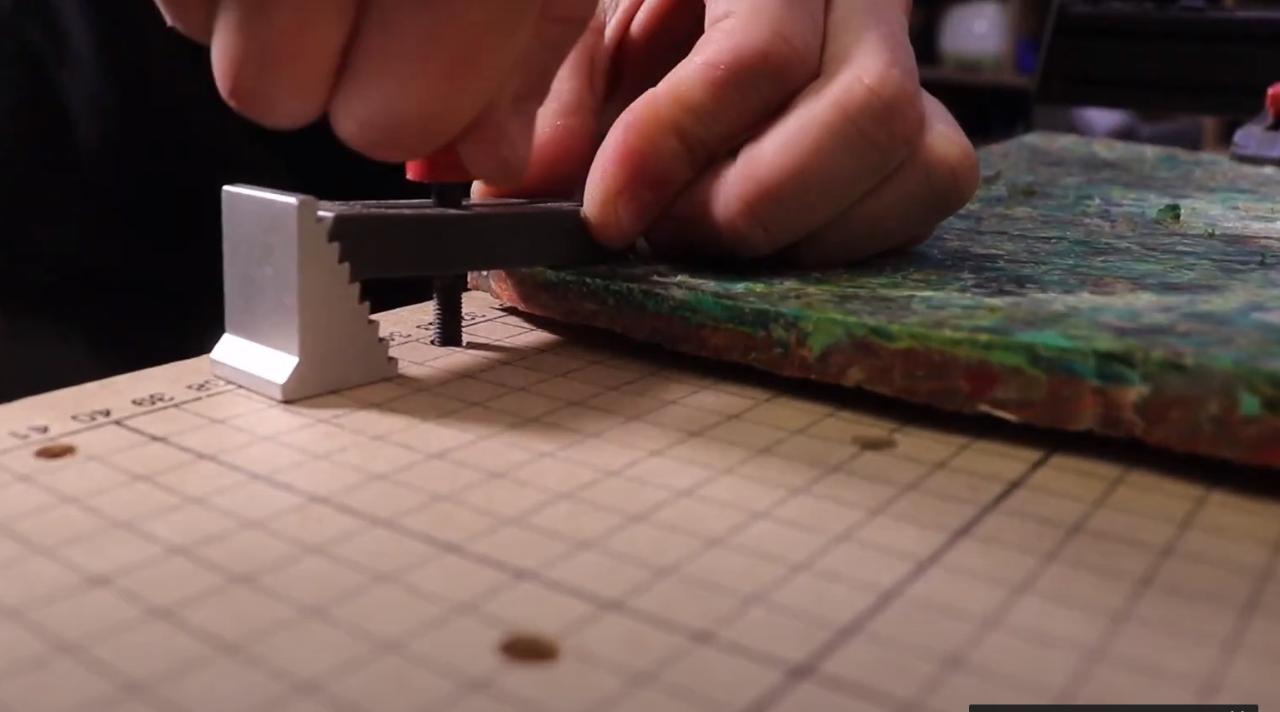
Step 2 - Secure sheet
Using the CNC clamps from the X-Carve, secure the sheet to the table,
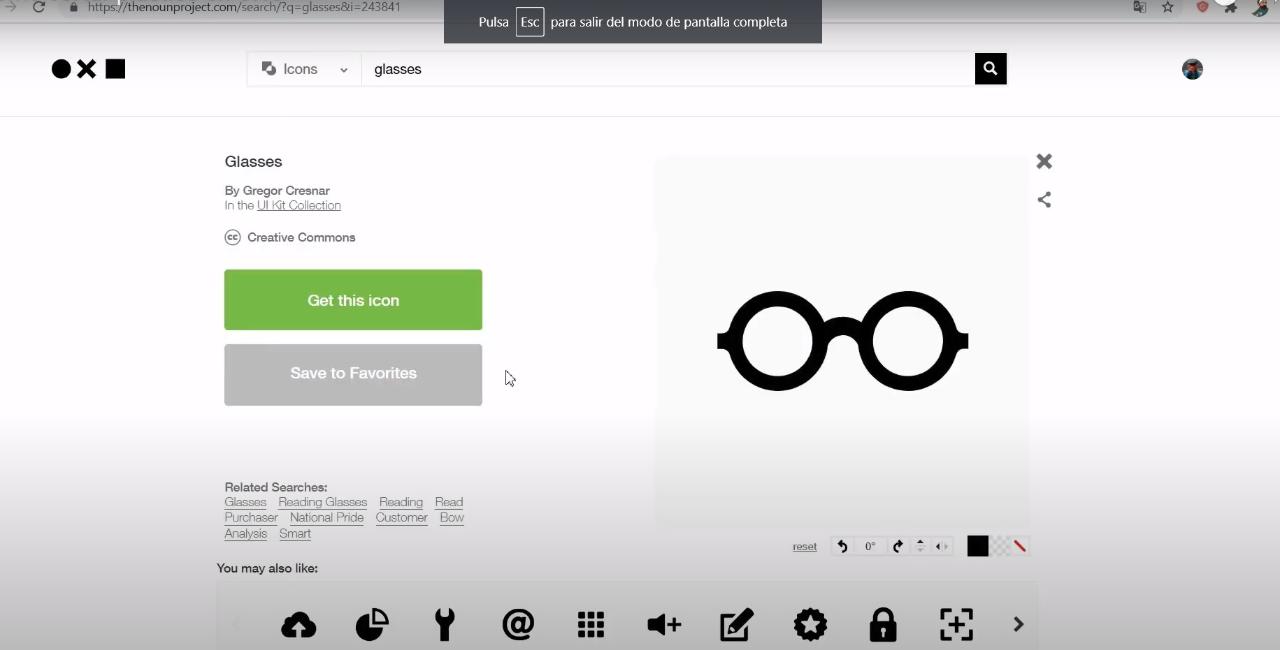
Step 3 - Choosing a file to cut
Now we go to our illustrator, such as Inkscape to design a vector file or download and open source one frome https://thenounproject.com/.
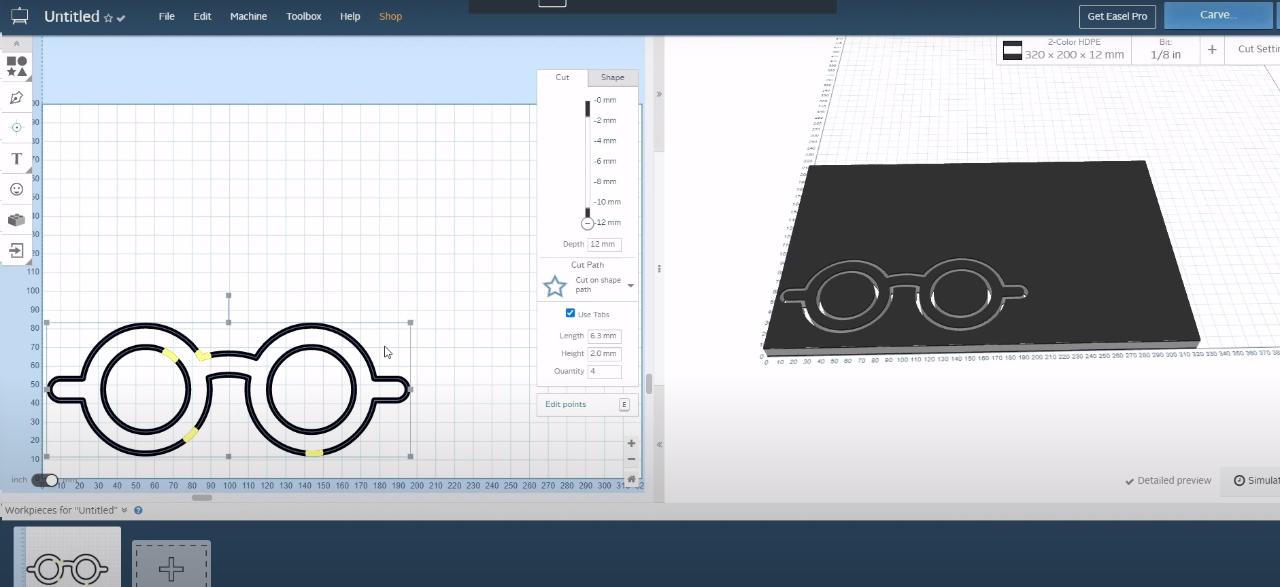
We download the SVG file, which is an open source vector format and import it to Easel.
We download the SVG file, which is an open source vector format and import it to Easel.
Step 4 - Follow the cutting Wizzard
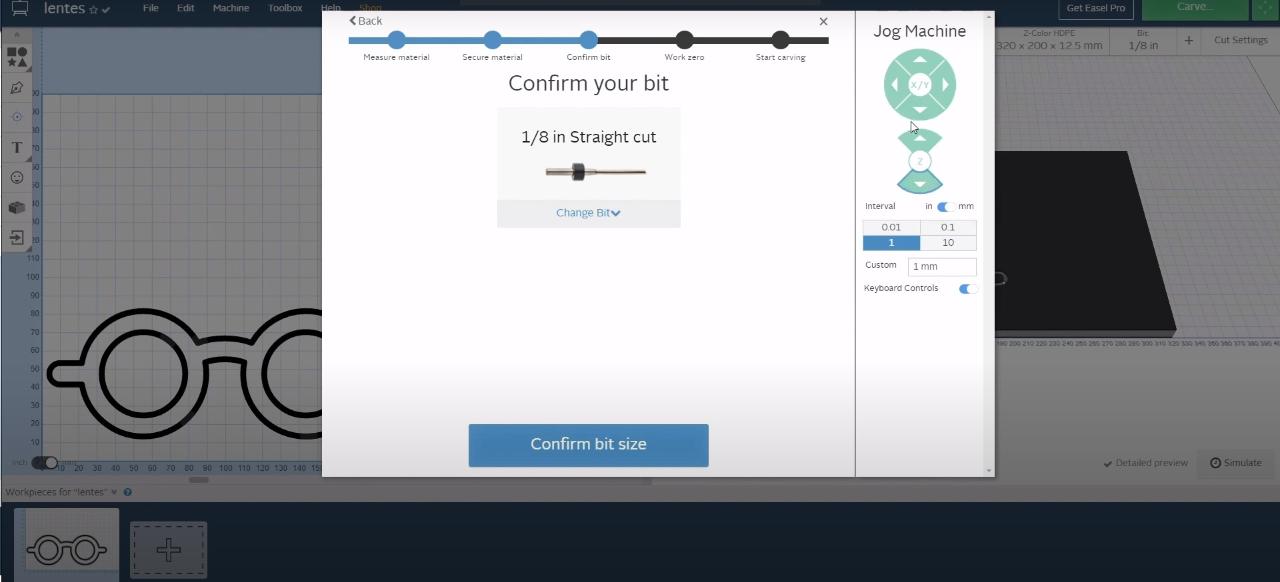
Now with the file we can choose the width we want to carve/cut and then we go to cut and start the wizzard:
- We check that the sheet is fixed.
- We also specify the cutting bit, we are using a 1/8 flat flute bit.
- We tell the machine where the coordinate 0-0 is, which we always choose as the down left corner.
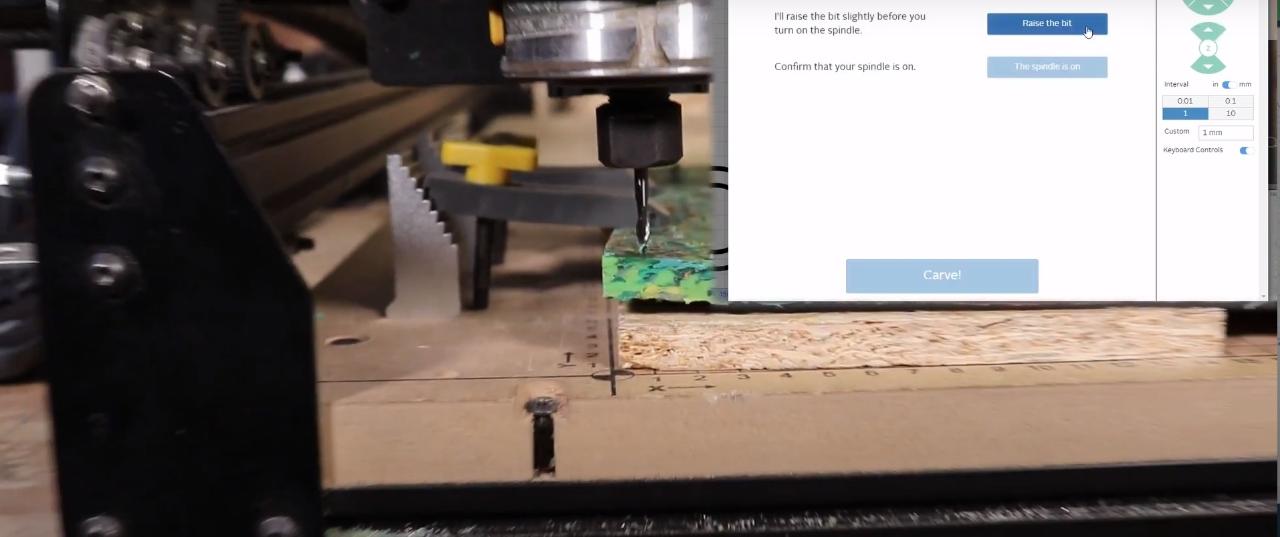
- We raise the bit, turn on the Router!!!
AND PUM THE MAGIC BEGINS!!
- We check that the sheet is fixed.
- We also specify the cutting bit, we are using a 1/8 flat flute bit.
- We tell the machine where the coordinate 0-0 is, which we always choose as the down left corner.
- We raise the bit, turn on the Router!!!
AND PUM THE MAGIC BEGINS!!
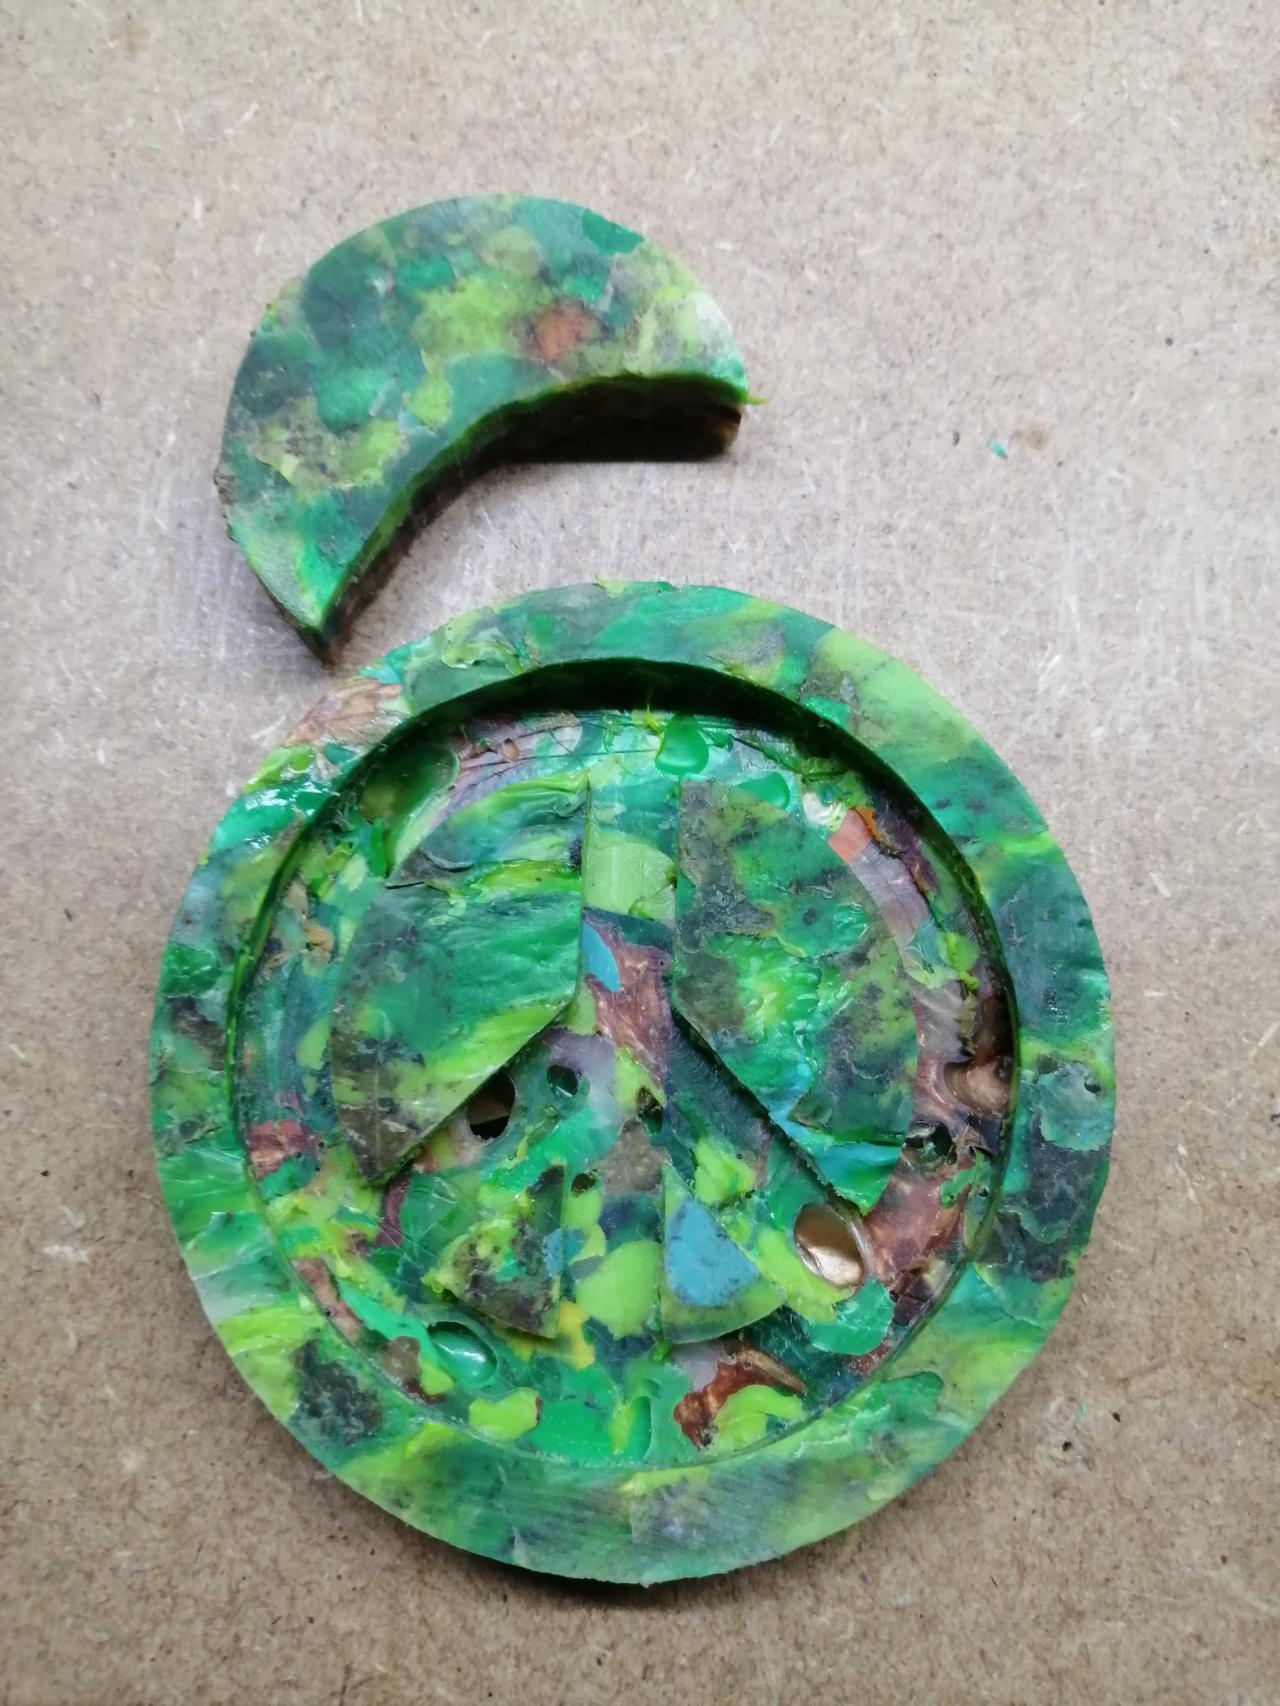
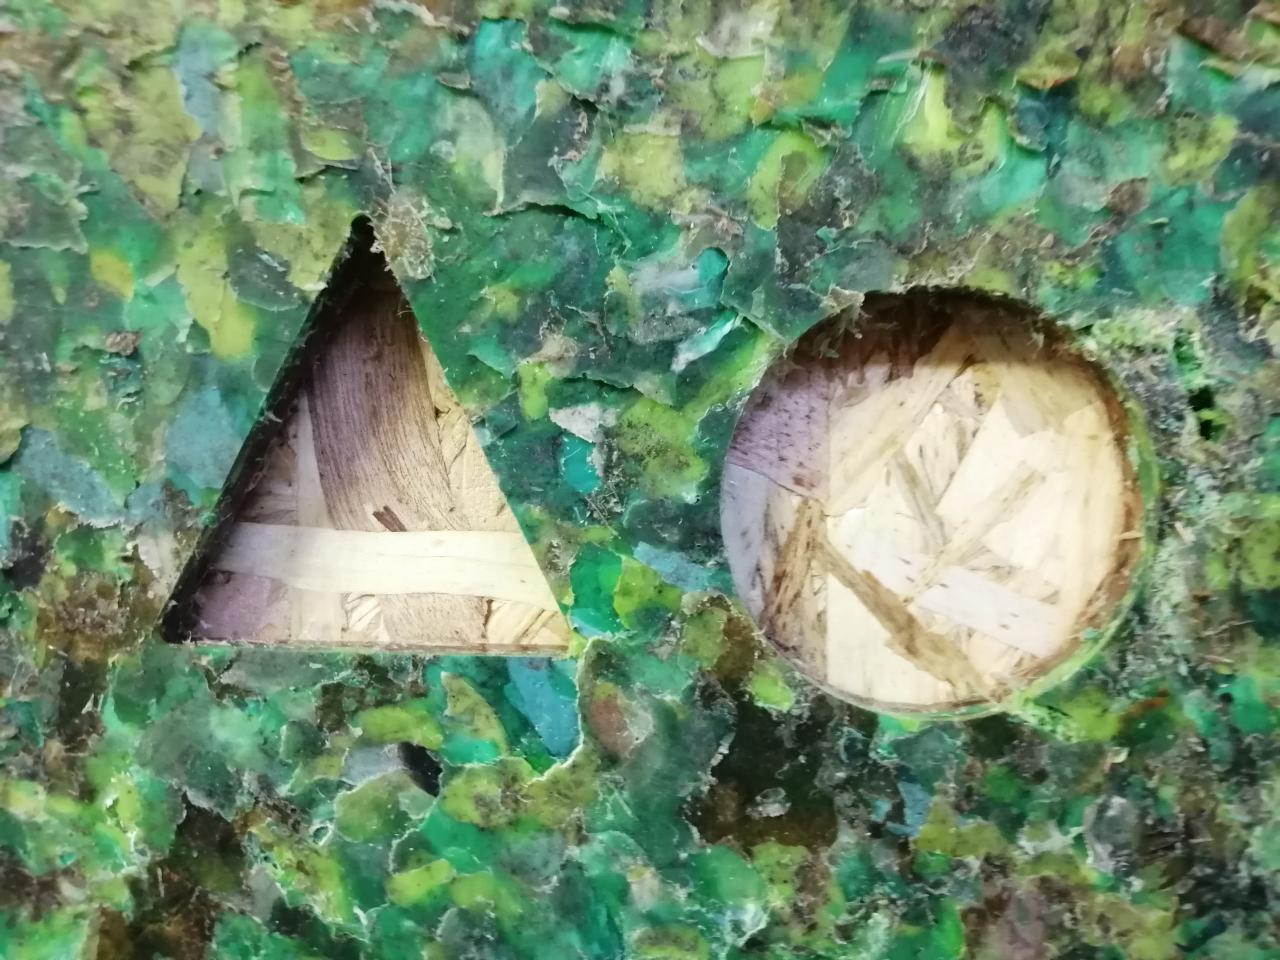
Step 5 - Cutting HDPE vs other material
Normaly we cut wood, acrylic and aluminum in the CNC. Moving to plastic wasn't hard at all, it's impressing how easy the router
cuts through HDPE. It's quicker than cutting wood and 10 times than aluminum.
The main problem we have with the HDPE sheets is that we don't always have even surfaces, because of our sheet making process, resulting in uneven cuts and engravings.
That's why we sometimes do a first pass with the router "cleaning" the surface of the sheet and trying to mill an even surface.

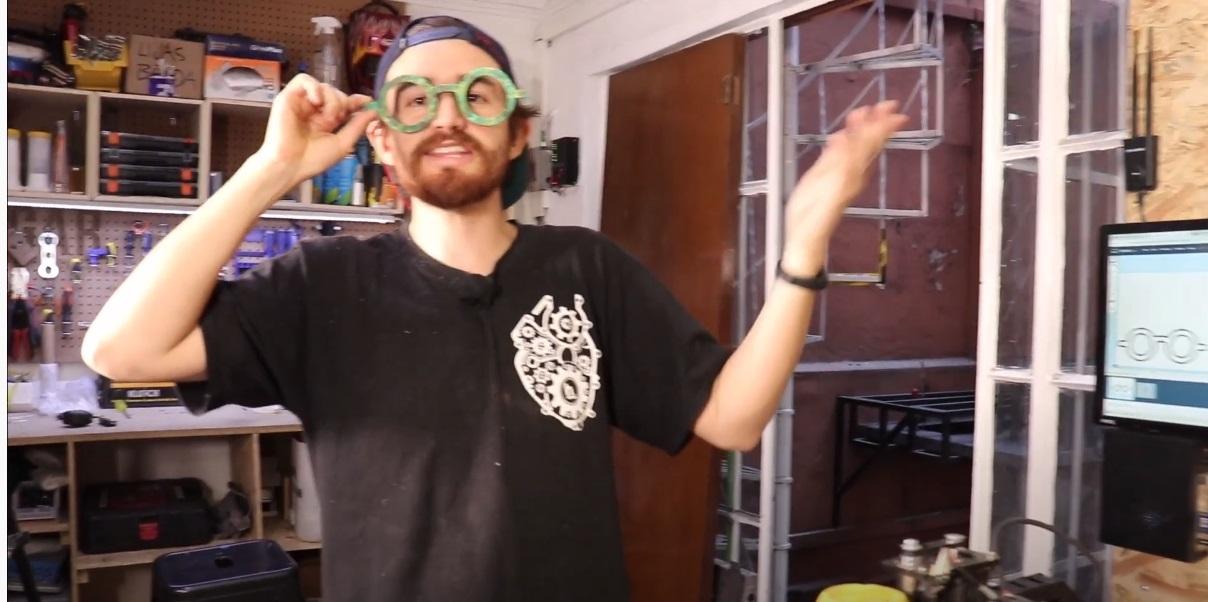
Step 6 - Post-production and show case
You take now your glasses or object and postprocess them and of course show it to your friends, family and so on.

—
—
—
Comments