Create a Notebook with sugar cane paper and PP
by Mahti
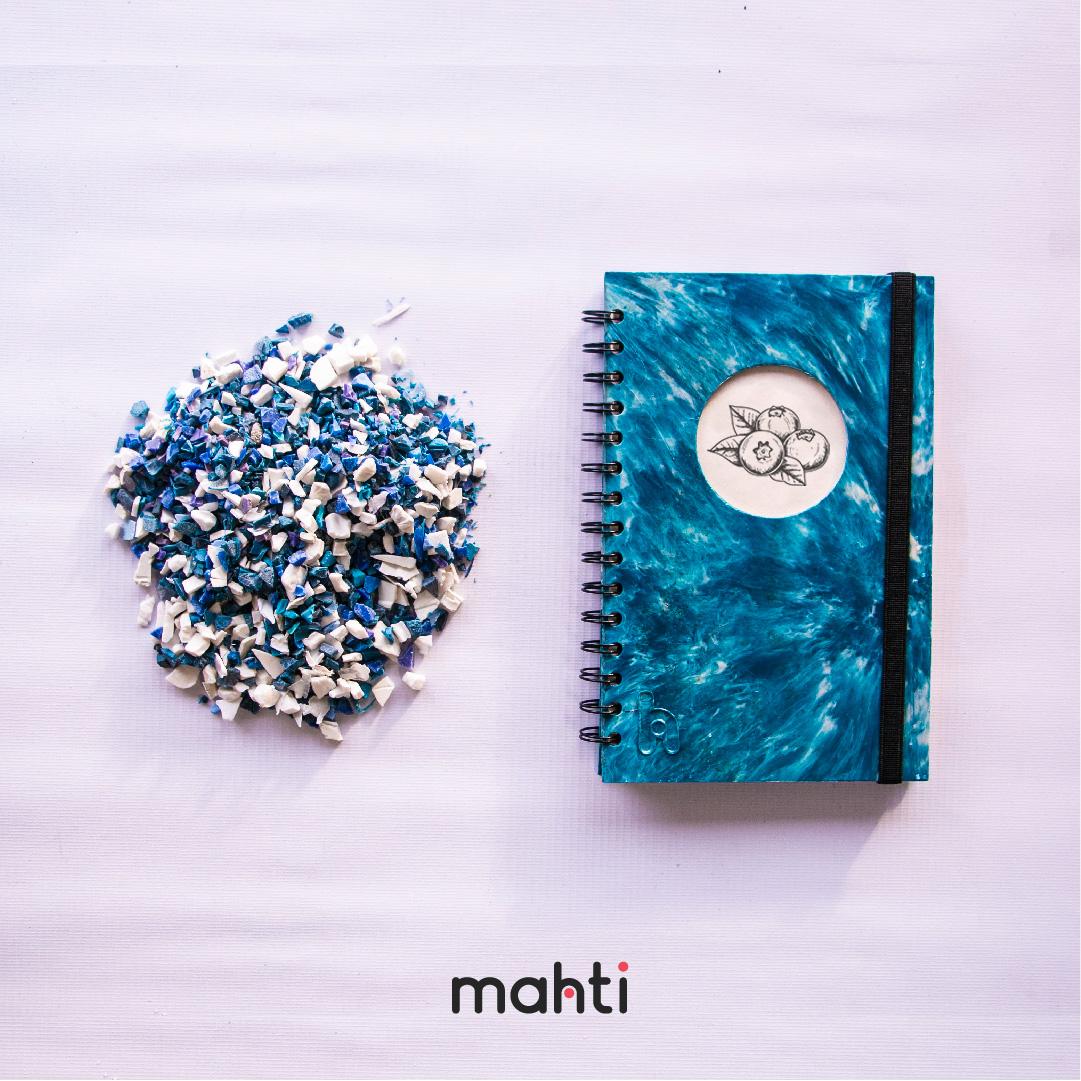
How to create a notebook with sugar cane paper and precious plastic sheets with a personalized touch
You will need:
- A 2mm sheet
- Sugar cane paper
- A Jig saw
- Something to mark on the sheet
- A hole saw
- Some rivets
- 10mm elastic
- A 5/32" drill
- A press
—
Attachments
Resources
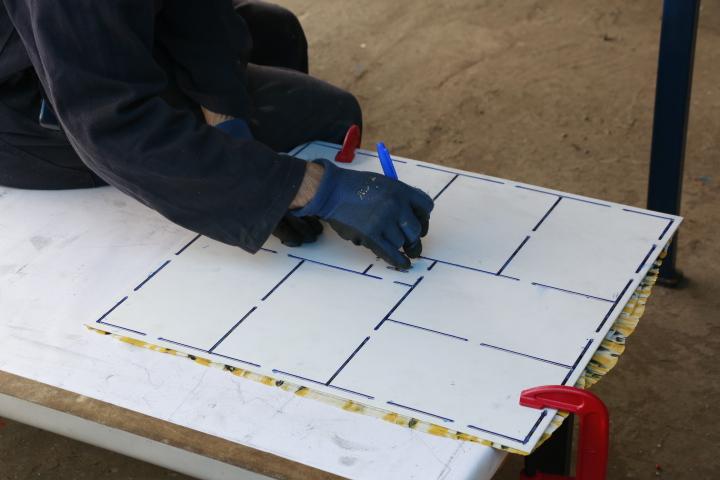
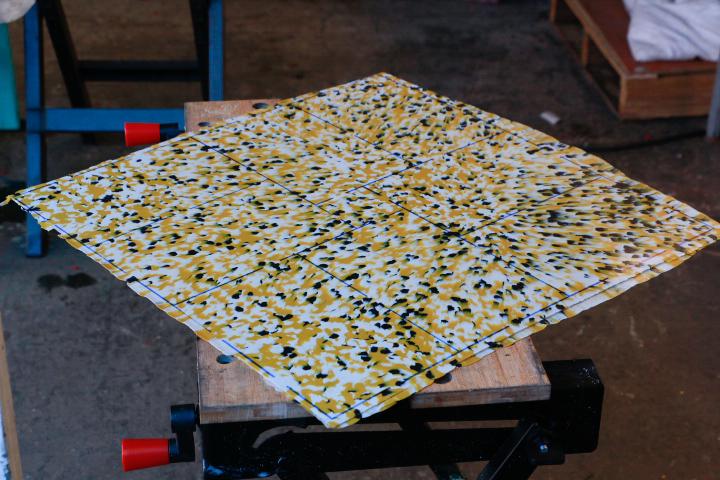
Step 1 - Create marks on your sheet
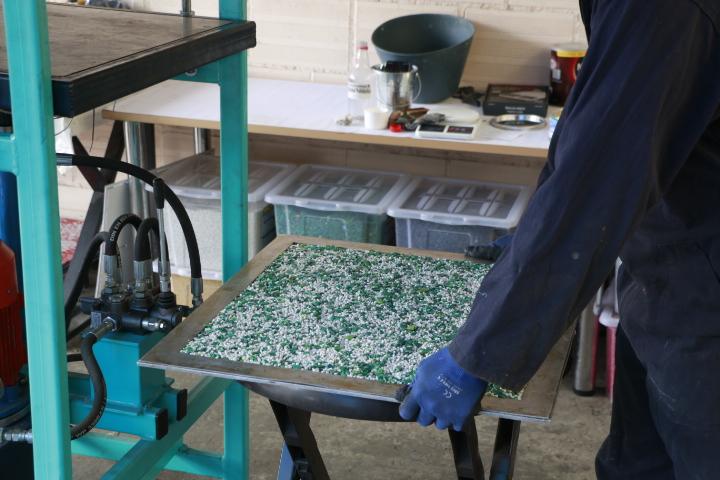
First, you will need to choose or make a 2mm sheet; in our case, we will be using 520mm x 520mm x 2mm sheets that we made.
Once you have chosen the sheet that you are going to use, go ahead and place marks on it with the desired size of the covers of your notebook (you can use a marker or a cutter); as a pro tip, if you are going to make a lot of them as we are going to do, you can make a template to make your life easier.
Once you have chosen the sheet that you are going to use, go ahead and place marks on it with the desired size of the covers of your notebook (you can use a marker or a cutter); as a pro tip, if you are going to make a lot of them as we are going to do, you can make a template to make your life easier.
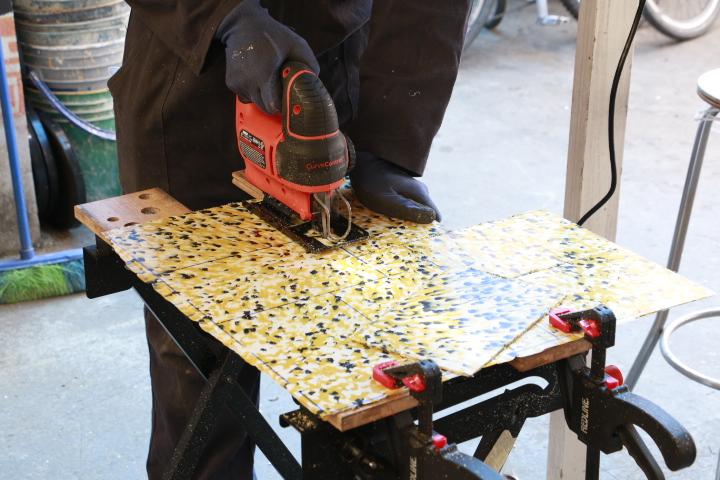
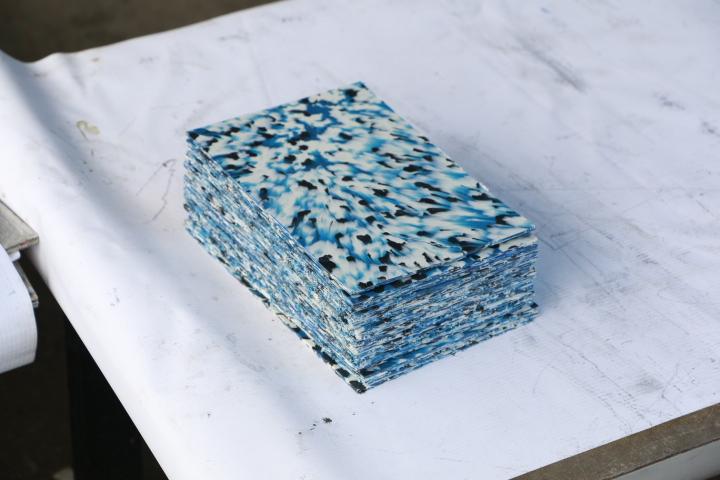
Step 2 - Cut the sheet
With the jigsaw, start cutting through the marks you previously made; we like to use a blade suited for cutting metal; it leaves the best results. Also, be aware of your safety, so always use protective glasses and gloves, and press the sheet into the cutting table, so nothing moves.
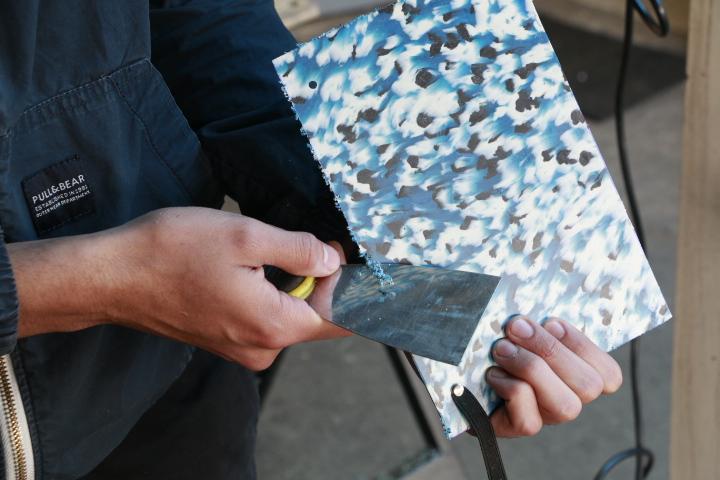
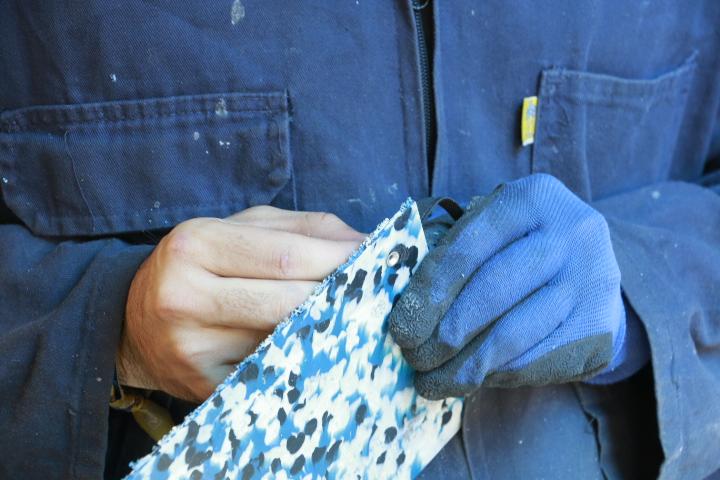
Step 3 - Clean the covers
Using a small knife, you can clean the edges of the covers for a smooth result.
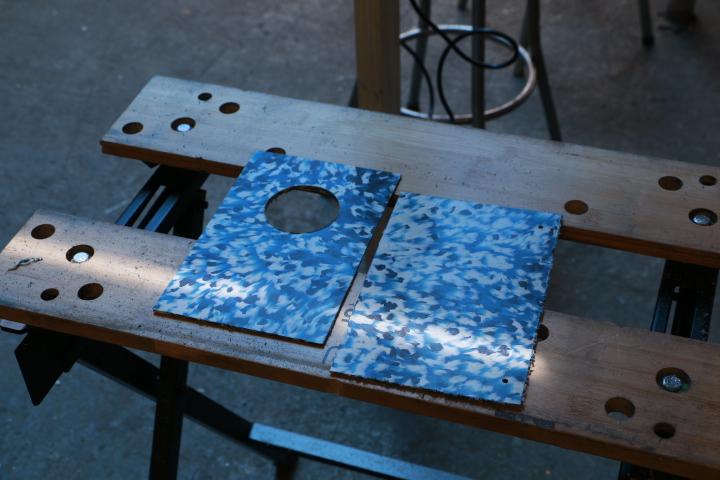
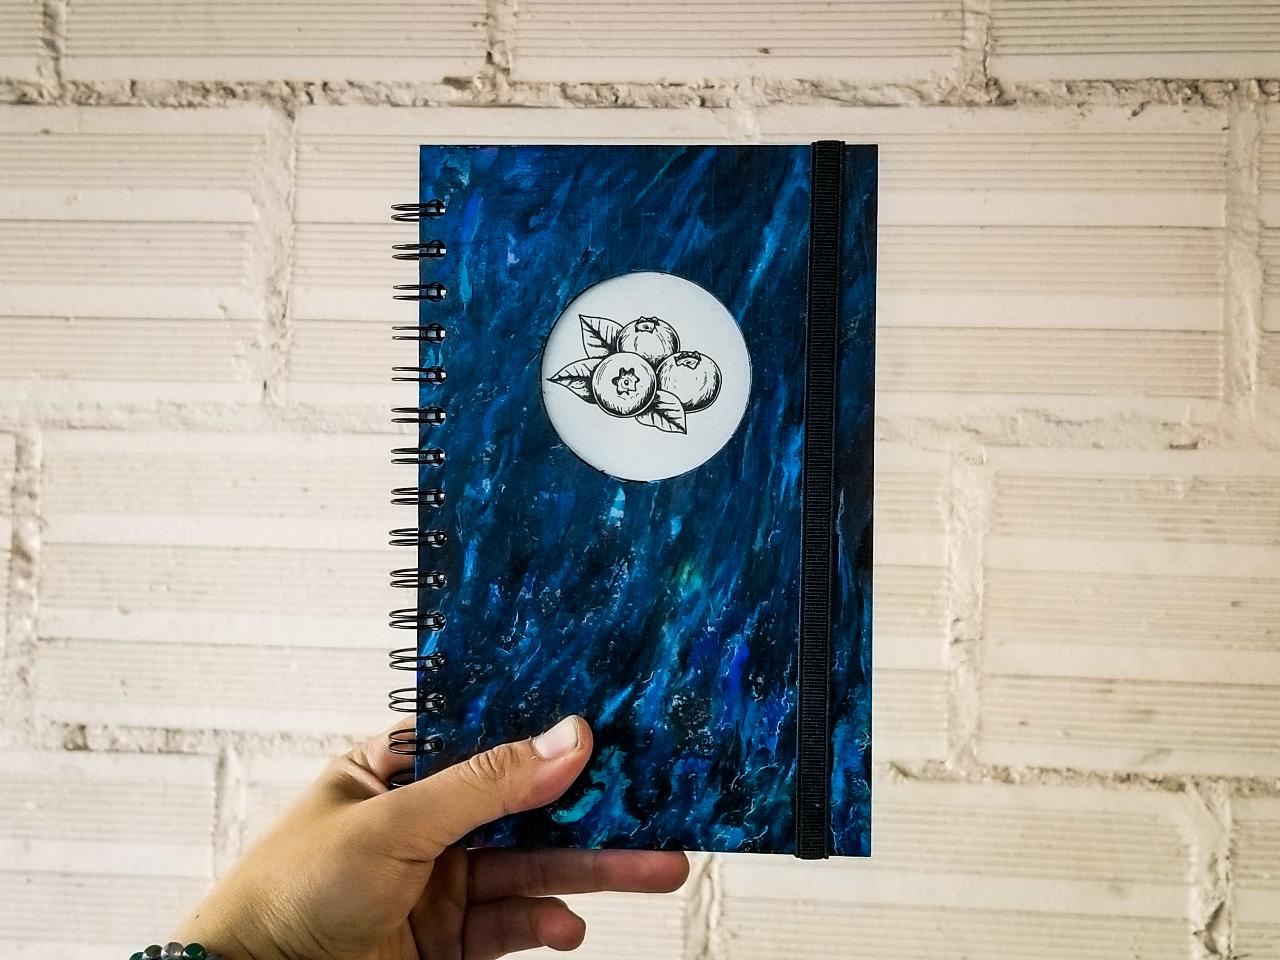
Step 4 - Open holes
Since our notebook has an elastic band and an illustration, we need to open holes in the cover. Use a 5/35" drill for the elastic band in the back cover, and a 2" hole saw for the front one. You can pile up a bunch of covers for the drill, but with the hole saw, it is best to do it one by one, so the remaining circle is easier to take off the hole saw. As a safety measure, always press the covers and wear gloves and glasses.


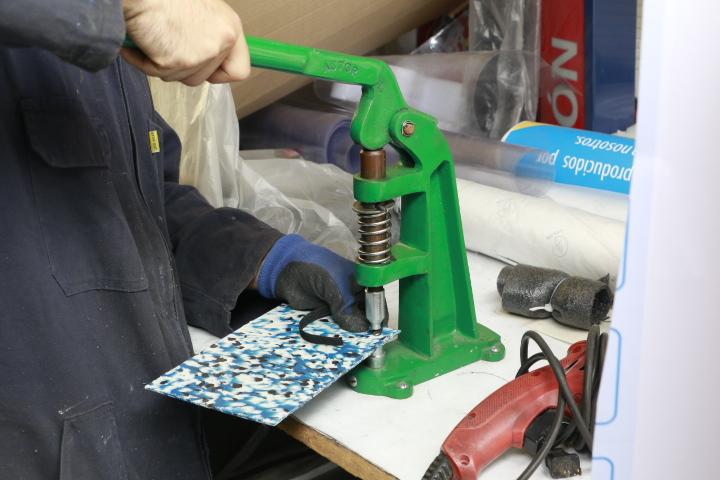
Step 5 - Put the elastic on back cover
Use the rivets to put the elastic on the back cover. The rivet we are using has 2 parts, so place the elastic and then each of the rivet parts on them.
If you don't have a riveting machine, you can always use a hammer to close the rivet.
If you don't have a riveting machine, you can always use a hammer to close the rivet.
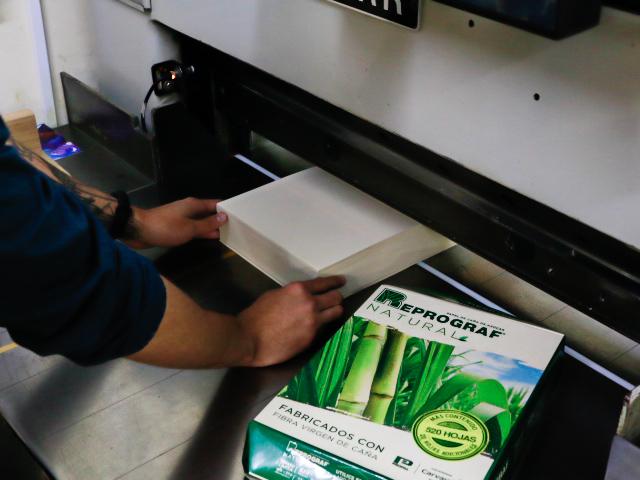
Step 6 - Cut the paper to desired size
If you are making a particular size notebook, cut the paper into the proper size; in our case, we use letter-size paper to make half-letter paper
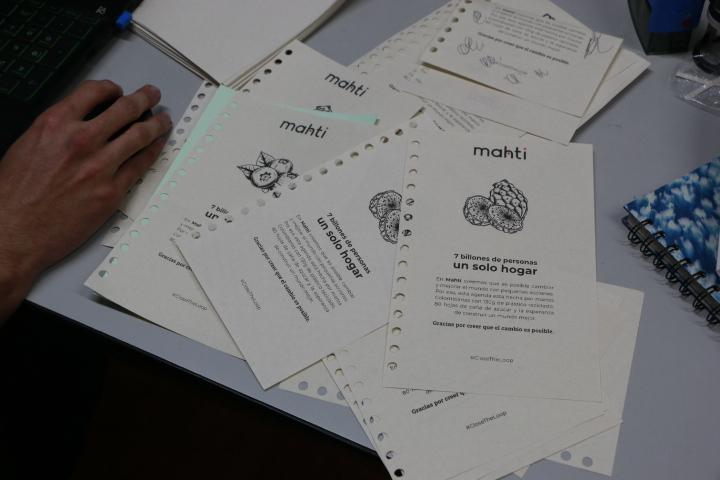
Step 7 - Fix everything for assembly
Prepare the covers and sheets for assembly; if you want a printed sheet, this is the best time to do it.
Since we do not have the equipment to ring the notebooks, we use a third party for the process.
Since we do not have the equipment to ring the notebooks, we use a third party for the process.
Step 8 - And last but not least...
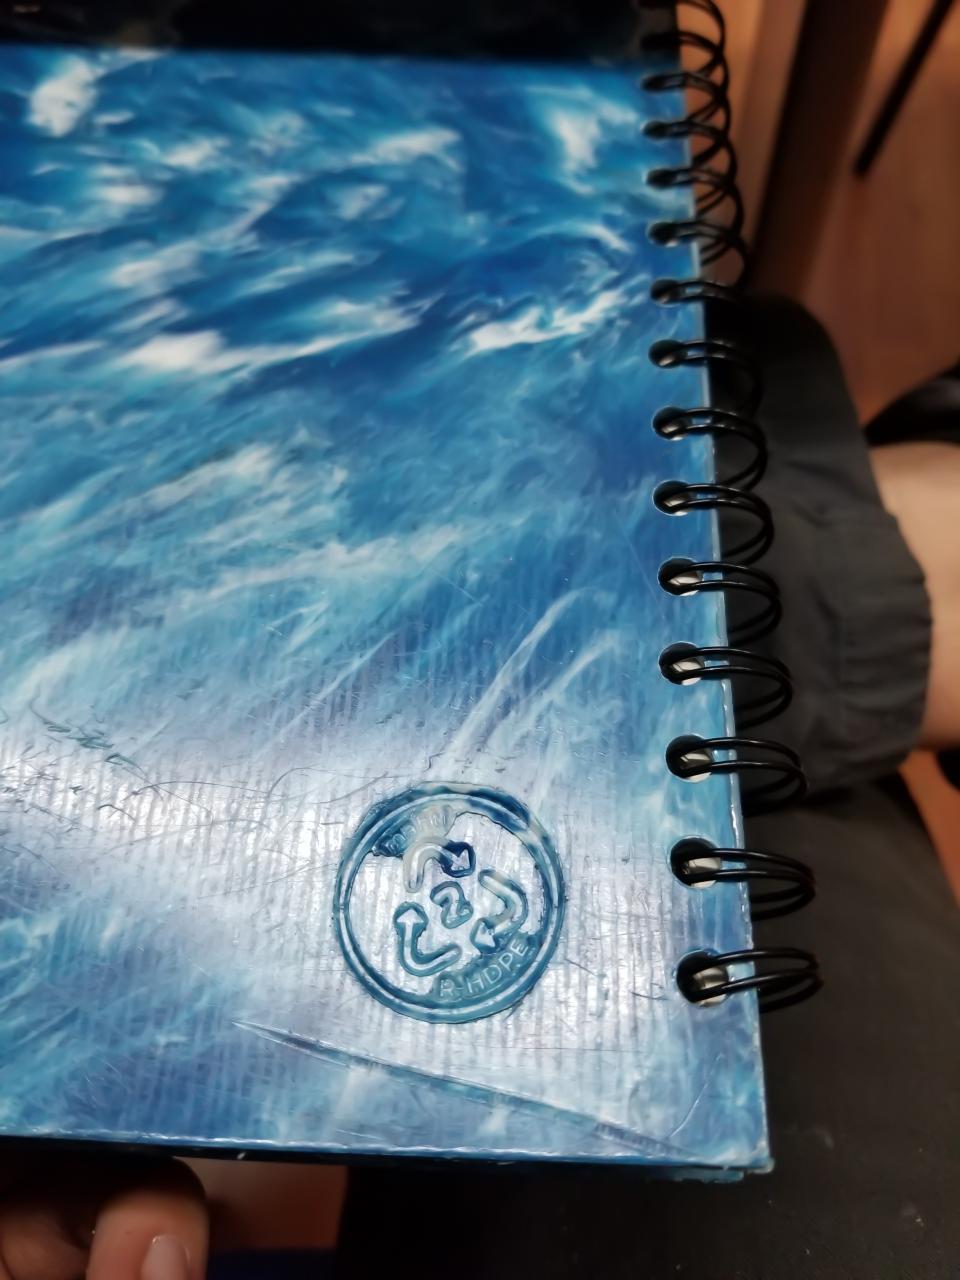
Remember to stamp your products so everybody knows what they are made from and we can keep recycling.
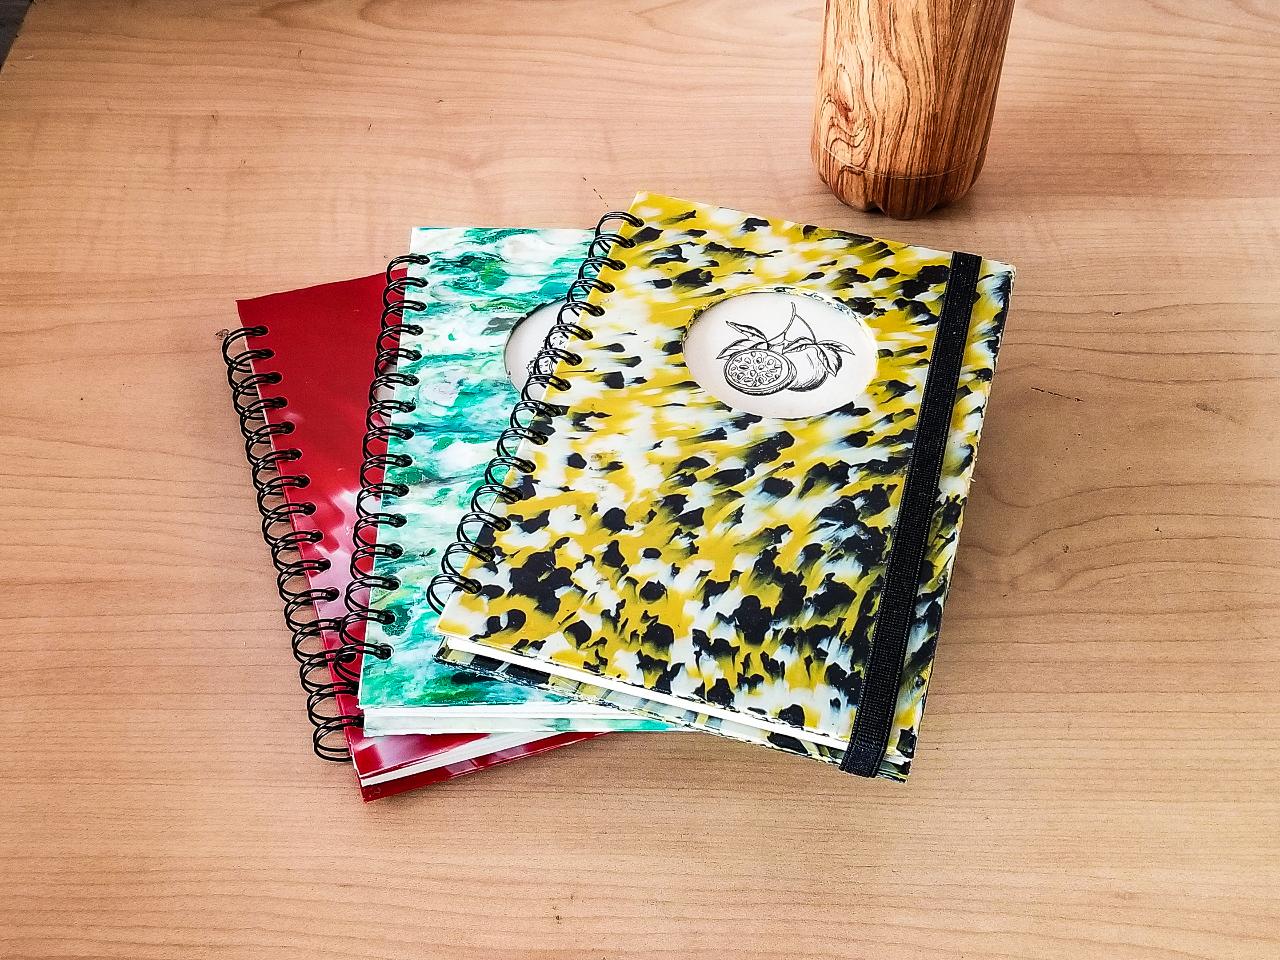
Now enjoy your brand new Precious Plastic notebook!!
Now enjoy your brand new Precious Plastic notebook!!
—
—
—
Comments