Laser cut electronic box

The original machines have a metal box where all the electronics are stored in. It’s quite basic and easy to make, especially since you are already working with metal. However, it takes quite some time to build.
This How-to will show you a simple upgrade.
—
Attachments
Resources
Step 1 - Get ready
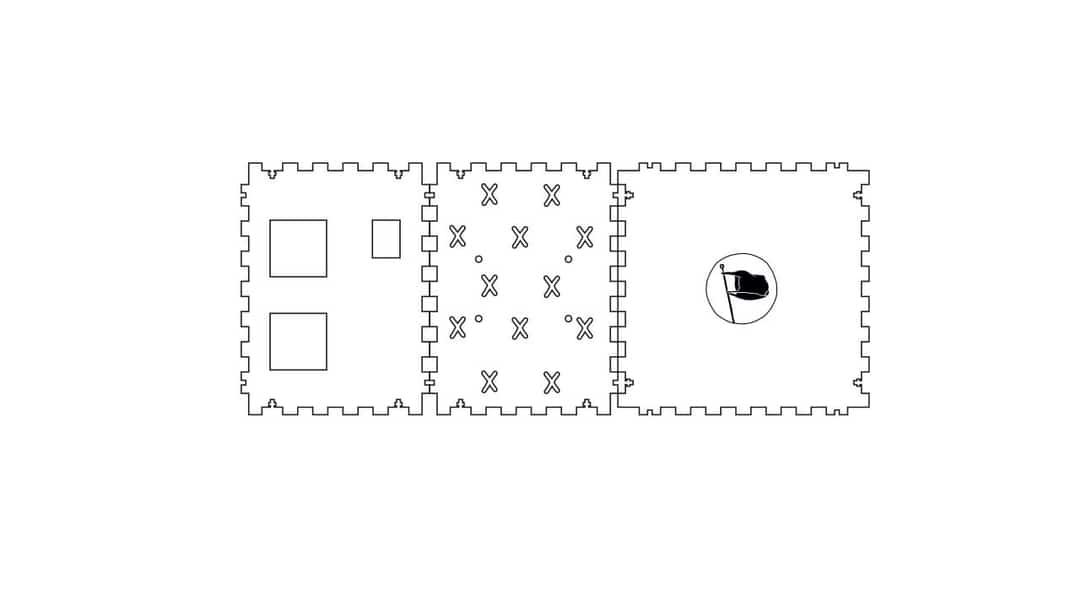
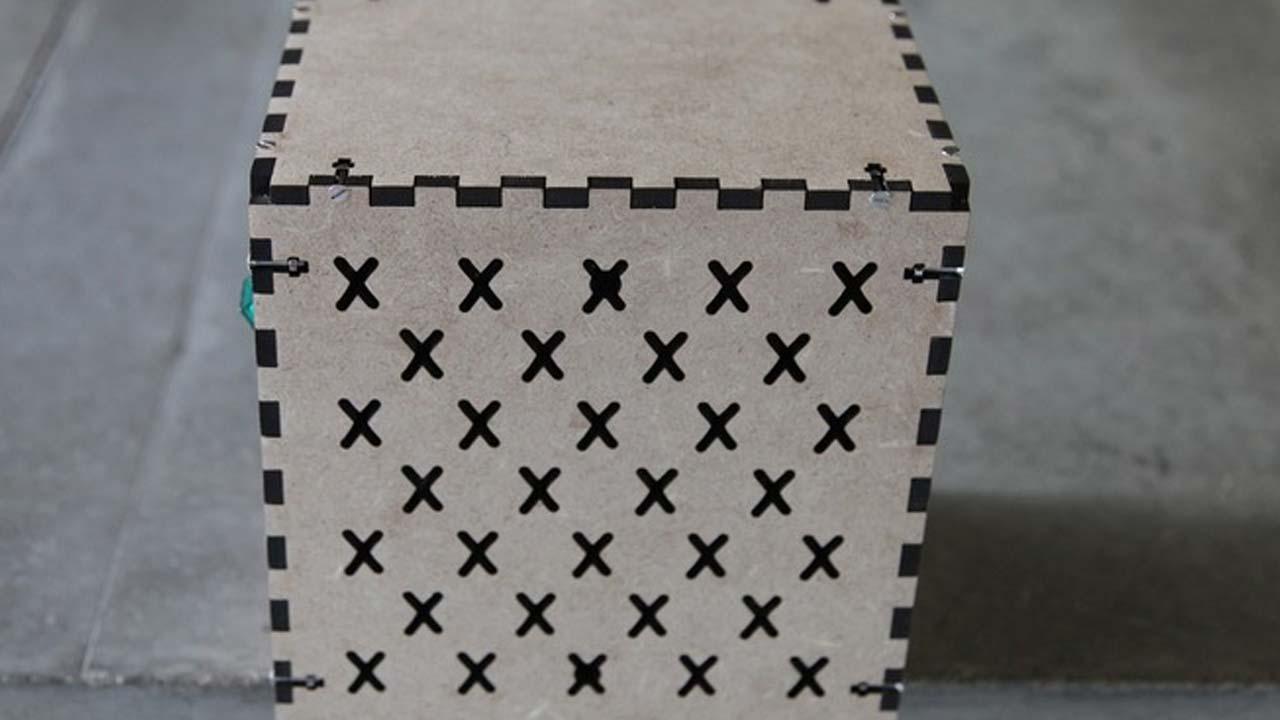
An easier and quicker way to make the box is to lasercut it on 3mm plywood or MDF, which also lowers the chances of short circuits.
Bear in mind that this is more expensive than doing it by yourself.
Each face of the box is lasercut and connected with some nut and bolts, super simple.
We've also added mounting holes for all the electronics inside the drawing which makes it easy and quick to connect everything in the right place.
The laser cut parts can leave quite some rough burn-marks, we recommend to sand them when you receive them, looks way better.
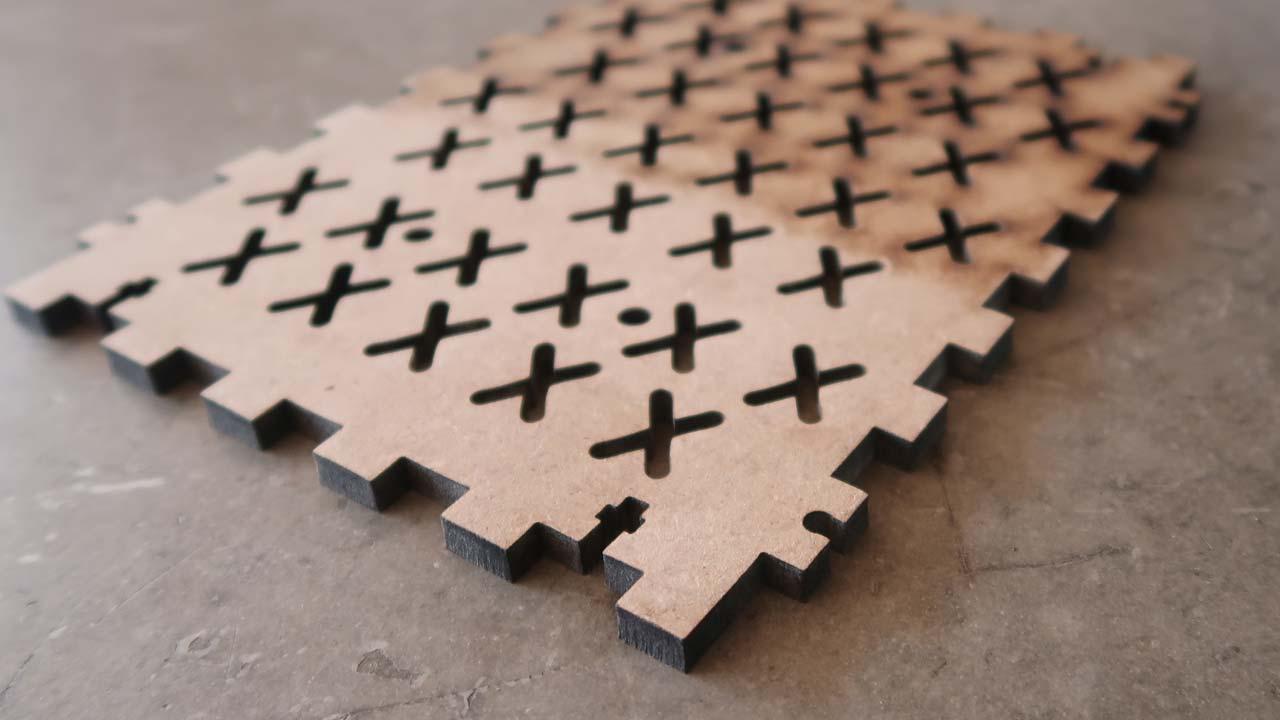
Step 2 - Laser cut the parts
Download the lasercut files from the top of this page and send them to your local laser cutter (or cnc) to get the parts cut.
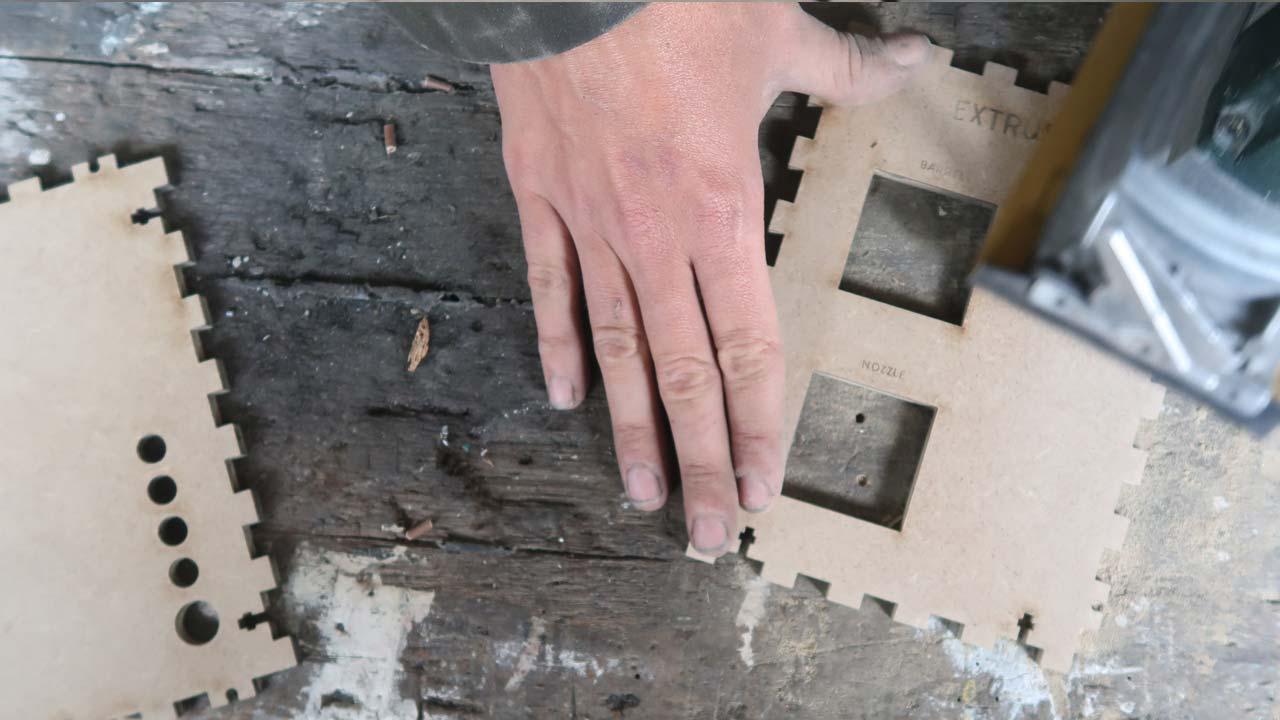
Step 3 - Sand your parts
It can make a world of difference if you take the time to sand the rough cut parts. It will help remove the burn marks and soften the overall look - unless that’s what you’re going for.
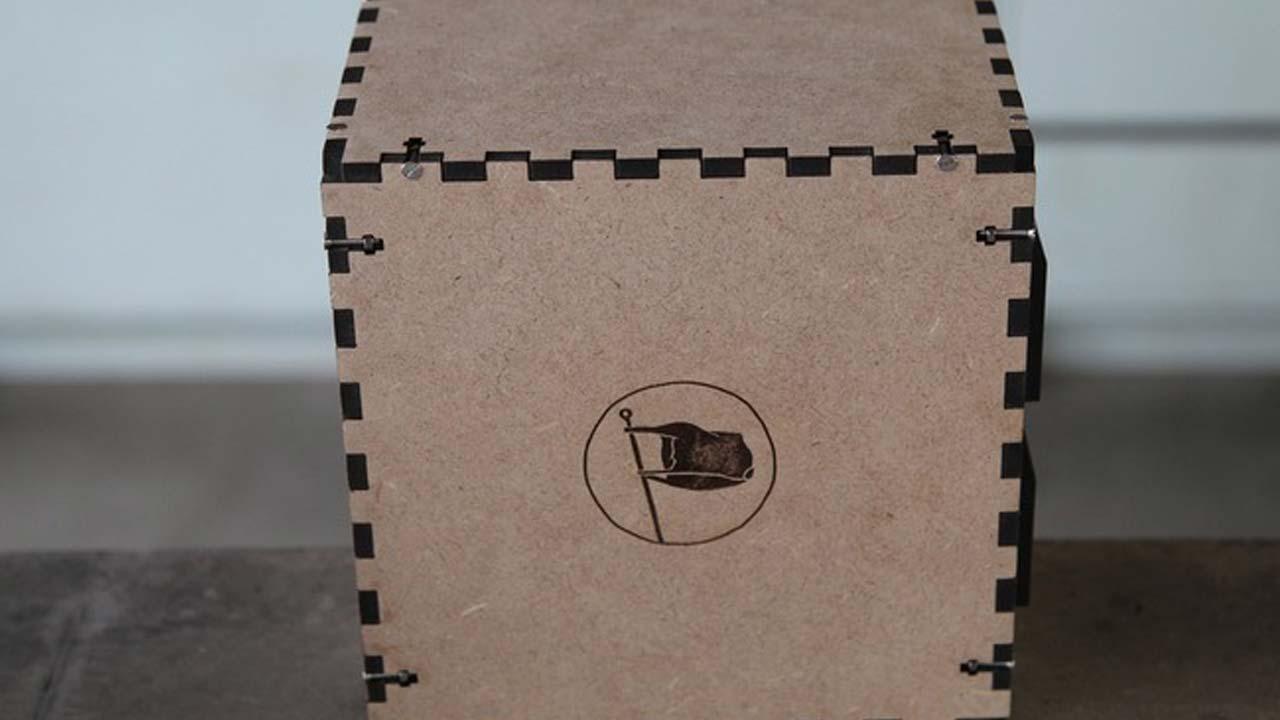
Step 4 - Assemble and install
With that done, you can now use nuts and bolts to fasten the box together and install all the wiring.
Mount it to the machine and enjoy recycling!
Mount it to the machine and enjoy recycling!
—
—
—
Comments