Make a Jointed Tray
by Re Accionar
Working with sheets to make valuable objects with wood joint techniques.
—
Attachments
Resources
3D Files
- 3D Step File: /files/Tray_Re_Accionar/Ensamblaje Bandeja.STEP - Preview
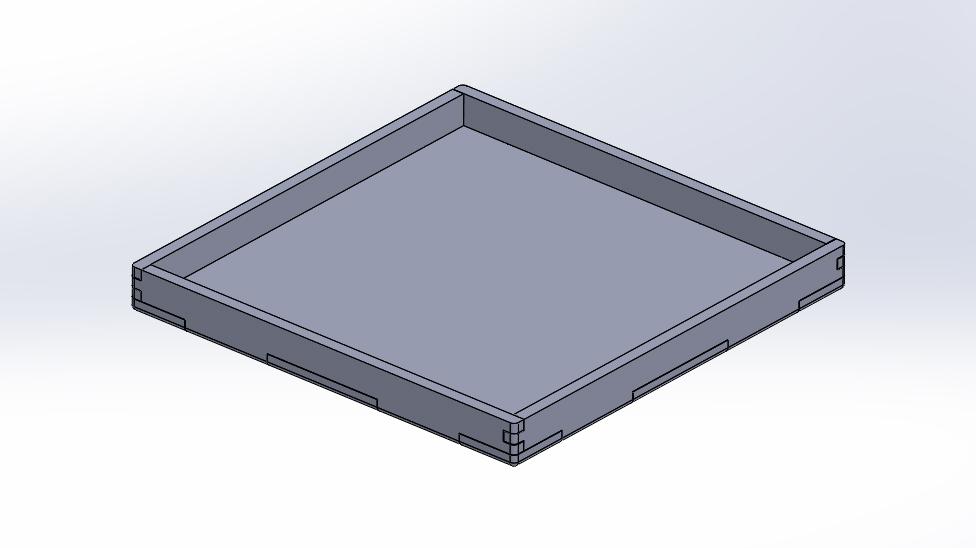
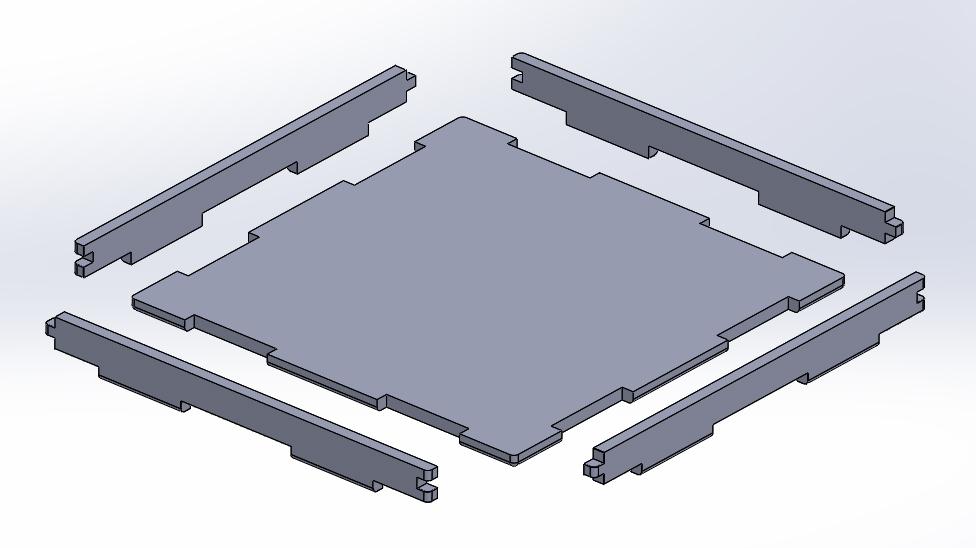
Step 1 - 3D Modelling the product
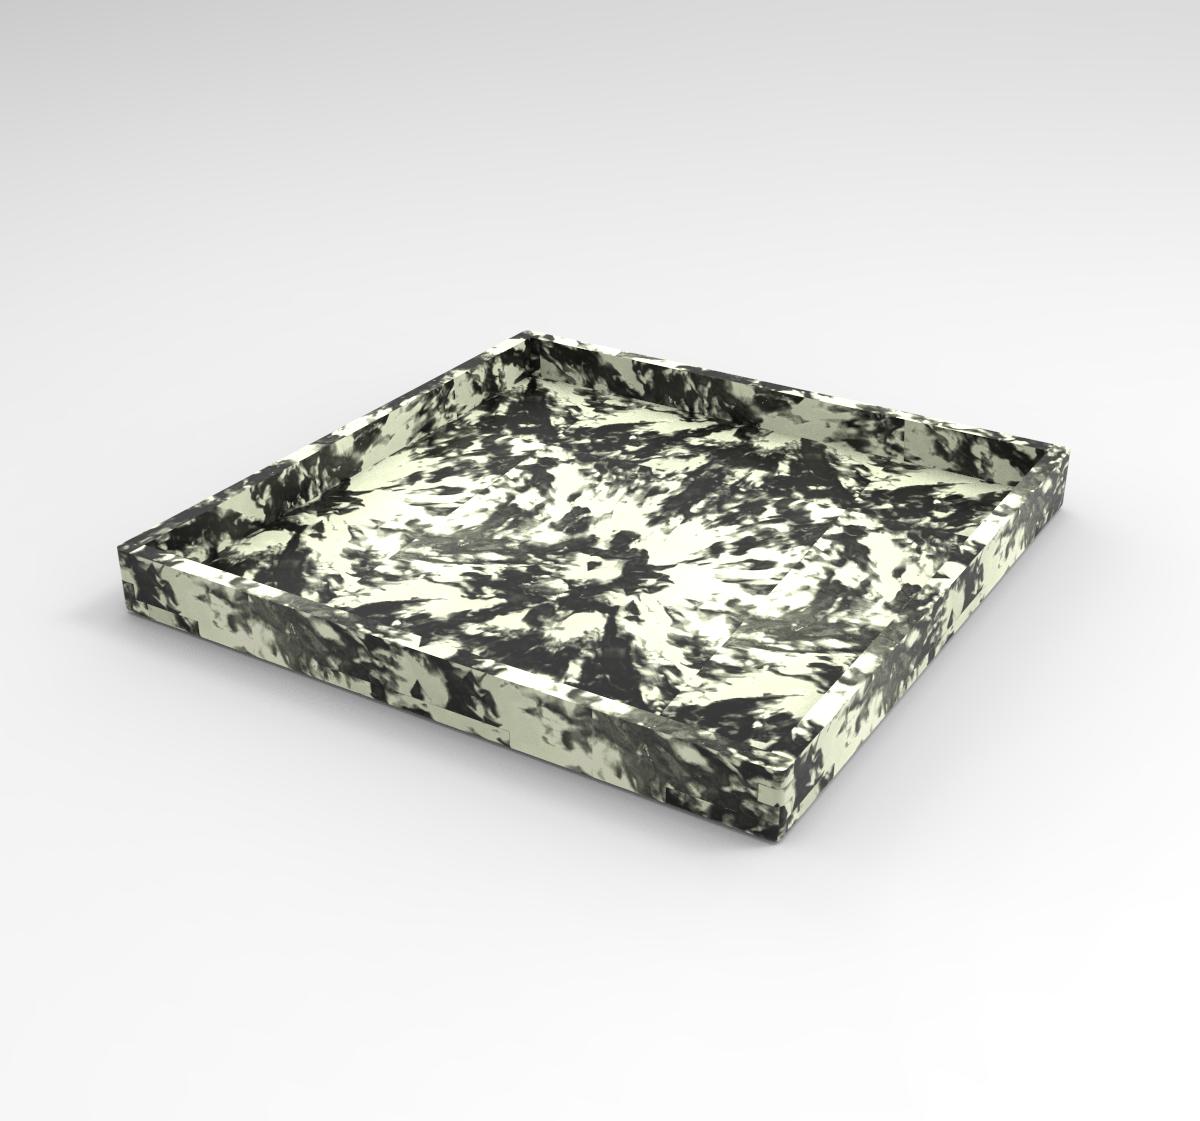
In this case we used Solidworks to model and render the product so we could export the necessary patterns and to render the product so the client could see it and approve it.
Step 2 - Print the patterns
They are the key to make it accurate cuts and thereby good joints.

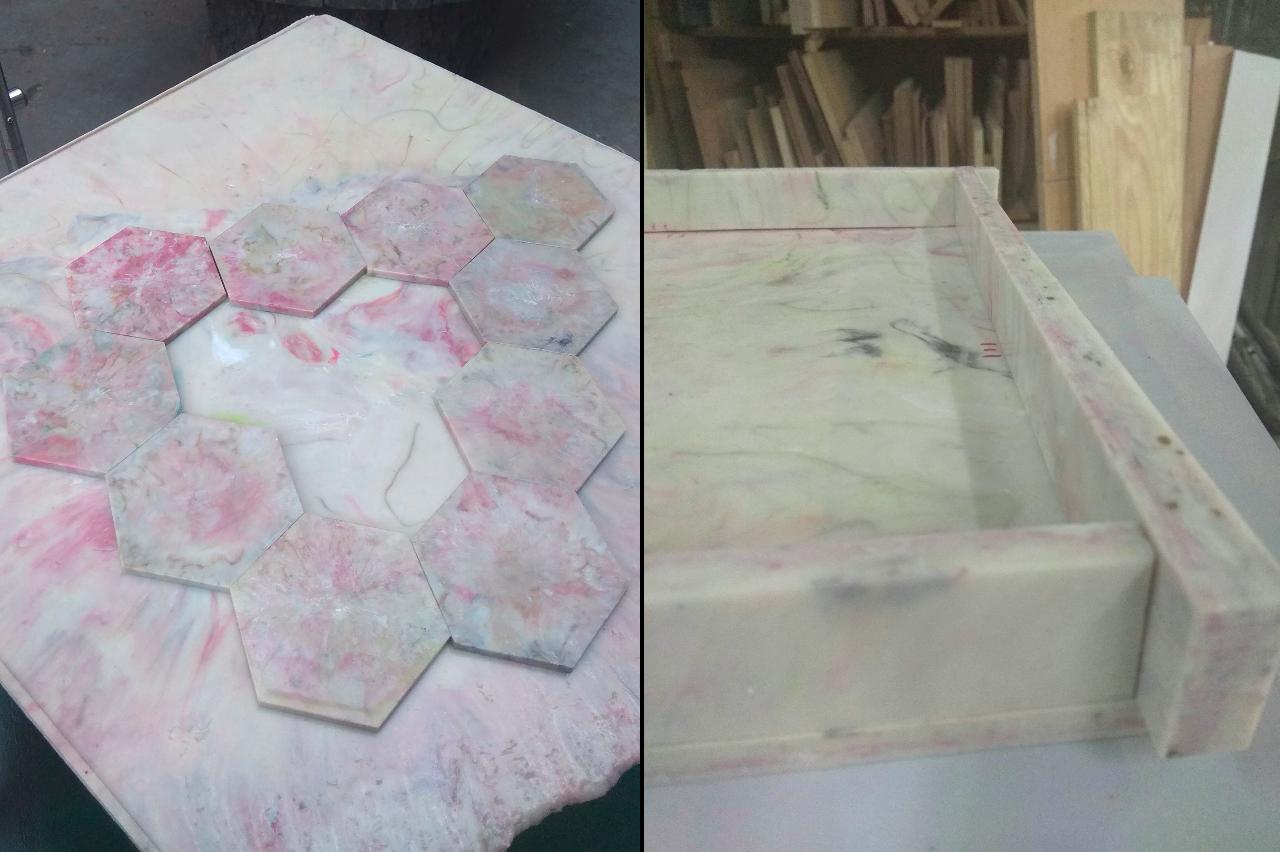
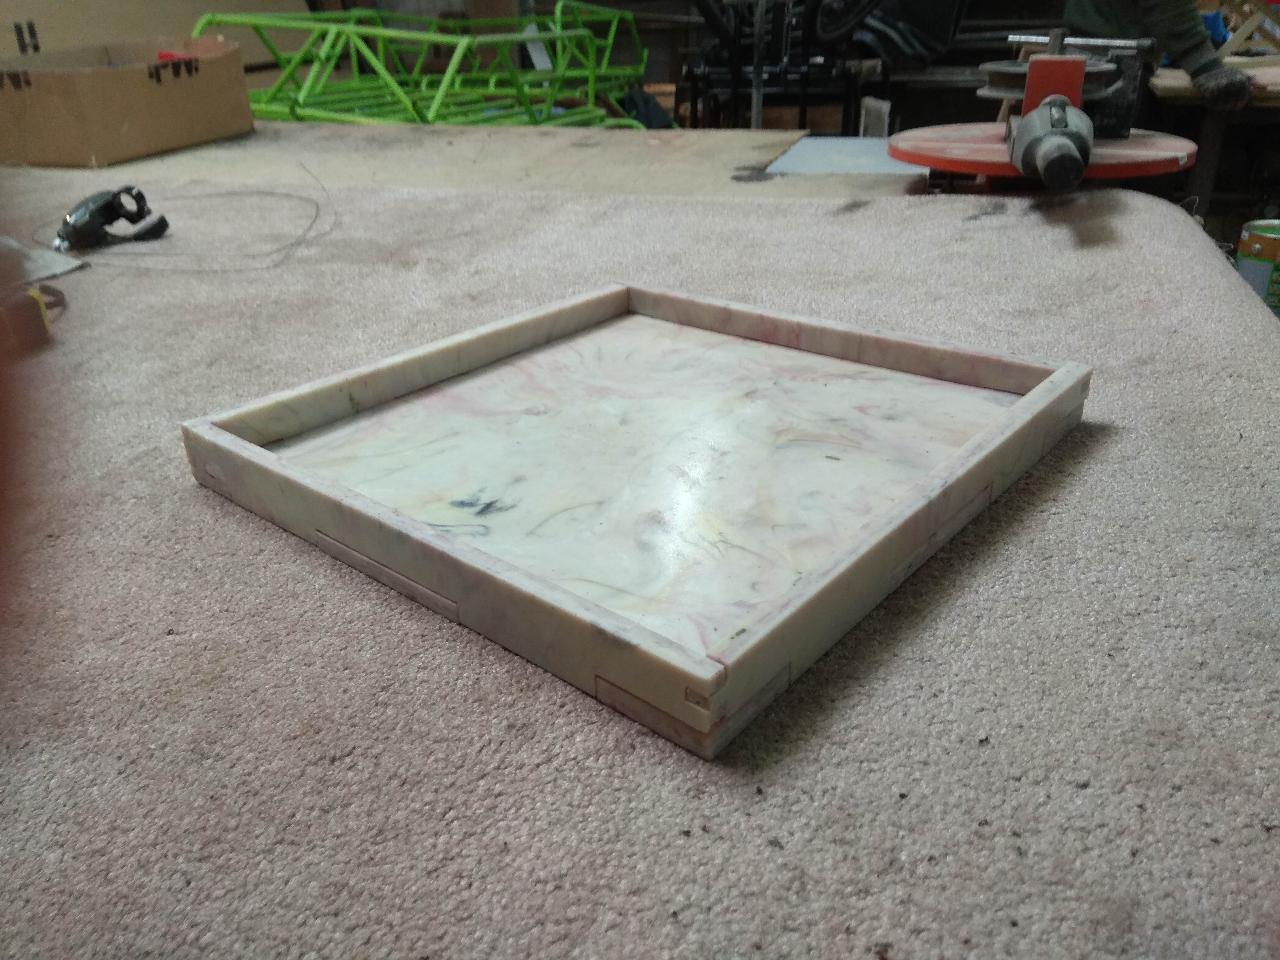
Step 3 - Make sheet and make rough cuts
Once you make the sheet, we made it in PLA, cut it so you get the five pieces necessary to make de product. Depending on the cutting tool you could make it more or less accurate. We make them with a not so precise endless saw, so the were rough cuts and then we improved the edges with a router.
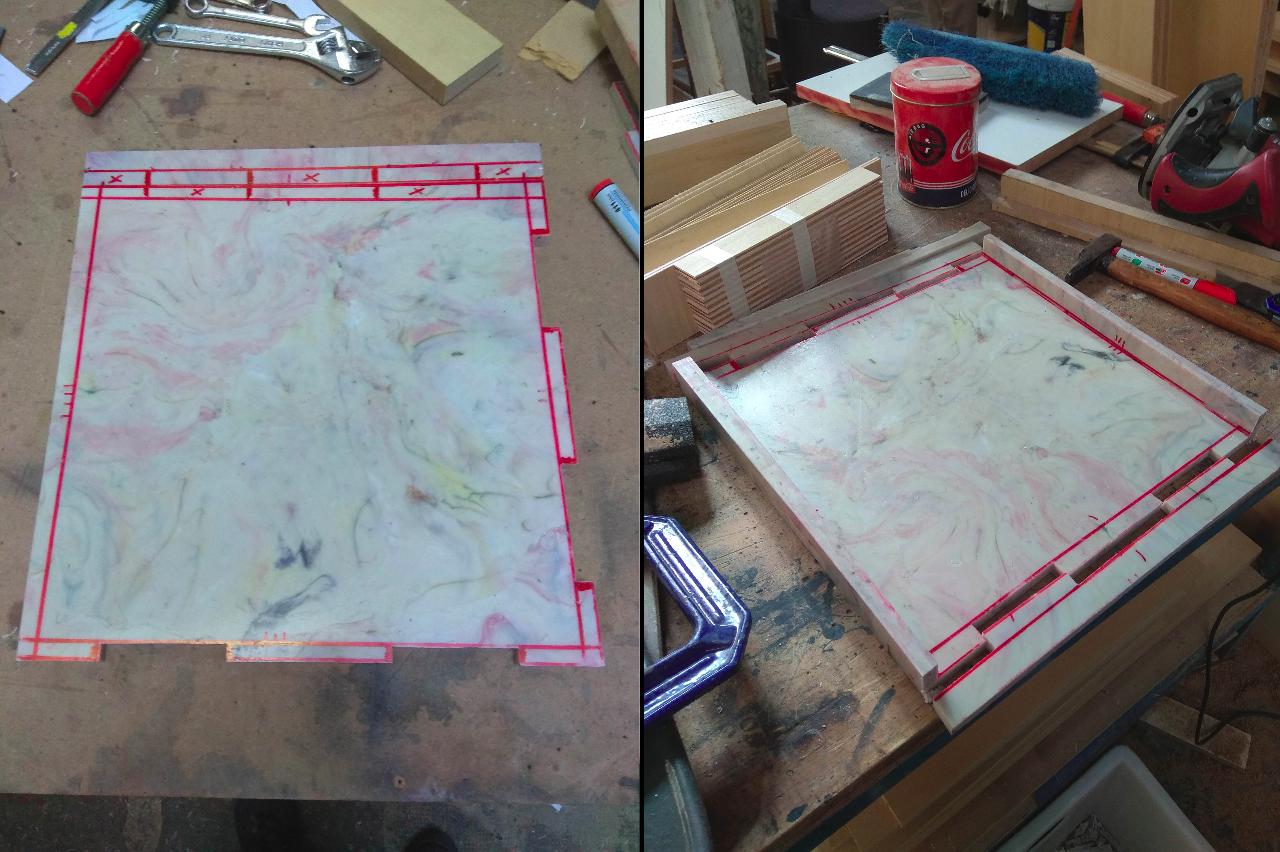
Step 4 - Transfer the patterns and cut
Fists transfer all the markings to the pieces and start cutting, the key here to cut a little less than necessary and then try the joint, cut more and repeat this process until it's a perfecto fit. Besides de cutting, we used a lime to get more soft edges and little dimensional changes.

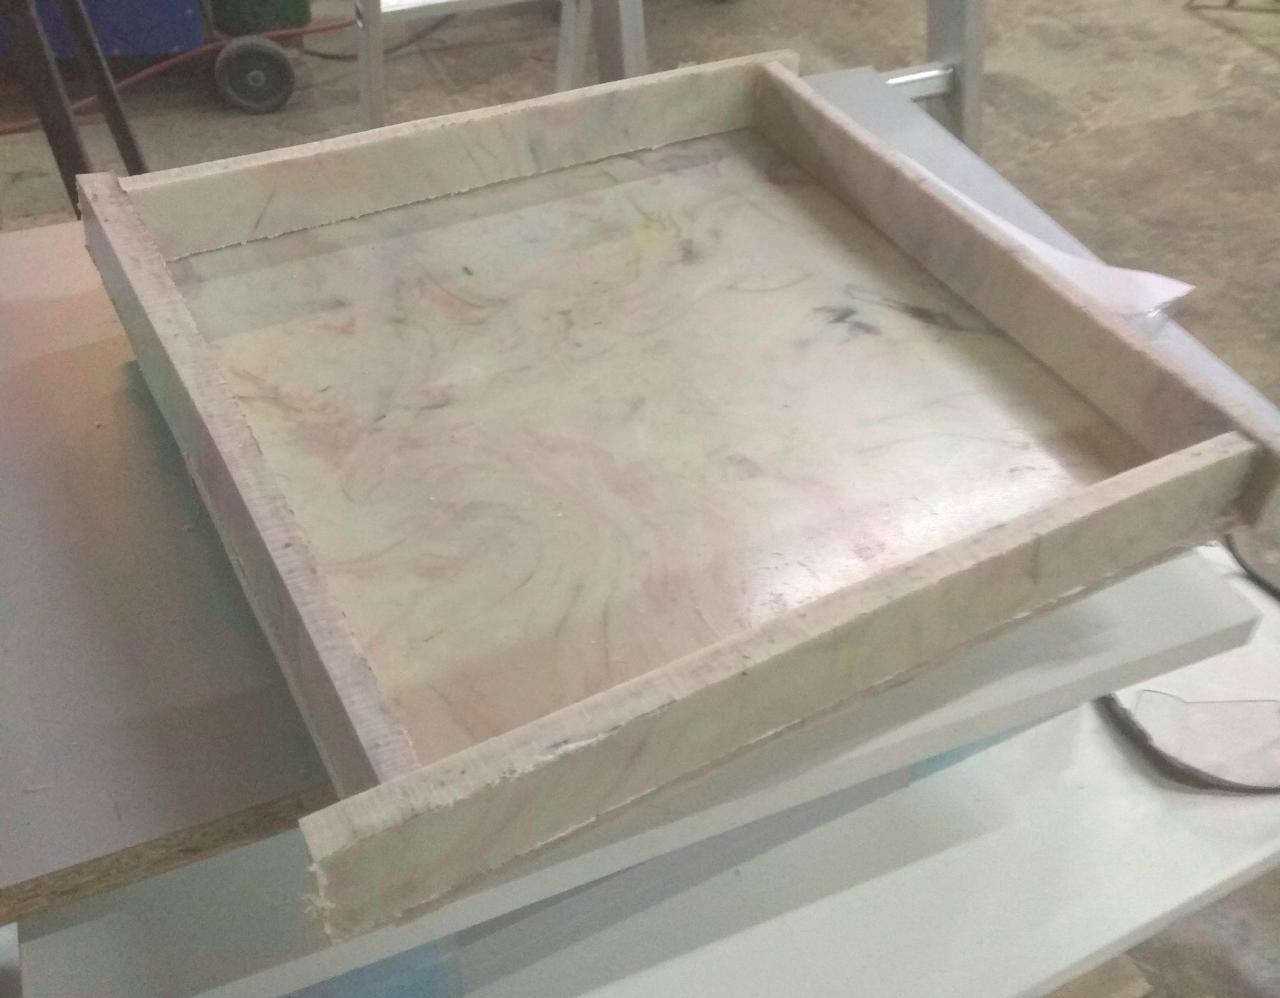
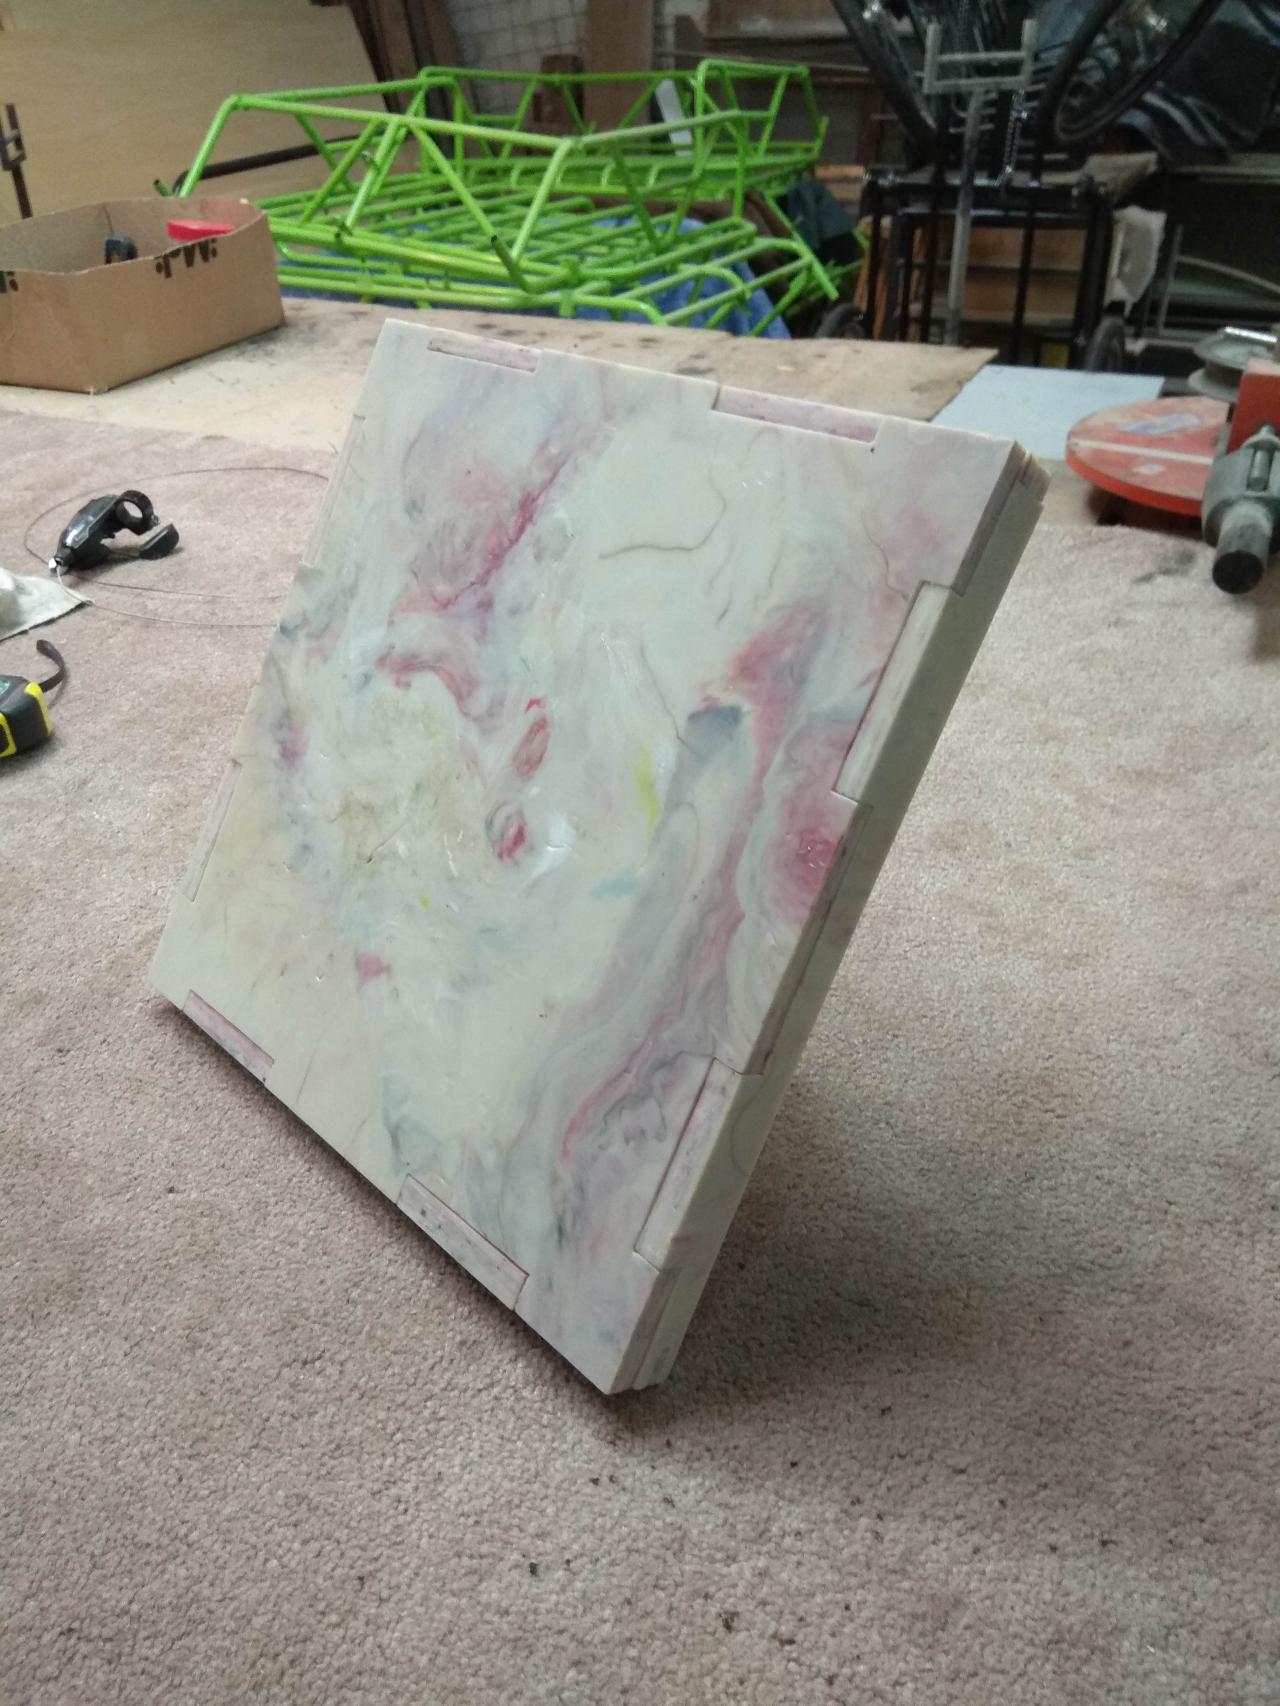
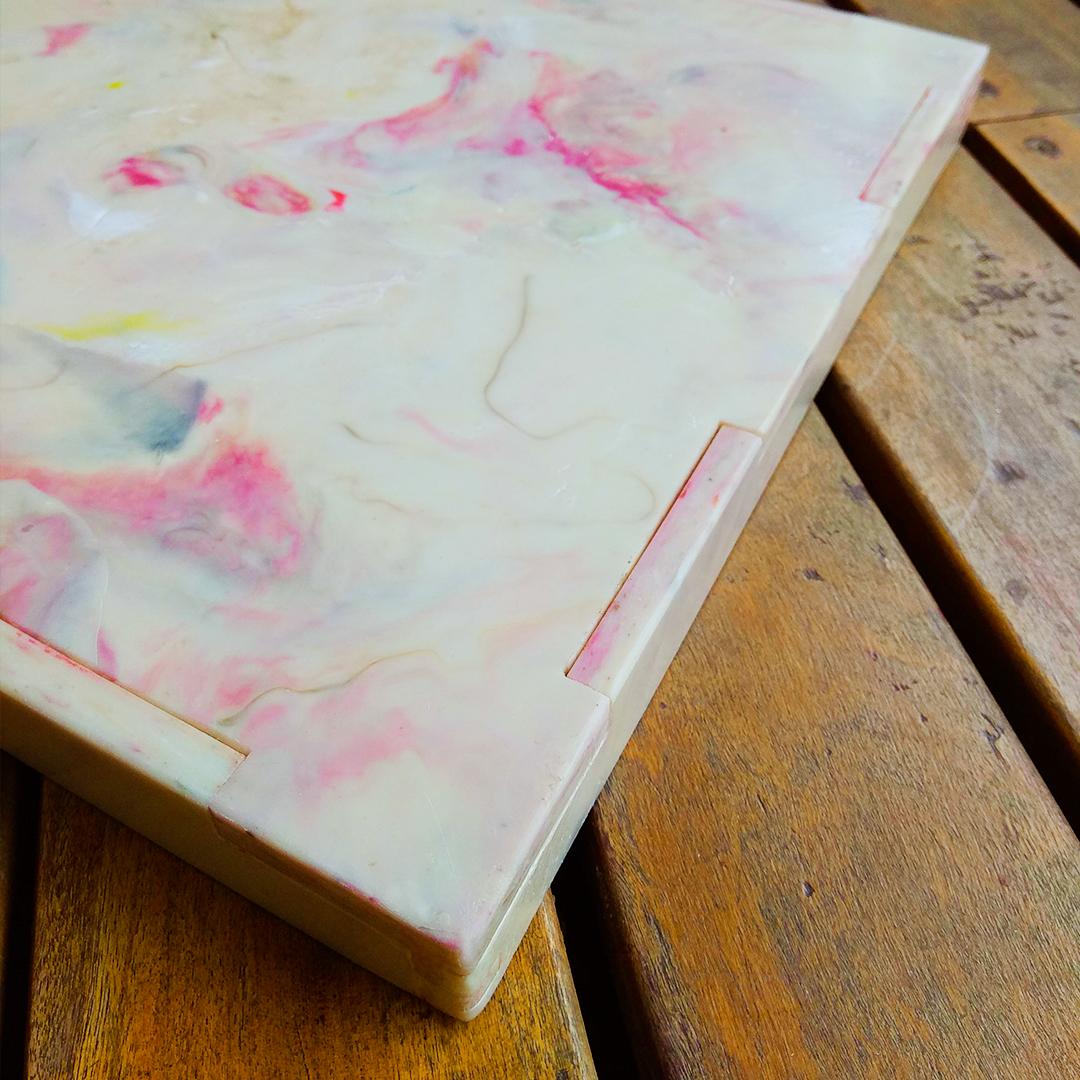
Step 5 - Final assembly and welding
Once you have all nice and fitted, with a heat gun and a spatula we weld locally some joint so the entire tray stays always nice and sturdy.

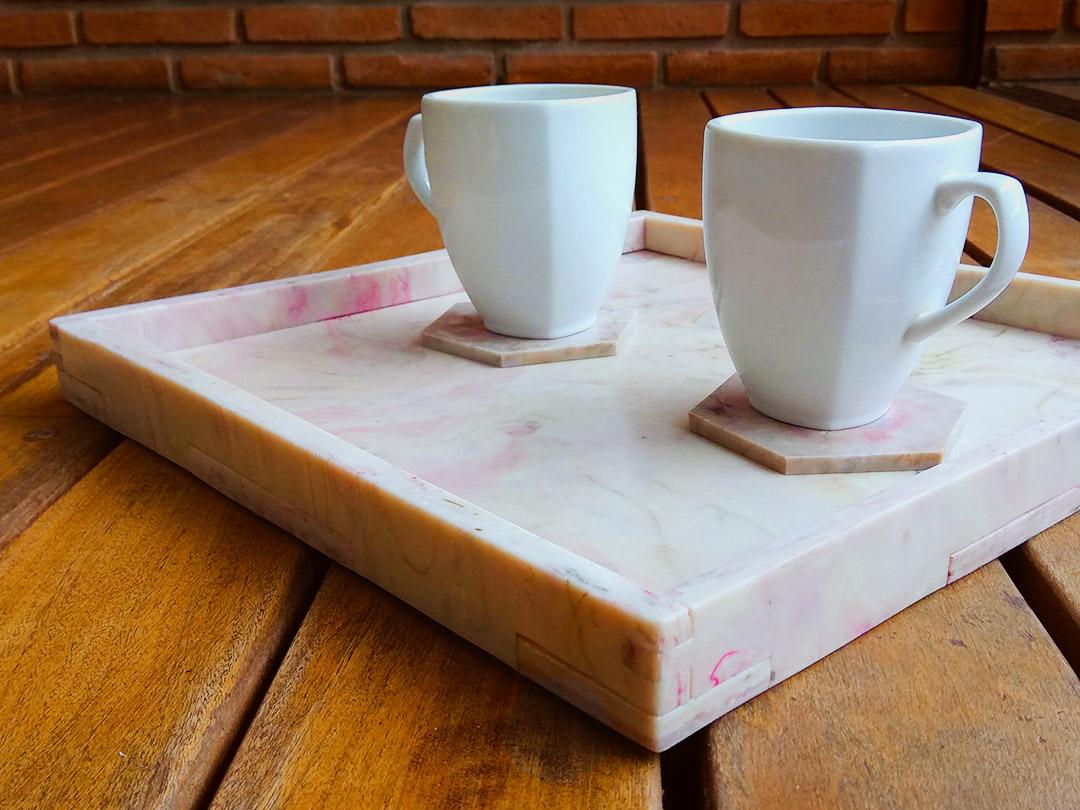
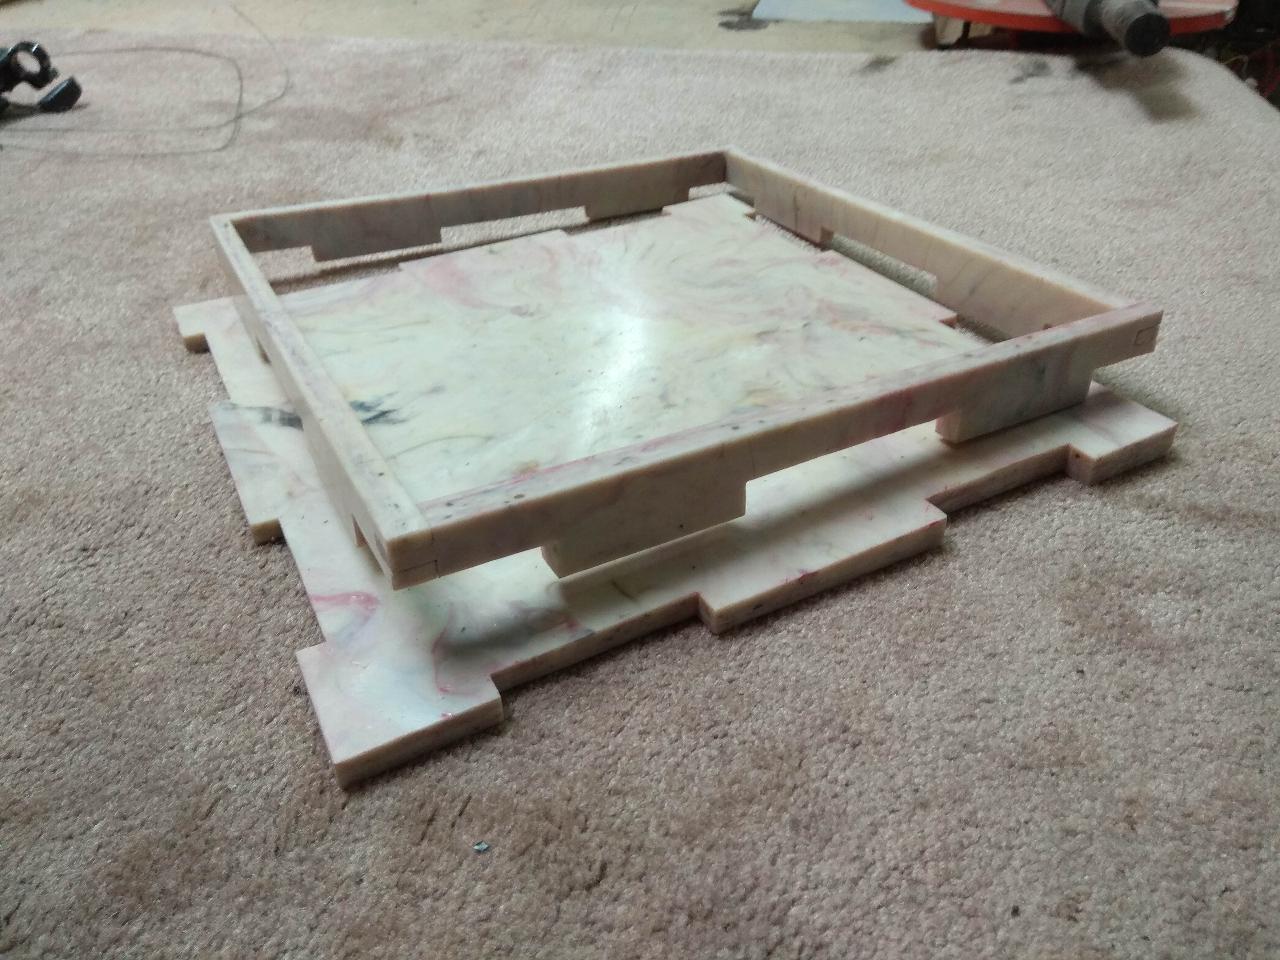
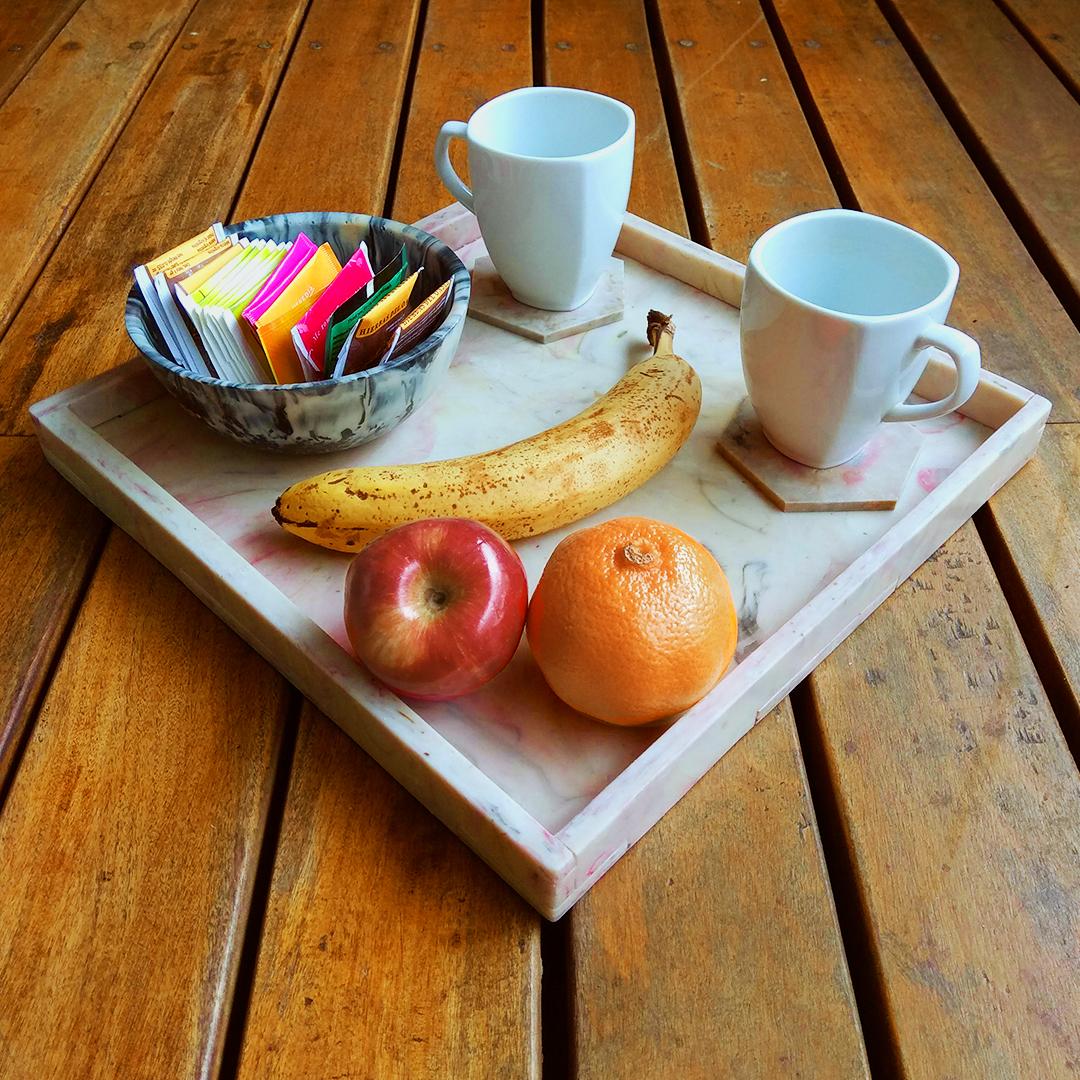
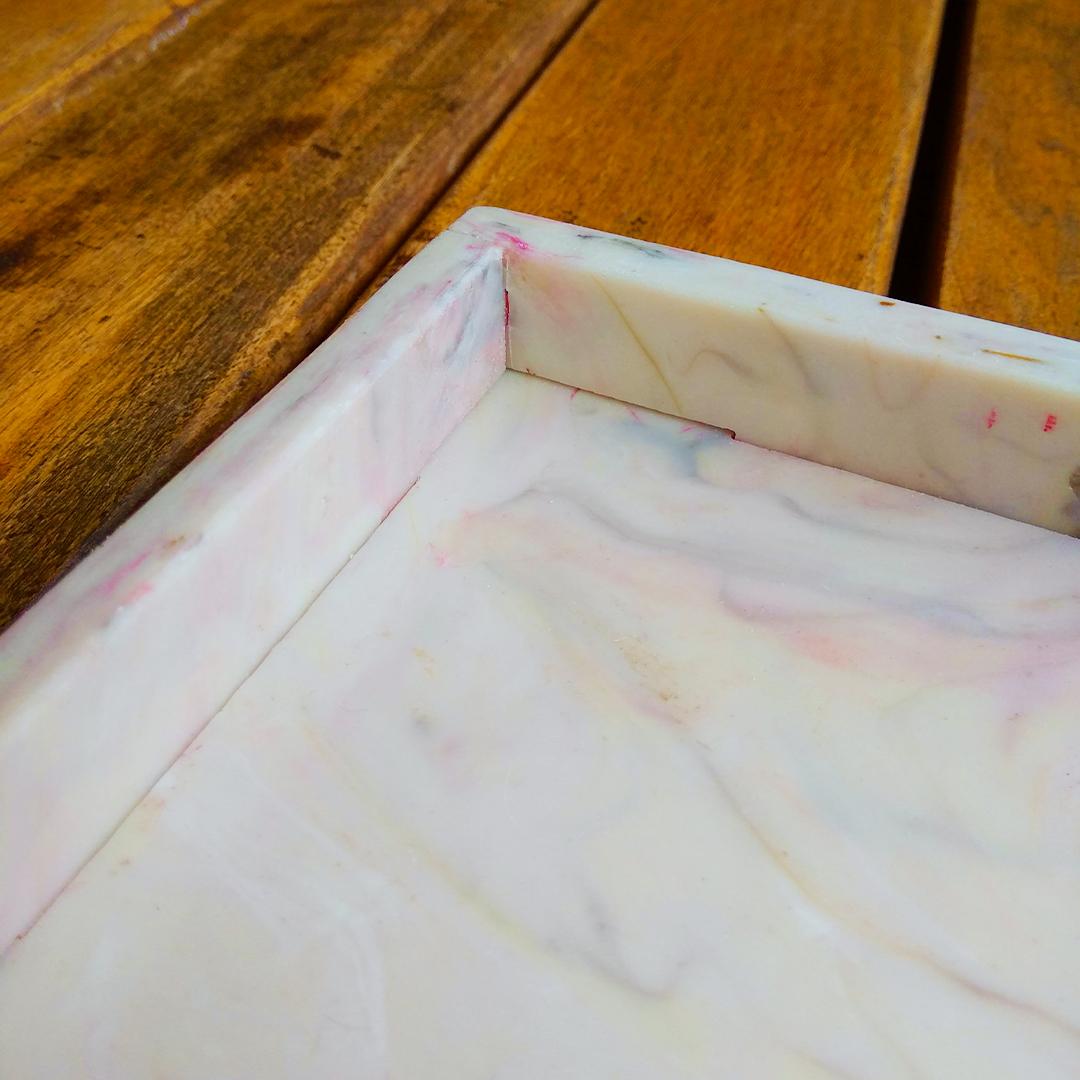
Step 6 - Finally, nice set up & photos
—
—
—
Comments