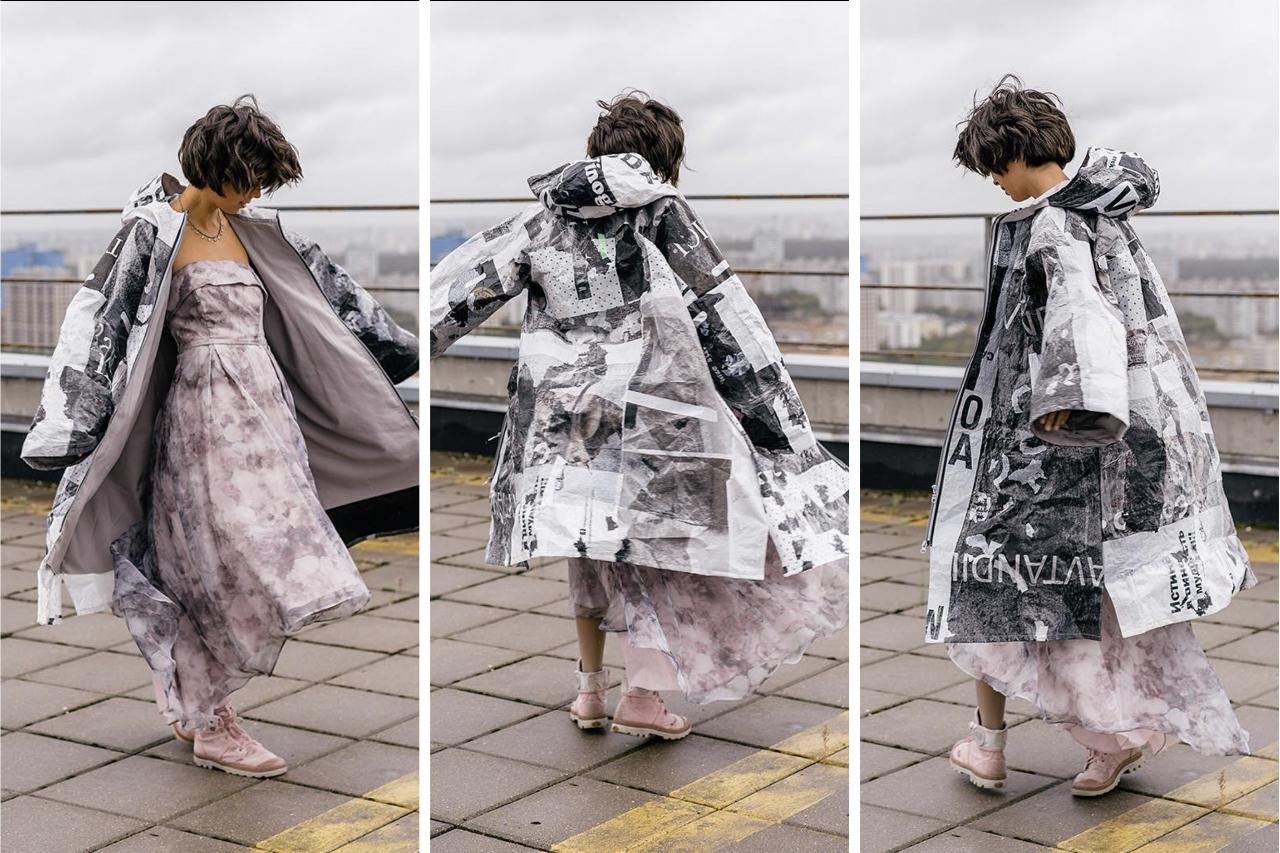
Make a raincoat with plastic bags
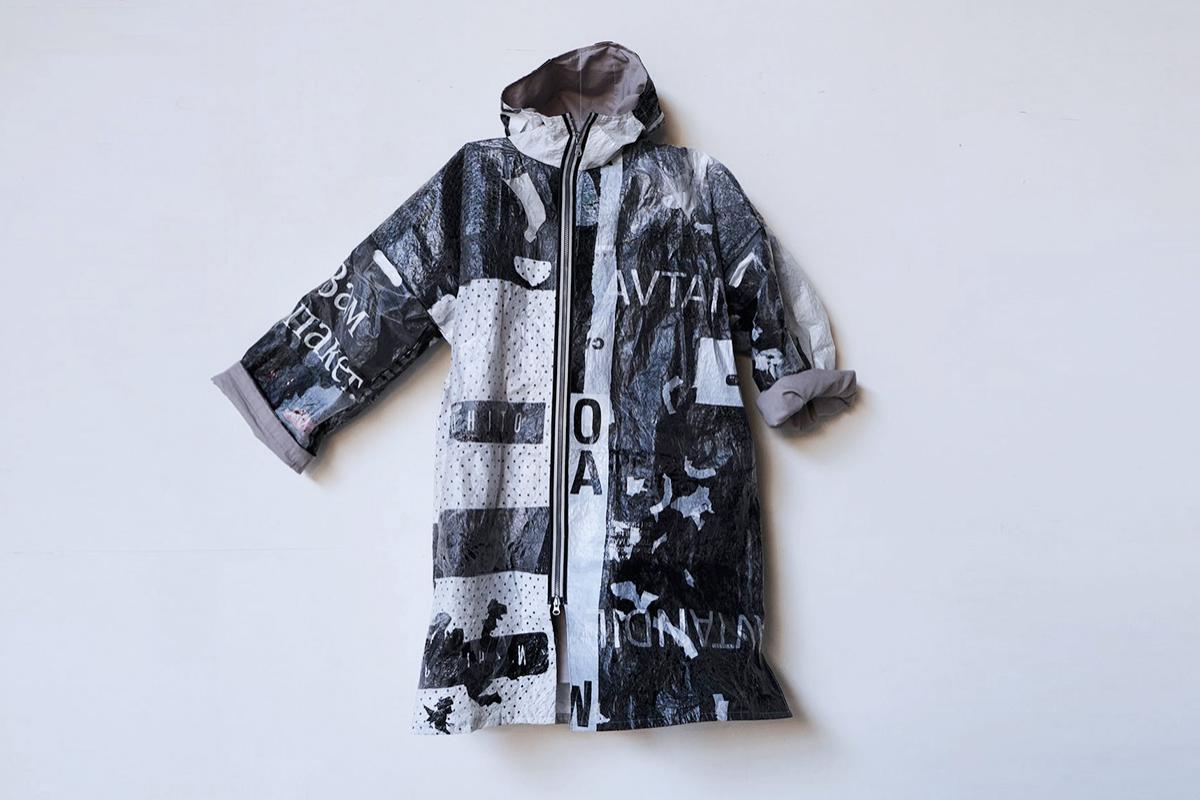
From plastic foils to a rain jacket. In this tutorial I will explain how to collect plastic foils, melt them together, sew and put it all together to create your own jacket for rainy days.
Step 1-9: Preparing the materials
Step 10-16: Sewing your jacket
—
Attachments
Resources
Step 1 - Gather your materials
In order to make a jacket from plastic foils, you will first need to gather your tools and materials. These are:
Materials
- plastic foils (see step 3), enough to make four large sheets (70cm x 170cm)
- natural fabric such as cotton for the lining
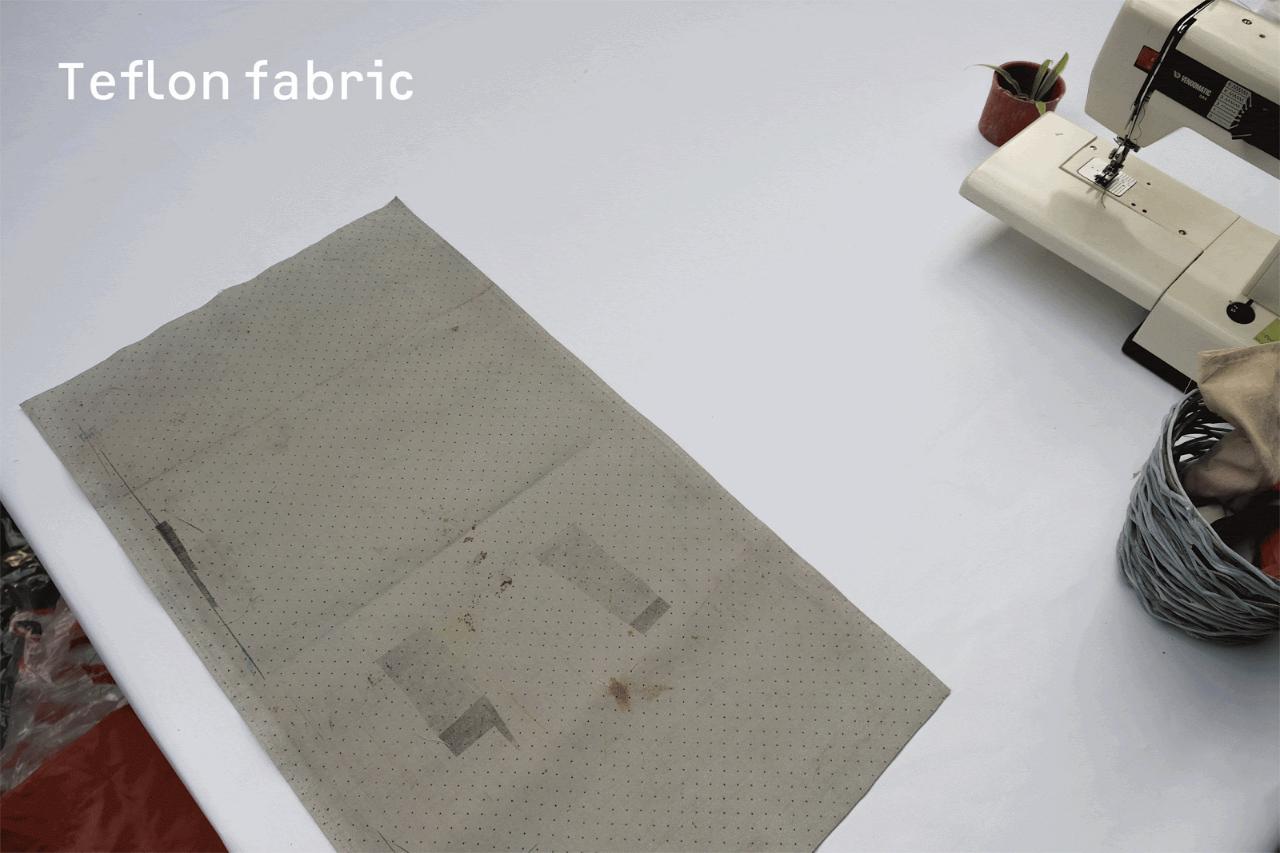
- a heat resistant sheet material such as teflon fabric as a base for ironing/pressing
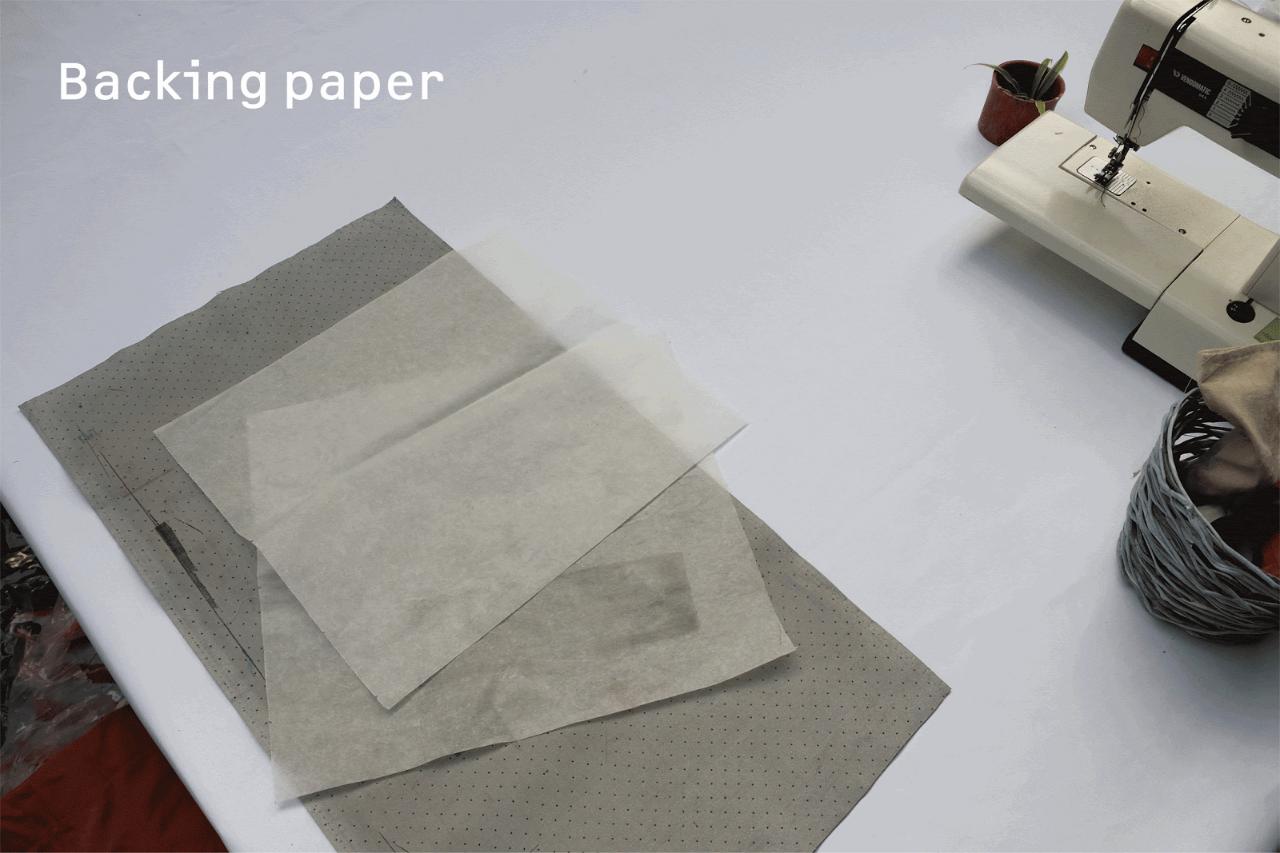
- baking paper which will also be used for ironing/pressing
- optionally: fastening of some sort for the raincoat (buttons, zip etc)
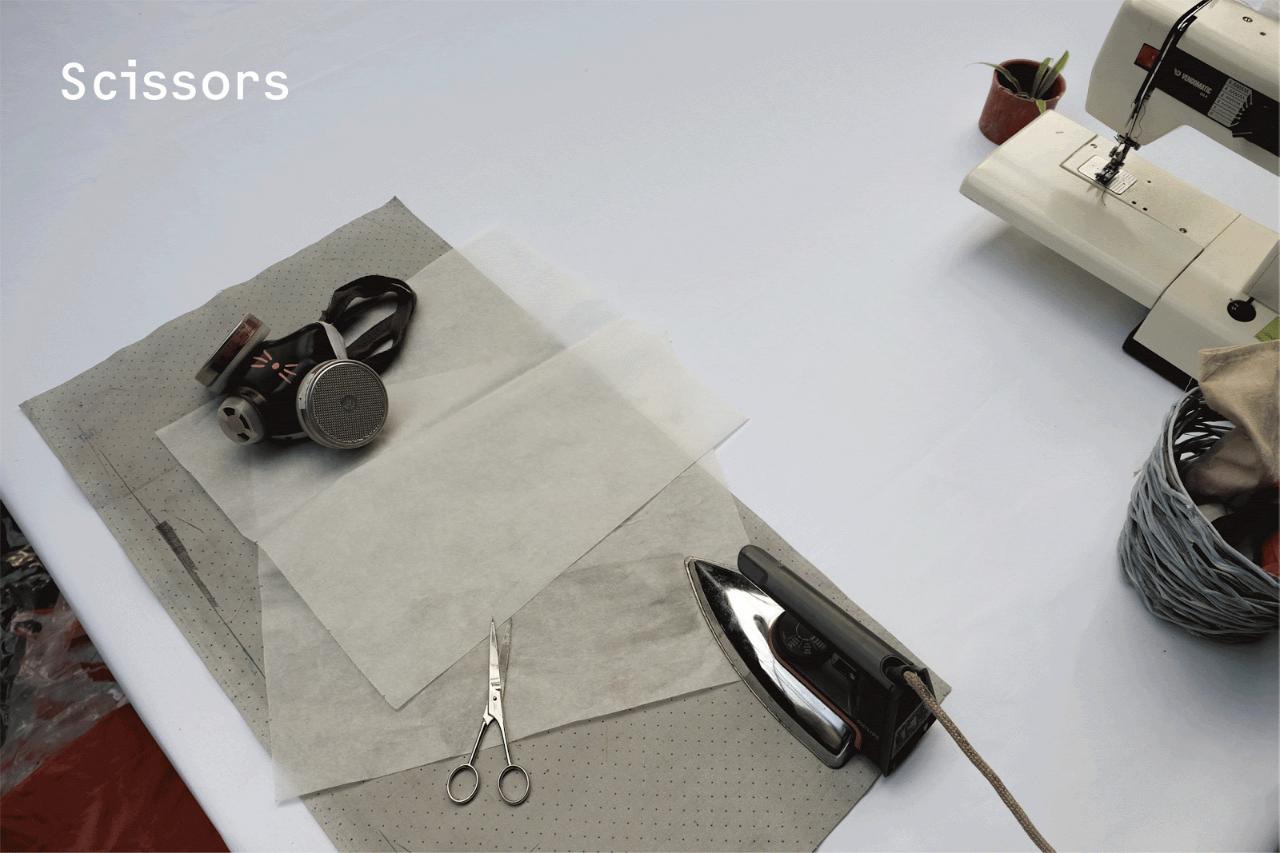
Tools
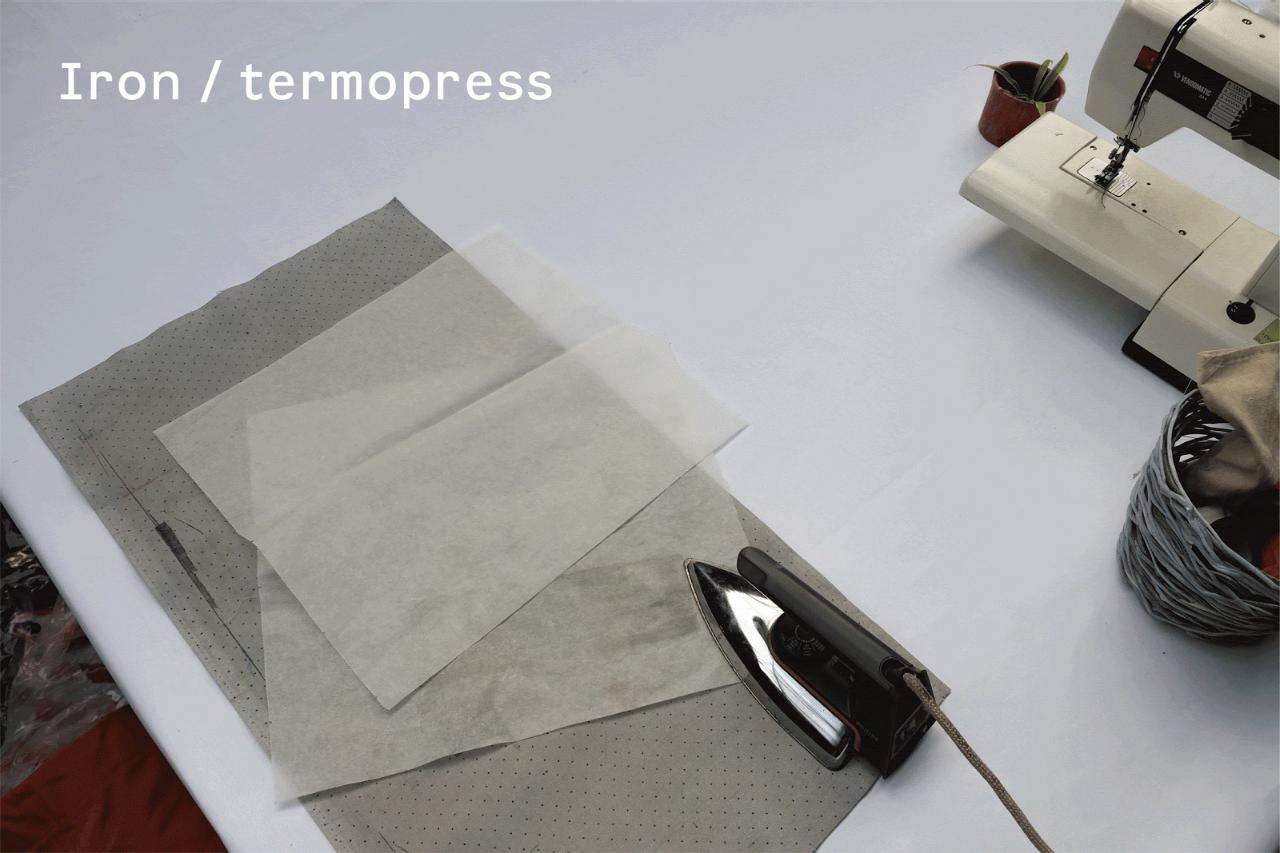
- iron or thermo press
- sewing machine, thread and scissors
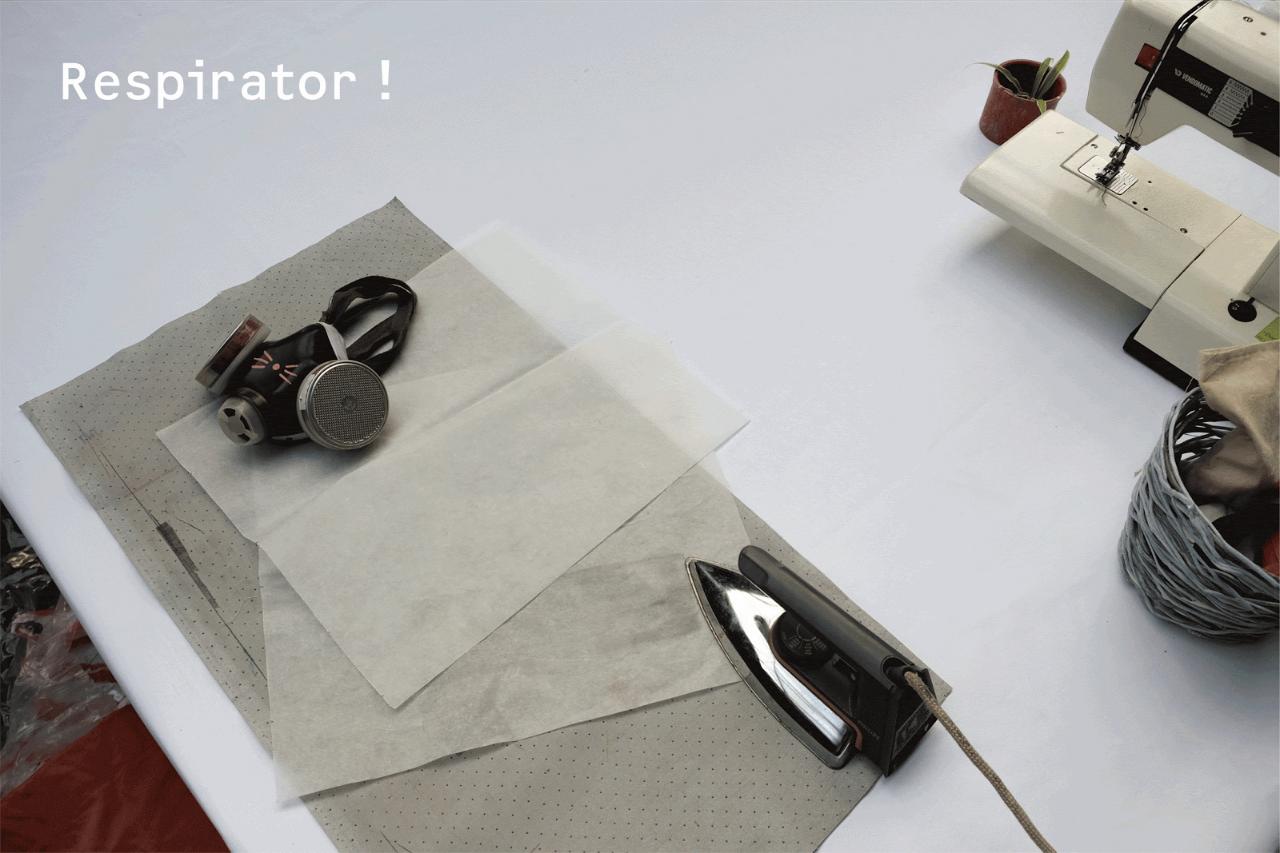
Safety recommendations
- respirator mask to prevent the inhalation of plastic fumes!
Materials
- plastic foils (see step 3), enough to make four large sheets (70cm x 170cm)
- natural fabric such as cotton for the lining
- a heat resistant sheet material such as teflon fabric as a base for ironing/pressing
- baking paper which will also be used for ironing/pressing
- optionally: fastening of some sort for the raincoat (buttons, zip etc)
Tools
- iron or thermo press
- sewing machine, thread and scissors
Safety recommendations
- respirator mask to prevent the inhalation of plastic fumes!
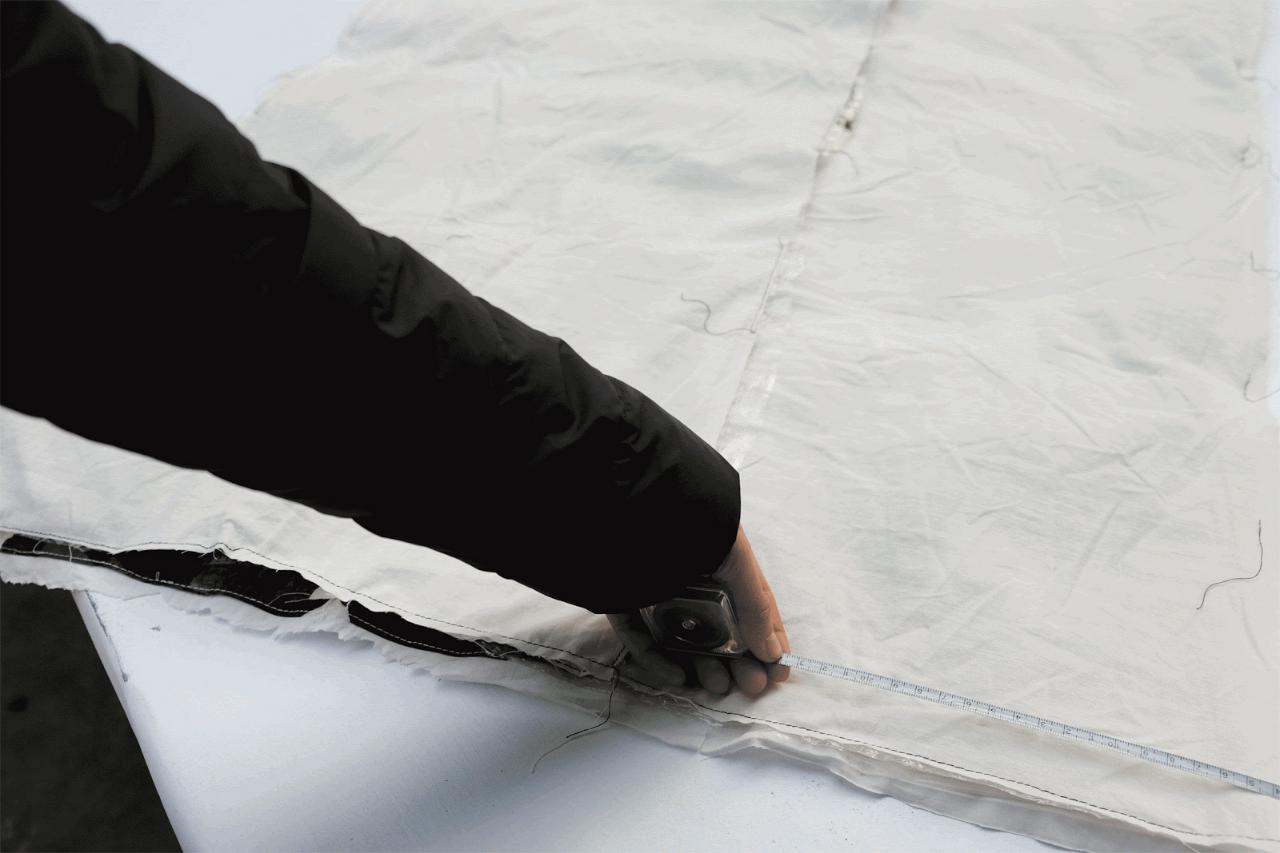
Step 2 - Choose your measurements
You will need to work out the required measurements for the jacket. The template below will provide you with a plan for taking and recording these measurements.
(A) length of the arm
(B) length from shoulder to shoulder
(C) length from shoulder to the neck centre
(D) body width
(E) desired length of the raincoat
(A) length of the arm
(B) length from shoulder to shoulder
(C) length from shoulder to the neck centre
(D) body width
(E) desired length of the raincoat

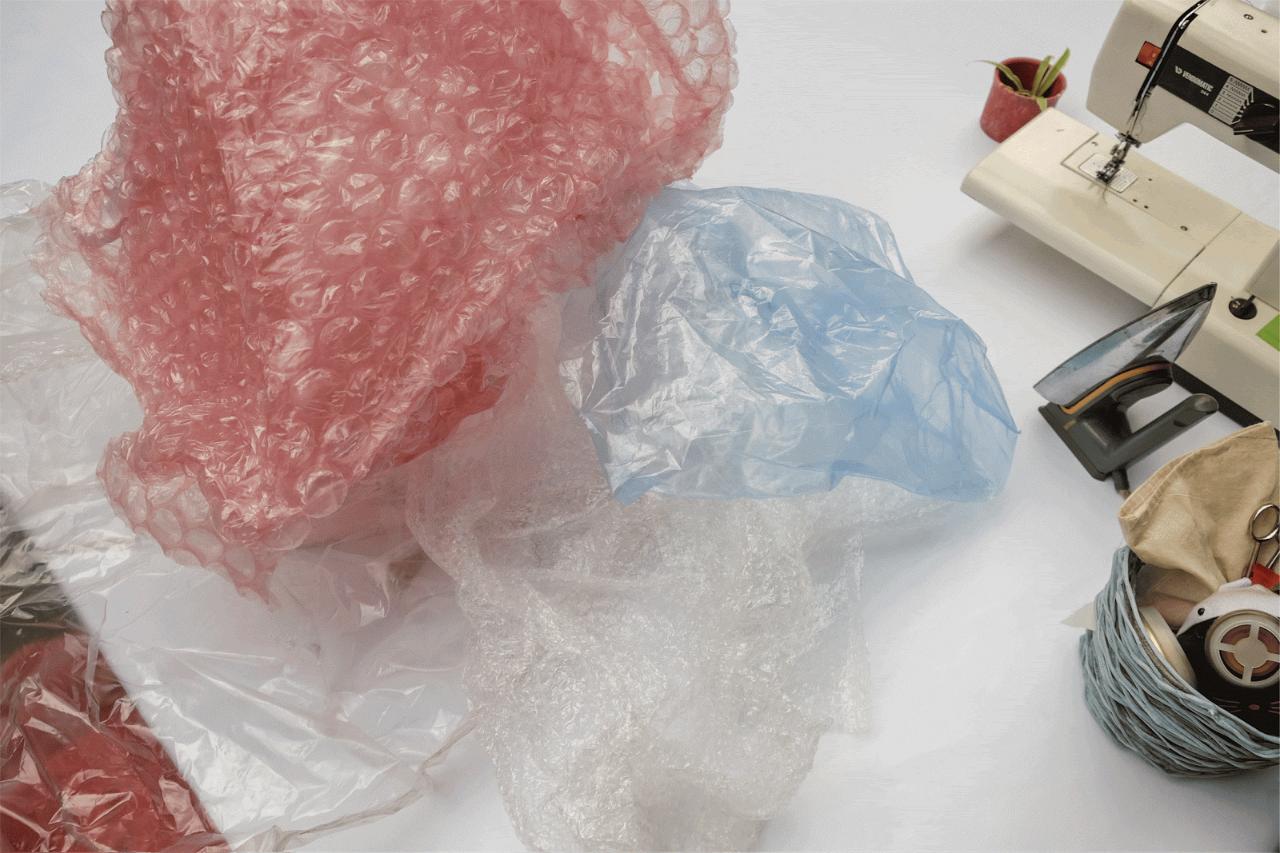
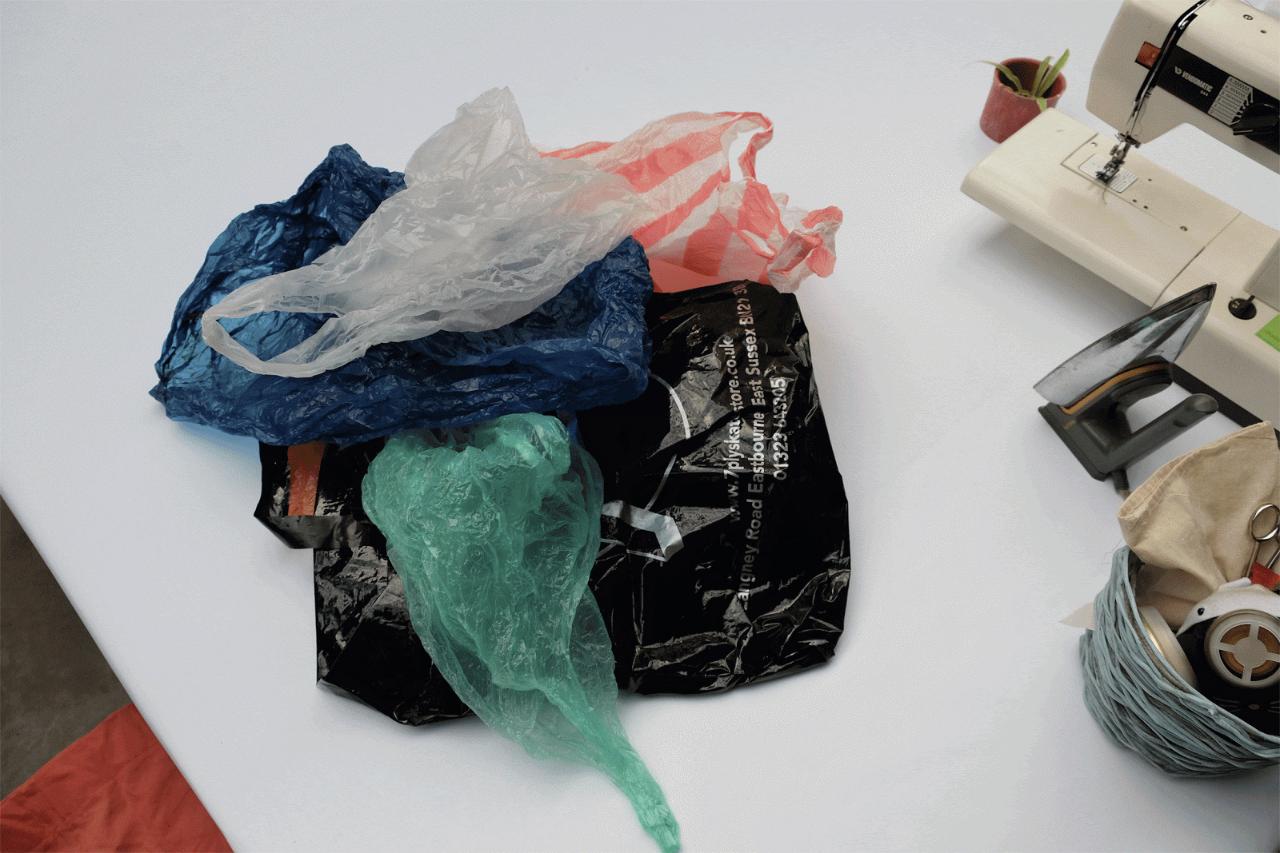
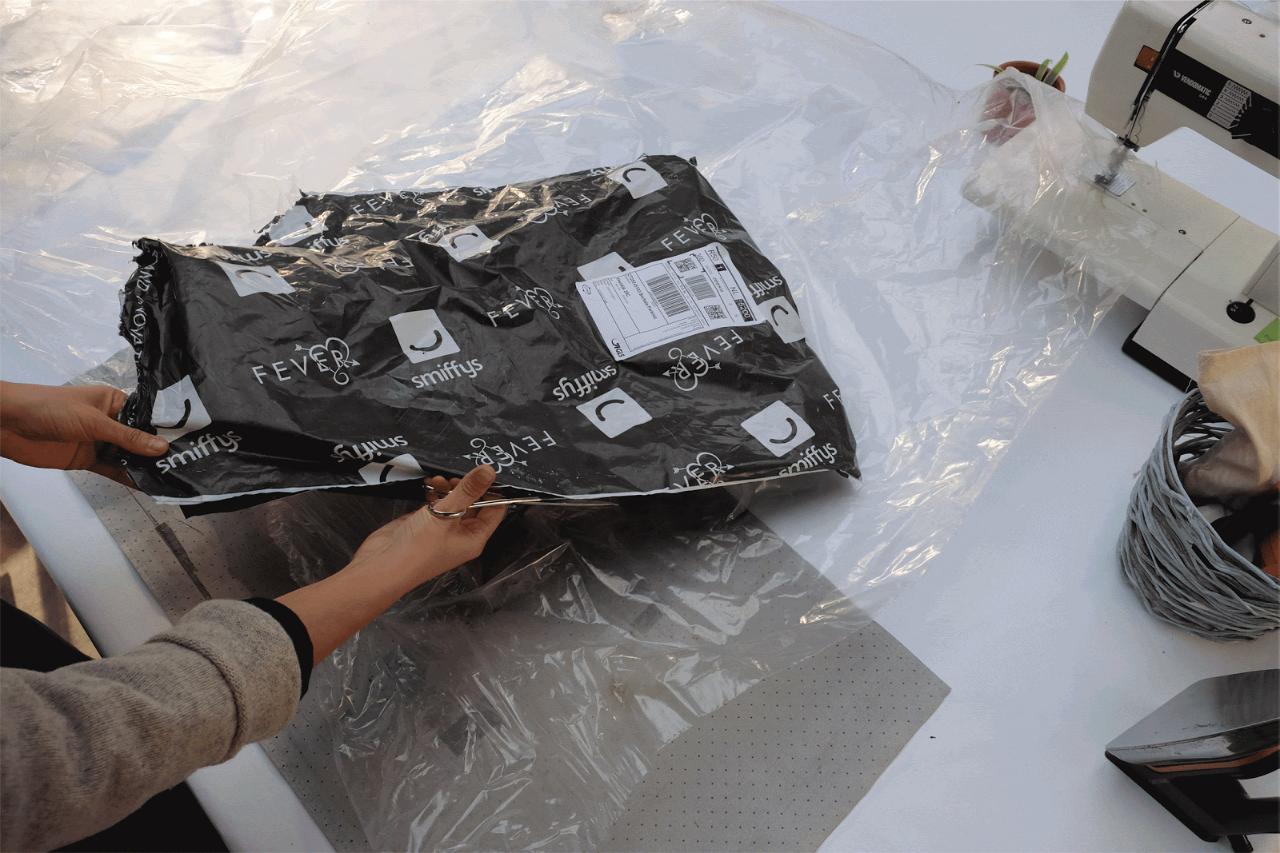
Step 3 - Collect and select your foils
This part will be a combination of your own design choice, as well as what plastic material is available around you. Collect your waste foils, which can include plastic bags and any small plastic foils, wrappers, and packaging. Try to make sure that you are using the same type of material (LDPE, HDPE, PP etc.).
Now, use some artistic flair! From what you have, select a colour palette that you will work with. Your raincoat will have a much nicer finish if you ensure that any colours/patterns work well together. If you’re happy to use any combination of colours, then the coat will still be functional.
Now, use some artistic flair! From what you have, select a colour palette that you will work with. Your raincoat will have a much nicer finish if you ensure that any colours/patterns work well together. If you’re happy to use any combination of colours, then the coat will still be functional.
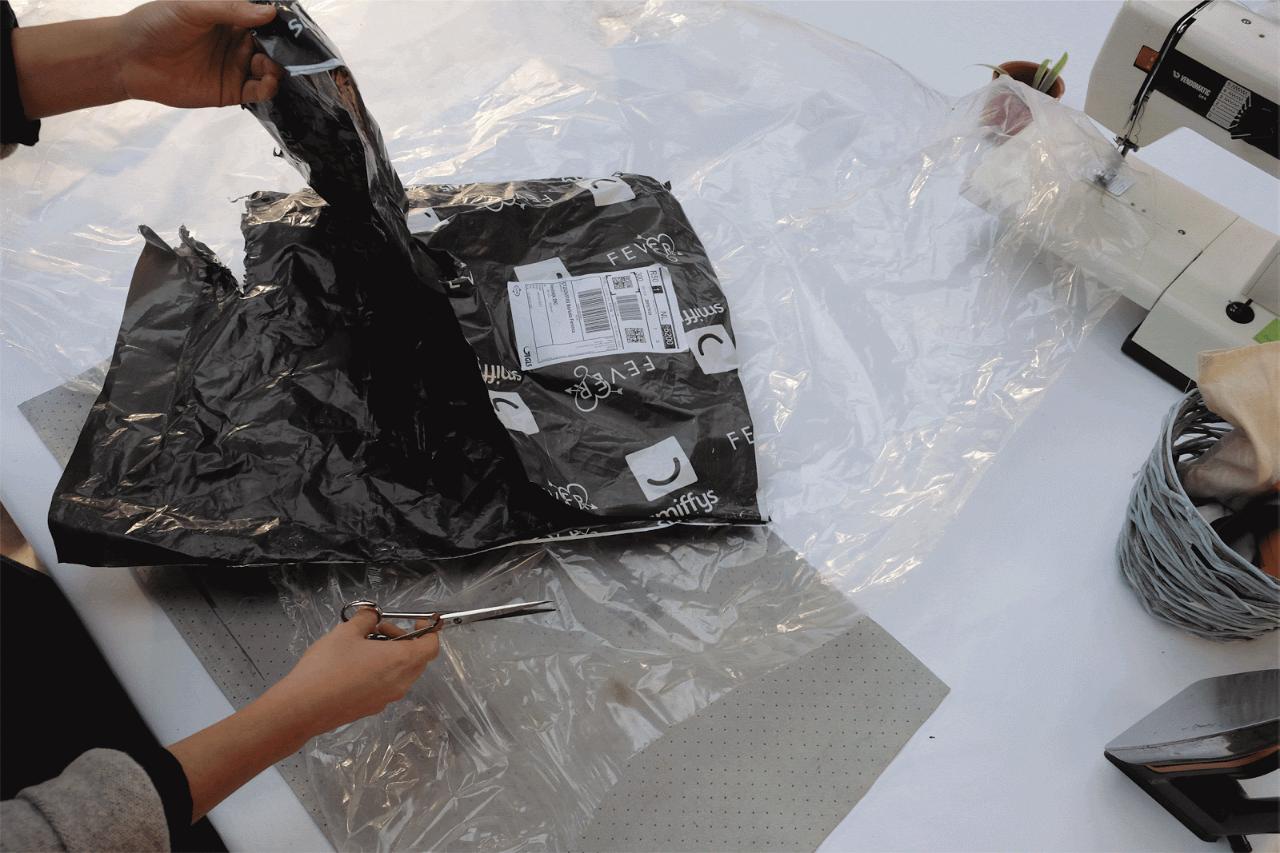
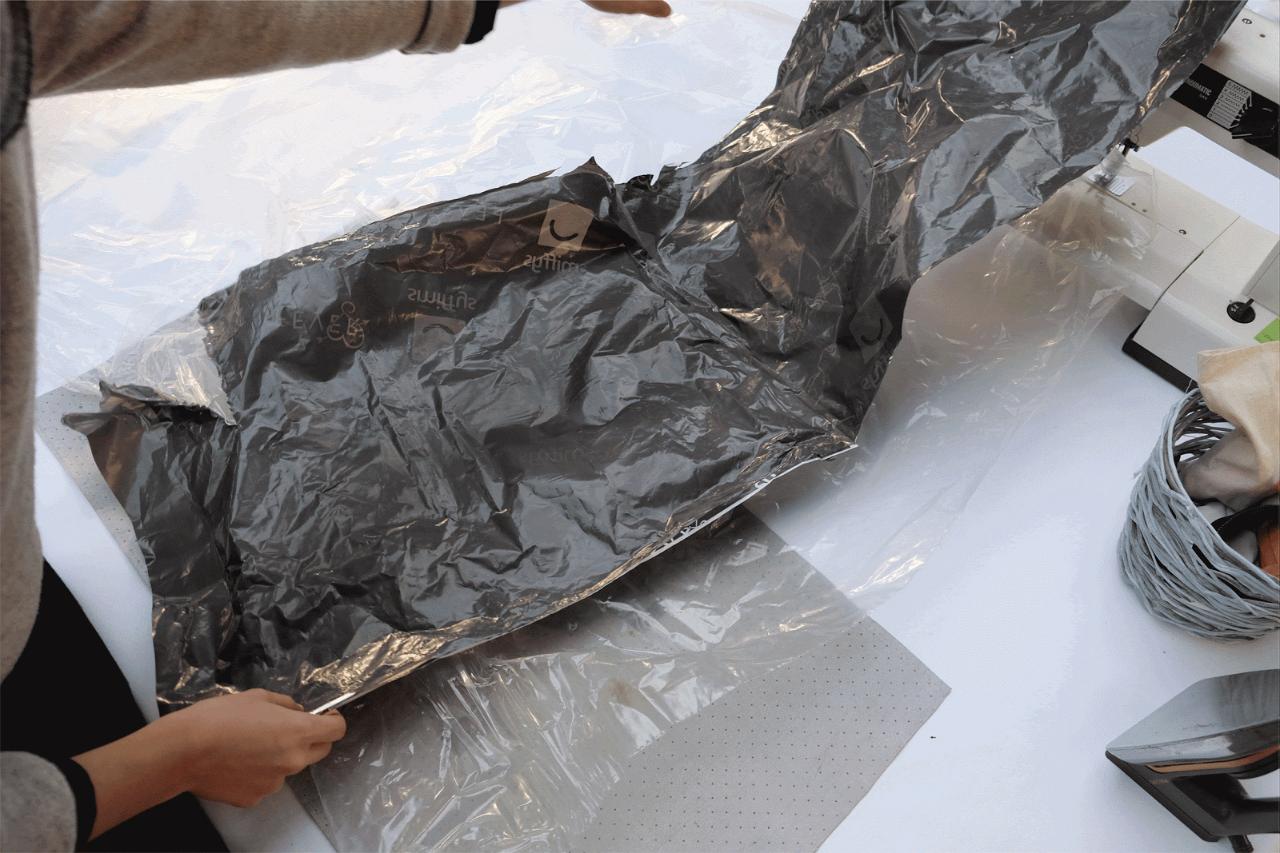
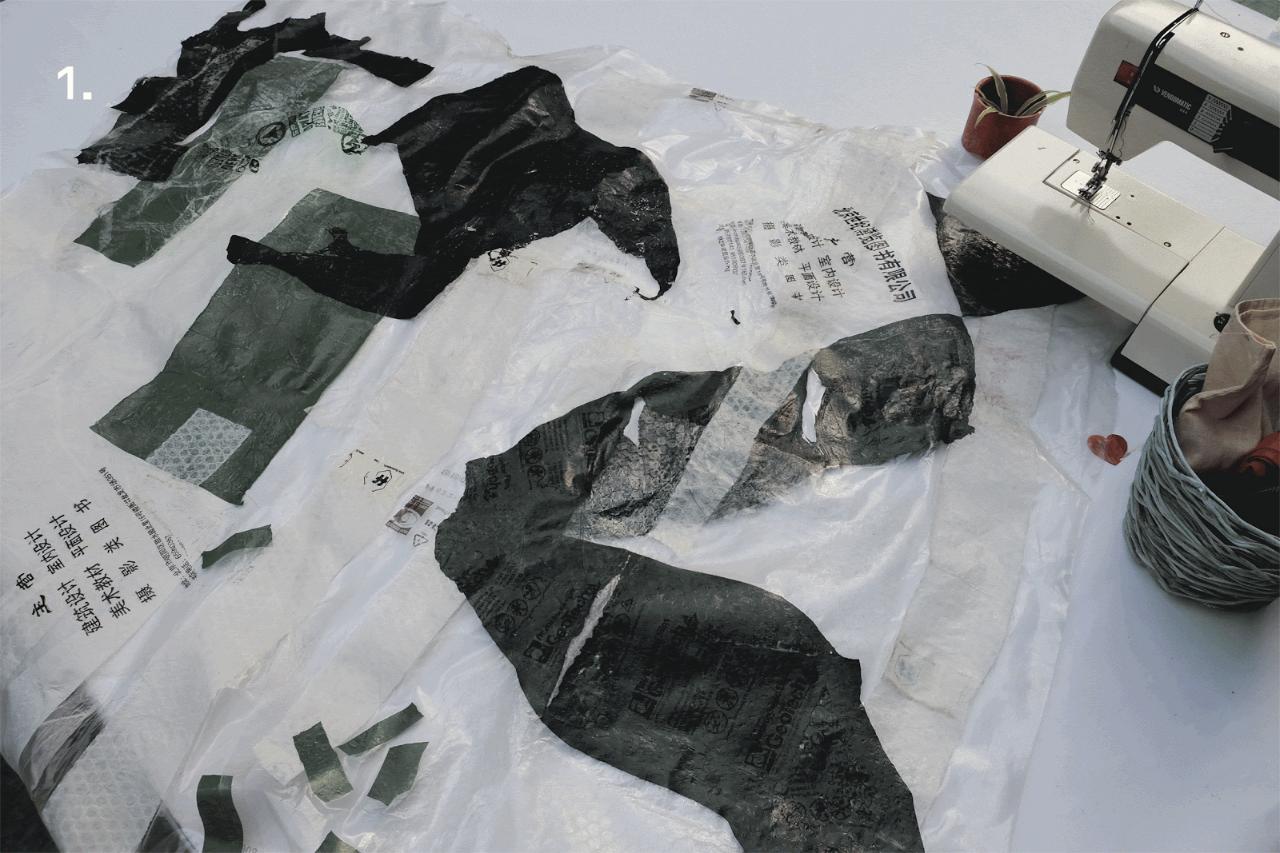
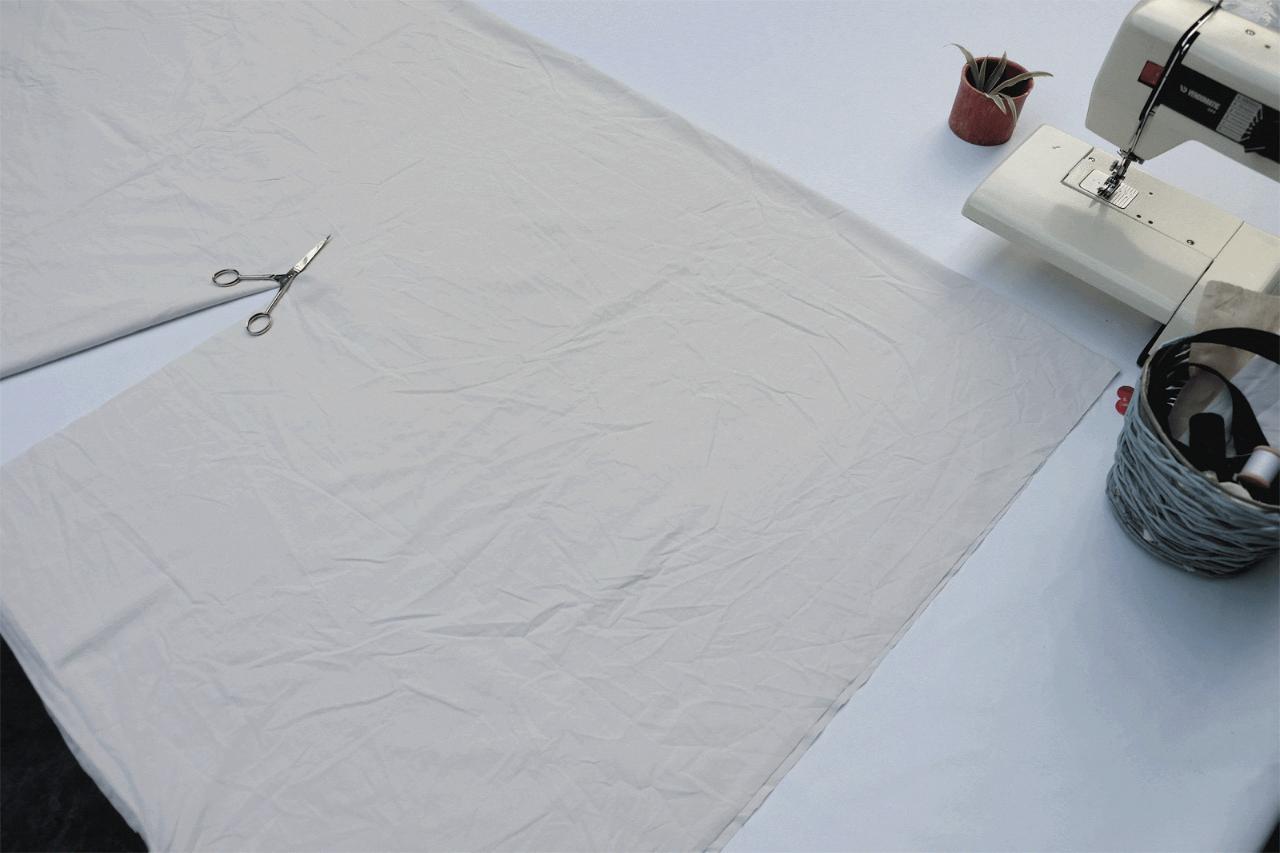
Step 4 - Make your base
Find the biggest plastic sheet you have, and make a base out of it. Foils from construction waste are often large and good for this purpose. If you don’t have something such as this to hand, then you can cut down the sides of a bag and spread it out flat on your working surface.
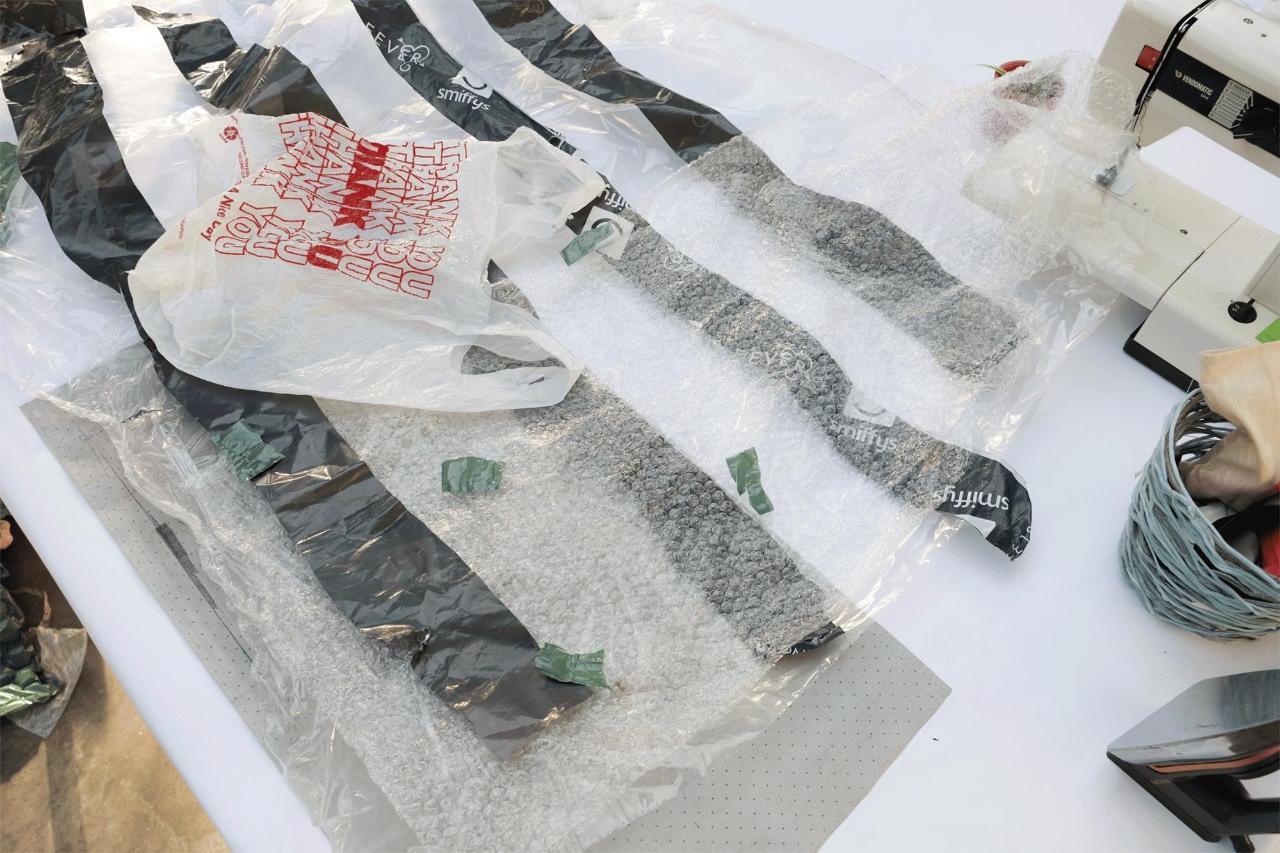
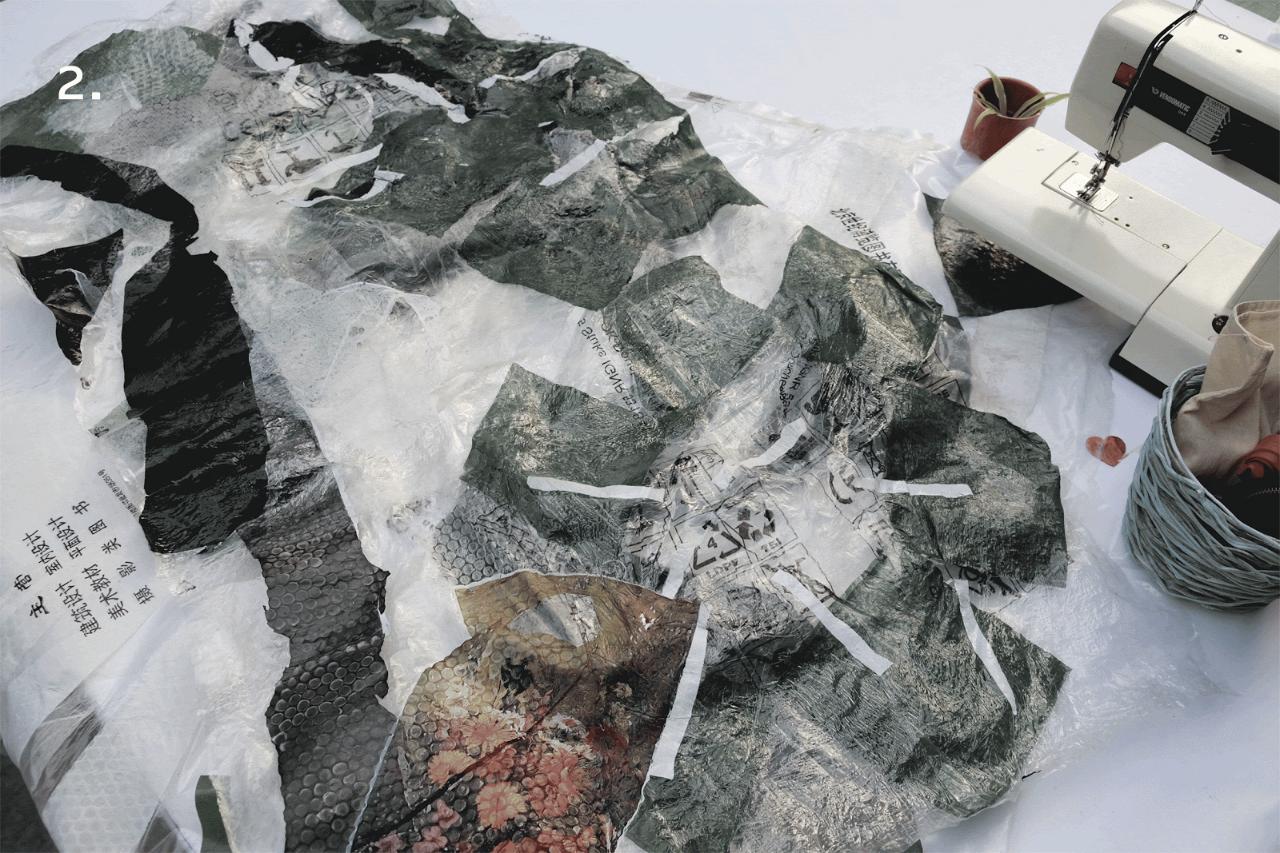
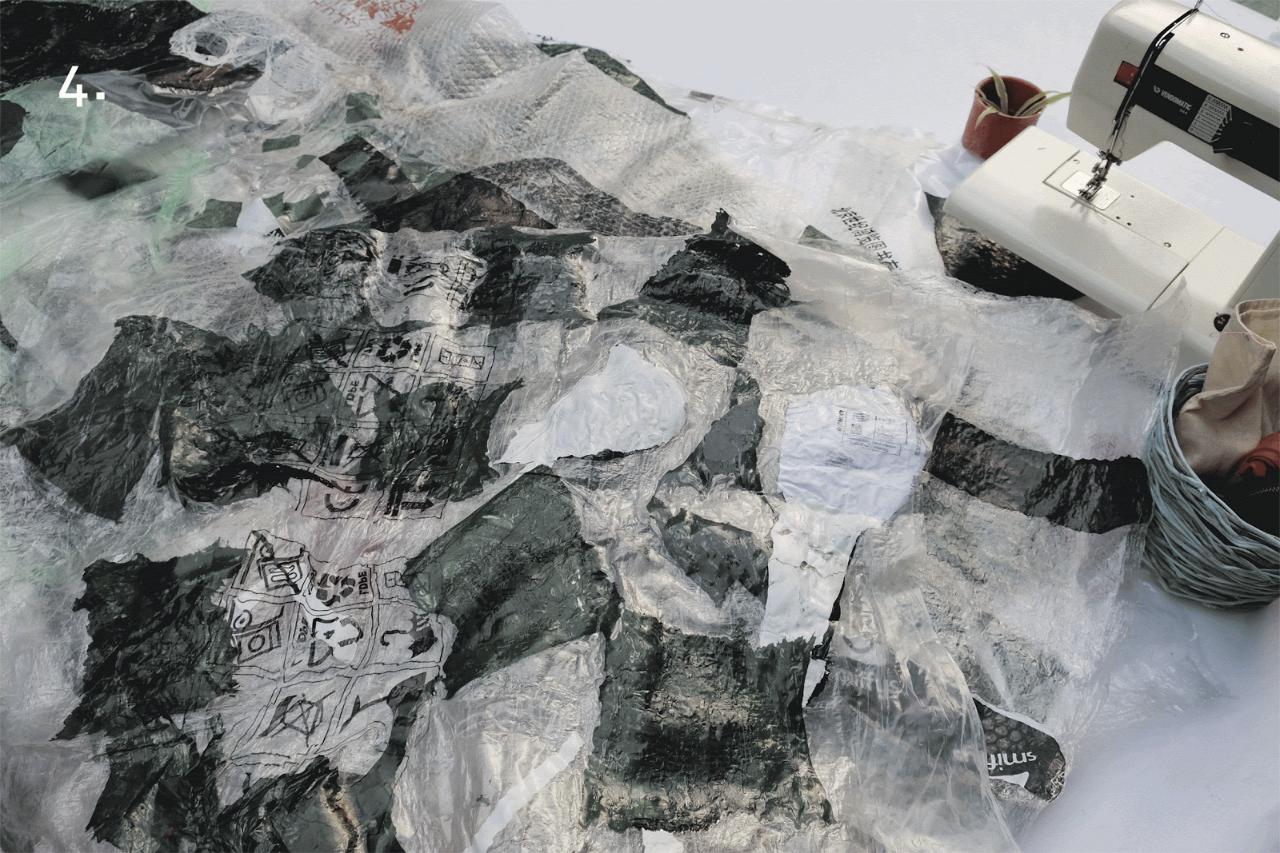
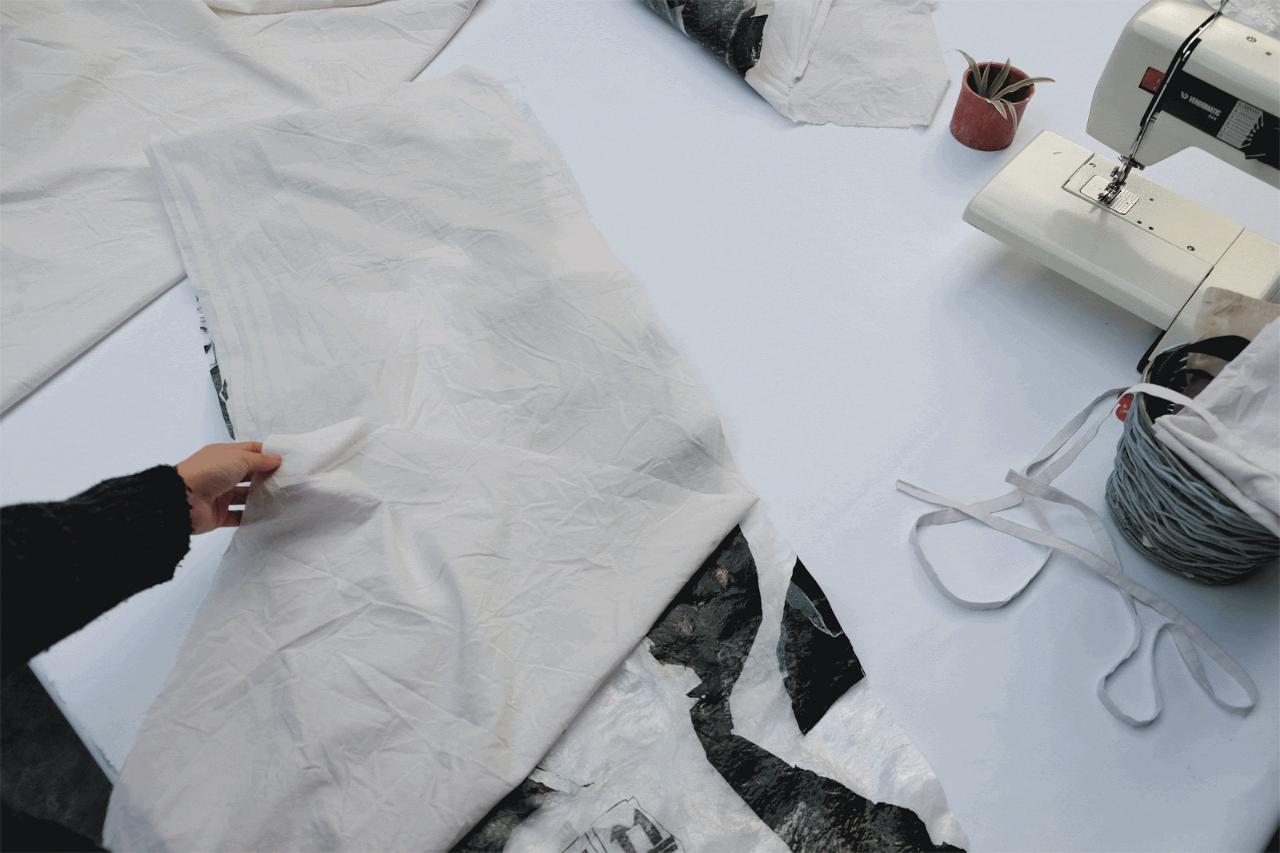
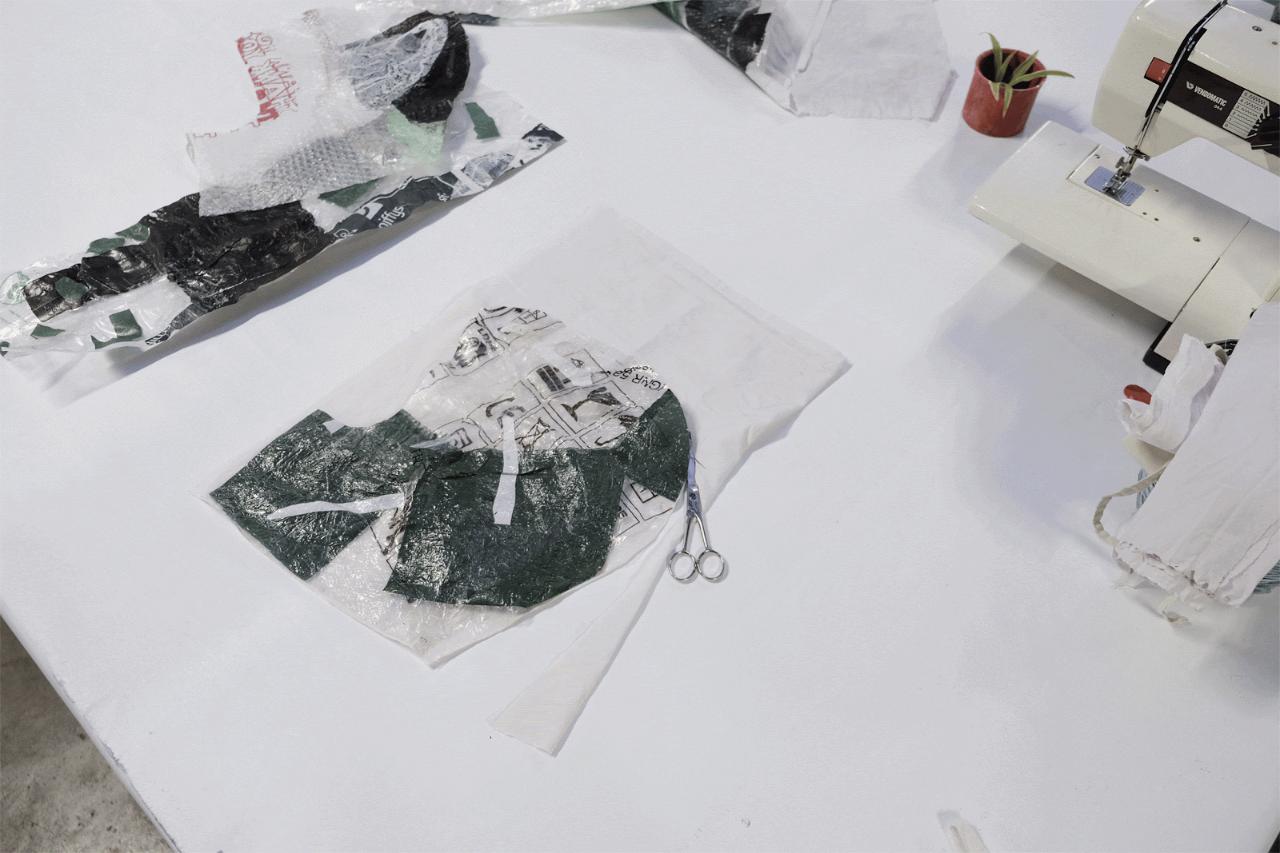
Step 5 - Create a collage with your material
Using your plastic bags and films, create a collage on top of your base sheet. This can be created however you like; from a methodical design of strips and shapes, to a more random spread of the films. This will create the design for the material that will form your finished raincoat. Reserve a little of the plastic to form a test piece (see step 6).
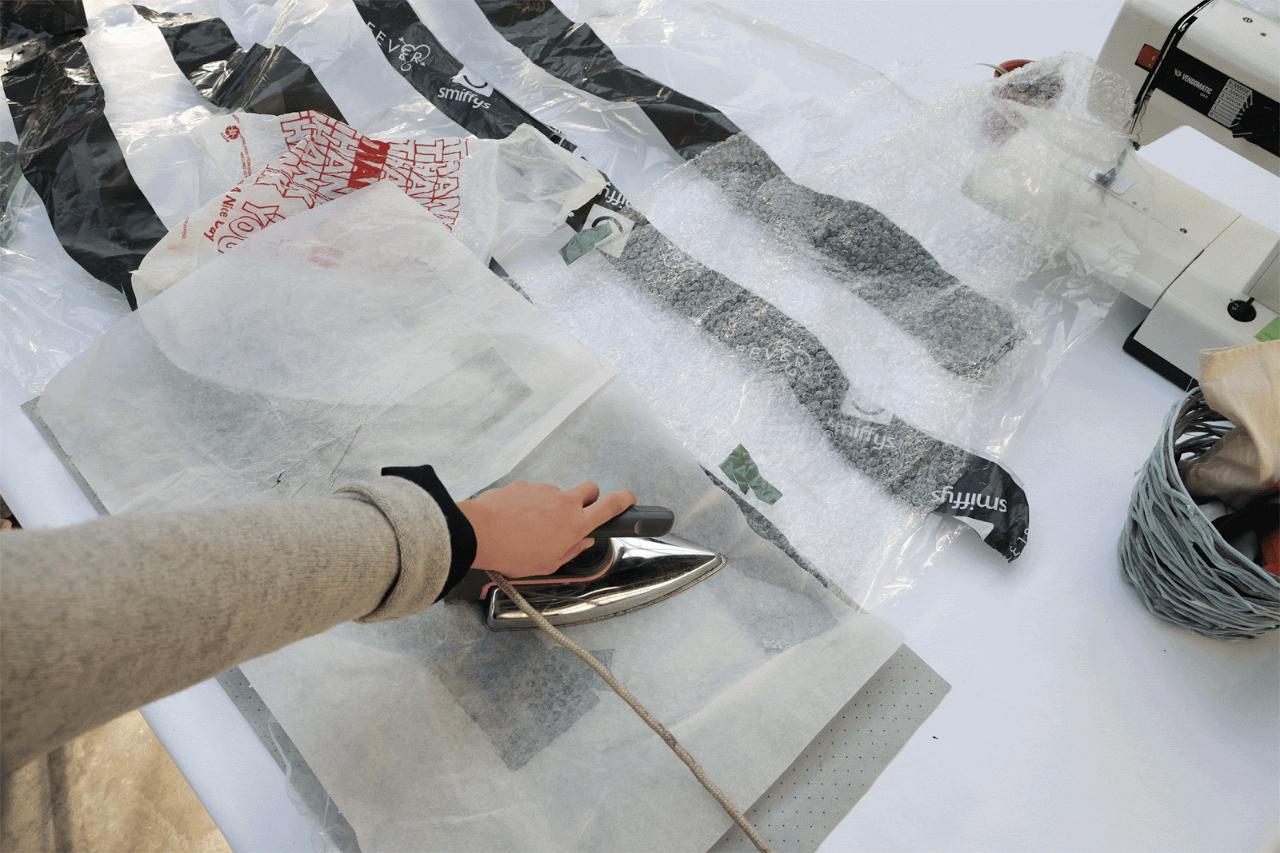
Step 6 - Try out your fusing technique
❗️Put on your respirator mask on!
Layer a few pieces of your reserved plastic one above the other, as a test sample. Turn on your iron and set to the highest temperature. (If you are using a thermo press you may need apply different temperature settings). Lay your sample piece on top of the teflon fabric, and put a piece of baking paper on top to avoid the plastic from sticking to your iron or press. Now iron the sample piece to see how the material fuses together.
Layer a few pieces of your reserved plastic one above the other, as a test sample. Turn on your iron and set to the highest temperature. (If you are using a thermo press you may need apply different temperature settings). Lay your sample piece on top of the teflon fabric, and put a piece of baking paper on top to avoid the plastic from sticking to your iron or press. Now iron the sample piece to see how the material fuses together.
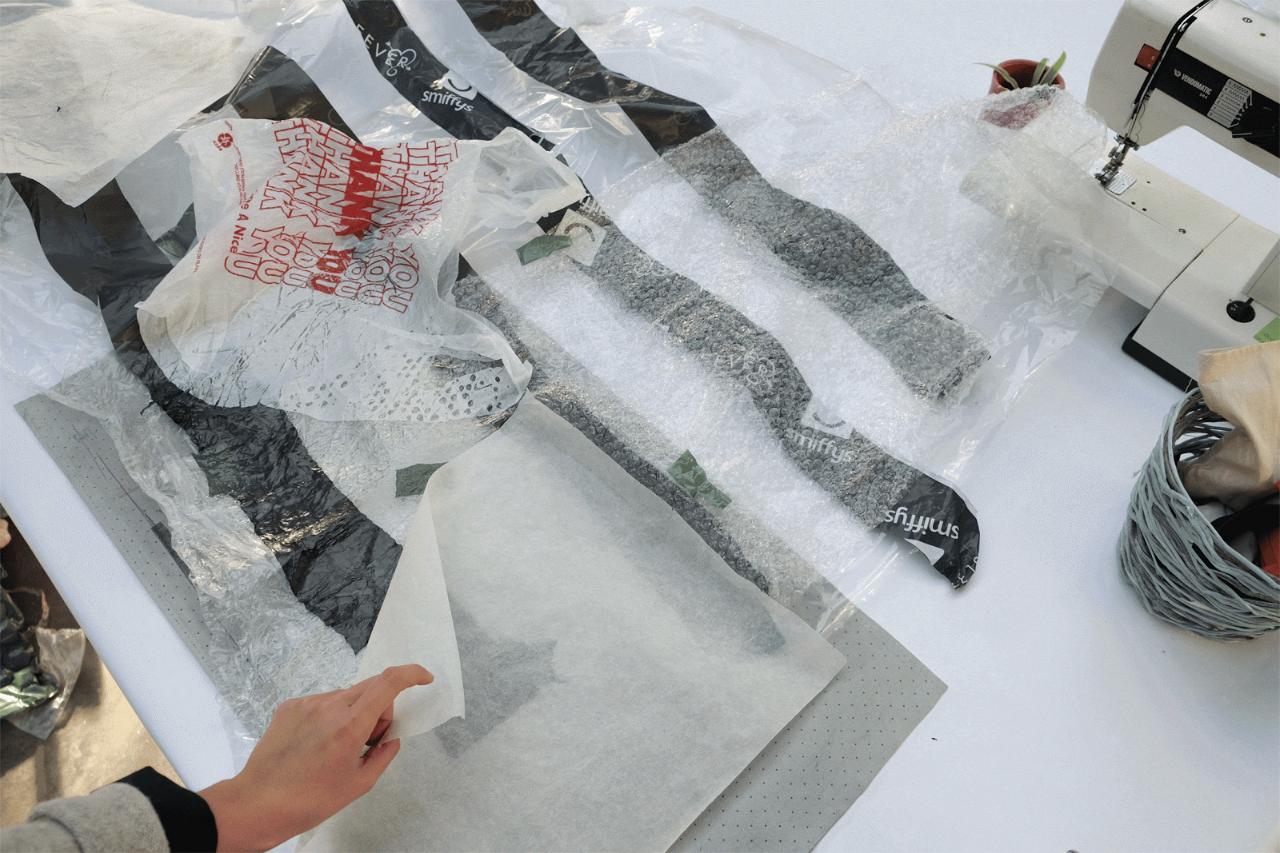
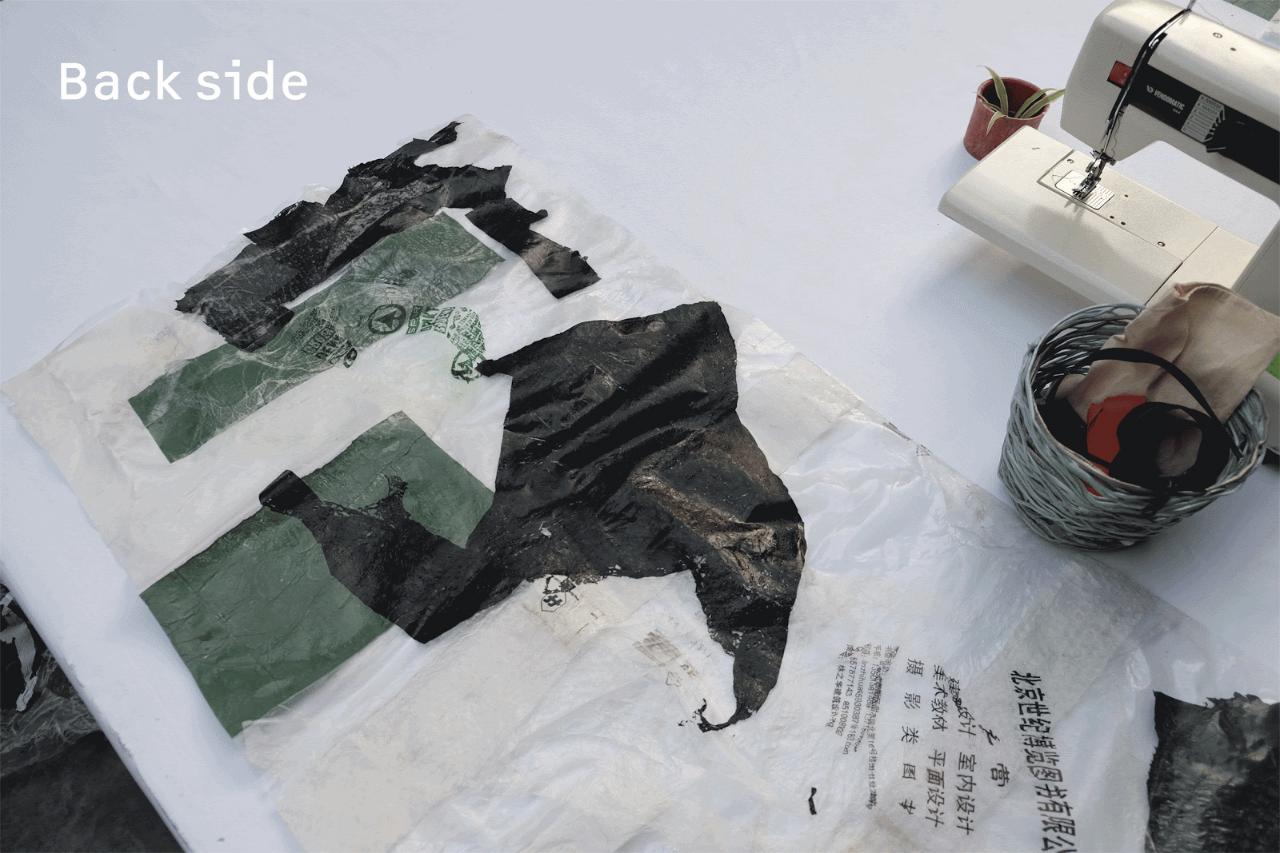
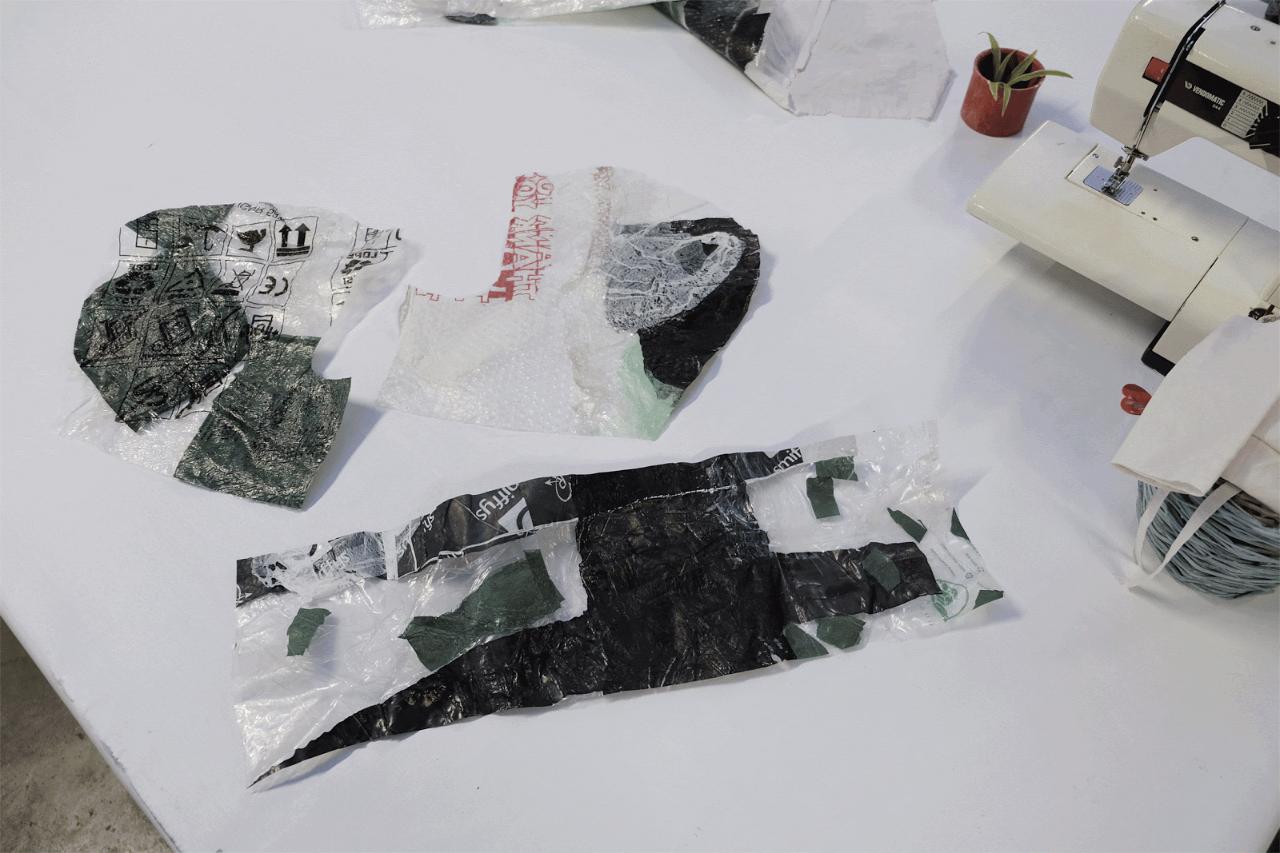
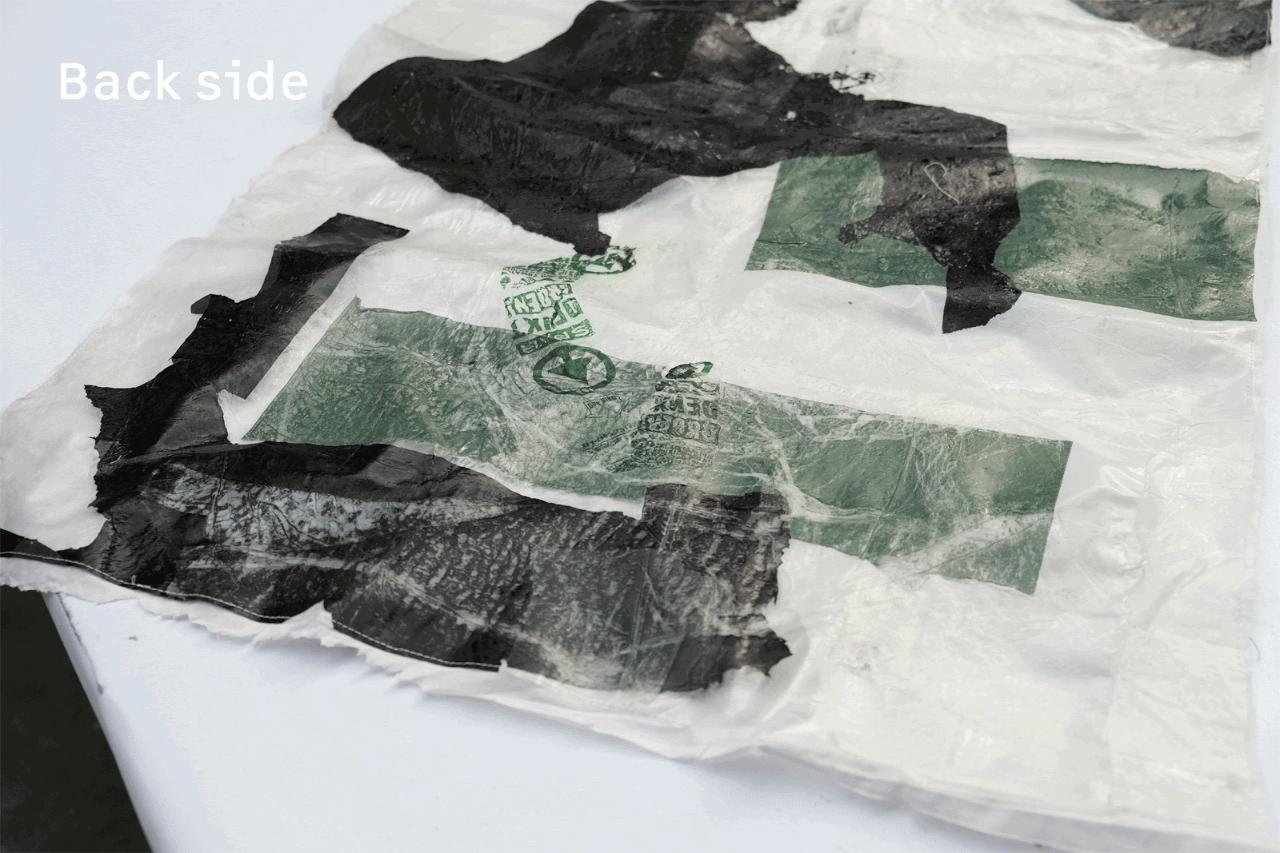
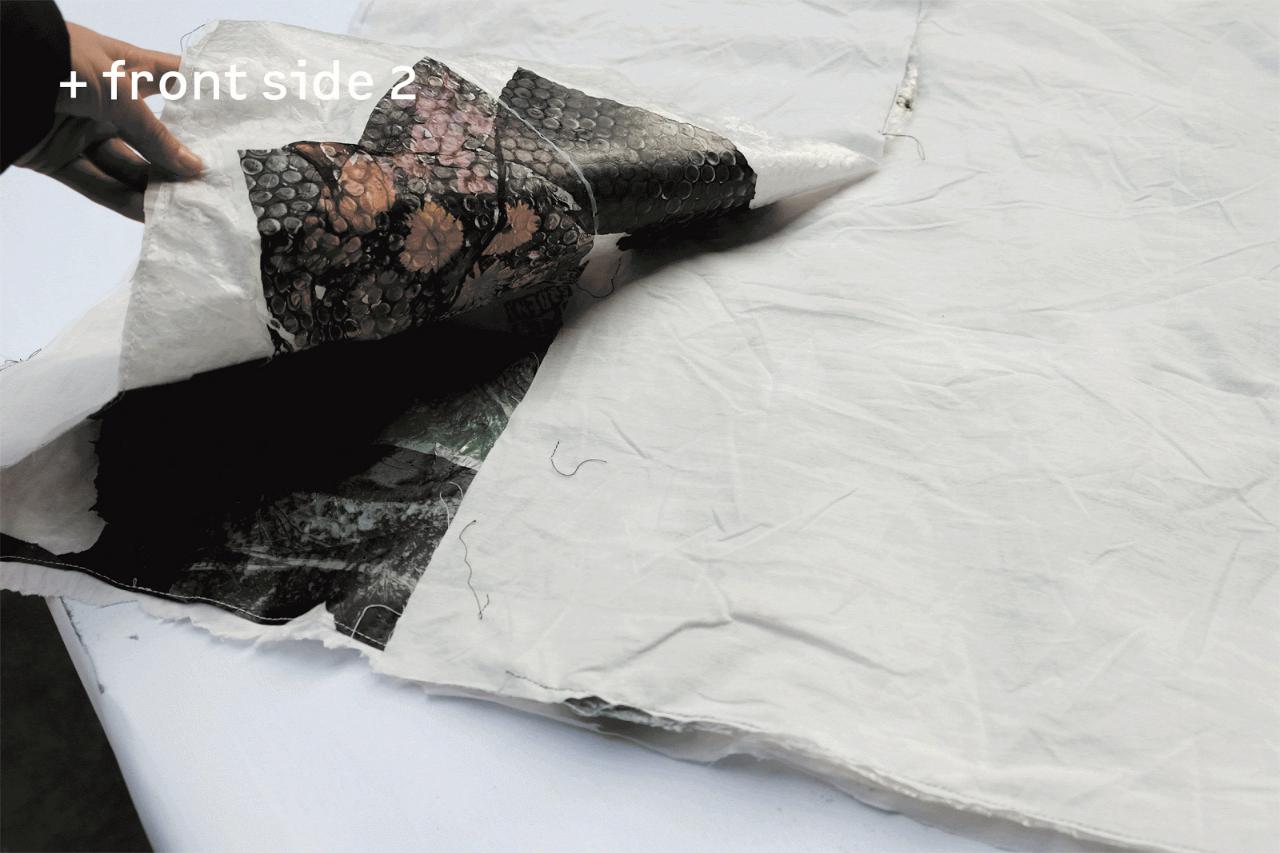
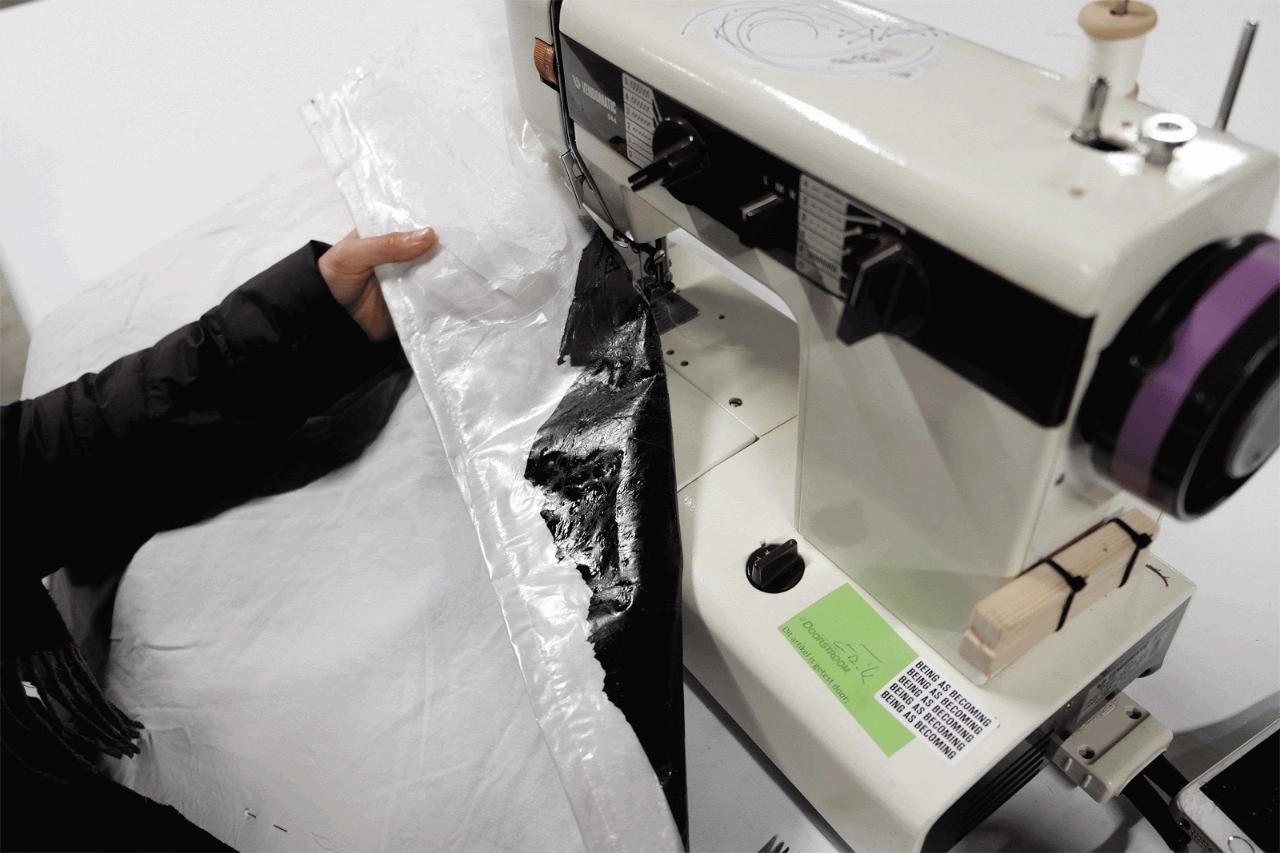
Step 7 - Make your fused sheet
Once you are comfortable with your tests, go ahead and fuse together your big sheets, remembering to use teflon fabric below, and your baking parchment paper as an ironing surface above. You will need to make at least four big sheets, around 70cm x 170cm.
💡 Fix holes: Once complete, look over your fused plastic sheets and find any holes or parts which are not fully melted or secure. You can fix these now with your iron/press and any scraps of plastic that you have left, but be very careful not to deconstruct the material when heating the sheets again.
💡 Fix holes: Once complete, look over your fused plastic sheets and find any holes or parts which are not fully melted or secure. You can fix these now with your iron/press and any scraps of plastic that you have left, but be very careful not to deconstruct the material when heating the sheets again.

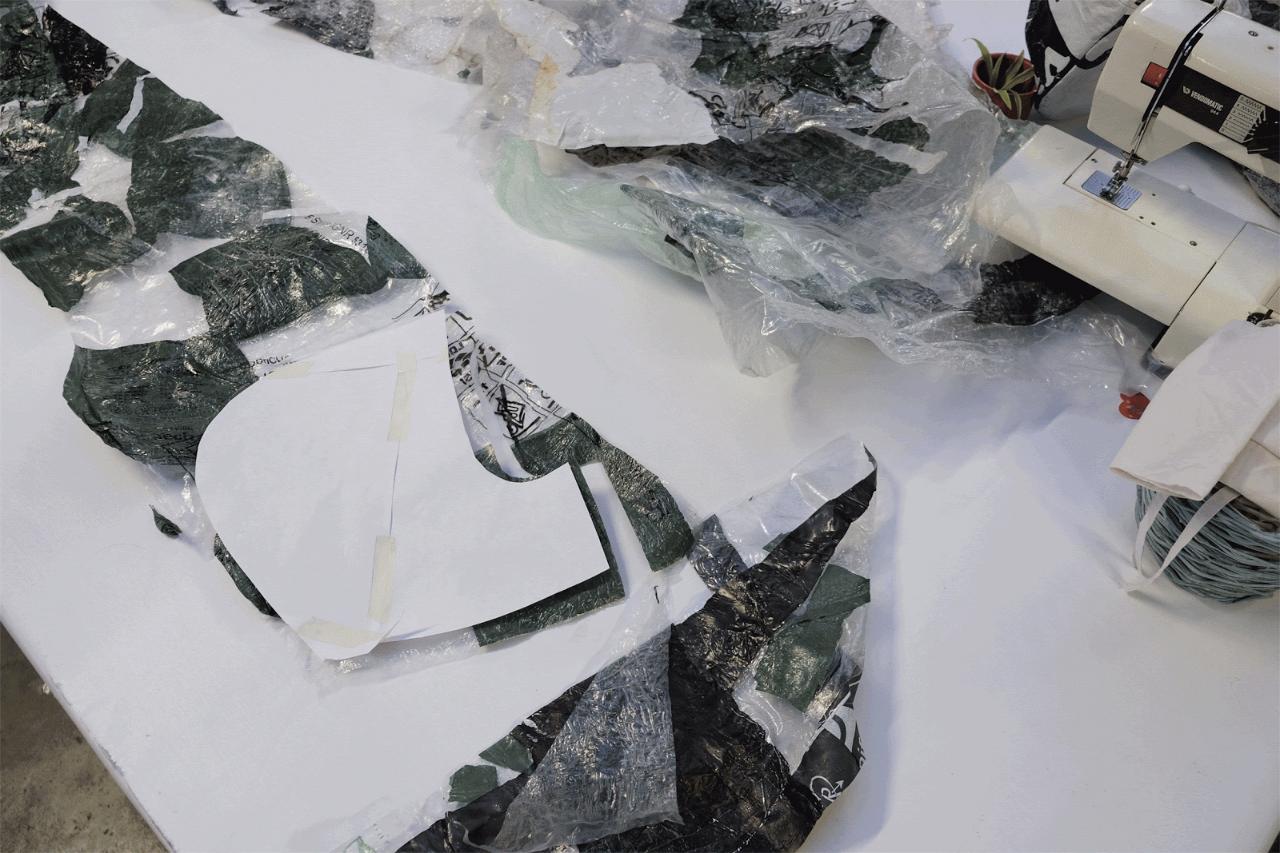
Step 8 - Finalise your measurements
Come back to the template that we used in step 2. Apply your measurements to the following template, and decide on a size for measurement (F), the diameters of the hood. You can decide on this by drawing and cutting the hood construction pieces first with paper, and finding a desired size.
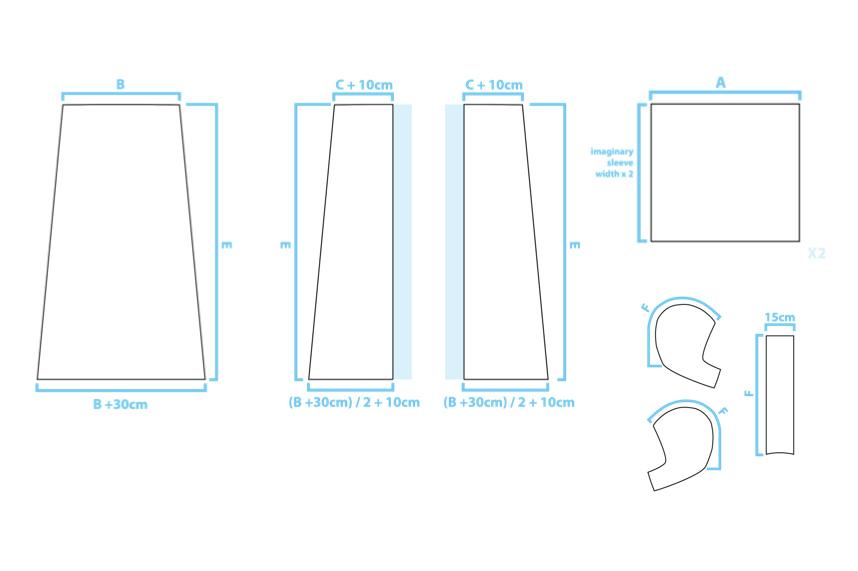
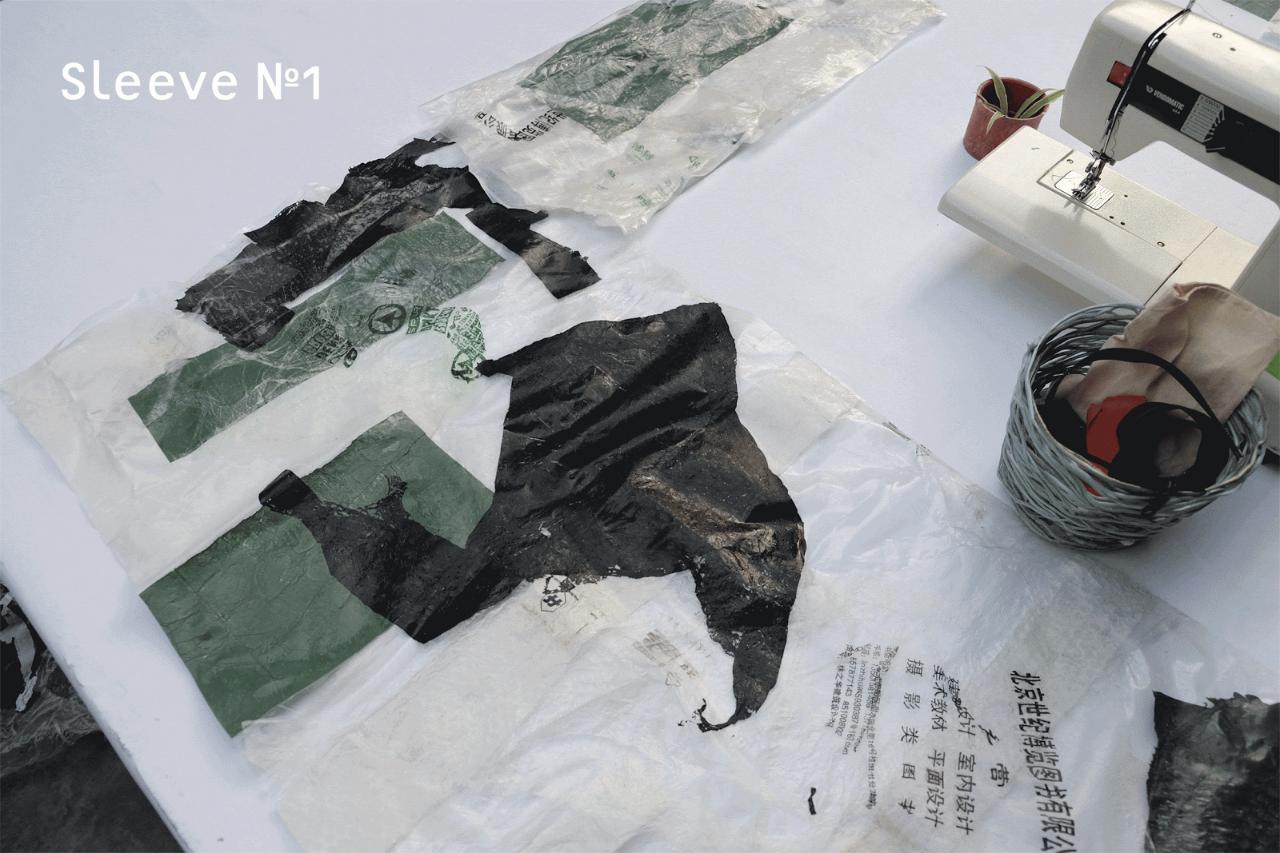
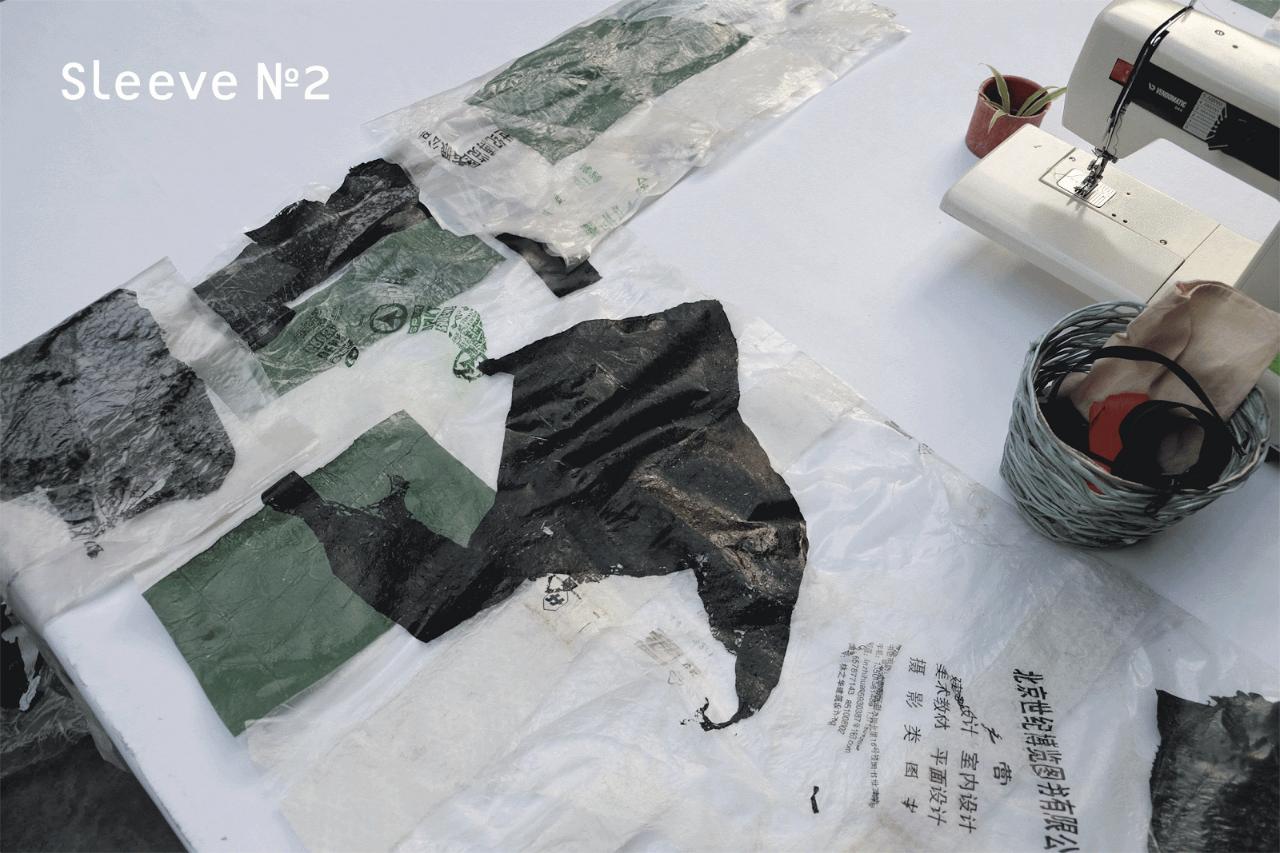
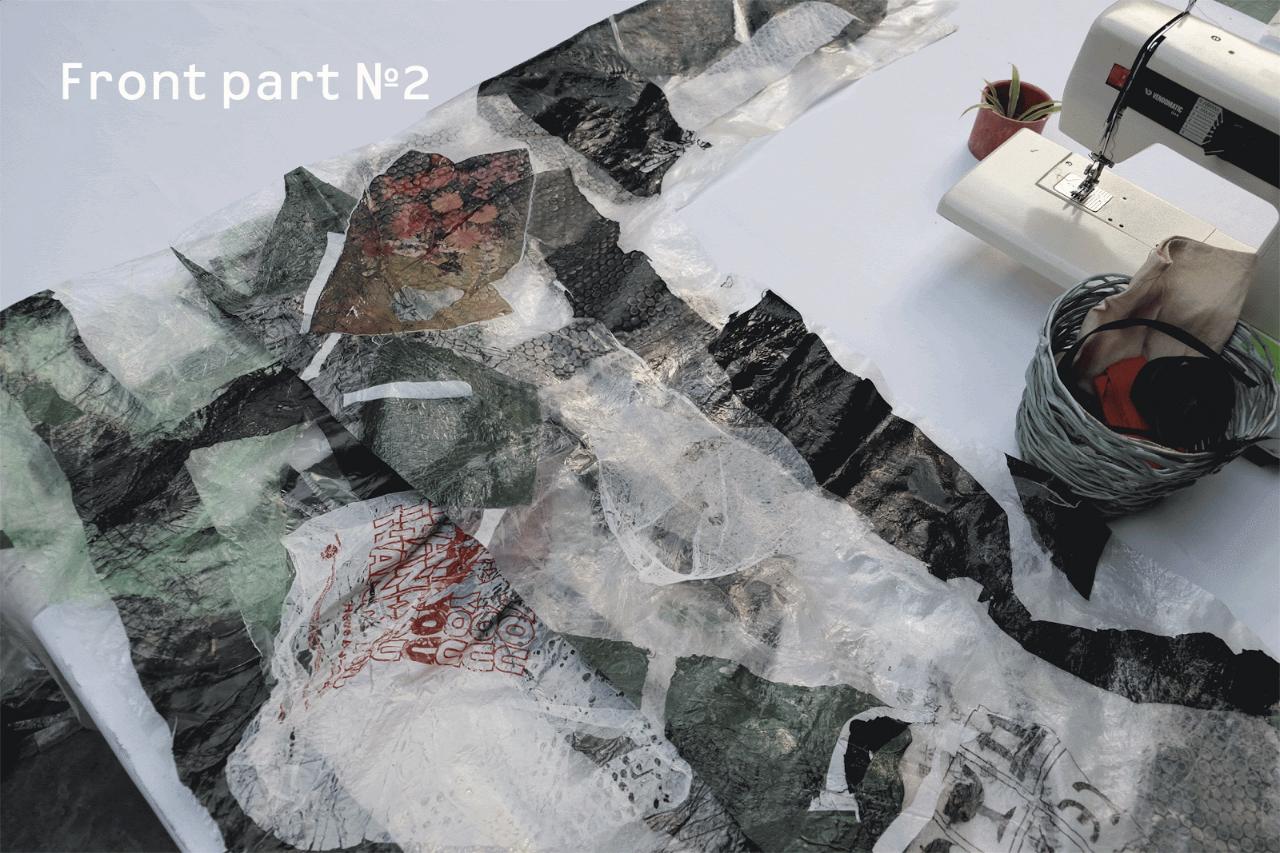
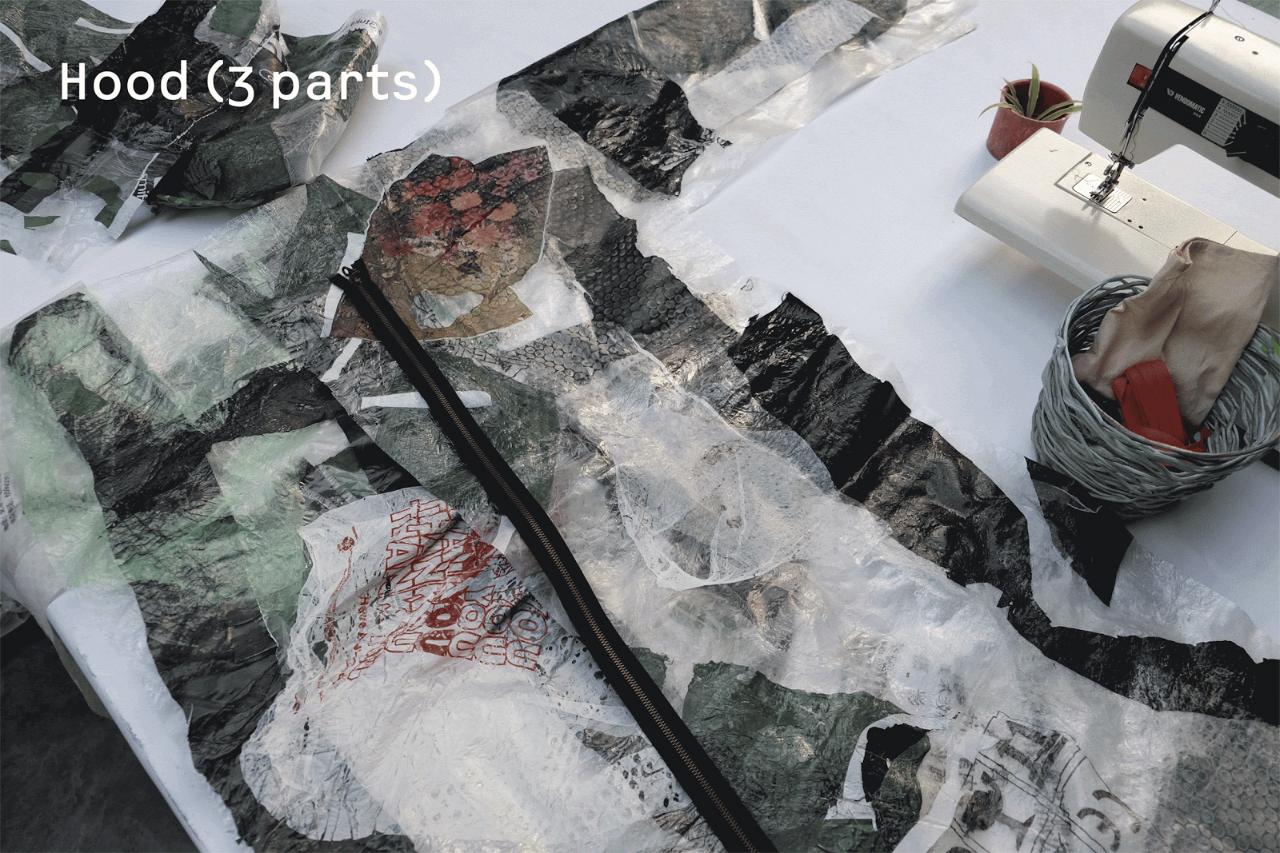
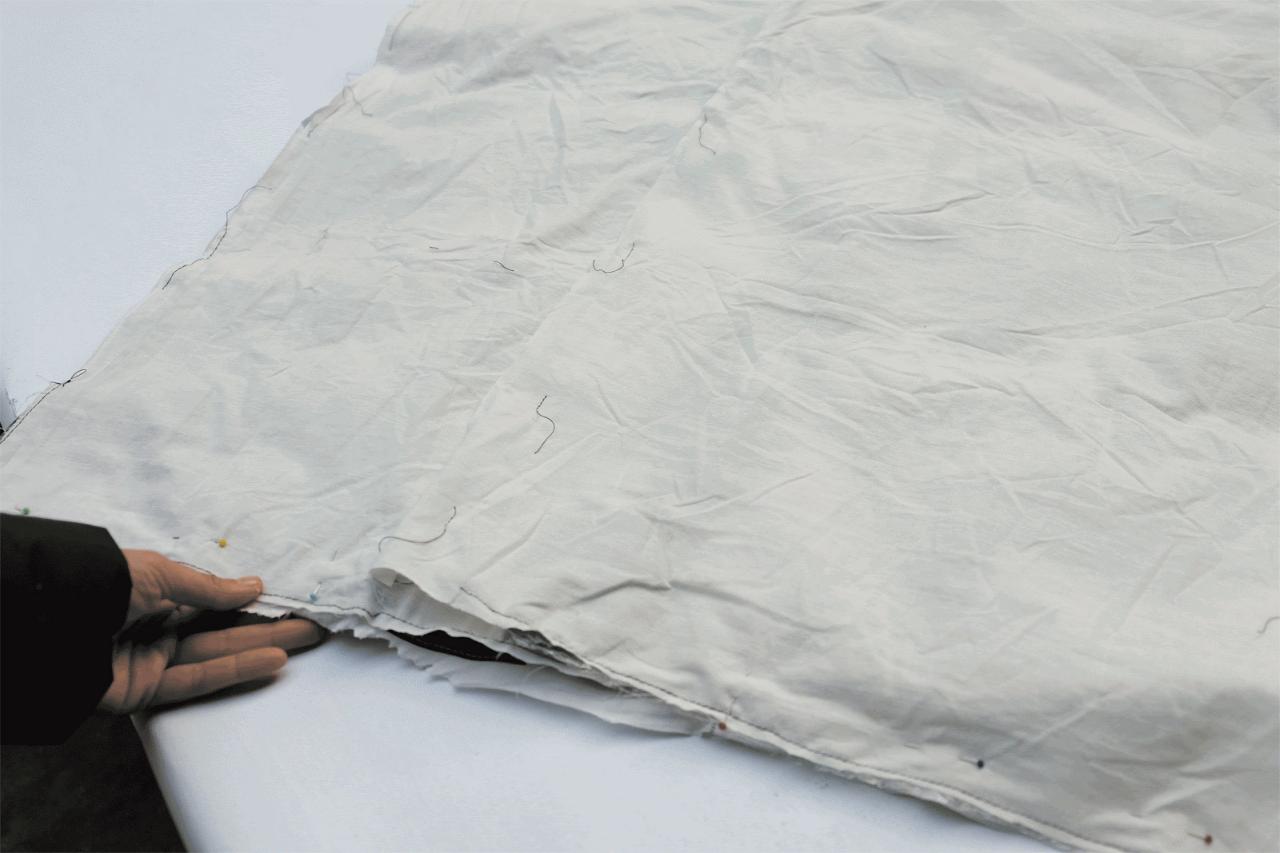
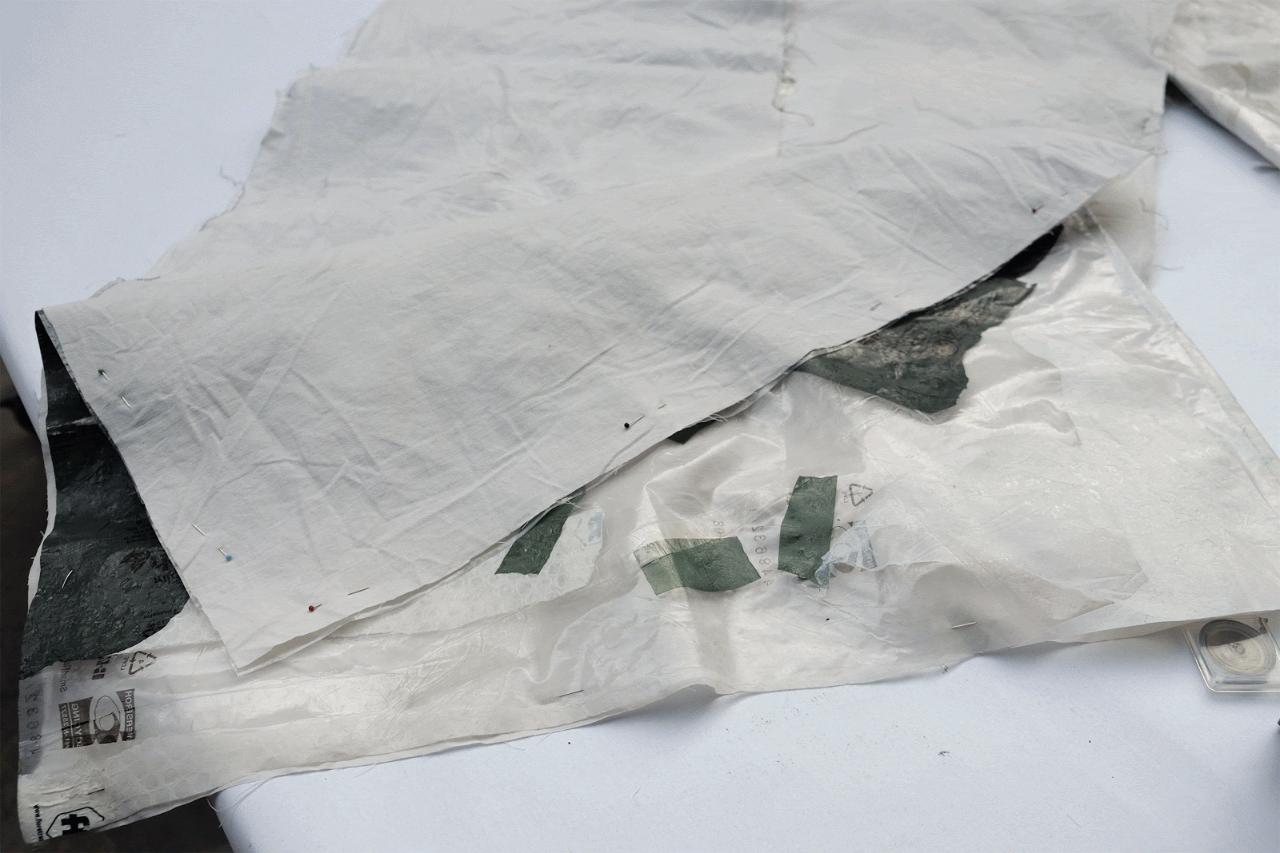
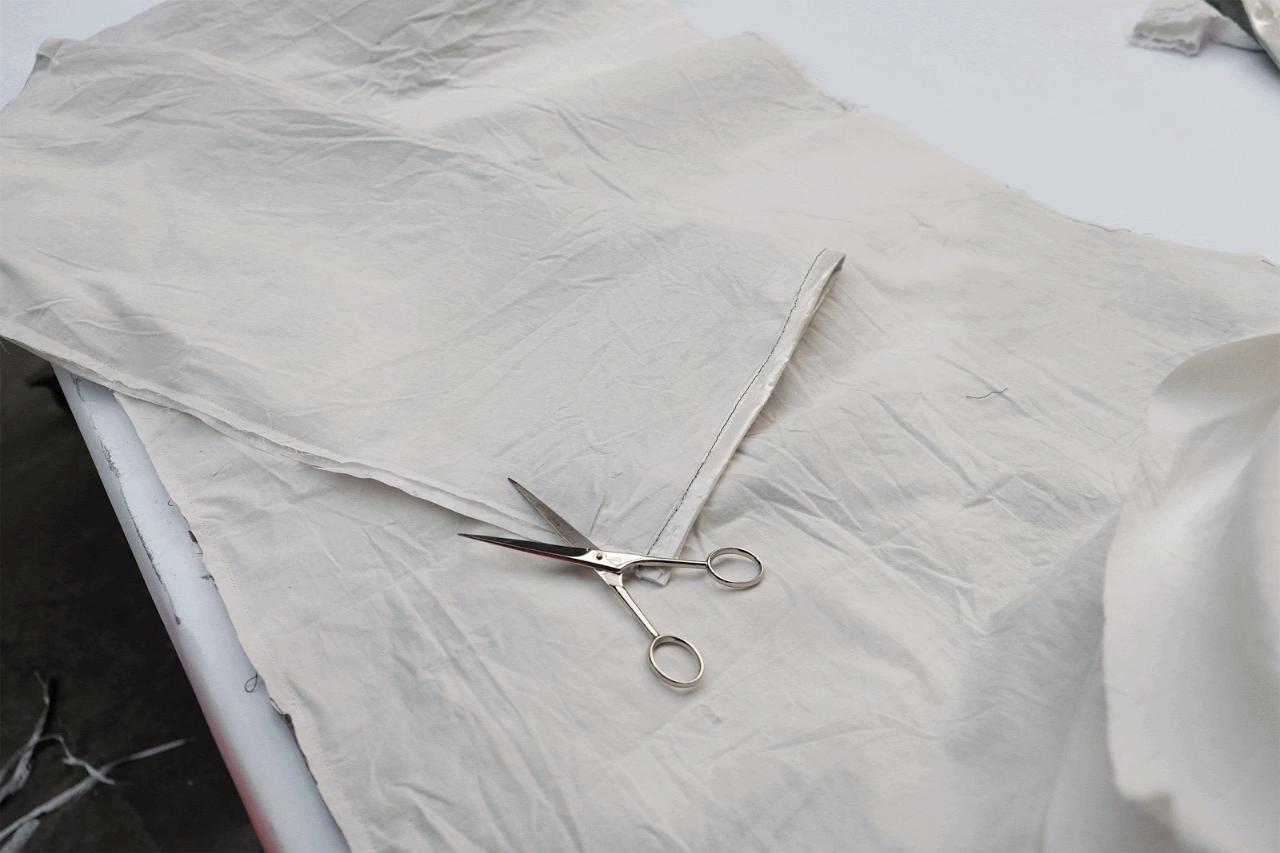
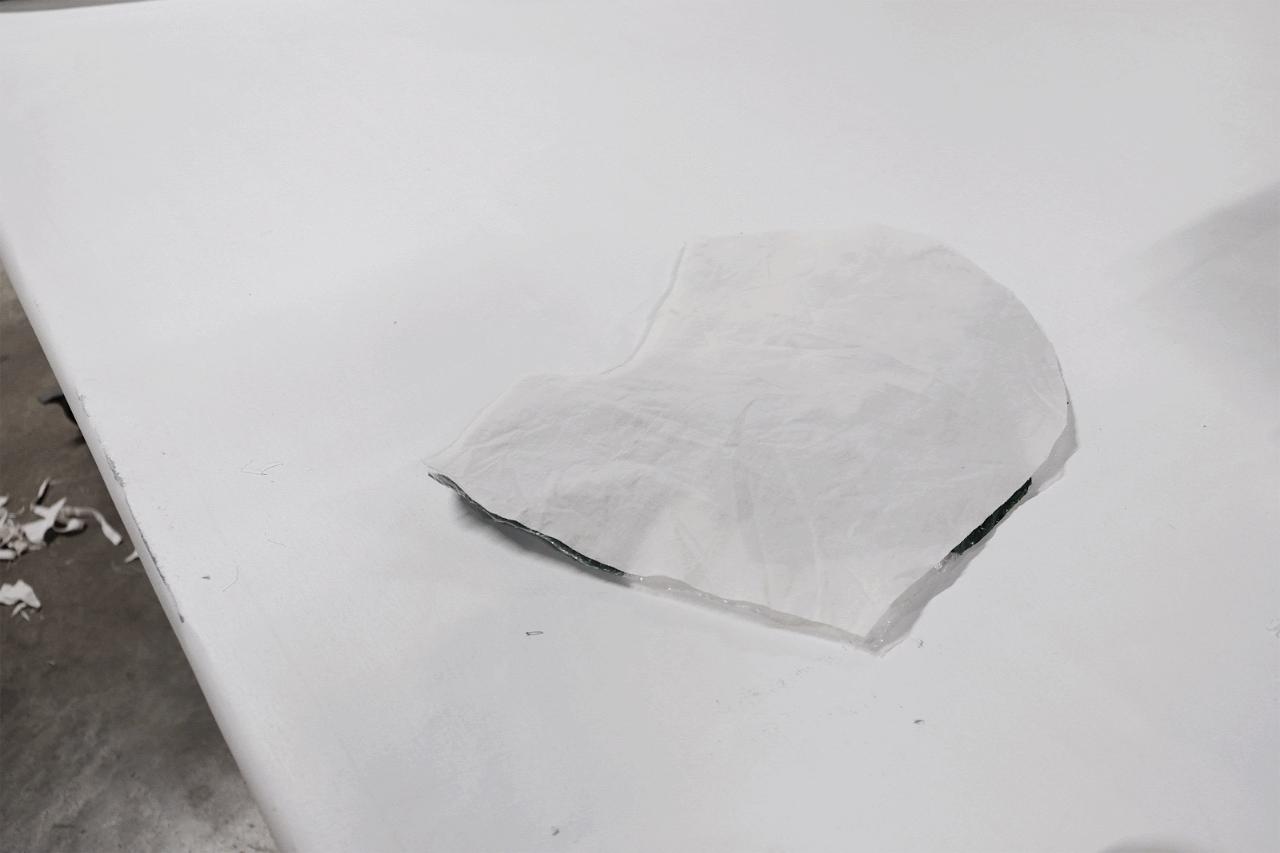
Step 9 - Cut the materials
From your fused sheets you will now need to cut the template pieces (see step 8) for the construction of your raincoat. 1 back piece, 2 front pieces, 2x sleeves, and 3 parts for the hood. Add 2cm on the sides of each piece to allow room for sewing. If you are lacking material to cut the template, you may need to extend one or more of your sheets.
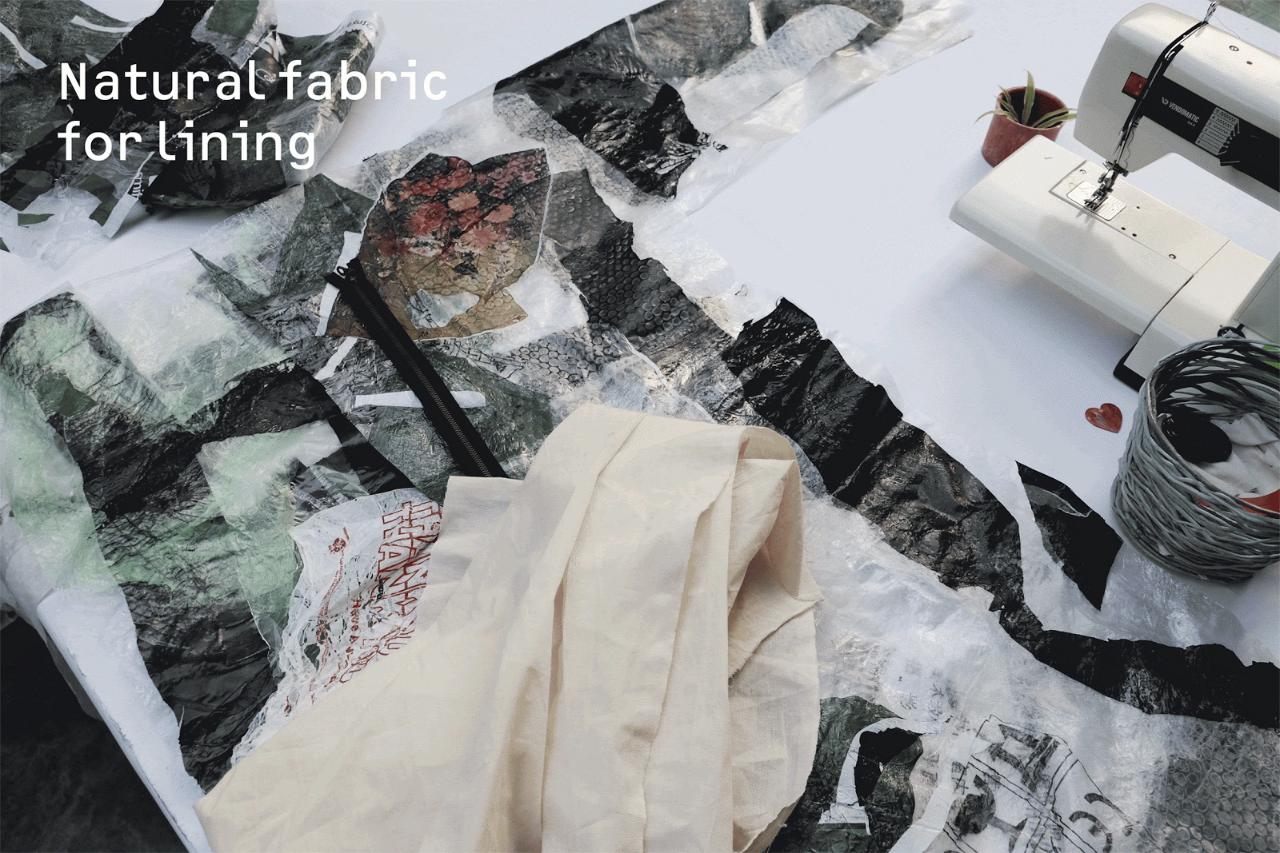
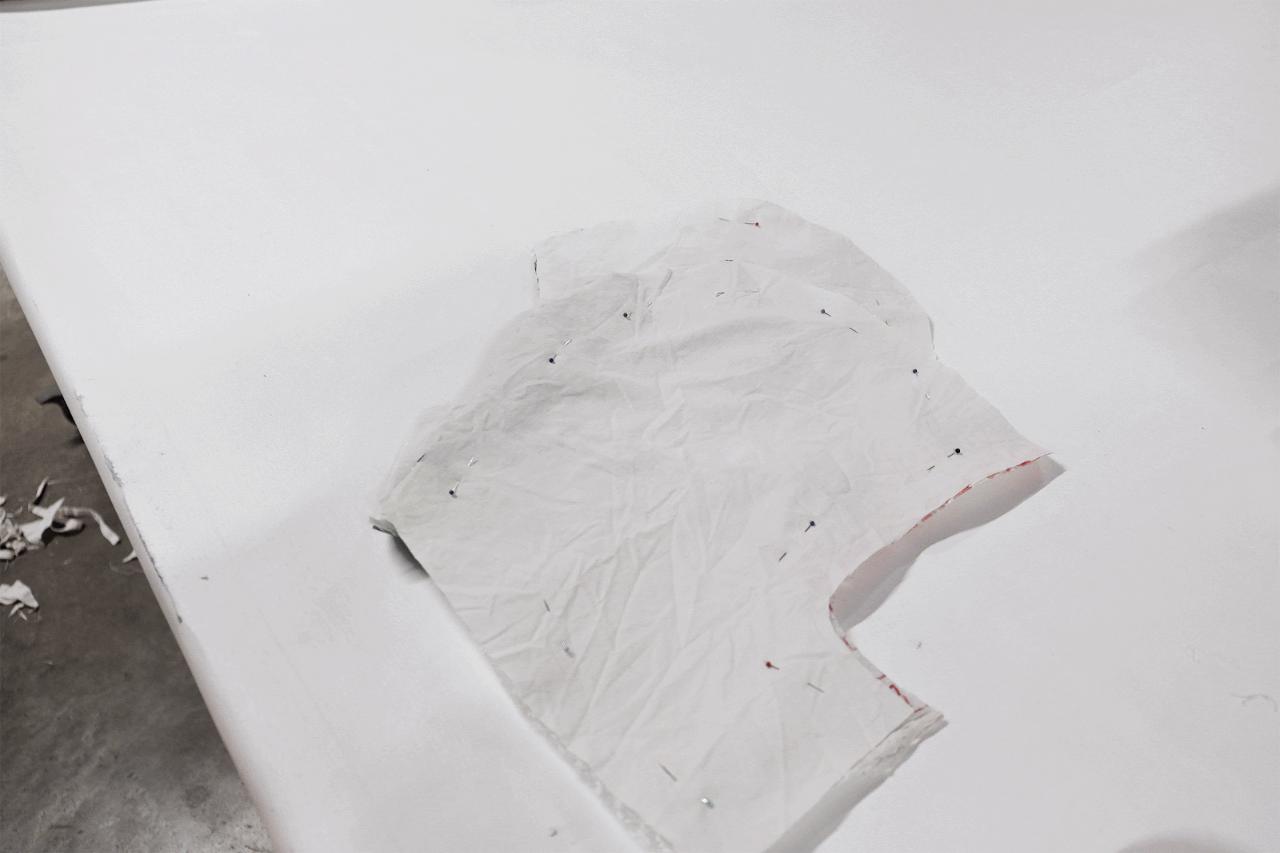
After doing this, cut the same template again from your cotton (again allowing 2cm on every side). This will form the lining of the raincoat.
After doing this, cut the same template again from your cotton (again allowing 2cm on every side). This will form the lining of the raincoat.


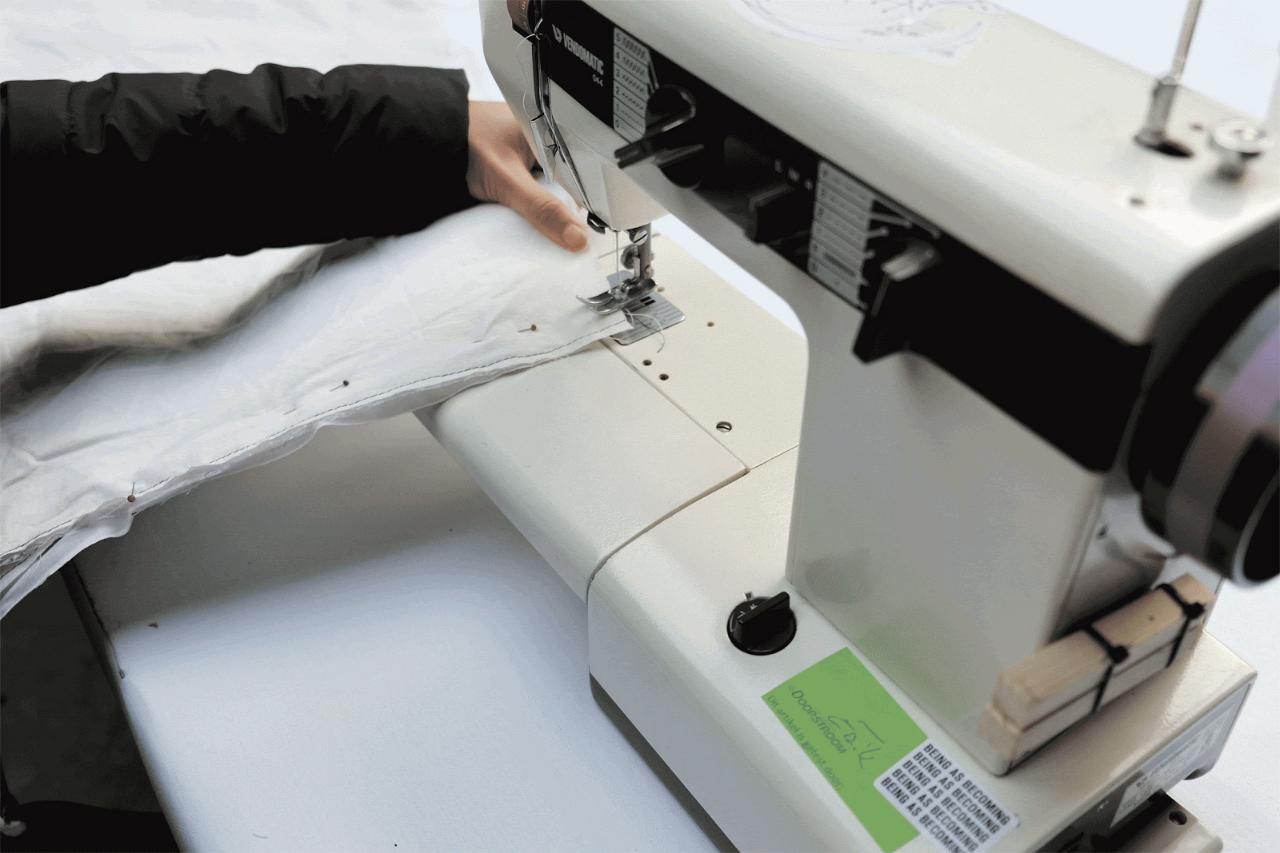
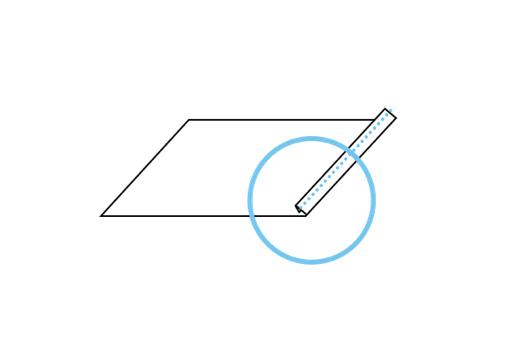
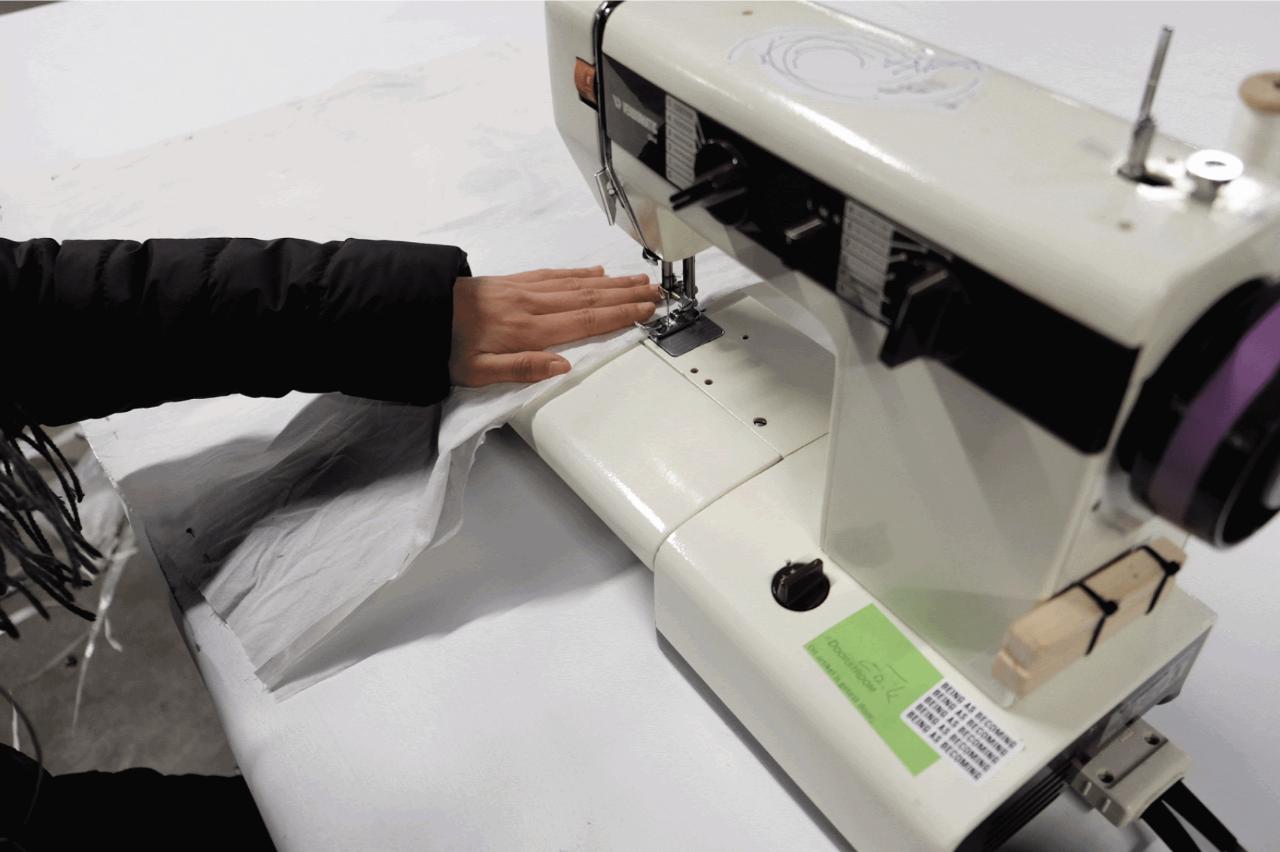
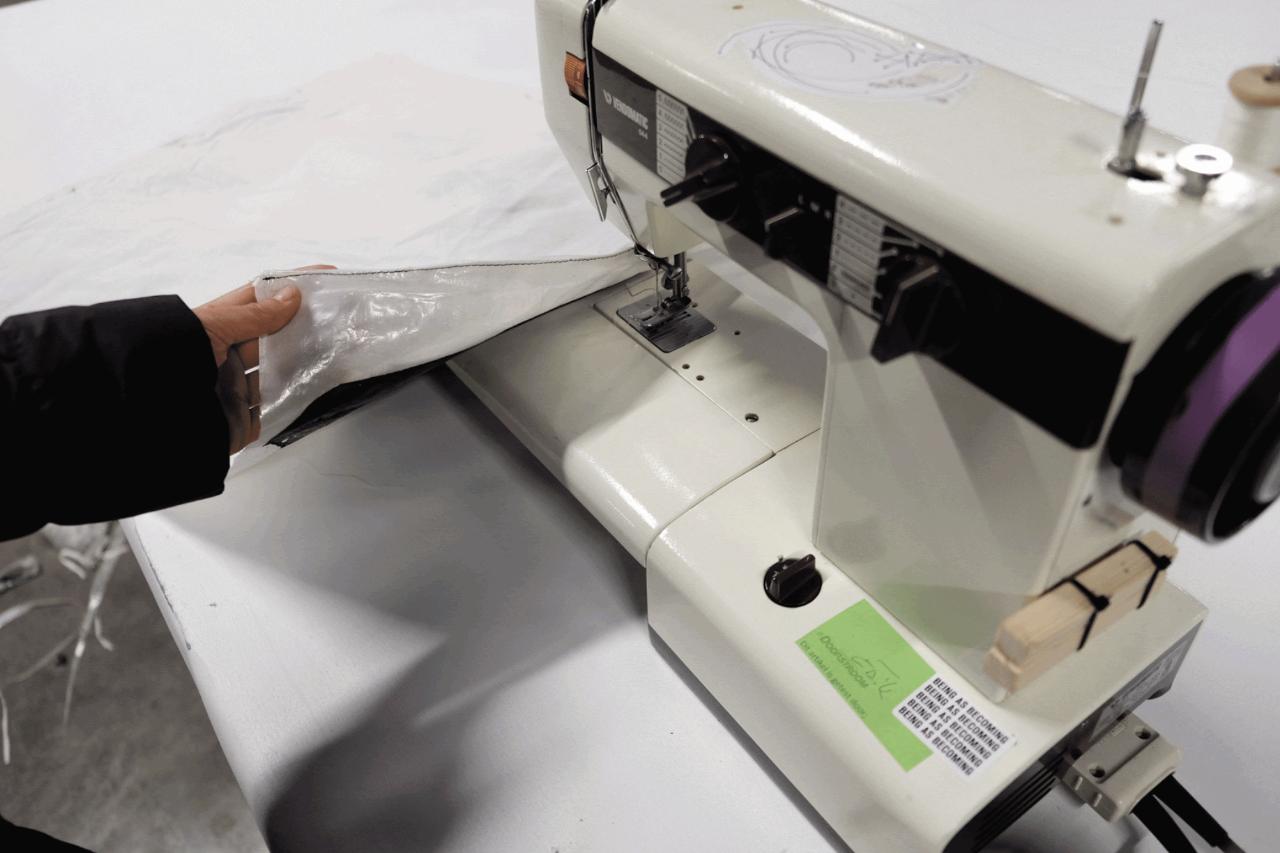
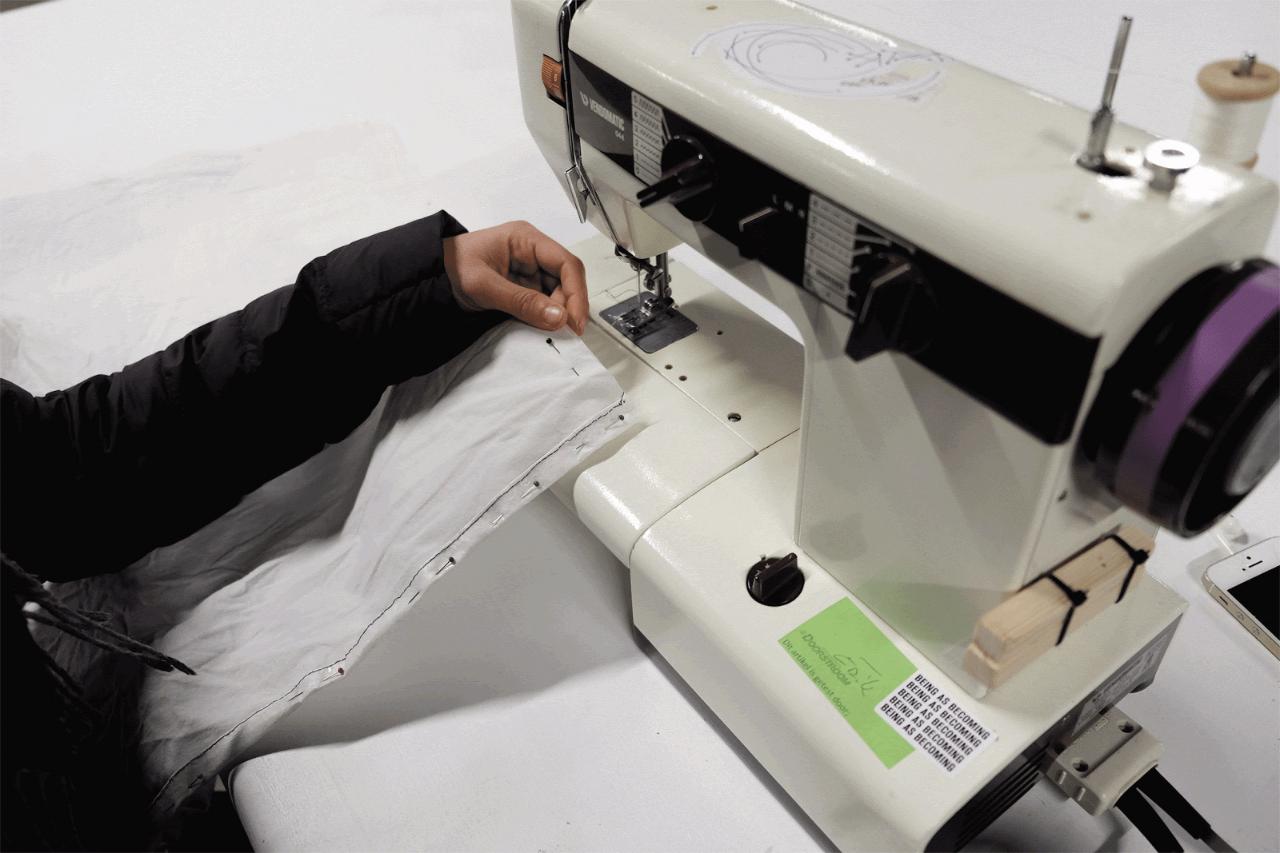
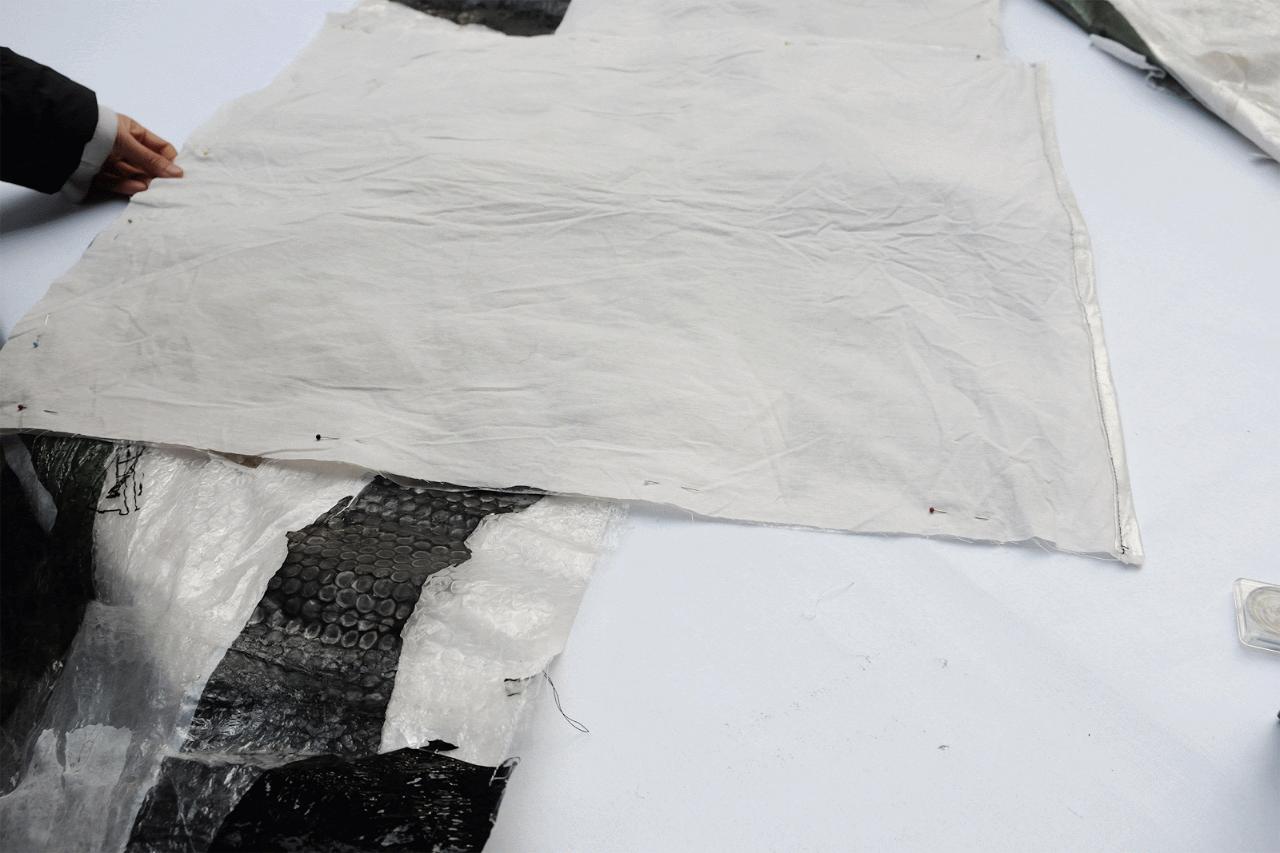
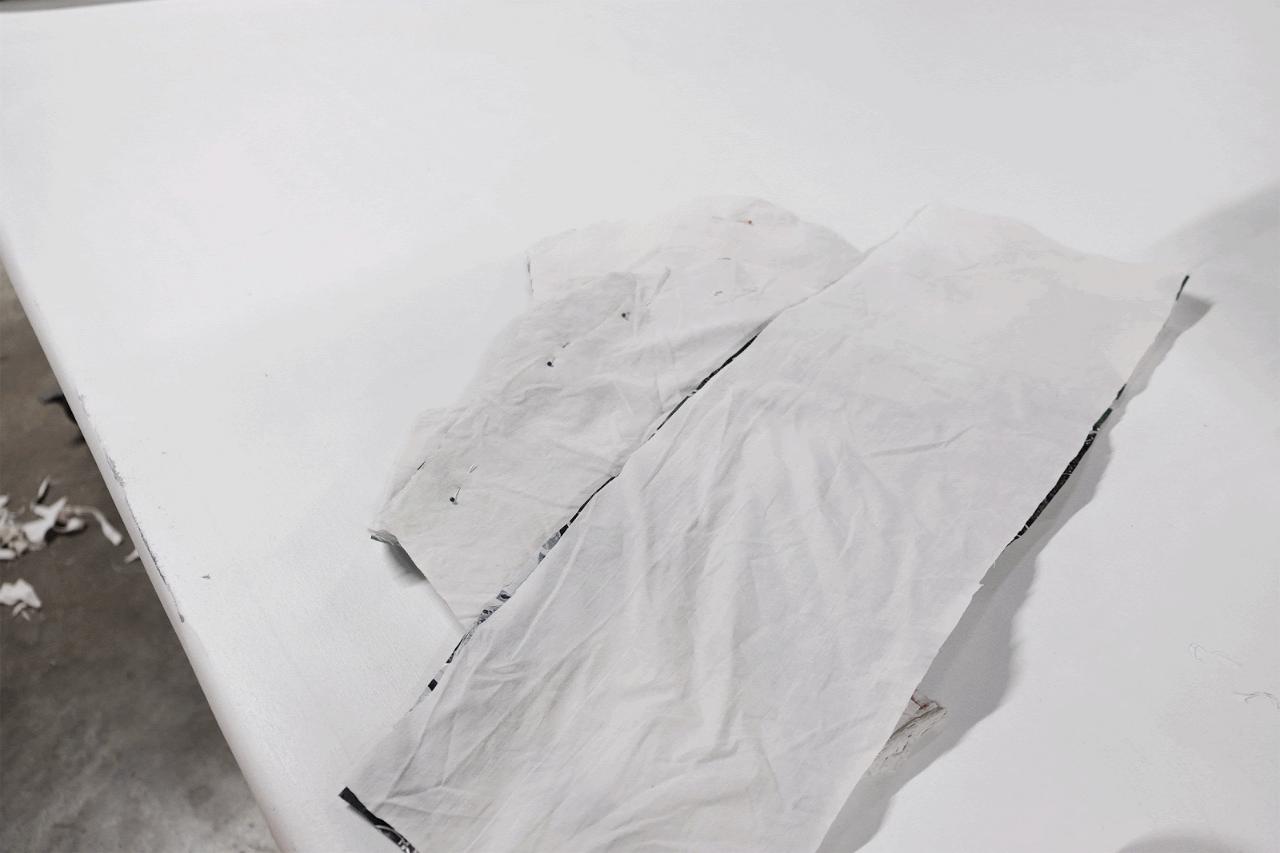
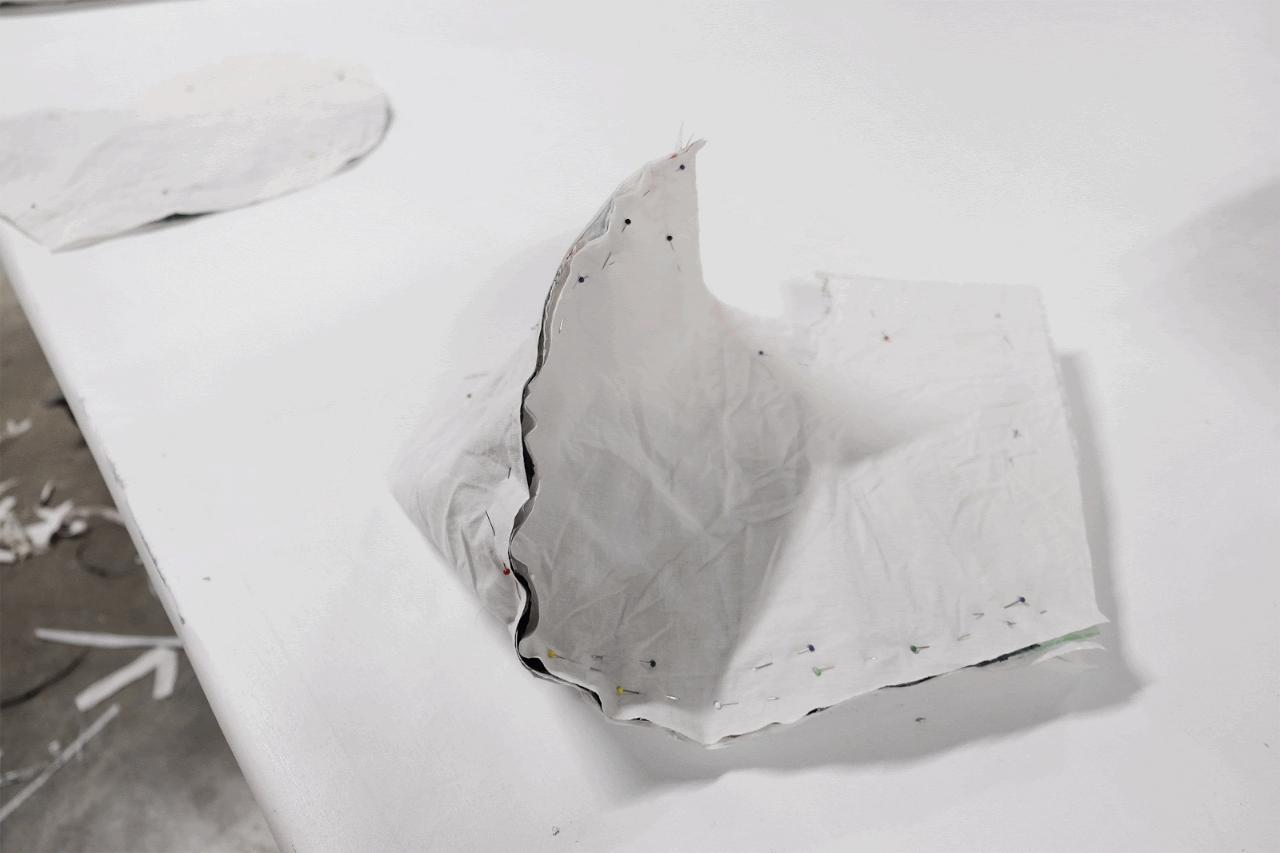
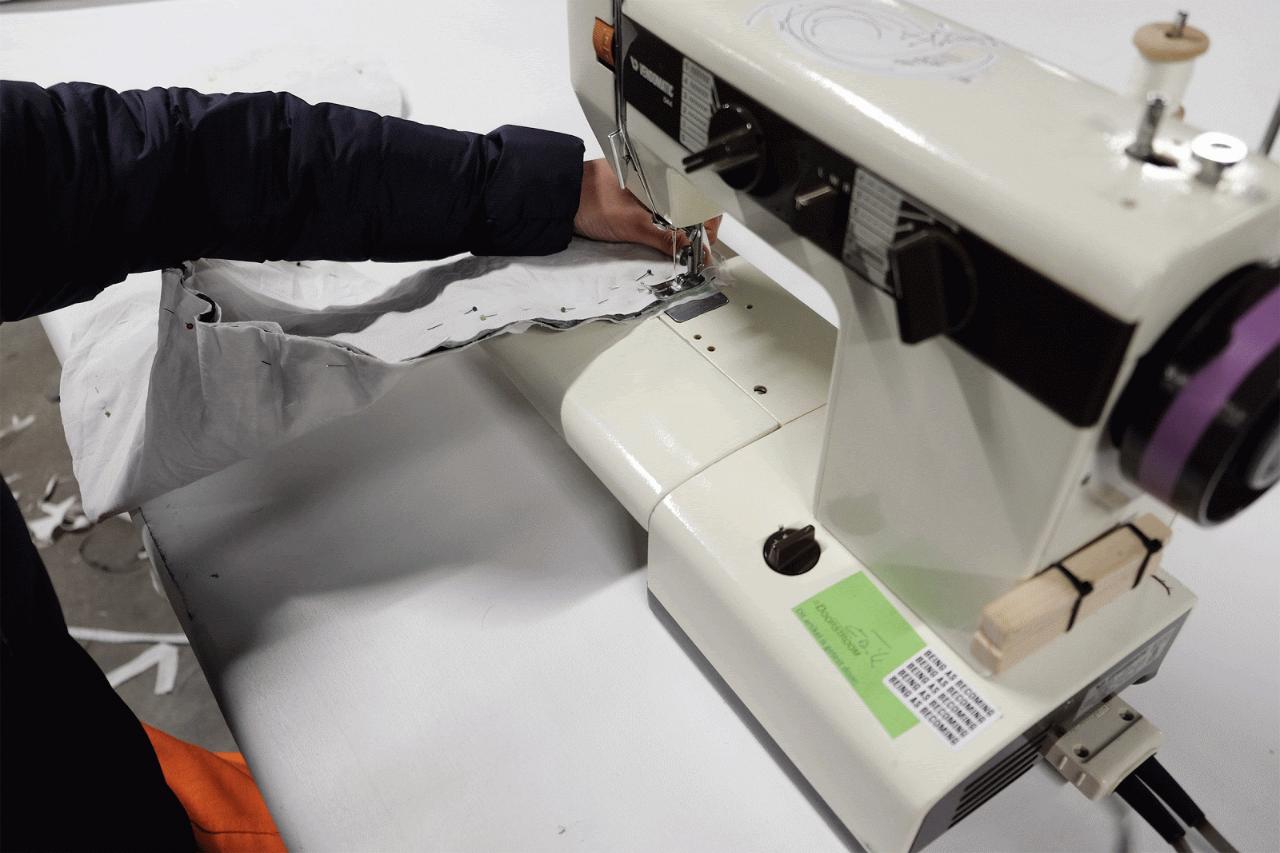
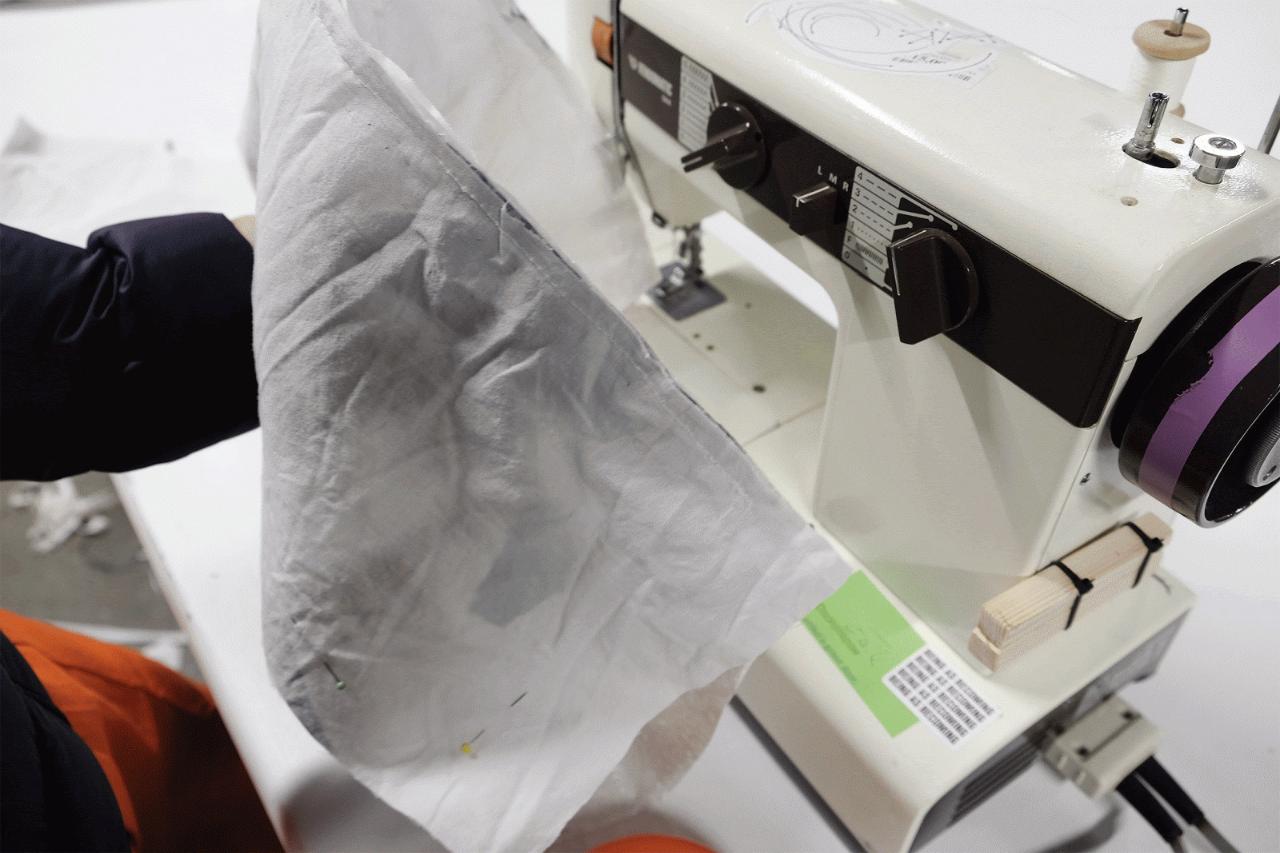
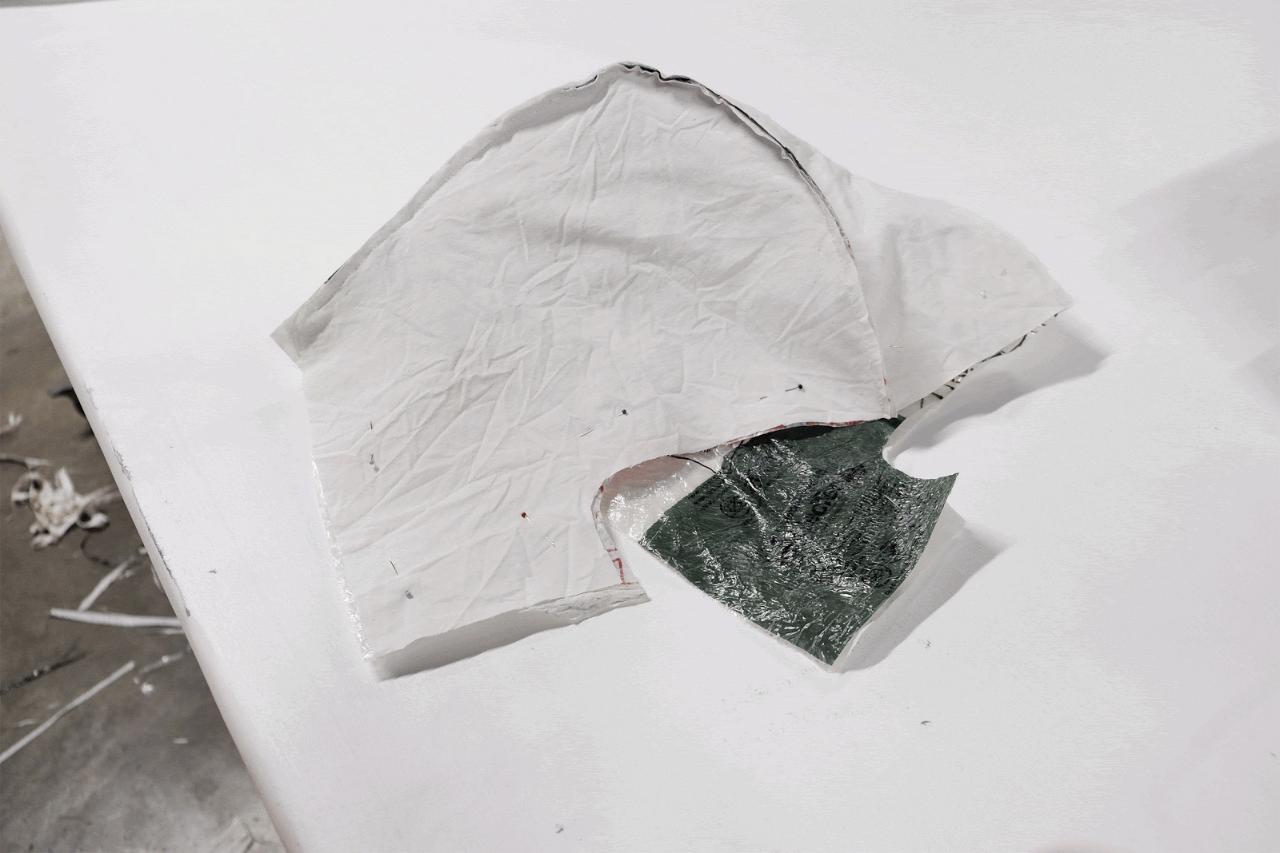
Step 10 - Sew the outer and lining together
Using your cut plastic sheets, and the matching cotton pieces, sew the two templates together so that the outer and lining are attached to one another. This will help the process of further working with the material, and make it easier to create your raincoat.
Step 11 - Construct the shoulders
The construction of the jacket should start with the shoulders. Sew together your back and two front pieces (see step 8), as shown in the image below. Make sure to leave enough space for the attachment of the hood! This is where we will use the 2cm that we added for sewing. The join of the fabric should match the template exactly and the excess material from the join should only be visible from the interior of the jacket. We will trim this later.
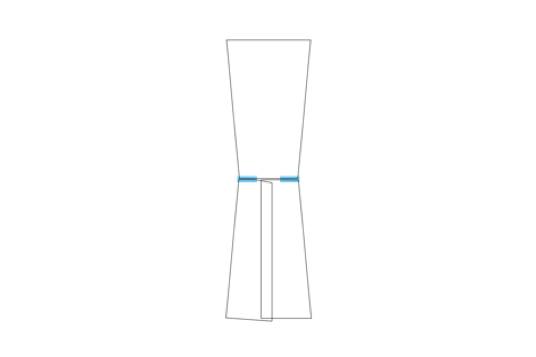

Step 12 - Finish the edges of your sleeves
Now we will process one edge (the edge that will form the wrist opening) of each sleeve. Fold the material, and using the 2cm that we added for sewing, create a finished edge for the sleeve. If you are unsure, the illustration below should clarify how this will work.
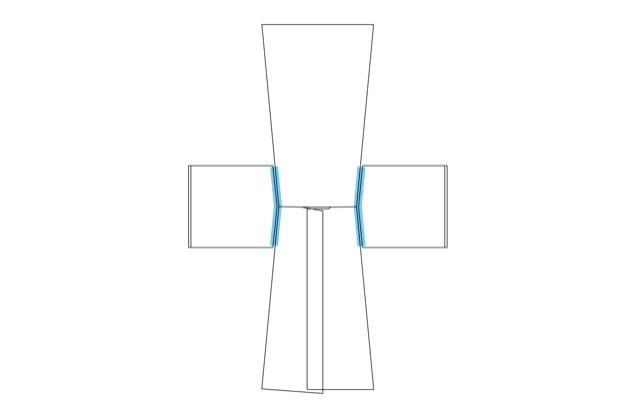
Step 13 - Connect sleeves and shoulders
The open sleeve pieces should now be connected to our shoulder construction, the joint. can be seen in the illustration below. As with steps 11 and 12, use the 2cm allowance to create the join exactly to the template measurements. Any excess will only be seen from the interior.
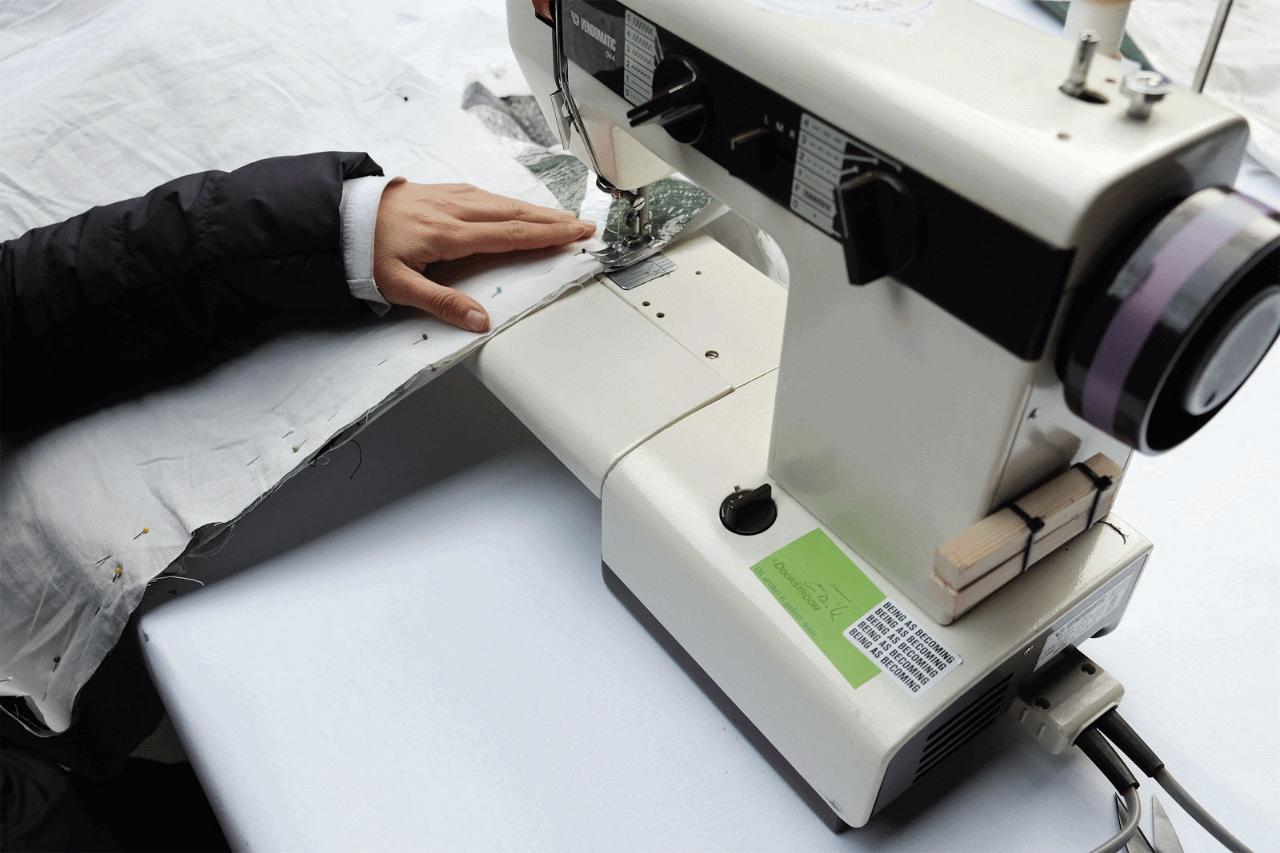

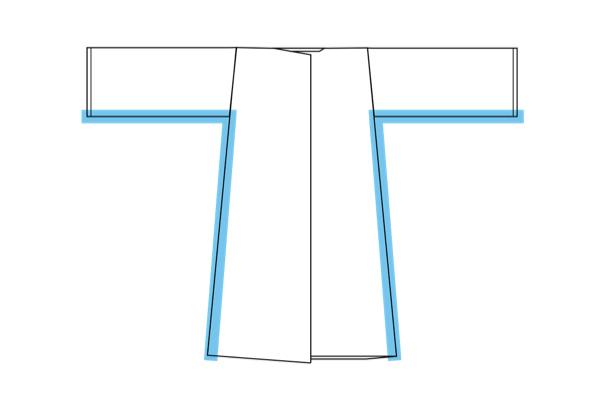
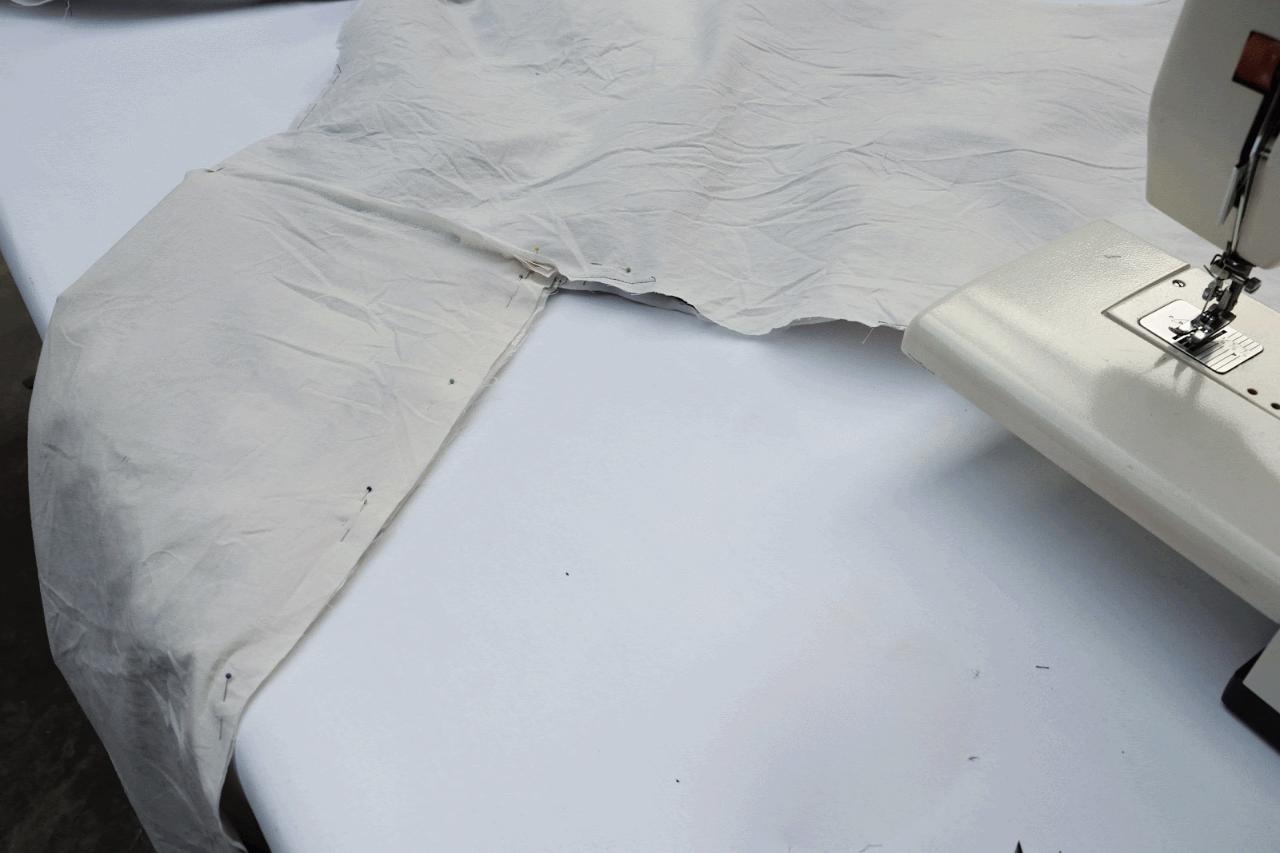
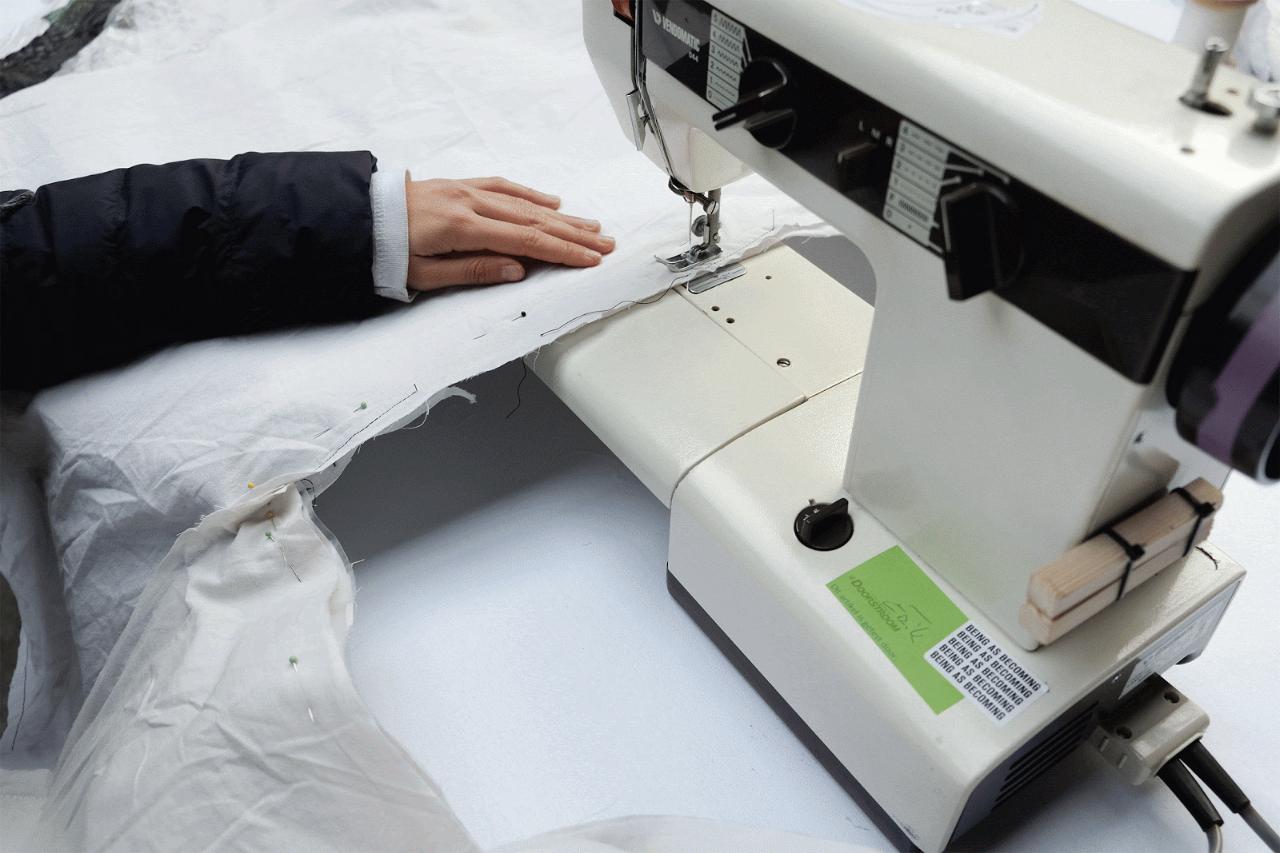
Step 14 - Sew the side seams
Fold your current construction so that the cotton side is exposed, and sew along the side seams of the raincoat; remembering to use the 2cm that you added as a sewing excess.
Step 15 - Create and attach the hood
The hood consists of three parts, two sides and one central connecting piece. They are sewn together as shown in the illustration below. Remember as always, to sew from the inside of the garment and to use the 2cm of allowance that you have in your join. Once constructed, the hood can be attached to the body of the raincoat. The construction and attachment of the hood can be tricky, so if you have any issues with exposed stitching we will fix this in the next step.


Step 16 - Finish the raincoat
Finishing the raincoat could be different depending on how/if you choose to fasten the front. In any case, finishing should begin with sewing clean any unfinished seams (the bottom edge for example).
The process should then finish with any fastenings that you choose to incorporate; this could be buttons, poppers, a zip, or any alternatives that you can think of.
Now it’s ready to wear!
The process should then finish with any fastenings that you choose to incorporate; this could be buttons, poppers, a zip, or any alternatives that you can think of.
Now it’s ready to wear!
—
—
—
Comments