Make a T-shape beam
Showcasing the process of creating custom shaped moulds for the extrusion machine. In this How-to we will look into making a mould for a T-shaped profile.
—
Attachments
Resources
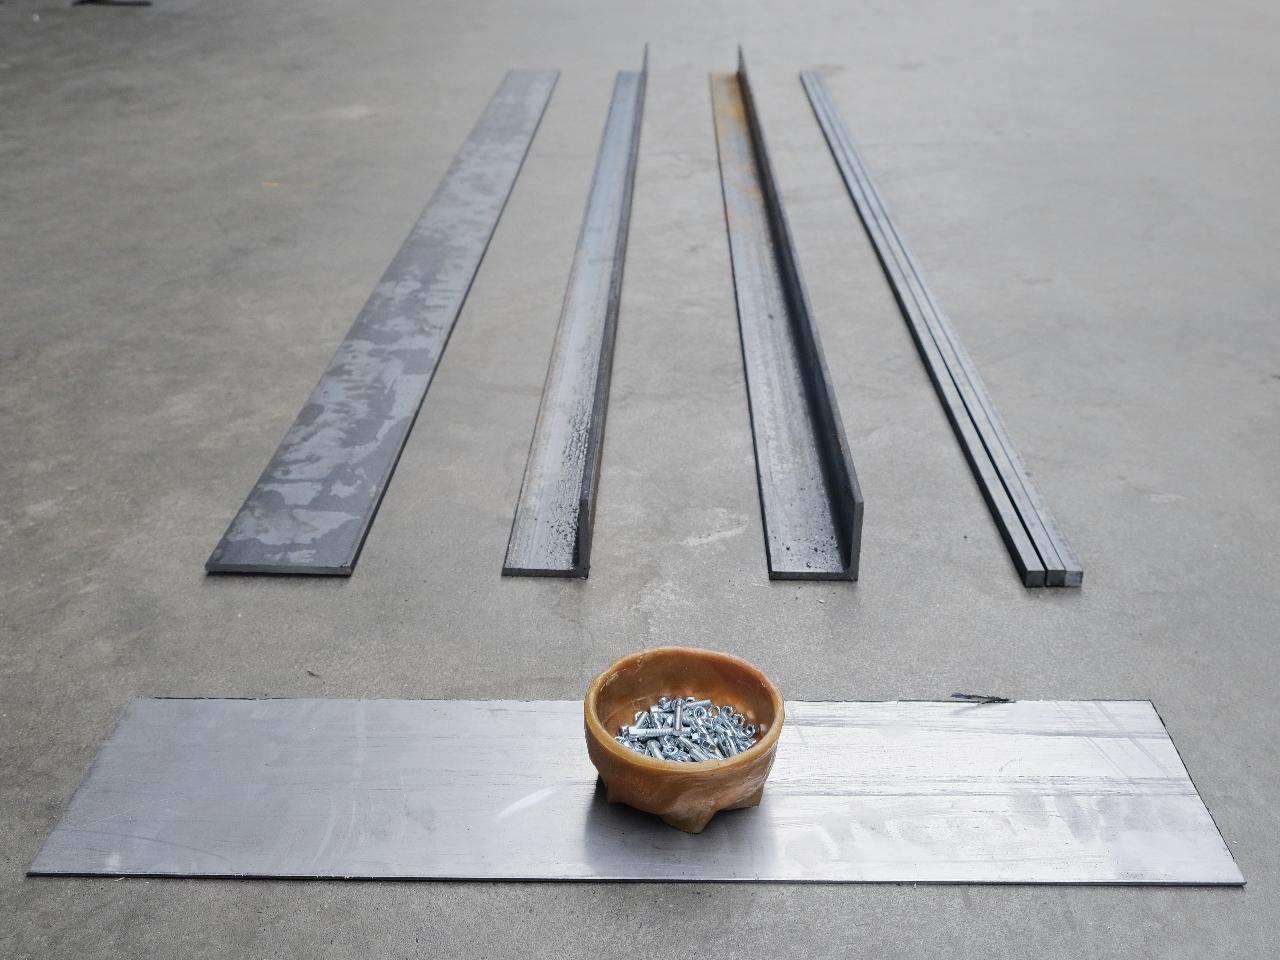
Step 1 - Tools and equipment required
To make the mould you will require:
2x L angle iron 60 x 60mm, 190cm long
1x 100mm M.S flat 190cm long
3x 12 x 12mm M.S rods 190cm long
Sheet metal ( minimum 3mm or more preferable )
5mm x30mm nut and bolt
6mm x 30mm nut and bolt
Threaded pipe or fitting (BSPT size of your nozzle)
Angle Grinder / Metal saw
Welding machine
Drill Press / Drilling machine
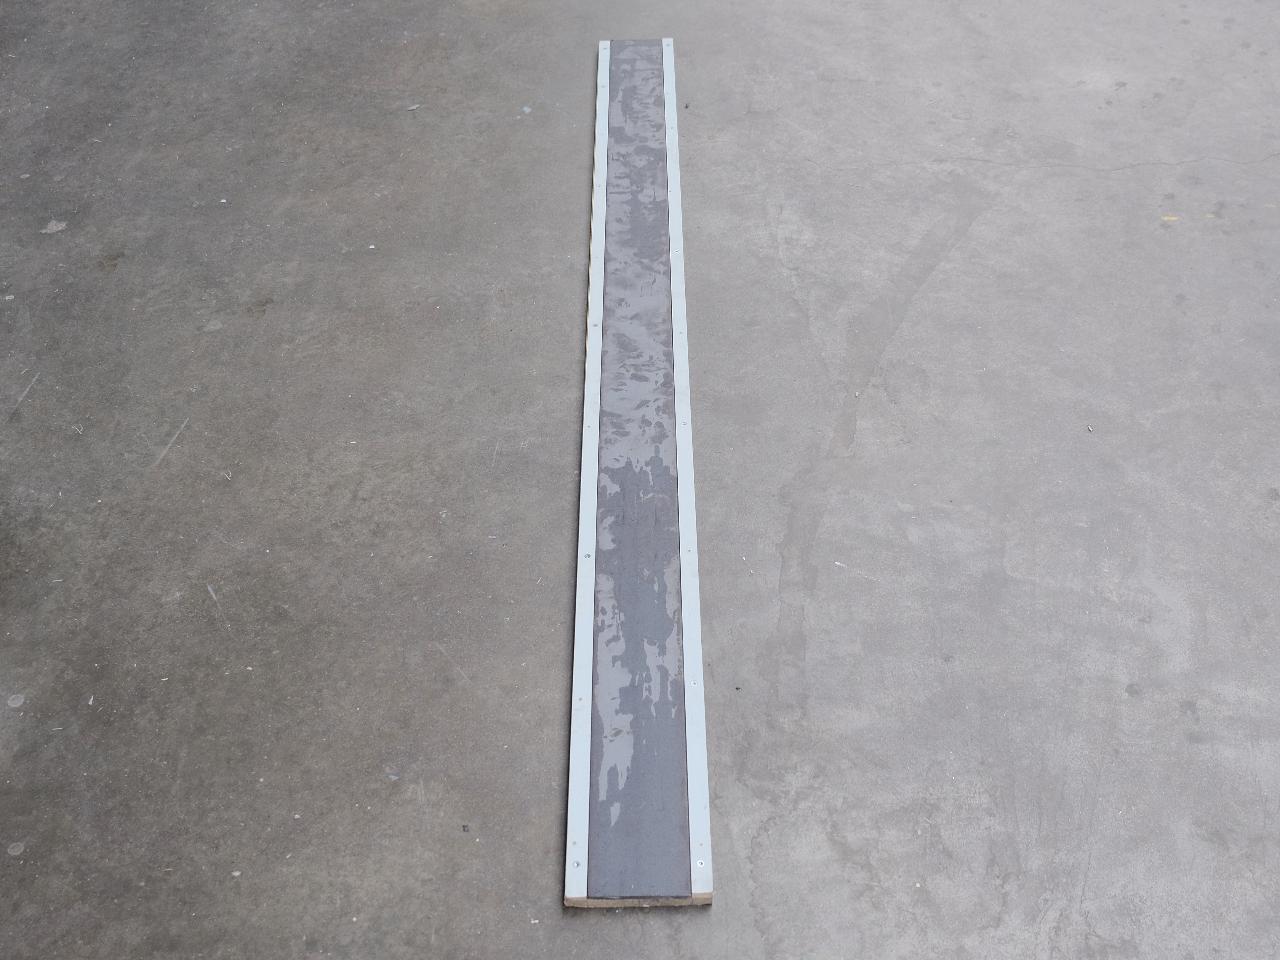
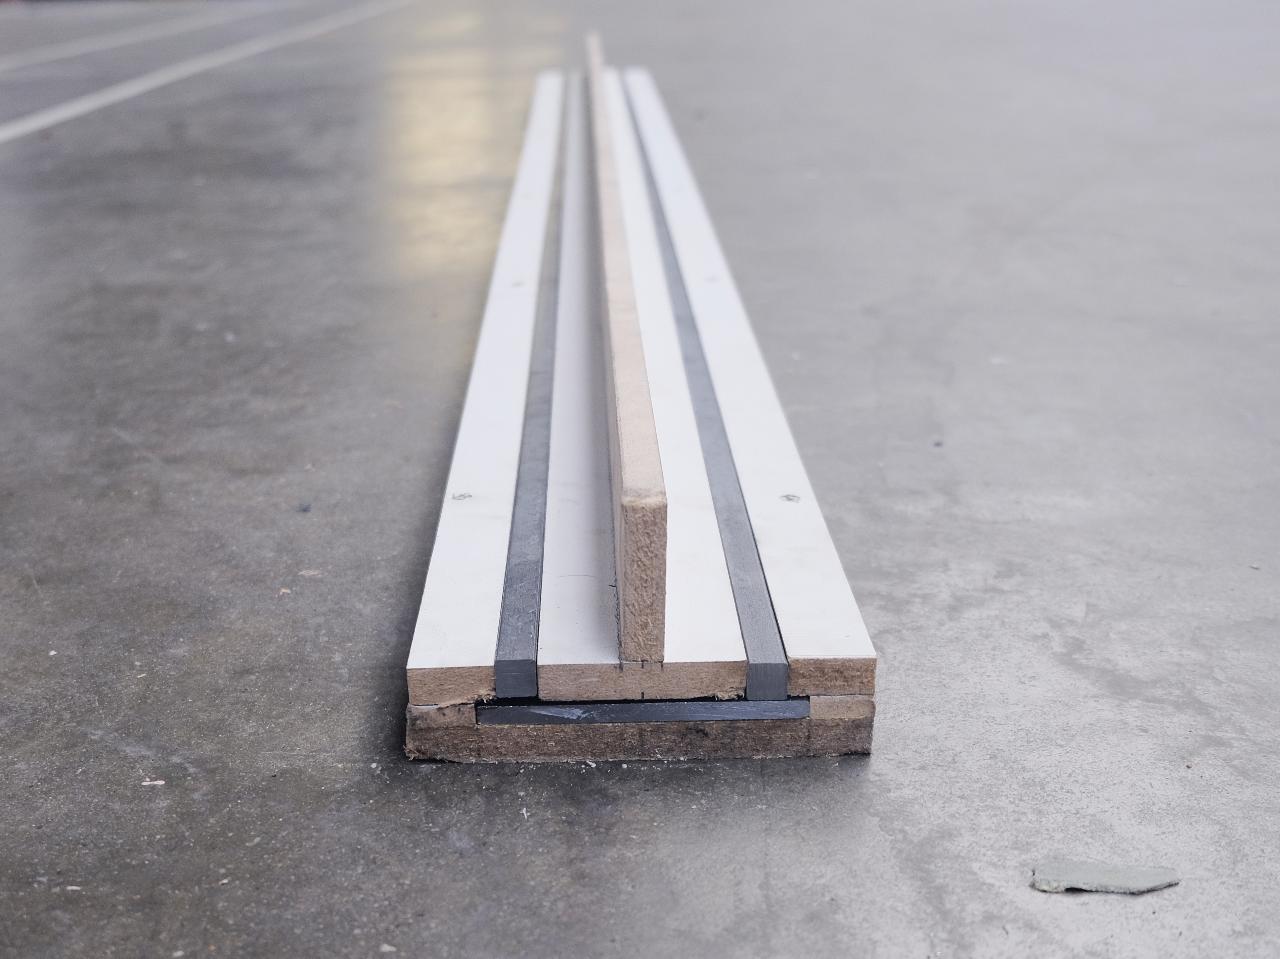
Step 2 - Creating a template
Before we start work on the mould it will be good to create a template of the beam size we need to help make the mould making process easier. For the template we can use 12mm and 6mm thick MDF or plywood . Find the parts for the template in the image below (all pieces are 190cm longs)
Step 3 - Part I of mould
Now that we have the template ready we can start making the mould. Let’s place the part 1 of the template on the table and place the 100mm M.S Flat into the template. Next we can place part 2 aligned to the outer edges. Now place the 2 M.S rods and part 3 of the template into the slots.
Step 4 - Fix mould part 1
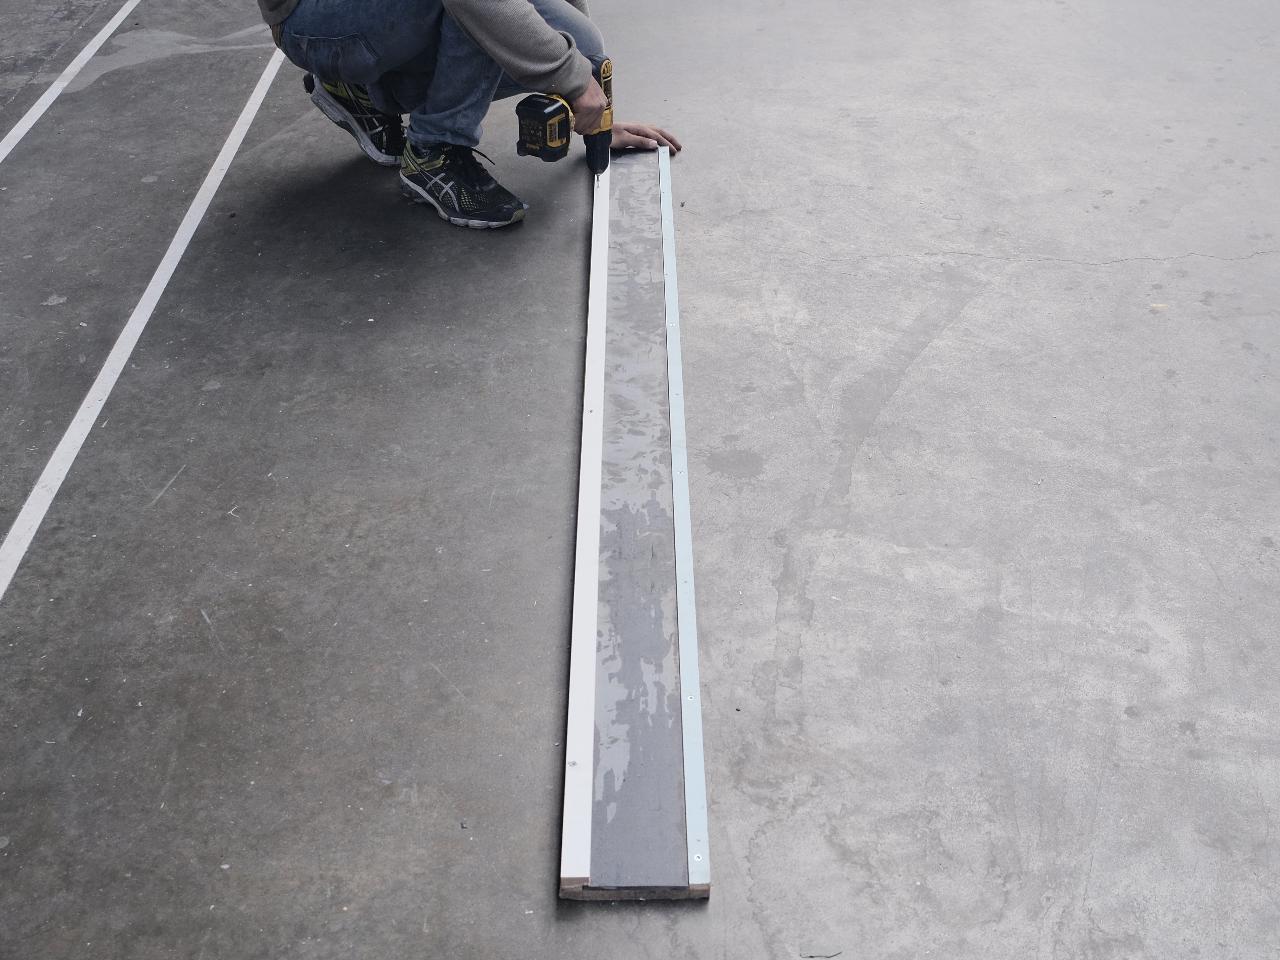
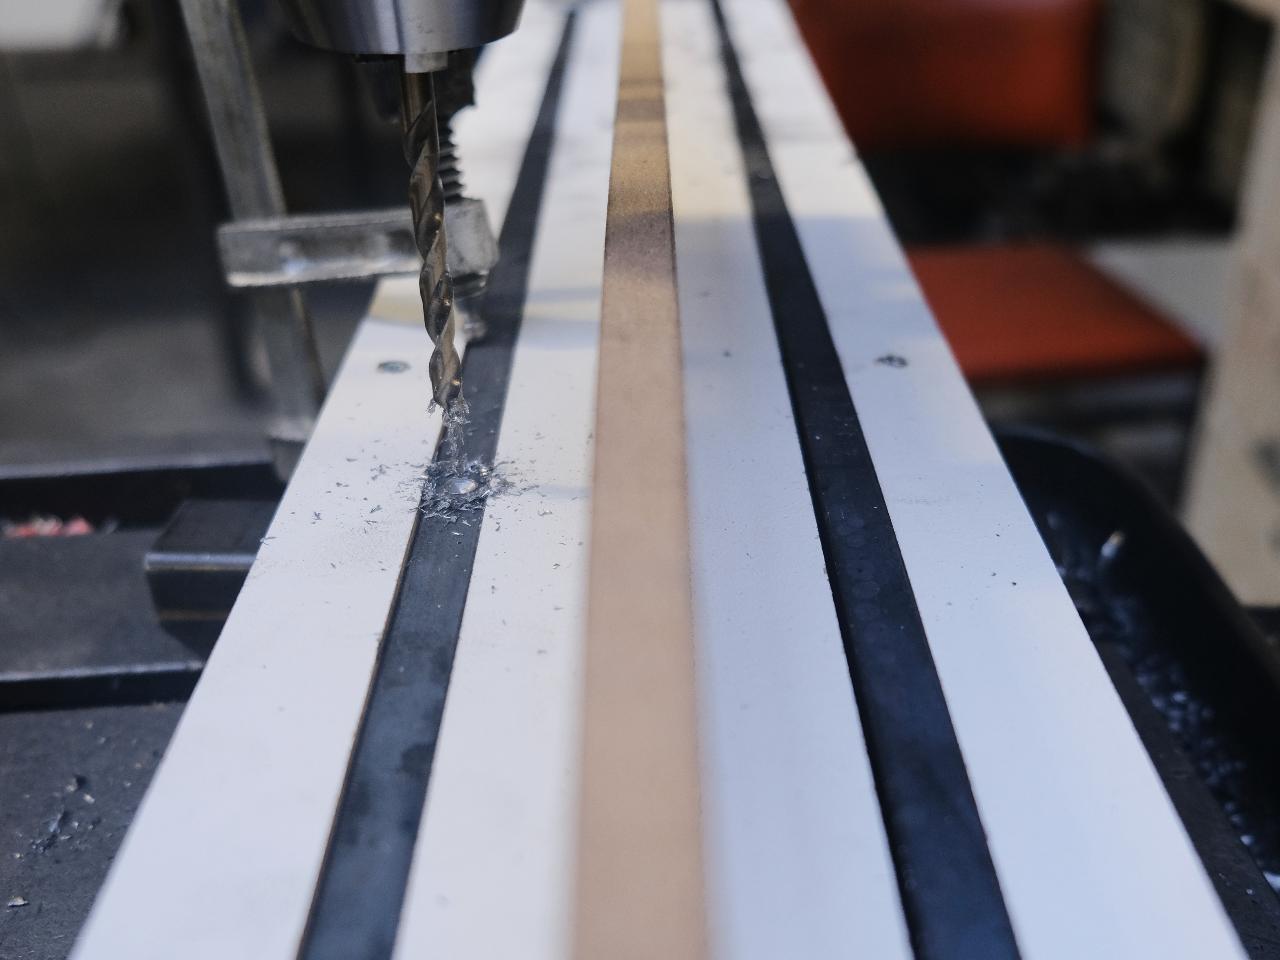
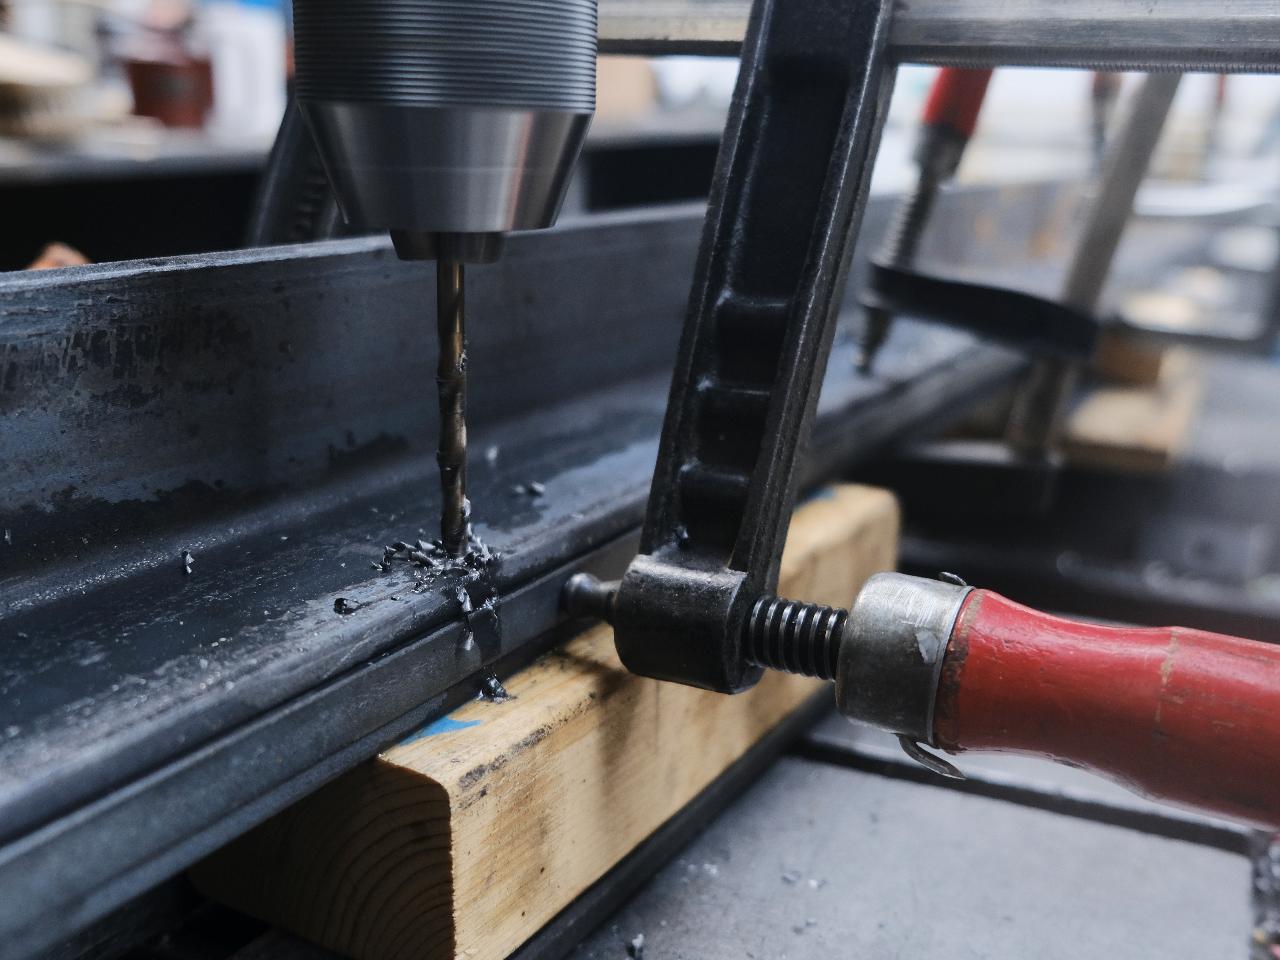
Make sure to clamp the metal pieces and template, then drill 6mm holes every 15 cm for the first half and every 25 cm in the second half, on both the square rods. (Note: we add more screws in the first half as more pressure is built up here during extrusion and to prevent leakage)
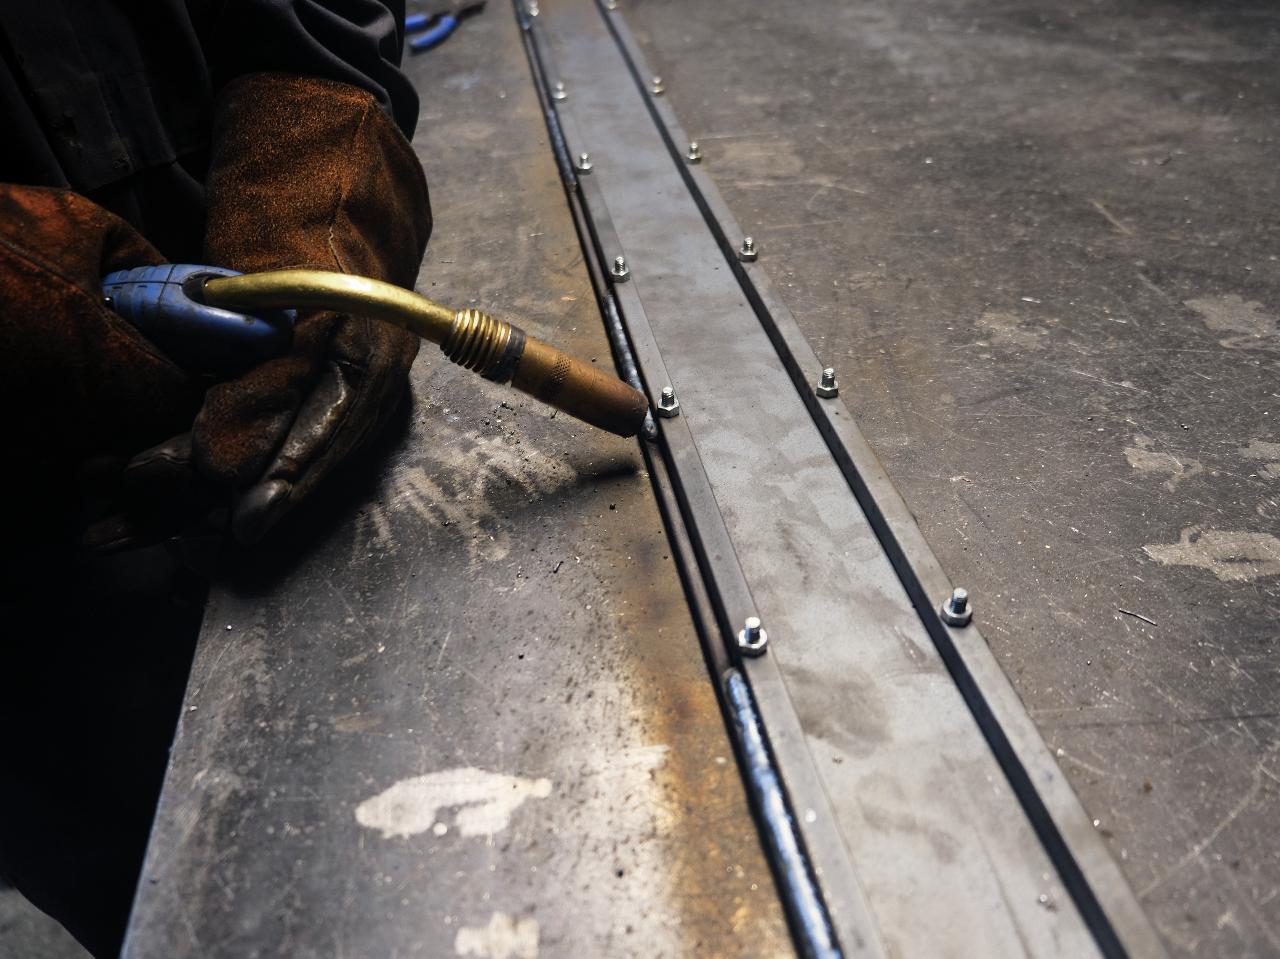
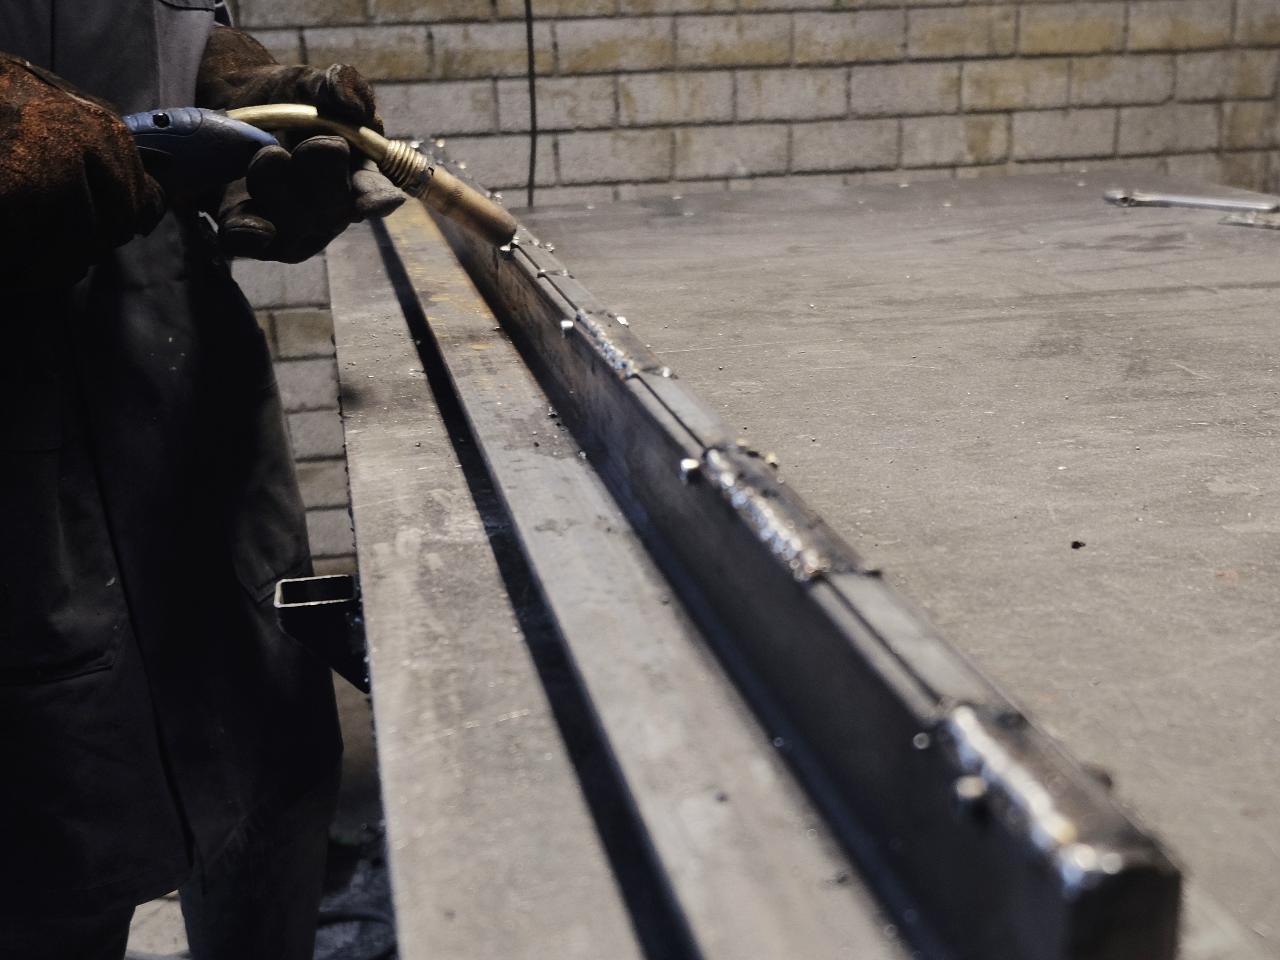
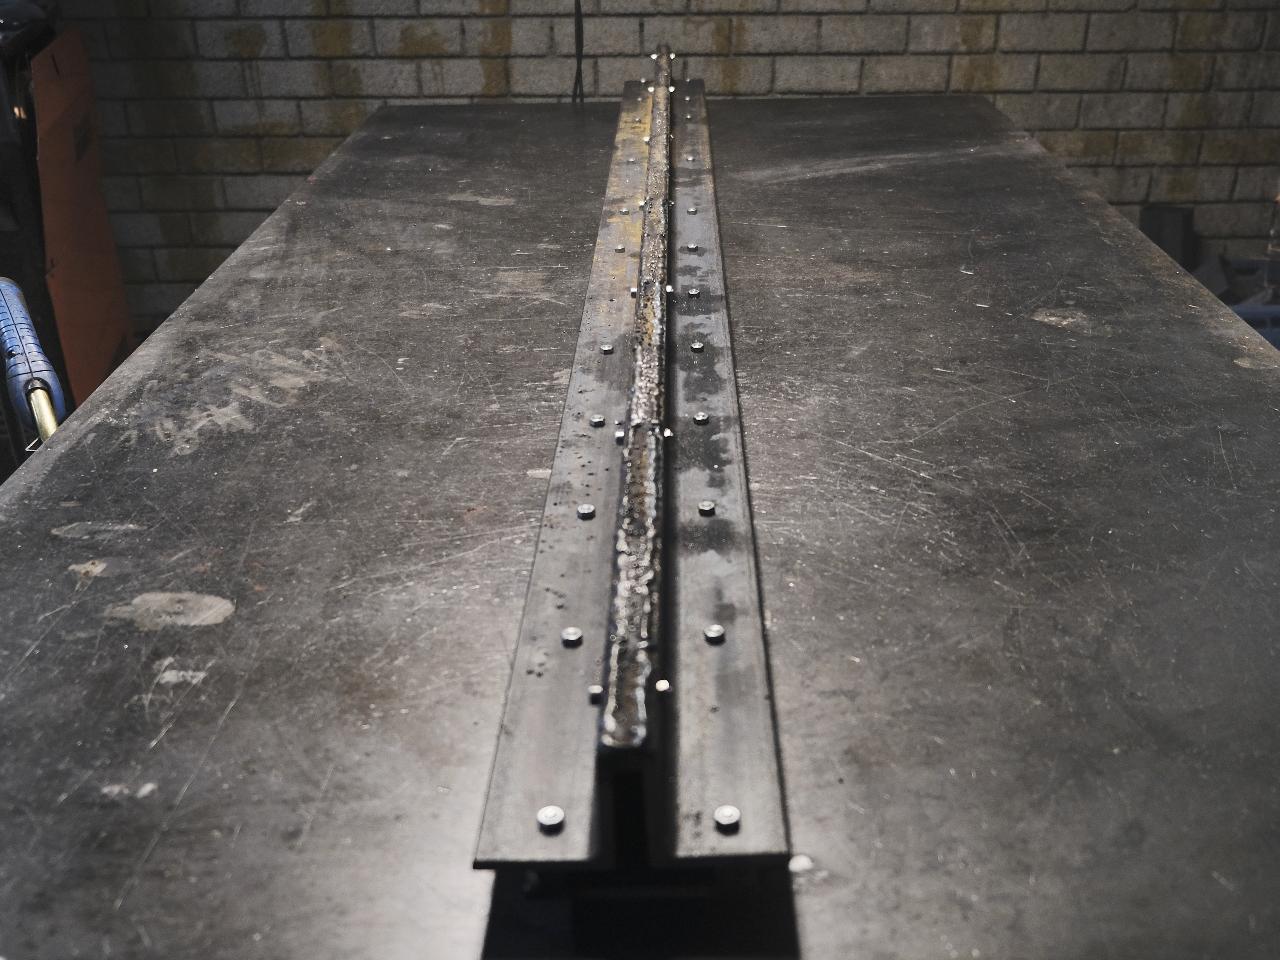
Now we can remove part 1 and 2 of the template and fasten on the nuts and bolts. Weld the outer joint of the square rods and the flat. (note: weld in shorter stretches and alternate with gaps to prevent the mould from deforming)
Now we can remove part 1 and 2 of the template and fasten on the nuts and bolts. Weld the outer joint of the square rods and the flat. (note: weld in shorter stretches and alternate with gaps to prevent the mould from deforming)

Step 5 - Mould part 2
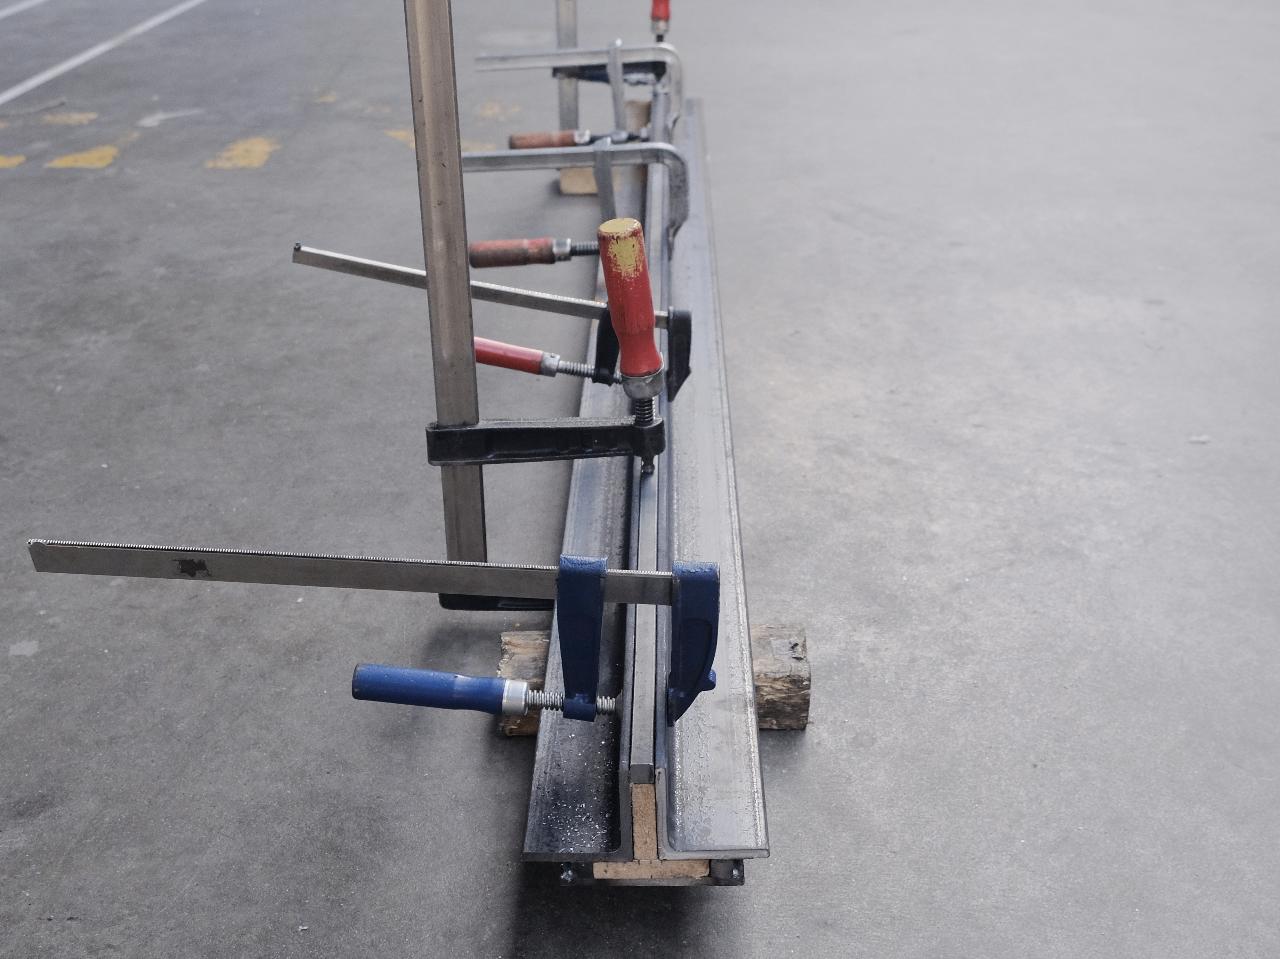
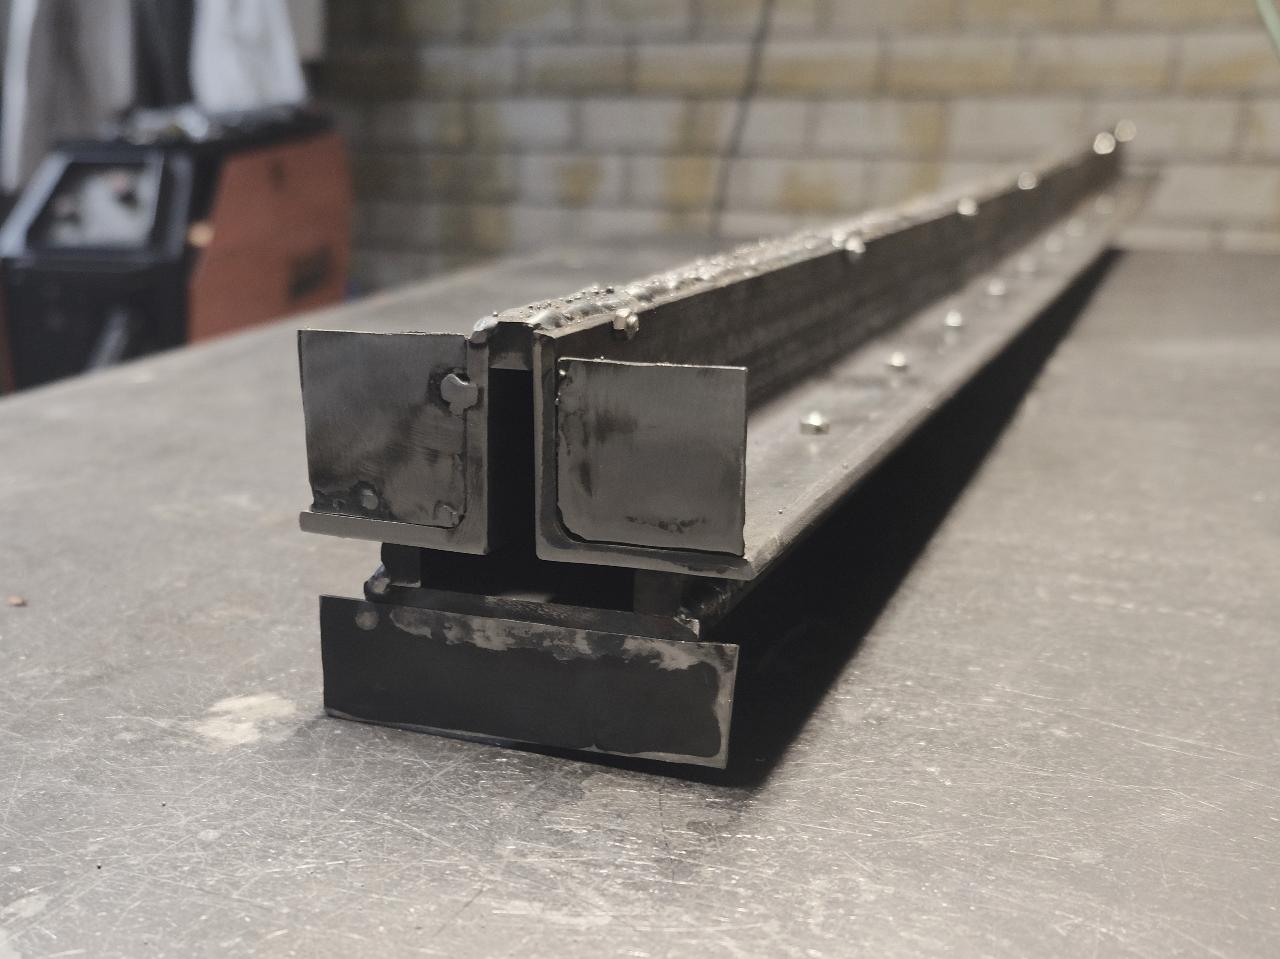
Now that we have the bottom part we can move on to the second part of the mould. Place part 3 of the template back into the mould then place the 2 L angles on top and the square rod in between them and fasten down with clamps.
Drill 5mm holes every 30cm and fasten with nuts and bolts. Weld the portion between the square rod and the L angle to seal the mould for the whole length. (Again, weld in shorter stretches and alternate with gaps to prevent the mould from deforming)
Drill 5mm holes every 30cm and fasten with nuts and bolts. Weld the portion between the square rod and the L angle to seal the mould for the whole length. (Again, weld in shorter stretches and alternate with gaps to prevent the mould from deforming)
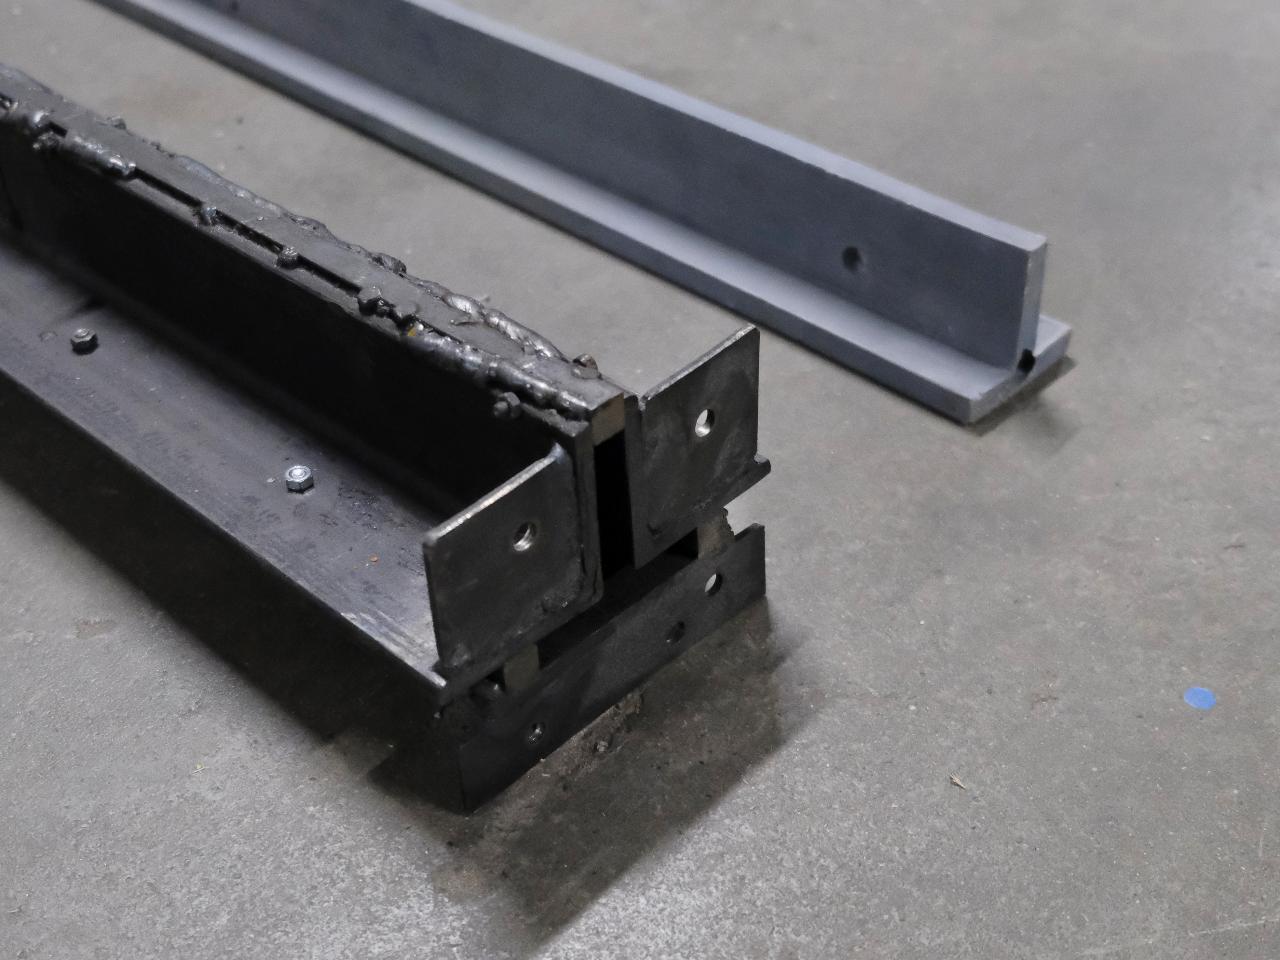
Step 6 - Weld the mould
Now that we have the two parts of the mould, we will use the holes of part 1 of the mould to drill holes into L angles, to be able to attach the two parts of the mould. Once all the holes are drilled, we can fasten them with M6 x 30mm bolts and nuts.

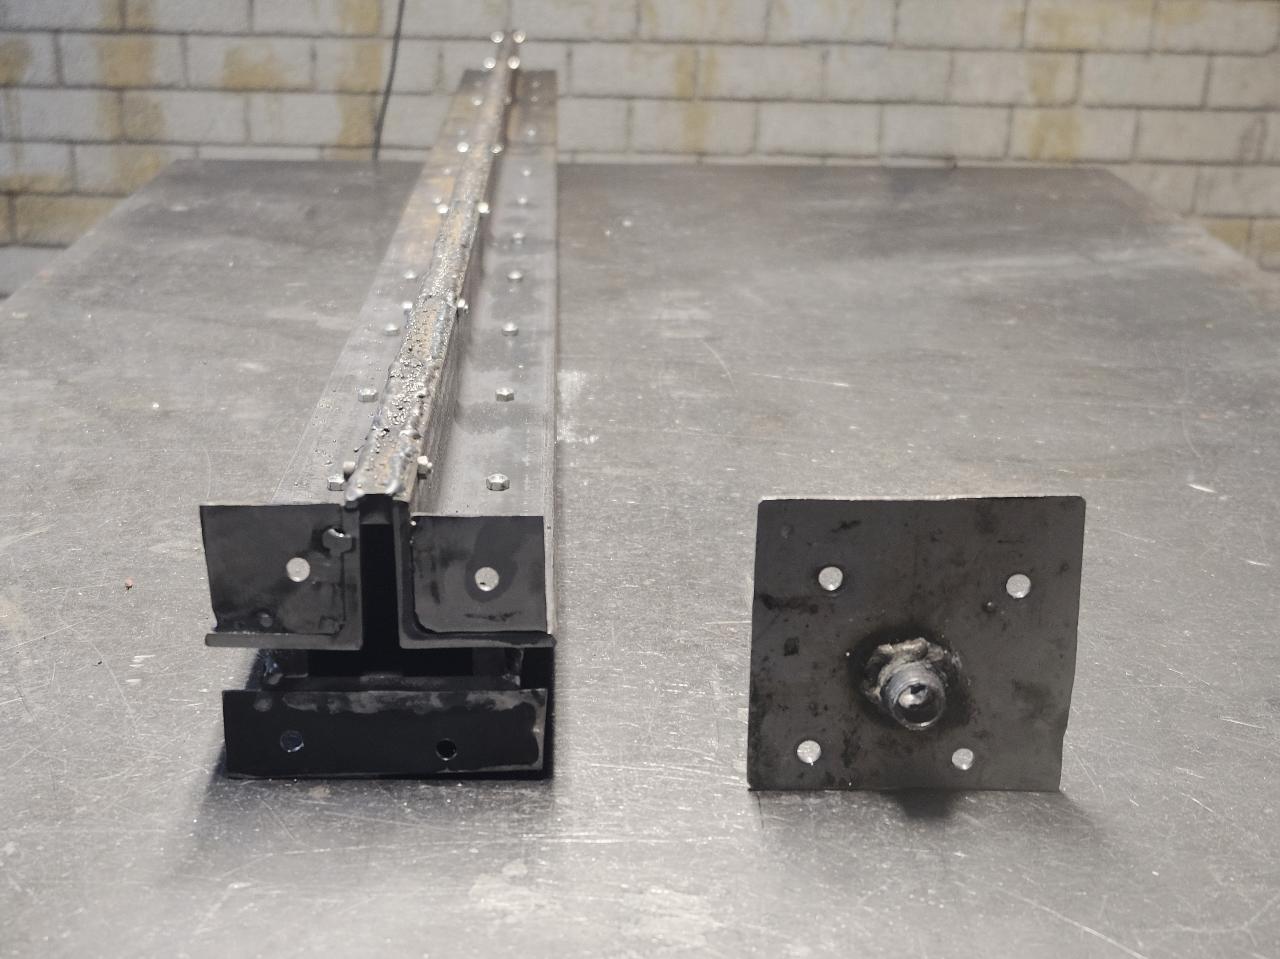
Step 7 - Make mounting brackets and nozzle
Cut 3 pieces of sheet metal (minimum 3mm thick) that are to be welded onto the mould so that we can connect the mould to the nozzle. Now we can weld them onto the mould. Now we need a sheet of metal for the nozzle plate. You can take the outer size of the mounting bracket and you will get the size required. Now we need to weld the BSPT onto the nozzle plate (note: place the BSPT in the junction of the T to get the best flow and results for your beam). Drill a hole in the nozzle plate to the size of the BSPT and 4 holes to connect the mounting plate and nozzle plate.
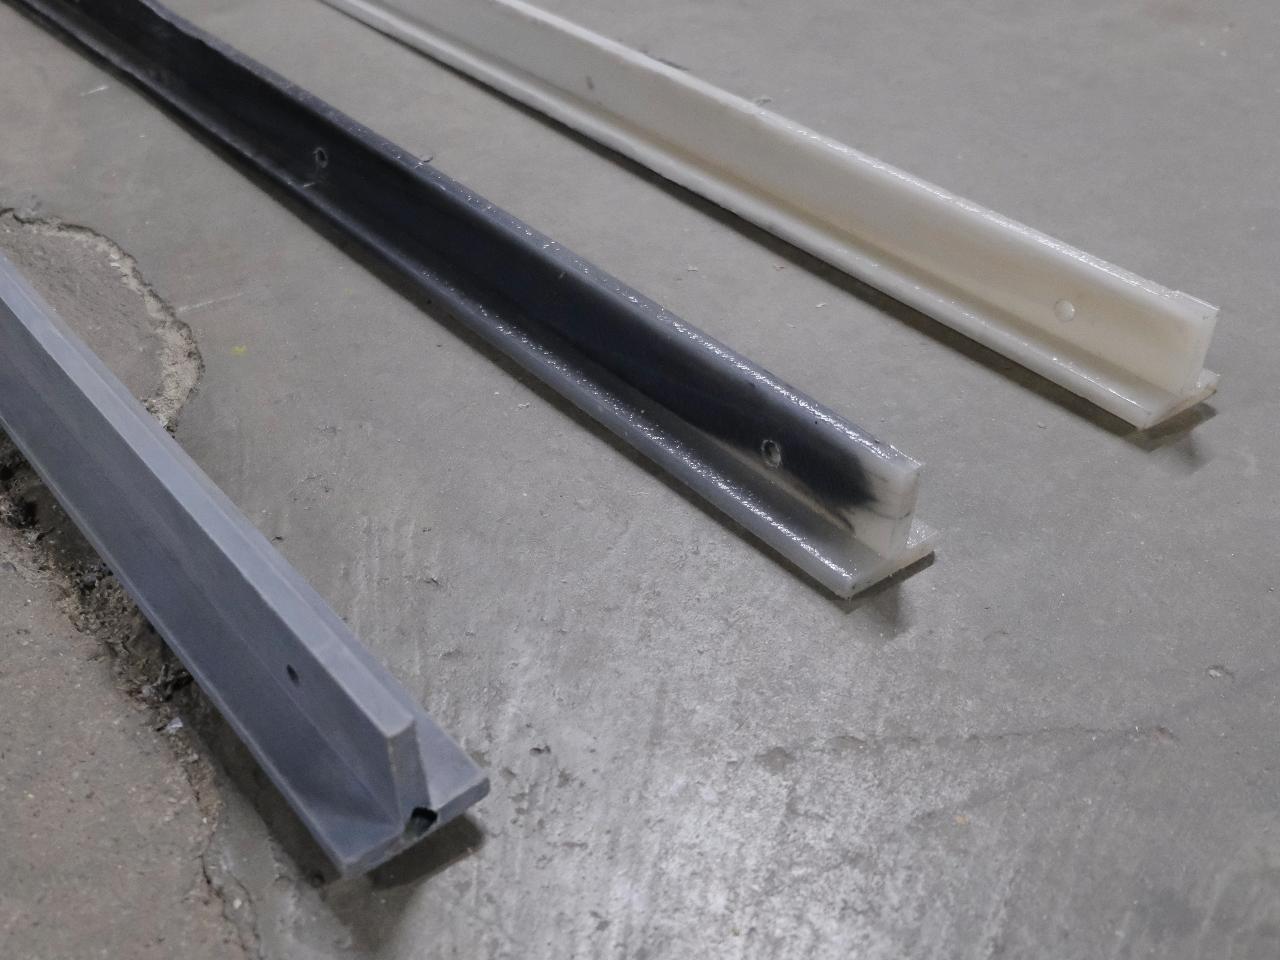
Step 8 - Explore the possibilities!
Finally, the mould is ready, well done! Have fun extruding custom shaped and long beams. For best results extrude with a hot mould using heating elements or an oven. This technique of mould building opens up a door for many more custom shapes and sizes with regular fabrication.
Related links:
How to extrude different textures 👉 https://community.preciousplastic.com/how-to/extrude-different-textures
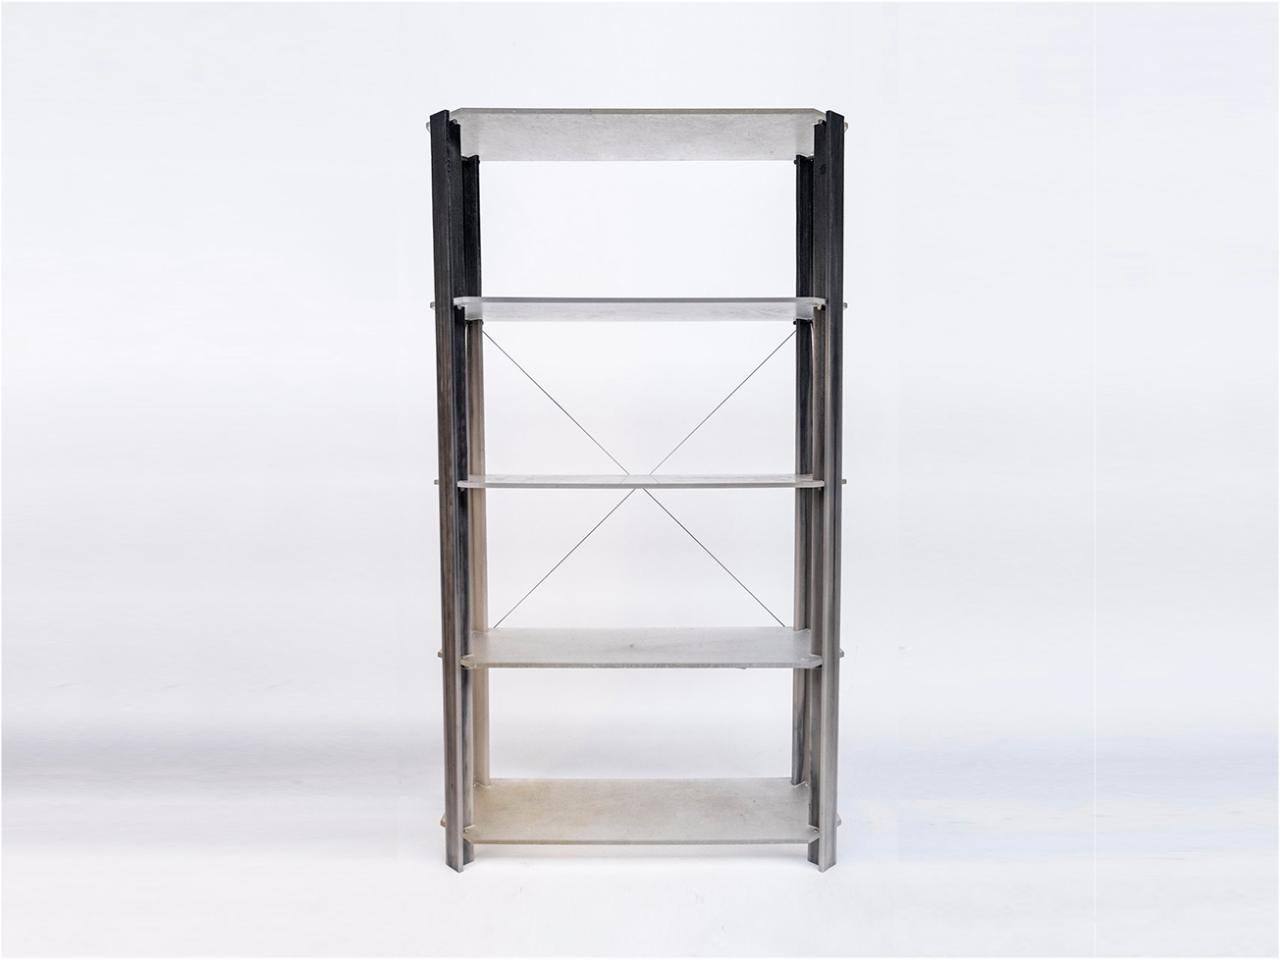
How to build a shelving system with T beams 👉 https://community.preciousplastic.com/how-to/make-a-shelf-with-sheets--beams
Have fun exploring!
Related links:
How to extrude different textures 👉 https://community.preciousplastic.com/how-to/extrude-different-textures
How to build a shelving system with T beams 👉 https://community.preciousplastic.com/how-to/make-a-shelf-with-sheets--beams
Have fun exploring!
—
—
—
Comments