Make an adaptable sorting system
by Tiago Águas
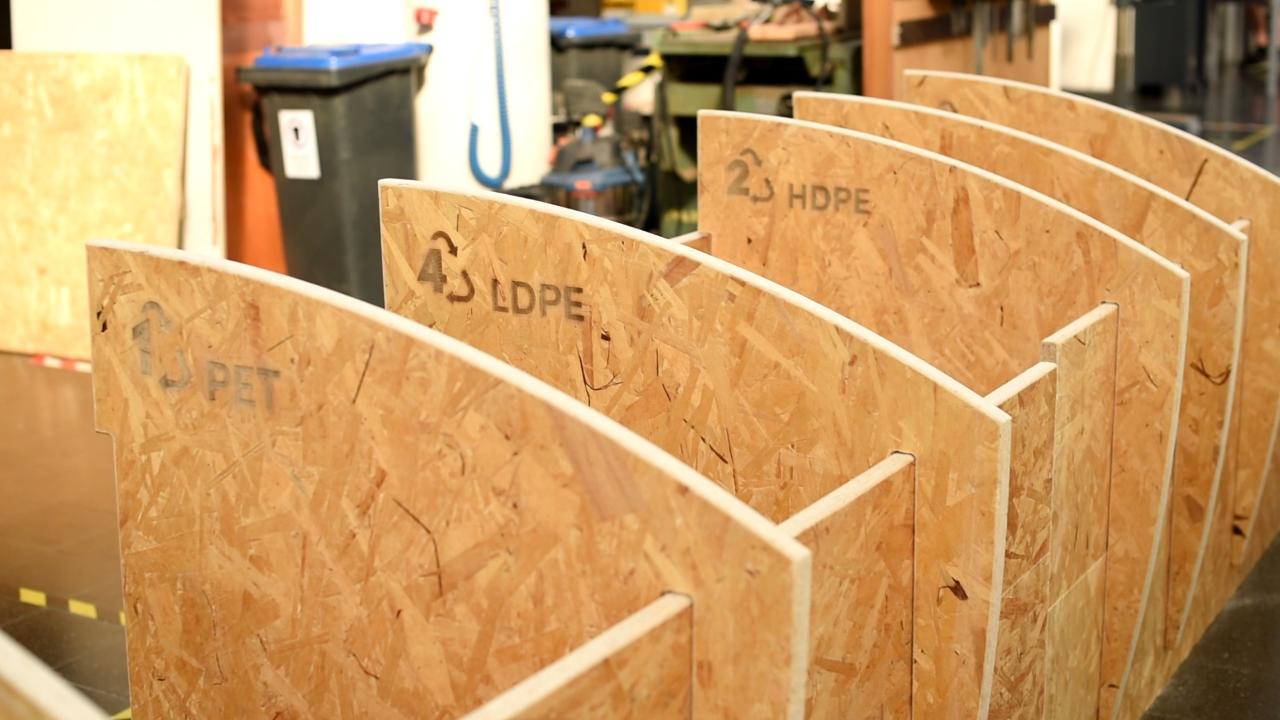
Make a sorting system that can adapt! if you have more plastic from one type just move the tabs to suit your needs!
—
Attachments
Resources
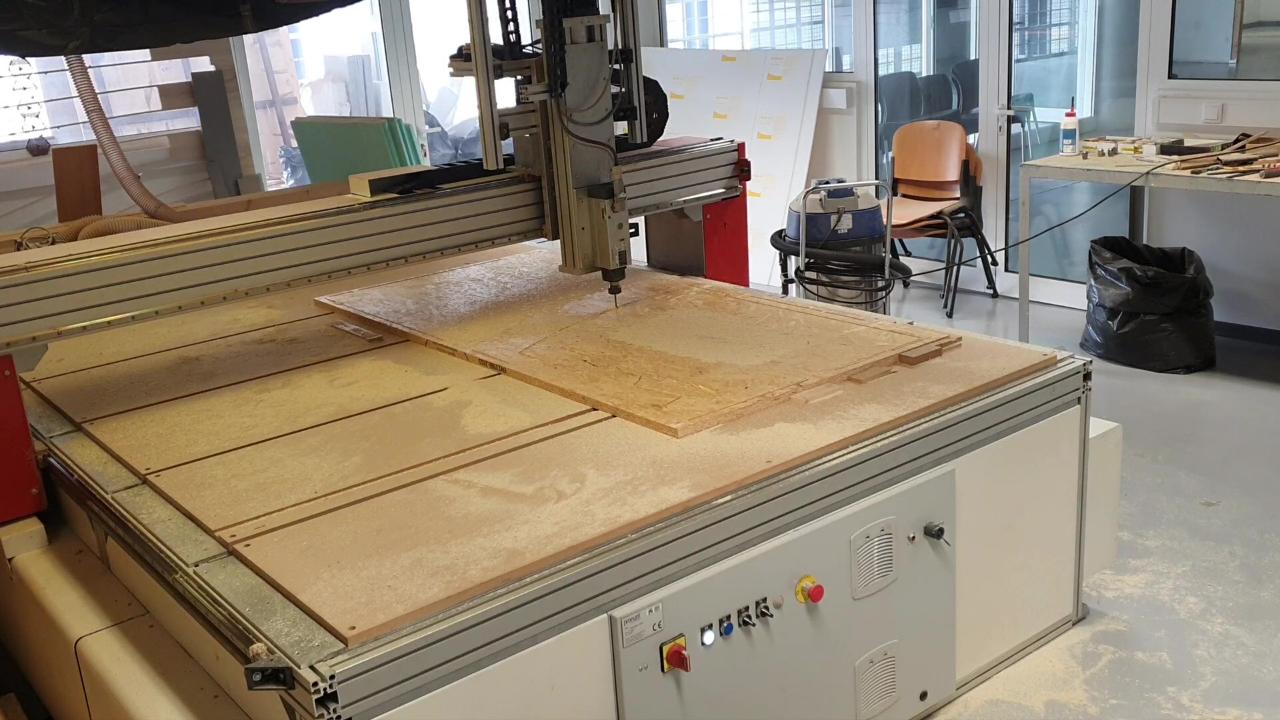
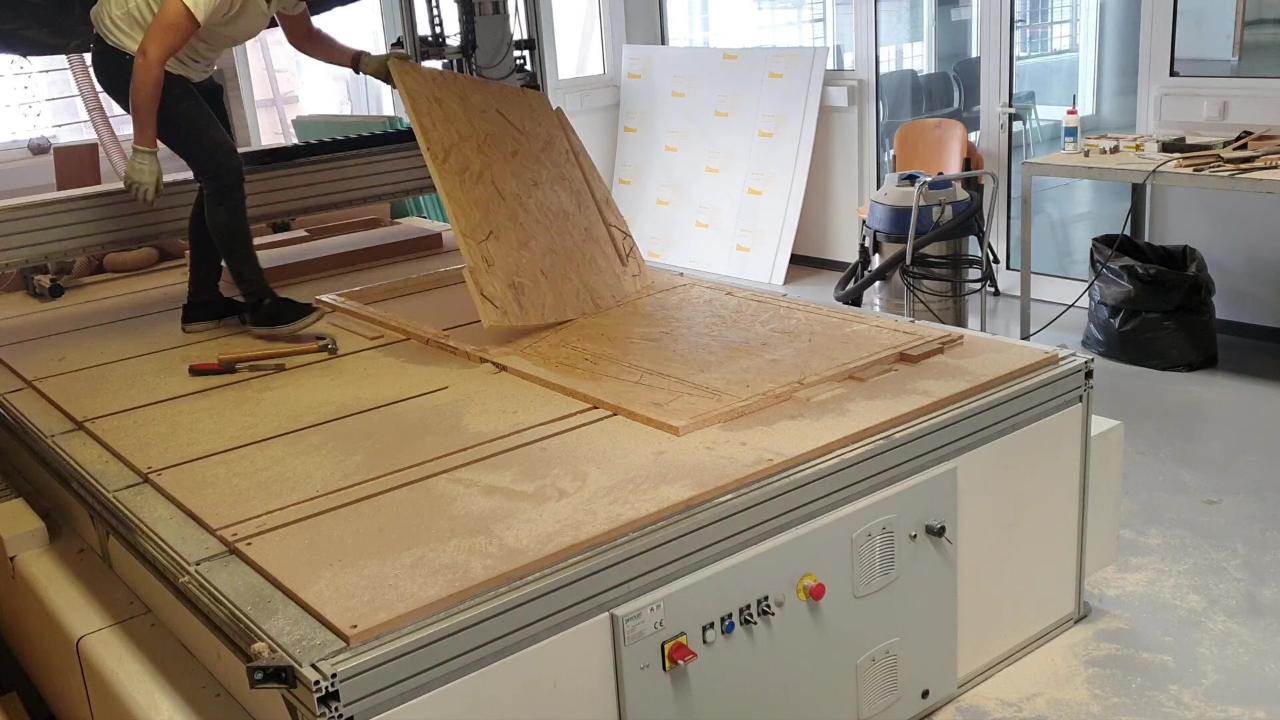
Step 1 - Cuting the panels- CNC machine
In this step, you can send the files we provide to be cut on a CNC machine or laser cutting machine. Be aware, these files were made in proportion to our material thickness of 25mm so all the joints match, if you change this measurement make sure you change it in the file too.
In our case, we only cut the outline on the machine but you can use this machine to do all the bevels and number engraving too.
In our case, we only cut the outline on the machine but you can use this machine to do all the bevels and number engraving too.
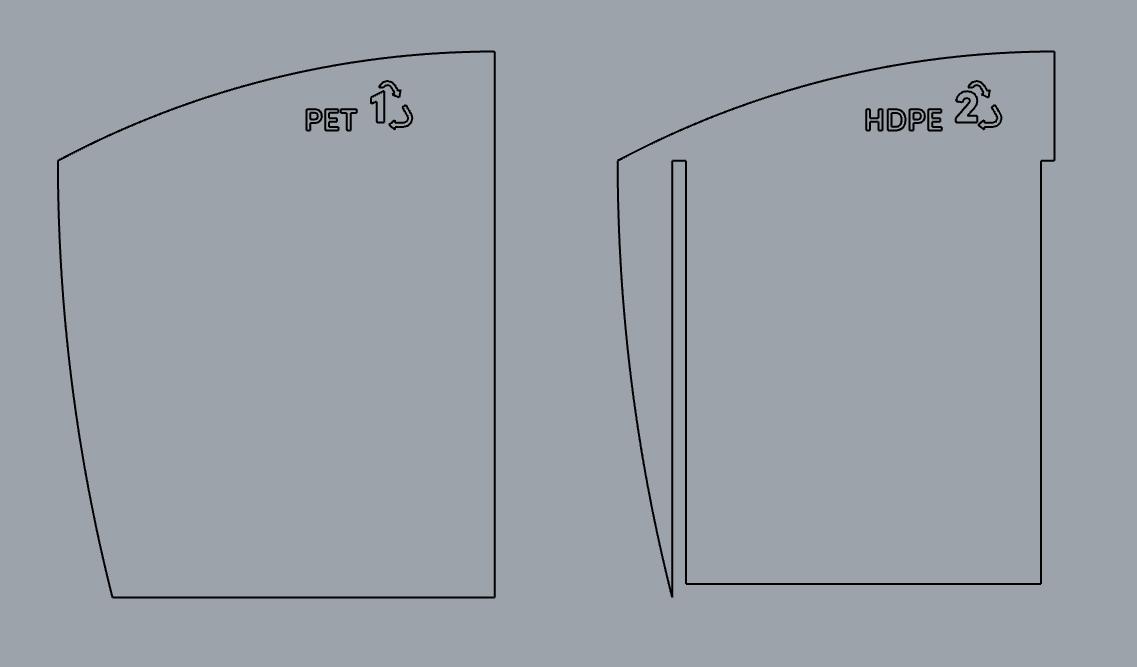
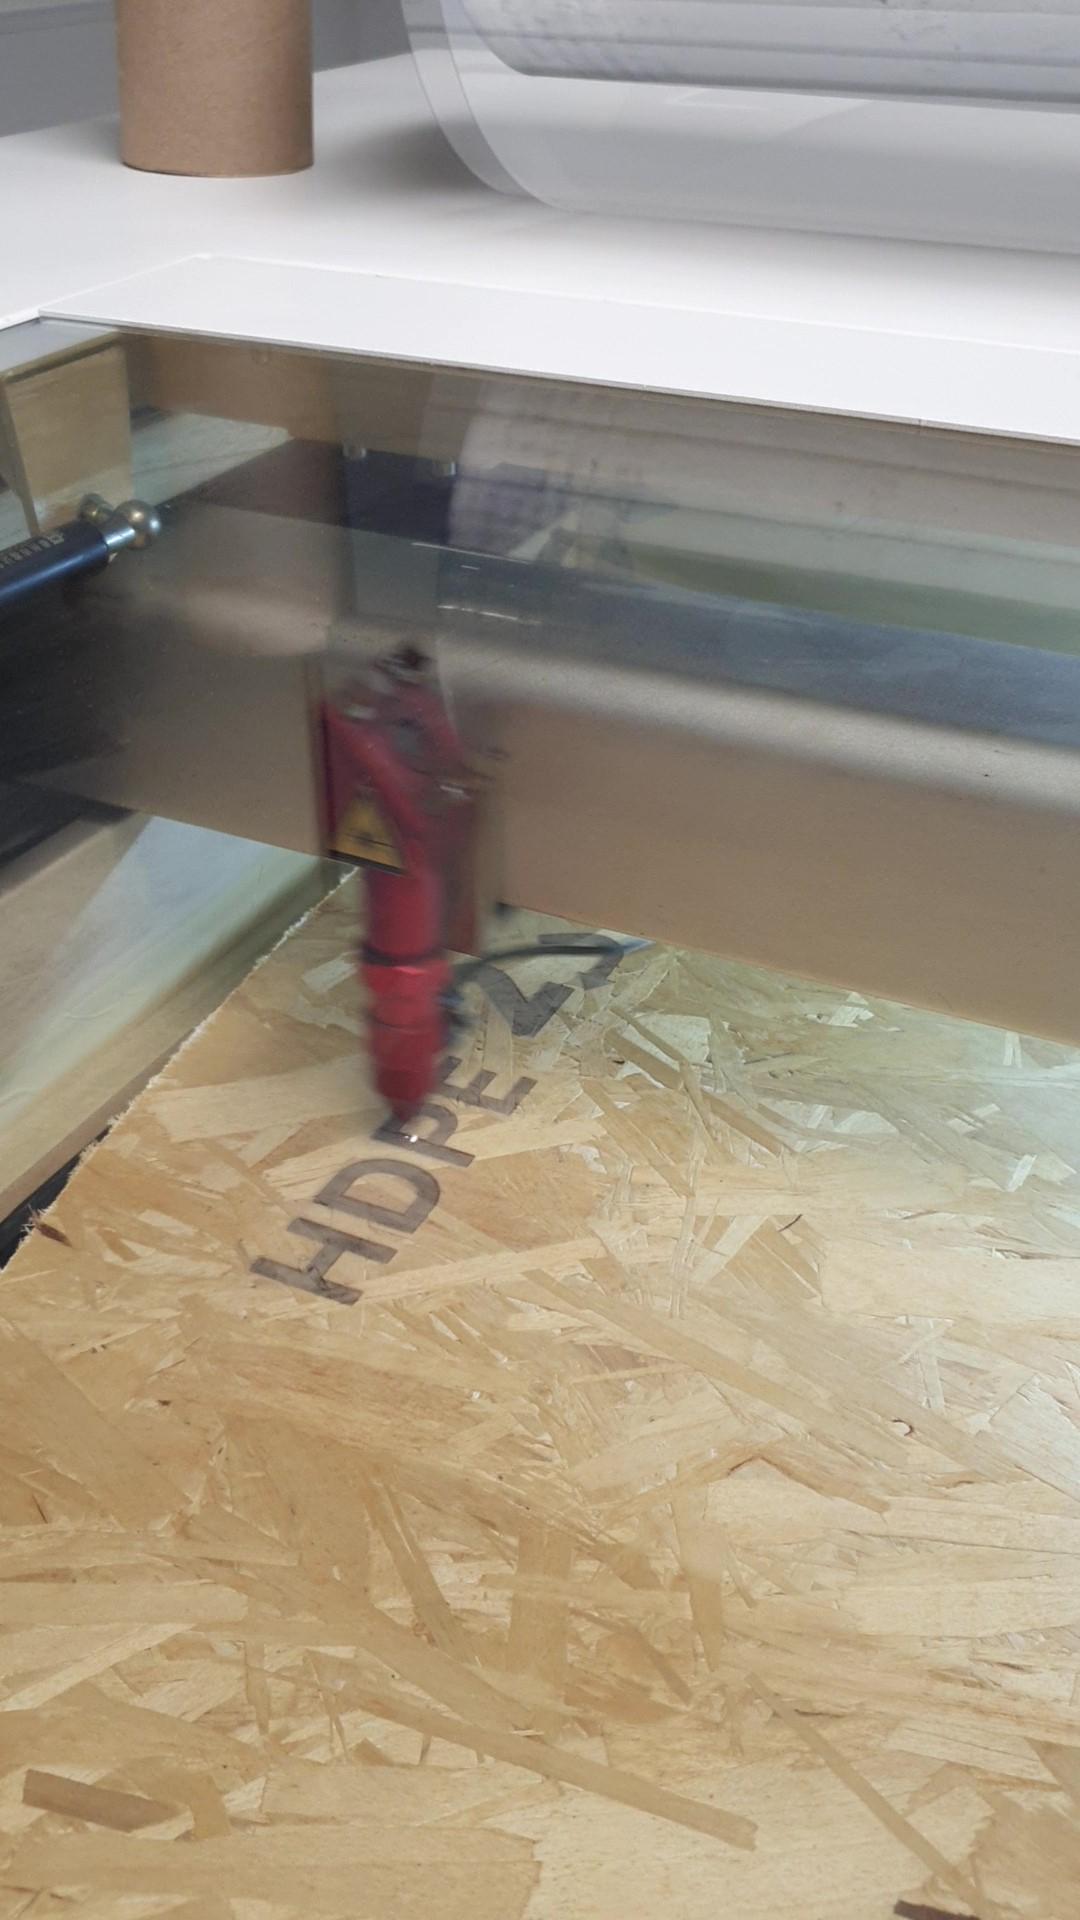
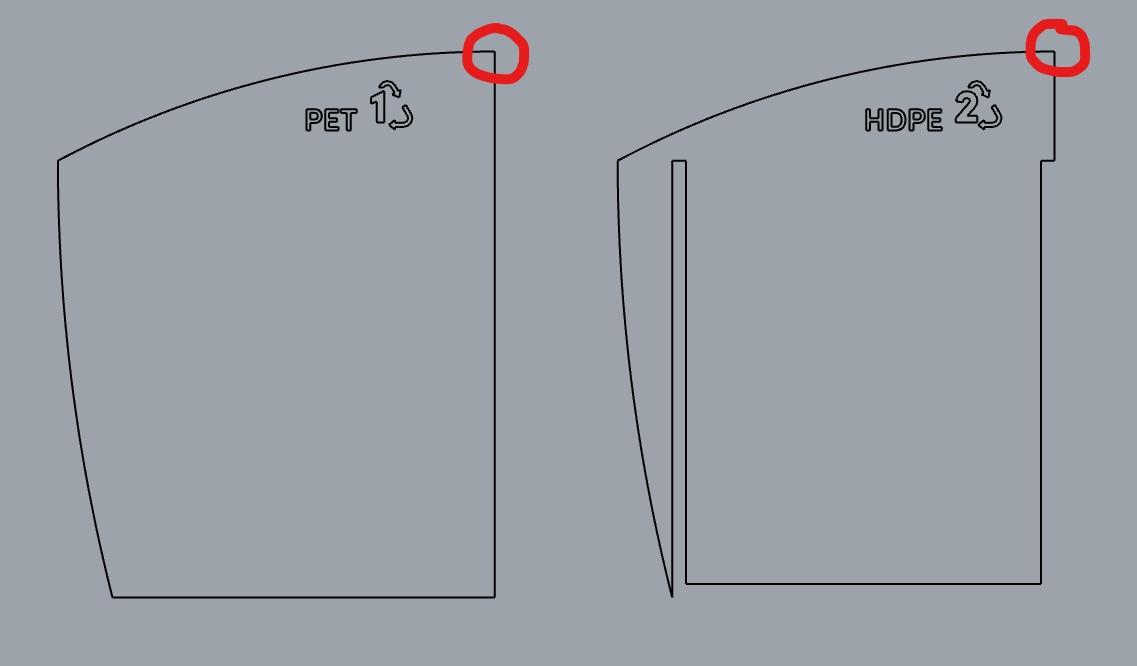
Step 2 - Plastic type- LaserCut
After cutting all the panels use the files with the numbers and laser cut them, make sure you align it well because each divider panel as a number on both sides, the best corner to align it from is the top highest corner.
.jpeg)
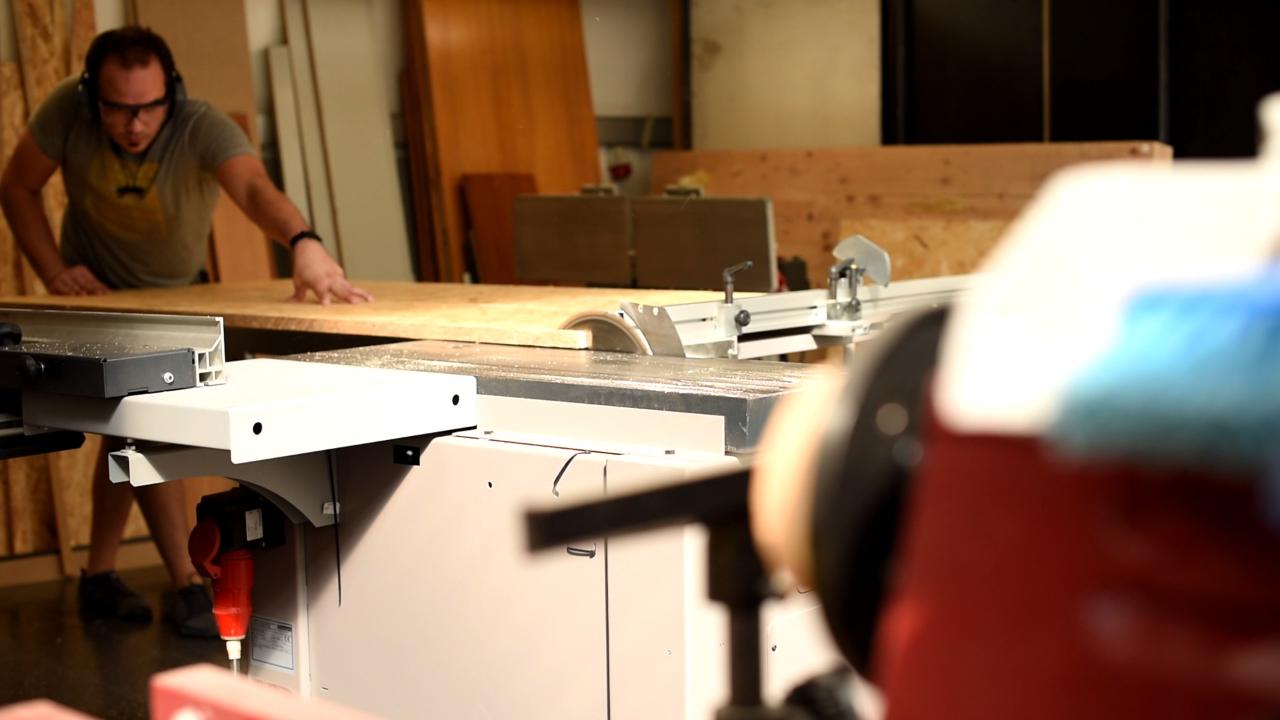
Step 3 - Cuting and Finishing
In this step, we cut the front, bottom, and back panels.
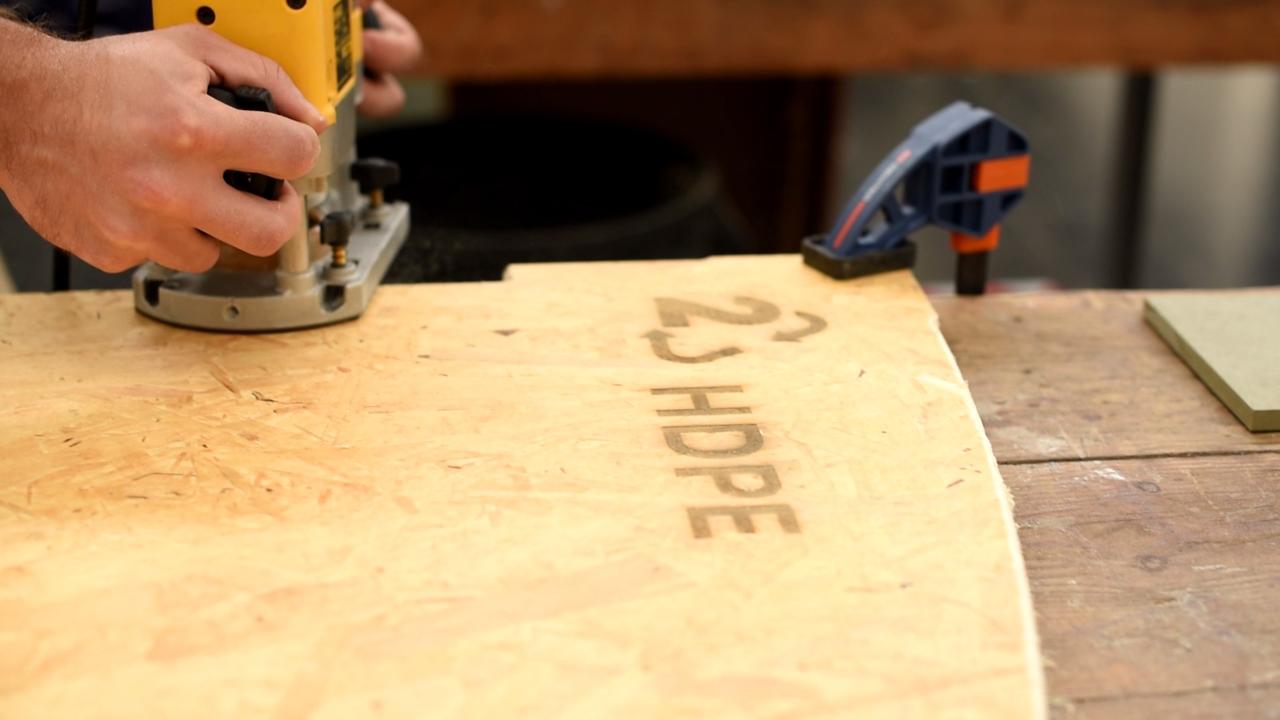
Also in this step, you can start finishing all of the parts and sanding to give a smooth touch.
Also in this step, you can start finishing all of the parts and sanding to give a smooth touch.
Step 4 - Mounting all the pieces
After sanding everything you can assemble it with screws. First, you attach the sides and the bottom then you just fit the divisors as it suits your needs.
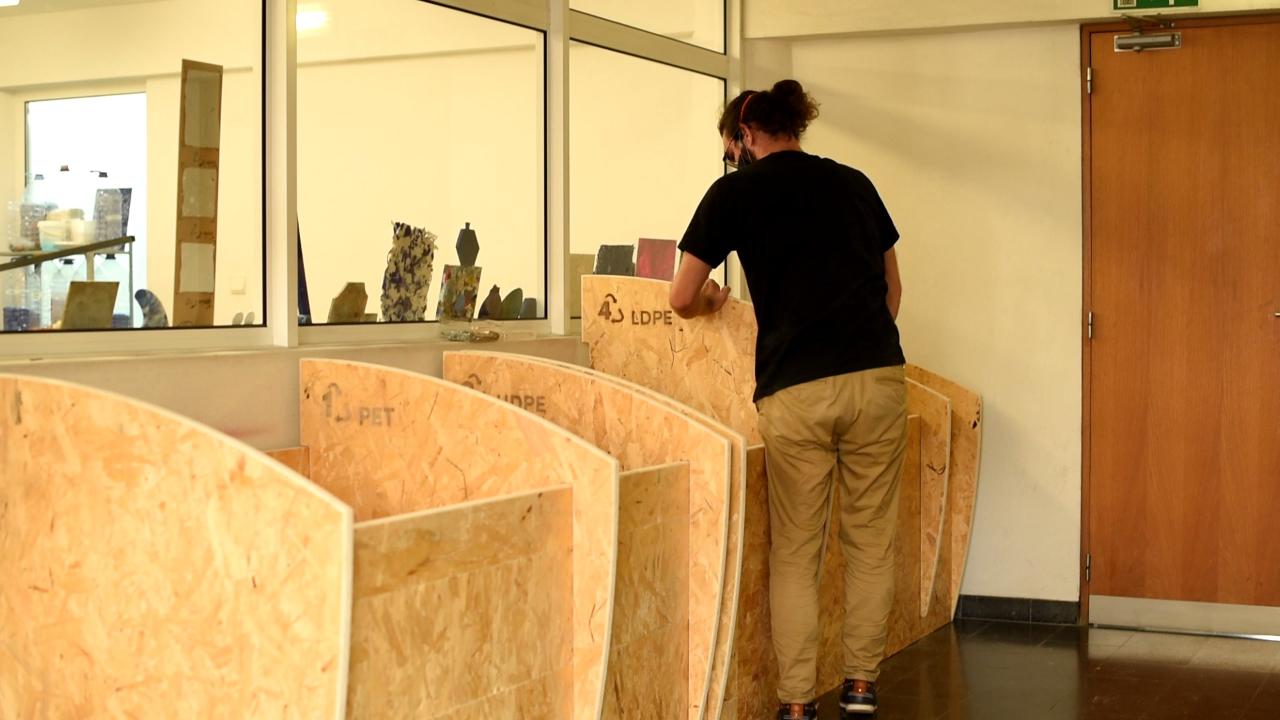
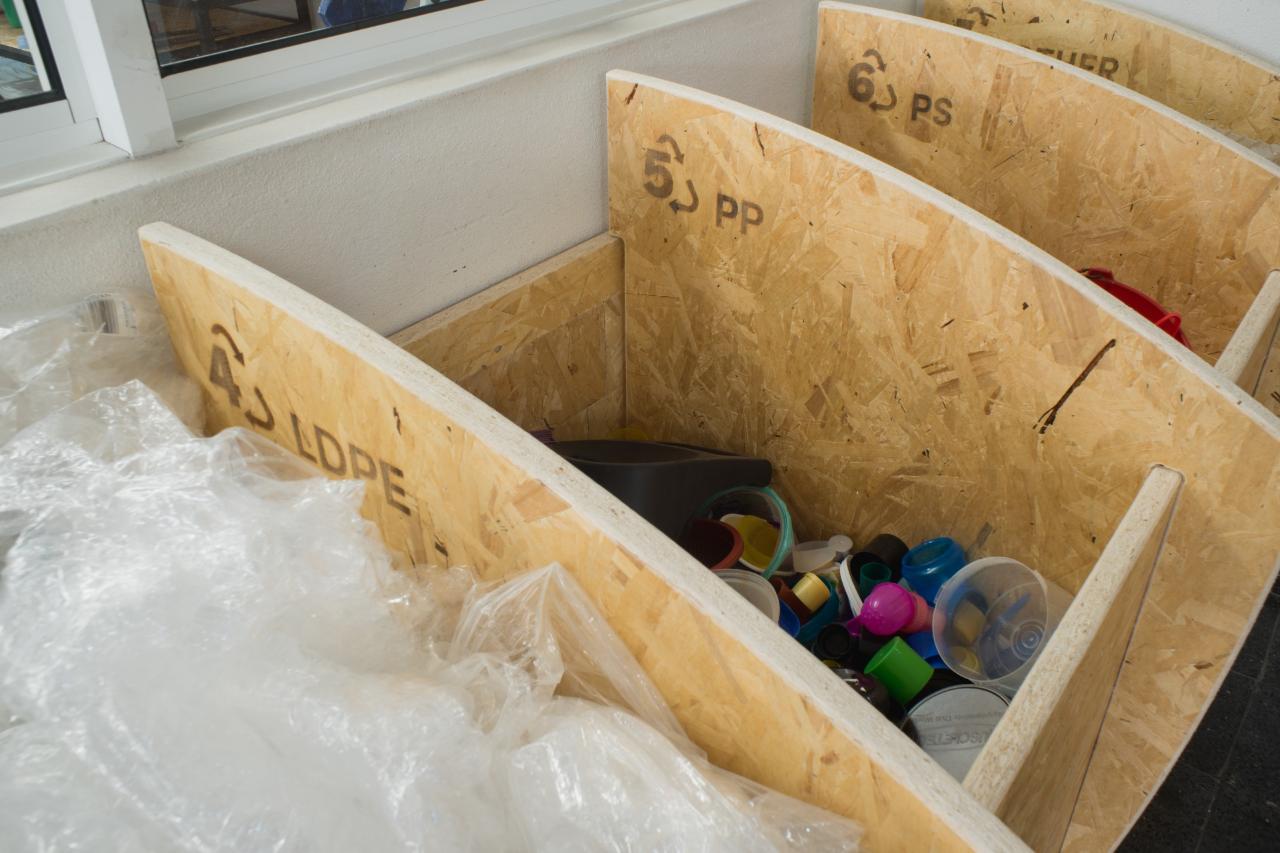
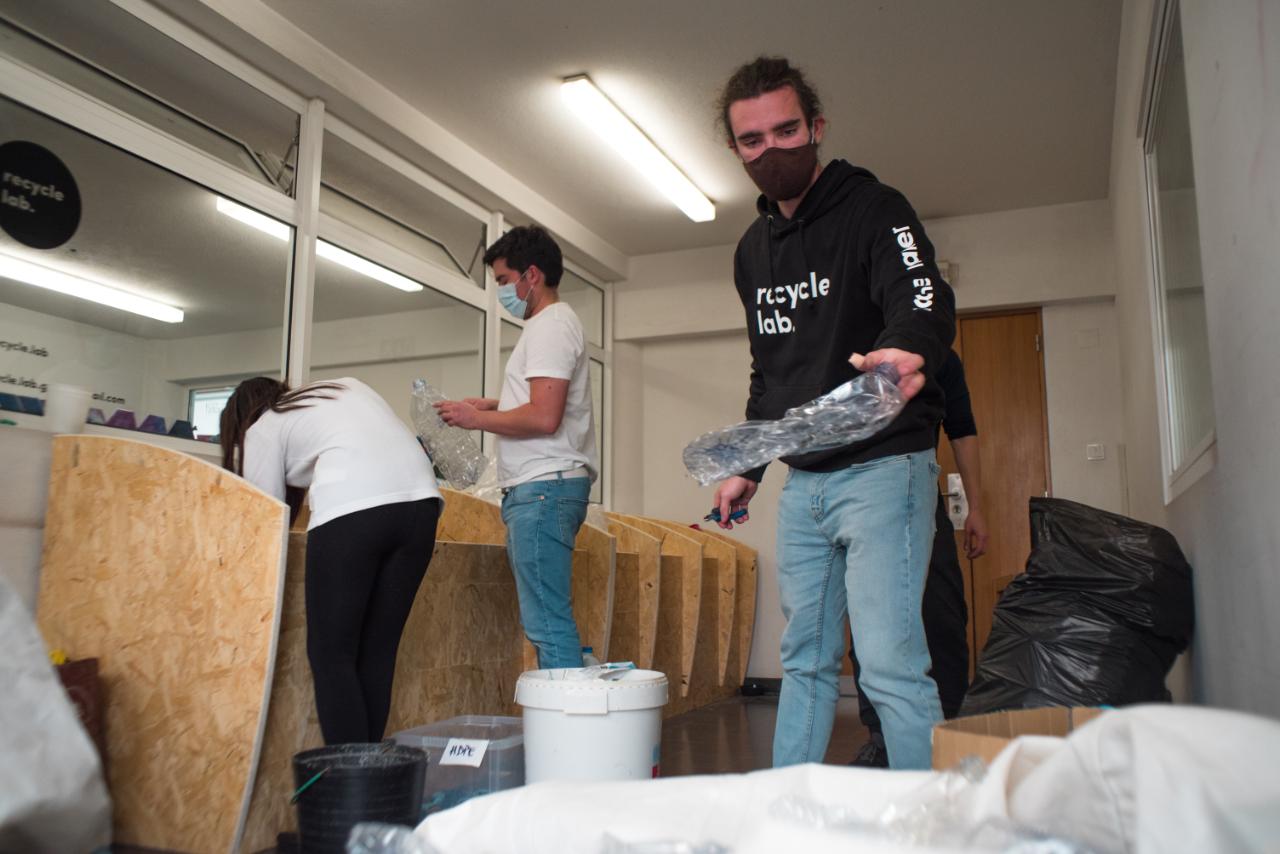
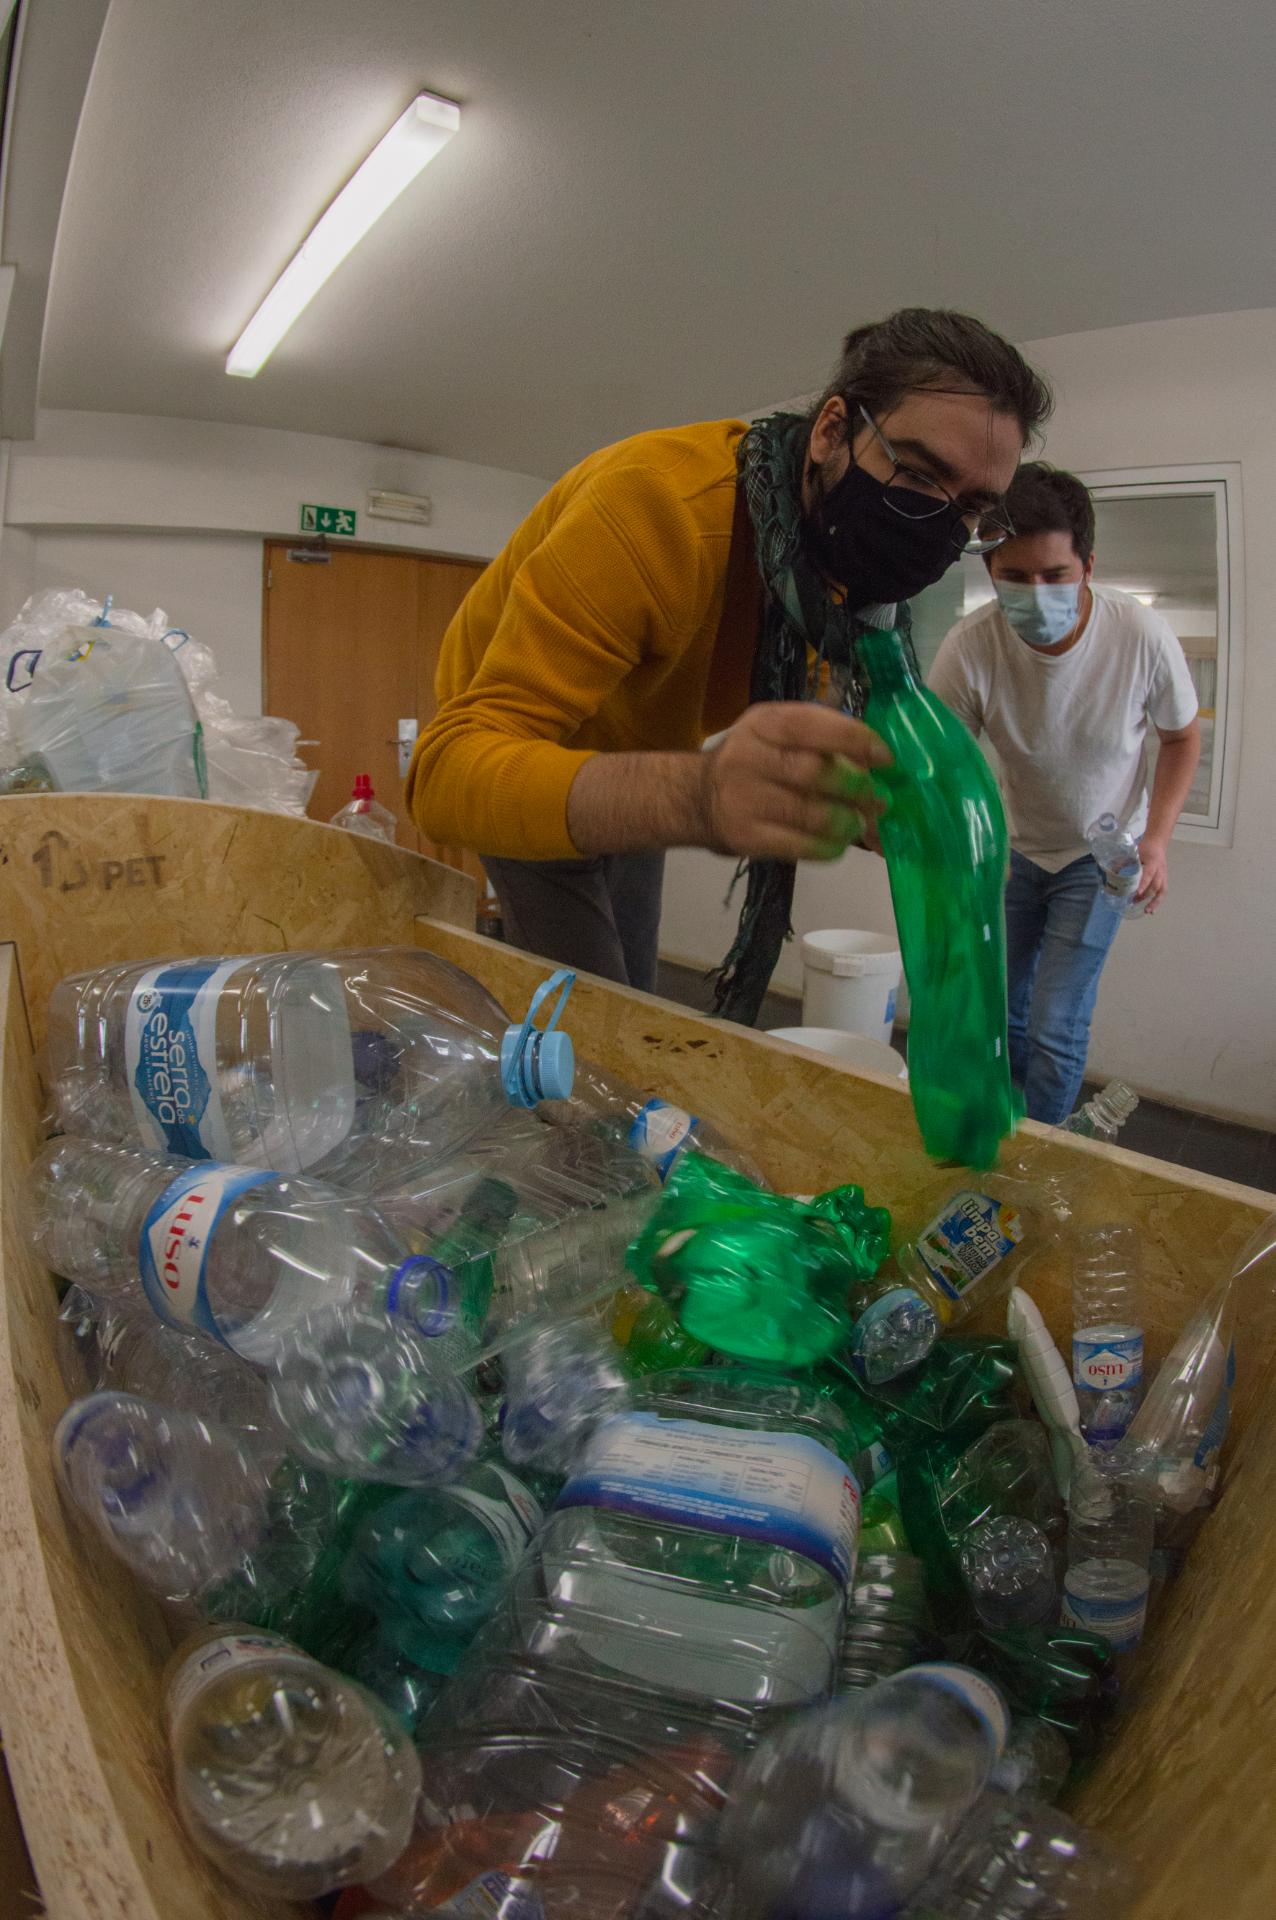
Step 5 - ALL DONE!!
Now you can organize your plastic much more easily!
—
—
—
Comments