Shredder 2.1

We’ve gathered a lot of feedback on the shredder from our community and made a small upgrade which makes it a bit easier to build, swap the mesh and chop plastic.
—
Attachments
Resources
Step 1 - Get ready
The laser cut files are updated:
We got rid of the 4 brackets on the side, making the building process easier as you don’t need to cut the angle profiles and drill holes (if you want you can still place them, they are backwards compatible).
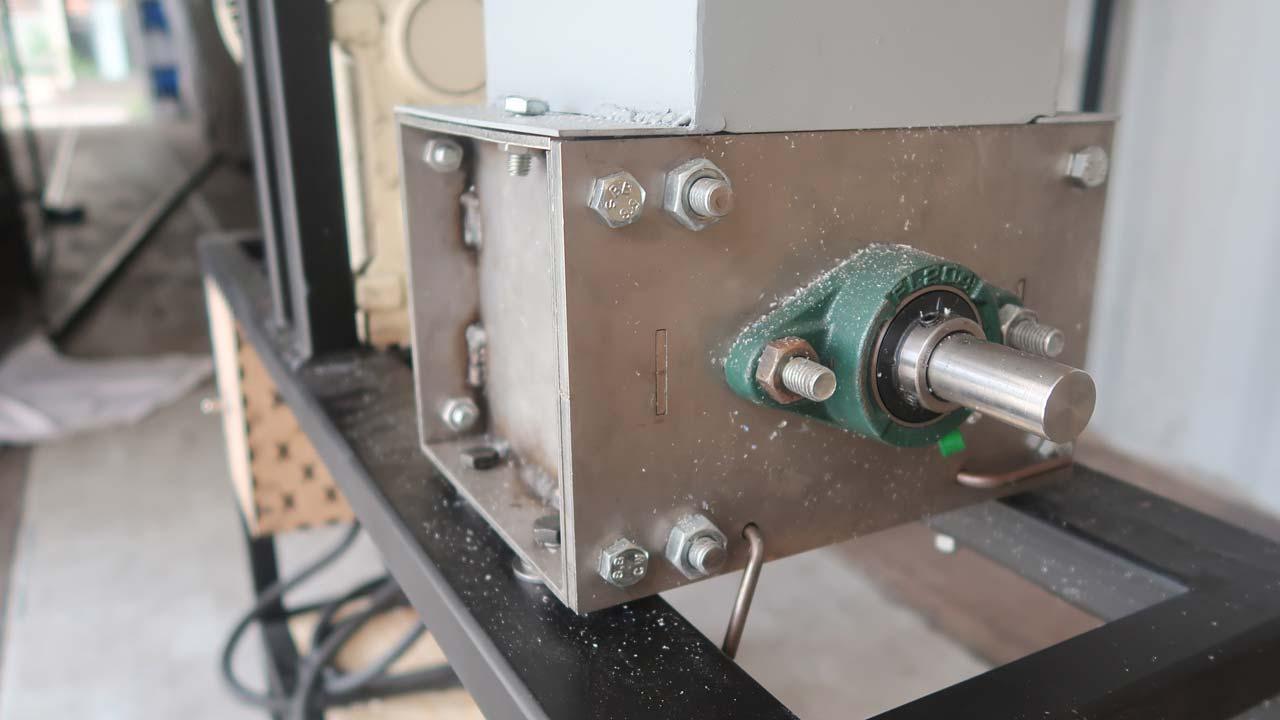
We also improved the design of the mesh, which is more robust and can be taken out from the side. Simply slide out the two metal rods and the mesh pops out underneath (same process to put it back in).
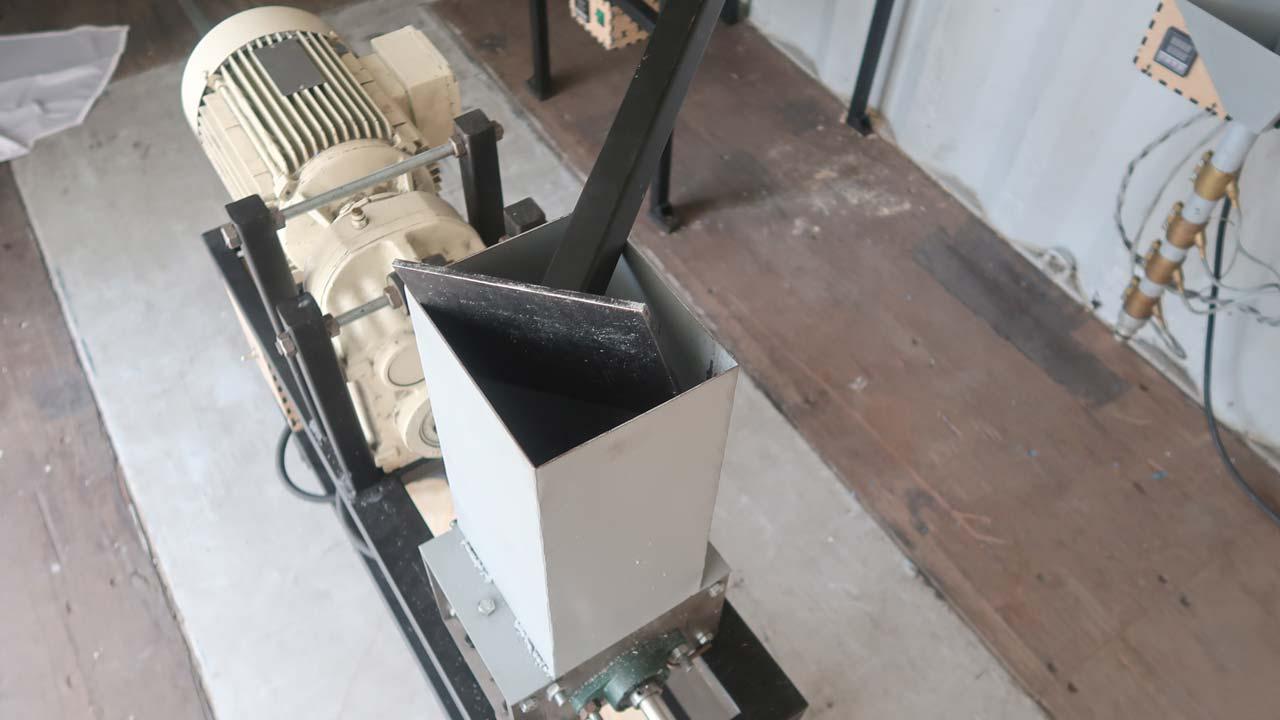
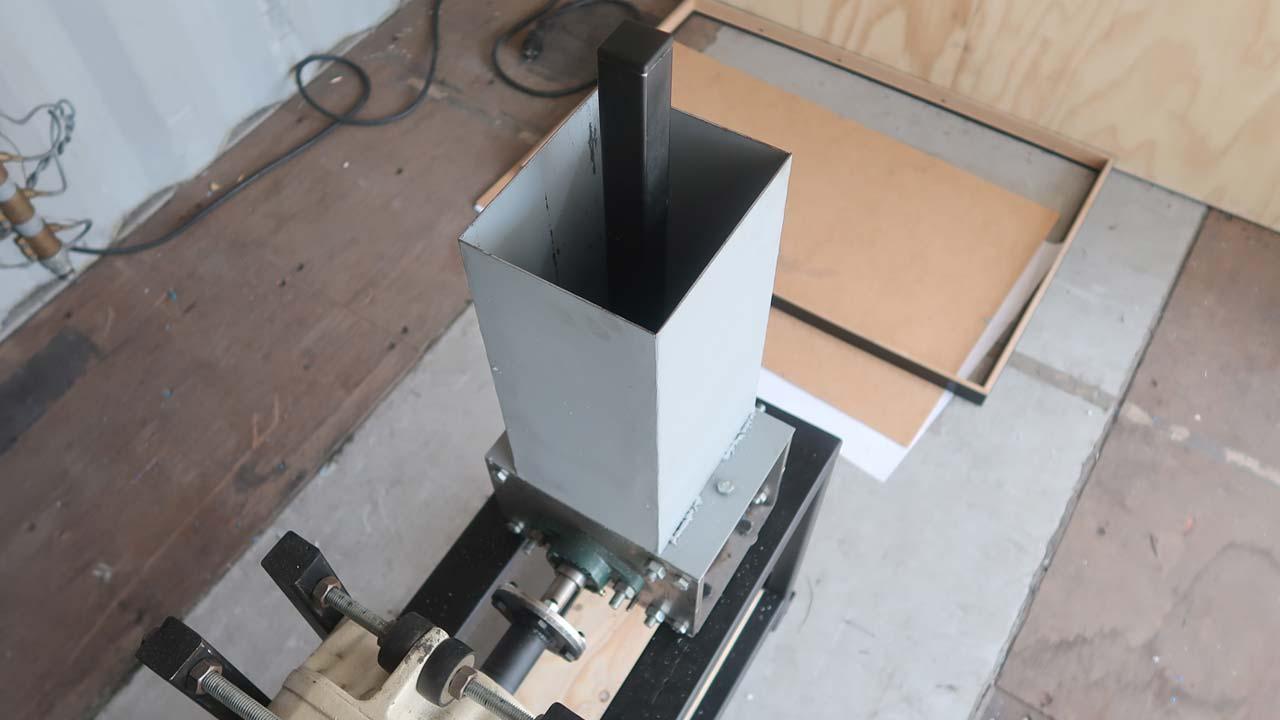
And lastly, we've also improved the hopper making it safer and more efficient, you can now press the plastic down while the machine is running without chopping of your fingers :)
We got rid of the 4 brackets on the side, making the building process easier as you don’t need to cut the angle profiles and drill holes (if you want you can still place them, they are backwards compatible).
We also improved the design of the mesh, which is more robust and can be taken out from the side. Simply slide out the two metal rods and the mesh pops out underneath (same process to put it back in).
And lastly, we've also improved the hopper making it safer and more efficient, you can now press the plastic down while the machine is running without chopping of your fingers :)
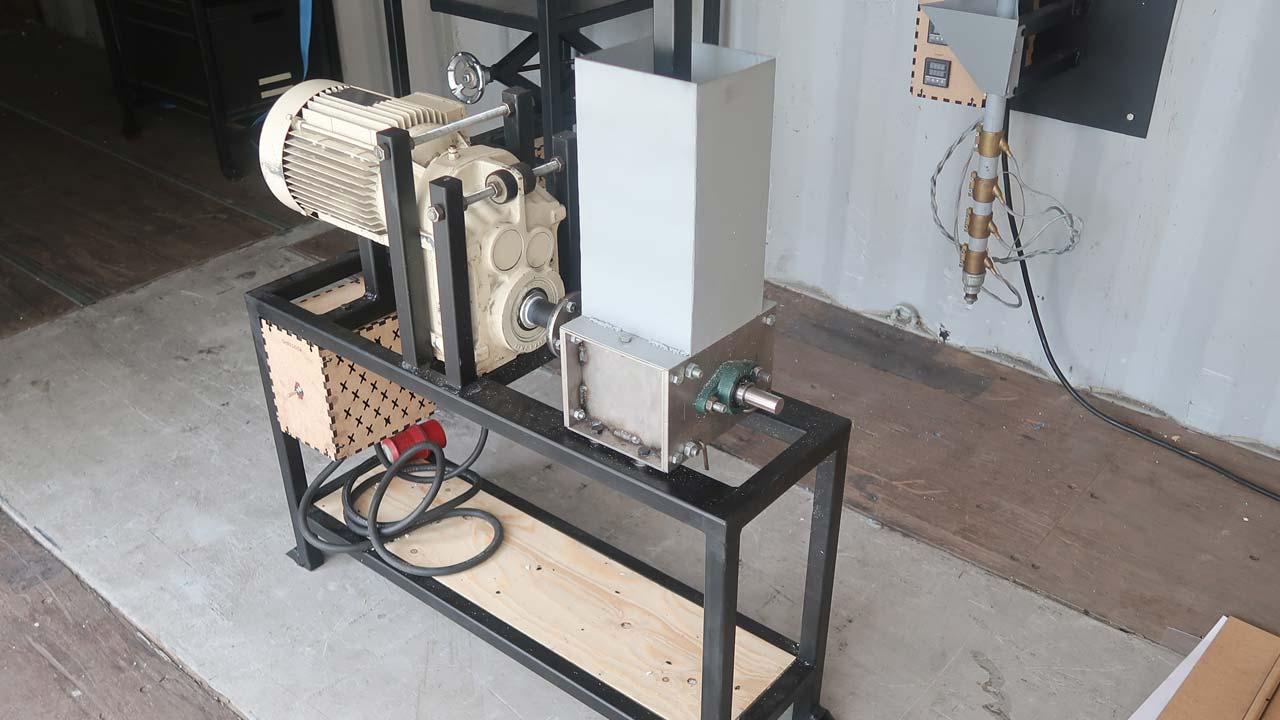
Step 2 - Laser cut and assemble
Download and send the cutting files to your local lasercutter and get the parts cut.
This version is similar to the V2 but some components have been simplified and combined with laser cutting.
Then assemble the laser parts, making sure the alignment is right then weld the parts together.
This version is similar to the V2 but some components have been simplified and combined with laser cutting.
Then assemble the laser parts, making sure the alignment is right then weld the parts together.
Step 3 - Build hopper and plunger
As you will find in the technical drawings, there is a hopper and a plunging system that can be used to make the machine a bit safer.
—
—
—
Comments