Work with the injection machine
The scope of this How-To is the set up and operate the injection moulding machine Precious Plastic v3. The start point is right after you finished building your injection machine and want to start up the first time. This How-to is especially for beginners and tries to cover all important facts to consider for operating the injection machine.
—
Attachments
Resources
Step 1 - Safety
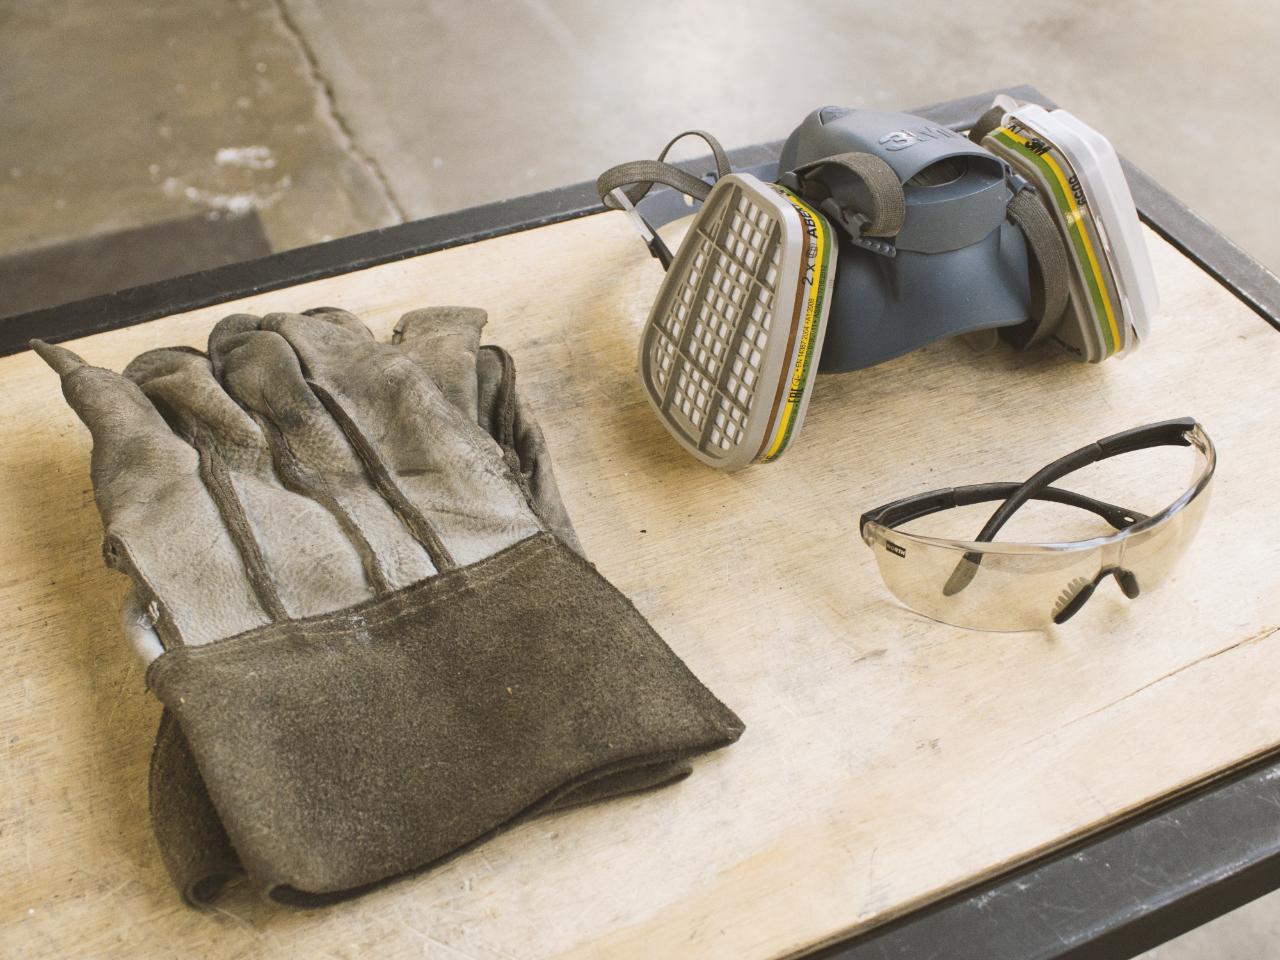
Wear heat resistant gloves to prevent burning yourself from heated parts like: injection barrel, nozzle, plunger and the mould, which can heat up over time! You can use thick leather gloves, which are used for welding. Preferably they have a smooth outside surface (not suede leather), so plastic cannot stick to it.
Wear safety glasses during the injection process!
Avoid contact with molten plastic at all times!
Make always sure your nozzle connectors are in a good condition! Defect adapters can enable the plastic to squeeze out from the barrel under high pressure and cause risk to health!
Be careful while opening the nozzle, plastic can drip out immediately after opening!
Use a fume extractor with a rated filter to extract the fumes! See How to xxx
Step 2 - Machine Limits
There are some physical limitations which have to be considered when using the injection machine.
Precious Plastic Injection Machine v3
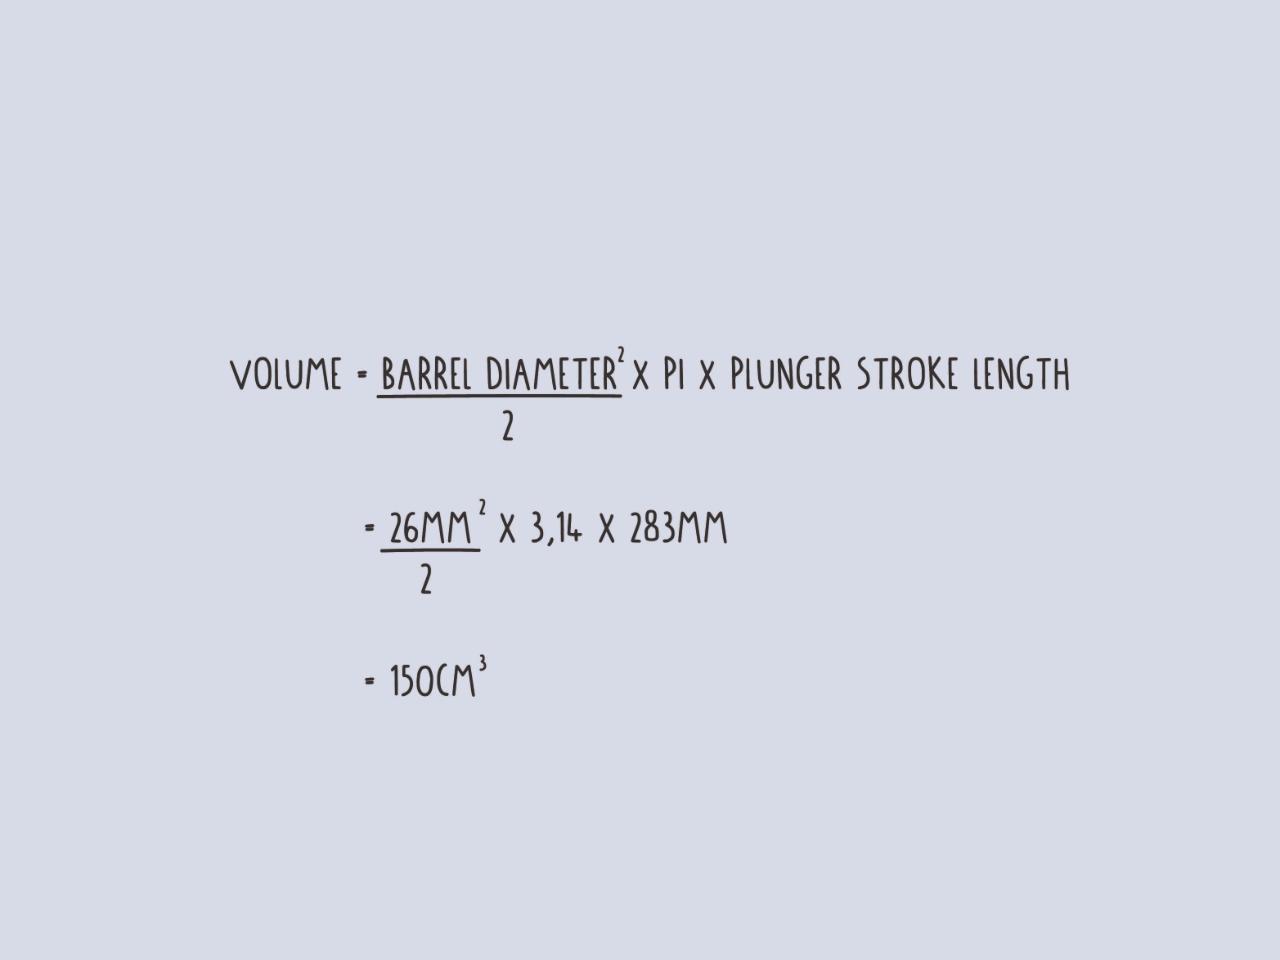
Volume: 150cm³
Pressure: 44bar
The volume determines the maximum volume of the cavity together with gate, runners and sprue you can fill.
The injection pressure determines how fine your details can be and what is the minimum achievable wall thickness.
Depending on your machine build those values might vary according to the calculation in the image.
Precious Plastic Injection Machine v3
Volume: 150cm³
Pressure: 44bar
The volume determines the maximum volume of the cavity together with gate, runners and sprue you can fill.
The injection pressure determines how fine your details can be and what is the minimum achievable wall thickness.
Depending on your machine build those values might vary according to the calculation in the image.


Step 3 - Fix the machine
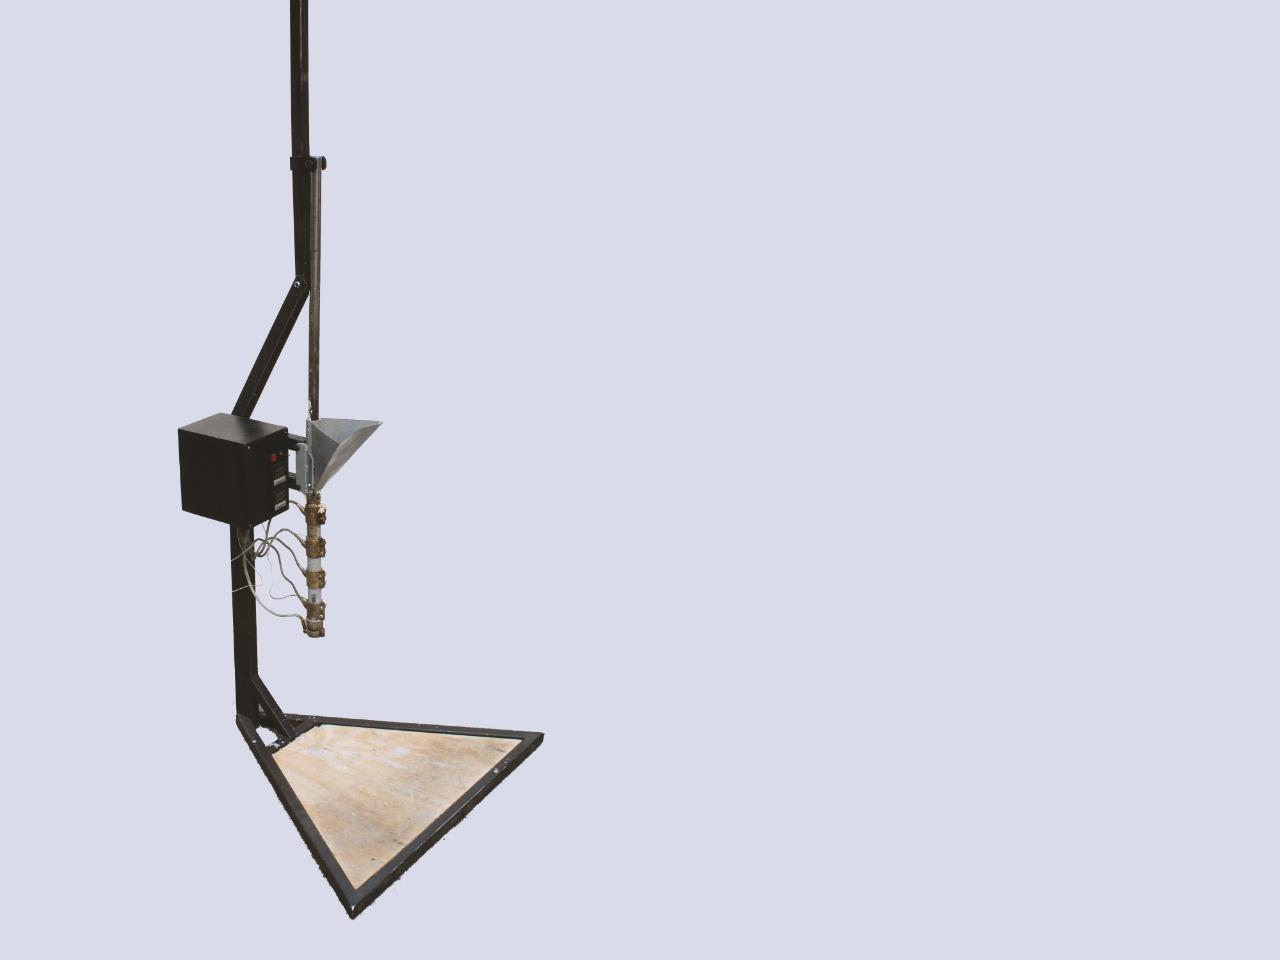
It is useful if you can bolt the machine to the floor, a wall or add a pallet under it to prevent it from falling over during the injection process.

Step 4 - Preheat the barrel
To start the machine plug in the plug and switch on the power.
Do not try move the plunger as long the material melt temperature is not reached!
There are different types of PID controllers on the market, but the main functions seem to be similar over a wide range of available products.
To change the temperature hold the button (Set) until one of the digits lights up. Switch between the digits with the button (Arrow Left) and then increase (Arrow Up) or decrease (Arrow Down) the temperature. Set the target temperature according to your material to the center of the temperature range. Check the starter kit for an overview of specific melt points of different polymer types.

Step 5 - Prepare your material
Close the injection barrel with the nozzle cap and fill in the new material into the hopper. Leaving ~1cm of space to the top of the inlet prevents the plunger from getting stuck during the injection process by shearing of unmelted plastic.
Before the injection can start, a heat-up time of 10-15min is recommended to melt the material uniformly. Do not try to move the plunger before the preheating is done!
There might be still some old material left inside the barrel. Therefore actuate the lever without a mould or closing lid attached, until you stop seeing the previous material leaving the nozzle. Make sure your production leftovers are getting recycled properly!
For big moulds (>100g) the first infill might be not enough to fill the mould fully. Use the plunger to compress the material within the barrel and add more material, so the barrel is full with plastic.

Step 6 - Close the mould
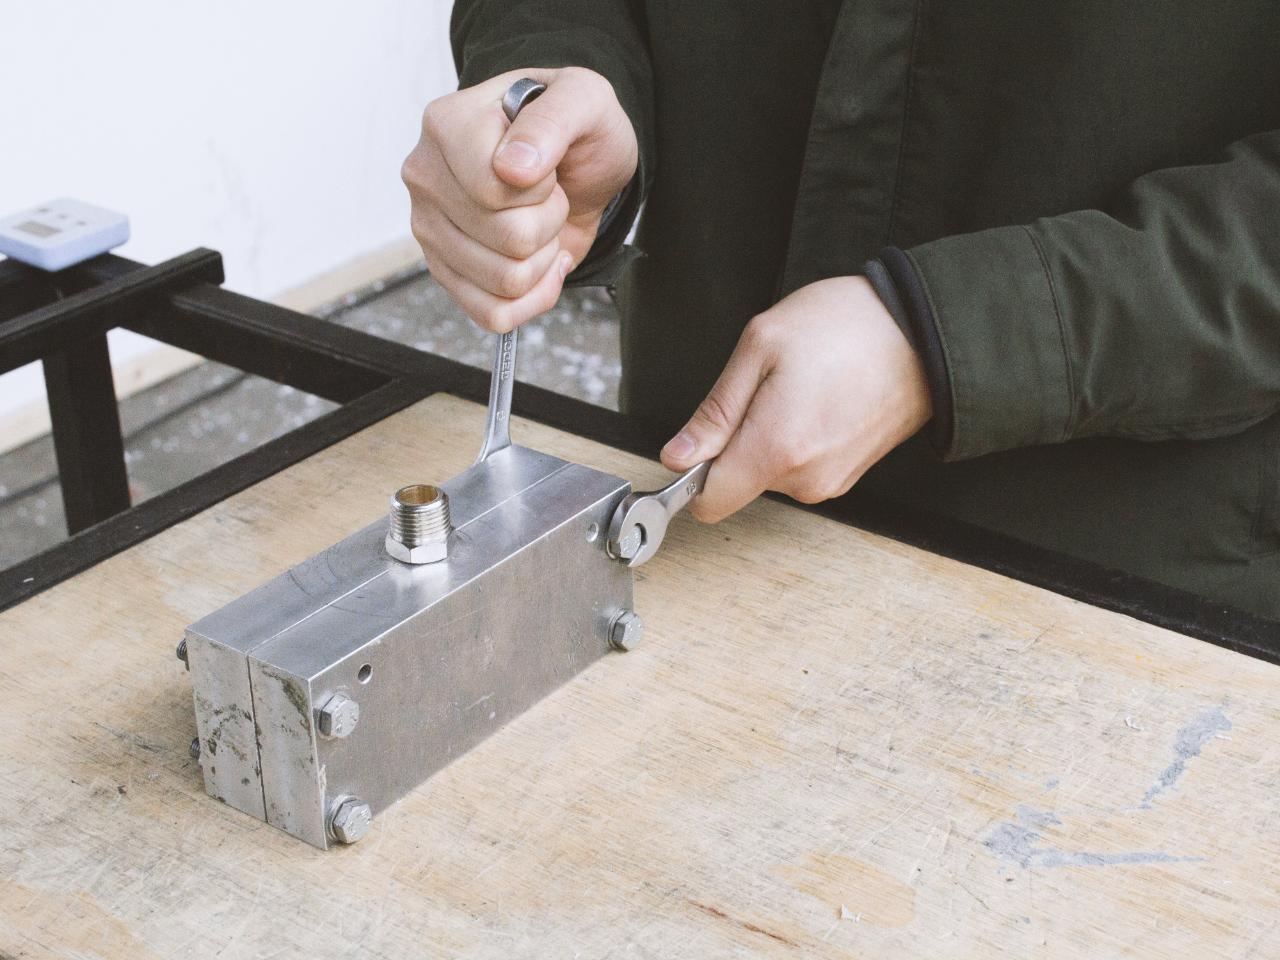
You can start to prepare the mould by closing it and tighten the clamping bolts. Use two (open) ring spanners to open and close the moulds. For the best clamping results you can use an adjustable torque wrench to make sure the clamping is repetitive accurate. The necessary clamping force is also related to the used material.
Keep in mind that mostly the mould thickness (and screw distance) is a limiting factor to the final clamping force. In case your plastic part has flash marks (plastic runs between mould halves), you may add additional steel plates to the outside to increase the structural rigidity.
Keep in mind that mostly the mould thickness (and screw distance) is a limiting factor to the final clamping force. In case your plastic part has flash marks (plastic runs between mould halves), you may add additional steel plates to the outside to increase the structural rigidity.
Step 7 - Attach the nozzle connector
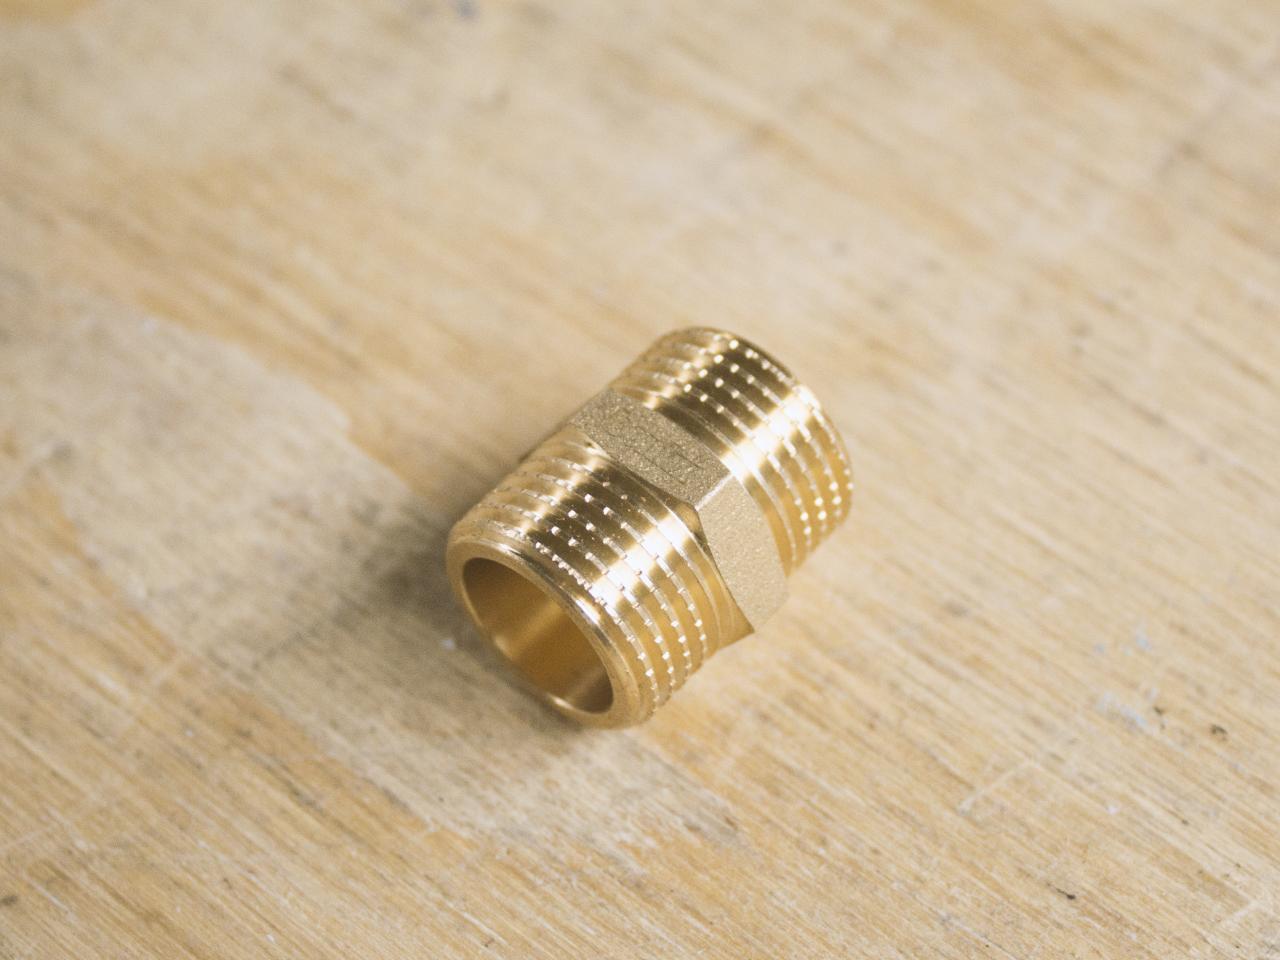
As a nozzle connector (see figure 1 and 2) on the machine side normally a female G 1/2" pipe thread (red) is used. A mould needs a counter-fitting thread or a separate nozzle adapter which fits. We use a male G1/2" to male G1/2" adapter (yellow).
Note that the standard of G and R thread type are compatible.
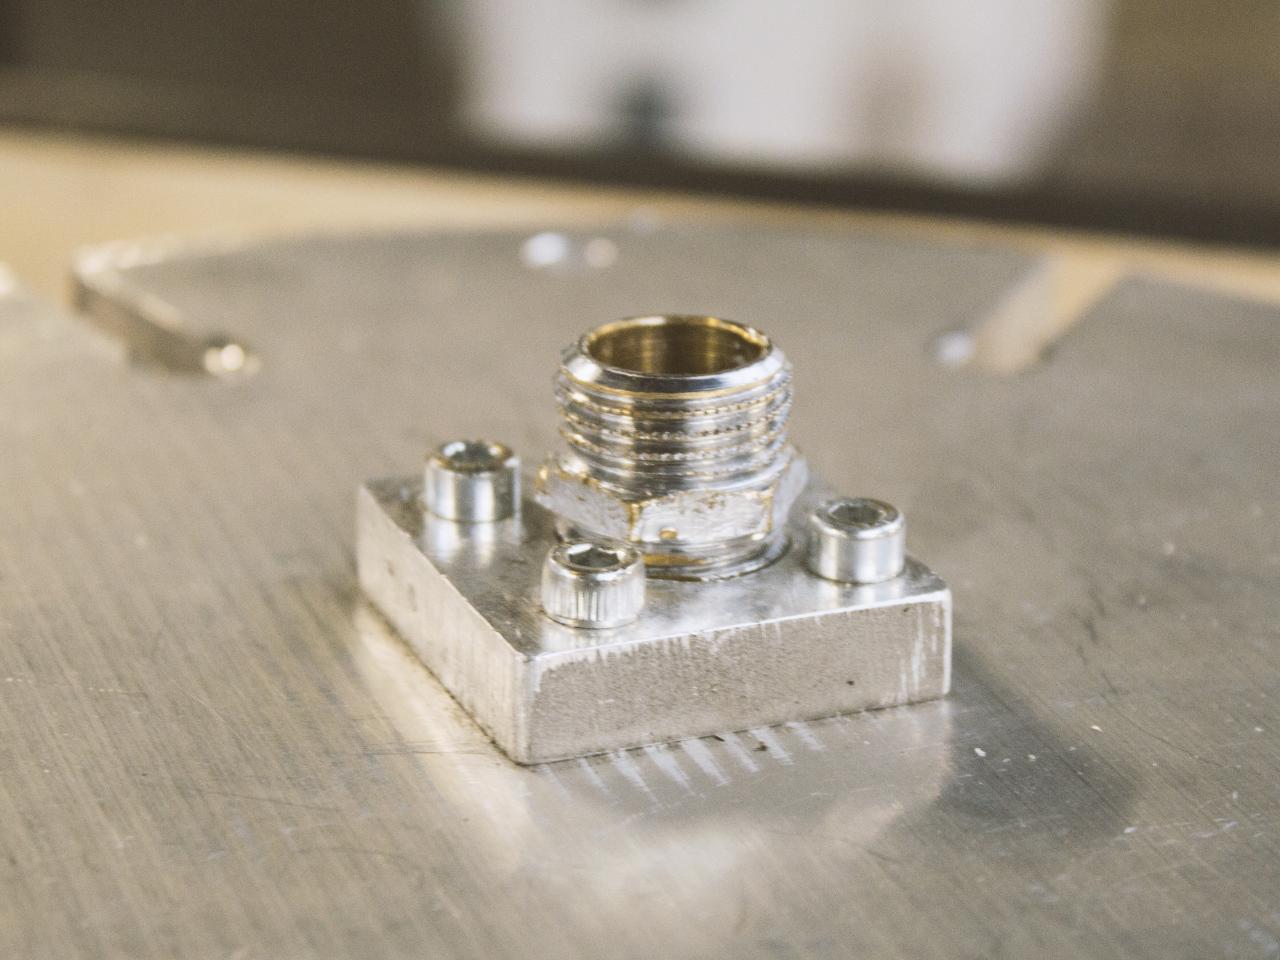
If there is no separate nozzle adapter used on the mould, take care that you do not over tighten the nozzle connector on the mould side. If you ruin a thread in a aluminium mould, the mould needs expensive and difficult repair. For this reason, try to leave the adapter attached to the mould at all times, so the thread in the mould does not get worn out.
To prevent damage to the thread over a large number of injections (for events or small series production) change your nozzle adapter to a slider connector ( https://community.preciousplastic.com/how-to/make-a-quick-release-for-the-extrusion-machine ) or use additional thread adapters which can be swapped easily (see figure 3).
Note that the standard of G and R thread type are compatible.
If there is no separate nozzle adapter used on the mould, take care that you do not over tighten the nozzle connector on the mould side. If you ruin a thread in a aluminium mould, the mould needs expensive and difficult repair. For this reason, try to leave the adapter attached to the mould at all times, so the thread in the mould does not get worn out.
To prevent damage to the thread over a large number of injections (for events or small series production) change your nozzle adapter to a slider connector ( https://community.preciousplastic.com/how-to/make-a-quick-release-for-the-extrusion-machine ) or use additional thread adapters which can be swapped easily (see figure 3).

Step 8 - Injecting
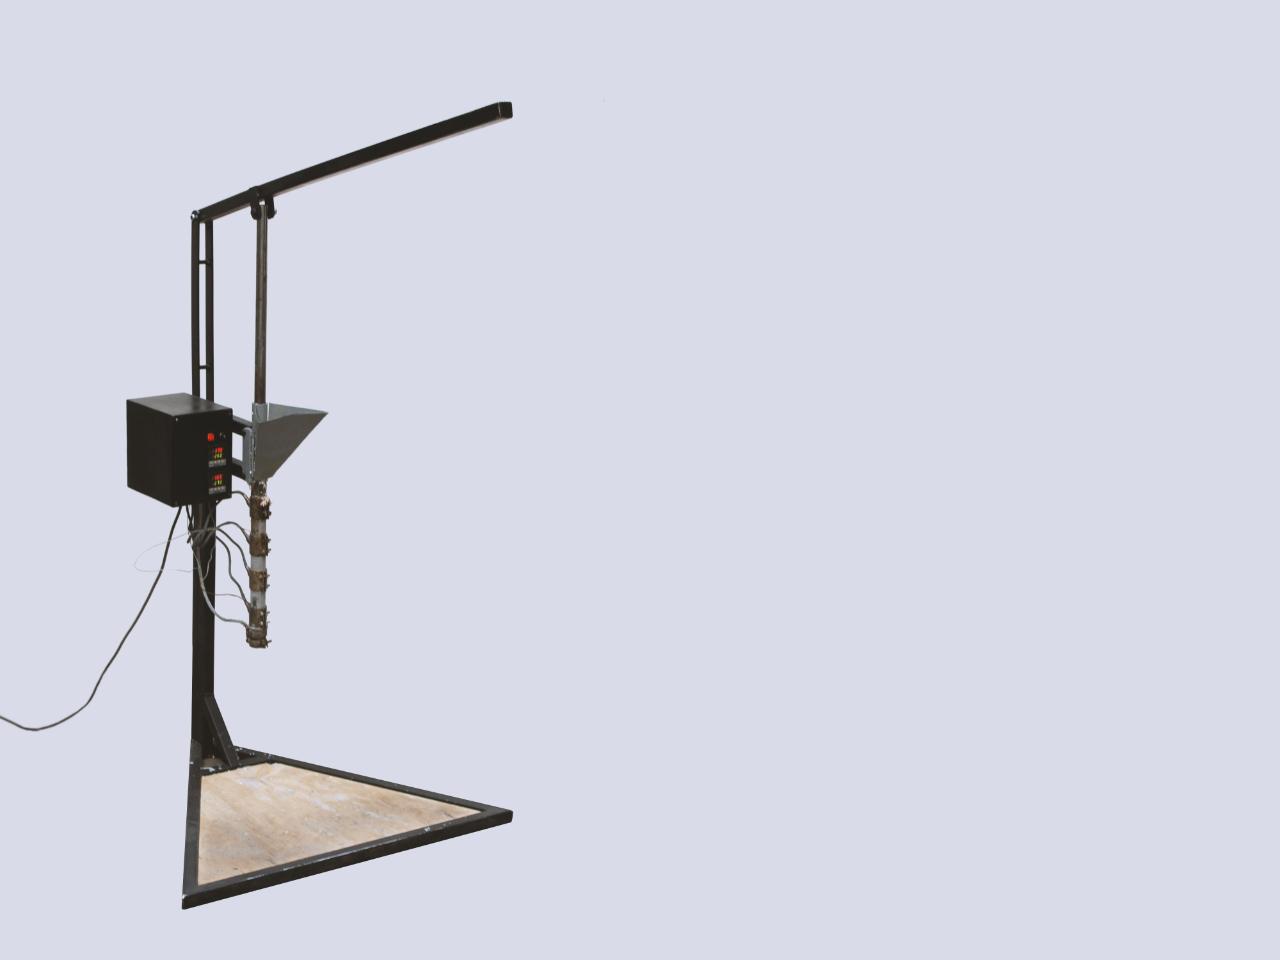
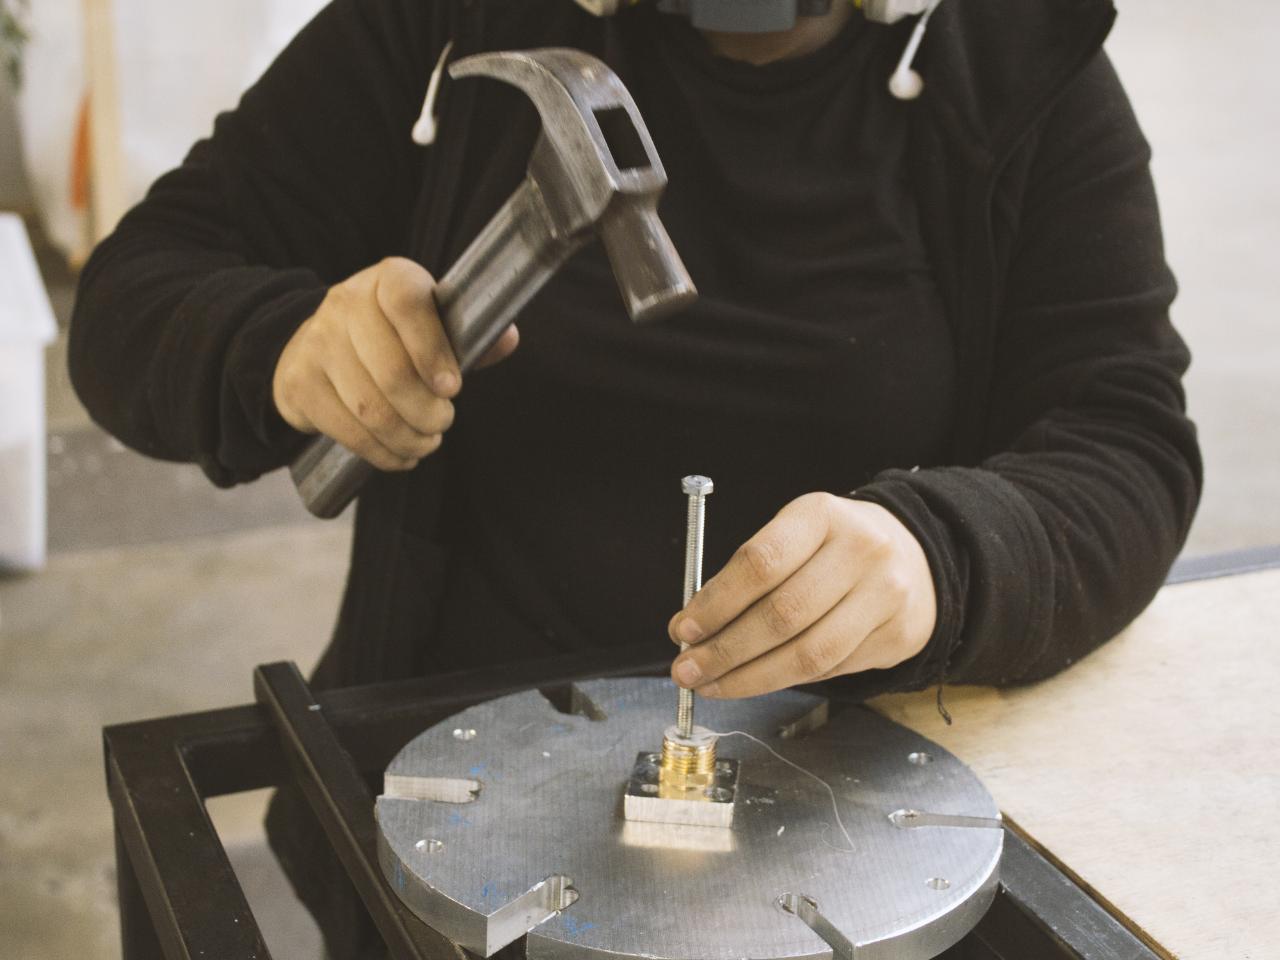
To achieve the highest leverage, it is recommended to actuate the lever from the very end.
You can increase the force by operating the machines with two persons or increase the length of the lever (see figure 1).
If you reached the final temperature and the plastic tends to drip out from the nozzle, you are ready to start with injecting. To be sure to have a successful injection, actuate the injection lever gently and remove the very front of the material for the first injection.
To start you remove the closing cap from the injection barrel. Make sure to attach the mould as fast as possible, after removing the closing cap. Otherwise the front of the plastic might cool down and impede the injection process.
Keep the pressure for ~5 seconds. This reduces the shrinkage and prevents from a "vacuum" effect, where the molten material is moved back into the injection barrel (see figure 2)

Step 9 - Opening the mould
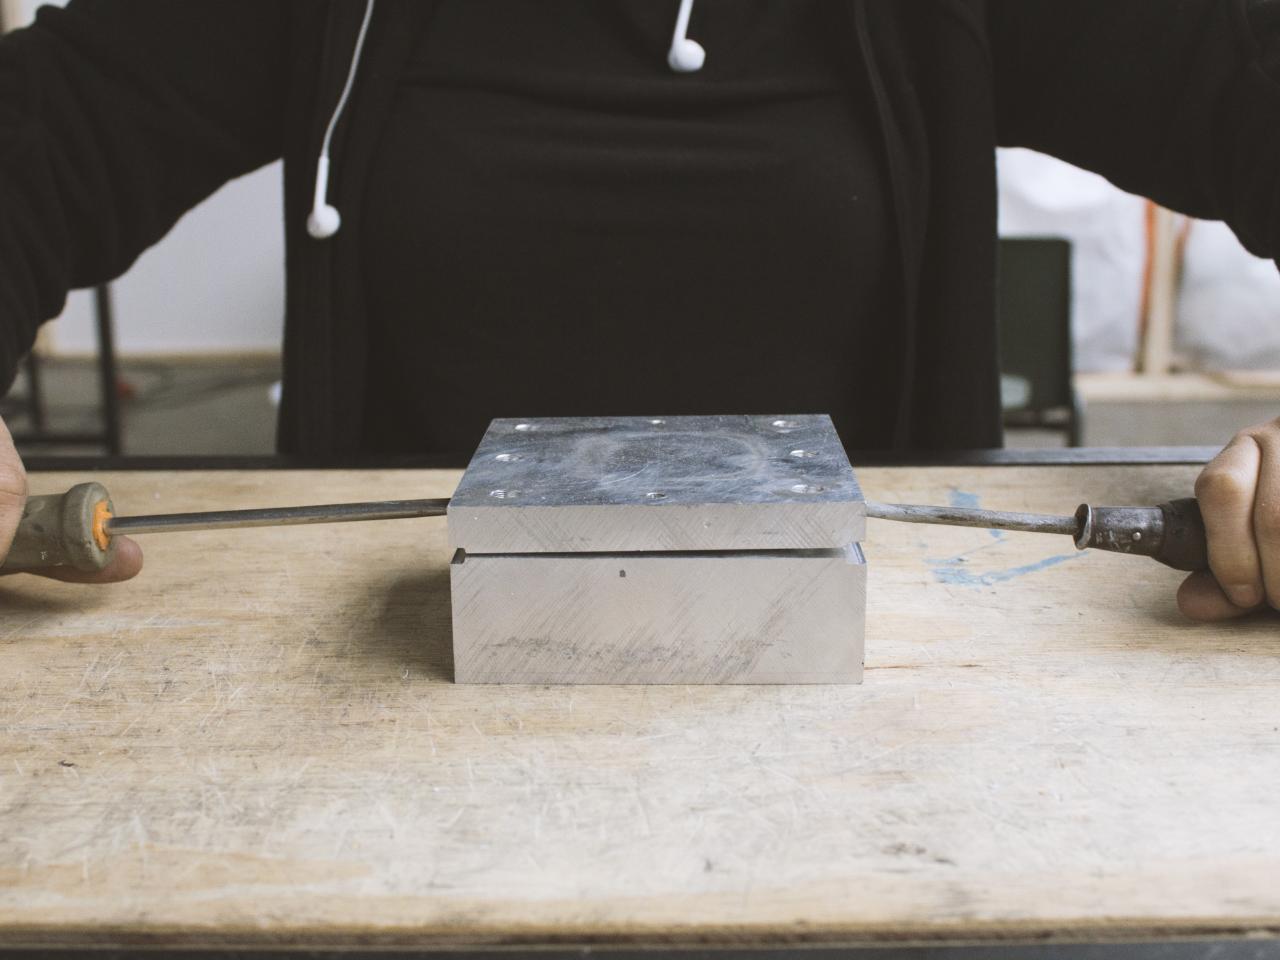
The mould usually can be opened immediately after the injection process. Unscrew the mould clamping screws. Two flat headed screwdrivers can be used to equally separate the two mould halfs apart from each other (see figure 1).
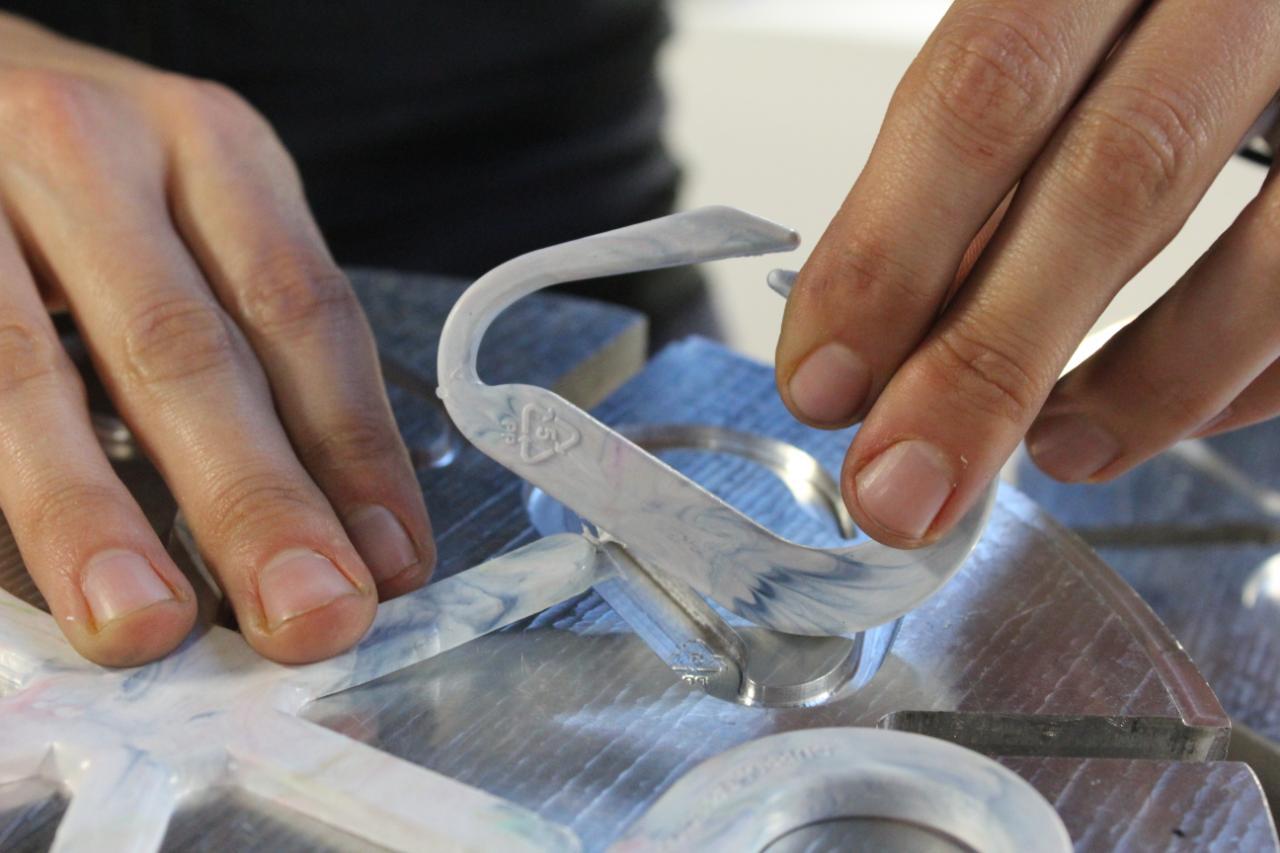
After opening the mould, the part can be removed from the mould. Depending on the mould design it can be easier to remove the injection sprue first (see figure 2). So all the connected parts come out at the same time.
Be very careful in removing the part from the mould and try to avoid the use of any hard (metal) tools within the cavity! They can scratch and damage the mould permanently. A damaged mould requires time intensive re-work by sanding and polishing or even closing the holes by welding and further machining.
Step 10 - Done
Congratulations, you just injected your first part!
If something went wrong, check on the bottom of this page for our troubleshooting reference.
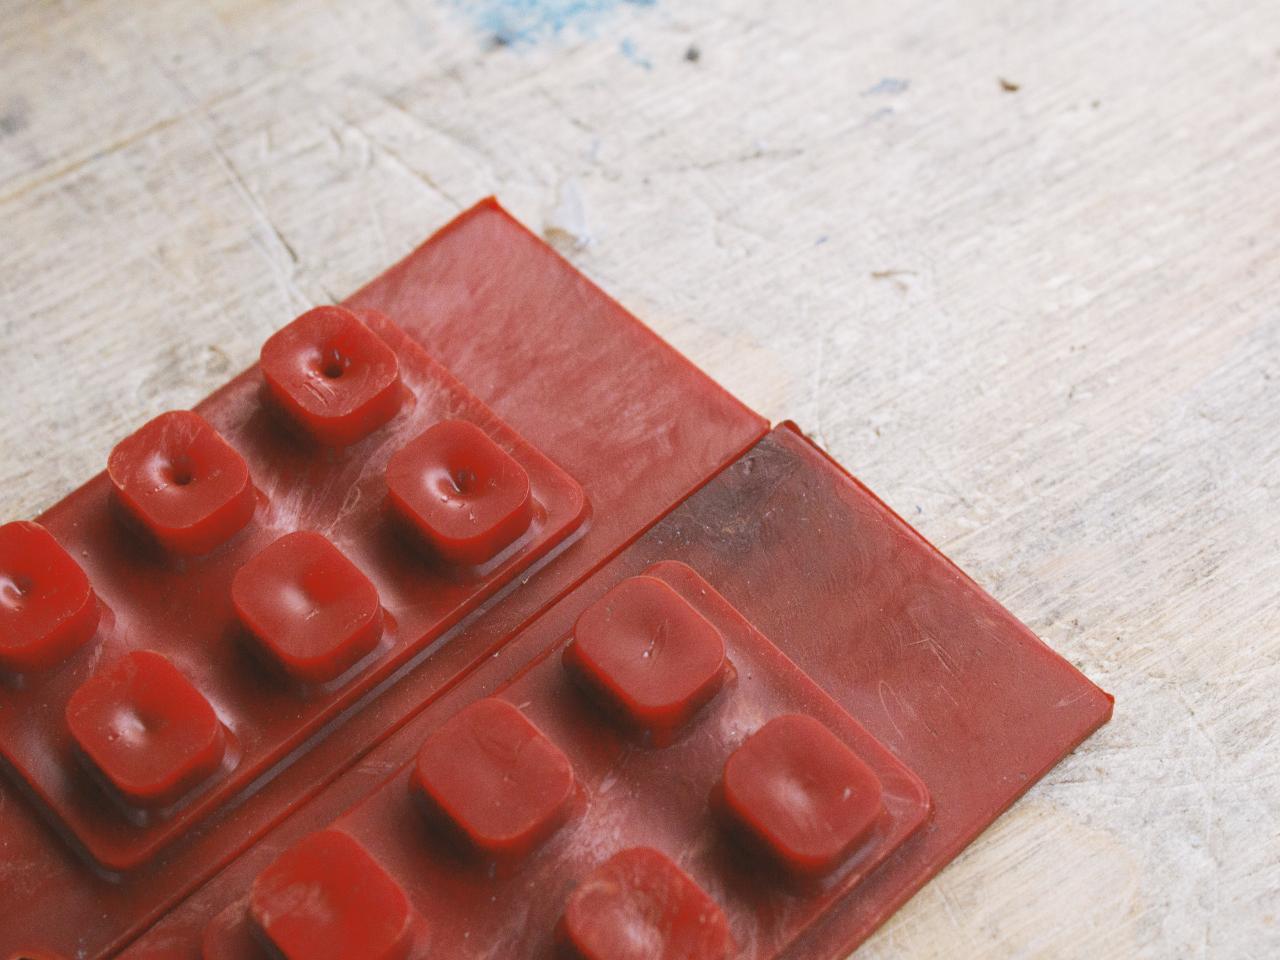
Remove the single parts from the runners by breaking or cutting of the part at the gate location.
Finish your part, by trimming off the leftover gate material with a sharp knife. Watch your fingers!
Make sure, all your products have labels before you hand them out to customers!
If something went wrong, check on the bottom of this page for our troubleshooting reference.
Remove the single parts from the runners by breaking or cutting of the part at the gate location.
Finish your part, by trimming off the leftover gate material with a sharp knife. Watch your fingers!
Make sure, all your products have labels before you hand them out to customers!

Step 11 - Finish your work
You can push the injection lever to the top position, so you can start by adding fresh material the next time you start the machine. This makes sure, that the injection plunger won’t be stuck in the injection barrel.
Clean the area where you work from all leftover plastic. The next person who uses the machine will not know which materials you used!
Clean the area where you work from all leftover plastic. The next person who uses the machine will not know which materials you used!
Step 12 - Troubleshooting
Injection moulding is a complicated process where many different process parameters have to be dialed in to the right settings. We keep a Troubleshooting guide updated ( REFERENCE ) to help you if something goes wrong.
—
—
—
Comments