Make a handplane (simple mould)
How to make a simple mold for injection molding out of metal sheet or existing metal forms. As an example we will focus on a bodysurf handplane fabrication.
—
Attachments
Resources
Step 1 - PLAN YOUR DESIGN
You can build a very simple mold directly from metal plate or existing metal. The first step is to design your object to stay simple while functional, and to define the use of your product in order to most efficiently reduce its complexity. Taking the bodysurf handplane as an example: it’s main purpose is to increase the surface of your hand while bodysurfing, the second purpose is to give some hook in the wave. The first purpose can be achieved by a big enough plank while the second can be achieved by fins, channels or simply a concave hull. This last option is the simplest to achieve without a complex CNC mold.
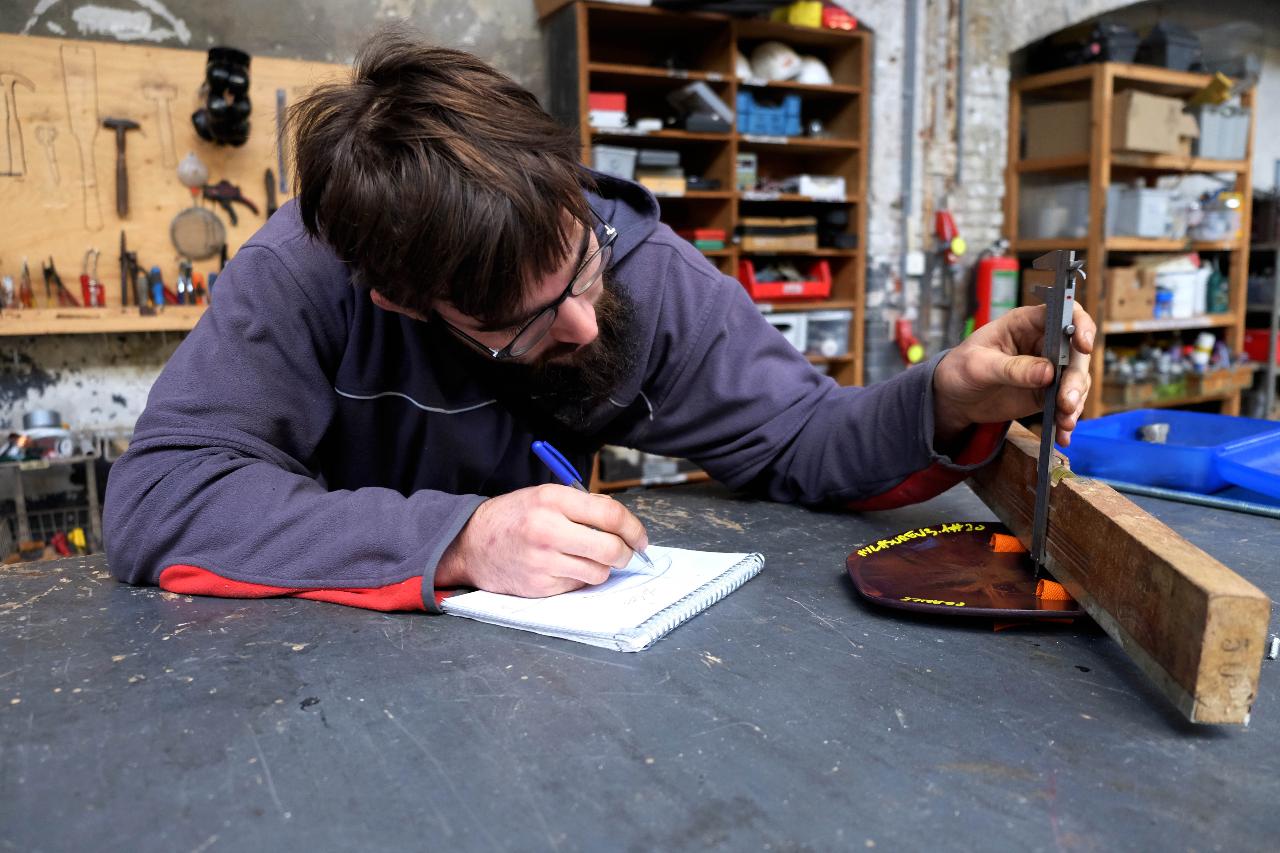
It’s beneficial to carry out research into similar industrial products. We researched available handplanes, and (surprise) they looked much the same as our design, with some complex additions that didn’t make any difference to us while testing. We would suggest that you should not try to exactly replicate industrial products, nor take too much inspiration from them. Use them to verify your ideas, once your thinking process is complete.
It’s beneficial to carry out research into similar industrial products. We researched available handplanes, and (surprise) they looked much the same as our design, with some complex additions that didn’t make any difference to us while testing. We would suggest that you should not try to exactly replicate industrial products, nor take too much inspiration from them. Use them to verify your ideas, once your thinking process is complete.

Step 2 - LIMITATIONS & TESTING
As complex shapes will be hard to achieve without complex machinery, you will have to finish your product by hand. With our handplanes we simplify everything as much as possible, to reduce this post-injection finishing time and material waste. Simplification is key.
For the purpose of testing our design, we carried out trials with compressed plastic plates, cut to different shapes and then bent to different diameter concaves.
For the purpose of testing our design, we carried out trials with compressed plastic plates, cut to different shapes and then bent to different diameter concaves.
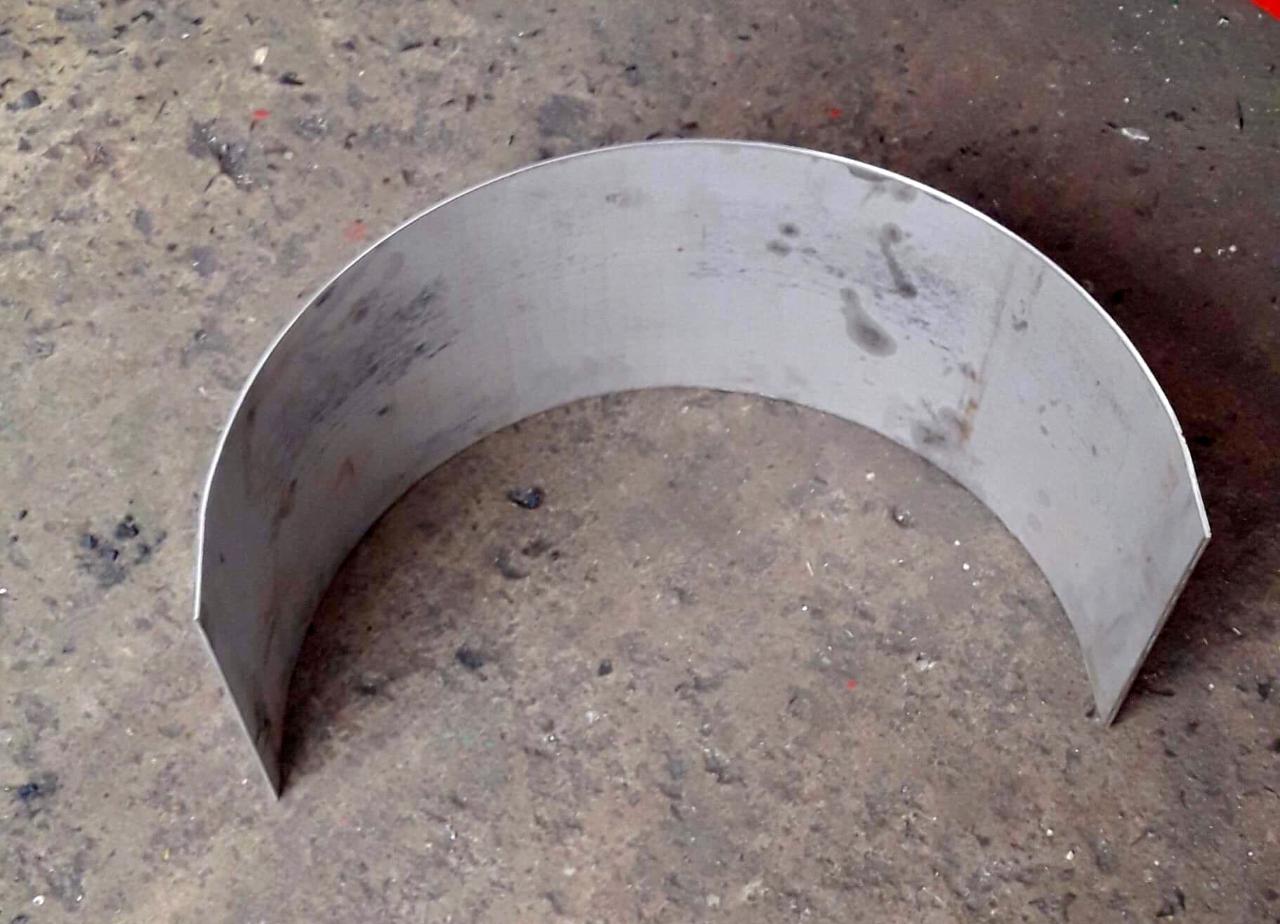
Step 3 - FIND THE BEST MATERIAL
In this example we will focus on the handplane mold. As we defined that the most important parameter will be the concave mould, we needed to find a metallic piece corresponding to this concave diameter. Our testing showed us that Ø600mm would give the optimal concave, which then brings us to two options: Find a nominal OD600 pipe in a scrapyard, or ask a boilermaker to roll a plate to this diameter. Here we went for the second option as it was the easiest to find in our area.
Step 4 - CHOOSE YOUR WIDTH & THICKNESS
We used a stainless steel plate as this would require less finishing (see finishing chapter - step 9), and is compatible with a steel casted plug for welding purposes (see welding chapter - step 7). Using a black steel plate is also completely fine and will work the same.
The plate width should correspond to your handplane length. Here, the handplane is 250mm long, so a 300mm width plate will be fine to allow space for drilling the bolt holes (see drilling chapter - step 8). For thickness, we observed within our testing that 4mm would be the minimum necessary to handle injection pressure. For this mold we decided on 5mm, as we wanted our handplane to be 5mm thick (see cutting chapter - step 5).
The plate width should correspond to your handplane length. Here, the handplane is 250mm long, so a 300mm width plate will be fine to allow space for drilling the bolt holes (see drilling chapter - step 8). For thickness, we observed within our testing that 4mm would be the minimum necessary to handle injection pressure. For this mold we decided on 5mm, as we wanted our handplane to be 5mm thick (see cutting chapter - step 5).
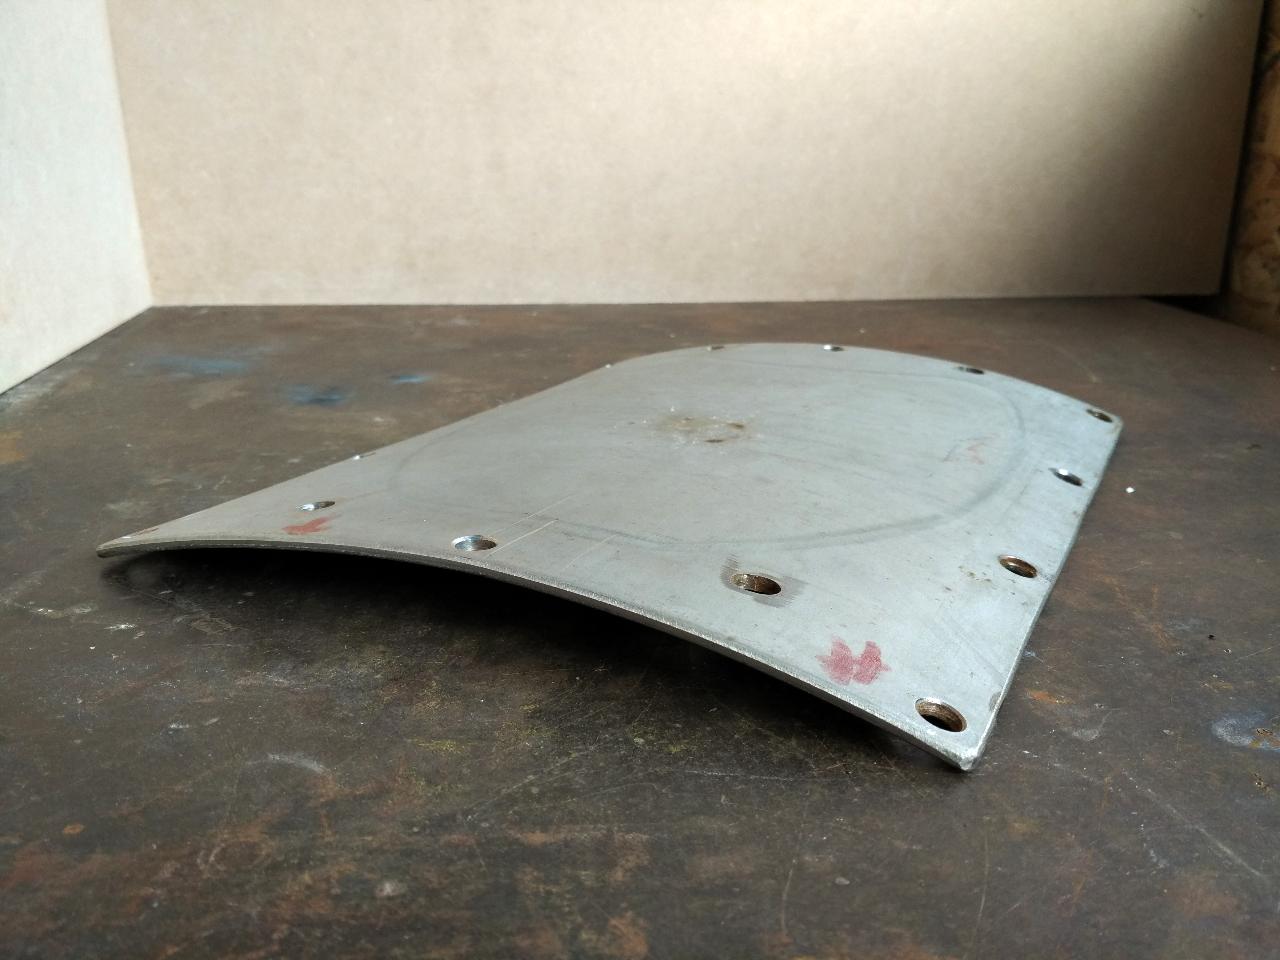
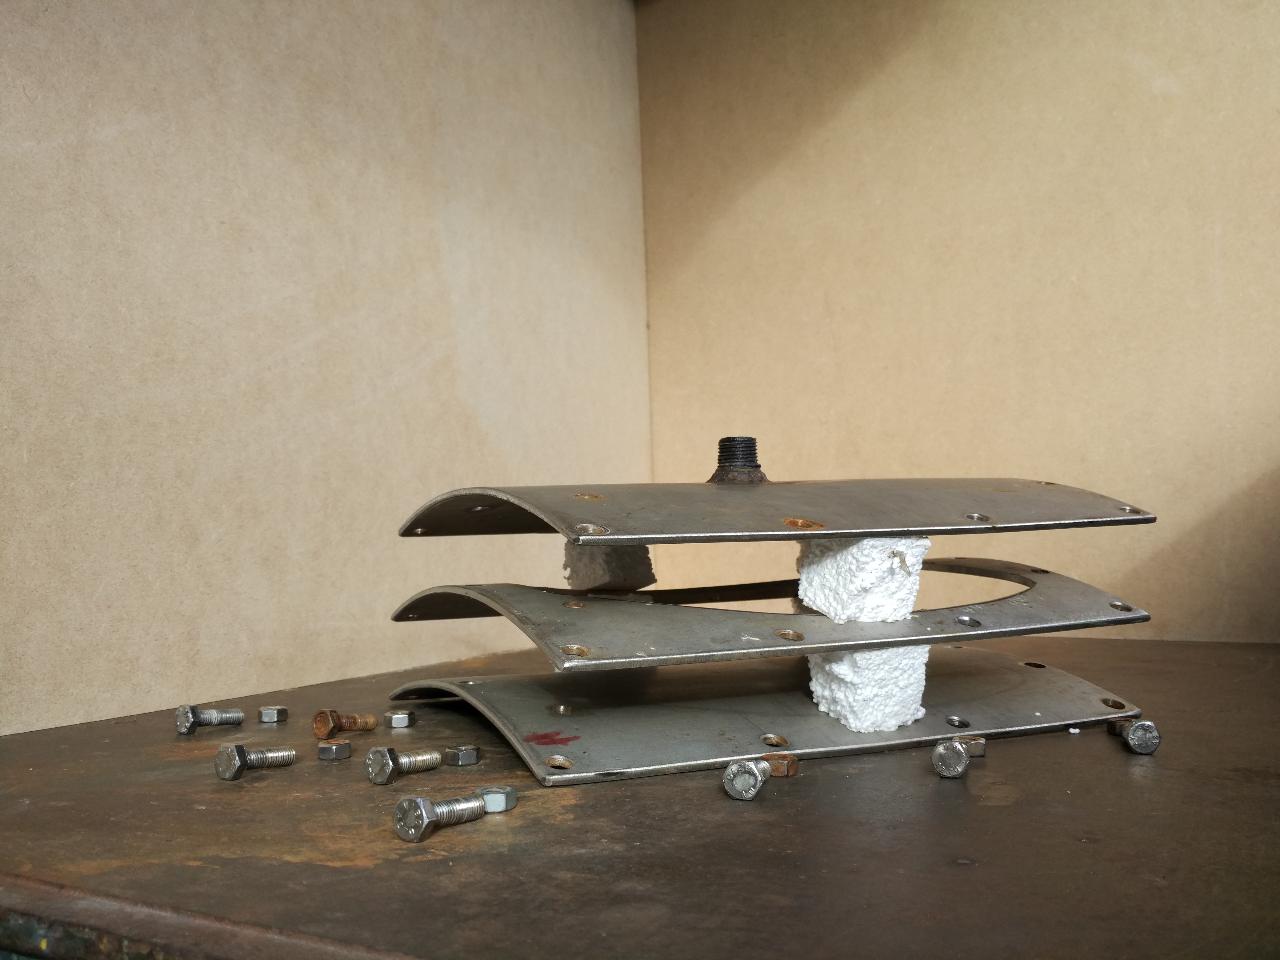
Step 5 - MOULD EXPLAINED
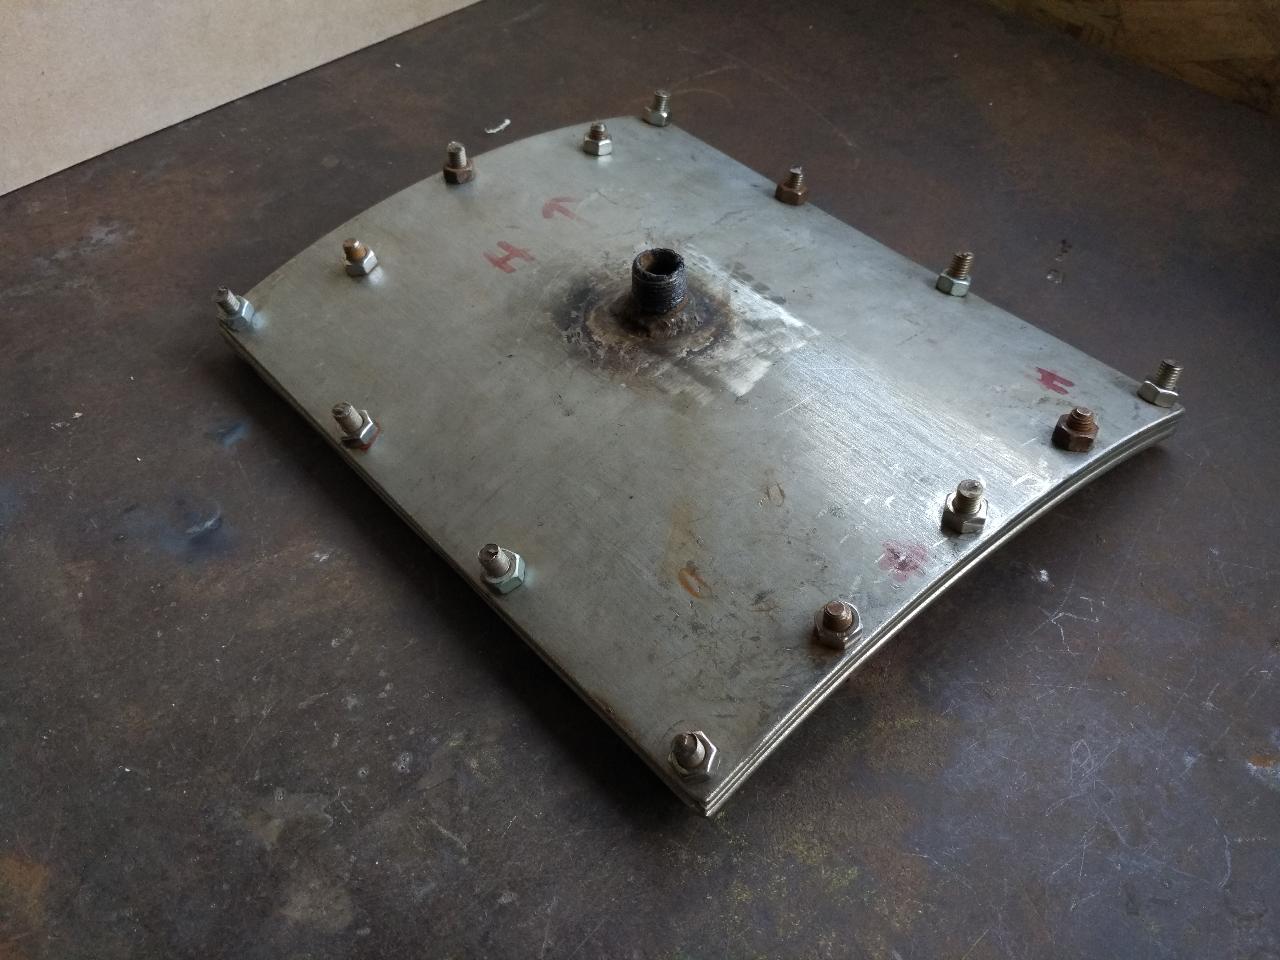
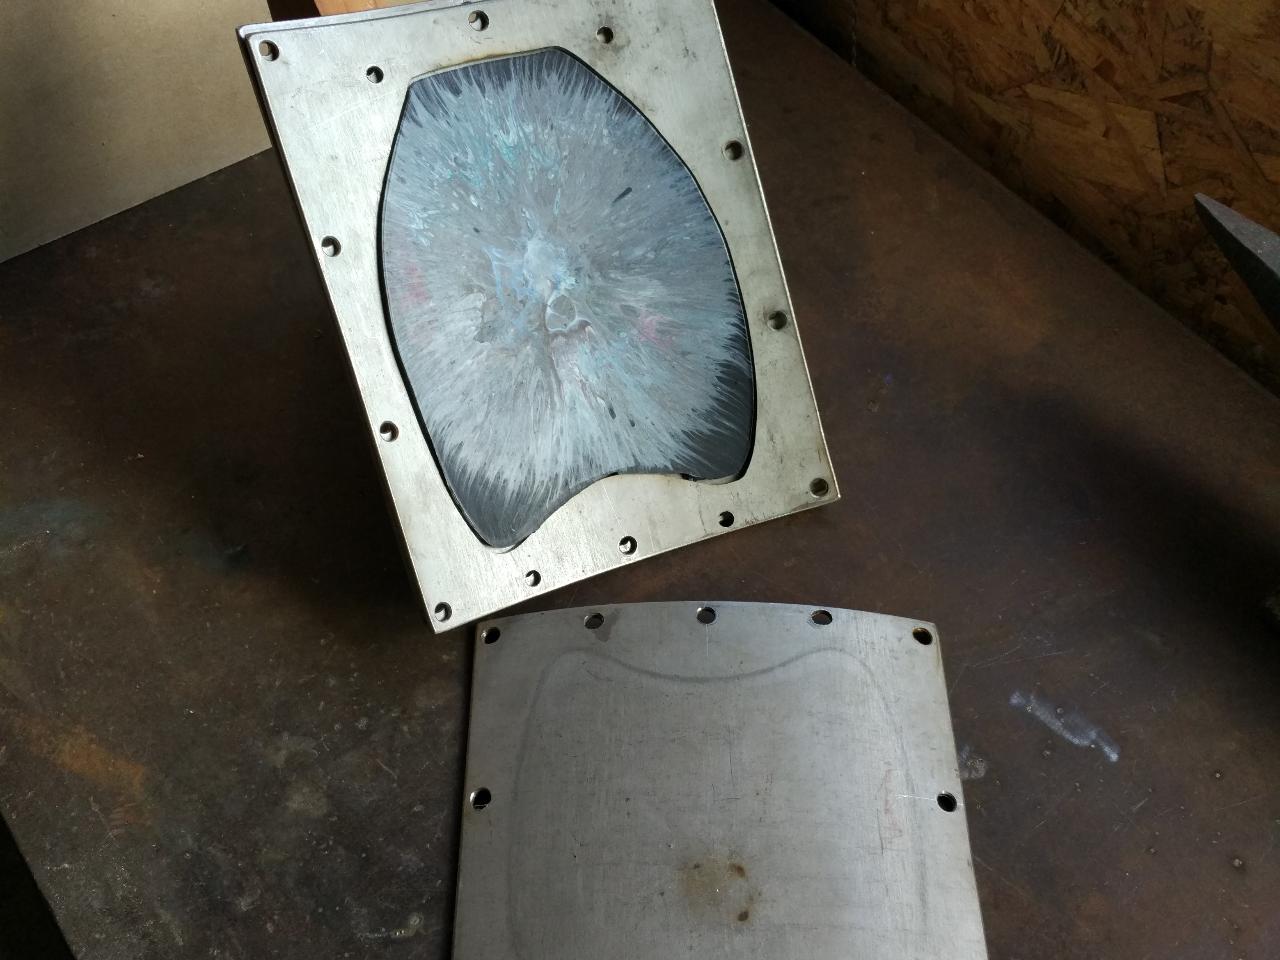
This mold is made from three plates: the top plate with the nozzle welded, the spacer with the outline of the handplane cut, and the bottom part left untouched. Our pieces are 25mm width as the handplanes are 20mm width.

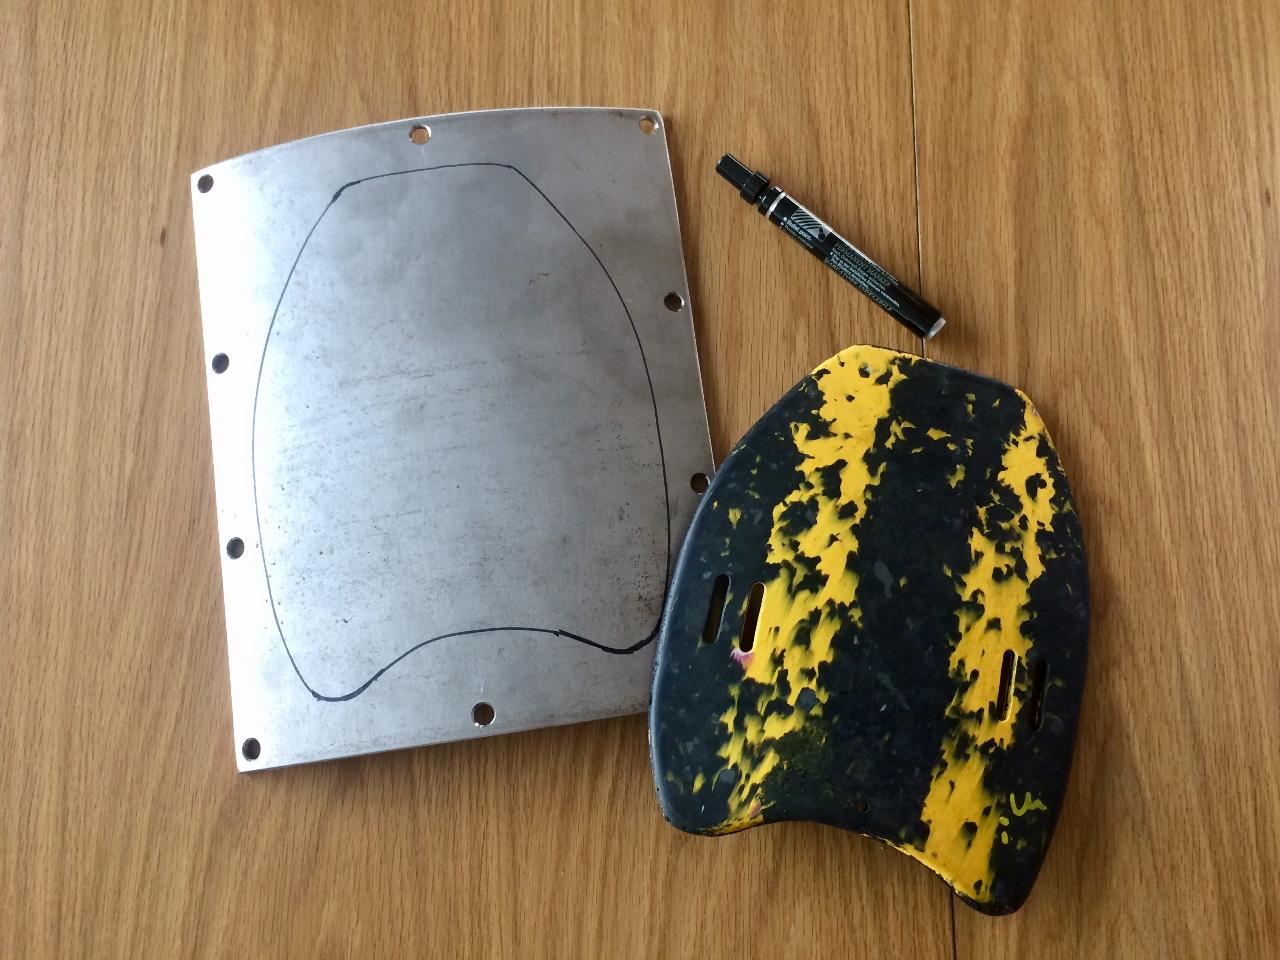
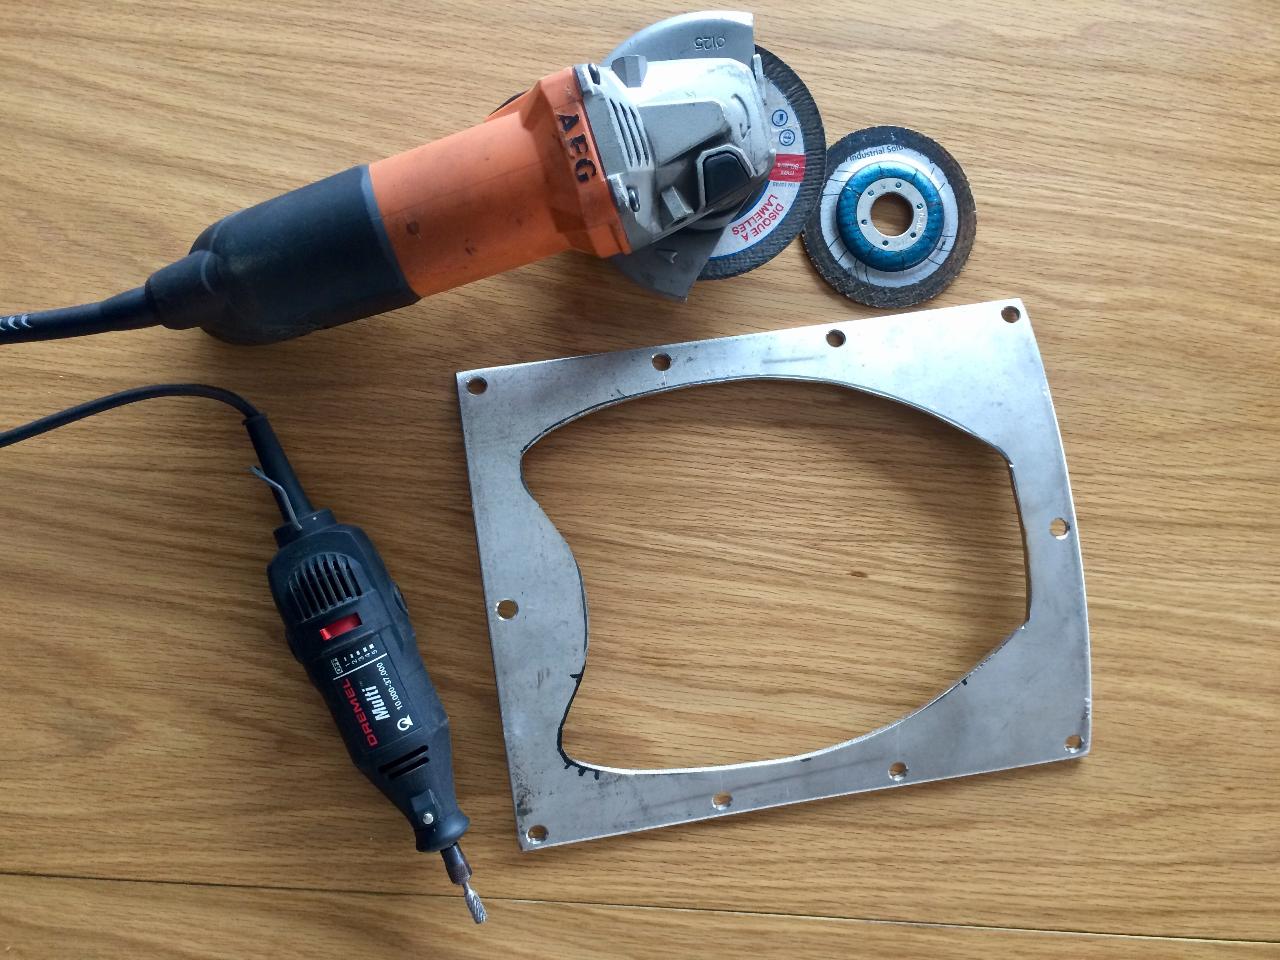
Step 6 - CUT THE SPACER
First you should draw an outline on the middle plate that will become the spacer. You can draw your own shape (half ellipse 250*200mm shapes works well, but feel free to be creative!). We first used a grinder with a cutting disk to cut as close as possible to the drawn line, then with a flap disk to get closer. Finally we used a dremel with a metal reamer to reach the desired precision. To be sure that the shape was symmetrical, we drew on to paper using our freshly cut spacer as a guide. Then, by folding the paper in two along a longitudinal line, we could see clearly that both side were identical and correct.
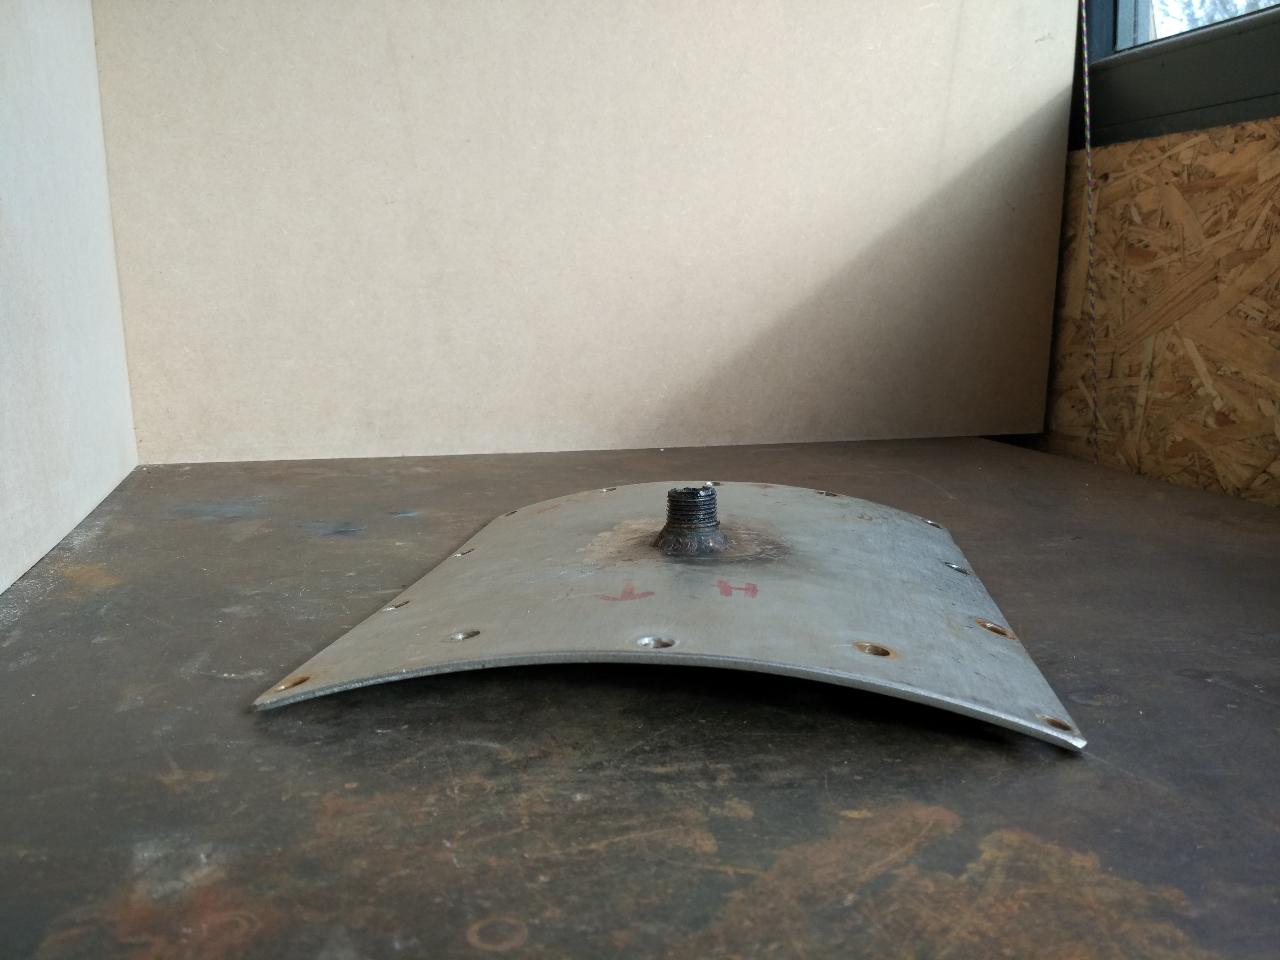
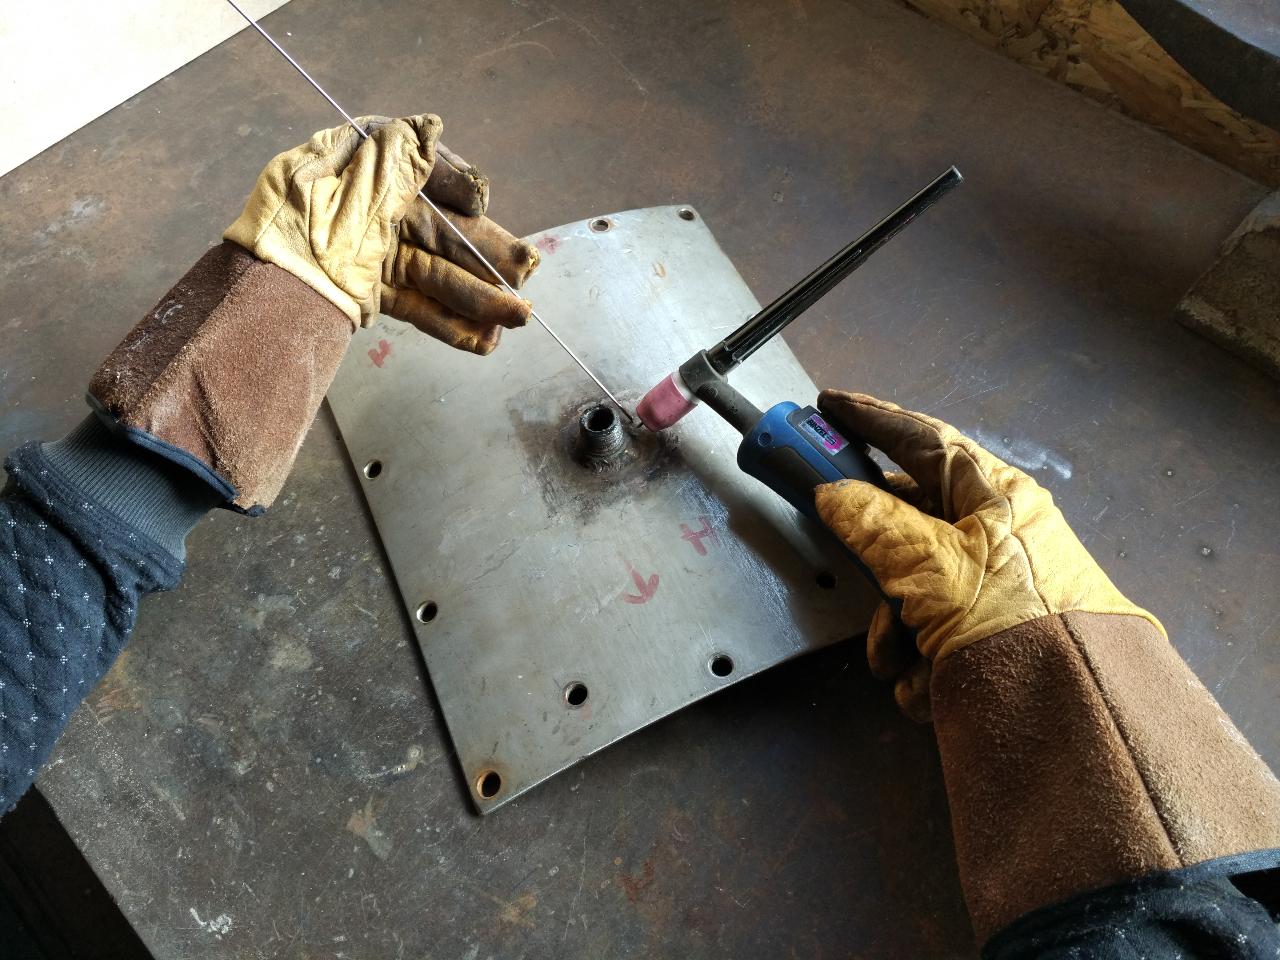
Step 7 - WELD THE NOZZLE
As we are working the original Precious Plastic injection machine, we welded a ½’ nozzle on the top plate. The nozzle should be made from steel to be weldable, and grinded flat. If your plate is stainless steel you should use a stainless steel wire metal as it will be a dissimilar material weld. Type 308 or 309 should be your first choice, but type 304 or 316 will do the job (and easier to find).
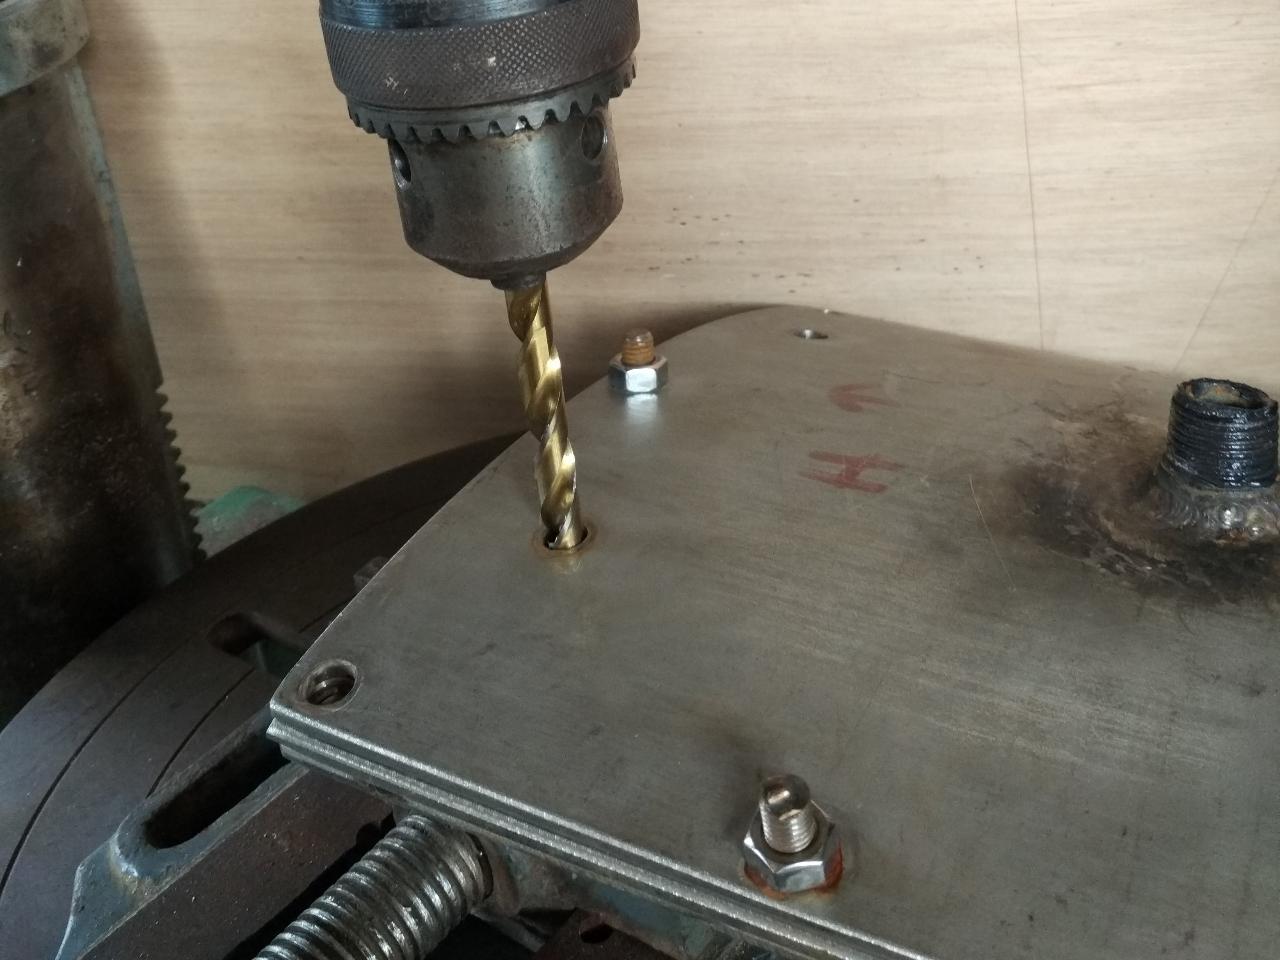
Step 8 - BUILD THE MOLD
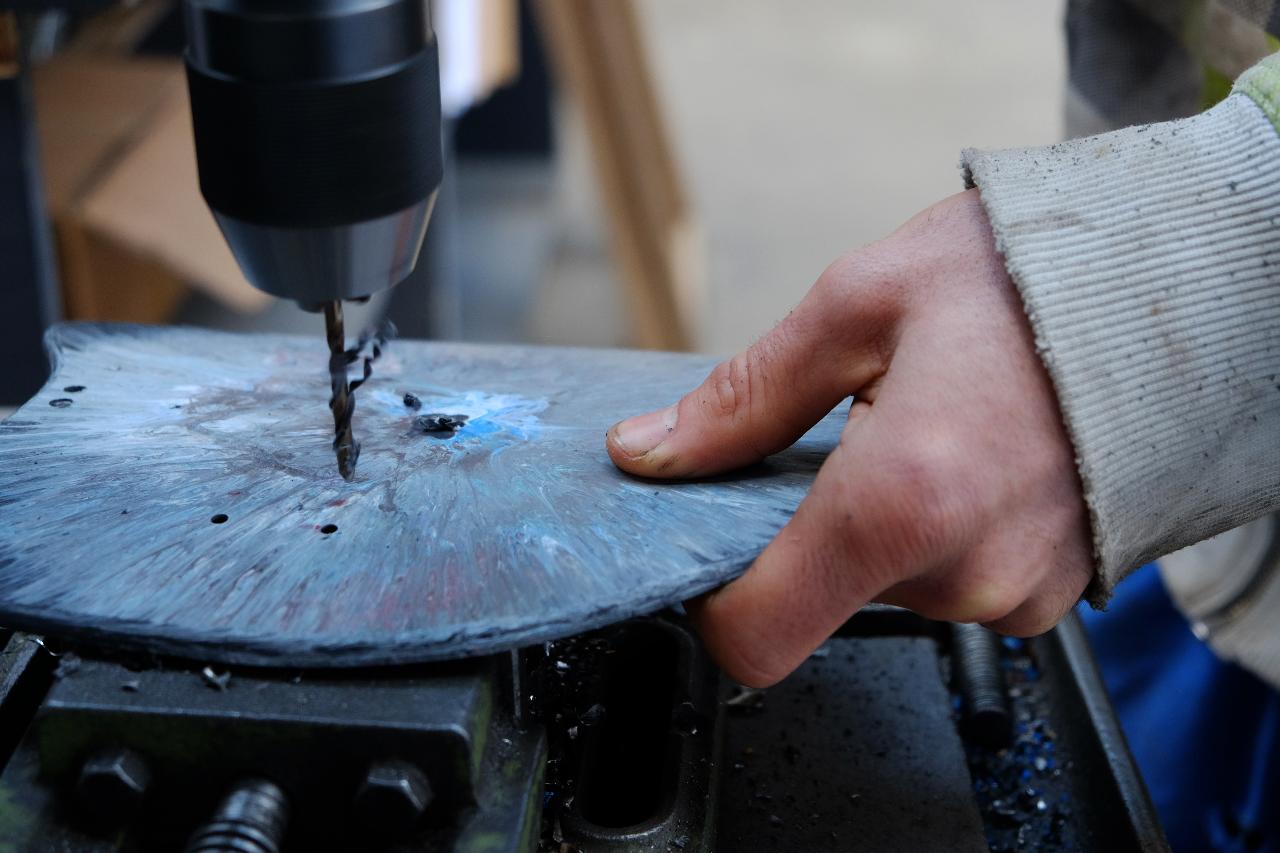
We drilled the injection with a 5mm drill bit, this hole should be drilled in the middle of the nozzle and done after welding to ensure a good alignment. All other drilling was made with a 8,5mm drill bit and should be done on all three plate at the same time to ensure good alignment. The three plates can be bolted together as the drilling is ongoing. We would recommend one drill every 50-100mm to secure the sealing.

Step 9 - FINISH AND ASSEMBLE
If you choose to go for a black steel plate then you will need to sand it to remove the scale. Only the surfaces in contact with your plastic need to be sanded. You can start with a 220 grain then go progressively to 400, 600, 800, 1000 and 1500. Sanding your metal will also protect it from rusting as water will easily flow over the surface (see injection chapter - step 12). Now the mold is finished and only needs to be bolted together!
Step 10 - MODIFY INJECTION MACHINE
Our handplane requires more plastic to be injected than the current PP machine allows. We modified and built a larger injection barrel. You can see in another documentation this process.

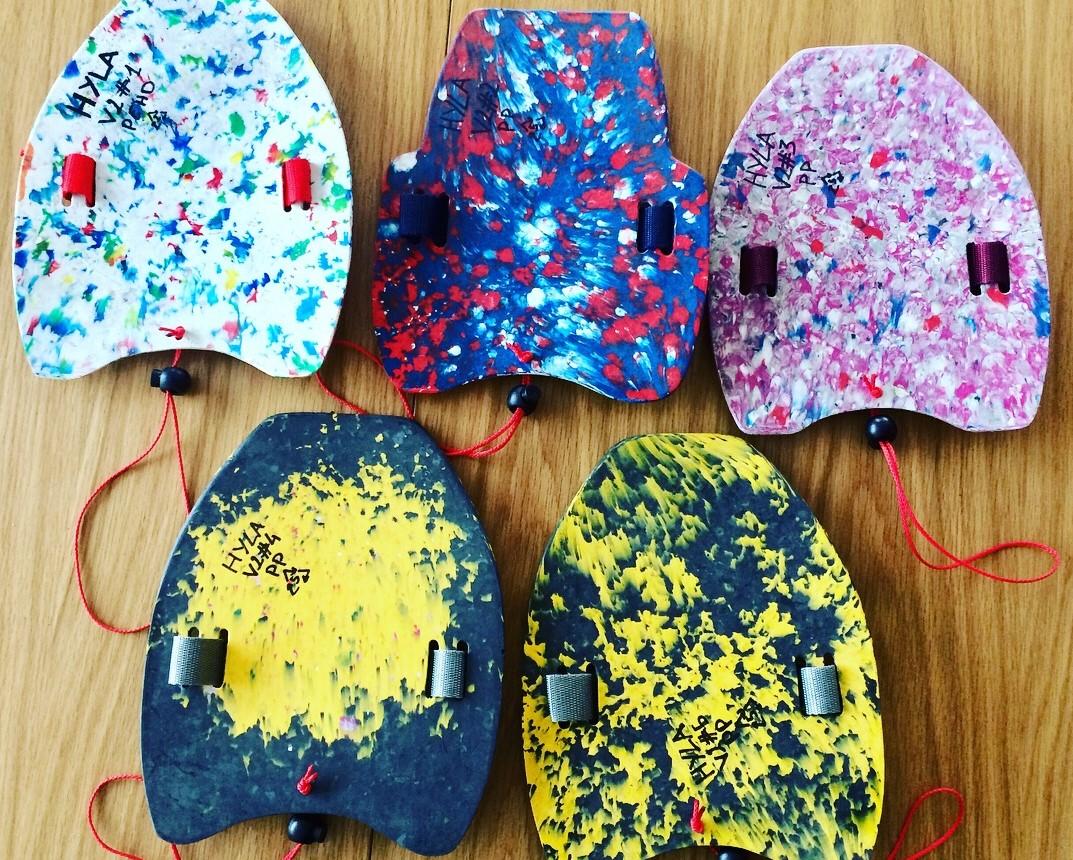
Step 11 - SELECT THE PLASTIC
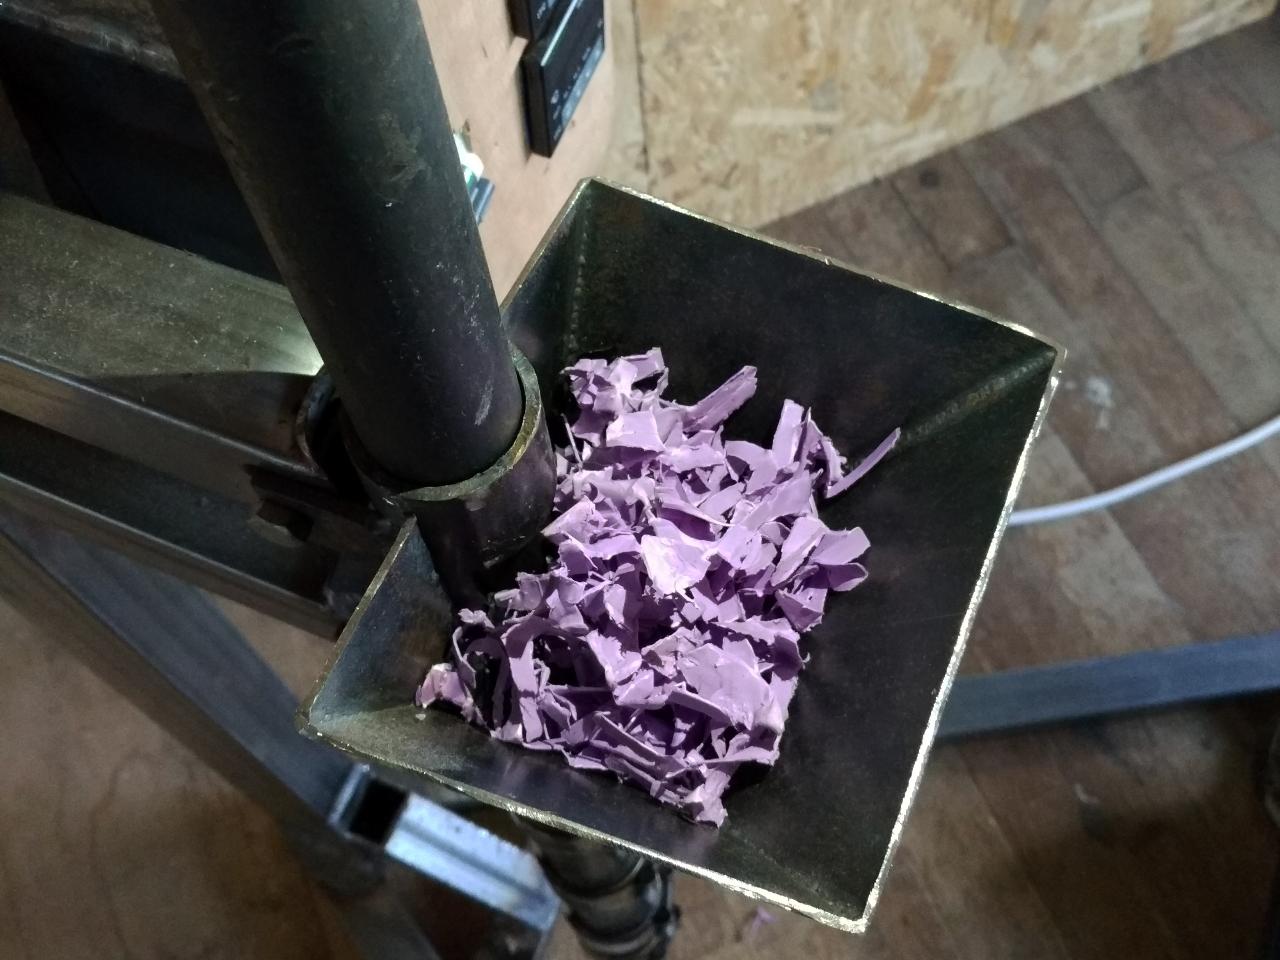
We decided to work with PolyPropylene (PP) on this project as we had plenty available in various colors. HDPE should also work well, but PS may not be flexible enough for this use. Once the plastic is cleaned and sorted by type and color, you can shred it and fill the injection machine with these granules. The handplanes weigh 200g so we chose to fill the machine with at least 250g of plastic, to have enough to maintain the pressure. On our machine, 20 minutes with 200°C on the top and 220°C on the bottom of the barrel works fine.
Step 12 - INJECT & COOL
Once the plastic is heated, you should remove the injection barrel plug and screw the mold on as quickly as possible. We generally remove the first drop of melted plastic in doing so, as it is often colder.
Injection should be done as fast as possible. Once the injector is pushed to its maximum, we maintain the pressure for 30 seconds, then unscrew the mold and immediately drop it into water. The plastic is under pressure inside the mold and will tend to leak out once unscrewed, but the water will cool the plastic, maintaining the pressure inside during the cooling process. For this product we leave the mold for 2 minutes in the water, and then 15 minutes outside before unscrewing it and extracting a freshly made handplane. This time can be used to refill the injection barrel to optimise production.
Injection should be done as fast as possible. Once the injector is pushed to its maximum, we maintain the pressure for 30 seconds, then unscrew the mold and immediately drop it into water. The plastic is under pressure inside the mold and will tend to leak out once unscrewed, but the water will cool the plastic, maintaining the pressure inside during the cooling process. For this product we leave the mold for 2 minutes in the water, and then 15 minutes outside before unscrewing it and extracting a freshly made handplane. This time can be used to refill the injection barrel to optimise production.
Step 13 - FINISH THE PRODUCT
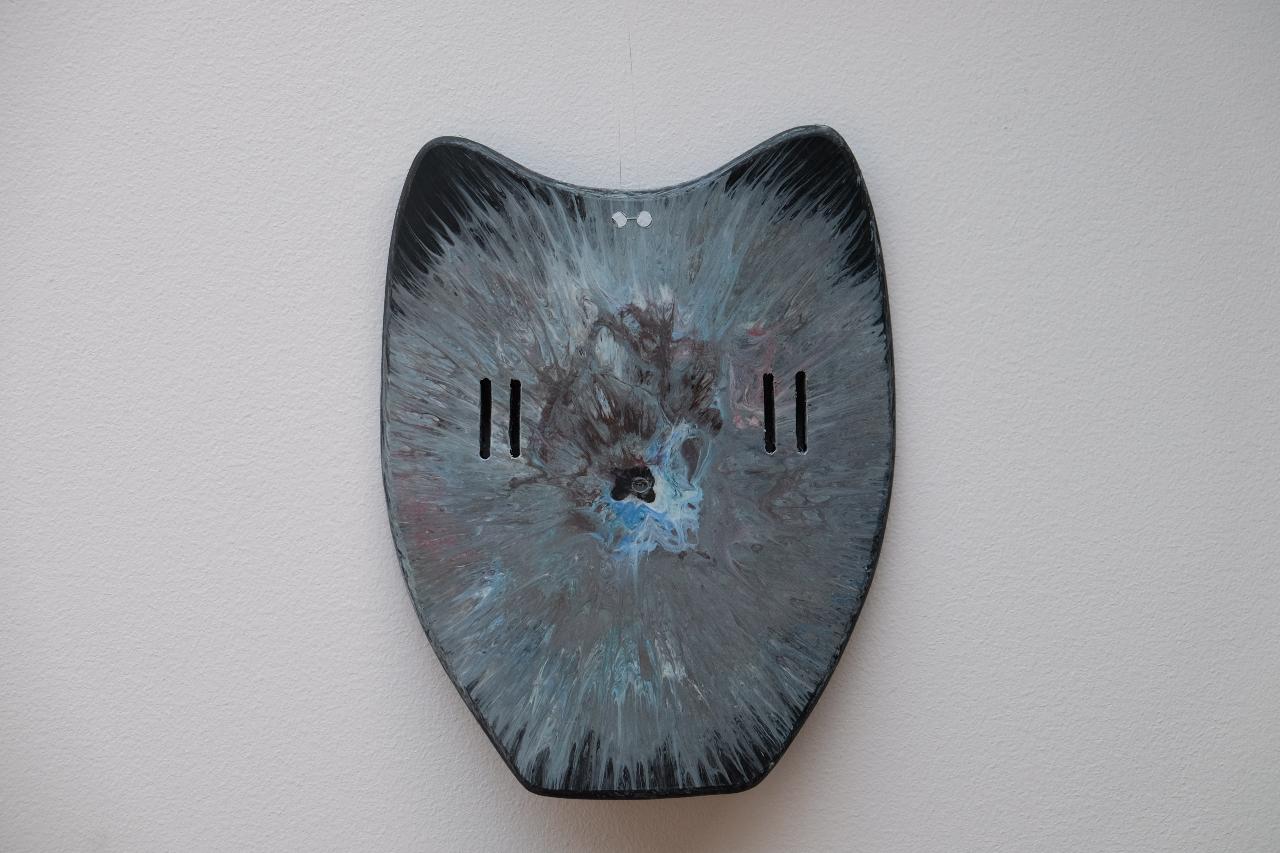
Without CNC it is difficult to make complex forms, and using our molding method we could not obtain completely finished products, the final plastic form has to be finished by hand. This finishing takes approximately 45 minutes per handplane. With the 30 minutes required by the injection (if done in series) and 45 minutes of cleaning, sorting and shredding the plastic, this handplane requires about 2 hours of work.
Step 14 - SHAPING THE RAILS
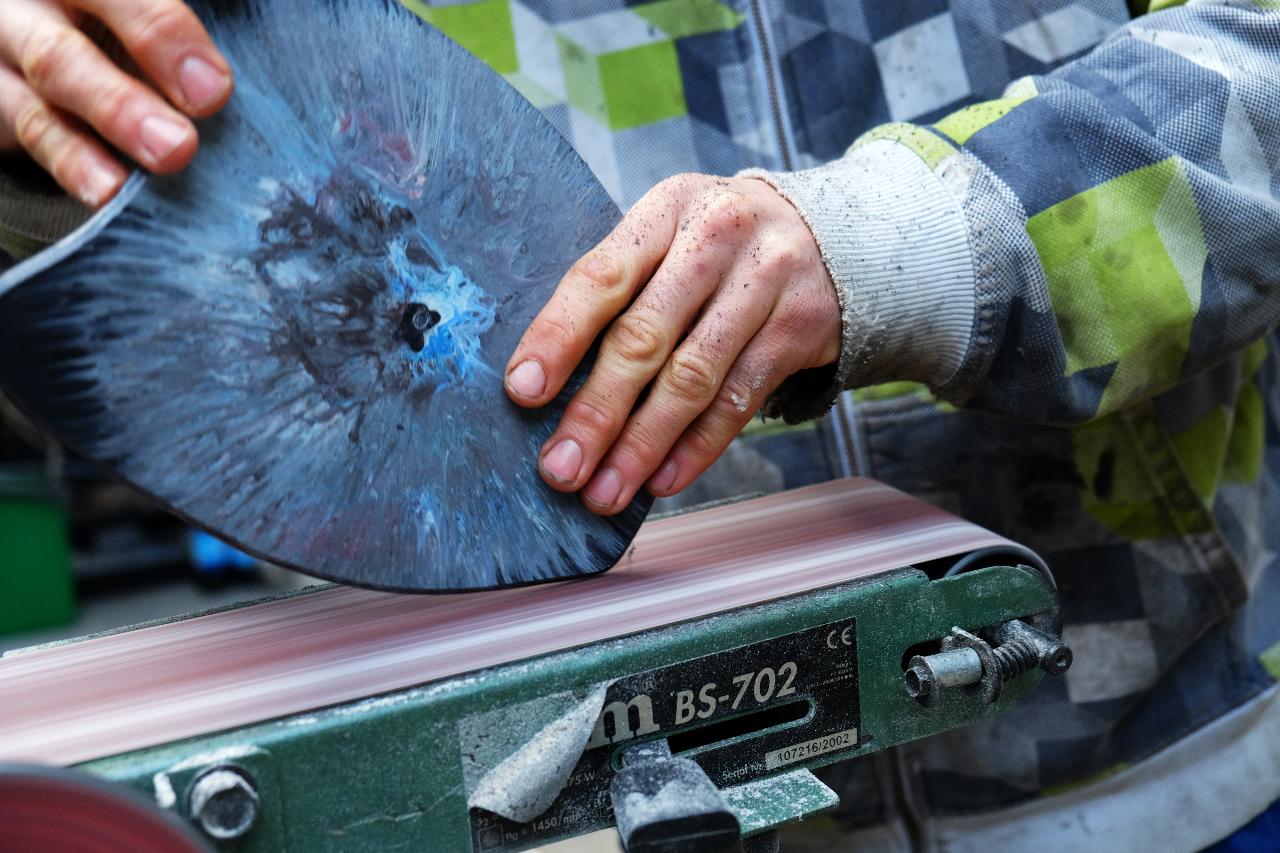
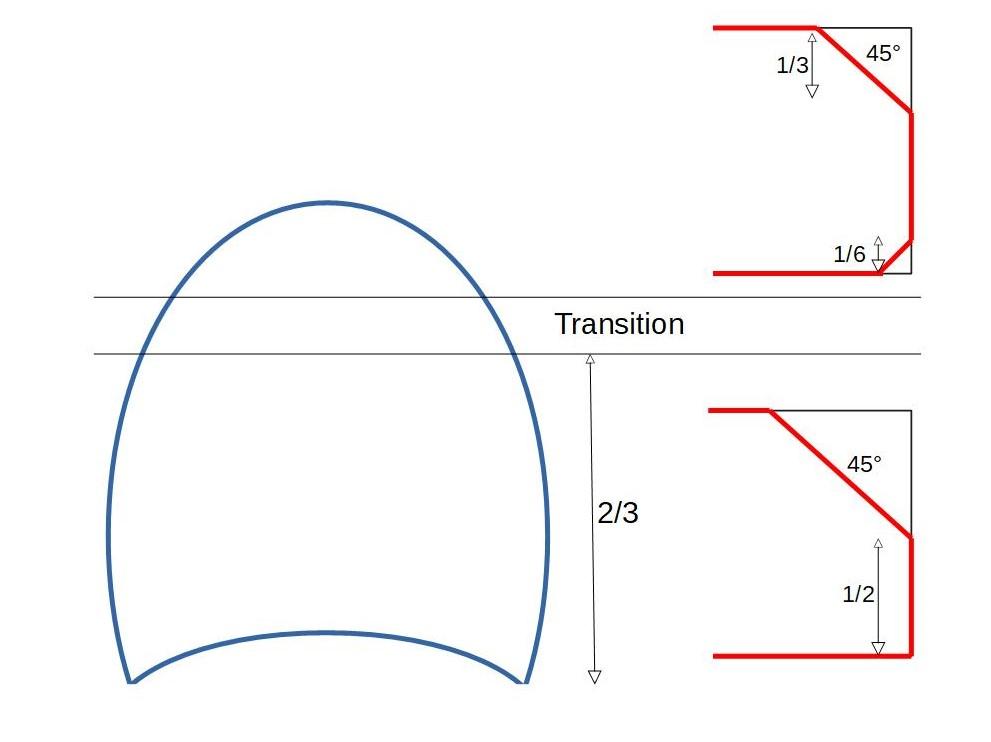
The edges of a surfboard or handplane are called rails. We start by chamfering the top edges at 45° with a band sanding machine. On the bottom ⅔ of the handplane the chamfer removes ½ of the thickness. On the top ⅓ the chamfer removes only ⅓ of the thickness. In the same area, we made a smaller 45° chamfer of ⅙ of the thickness. The transition should be smooth and visually checked consistently during the shaping. Working with a chamfer allows you to visualise the line to keep your rounding straight. We then finalize the rounding with a blade. This way you produce a bright surface without the need for fine polishing. This process only creates shavings, which can be remelted to go towards another handplane.


Step 15 - DRILLING THE STRAP HOLES
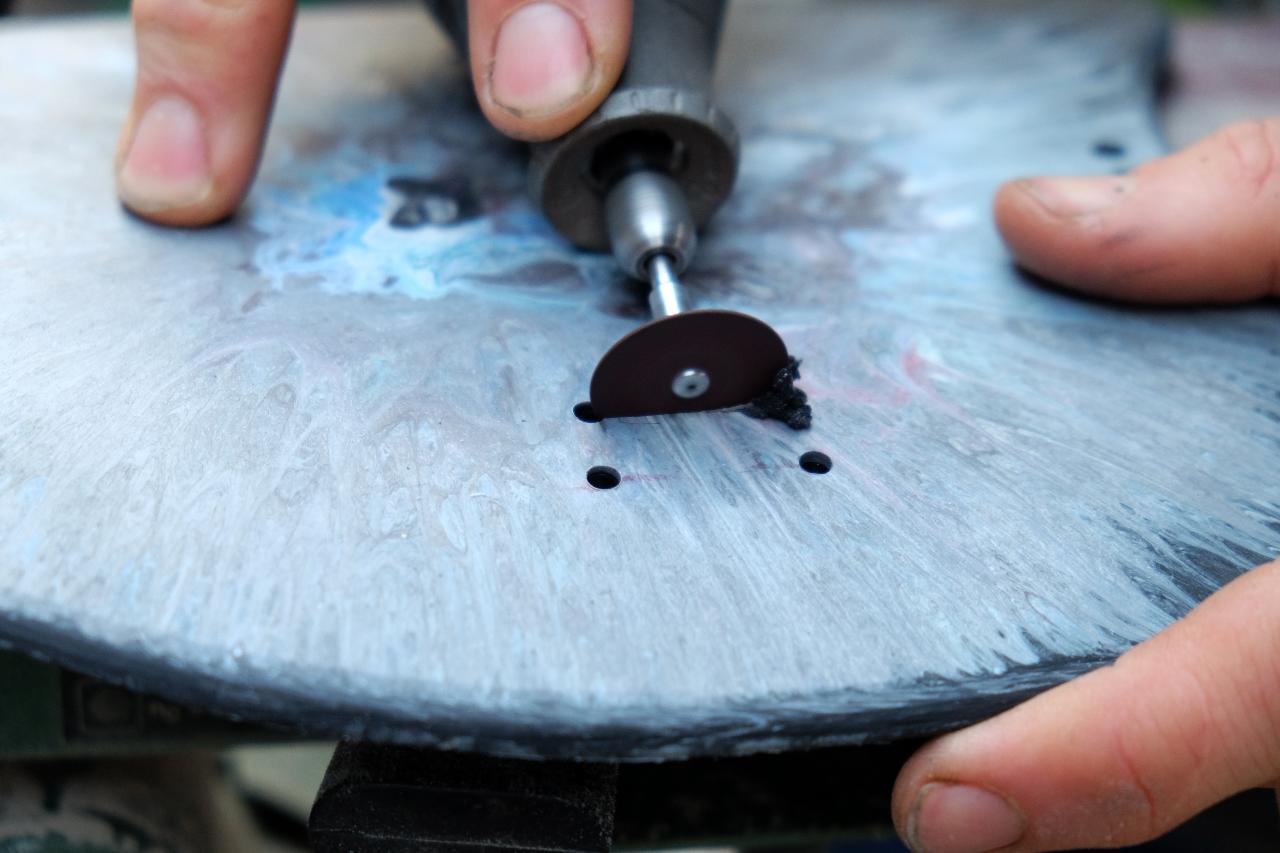
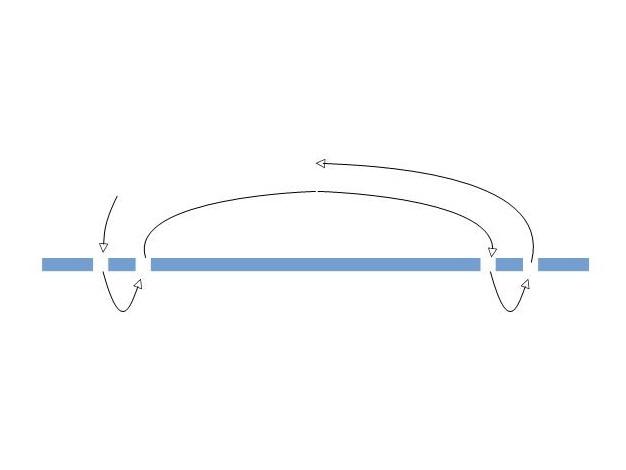
Once the rails are shaped, we are able to use the template attached to position the strap holes. If you want to make it perfectly adapted to your hand, your wrist should be on the bottom rail, and the inner holes should be spaced by the distance between your pointer and little finger + 10mm. The adjacent holes should be separated by 10mm and the length of the holes will be your strap width. To drill them, we first drill two 4mm round holes on both sides, and then join them with a dremel and a cutting disk.
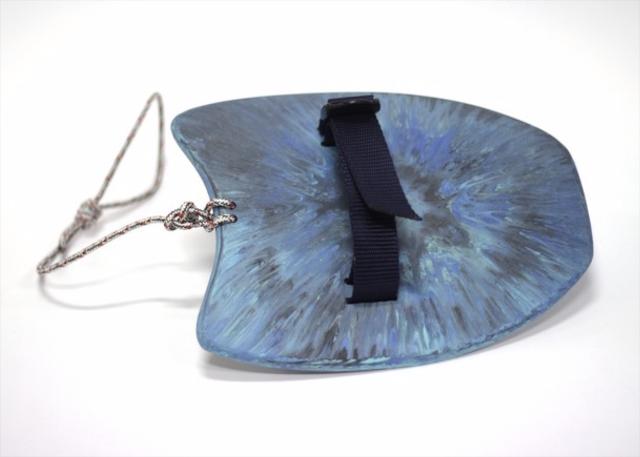
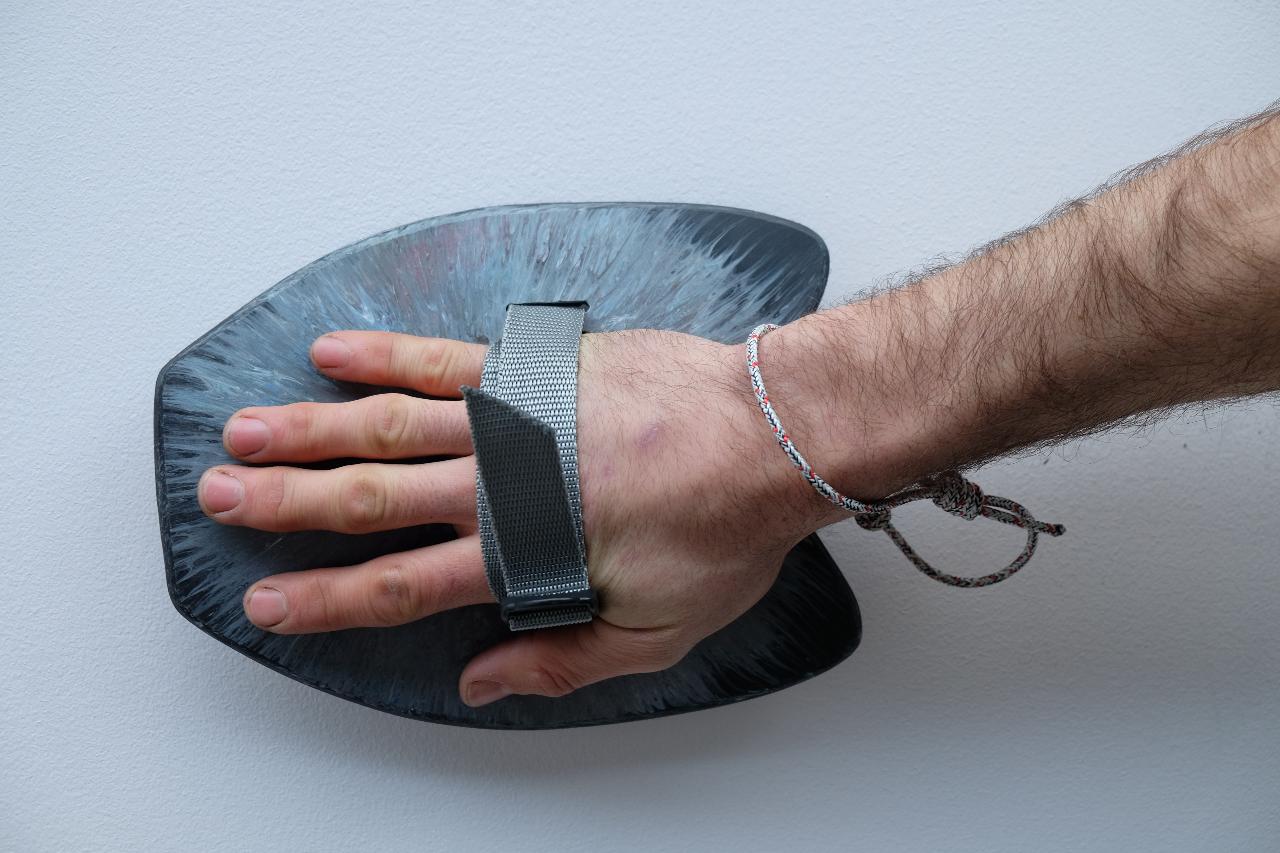
Step 16 - MOUNT THE STRAP
We sew an adjustable buckle on to the strap and then pass it through the holes. The leash is 700mm long, with a bowline to attach it to the handplane and a hangman’s knot around the wrist.
—
—
—
Comments