Beads mould - a lot of them!
by easymoulds
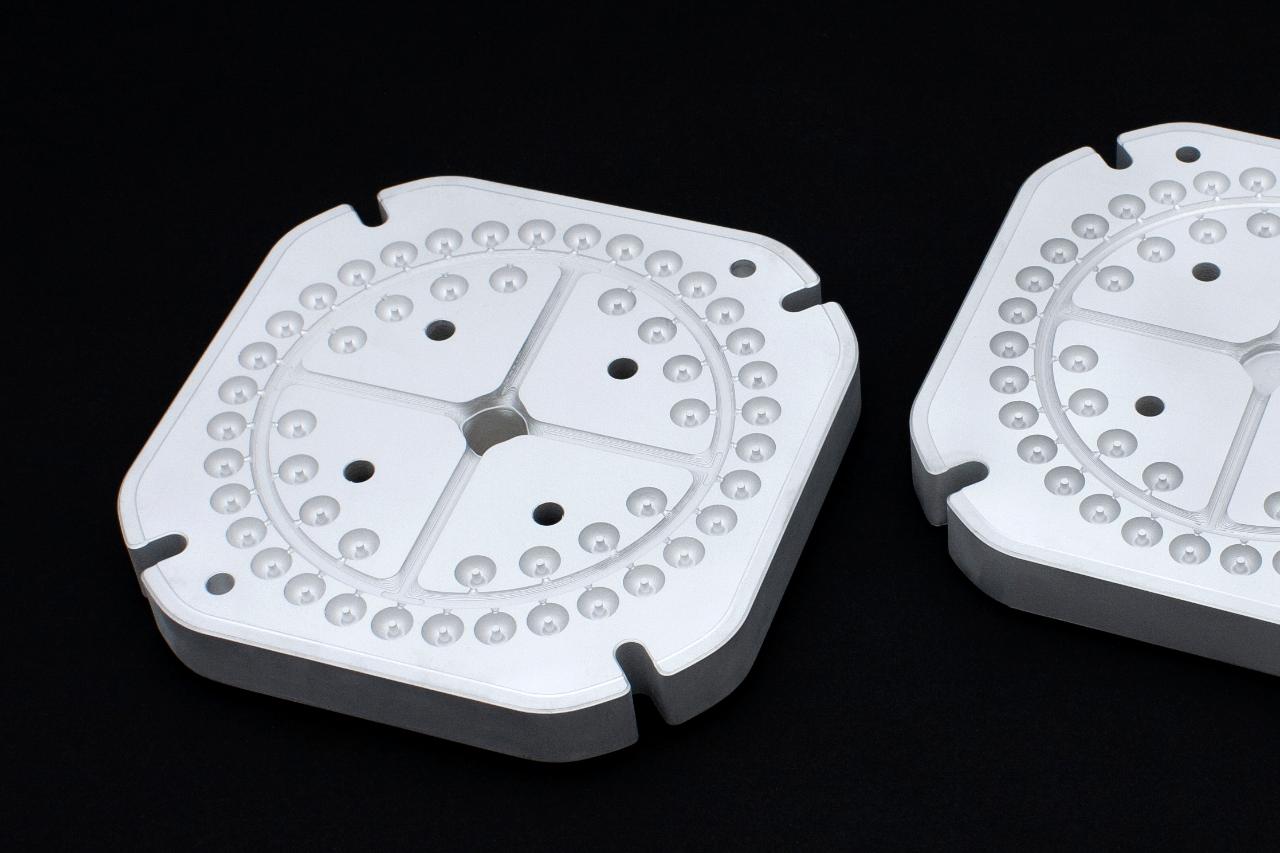
Here you will learn how to create moulds with high cavity amounts of small items. In the example we use a moulds for beads.
—
Attachments
Resources
3D Files
- 3D Step File: /files/Beads/Beads by easymoulds.step - Preview
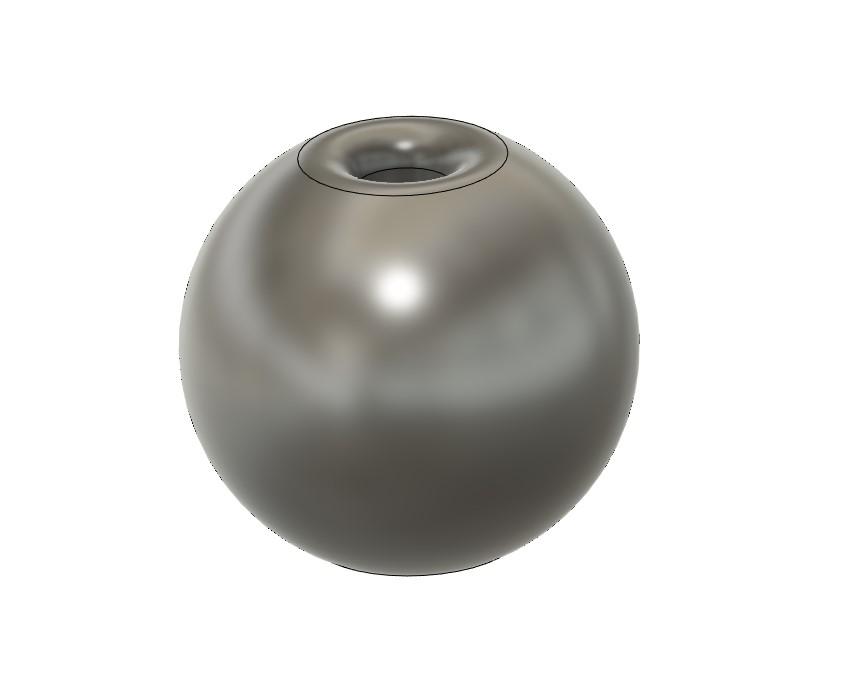
Step 1 - Design for manufacturing
As a first step you have to make sure that your design meets the requirements of injection moulding (like draft angles) and the way your mould is made as well (like minimum tool diameter). To create this kind of large moulds you need relatively low volume parts, so your part volume * number of parts + runners, sprues, gates is smaller than your capacity of your injection moulding machine.
In our example one bead only weights 0,8g in Polypropylene so we could fit 50pcs in one single mould!
Here you find some recommendations that will ease the process: https://community.preciousplastic.com/academy/create/injection-moulds.
In our example one bead only weights 0,8g in Polypropylene so we could fit 50pcs in one single mould!
Here you find some recommendations that will ease the process: https://community.preciousplastic.com/academy/create/injection-moulds.

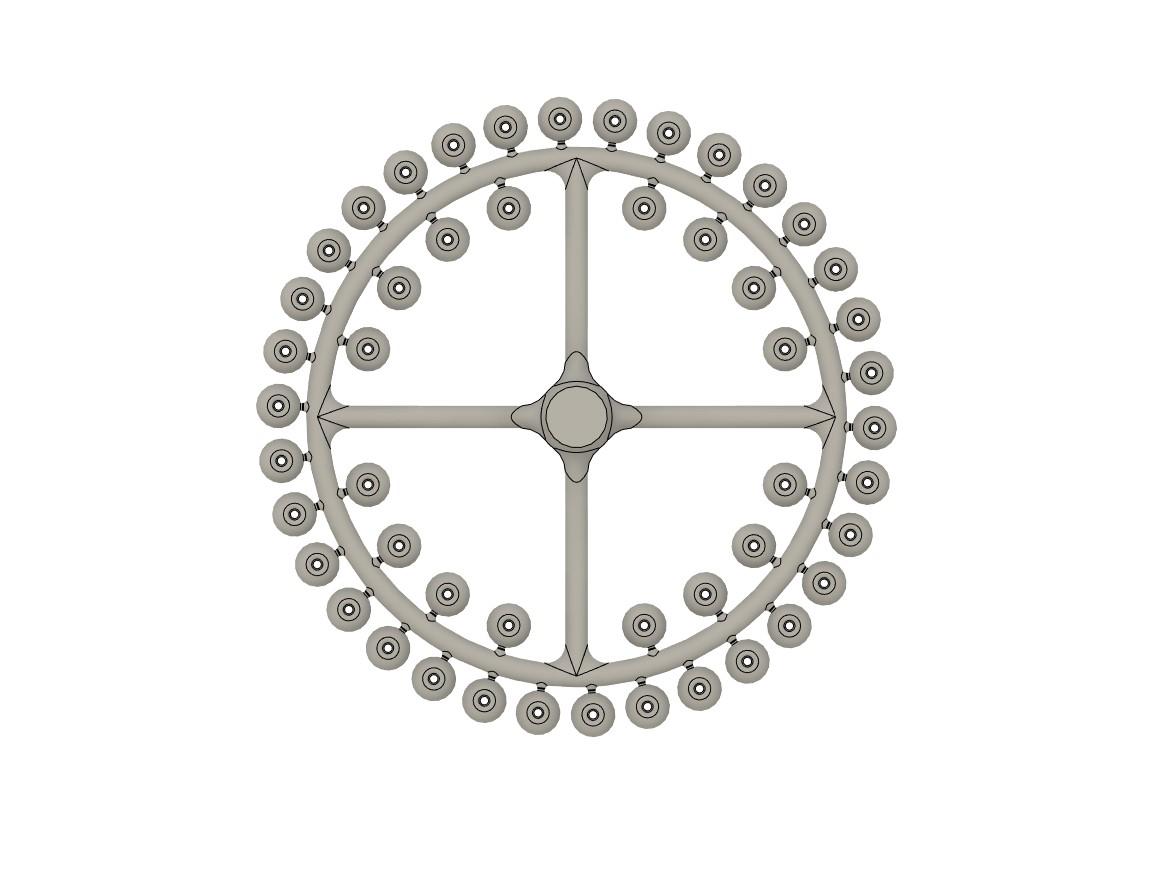
Step 2 - Dream big!
To achieve this kind of high-number-cavities with our low end machines you have to get a bit creative about part placement in the mould. In comparison to industry-like moulds we are very limited on most machines from our maximum pressure.
This requires to use thicker runners (the channel where the plastic flows into the final cavity) than for "industrial" moulds. In most cases a circular design is beneficial for even flow, equal filling of all cavities and to achieve the lowest necessary pressure.
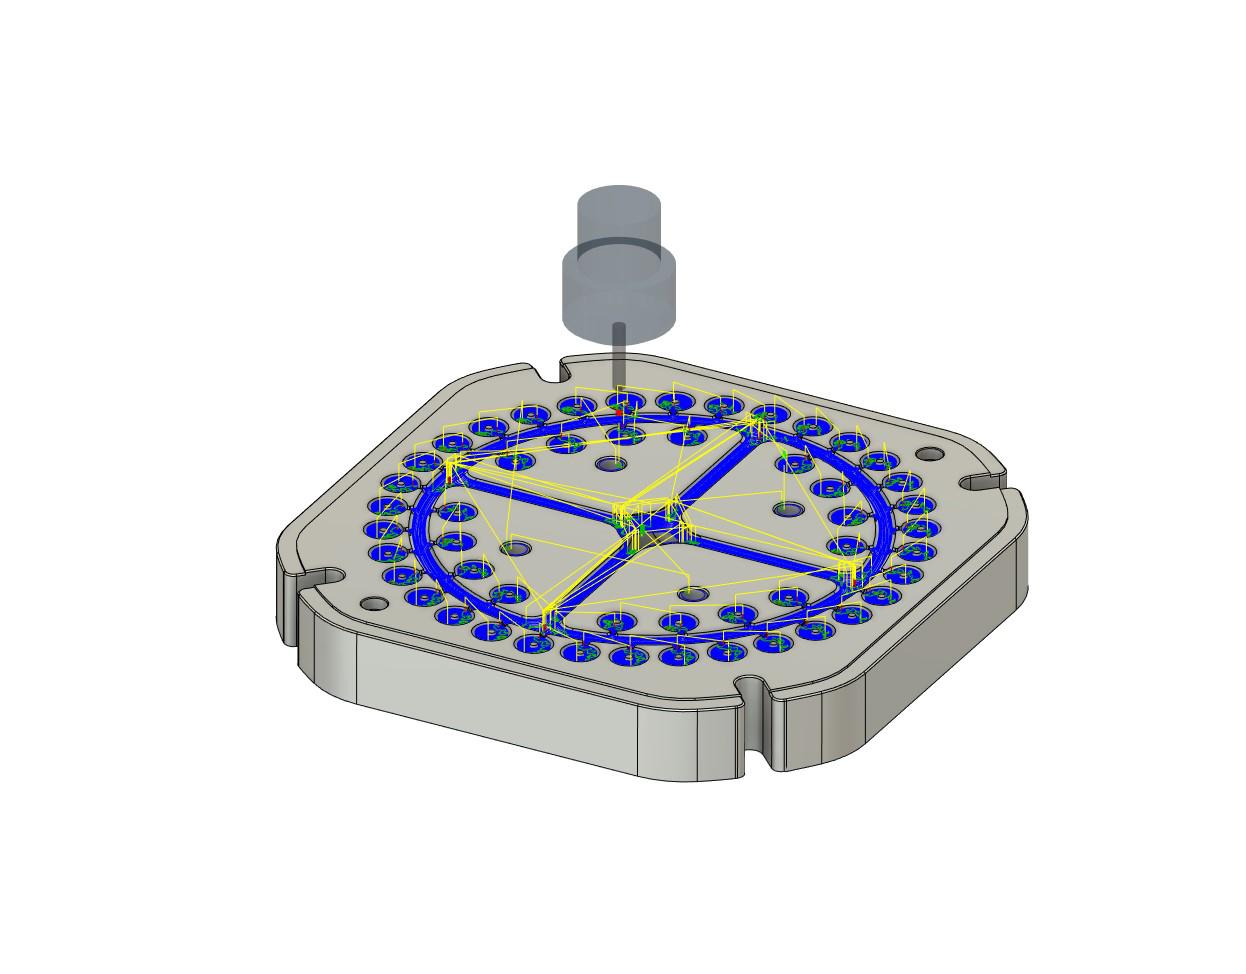
It is recommended to ask your mould supplier for simulated tests, so you can be sure that the mould will also work at the end.
This requires to use thicker runners (the channel where the plastic flows into the final cavity) than for "industrial" moulds. In most cases a circular design is beneficial for even flow, equal filling of all cavities and to achieve the lowest necessary pressure.
It is recommended to ask your mould supplier for simulated tests, so you can be sure that the mould will also work at the end.
Step 3 - Cut the mould
Here everything works like for a low-cavity number mould, just everything takes a bit longer and therefore it becomes a bit more costly.
However if labour is expensive it is the most efficient way to increase your productivity for manual injection moulding. (Given that the injections/h is a fixed number)
However if labour is expensive it is the most efficient way to increase your productivity for manual injection moulding. (Given that the injections/h is a fixed number)
Step 4 - Inject!
In the process we have to make sure we use a relative easy flowing material like PP to make sure the material fills all the cavities of the mould and reaches everywhere.
To preheat the mould to 40-60deg C may help that the plastic flows easily as well as a bit longer heatup-times between the shots.
You find the CAD files linked above to make your own.
Or get them made for you over at the Bazar at various cavity numbers.
https://bazar.preciousplastic.com/moulds/injection-moulds/beads-mould/


—
—
—
Comments