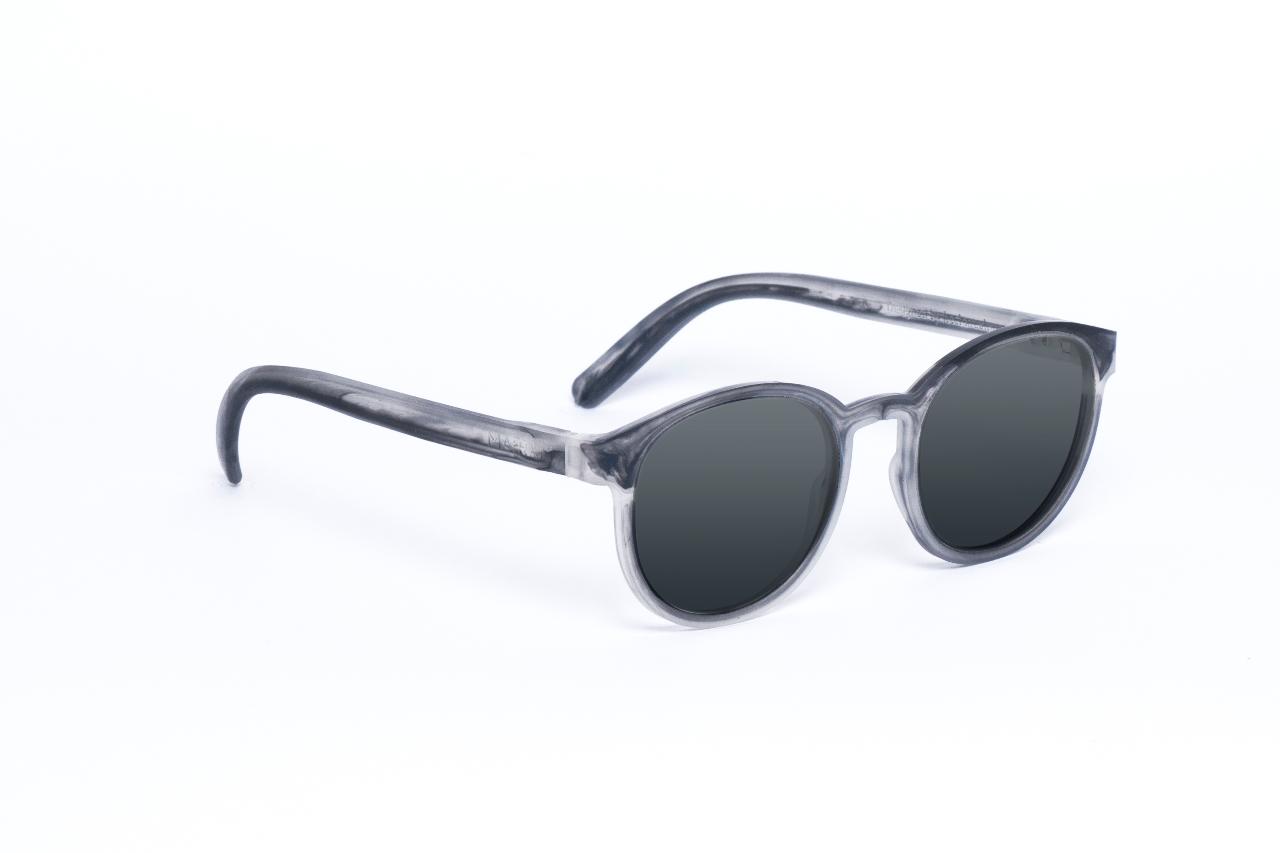
Design moulds for sunglasses
by Esfèrica

At Esfèrica we’ve been working to understand how to uphold the value of waste plastics for the past 5 years. Today, our project FOS Barcelona offers eyewear made with local waste and moulds for others to fabricate them in their area, in an effort to enhance distributed design.
Here we’ll guide you through aspects we learned on our way.
1: What you need
2-5: Design sunglasses
6-10: Design mould
—
Attachments
Resources
Step 1 - What you need
To make all the process yourself, you will need:
1. A clear mind about the model you want to create.
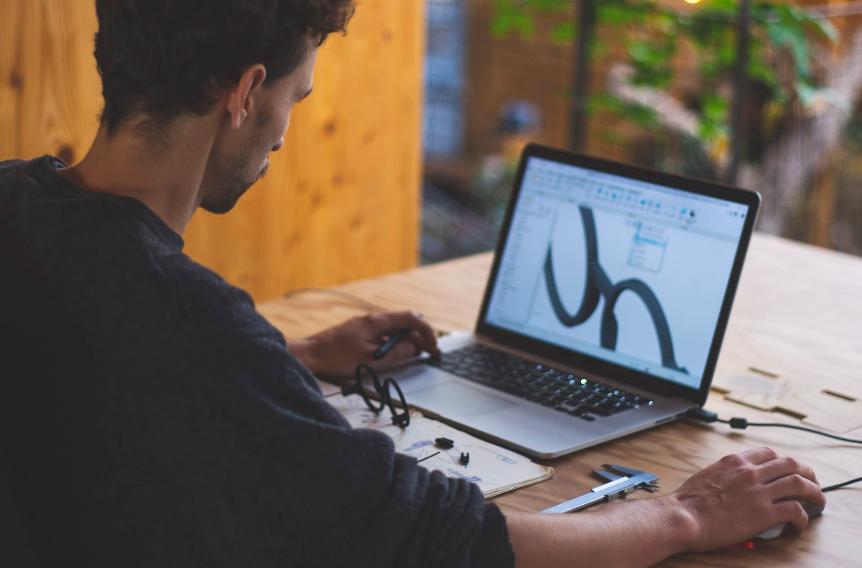
2. A computer and some experience working with CAD software.
3. A good CNC milling machine or a manufacturing partner.
4. An injection machine.
Ok. Let’s dive into the steps then.
1. A clear mind about the model you want to create.
2. A computer and some experience working with CAD software.
3. A good CNC milling machine or a manufacturing partner.
4. An injection machine.
Ok. Let’s dive into the steps then.
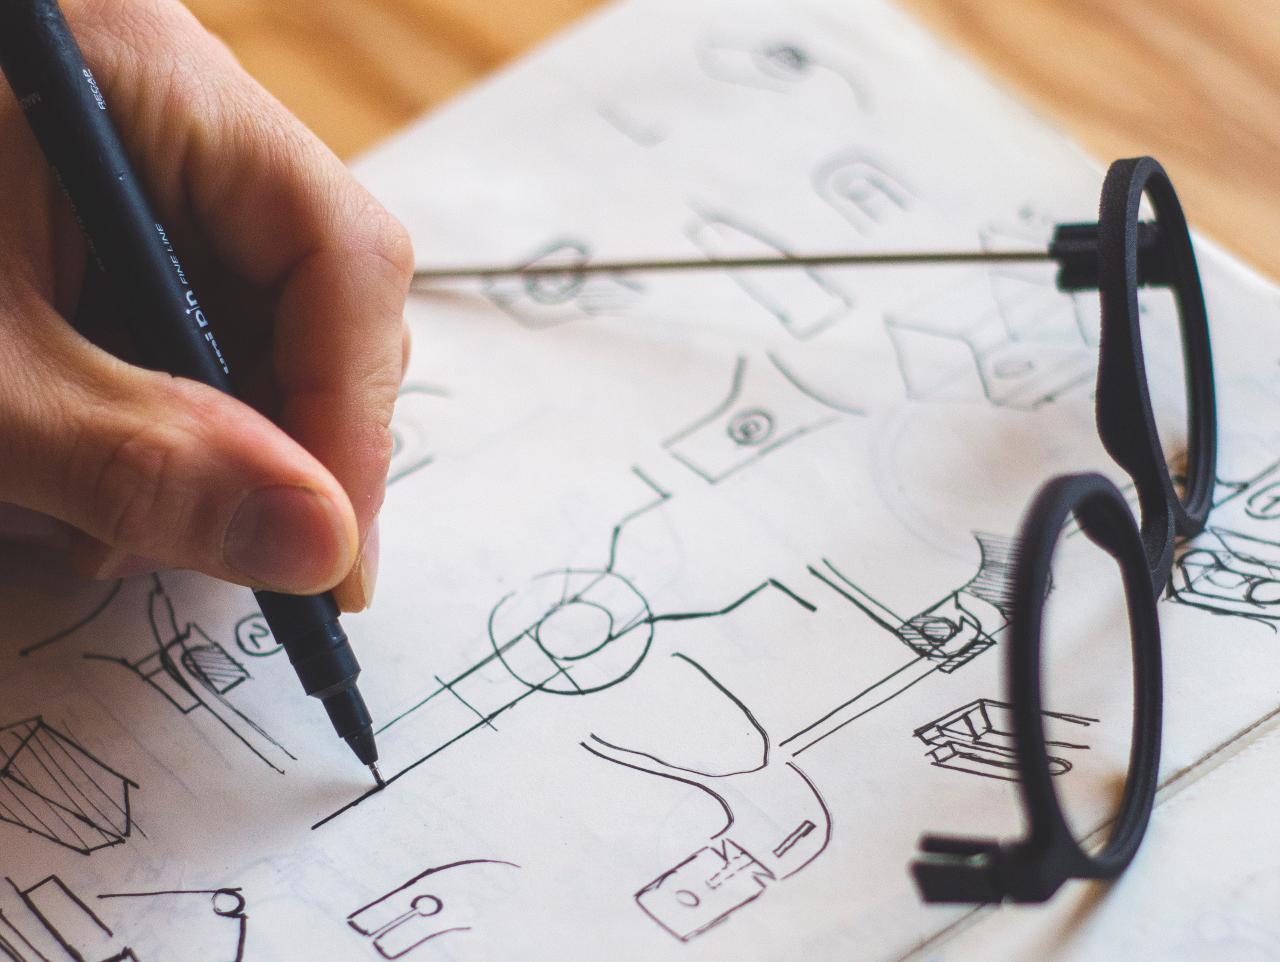
Step 2 - DESIGN THE SUNGLASSES
When designing eyewear you can go wild, and reach few, or start with the classics, and reach many. It only depends on your intentions to choose one way or another.
Once you have a target chosen, you will need to make decisions regarding a couple of components, which we’ll go through in the next steps.
Once you have a target chosen, you will need to make decisions regarding a couple of components, which we’ll go through in the next steps.
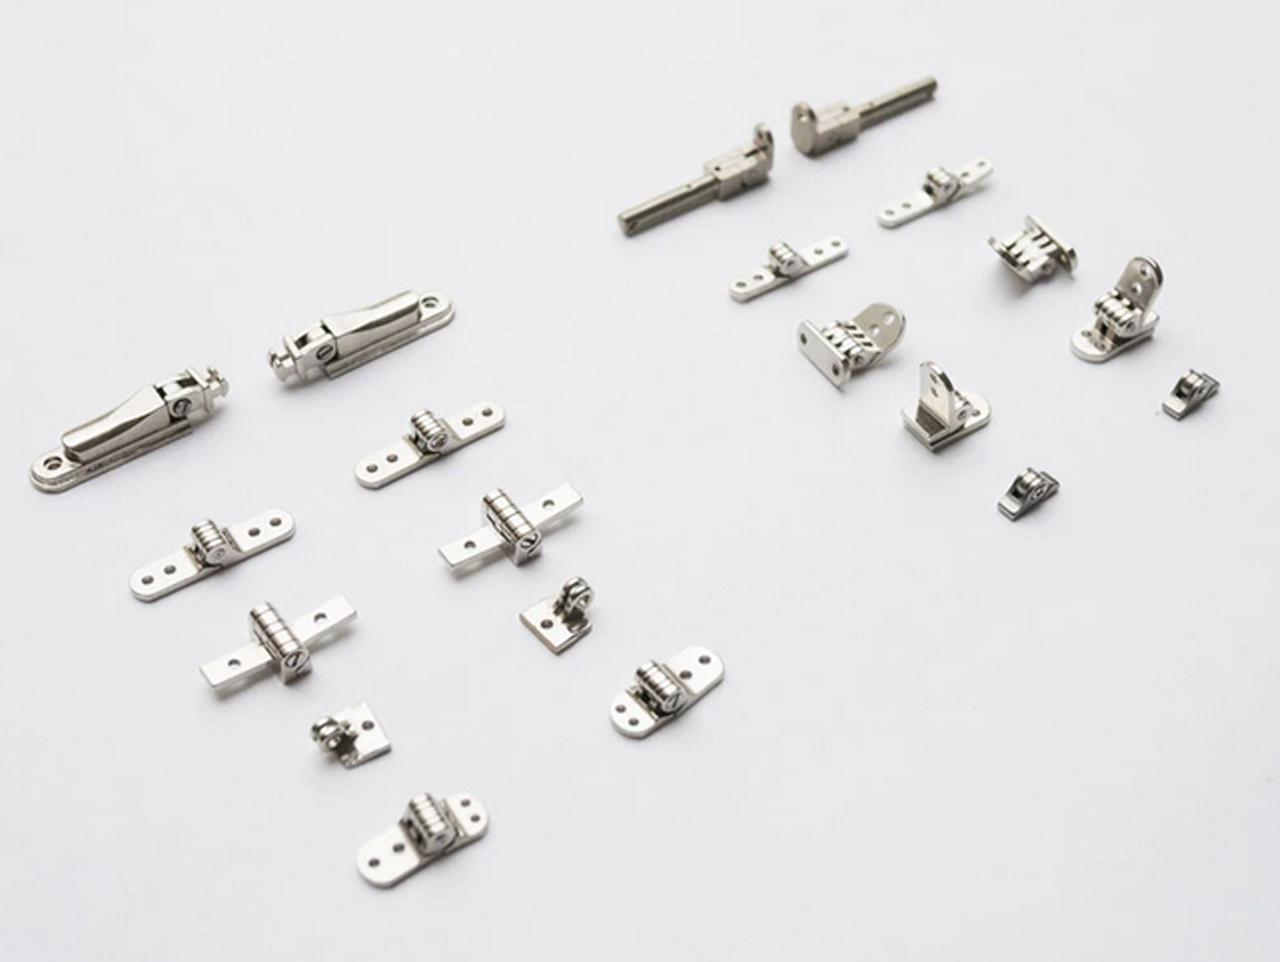
Step 3 - Sunglasses model - Hinges
Metal hinges: There are several metal hinges options in the market, being the most common riveted - fixed with rivets -, in mould - placed in the mould before every injection -, screwed in - inserted after the injection and fixed using screws -, and fused - inserted after injection using heat -.
Of all of them, the easiest to detach from the product once its lifespan is over, is the screw-in models and that is the reason we choose to use this one.
Plastic hinges: See next step
Of all of them, the easiest to detach from the product once its lifespan is over, is the screw-in models and that is the reason we choose to use this one.
Plastic hinges: See next step
Step 4 - Sunglasses model - Hinges
Plastic hinges: Made in the mould. This is the most sustainable choice. No materials mixtures and durability that might go beyond eyewear with metal hinges, if designed properly. The downside is the quality perception, a key point when developing products that need to sell, and a parameter that many times has no connection to actual quality, but rather with the different perceptions around materials and products present in each corner of the world.
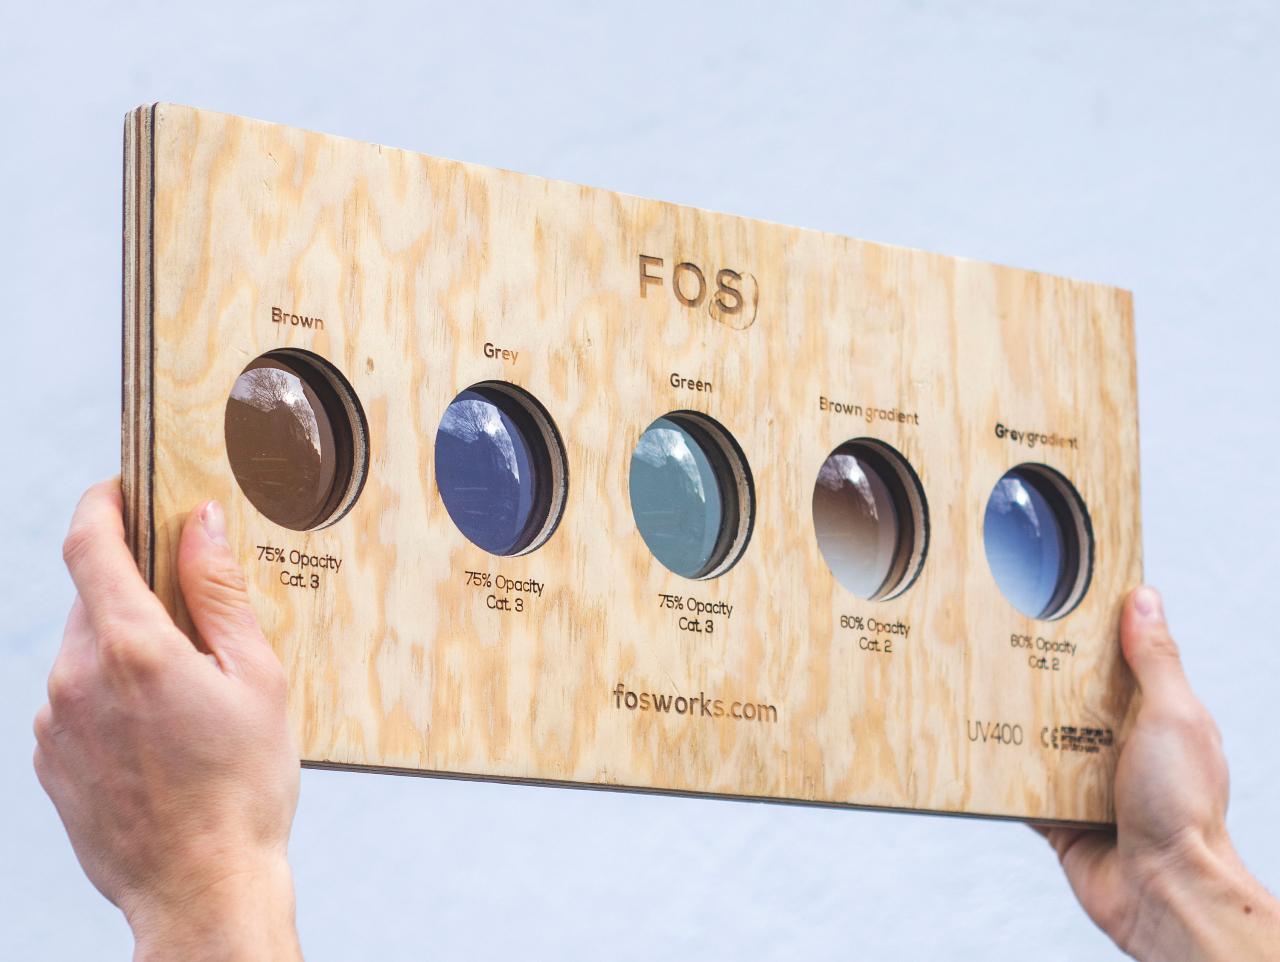
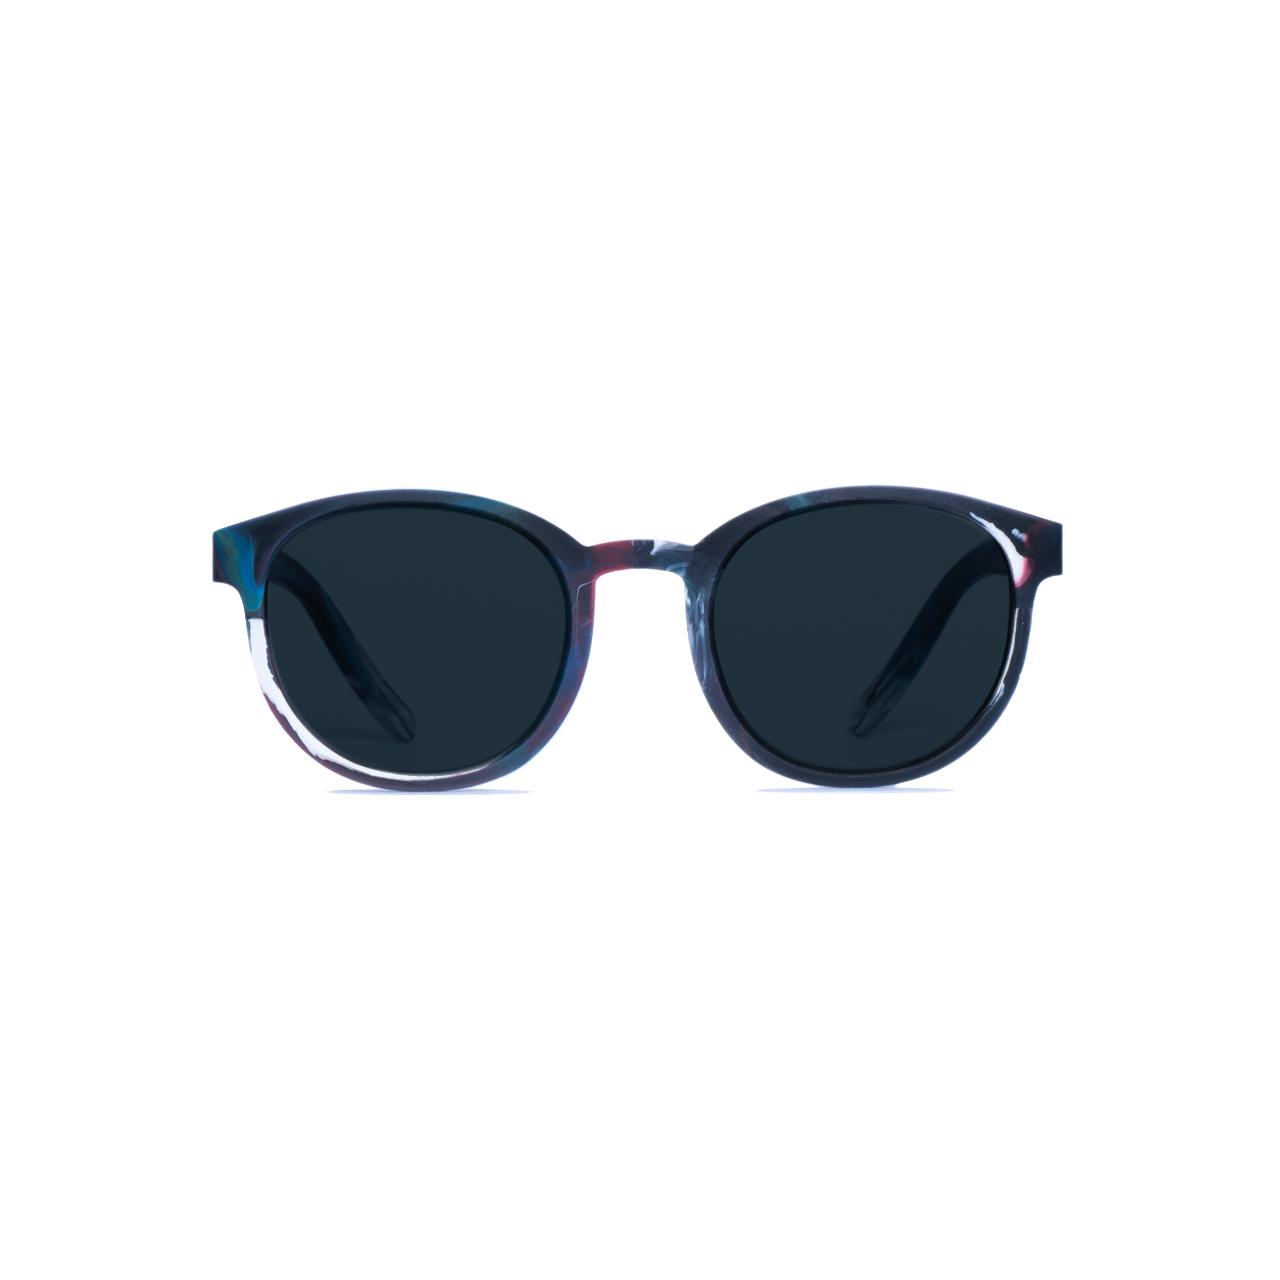
Step 5 - Sunglasses model - Lenses
There is a wide variety of lenses in the market. Again, depending on your target and the type of eyewear you want to make you will choose one type or another. The main ones are the following, although there are many others for specific applications:
Polycarbonate: Lenses for sports and action eyewear due to its resistance.
CR-39 (polymer): The most used type of lenses.
Mineral lenses: The glass lenses that are used less and less due to their weight and the fact that they break when falling. The main advantage is its scratch resistance.
Polycarbonate: Lenses for sports and action eyewear due to its resistance.
CR-39 (polymer): The most used type of lenses.
Mineral lenses: The glass lenses that are used less and less due to their weight and the fact that they break when falling. The main advantage is its scratch resistance.
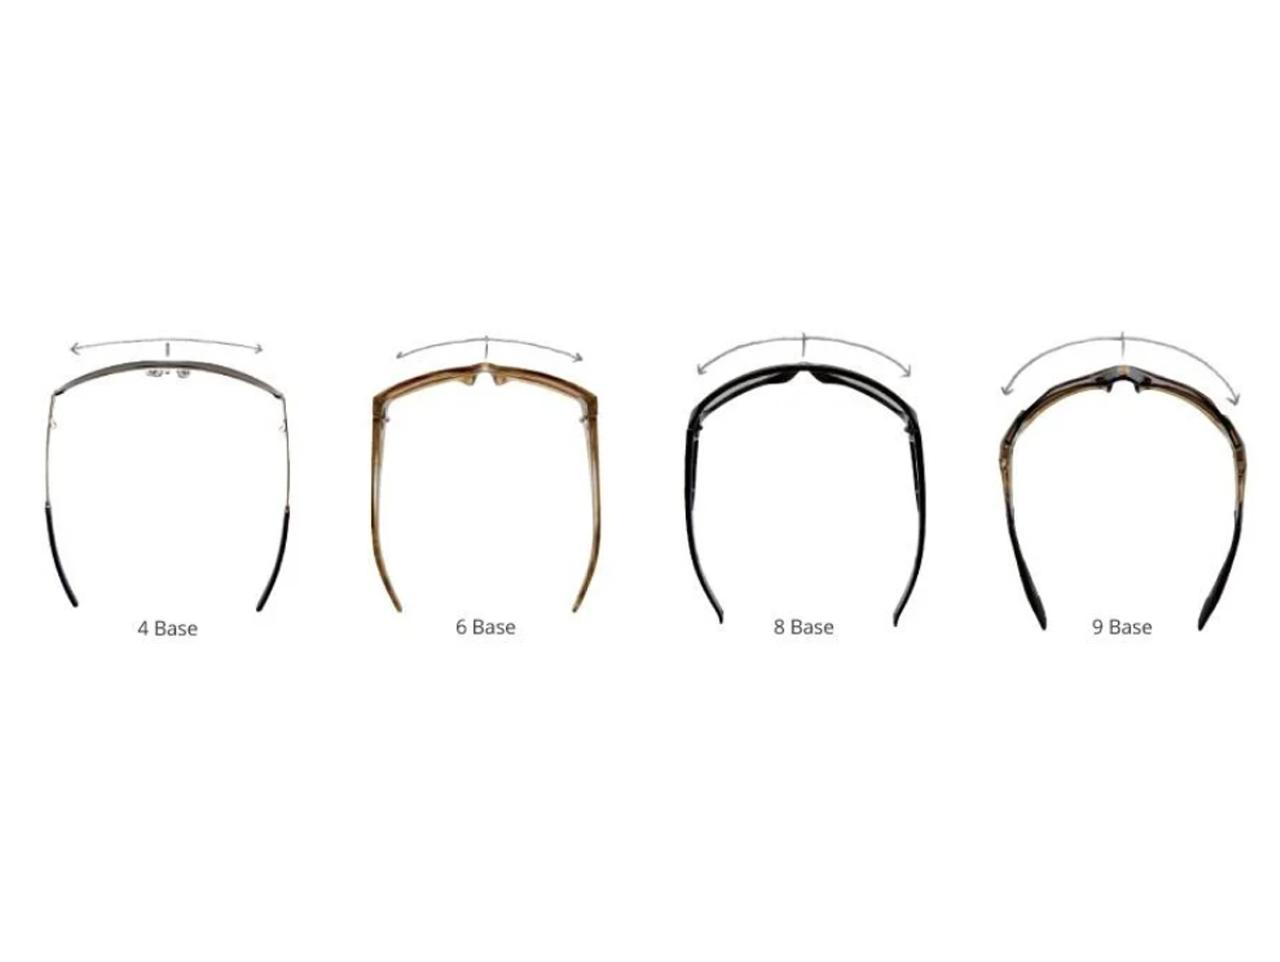
Step 6 - Sunglasses Model - Base
Depending on the type of eyewear you will want the frame to have a bigger curvature to cover as much face as possible, or a completely flat frame, to follow the lastest of the fashion trends ;)
The Base value is what is used to define this curvature. The higher the base number, the smaller the diameter of the curvature of the frame will be. Base nine is used for sport eyewear, which offers a pretty tight fit to protect the eyes as much as possible, whereas a base 2 is used for fashion eyewear where the frame is almost flat.
Our Classic model used to be base 6. Our new models are base 4.
Step 7 - DESIGN THE MOULD
When designing moulds to make eyewear with Precious Plastic machinery you need to make a fine exercise of balancing costs and mould quality.
For a really good finished product with little post processing needed, high quality inscriptions and outstanding surface finishes, you will have to spend €€€.
For testing purposes you can mill the mould way faster and with simpler machines, saving quite a chunk.
It is vital to understand that it doesn’t make sense to make moulds that are as good as industrial moulds for the obvious reason that they will then be almost as expensive as industrial moulds!
We went for a high quality mould that will require a small amount of postprocessing.
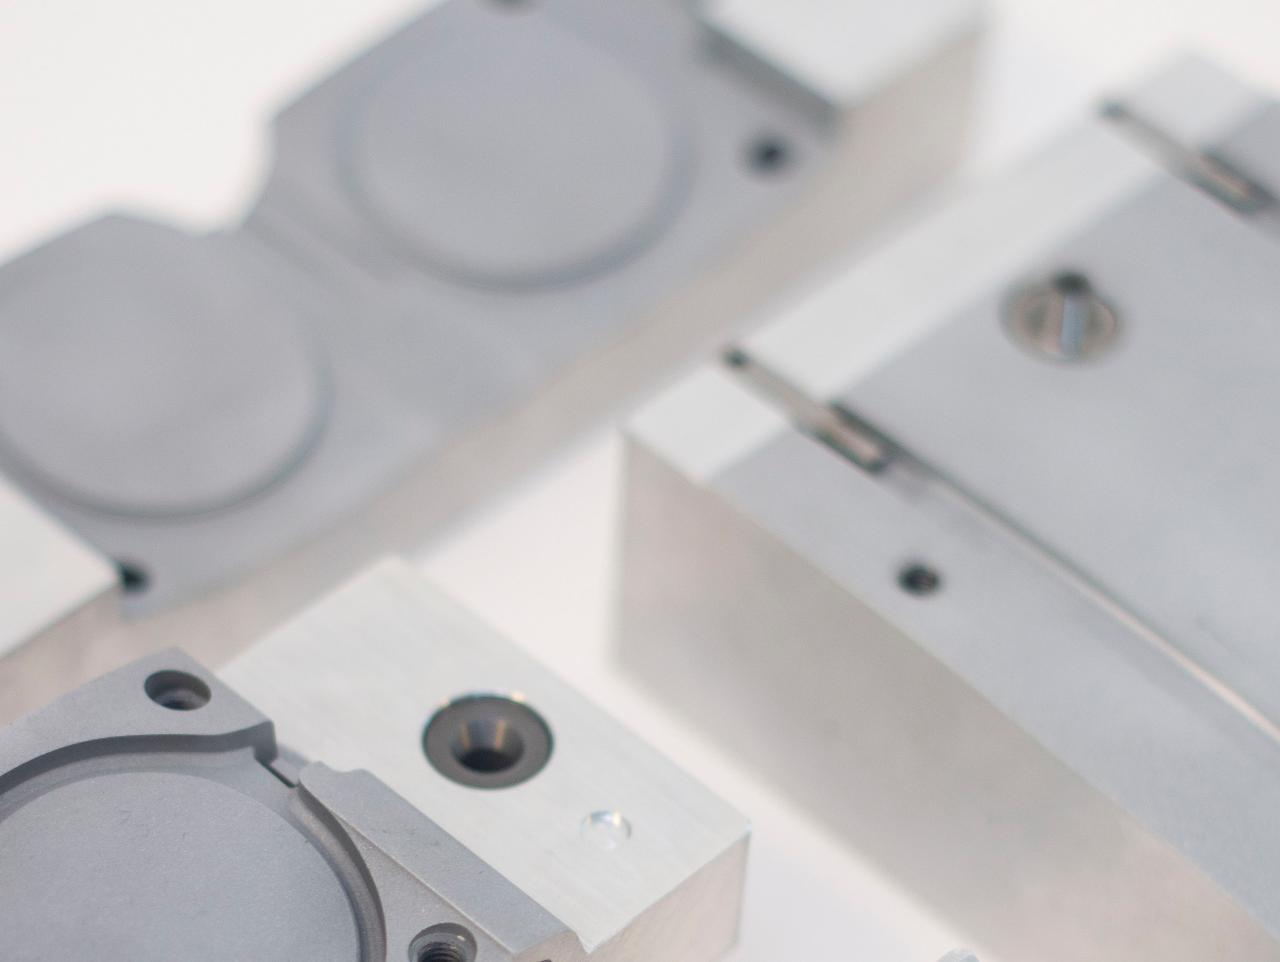
Step 8 - Parting lines
If you go for a cheaper mould, then go for parting lines in the edge of the parts, making it easy to post process and to achieve good final results.
If you go for a good mould, place them either way, since they will be good enough for you not to post process them or simply polish them slightly. In this case, design choices might be the parameters that will help you decide. The images you see show how to slightly hide the parting line by adding a round up, which will make the mould slightly more expensive (especially if you do this on small features that could want a few tool changes and a lot more time) or how to keep it simple.
If you go for a good mould, place them either way, since they will be good enough for you not to post process them or simply polish them slightly. In this case, design choices might be the parameters that will help you decide. The images you see show how to slightly hide the parting line by adding a round up, which will make the mould slightly more expensive (especially if you do this on small features that could want a few tool changes and a lot more time) or how to keep it simple.


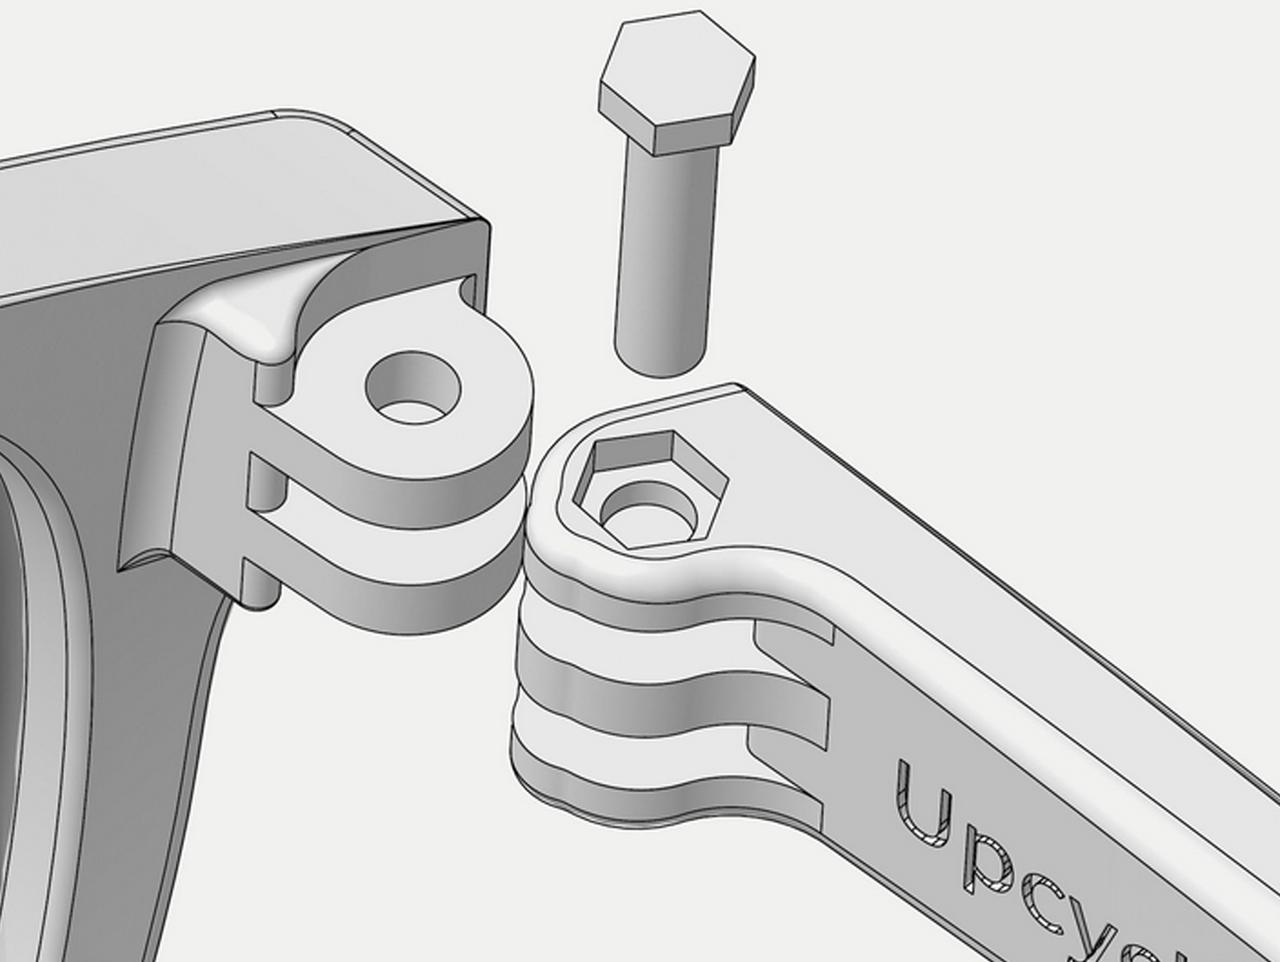
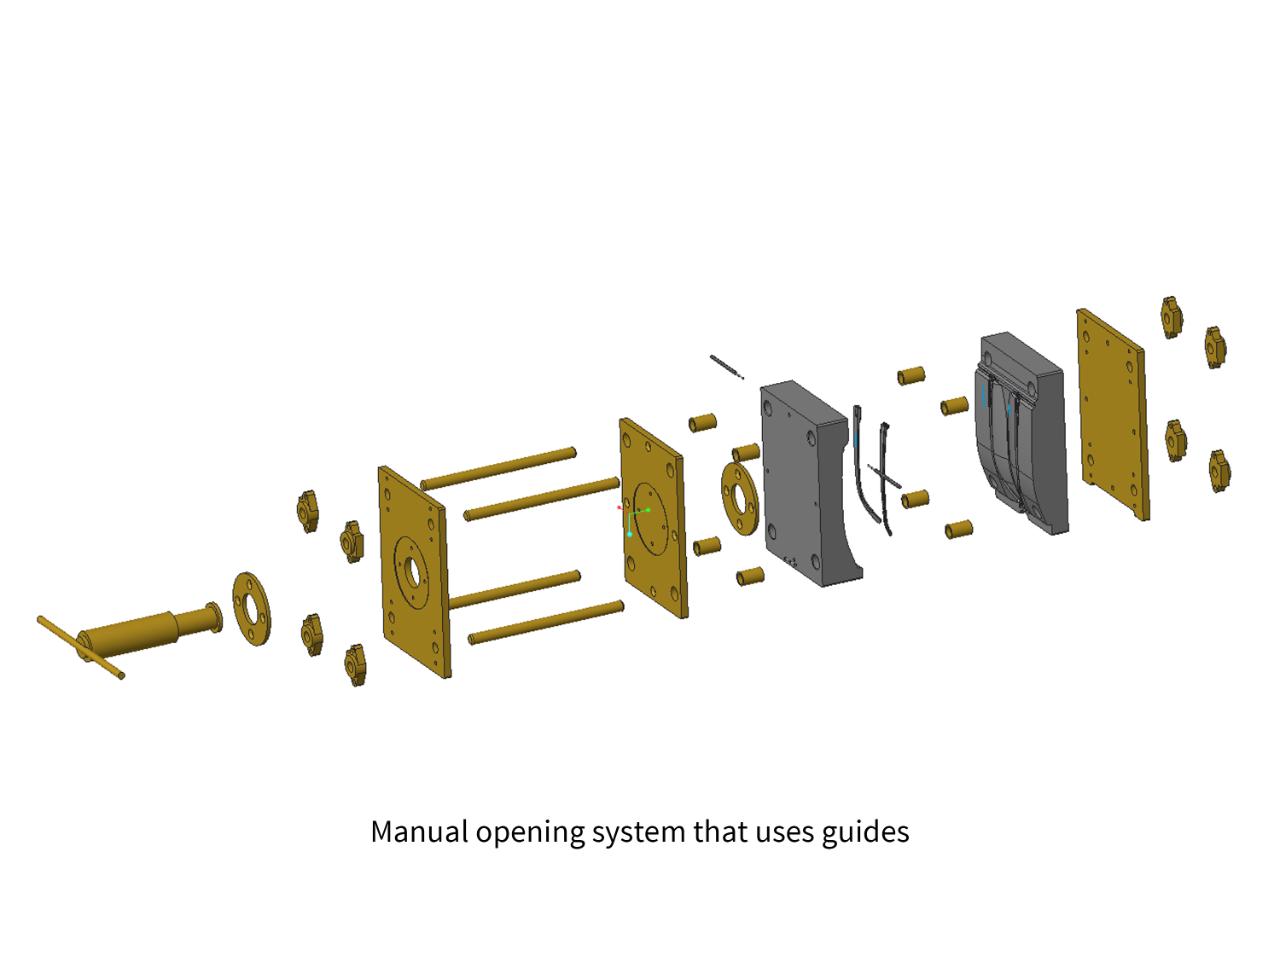
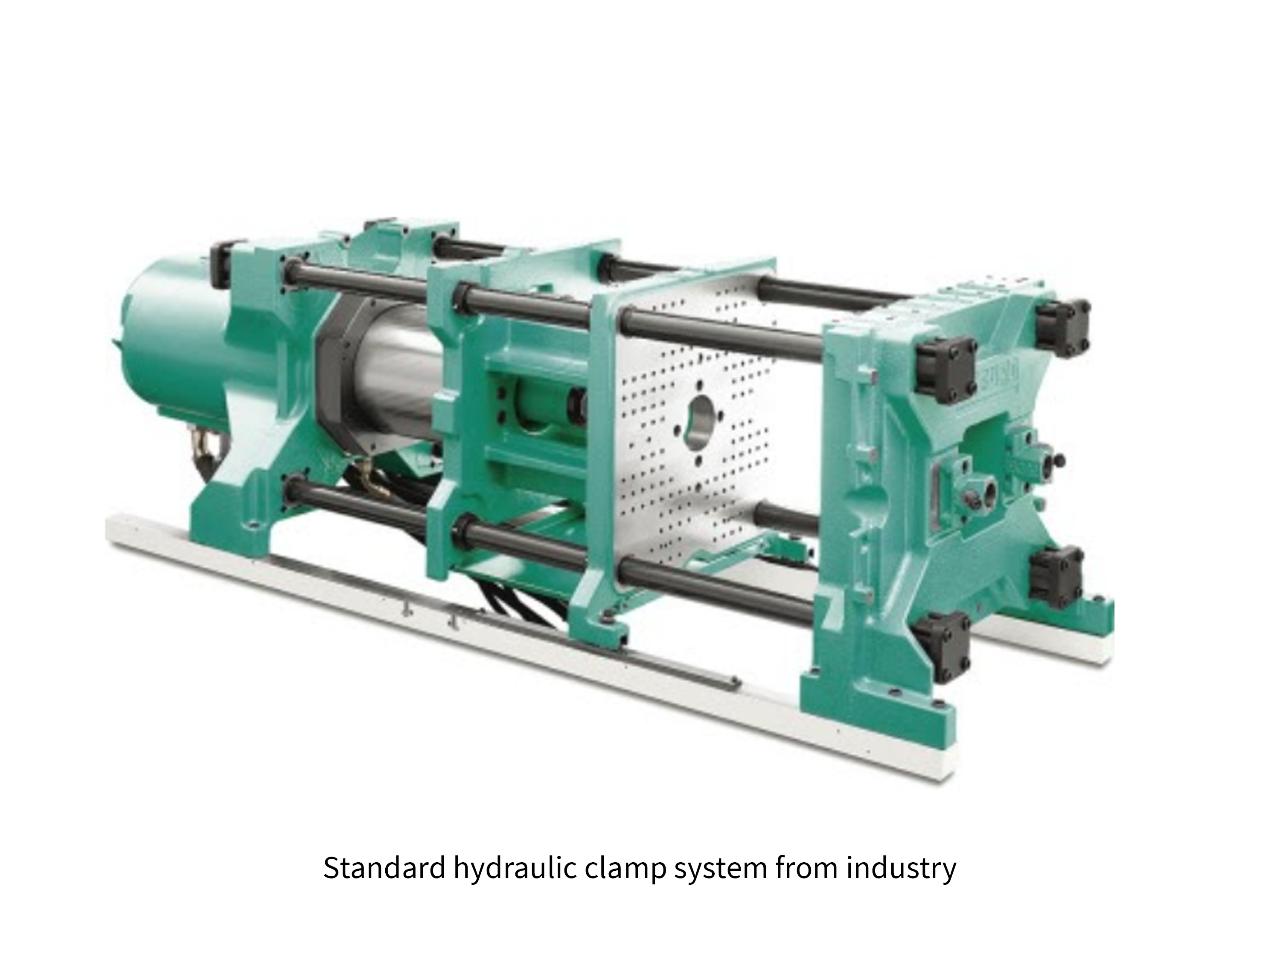
Step 9 - Closing system: How complex?
Closing system: How complex?
A closing system that allows for faster productions can be very costly. The clamping pressure in an injection mould is vital for good results and mould life. It is, however, not easy to find a system that allows for constant mould change and high enough pressures, evenly distributed, at a low price.
Using simple screws is a good solution for a smaller budget: It’s cheap and offers a perfect clamping pressure if they are placed right. However, it will be slower to open and close the mould.
Our recommendation is to start with screws, understand your real needs, and work from there.

Step 10 - Surface finishings
Depending on budget and intentions you can leave the tool paths, or bead blast or polish them.
1: Leaving the tool paths is the cheapest option. You can always play with the cutting direction to make patterns - the result can be pretty interesting.
2: Bead blasting is the cheapest way to have an even surface in a mould. With this, however, it is not possible to get a shiny finish. There are several standards for bead blasting, varying for different parts of the world. Your manufacturing partner will be able to guide you through them.
3: Polishing offers the evenest result. As it is made by hand, it is also the most expensive one. Look for the grade you need.

Step 11 - Logos and inscriptions
To end your product, it is interesting to get awesome inscriptions on it and make sure whomever receives your product knows who made it. Two main options here:
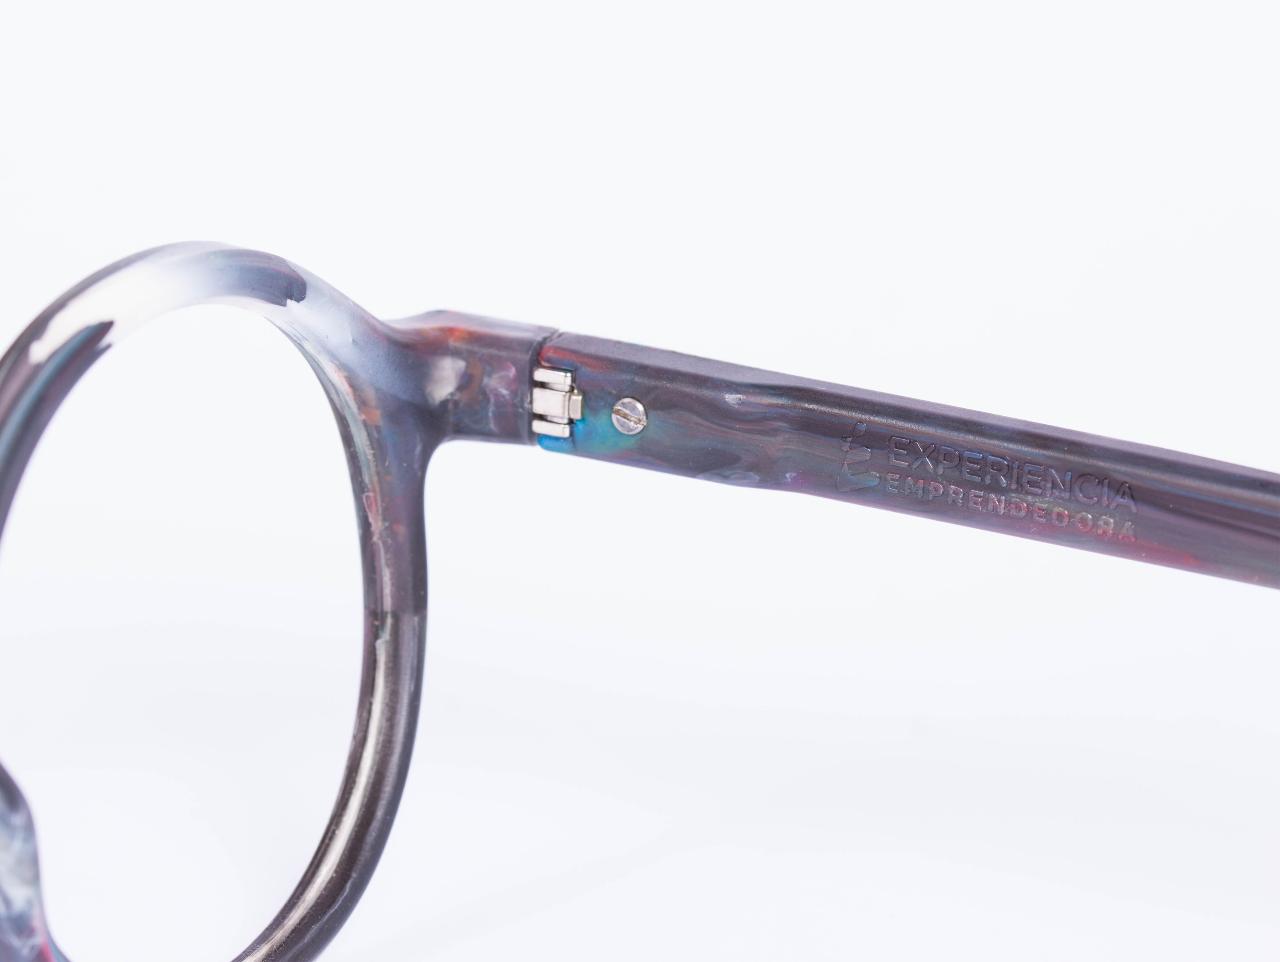
1: Mill a logo or inscription of your brand, limiting the production to one brand name, but being able to have high quality inscriptions without extra efforts or time. The image shows the moulds we made for Experiencia Emprendedora from Argentina.
2: Using the awesome Samsara’s method of pressure-marking your logos and inscriptions on the surfaces. The quality won’t be as high, but it will allow you to use the mould for a variety of projects and brands, while you establish yours (if that is your plan).
Photo credits: samsaratrc

Step 12 - GET READY TO INJECT THOUSANDS!
Once you understand the process fully, it’s time to tailor to your needs, your machines, moulds and products so you can reach the targets you set. Automating part of your process might be a good idea once you start selling regularly.
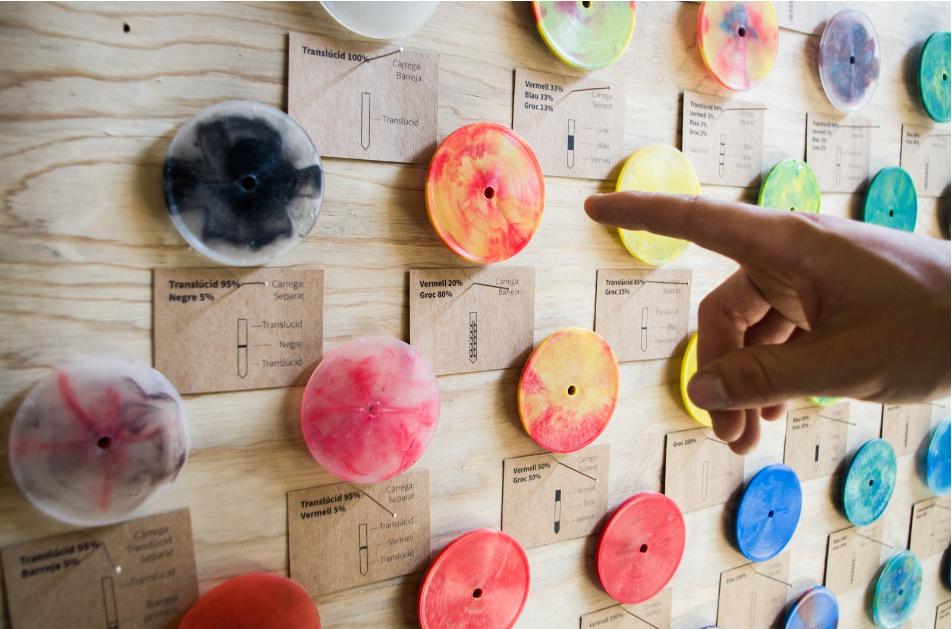
And don’t forget to pay a lot of attention to the colour formulas for your products, it’s fun!
And don’t forget to pay a lot of attention to the colour formulas for your products, it’s fun!
Step 13 - EMBRACE DISTRIBUTED DESIGN
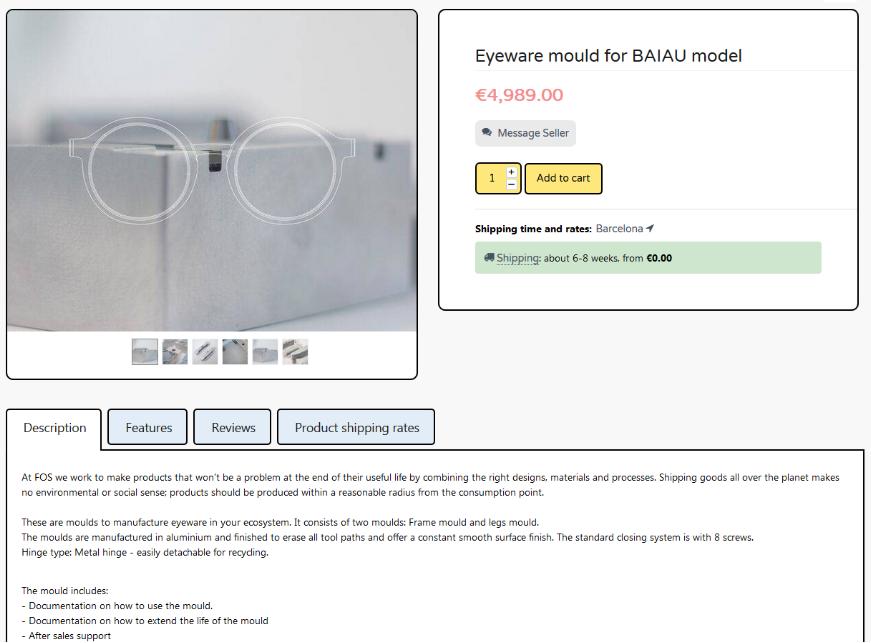
At FOS we aim to help projects and people to be able to make the eyewear we’ve designed in their local ecosystems, hence making possible for us to stop shipping products individually and by airmail, which is a HUGE contradiction. For this, we’ve created packages that include knowledge and moulds for anyone to be able to start selling eyewear made out of plastic waste ANYWHERE.
Distributed design is a powerful concept that needs to become a standard. We’re still far from that, but this is our contribution, so if you are interested in those packages, check our profile out. :)
WEB: https://www.fosbarcelona.com/
IG: https://www.instagram.com/
BAZAR: https://bazar.preciousplastic.com/esferica
—
—
—
Comments