Layout your plastic
Most of the people don’t even realize how much plastic waste they create. The throw-away culture makes it happen that you leave this waste behind. This makes us, in a lot of moments, just skipping the moment of actually taking a look at what we throw away.
By laying all the collected plastic waste out and sorting it in categories it will give a clear overview. This can be done at a Collection Point or even after a cleanup. Lay it out and explain/talk/share with the people around you.
—
Attachments
Resources
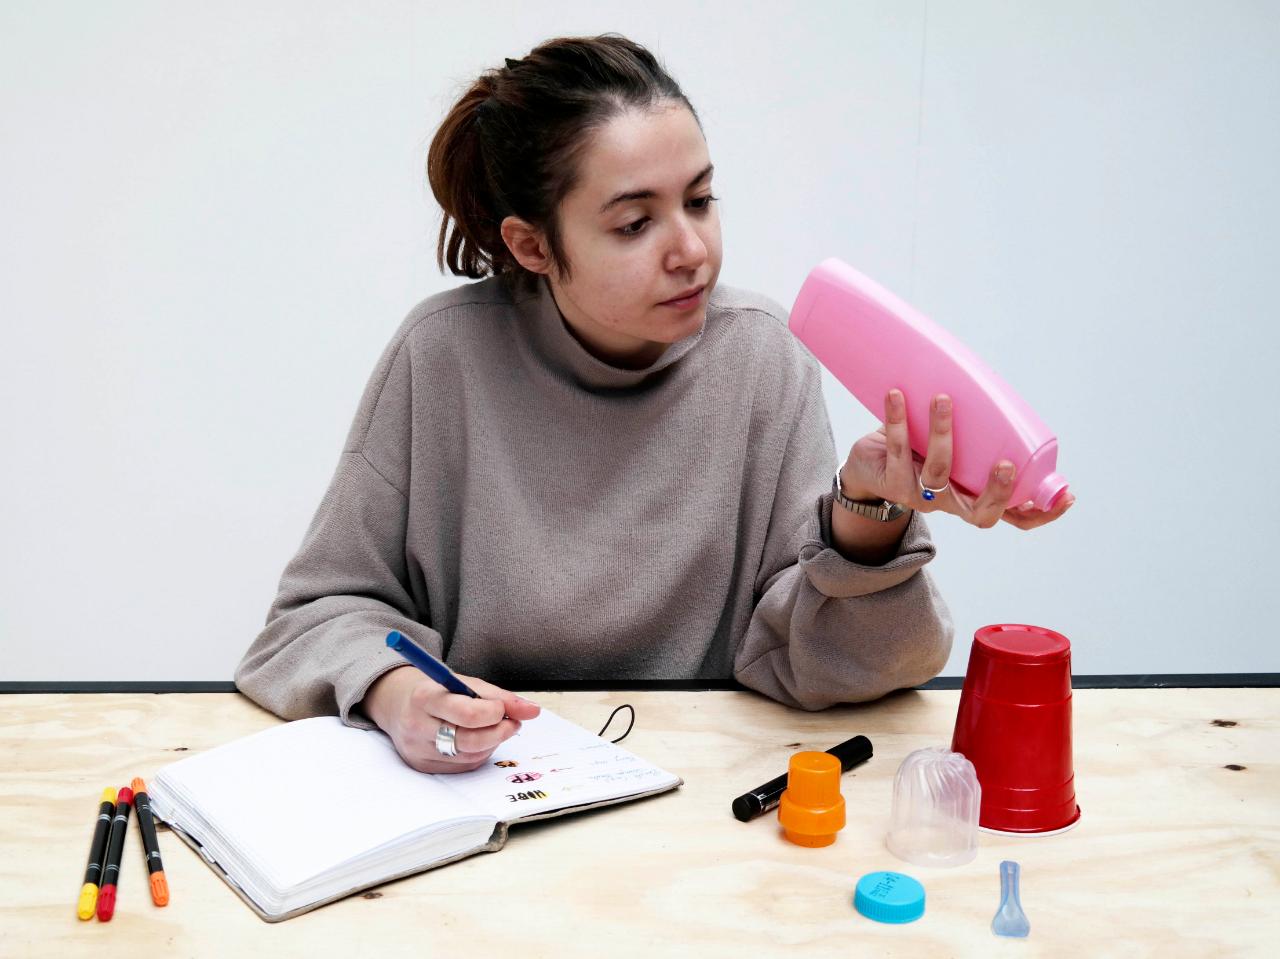
Step 1 - Choose your categories
The first step of this how-to is, choosing a couple of categories that you want to sort the plastic in. This can be only the ones that you will recycle yourself or the most common ones PETE, HDPE, PVC, LDPE, PP, PS, and others. You can even add a section with “to dirty” or “to mixed”.
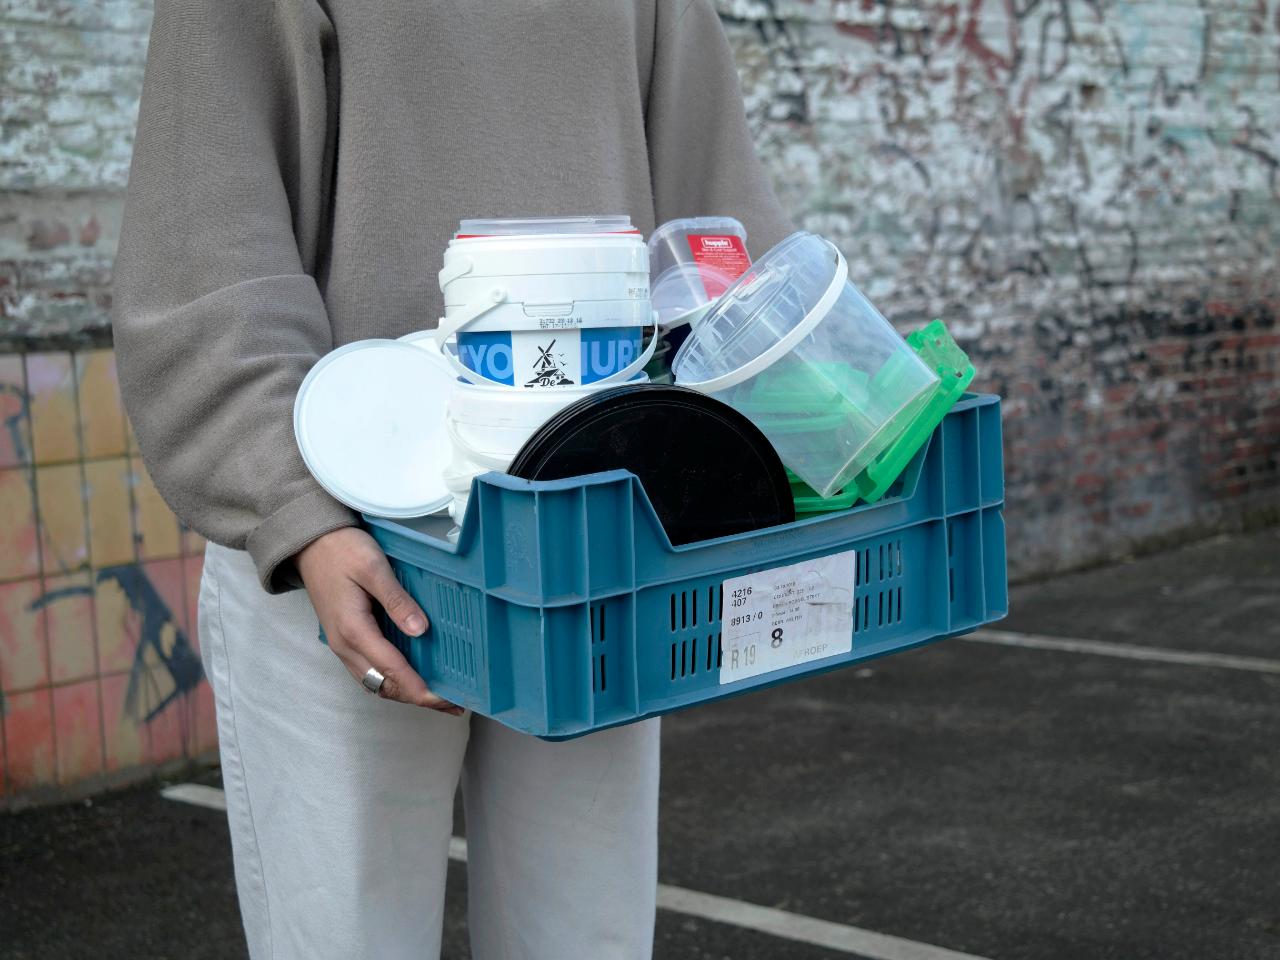
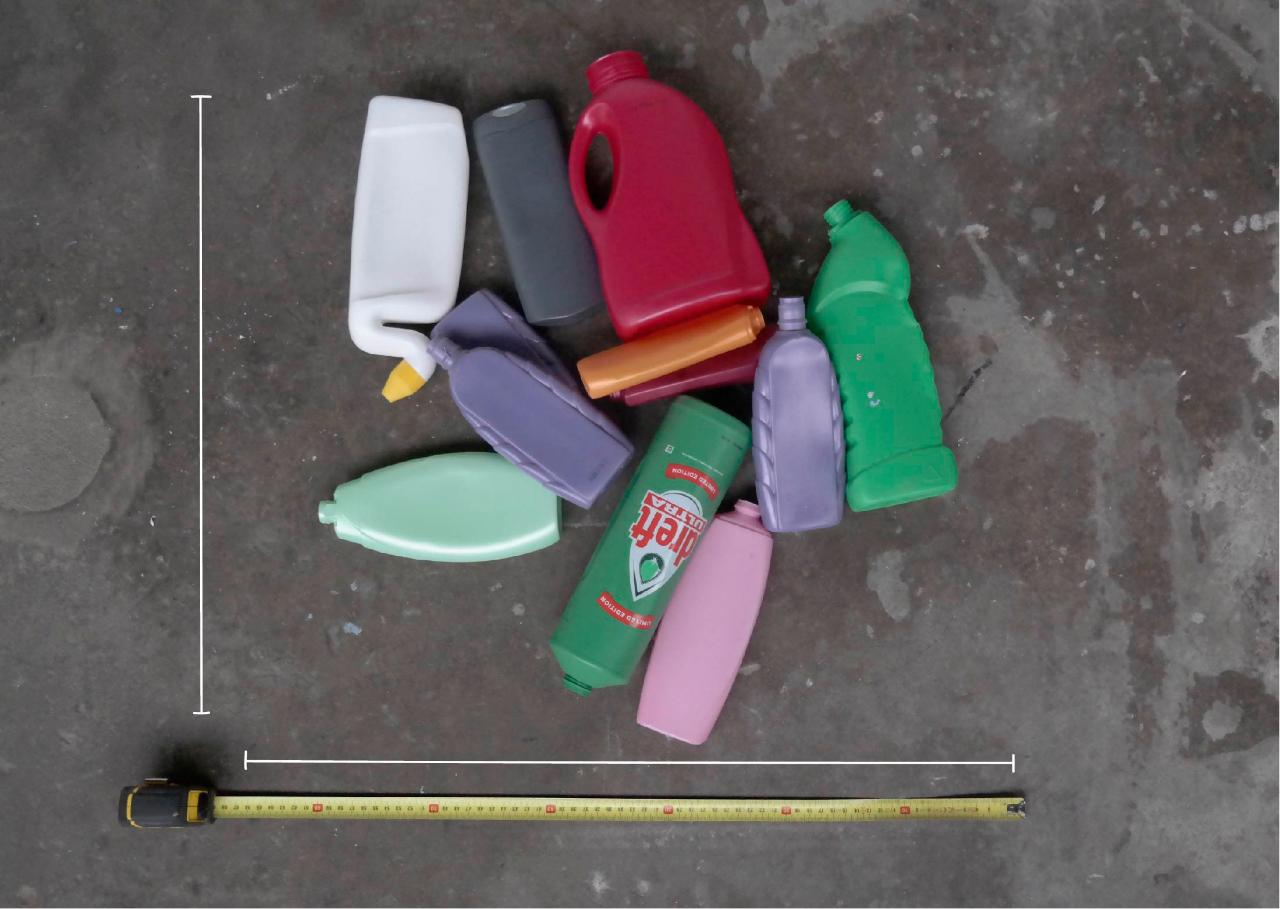
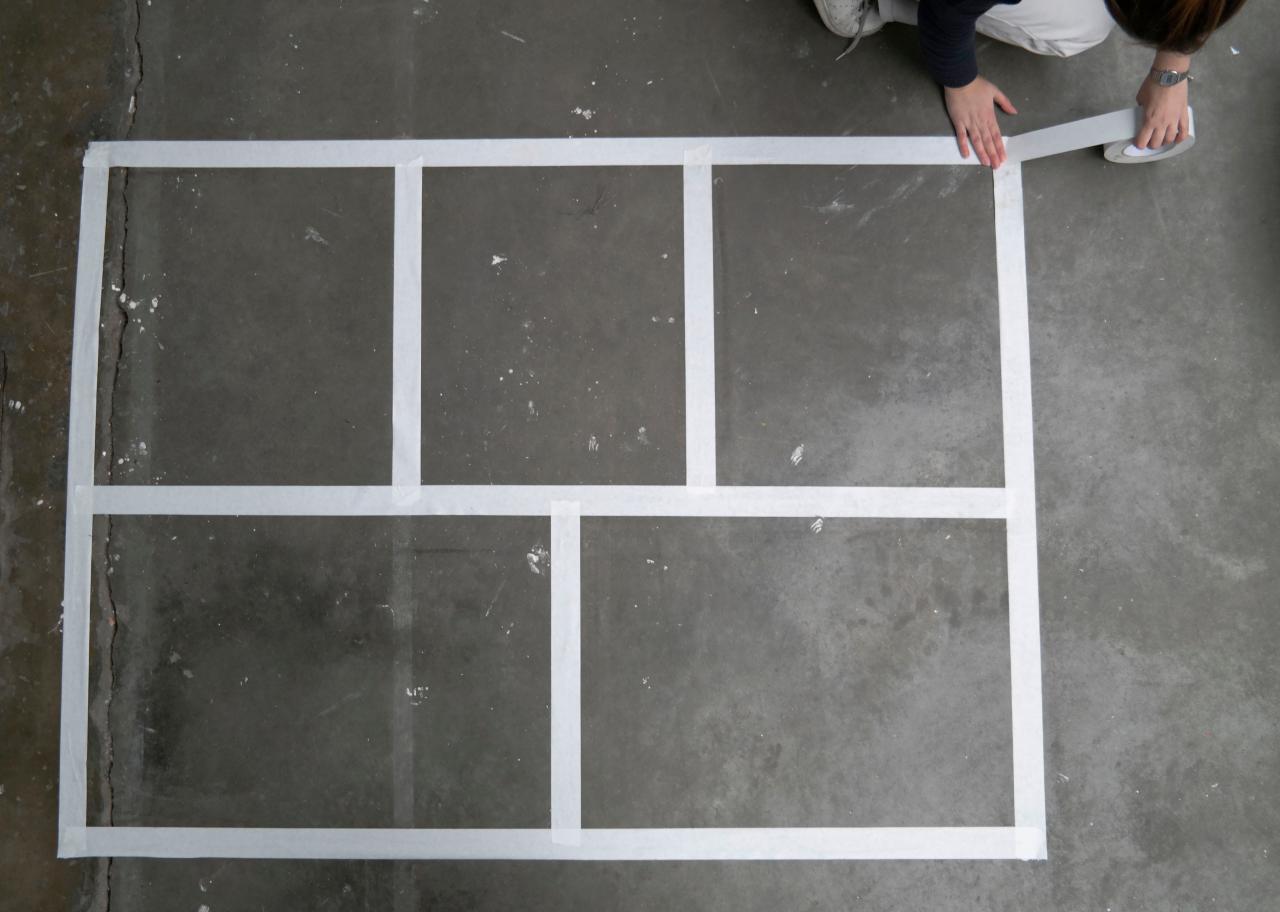
Step 2 - Measure the space that is needed
By letting someone in the local area collect their plastic waste for a week or 2, you will know how much space you will need to lay this out in the layout. Layout their collected plastic in the categories that you choose. Start to measure the outlines per category and the outline of the whole layout.
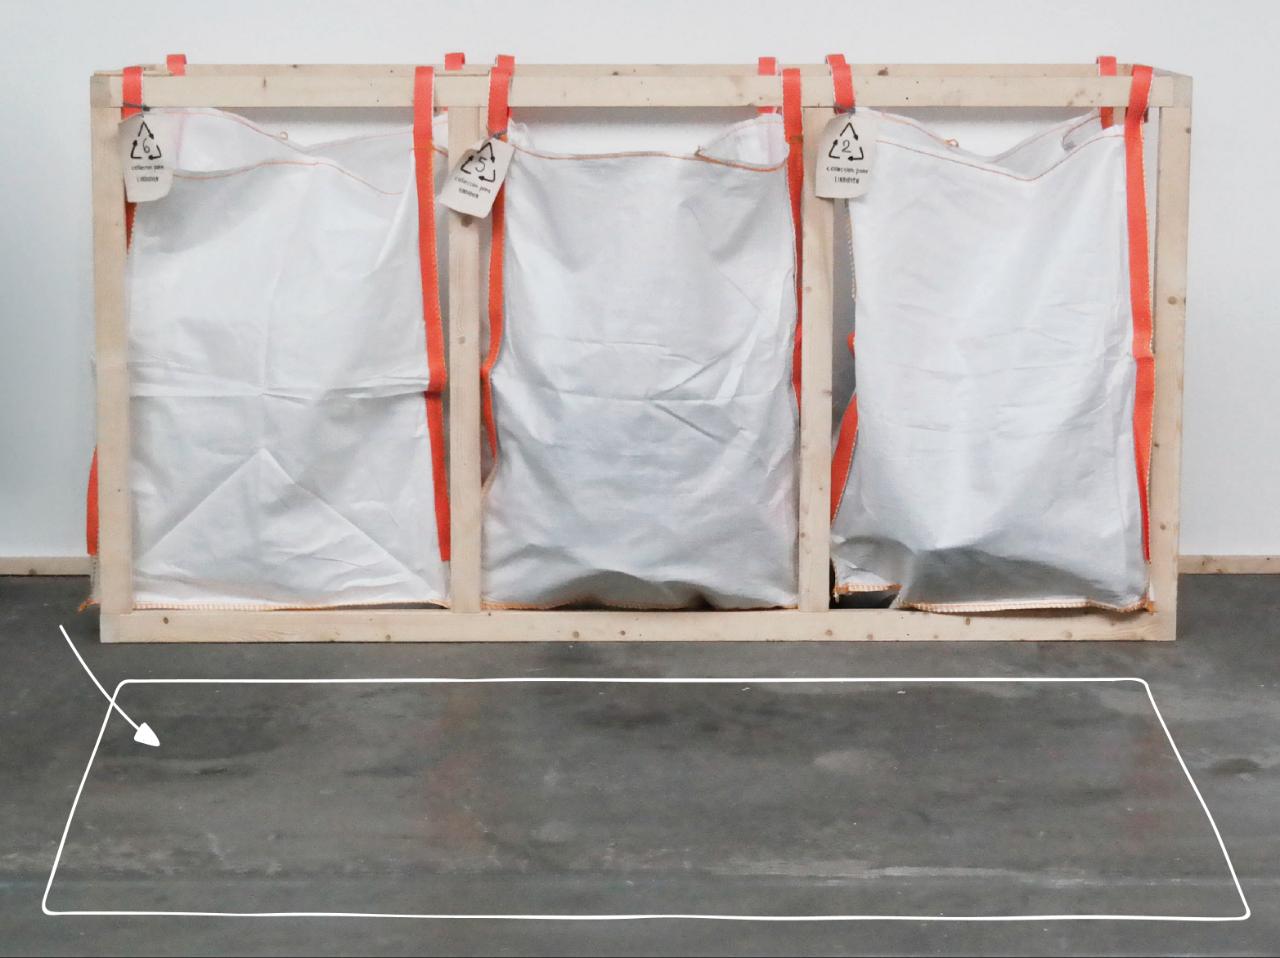
Step 3 - Choose a good spot
Now the size of the layout is clear we can go to find the right spot to place the layout. It’s nice to have enough space around the layout to be able to move and take pictures. It will make sense to keep the layout close to the collection bags, so the visitor can after seeing his plastic, throw it into the bags to be recycled.
Tip: You can also make it to the wall and play with shelves to make it easier to take photos of. It can be done in lots of different ways to be creative and share your results with the community.
Tip: You can also make it to the wall and play with shelves to make it easier to take photos of. It can be done in lots of different ways to be creative and share your results with the community.
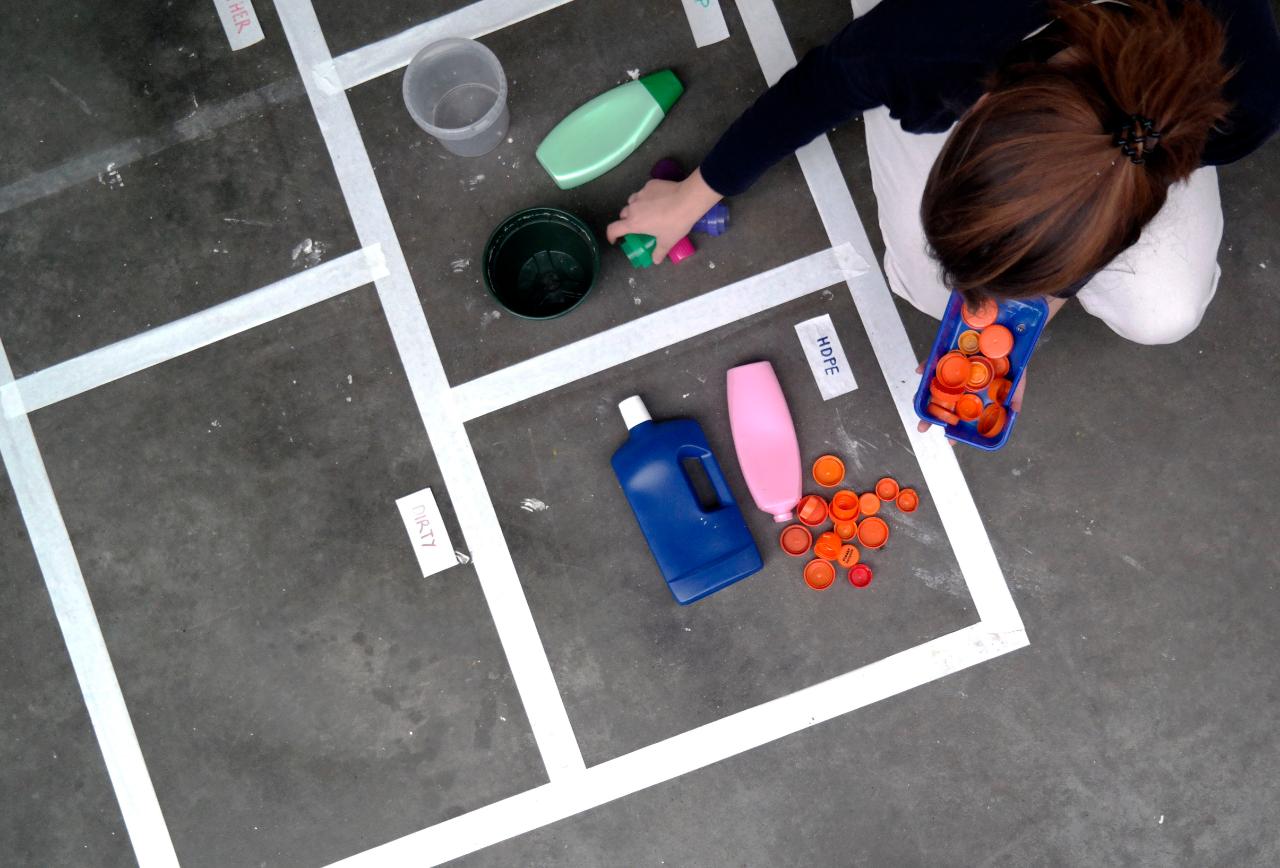
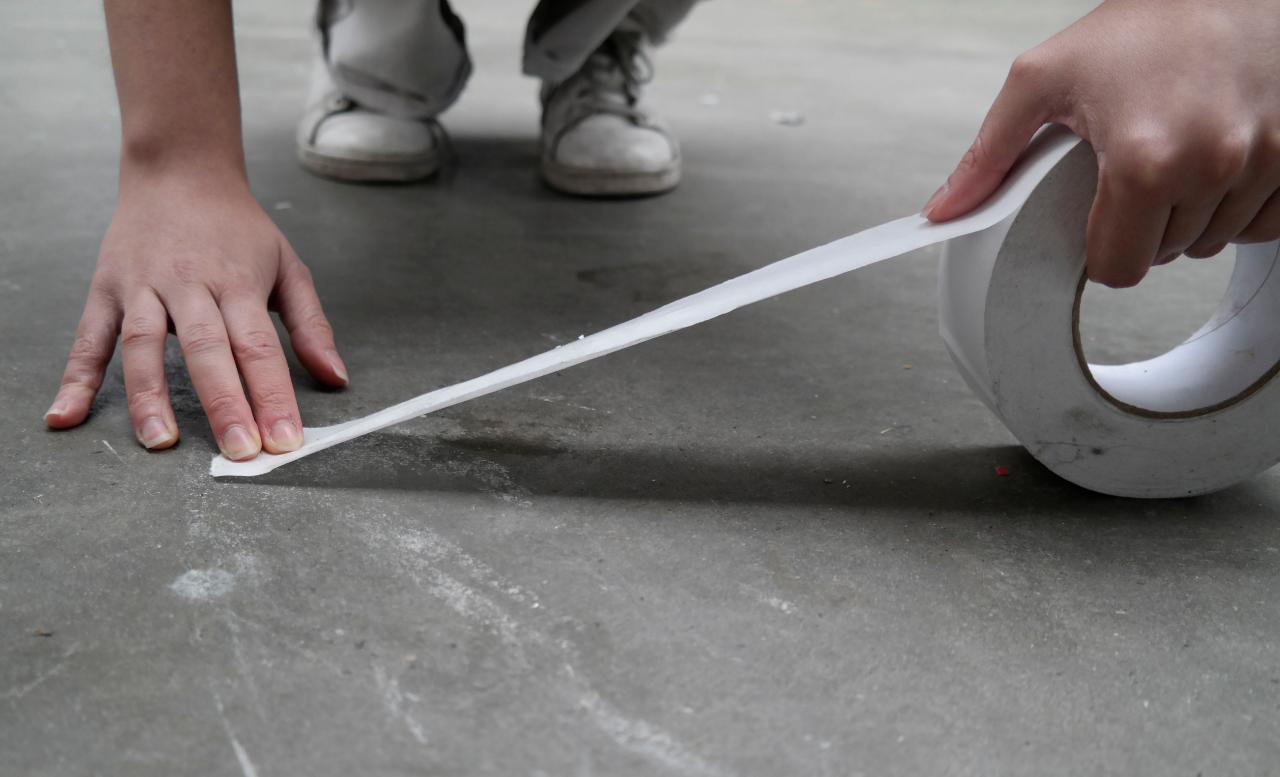
Step 4 - Mask the outlines
It’s the moment to mask the tape on the floor. Follow the measurements that you wrote down earlier. Line out the rectangles by using a measuring tape/90-degree corner and paste the masking tape on the lines. Make sure that you press all the tape nicely, so it doesn’t come off too easily.
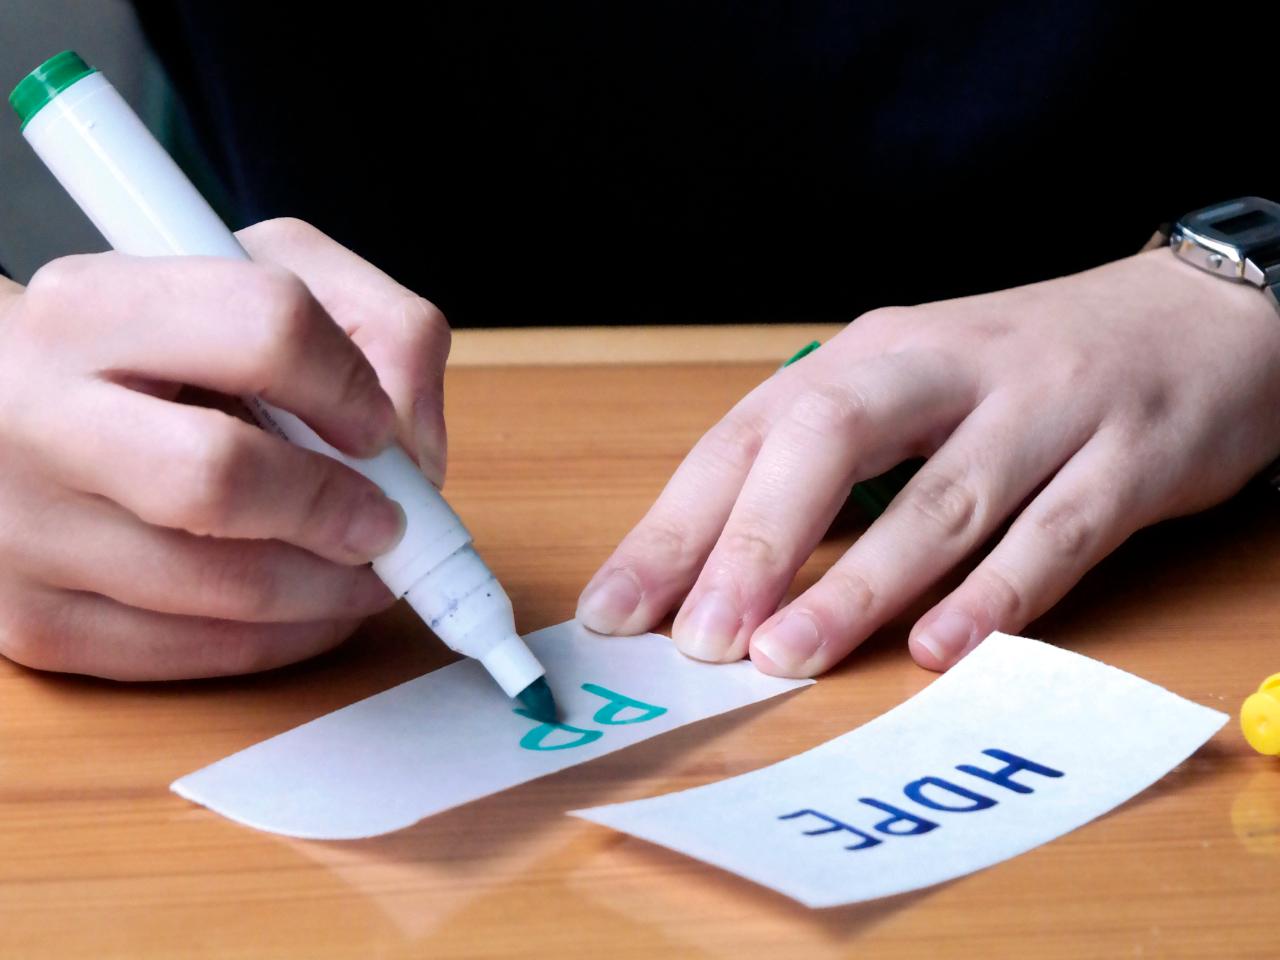
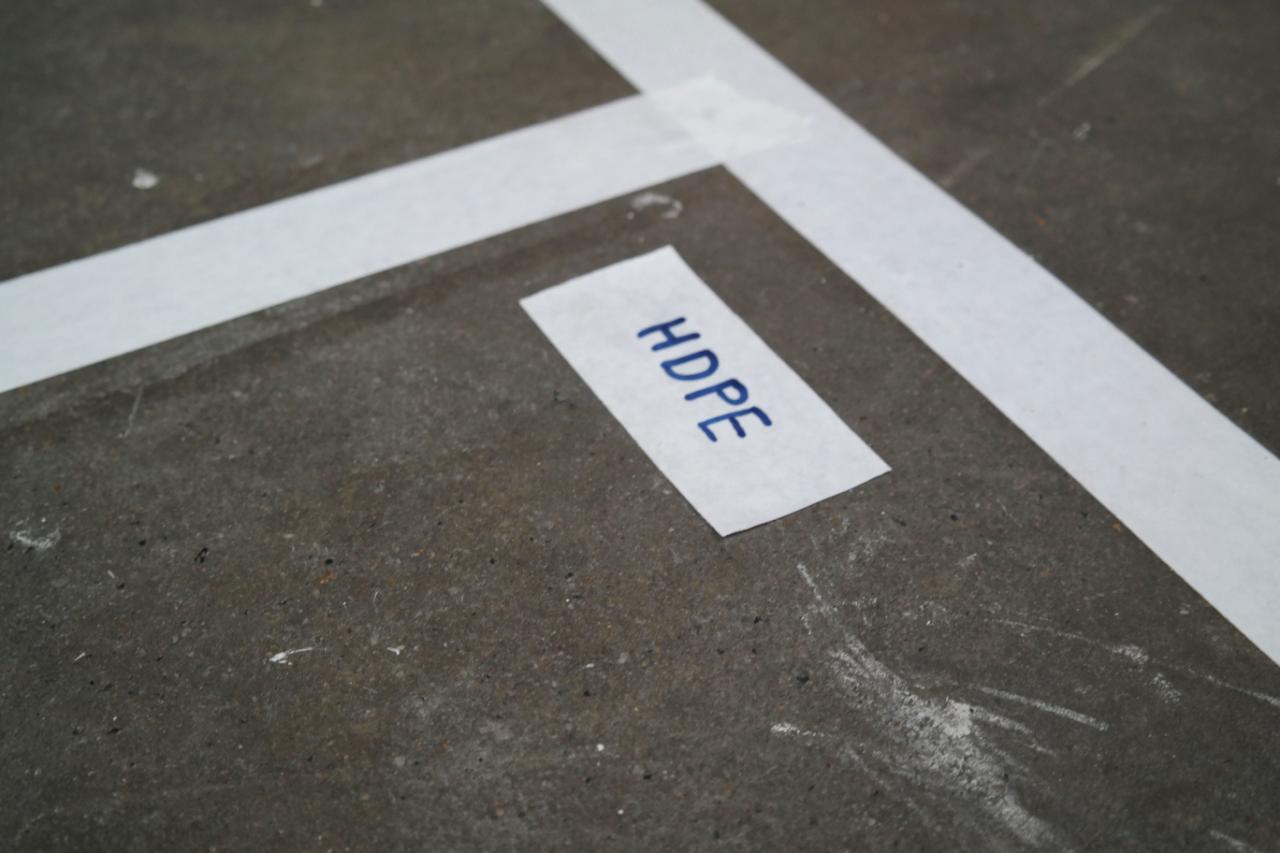
Step 5 - Make a sign for every category
In this step, it’s time to visualize each category by an illustration or written sign. This can be done on a piece of paper (something temporary) or being painted on the floor (something permanent). Make sure that you choose a color that has good contrast with the background, this will make the layout clear even when people take photos from far.
Step 6 - Take a step back and look
Finally, the moment is there to use this plastic layout tool. You can use it for example, when a collector comes in your Collection Point and he/she has time to listen to some more information about plastic. Explain how to separate the collected plastic by the categories.
Tip: Give a hand where needed, it’s fun to do this together.
After sorting you can both take two steps backward and look at the overview of the laid out plastic. Start a little conversation about the result and the differences in the products that you see. It's your moment to shine with all your knowledge about plastic, go for it and share :) If there is even more time you can give some plastic-free examples to reduce plastic use.
Tip: Let the collector take a photo of the overview to share on, for example, social media.


—
—
—
Comments