Make a 3D-printed injection mould
3D-printed molds are a great way to test highly detailed mold designs before investing in more expensive CNC-milled aluminum molds. 3D-printed molds can last for up to 100 shots, however results vary depending on variables like plastic temperature, injection pressure, and clamping method. A downside of 3D-printed molds is that they’re made from photocured resin, so they can’t be reused or recycled at the end of their life. They’re also quite brittle when compared to aluminum, which means small features in the mold design have a tendency to break more easily. For that reason, 3D-printed molds’ utility is limited to prototyping and small batch productions.
—
Attachments
Resources
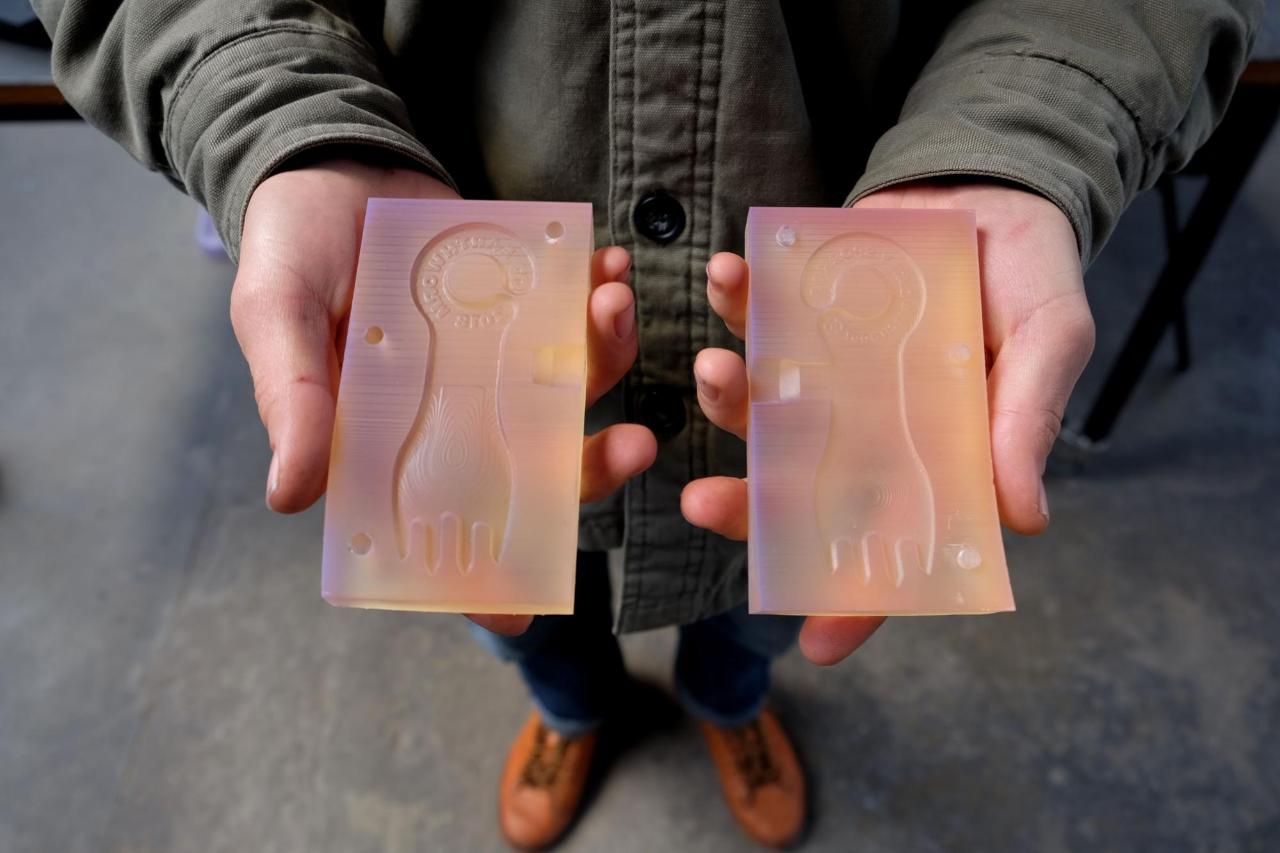
Step 1 - 3D Model
To begin, you need a 3D model, which you can create using a 3D modeling software such as Fusion360. Molds are also available from various designers online. The Daily Spork mold is available for download above.
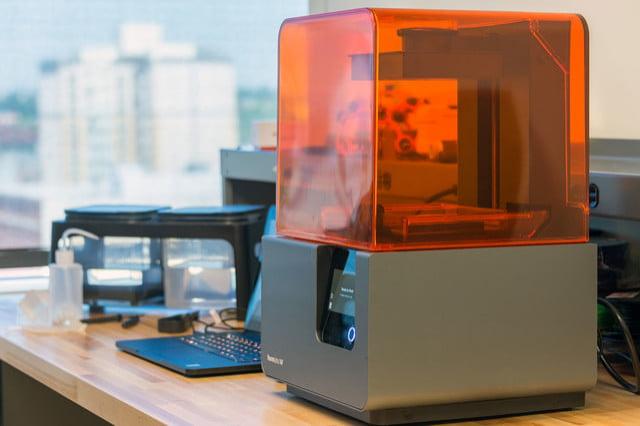
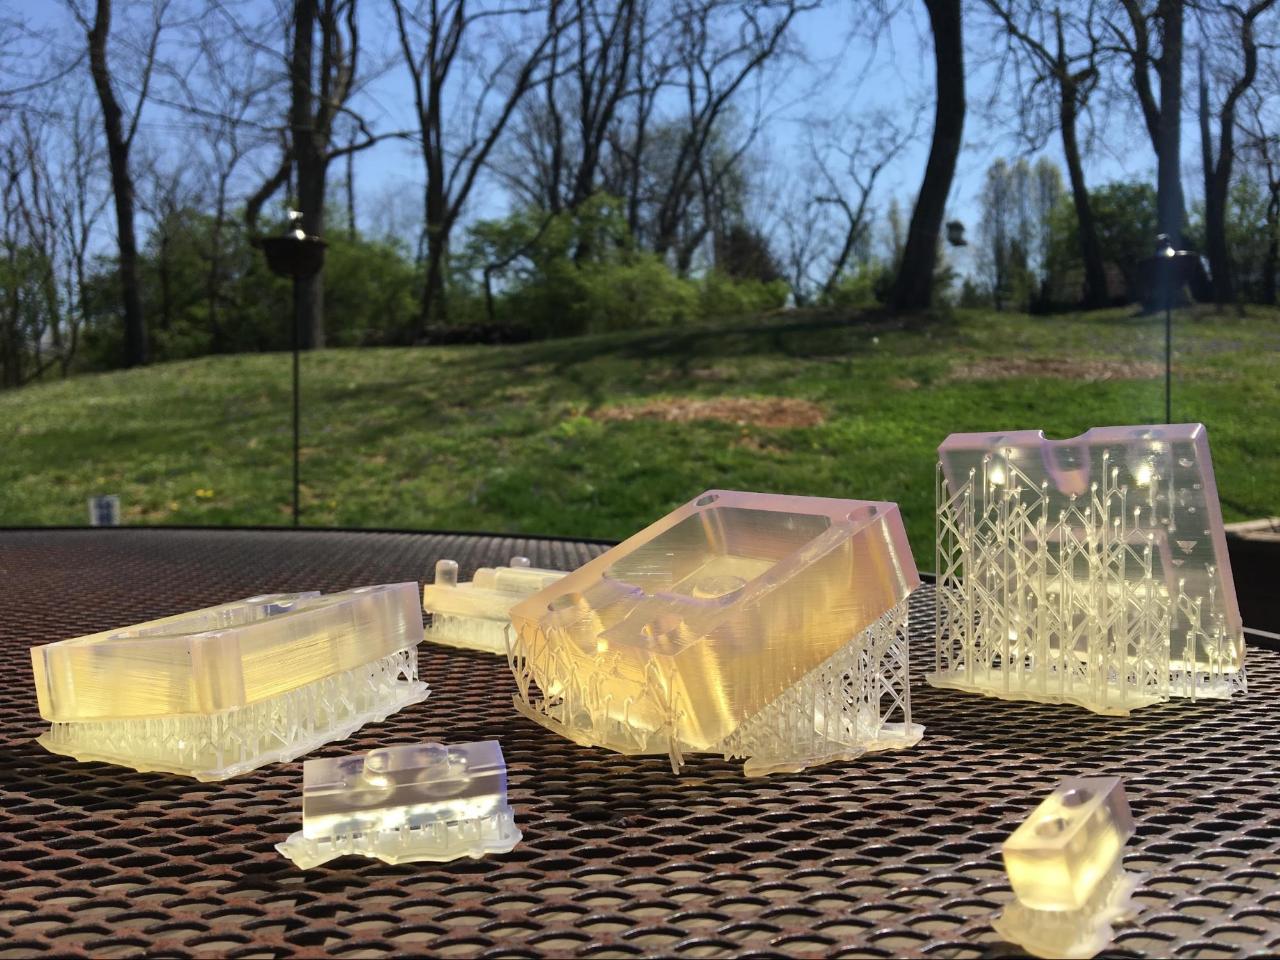
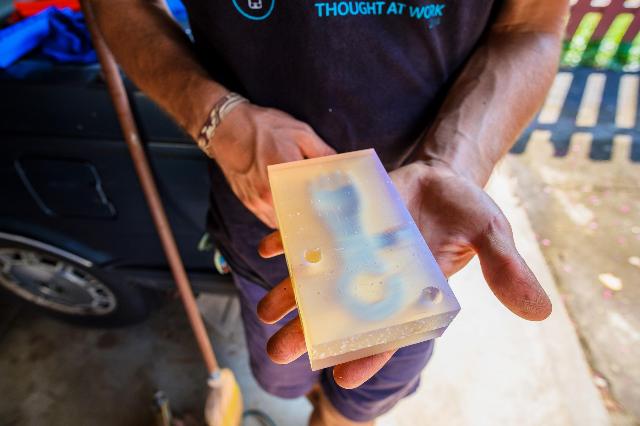
Step 2 - 3D print the mold using hi-temp resin
Once you have the 3D model, print it using a resin that’s able to withstand the high heat of the injection molding machine. The most common resin available is FormLabs’ Hi Temp resin which can withstand temperatures up to 269 degrees celsius.
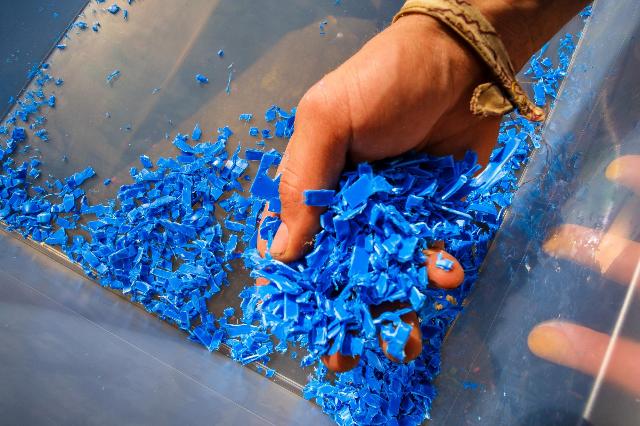
Step 3 - Shred plastic
While the mold is printing, you can prepare your plastic by cleaning and shredding it. If you’re making Daily Sporks, be sure to use food-grade plastic which is marked with the food-grade symbol.
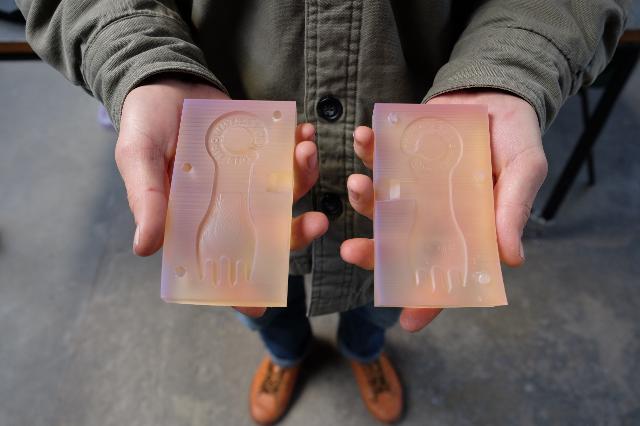
Step 4 - UV cure the mold
Once the mold is printed, it needs to be cured so that it fully hardens and is able to withstand the injection machine’s high heat. The easiest (and least wasteful) way to do this is by leaving the mold out in the sun for about an hour or so. As the mold cures, its color will change from yellow to orange. Once the mold has cured, remove its support structures using clippers and a file.
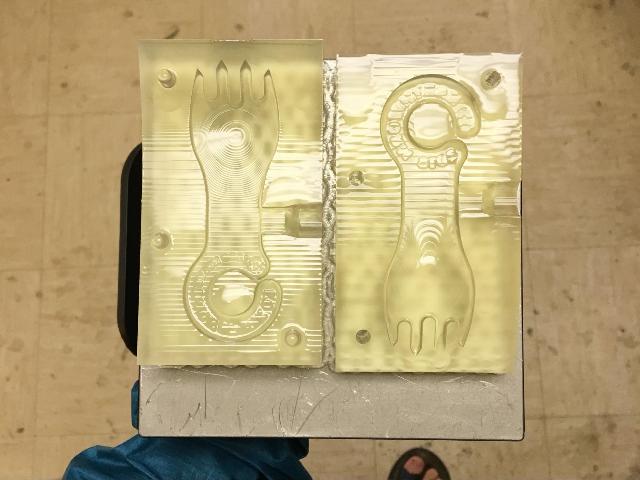
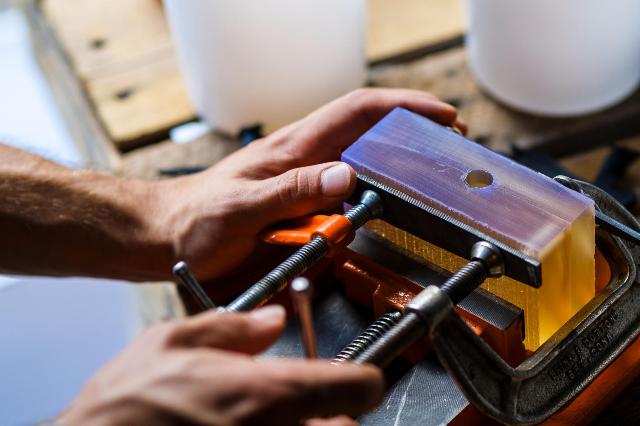
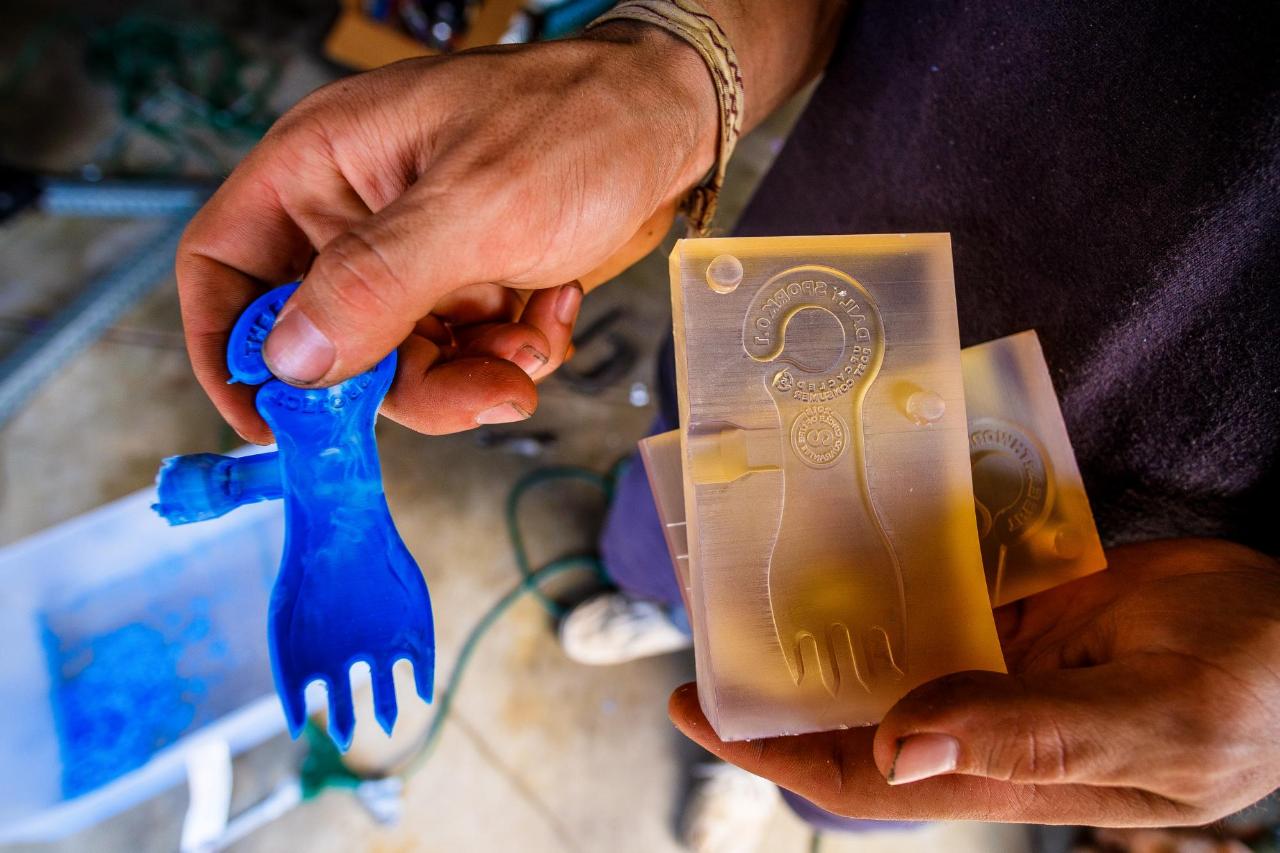
Step 5 - Assemble mold
With the plastic shredded and mold cured, it’s now time to assemble the mold for injection. This can be done as pictured, using a combination of clamps. Designs may vary though, so do what makes sense for your particular molds (using pins is another common method). Generally it’s a good idea to put plastic into the injection machine beforehand so that it can begin to melt while you assemble the mold.
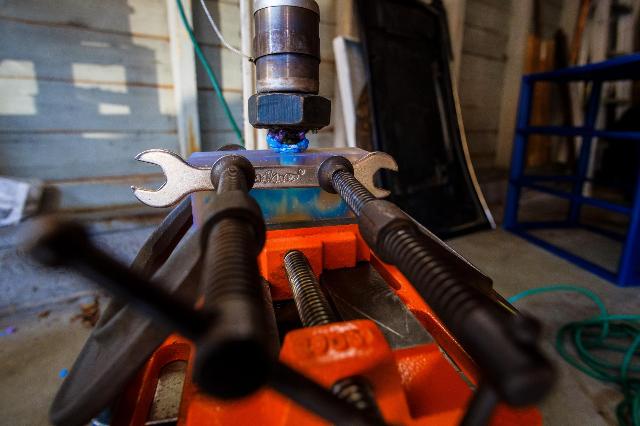
Step 6 - Inject plastic into the mold
Once the mold is assembled, press down on the injection lever to see if melted plastic comes out of the nozzle (Usually it takes about 10 minutes to fully melt). Once the plastic is melted, place the injection nozzle in the mold entry and inject the plastic into the mold. A nice feature of 3D printed molds is their translucency, which makes it easier to tell when the mold is completely filled.
Step 7 - Let cool
After the plastic has been injected, remove the mold and let it cool before opening. Cooling times vary depending on the thickness of the object. For something like the Daily Spork, a minute or two should do the trick.
Step 8 - Disassemble mold
Once the plastic is cool, disassemble the mold and remove the part.
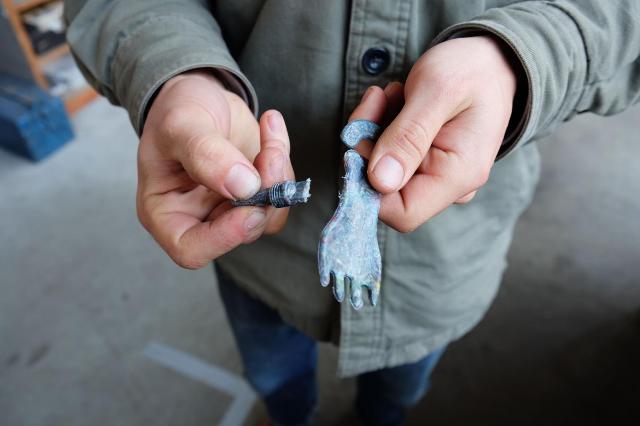
Step 9 - Remove sprue and trim flash
With your new part made, remove the sprue and any flash. This can be done using a variety of methods depending on the design. The Daily Spork’s sprue can be easily snapped off by hand. Flash (excess material) can be removed using a deburring tool or a small knife. If using a knife, be sure to cut away from yourself :-)
Step 10 - Enjoy your new object
For more info about the process, check out FormLabs’ white paper on the topic here: https://formlabs.com/media/upload/injection-molding-from-3d-printed-molds.pdf


—
—
—
Comments