Make a bent laser cut mould with inserts

Here you'll learn how to make a more complex laser cut mould, in order to avoid post production processes like bending, drilling and cutting. Now we are going to make a handplane for bodysurfing, but you can apply this technique to any other product!
—
Attachments
Resources
Step 1 - Laser cut
Download the laser cut files and send them to you local laser cutting company. Make sure to ask if they offer bending services to see if they can do it for you straight away or if you have to take your laser cut plates to bend somewhere else. In the download file, you'll also find the bending angle and line.
.png)
Step 2 - Bending
After you receive your plates already bent, they will not fit perfectly because the middle plate has a different thickness from the top and bottom ones, therefore they have different bending radius, but that's not a problem!
Place the 3 plates together and with the help of some M8 bolts and the very stong 4 mm washers we previously laser cut, use them to align the plates together, making sure the chamfered corners are all on the same side.
Place the 3 plates together and with the help of some M8 bolts and the very stong 4 mm washers we previously laser cut, use them to align the plates together, making sure the chamfered corners are all on the same side.
.jpeg)
.jpeg)
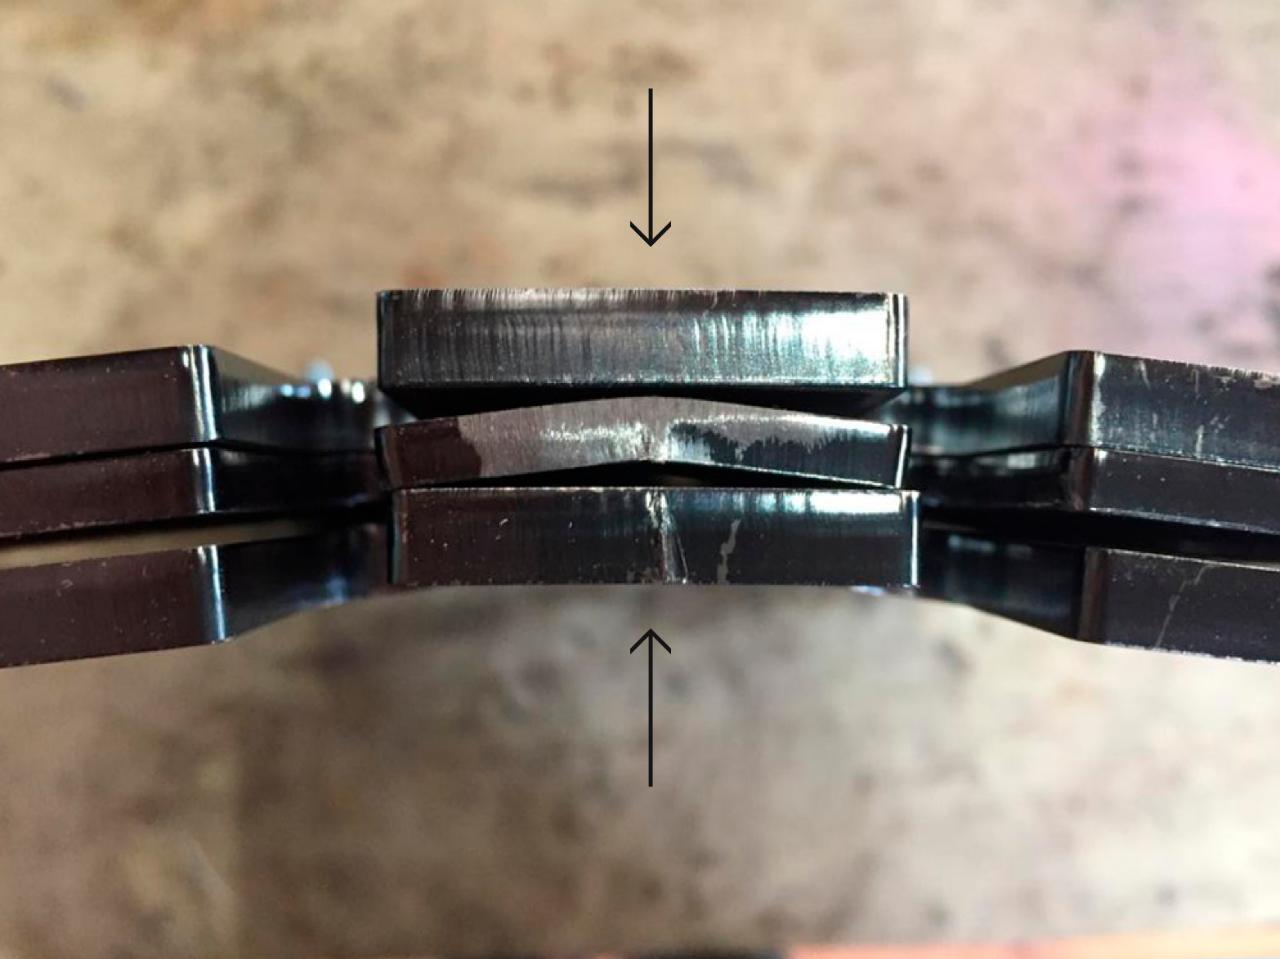
Step 3 - Clamping
On the picture N°1 you'll see how the plates will look like, so to make them fit together we will need to use a vise, like you can see on the picture N°2. You'll need to clamp it as hard as you can, until you see the 3 plates fitting together as you can see on the picture N°3. Repeat the same on the other side. After this, tighten up all the bolts as hard as you can, this will help to bend back any deformation that might have happened during the clamping.


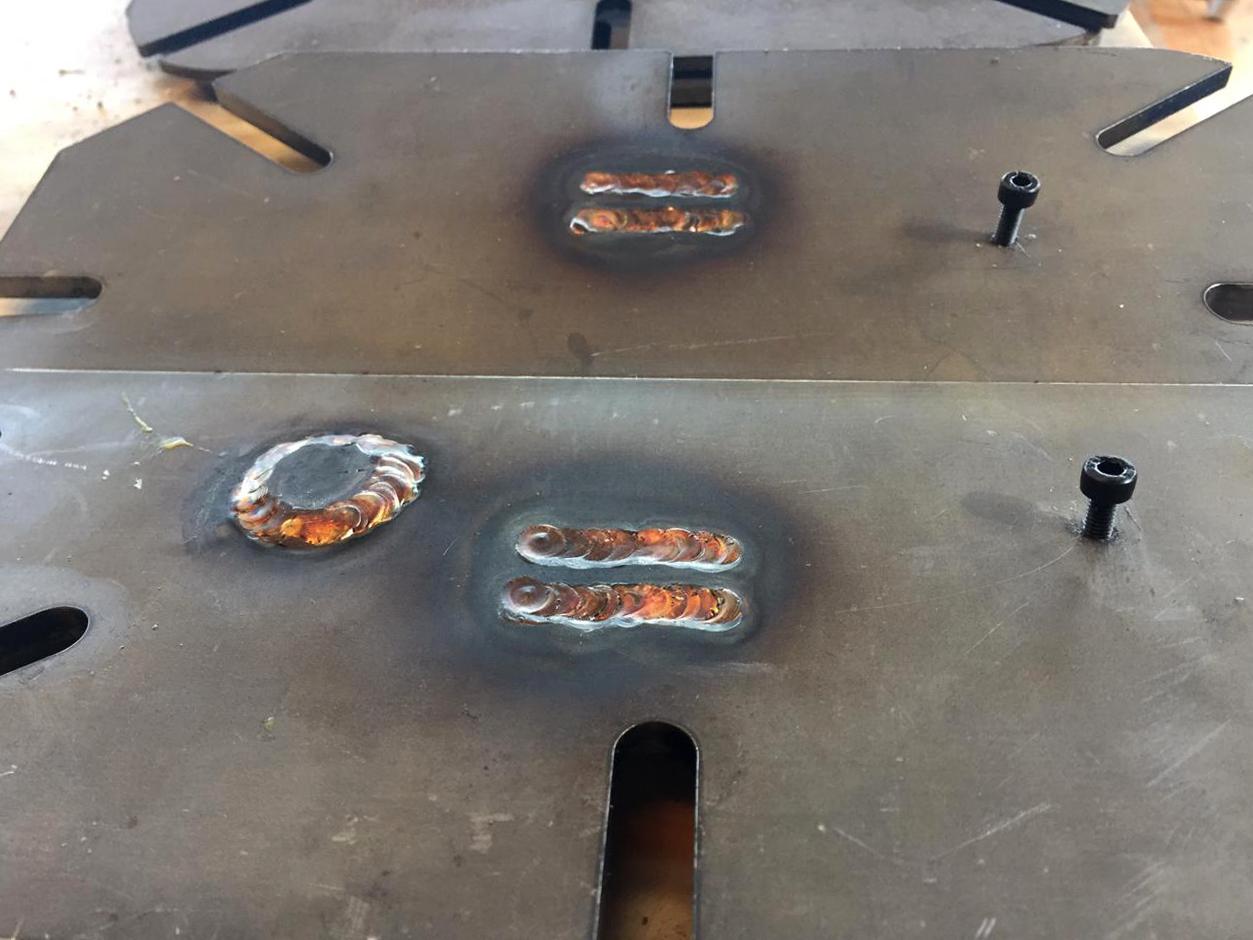
Step 4 - Inserts
We have 3 types of inserts in this mould in order to avoid post production processes:
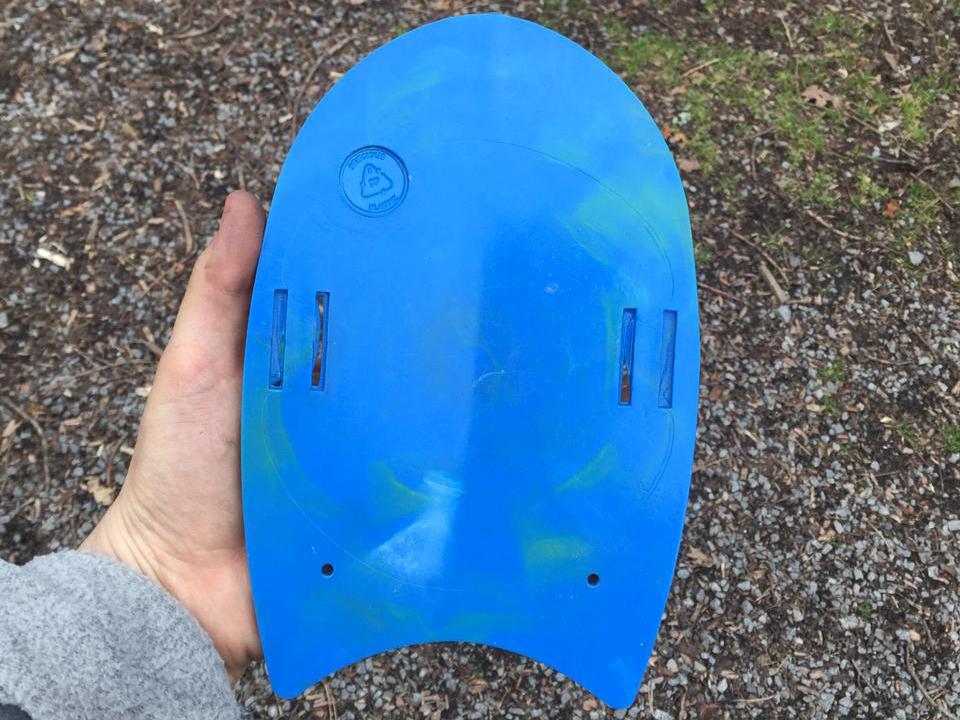
1) Coin insert: This one is made in order to have a space to place a Precious Plastic stamp to mark the plastic type we will use for this product
2) Slots inserts: These inserts will avoid the need of a milling machine or dremel in order to create the slots for the handplane's straps. With this inserts, after injecting, you'll only have to remove the excess material with a cutter.
3) Bolt inserts: The use of botls as inserts will avoid drilling after injecting in order to be able to include the elastic that's going to secure your wrist with the handplane.

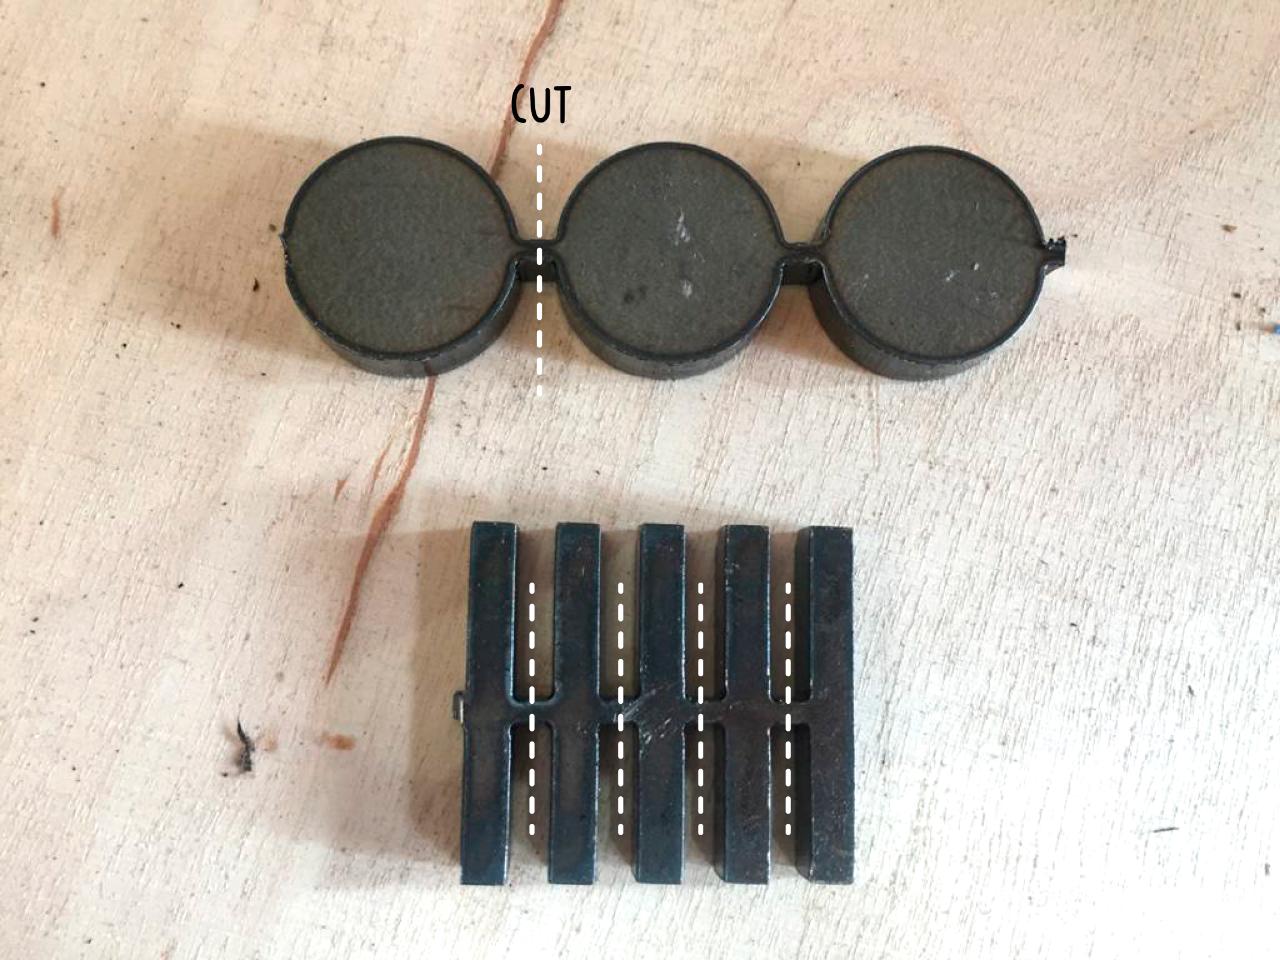
Step 5 - Coin and Slots inserts
For the coin and slots inserts, first we need to cut the inserts from the set. Generally laser cut companies can't cut such small pieces individually because they easily get lost, so we do it like this and cut it ourselves. We also included more than what we need, just in case something goes wrong when cutting them!
After cutting you need to sand carefully the connections between the pieces. Remember to test in the cavities while sanding, so you don't sand more than what's needed. Generally if the piece fits tight, it's easier to adjust the depth and then welding.
You might need to file down a bit the hole for the stamp, to make sure it fits perfectly, they are not all EXACTLY the same.
.jpeg)
Step 6 - Bolt inserts
You will receive the plate with two 3 mm holes, so you'll need to drill through with a 3.3 mm drill bit to be able to make a M4 thread. Now the mould its ready to include the bolts inserts in it, make sure you have x2 M4 bolts to be able to put them in place before injecting.
.jpeg)
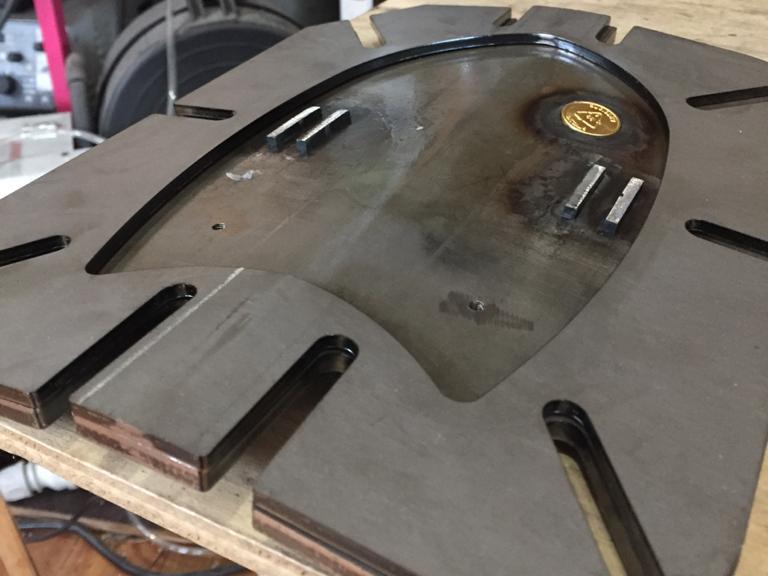
Step 7 - Finish the mould
After you weld all the inserts in place and make the thread for the bolts (Tip: make sure the thickness of the slots inserts it's less than 4 mm) now you can proceed to weld the nozzle. We kept the nozzle entrance small in order to pop out the handplane from the mould easier. If you drill this hole bigger, it'll get much harder to take it out of the mould and probably the finishing is not going to be as good.
If you want to have a better surface finishing of your product, we recommend you to polish the plates in order to make it smooth and shiny! The smoother the mould is, the smoother your product will be!
If you want to have a better surface finishing of your product, we recommend you to polish the plates in order to make it smooth and shiny! The smoother the mould is, the smoother your product will be!
.jpeg)
Step 8 - Inject and finish
Before closing the mould, insert the stamp of the plastic type you are going to use in the cavity. Then close the mould with the M8 bolts using the laser cut washers. Make sure you tighten the bolts as hard as you can. Try to keep the mould with the nozzle side up while doing this, so that the stamp you placed in the cavity won’t move or fall inside the mould.
Now take the M4 bolts and screw them from the bottom. This you have to do it just by hand, screw it until you cannot go any further.
After injecting, the first thing you have to do (before opening the mould) is to unscrew the M4 bolts (VERY IMPORTANT), otherwise you wont be able to open the mould.
Now take the M4 bolts and screw them from the bottom. This you have to do it just by hand, screw it until you cannot go any further.
After injecting, the first thing you have to do (before opening the mould) is to unscrew the M4 bolts (VERY IMPORTANT), otherwise you wont be able to open the mould.
Step 9 - Test it!
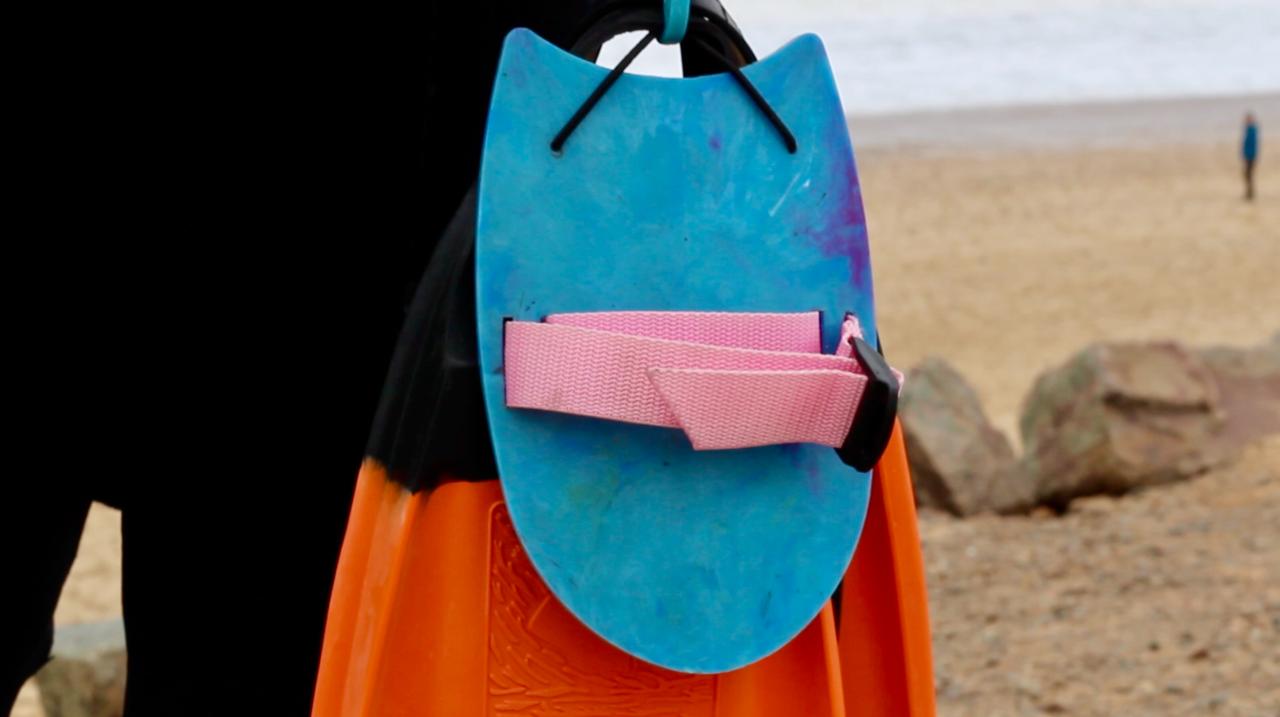
Finish the handplane by cleaning the slots with a cutter and then add the straps and elastic (If the plastic is too hard, heat up the cutter with a lighter).
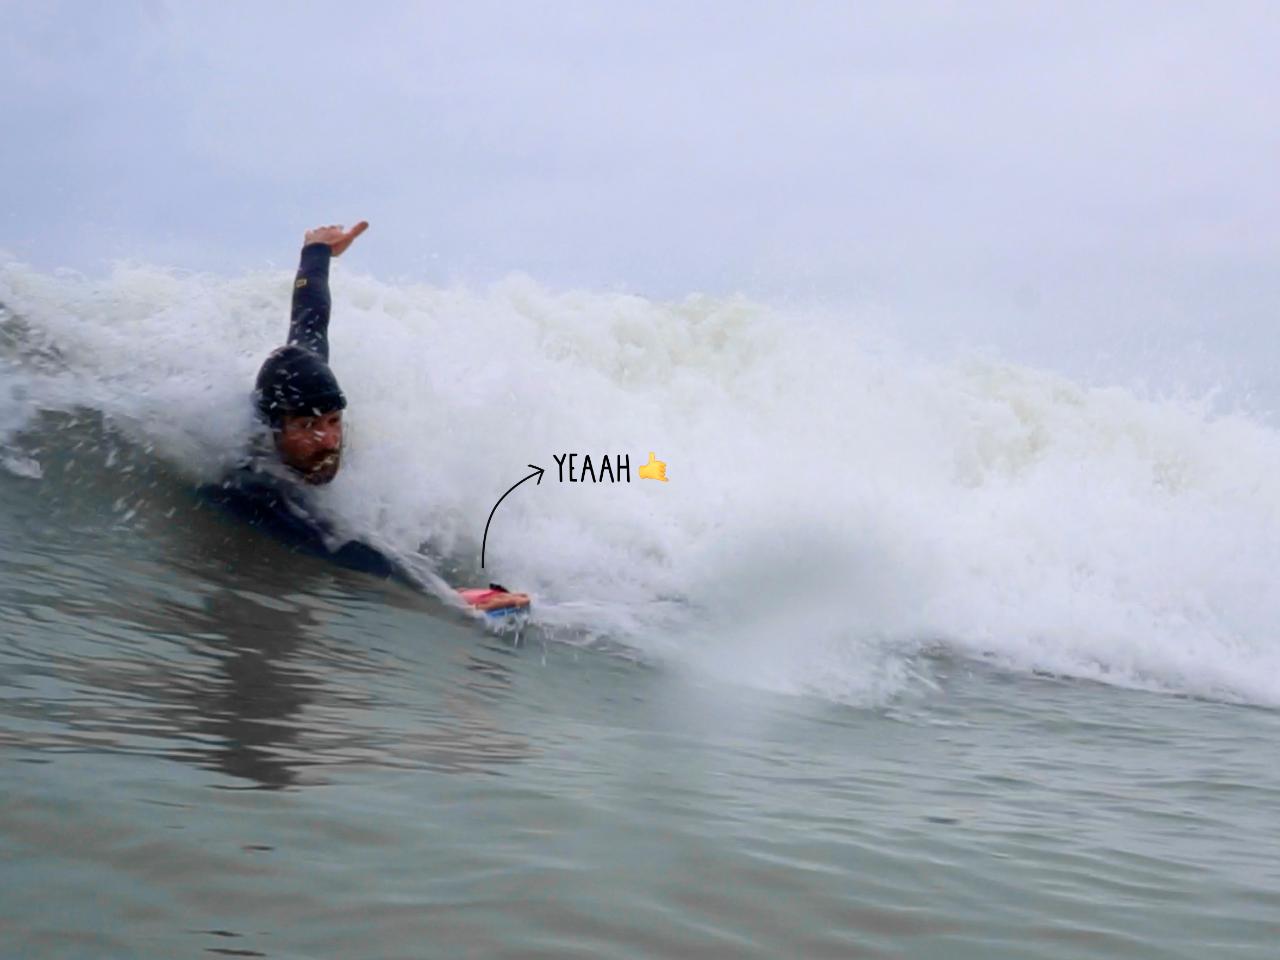
Now you are ready to go to the beach with your friends and test your brand new recycled handplane! Have fun :D
Now you are ready to go to the beach with your friends and test your brand new recycled handplane! Have fun :D
—
—
—
Comments