Make a climbing brush
by Gaau1 Up
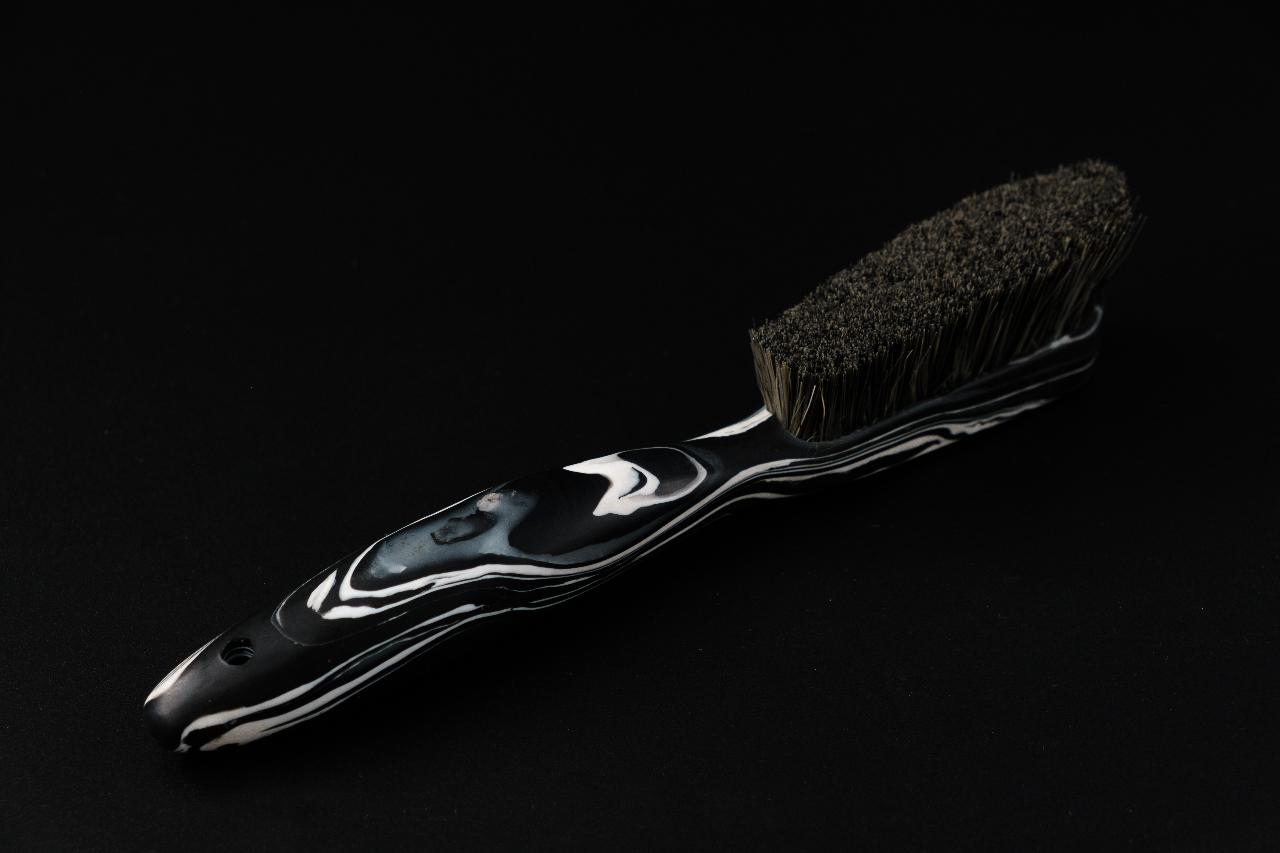
Make a climbing brush by kneading plastic dough and woodworking skills, to create a unique pattern.
No shredder / other Precious Plastic is needed, just an oven needed. However, some powered tools like a sander, jaw saw, router, will make things much easier.
If you find any improvement can be done, please leave comments or contact us on Instagram or Facebook to let us know.
—
Attachments
Resources
Step 1 - Preparation
For this project, the following tools are needed:
- Oven
- Oven tray
- Teflon Paper x2
- Gloves (oven use)
- Mould, at least (W)30 x (L)250 x (H)20
- Plastic (HDPE)
- White Glue
- Saw (jaw saw, band saw, etc.)
- Sander (40, 80, 120, 240, 400, 800 and 1000 grit are used)
- Polisher with a wool pad
- Soldiering Iron
- Woodworking Router
- Oven
- Oven tray
- Teflon Paper x2
- Gloves (oven use)
- Mould, at least (W)30 x (L)250 x (H)20
- Plastic (HDPE)
- White Glue
- Saw (jaw saw, band saw, etc.)
- Sander (40, 80, 120, 240, 400, 800 and 1000 grit are used)
- Polisher with a wool pad
- Soldiering Iron
- Woodworking Router
Step 2 - Preparing Plastic (HDPE) Pieces
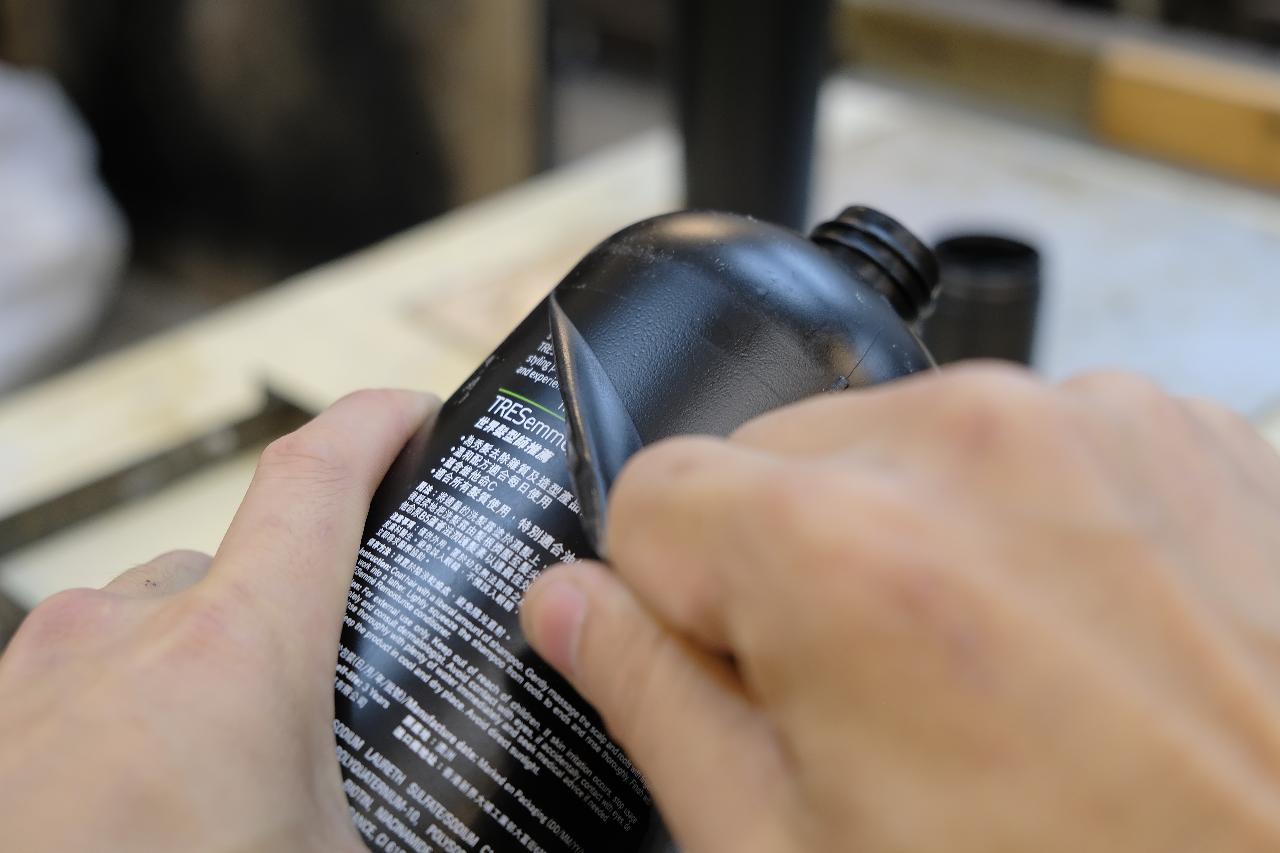
For this project, we need to use HDPE, we had tested with PP but it is very hard to knead. Make sure the plastics are clean and all the labels are removed nicely. Cut them into pieces (size is not a big matter) and sort them by colour.
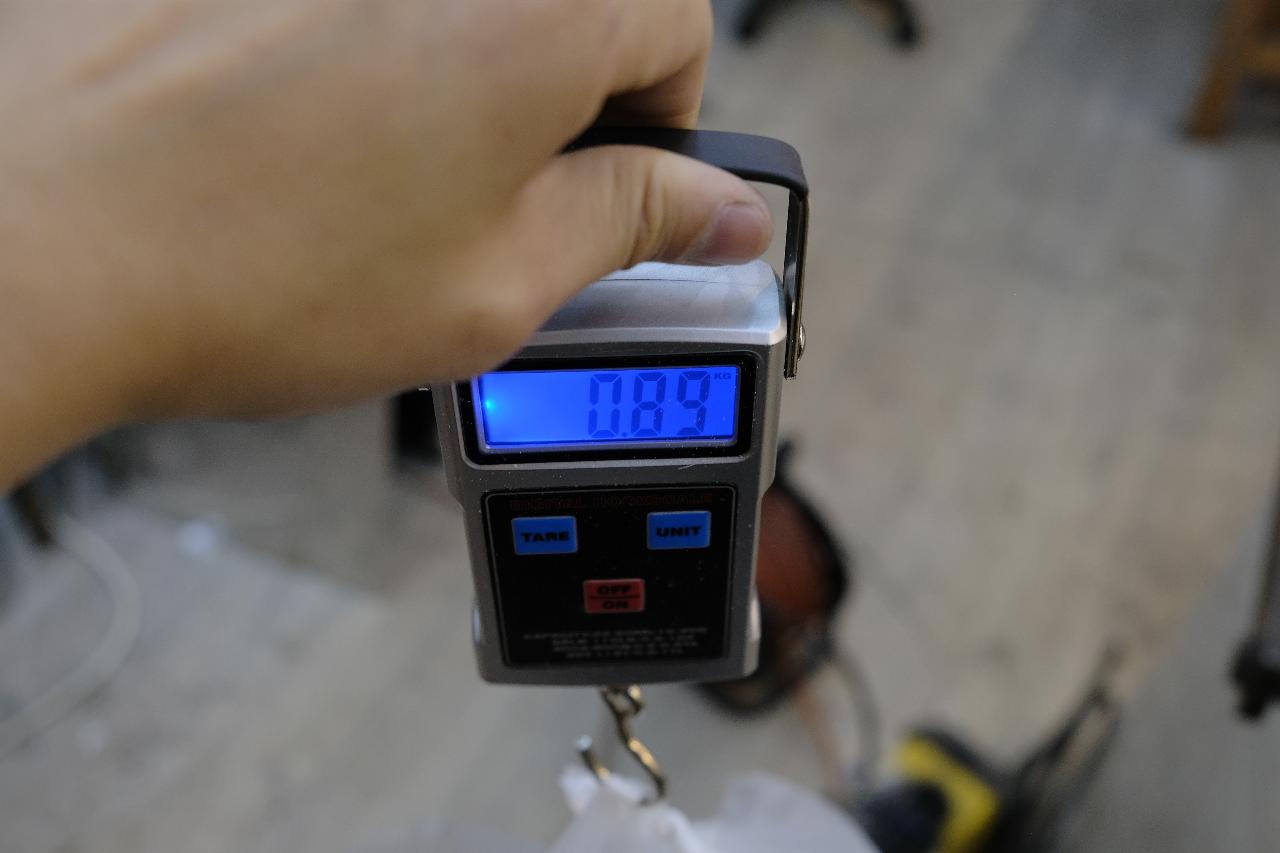
The amount of plastic needed is determined by the size of the mould. For every 1cm3 of volume, a gram of plastic is needed. In our case, ~850g of HDPE is required.
The amount of plastic needed is determined by the size of the mould. For every 1cm3 of volume, a gram of plastic is needed. In our case, ~850g of HDPE is required.

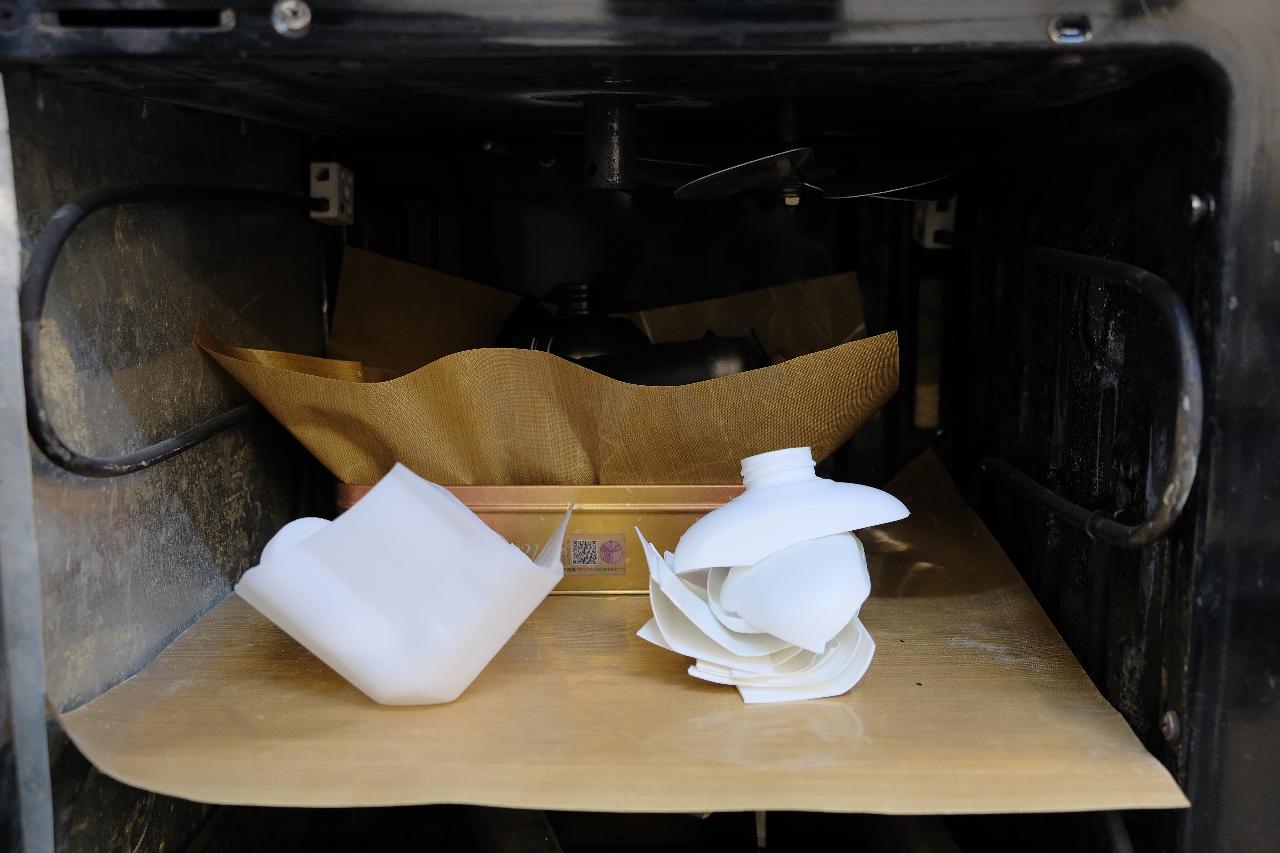
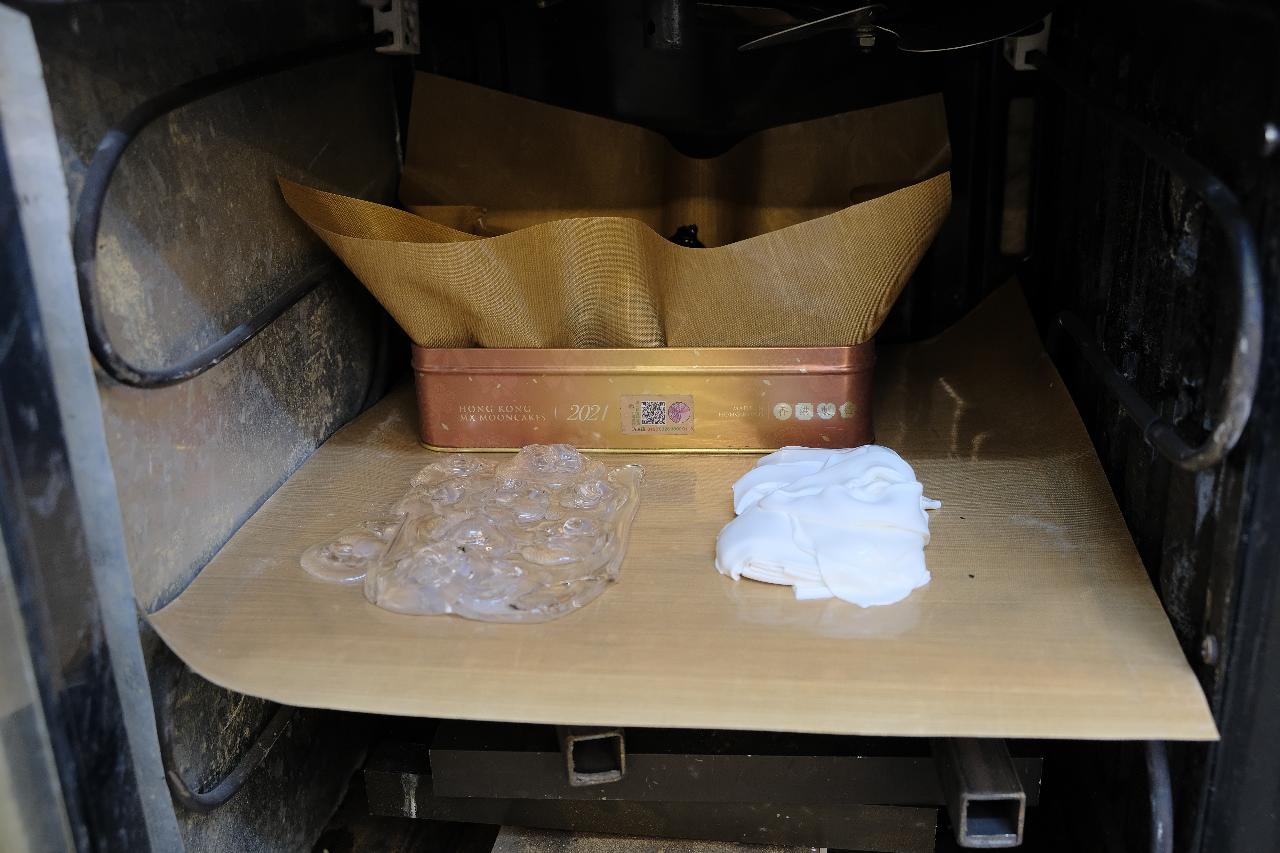
Step 3 - Melting the Plastic
Stack up the plastic sheet on the oven tray with a Teflon sheet in between. If the plastics could not properly stack on the tray, put them into another volume with a Teflon sheet.
Set the oven to 180-190 degrees Celsius, and ‘bake’ the plastic for around 25-30mins, until the plastics are all melted.
Set the oven to 180-190 degrees Celsius, and ‘bake’ the plastic for around 25-30mins, until the plastics are all melted.
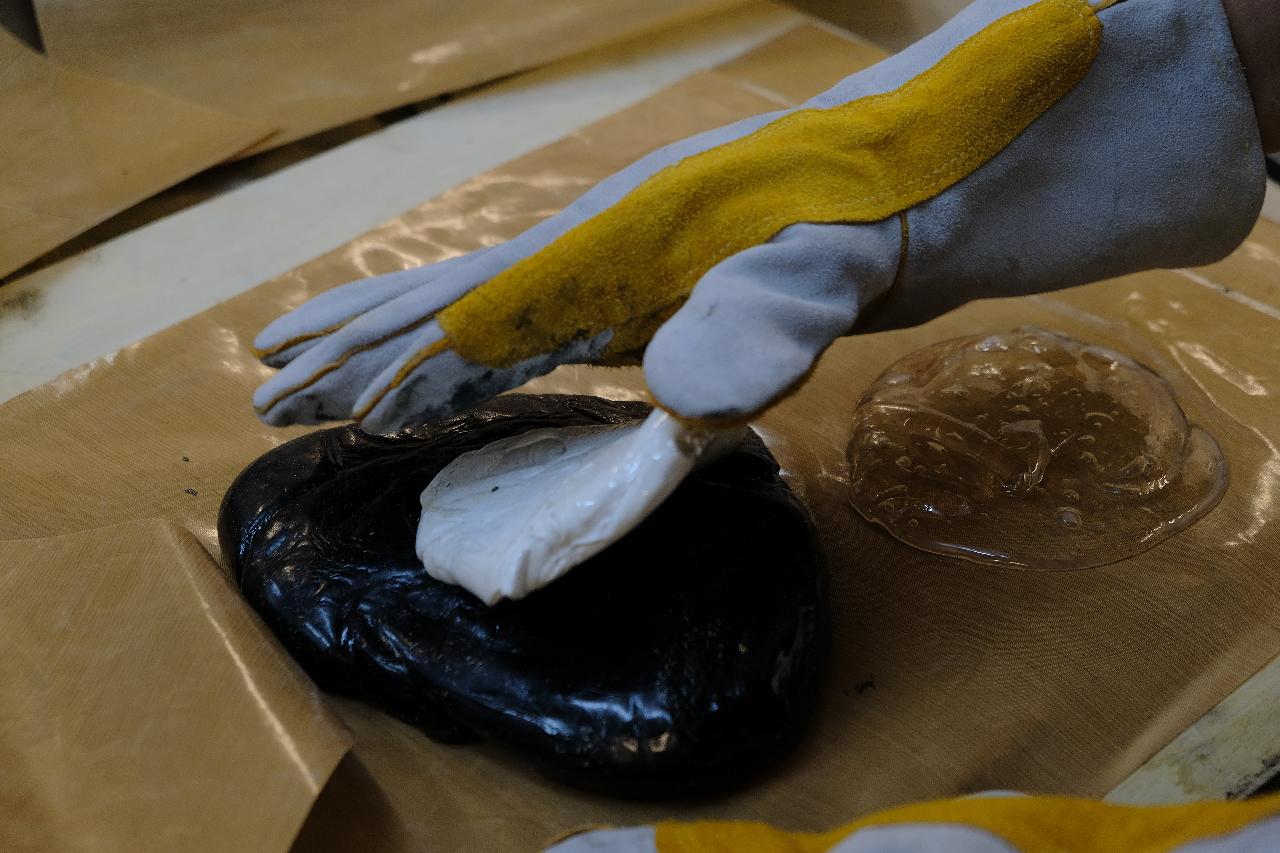
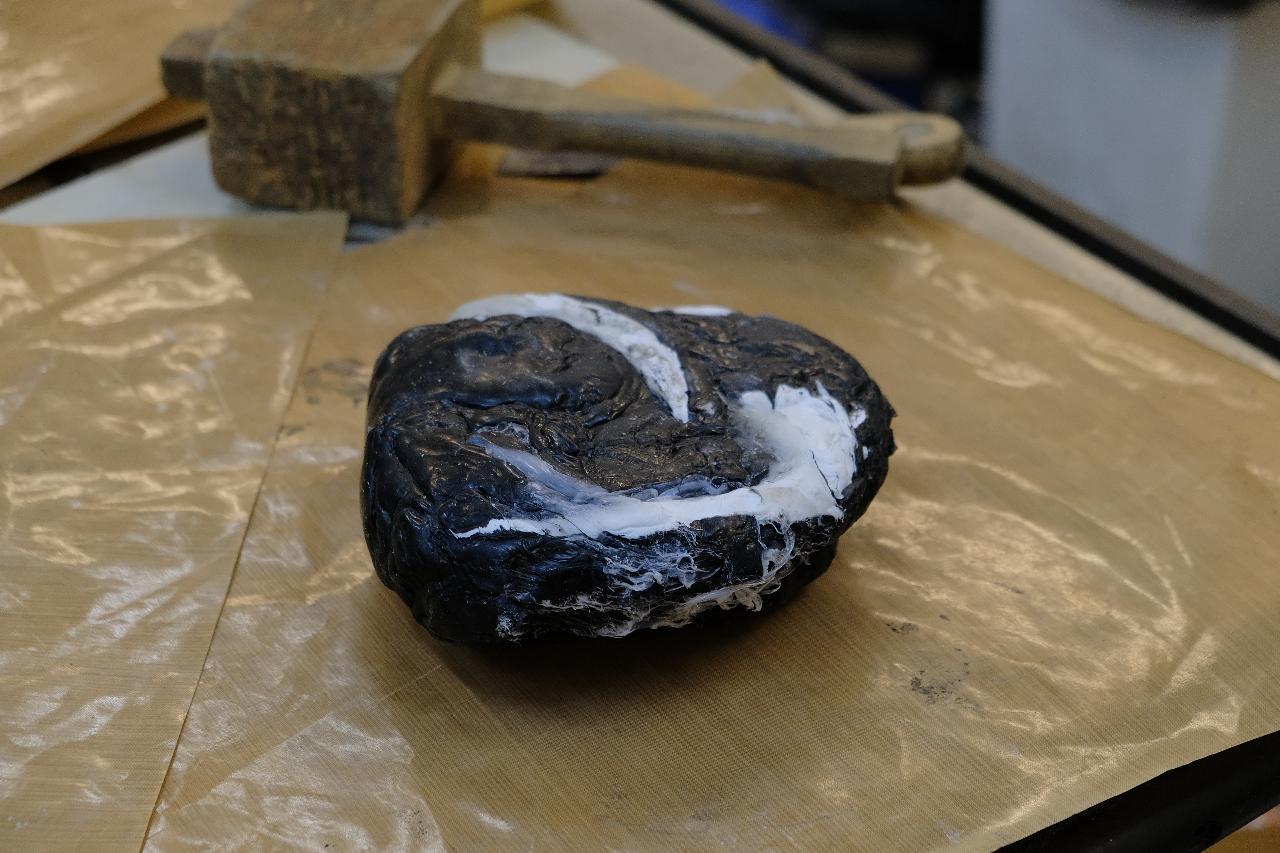
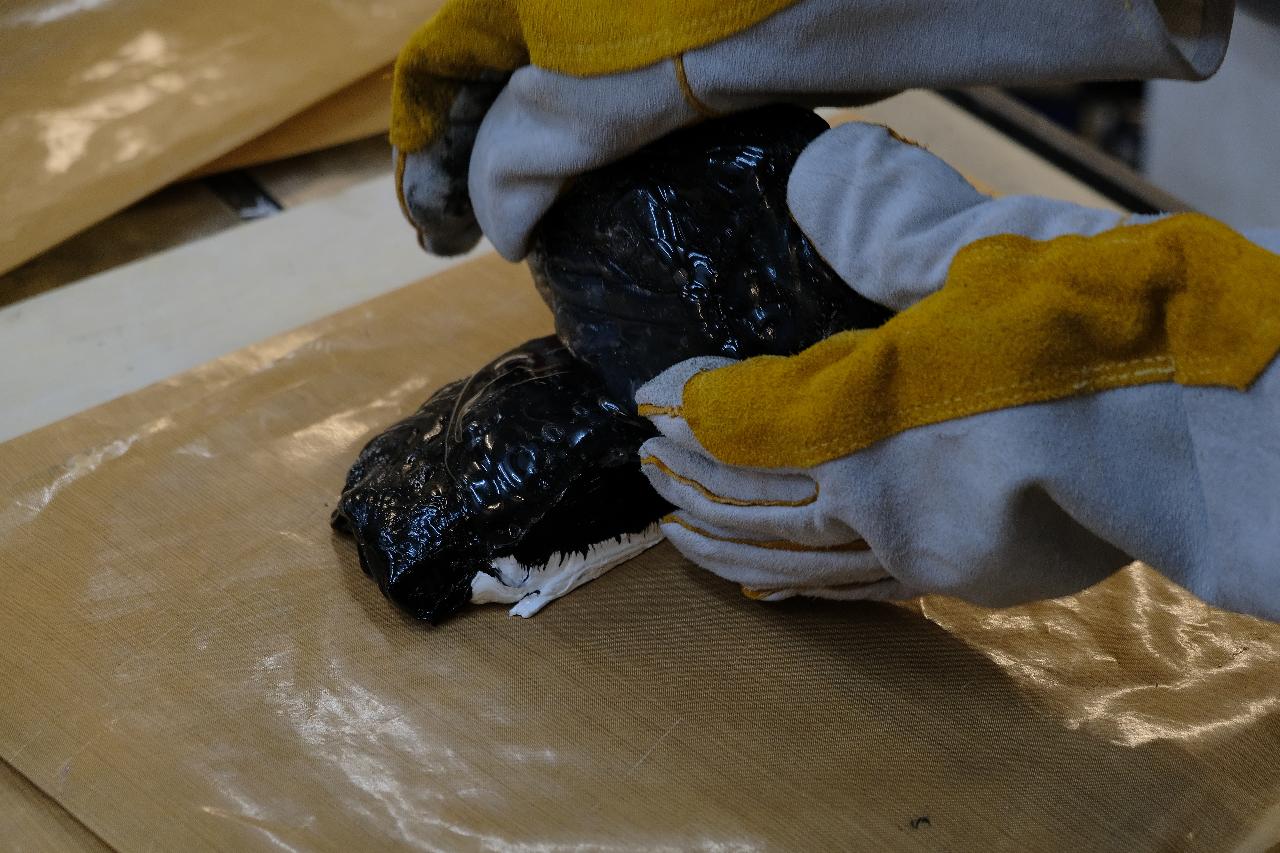
Step 4 - Stack, Cut and Knead
Take out the plastic, definitely want a pair of thick gloves, then stack them up, cut off, fold them… Play with it and find your own way to stack multiple layers of colour in the plastic dough.
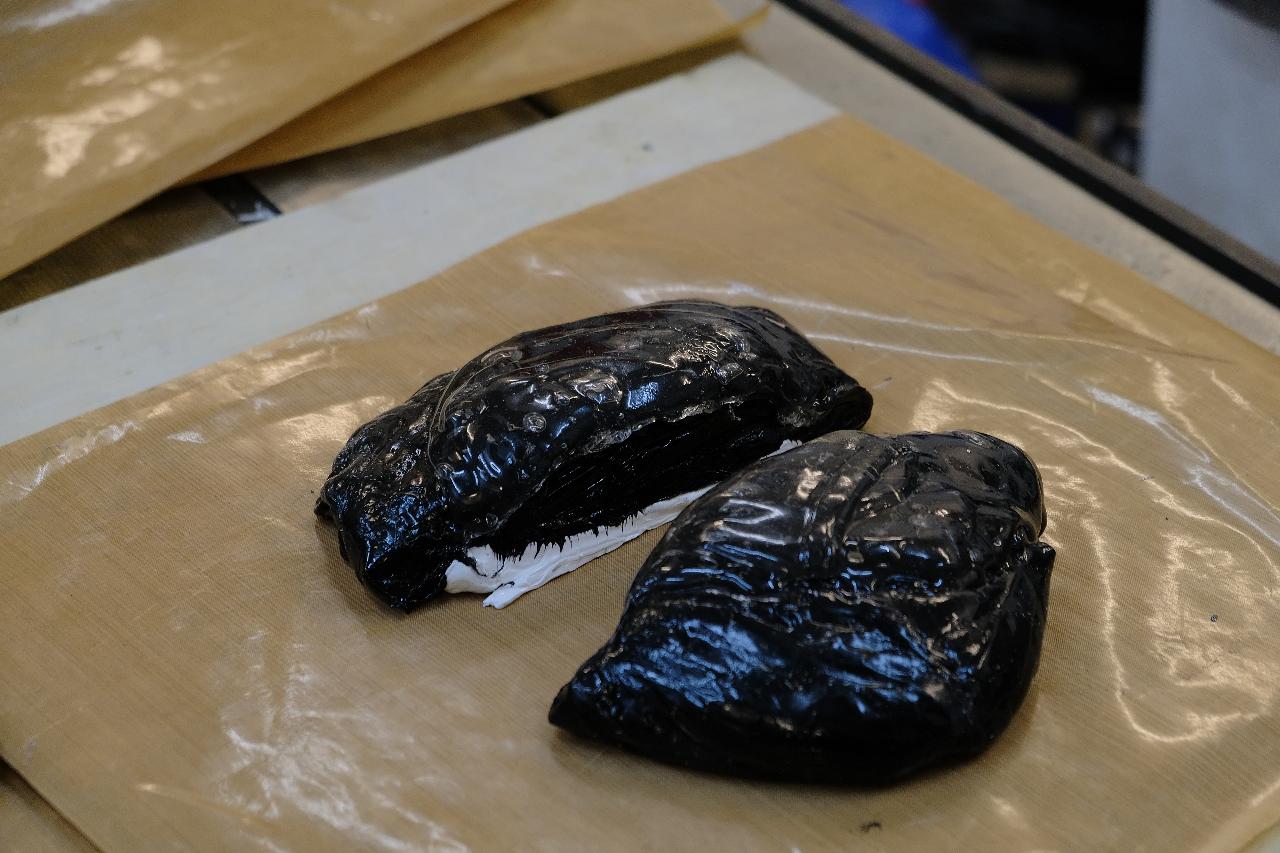
Step 5 - Melt and Repeat
After a few minutes, the ‘dough’ should be cool down, and it wouldn’t be able to knead. Put it back into the oven, melt it again and repeat until you are happy with the pattern.


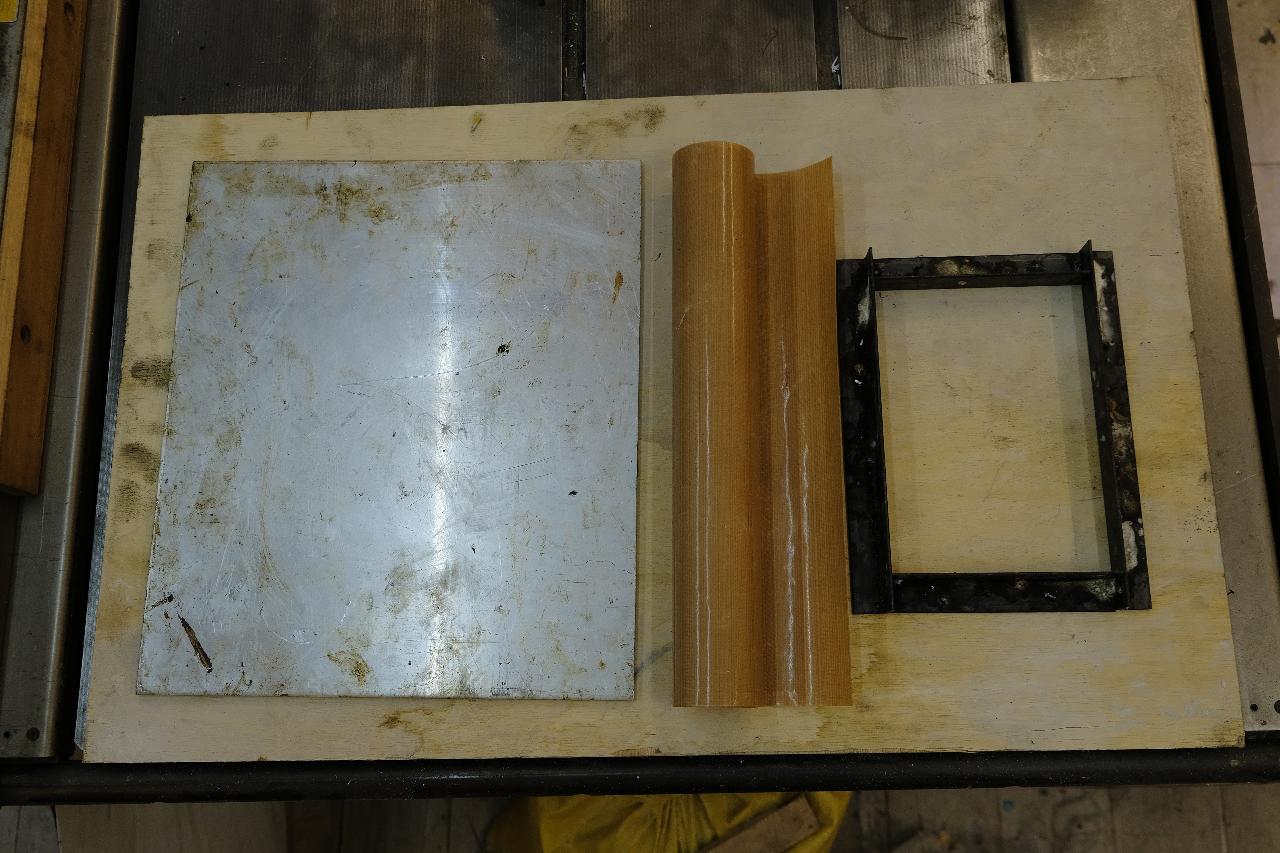
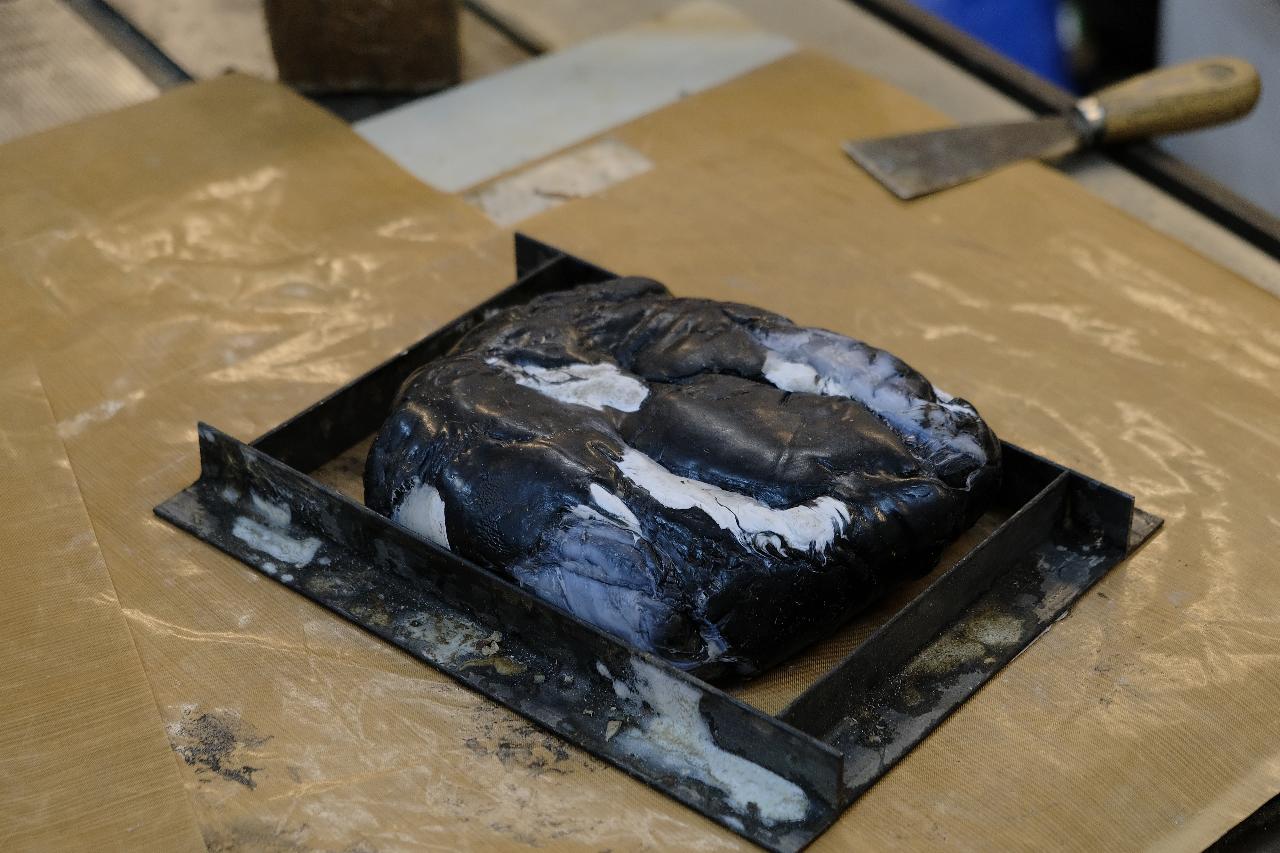
Step 6 - Forming Shape
When you are satisfied with the ‘dough’, fit it into the mould and press it with something heavy. Wait for it to cool down.
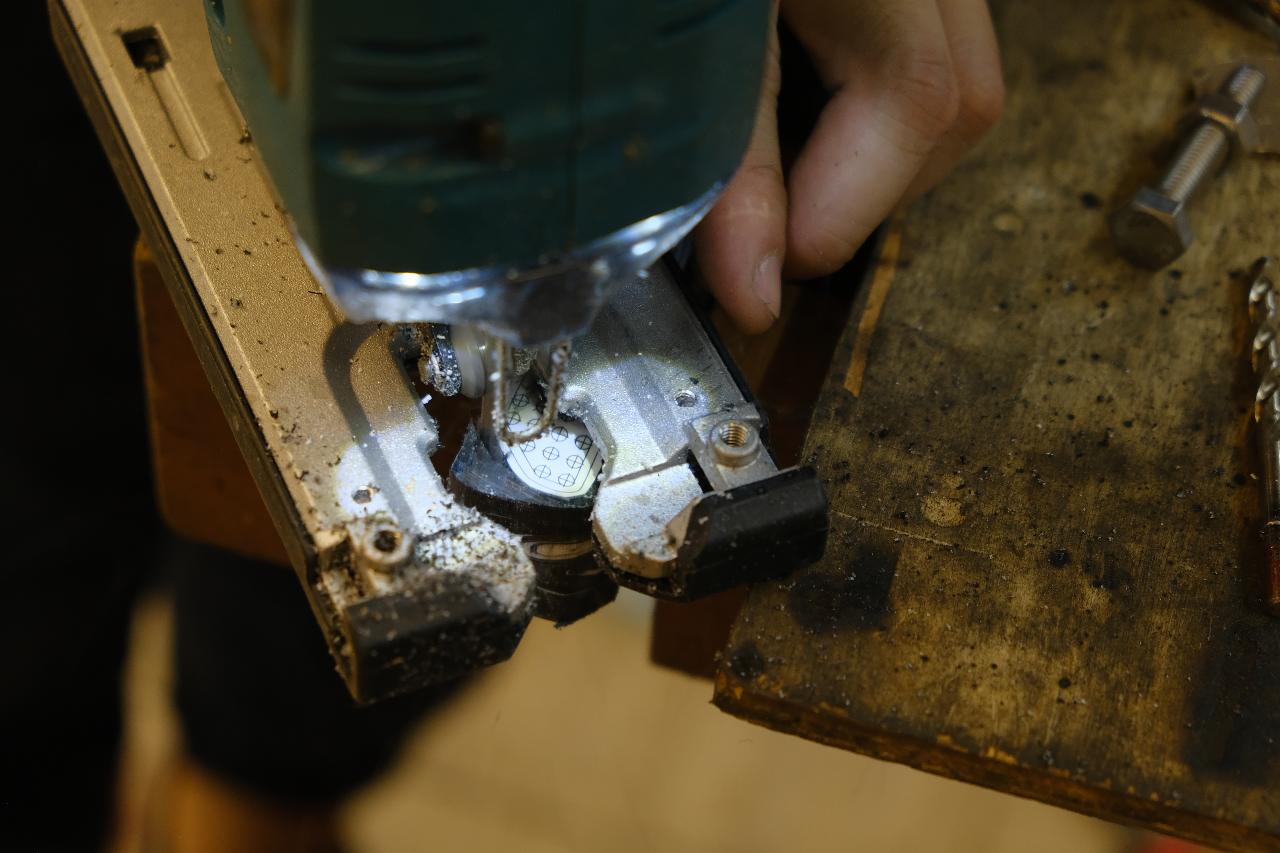
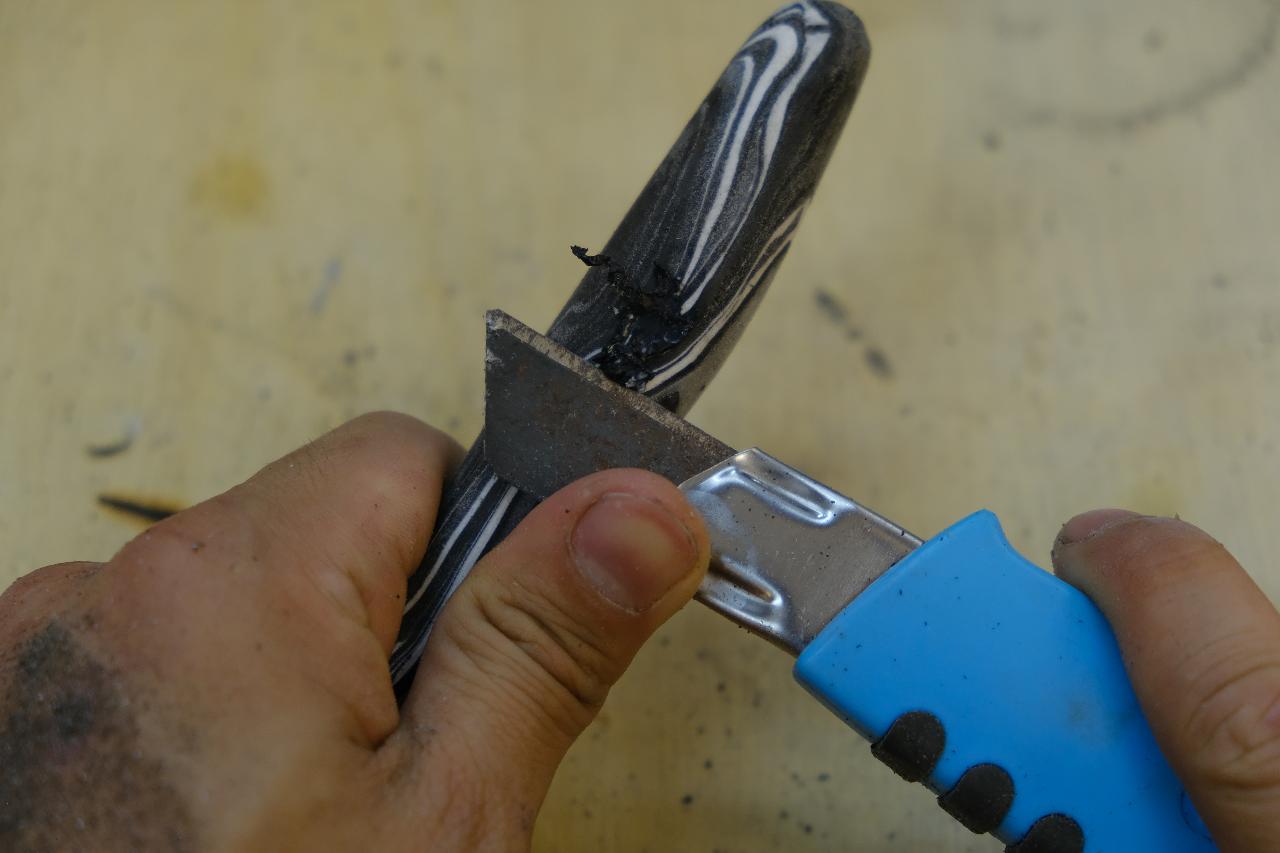
Step 7 - Cut the Block
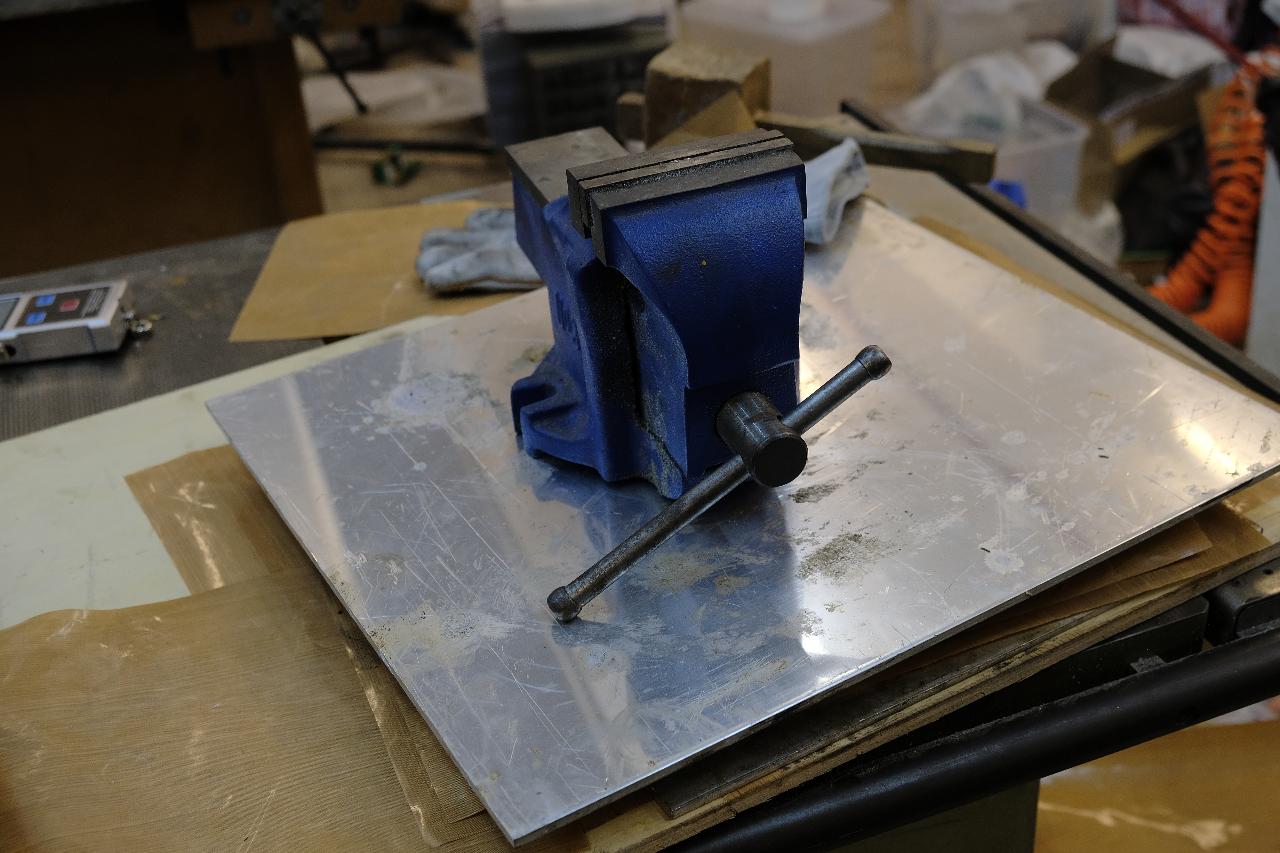
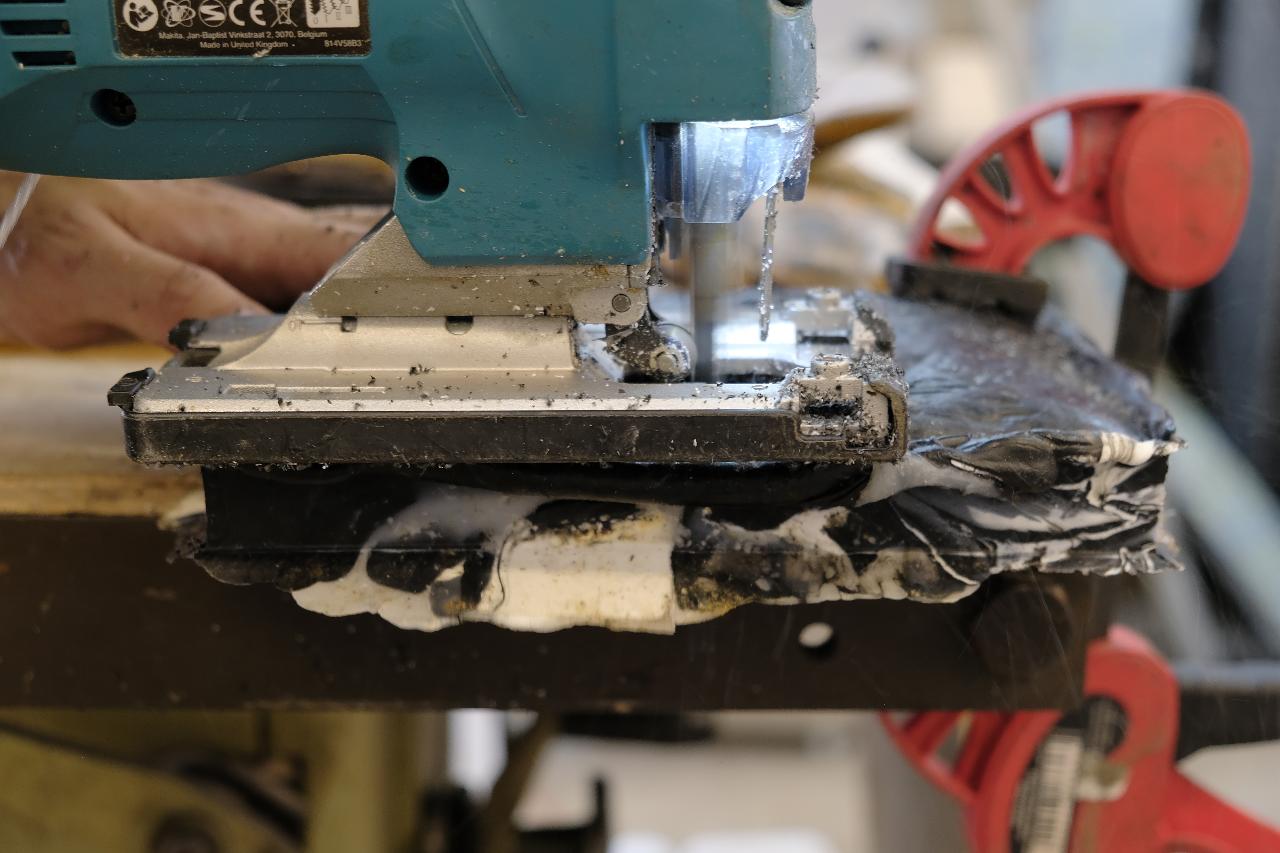
If you have a bigger mould, cut an around 30mm x 250mm x 25mm strip with a saw.
Cut it with a wood cutting blade will be fine.
Cut it with a wood cutting blade will be fine.

Step 8 - Glue the Outline and cut it out
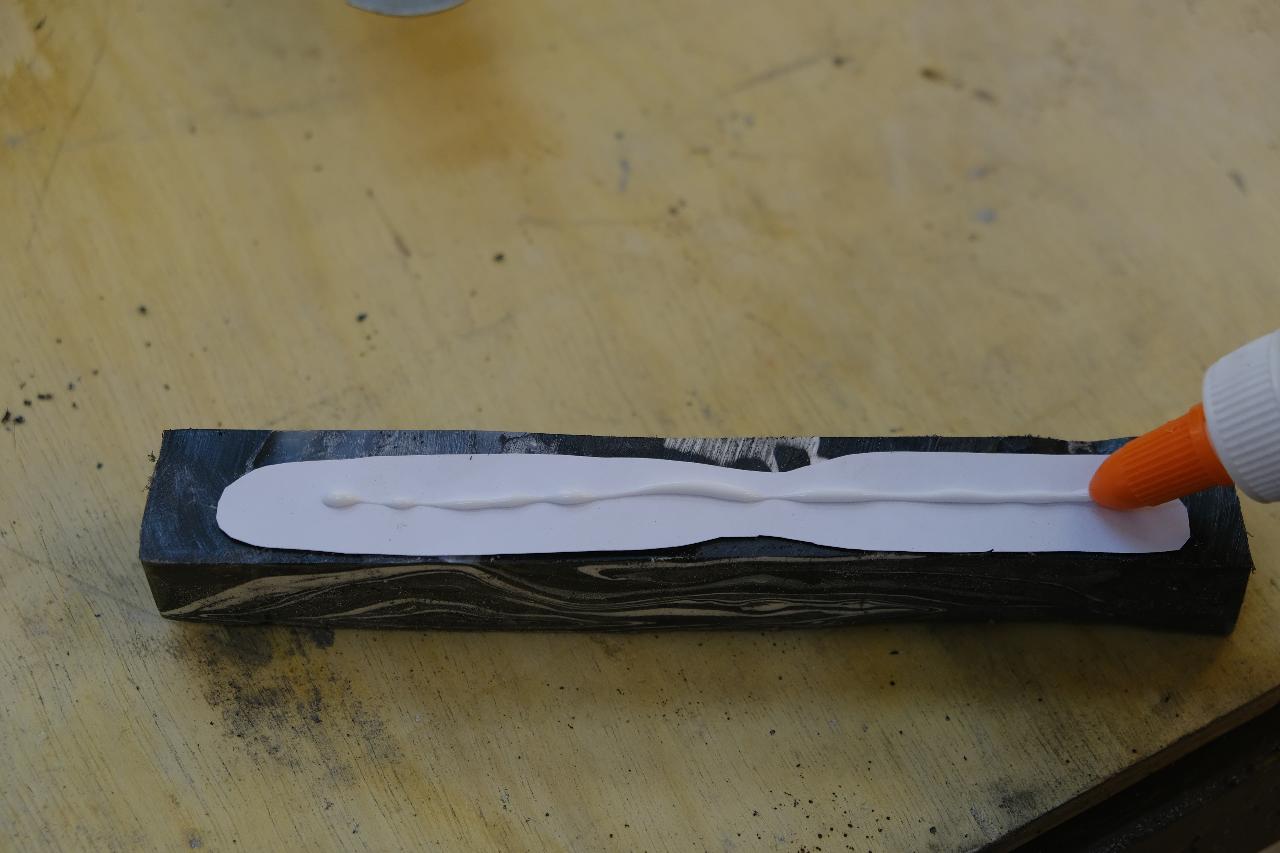
Print the outline of the brush in 1:1 scale, and glue it onto the strip with white glue. If the surface is not flat and hard to glue, sand it with the sander. Then cut the outline out, offset 2-3mm for further sanding.
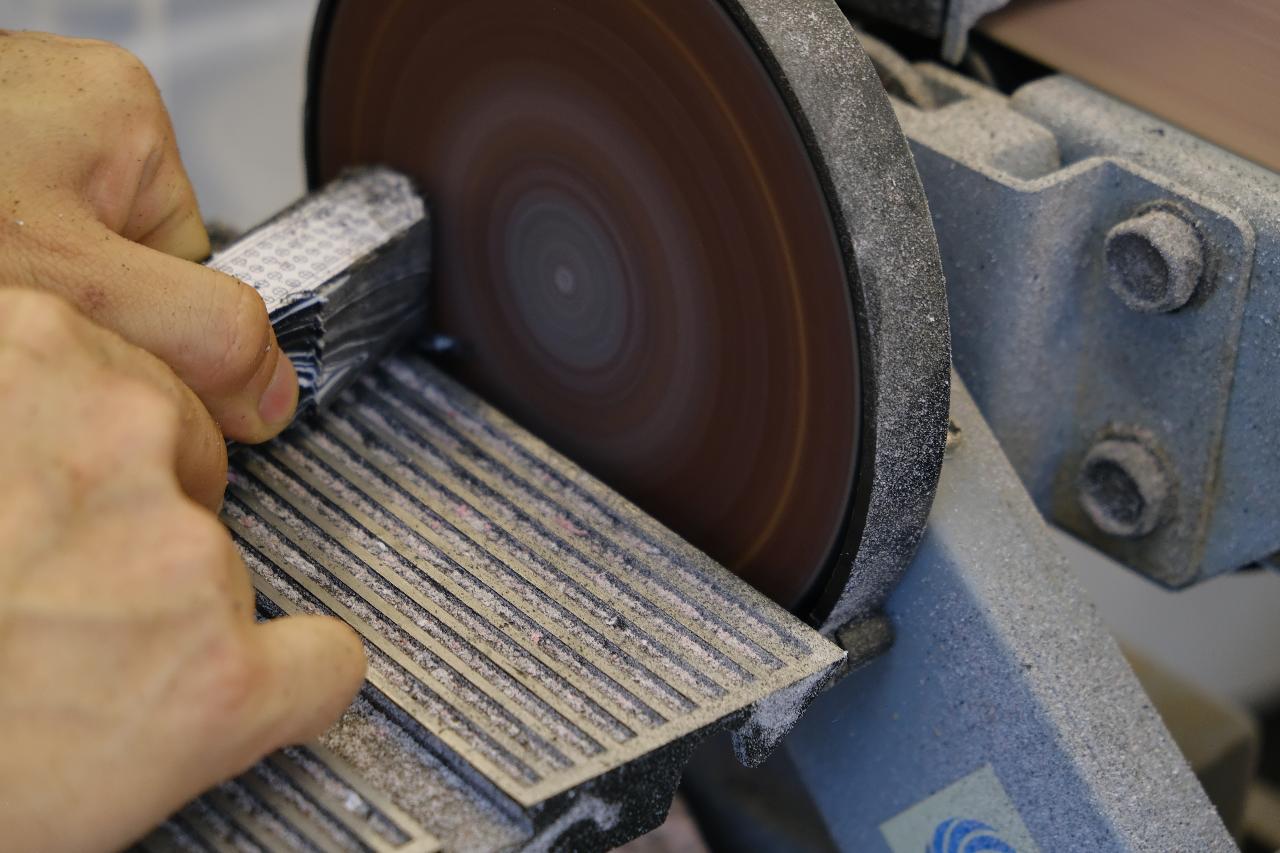
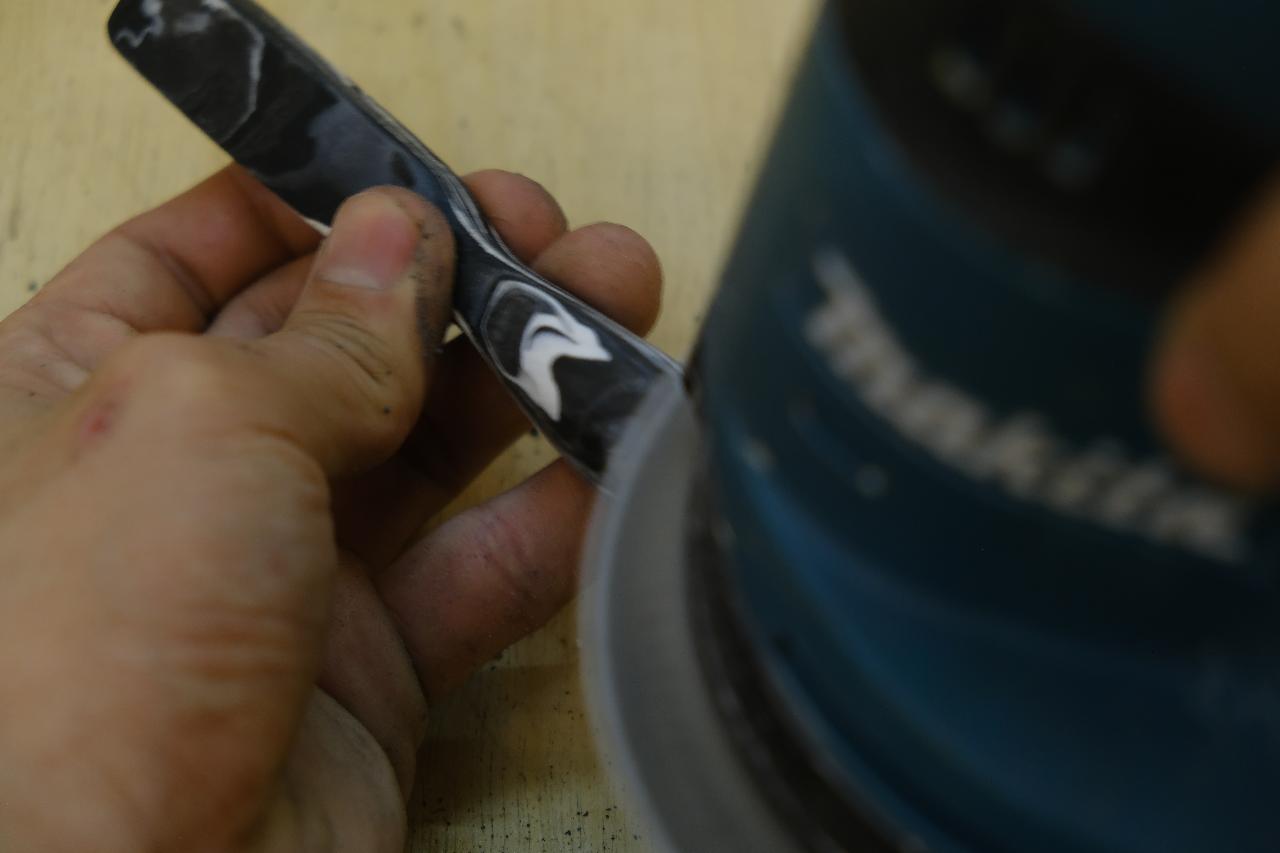
Step 9 - Sanding into Desired Shape
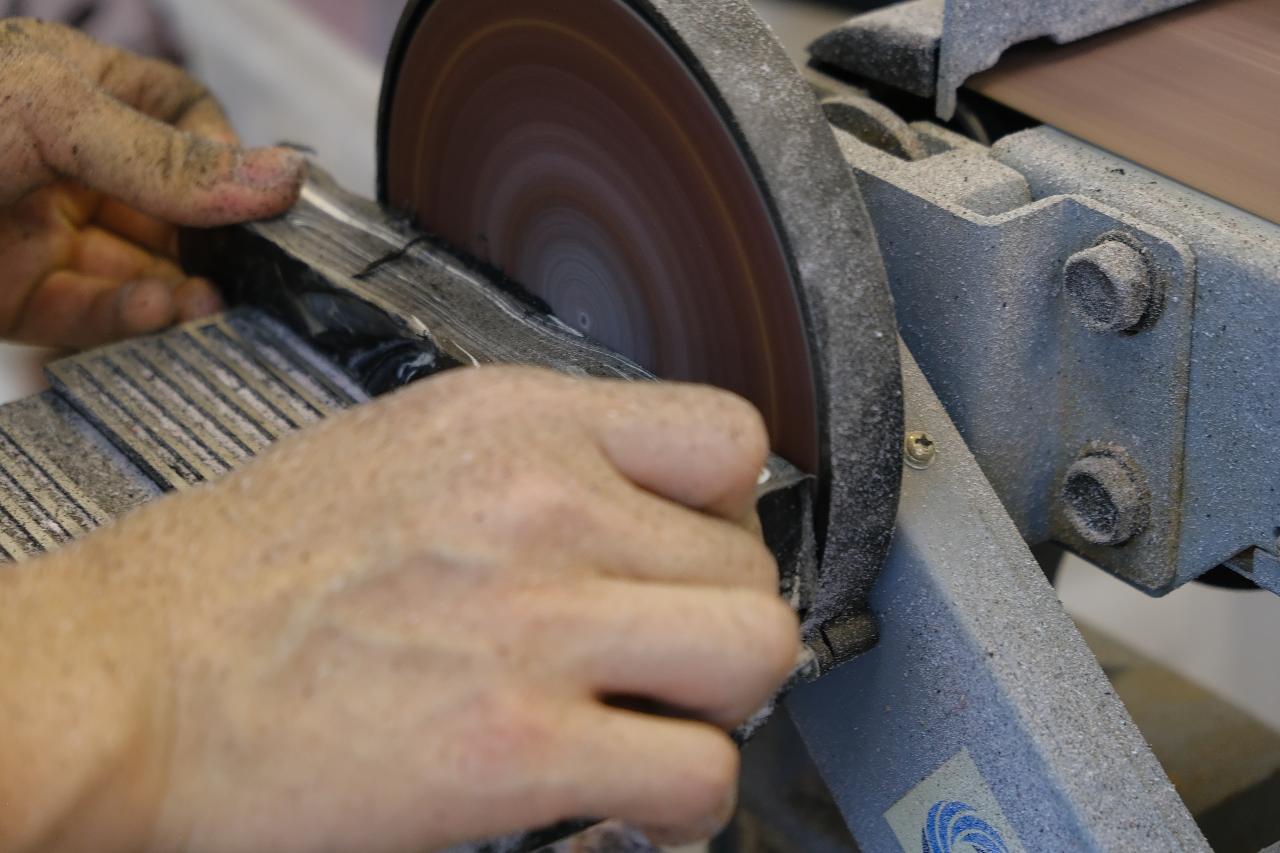
Sand the plastic into the desired shape, 40, 80, 120 girts of sandpaper is used. Both belt sander and hand sander are used, but either one is ok.
Step 10 - Fill Holes
If there are any holes in the brush, fill them with leftover materials with a soldering iron. Then cut off the excessed plastic with a cuter and sand it again.

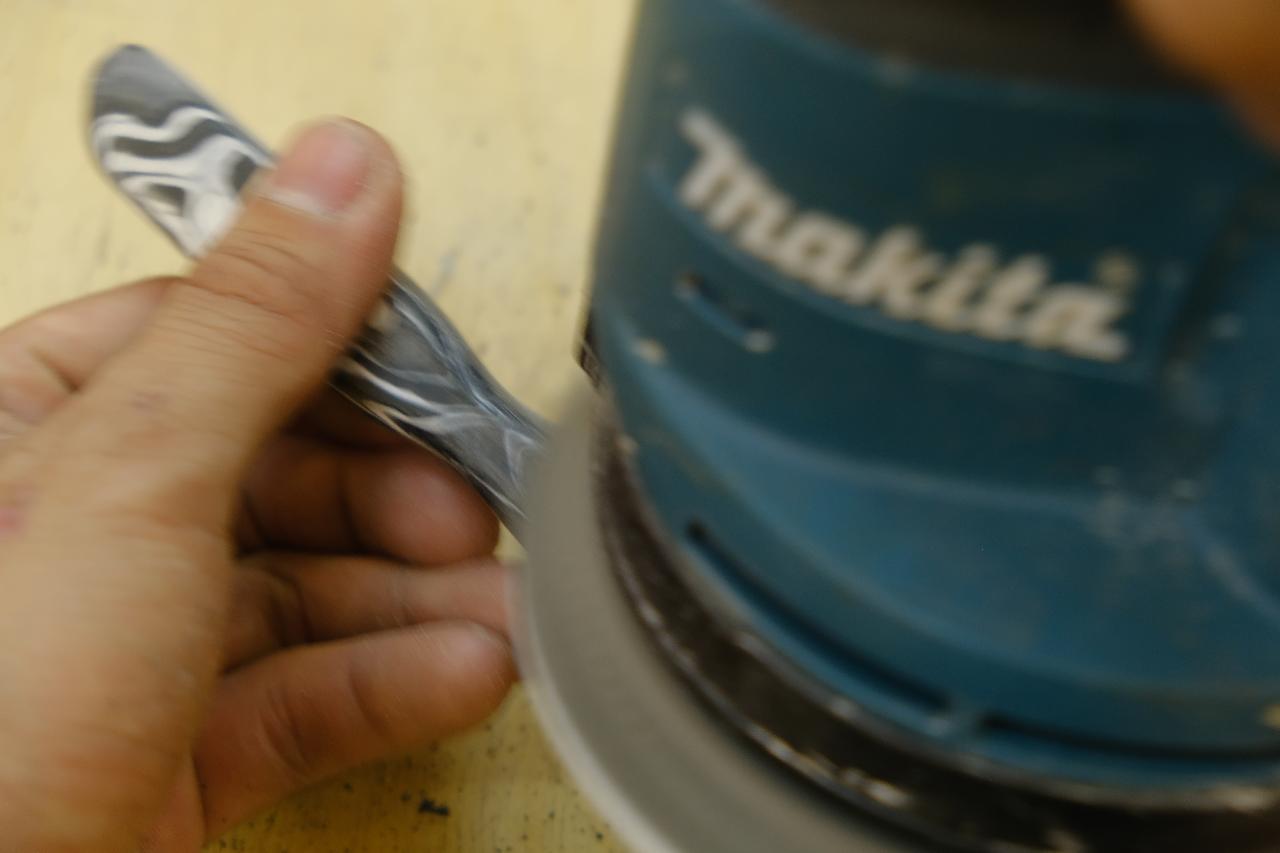
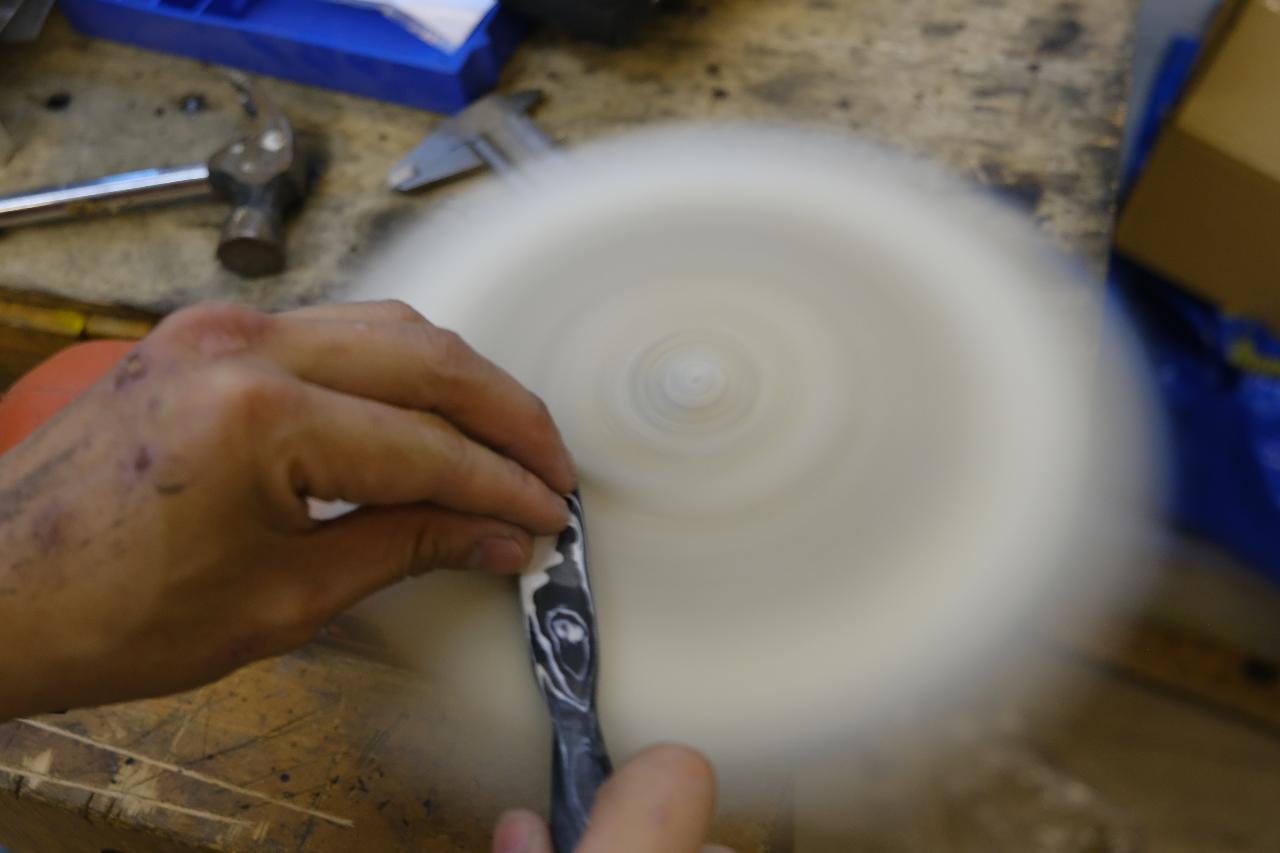
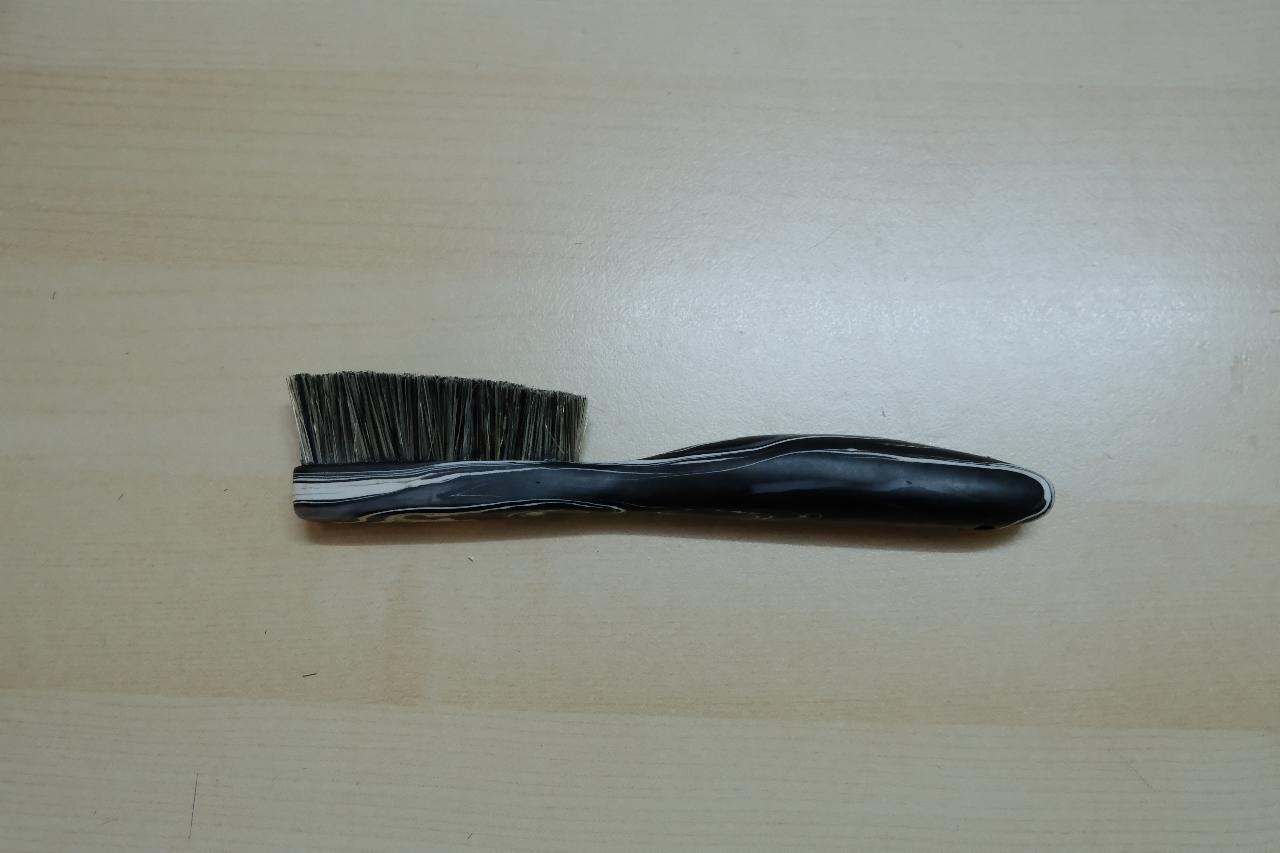
Step 11 - Fine Sanding and Polishing
When the shape of the brush is formed, keep sanding until 1000 girts. Then polish the brush with a wool pad at high speed. If any stretches appear, sand it again.
Wax may also be used while polishing but not necessary.
Wax may also be used while polishing but not necessary.
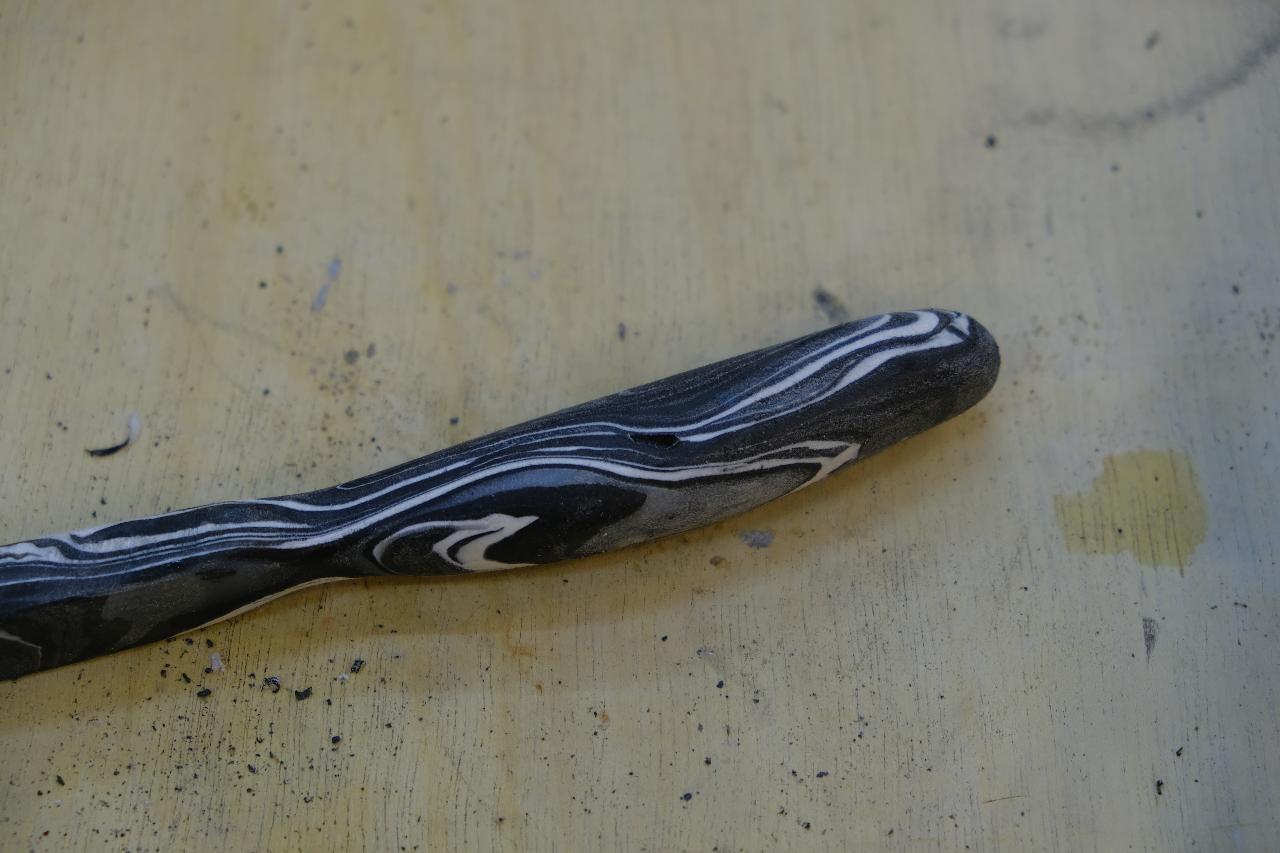
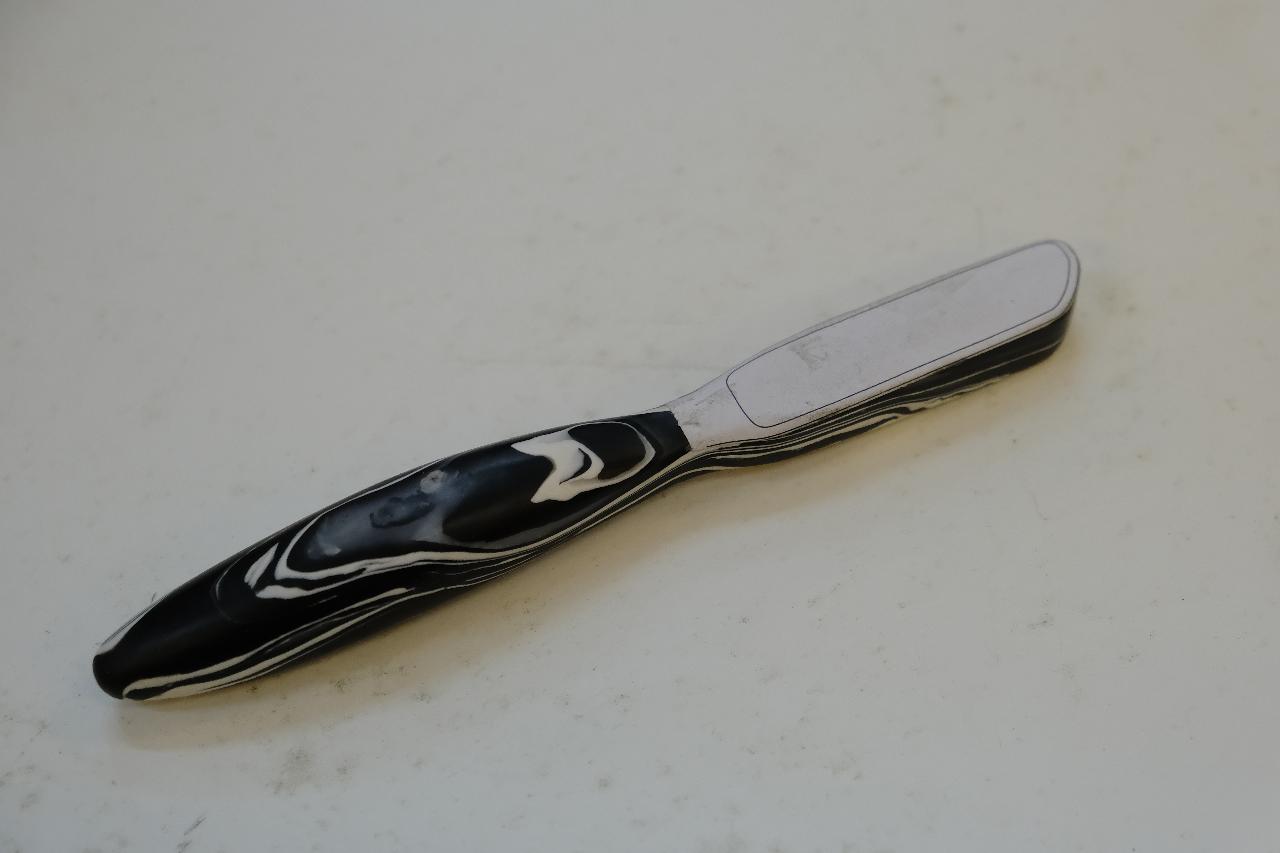
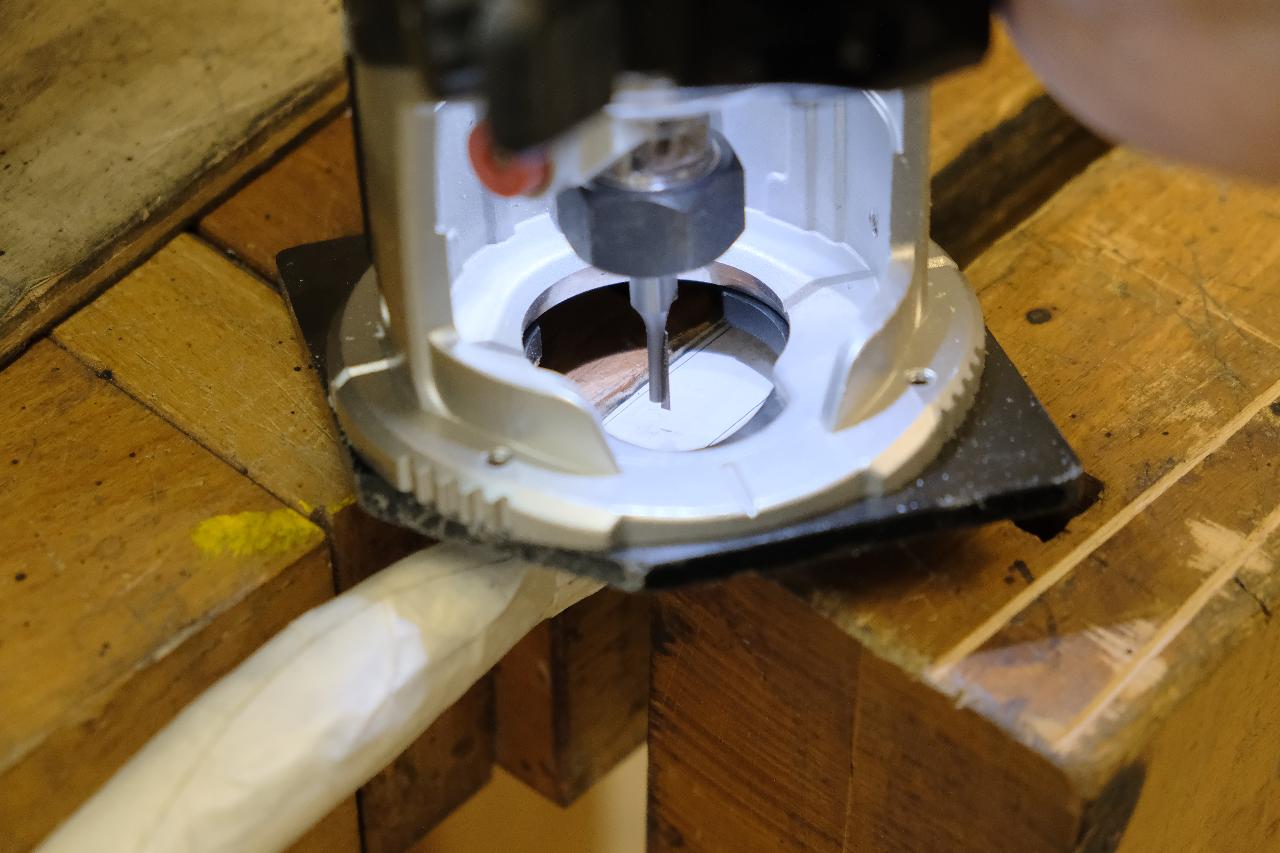
Step 12 - Mill the Brush Head and Drill the Hole
Glue the area to be a mill on the brush, and mill the brush with a router. 1-2 mm of the brush edge is kept. 10-15mm is the minimum depth of the hole, it will hold the firmness of the brush hair.
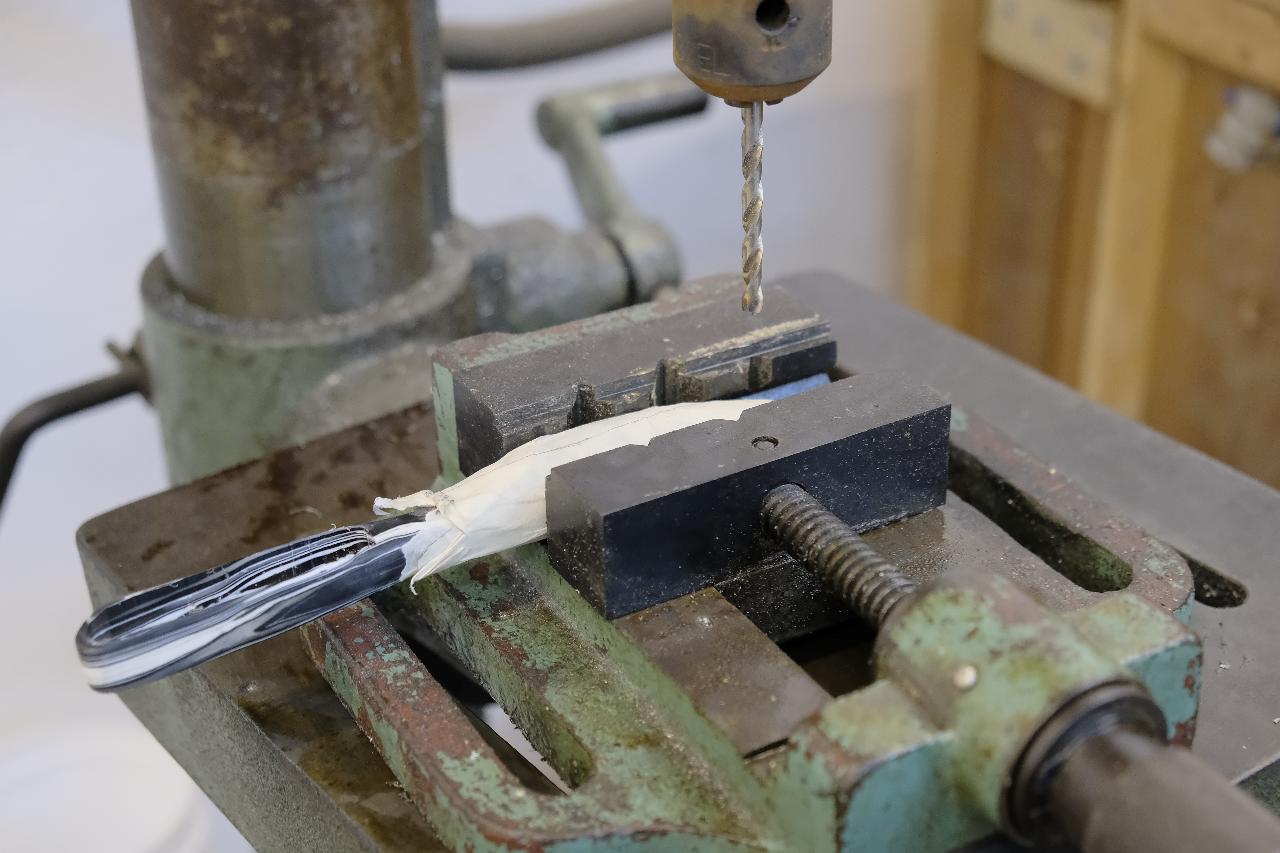
Otherwise, drilling holes also works for the brush but insert time of the hair will greatly increase.
Drill an M3-M5 hole at the end of the brush, for adding rope to the brush.
REMINDER: Protect the brushes with masking tape.
Otherwise, drilling holes also works for the brush but insert time of the hair will greatly increase.
Drill an M3-M5 hole at the end of the brush, for adding rope to the brush.
REMINDER: Protect the brushes with masking tape.
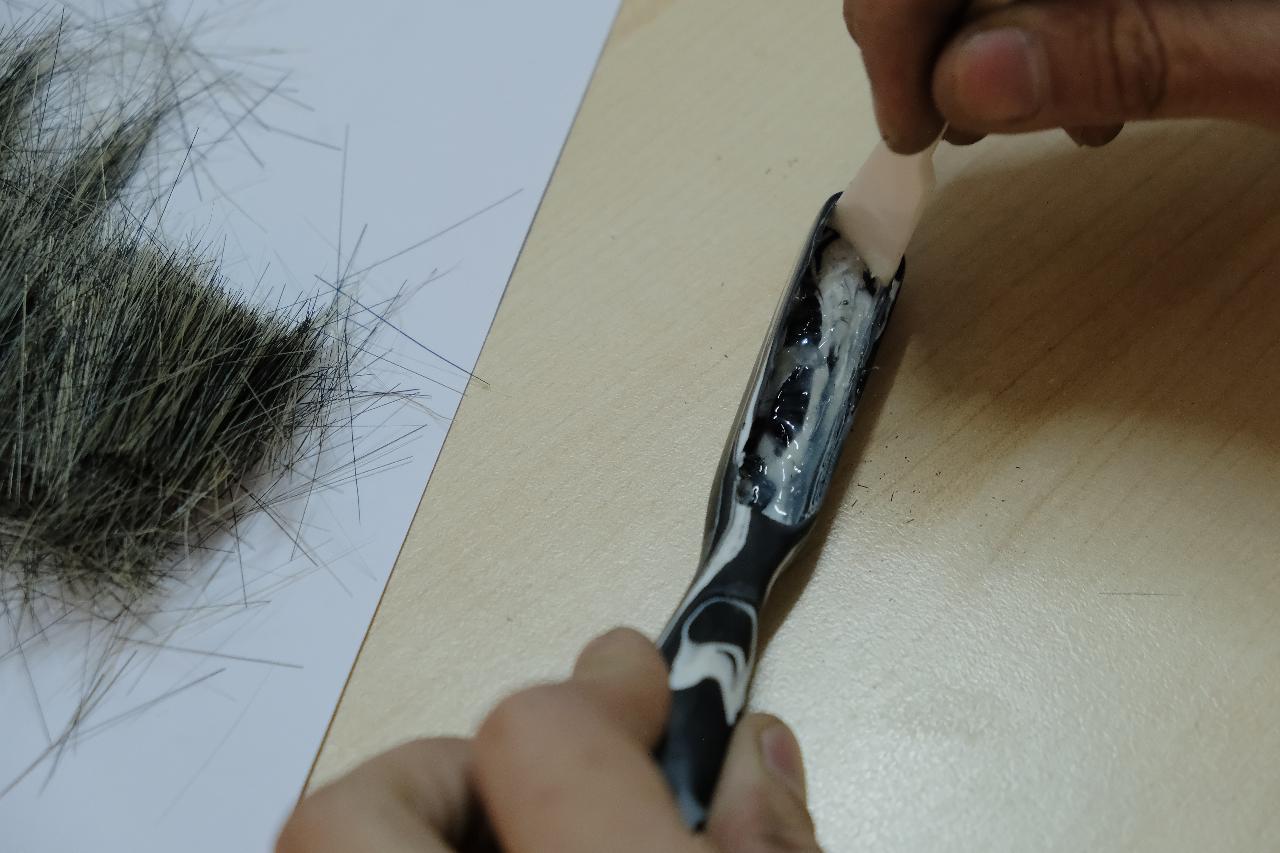
Step 13 - Insert the Hair
To insert the hair, epoxy is used sadly (Please tell me if there are any better ways). Fill up the area with 3-5 mm of epoxy and start putting the hair until no room left.
Let the epoxy set.
Let the epoxy set.

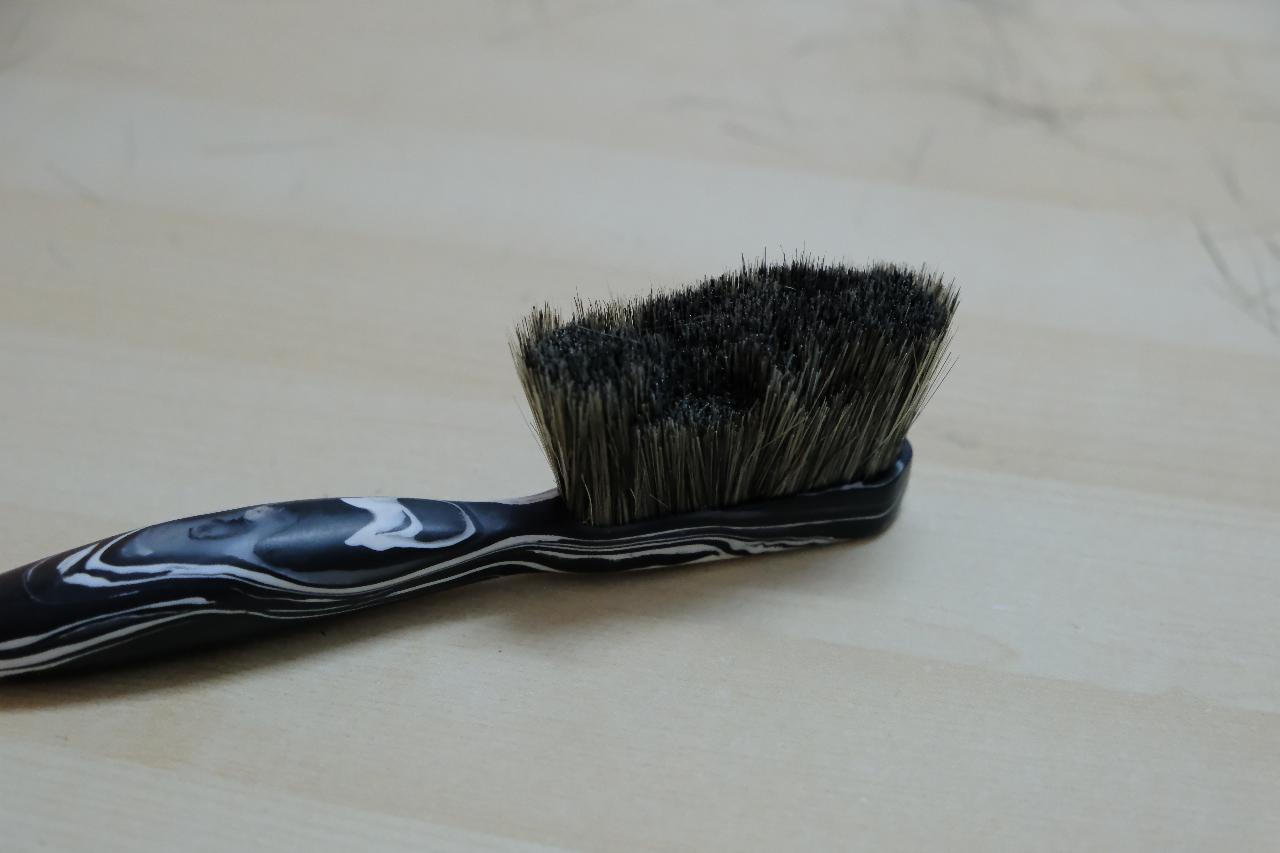
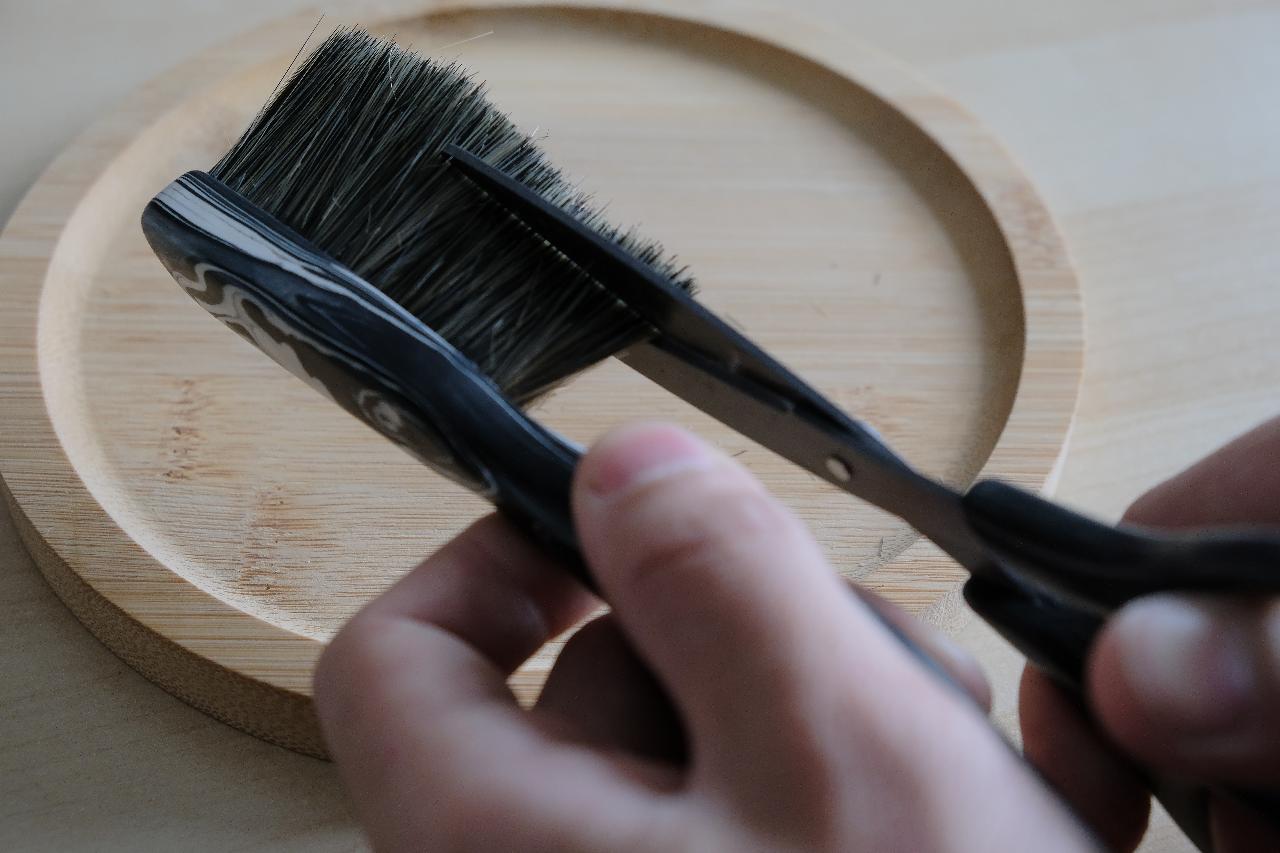
Step 14 - Cut the Hair
Since the tip of the brush will consume mush faster, keep around 20 mm for the tip and 15 mm on another way.
Step 15 - Go Climbing
There is no reason to make a climbing brush but do not climb! Go to your climbing GYM or to the crag and start brushing the holes with your new brush!
—
—
—
Comments