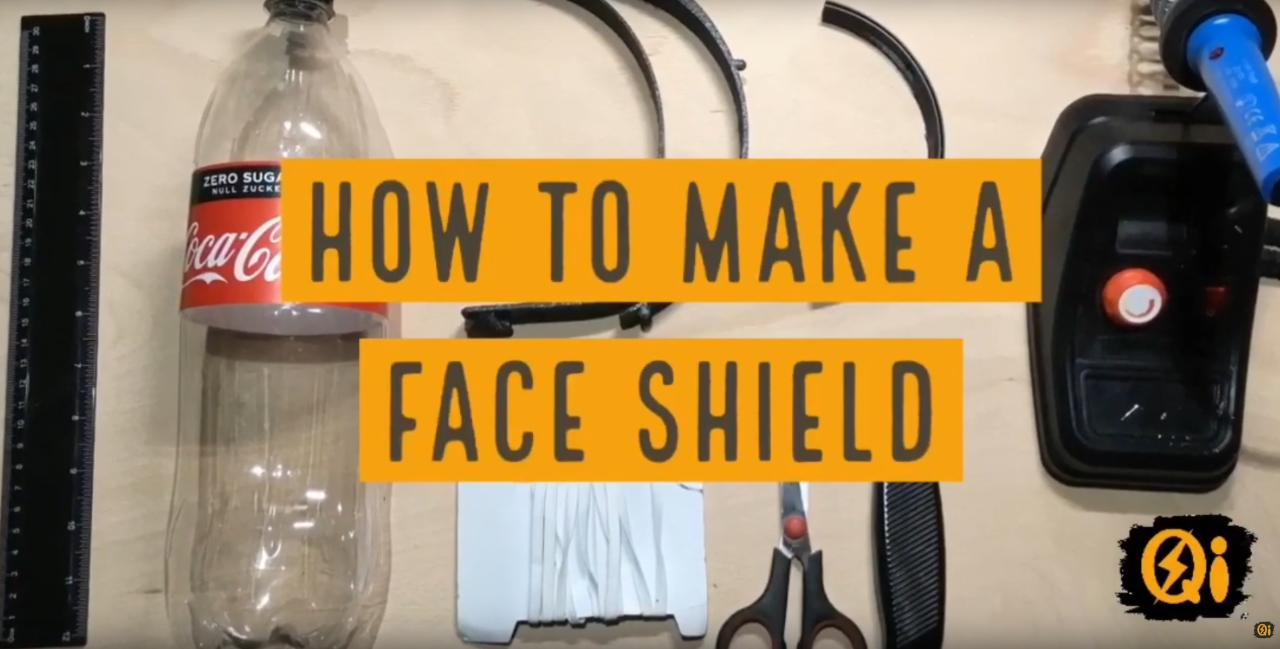
Make a Face Shield with a PET bottle
by QiTech
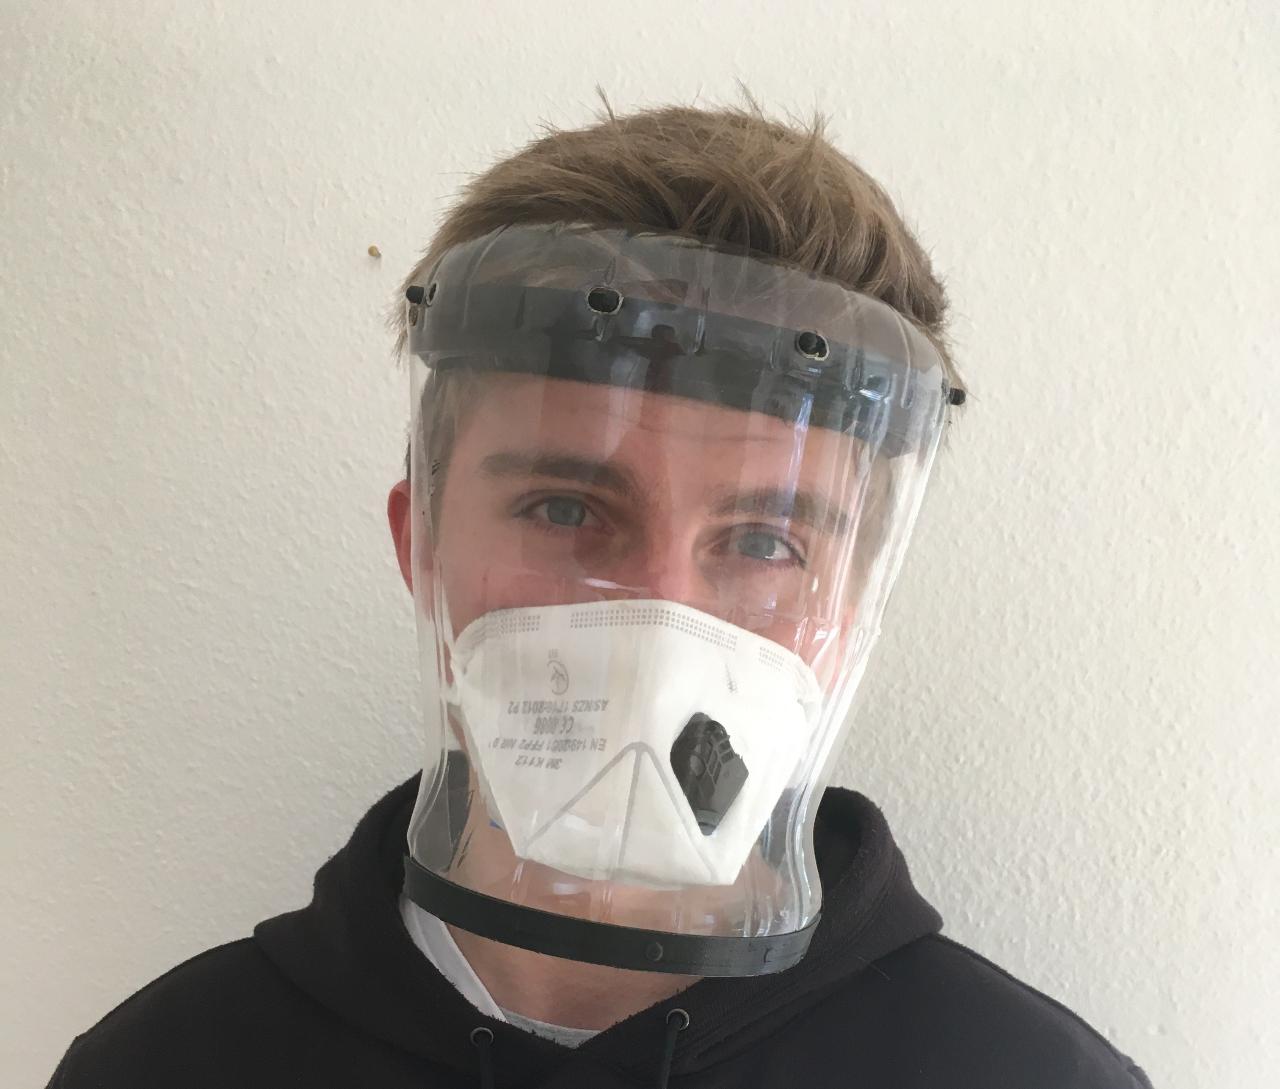
There is a global shortage of protective equipment, not even the people are currently keeping our society running. But everyone with a 3D-Printer can help and manufacture face shields for the people who are working in the front line. With this Design you can make Faceshields with a and recycle a PET bottle.
We made a Video about the assembly to:
<a href="https://www.youtube.com/watch?v=6u6y6gD17rk&feature=youtu.be">https://www.youtube.com/watch?v=6u6y6gD17rk&feature=youtu.be</a>
—
Attachments
Resources
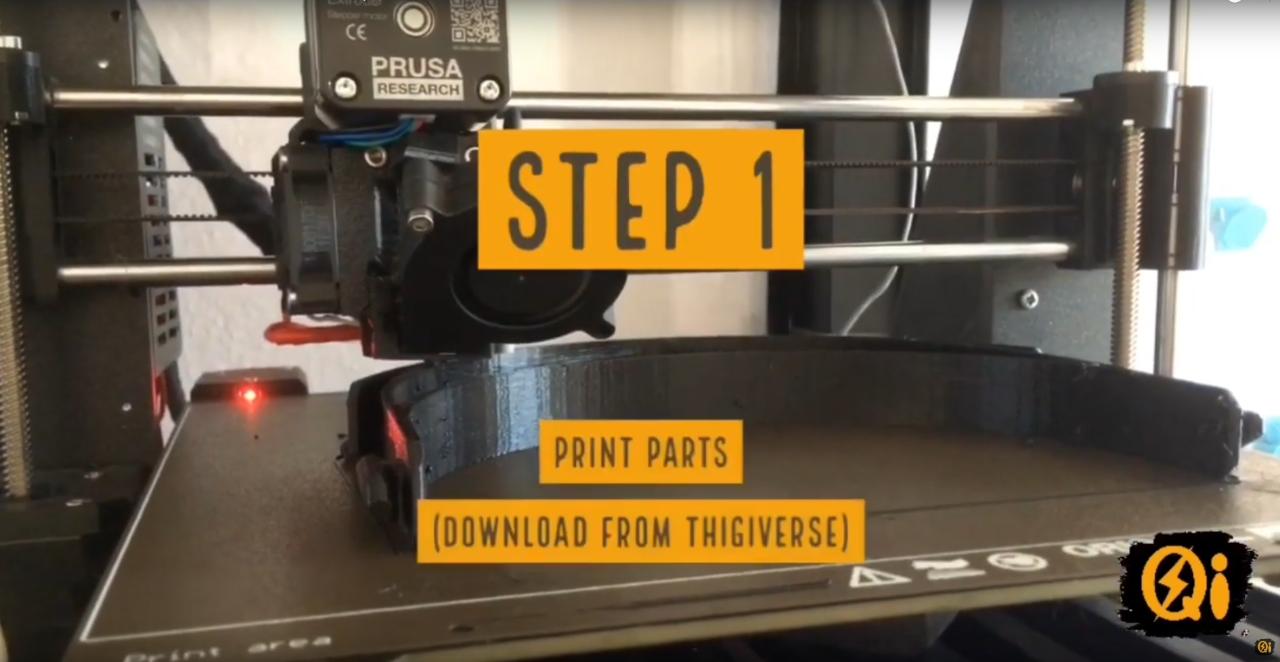
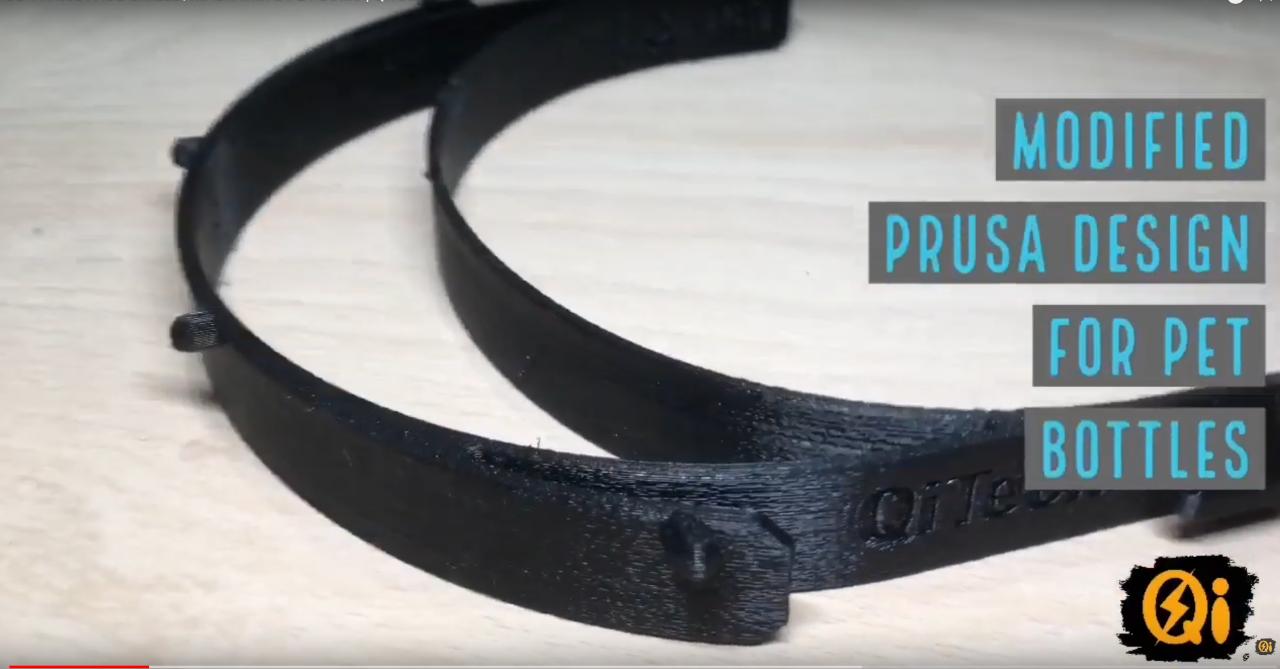
Step 1 - Print Parts
3D-Print the Top and bottom part of the shield. Download the Files for free from Thiniverse or Prusa or use the files in the zipped folder you can download here.
Step 2 - Get elastic Band
You can use normal white elastic band like in our Video, but elastic band with button holes works best.

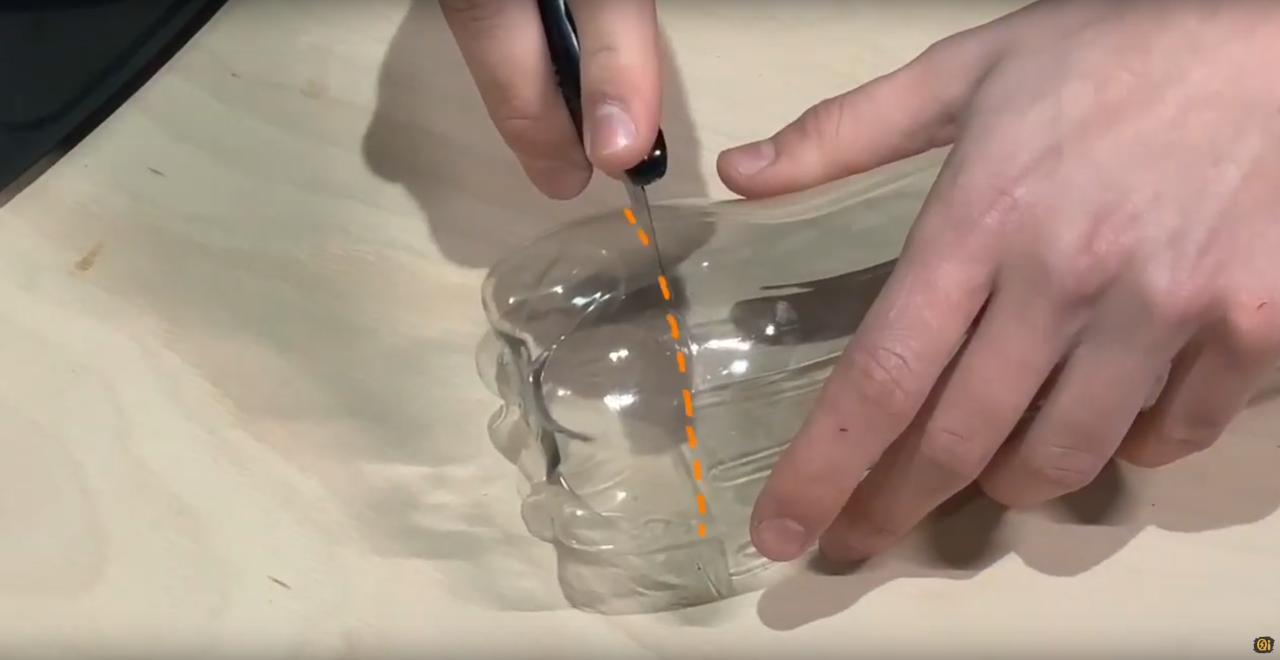
Step 3 - Prepare bottle
First of all, you need to wash out the bottle and then cut off the top and bottom parts. Finally cut along the side of the bottle so you can bend the Plastic open.

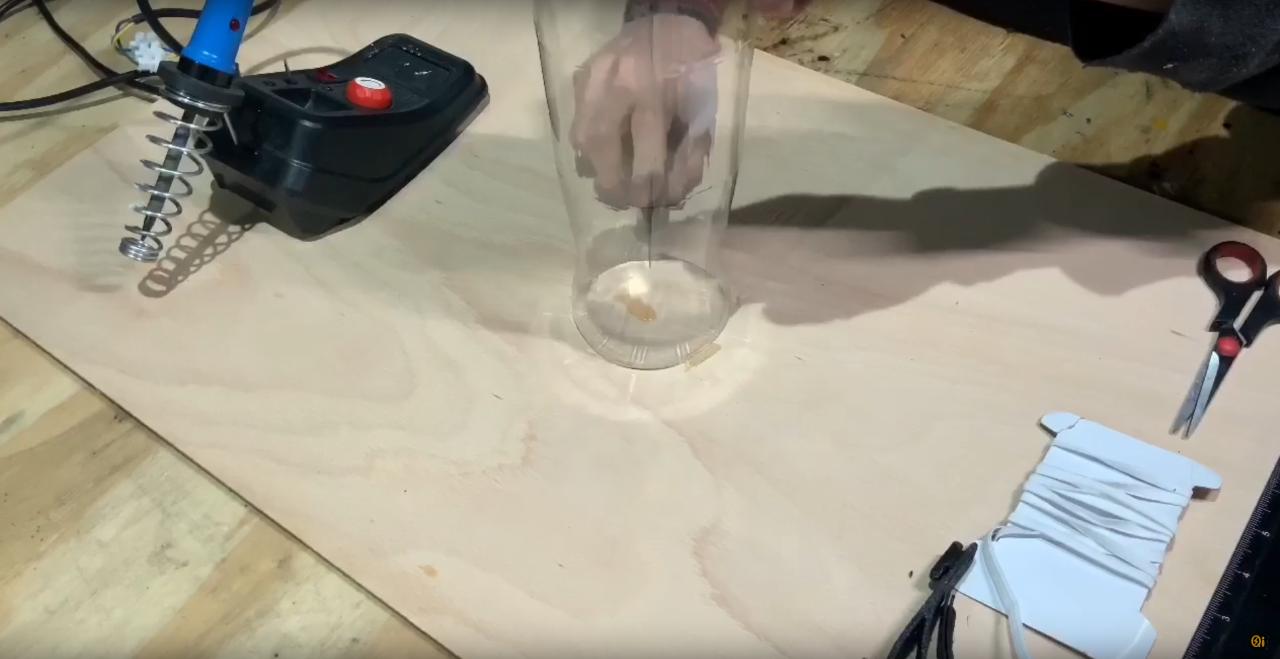
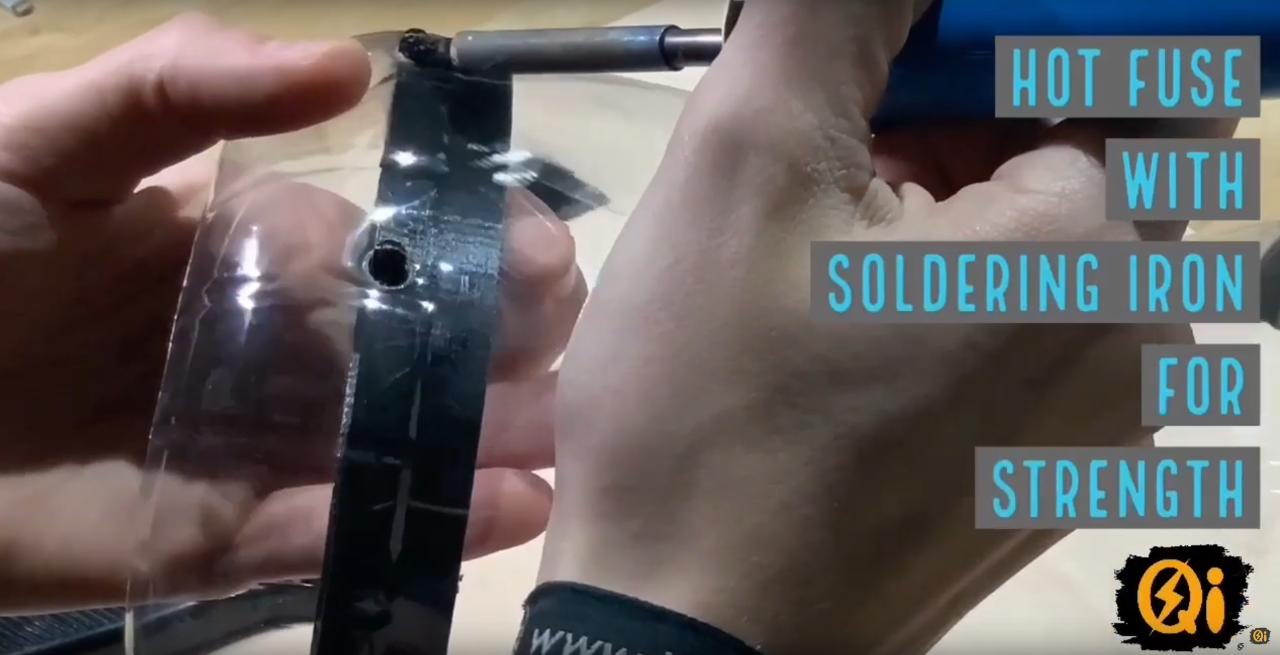
Step 4 - Connect 3D-Printed parts
Start off with the bottom part. Fold open the PET bottle and press it into the the slit. The use the soldering iron to melt the PET and the printed parts in 3 Points that are visible from the inside.
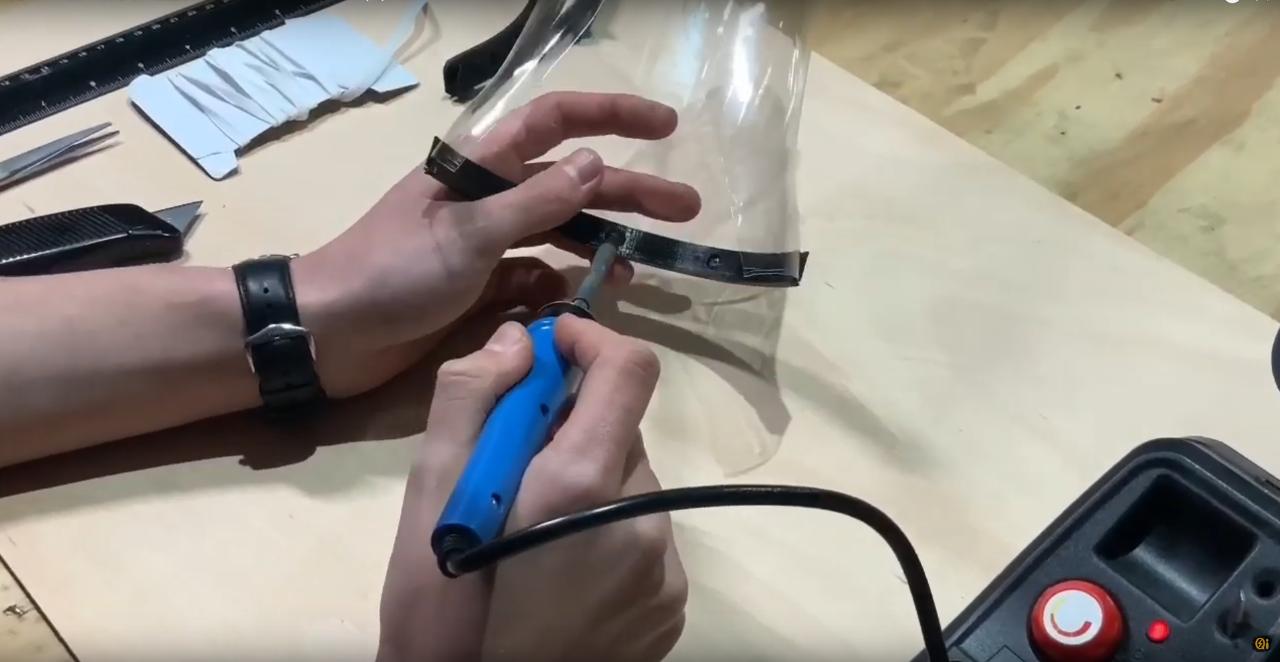
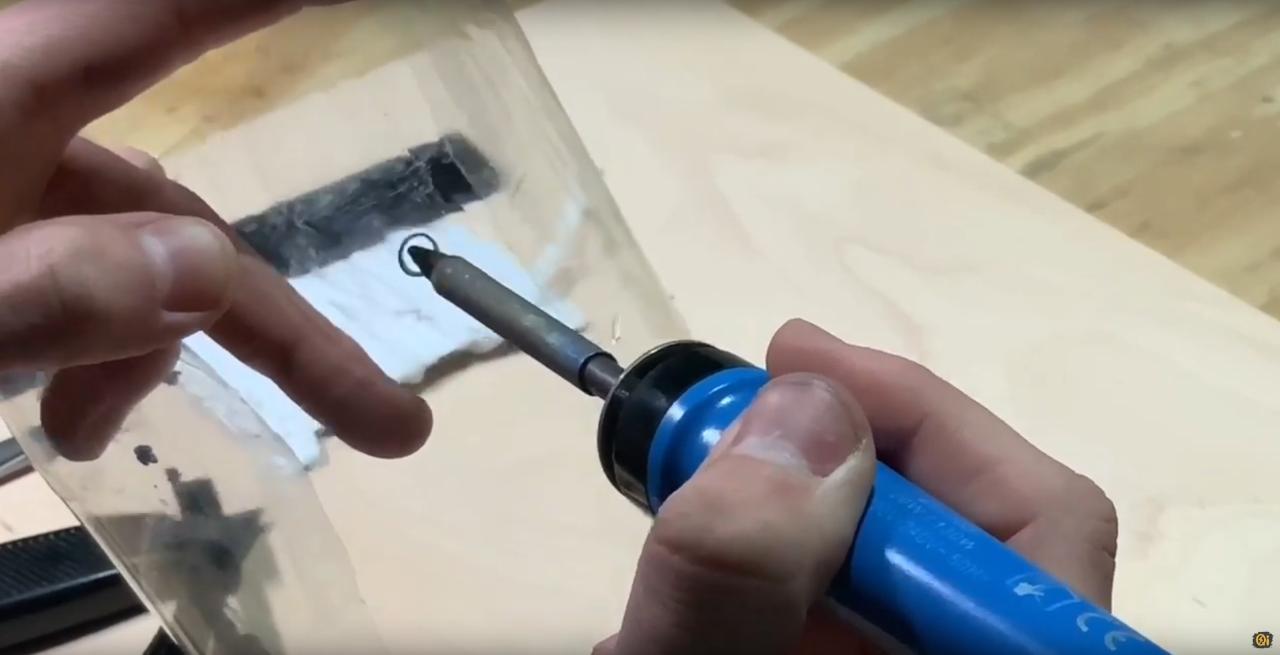
The Next step is to attach the top part. First, use a edding to mark where to make holes in the bottle. Then use the soldering iron to melt these holes. After attaching the top part you can use the soldering iron the melt the plastic together for additional stregth.
The Next step is to attach the top part. First, use a edding to mark where to make holes in the bottle. Then use the soldering iron to melt these holes. After attaching the top part you can use the soldering iron the melt the plastic together for additional stregth.
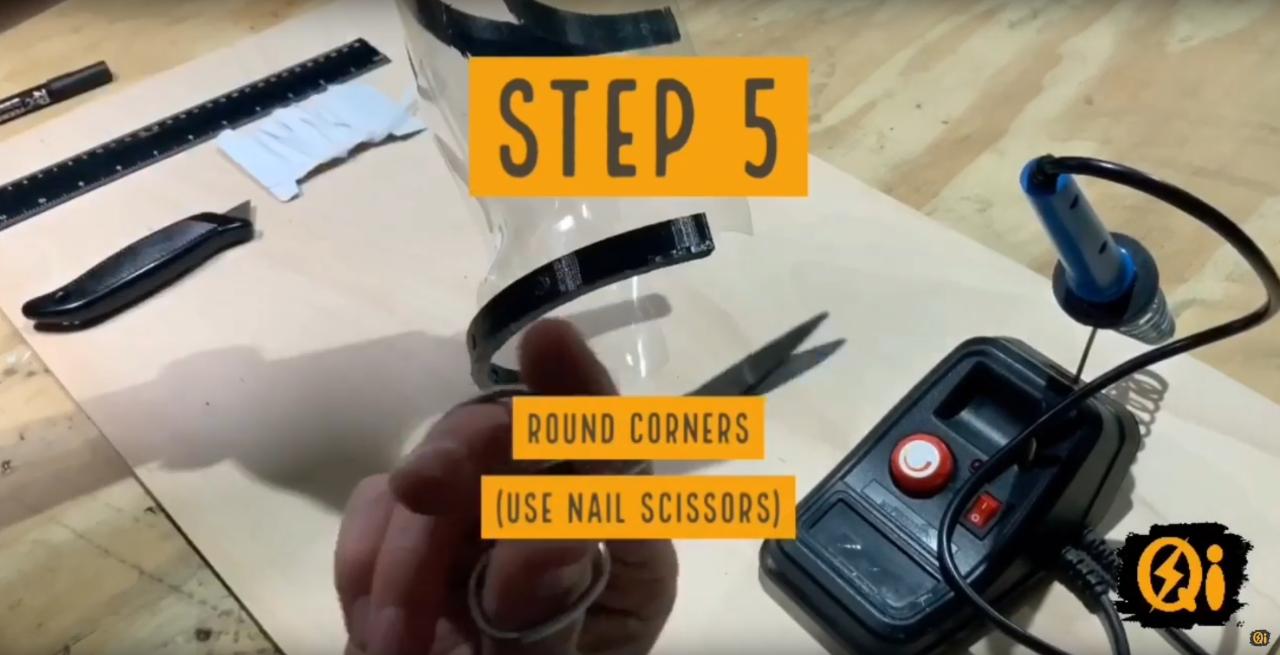
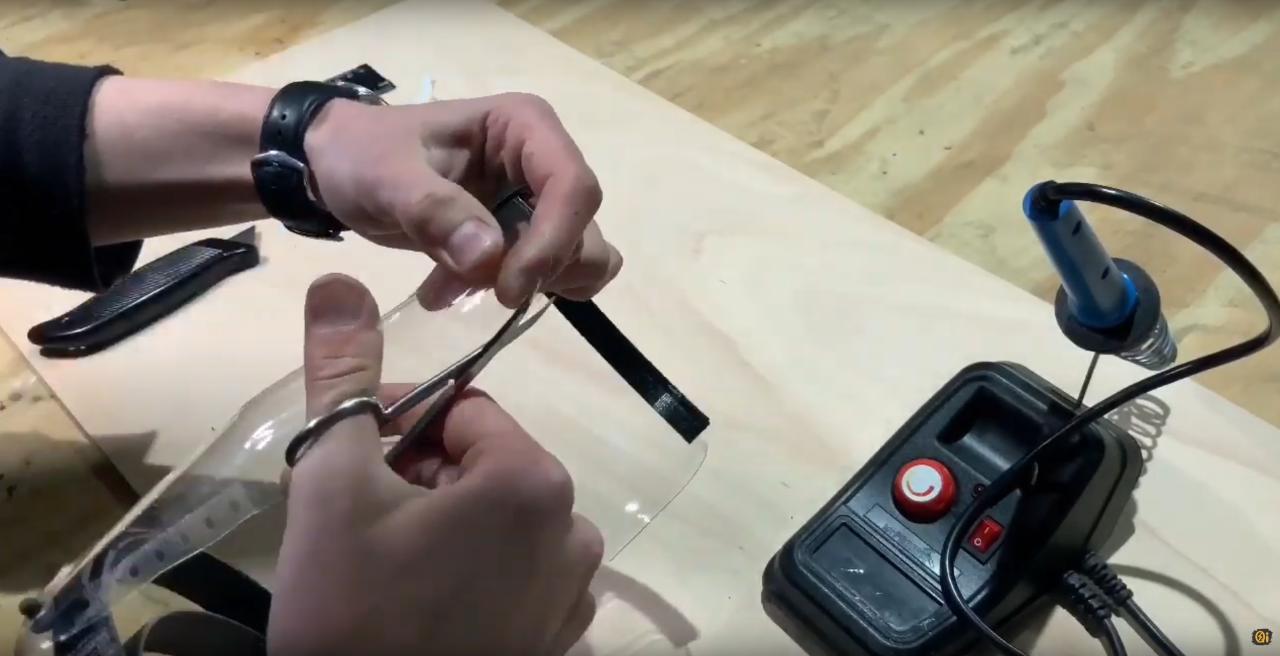
Step 5 - Round off corners
Use nail scissors to round off corners at the bottom of the PET shield. If you don't have nail scissors you can also use normal scissors.
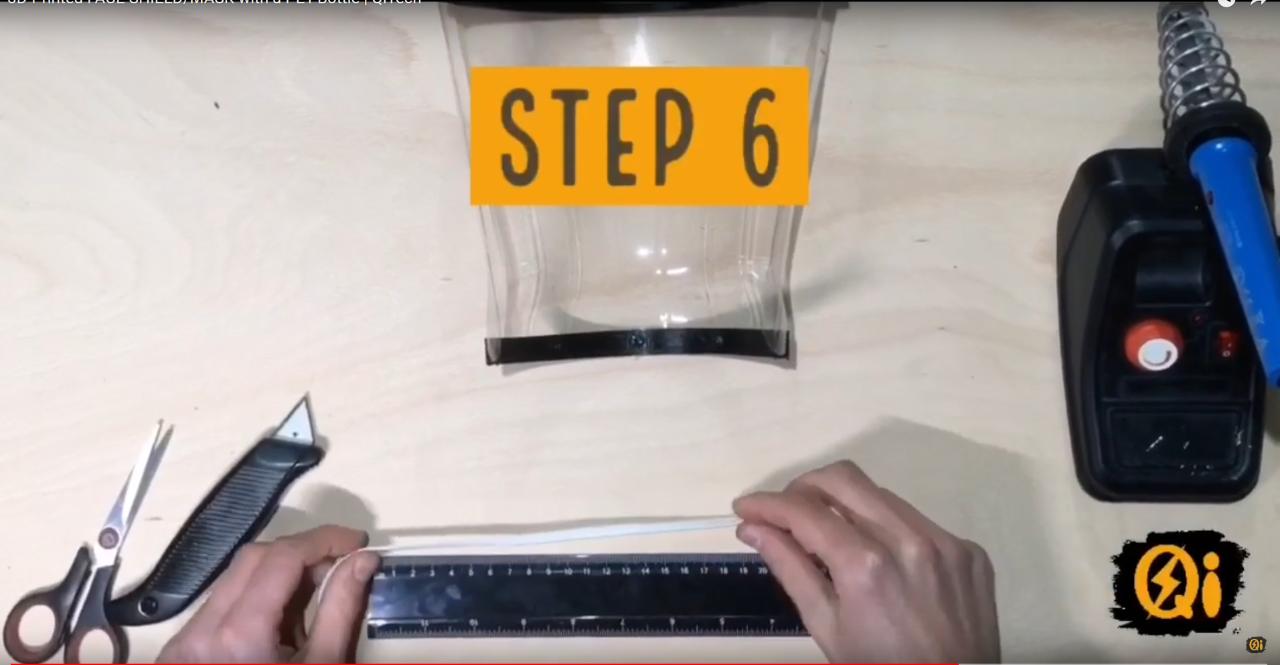
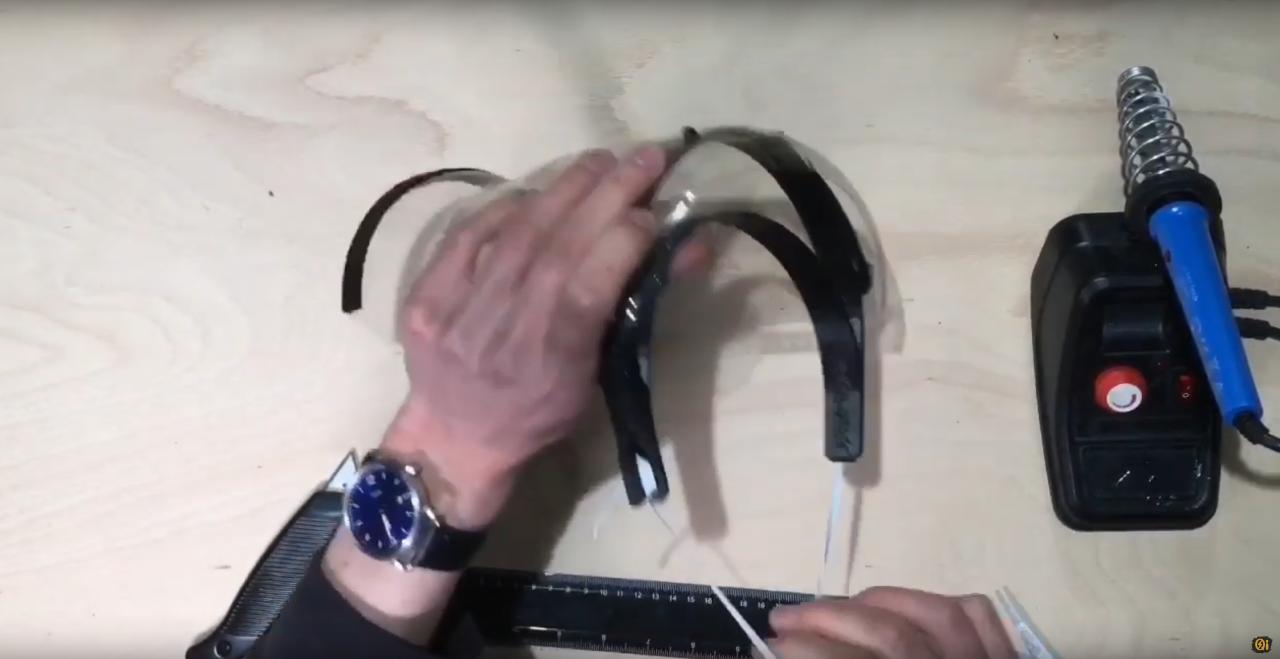
Step 6 - Attach elastic band
First, cut about 16-20cm of elastic band. Tie the elastic band around the two holders on both sides and make sure they are secure.
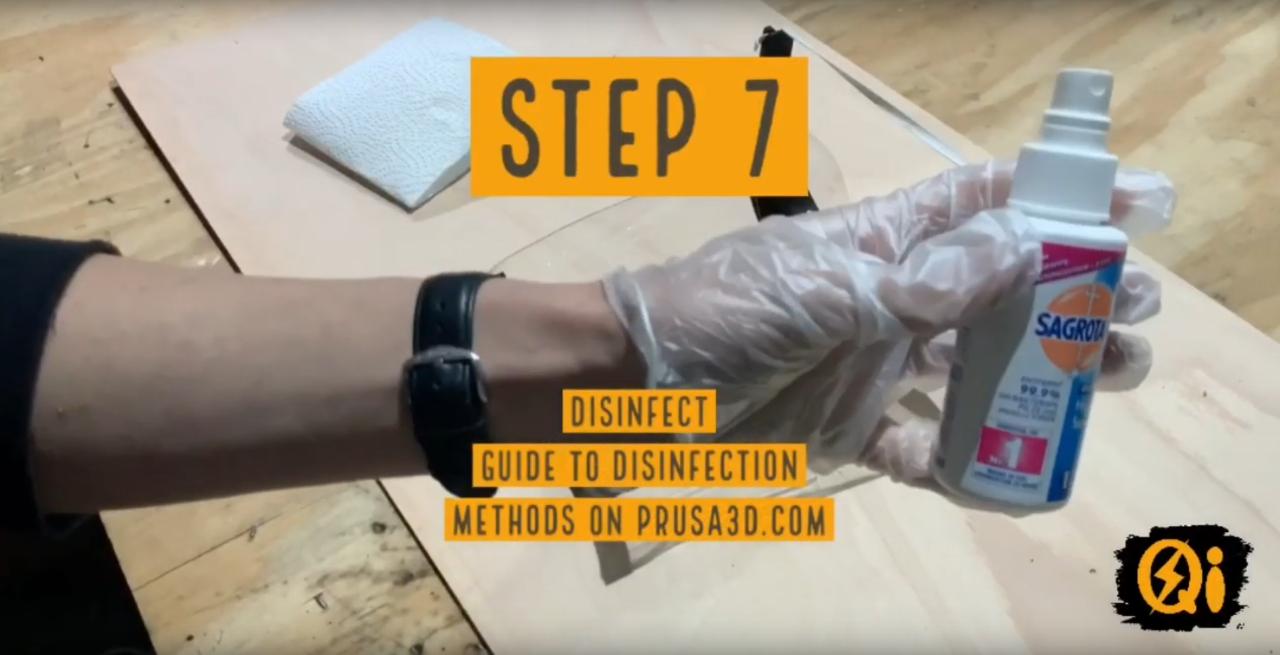
Step 7 - Disinfect
Use Disinfectant and wipe over the inner side of the shield to kill off any bacteria. PRUSA has made and is constantly updating a Sterilisation Guide. Be sure to check it out for more information.
—
—
—
Comments