Make a ruler mould with Inkscape
Educational resources are not equally distributed across the world so you might as well recycle plastic and make products that are useful tools for learning and creating at the same time. In this how-to you will learn how to use Inkscape to make a laser cut ruler mould for injection moulding!
—
Attachments
Resources
Step 1 - Download Inkscape
-Go to https://inkscape.org/ and select the distribution you need for your operating system
-Follow the instructions for the installation guide
-For reference intermediary files and the final file which was made by doing the steps in this tutorial is attached to the how-to so you can test to see if you can reproduce the final product on your own or adapt it to your needs
-Follow the instructions for the installation guide
-For reference intermediary files and the final file which was made by doing the steps in this tutorial is attached to the how-to so you can test to see if you can reproduce the final product on your own or adapt it to your needs
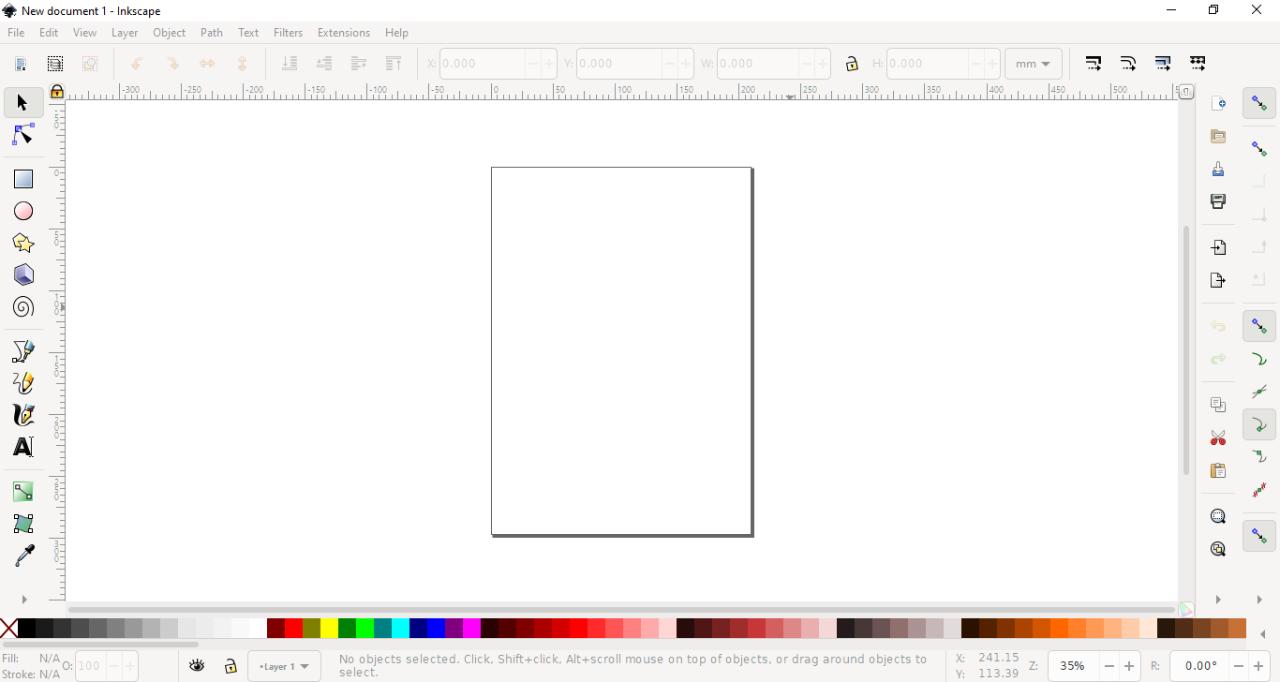
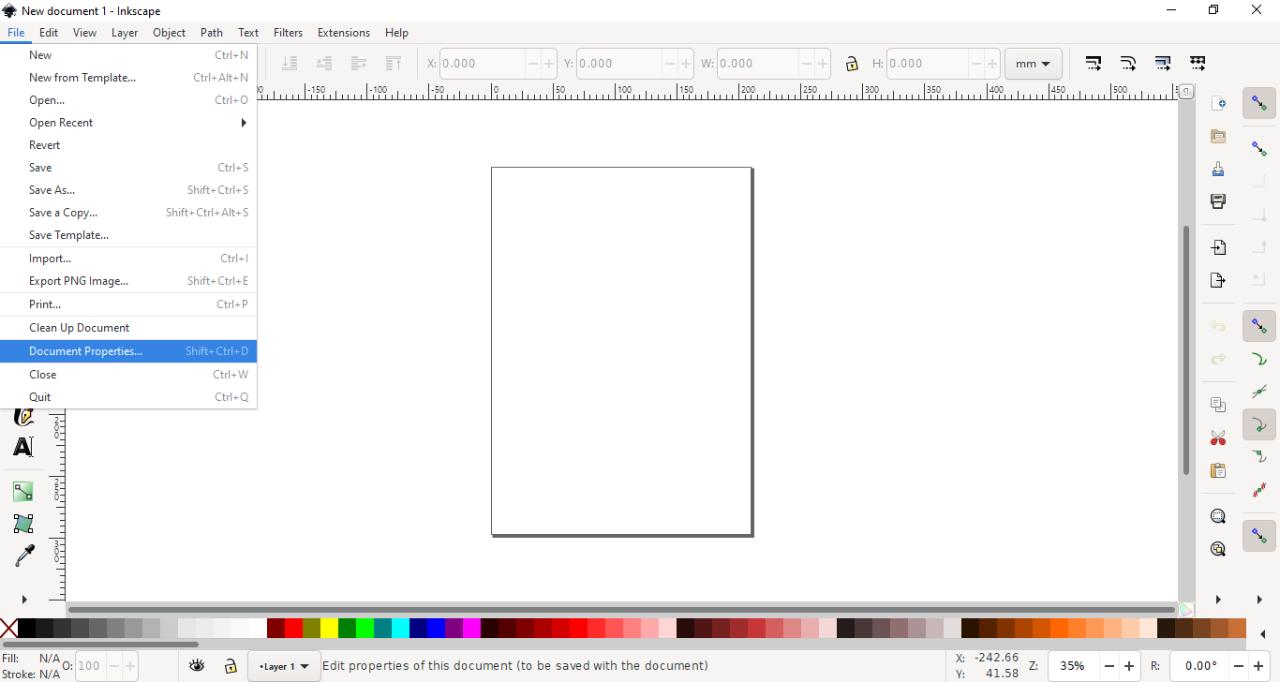
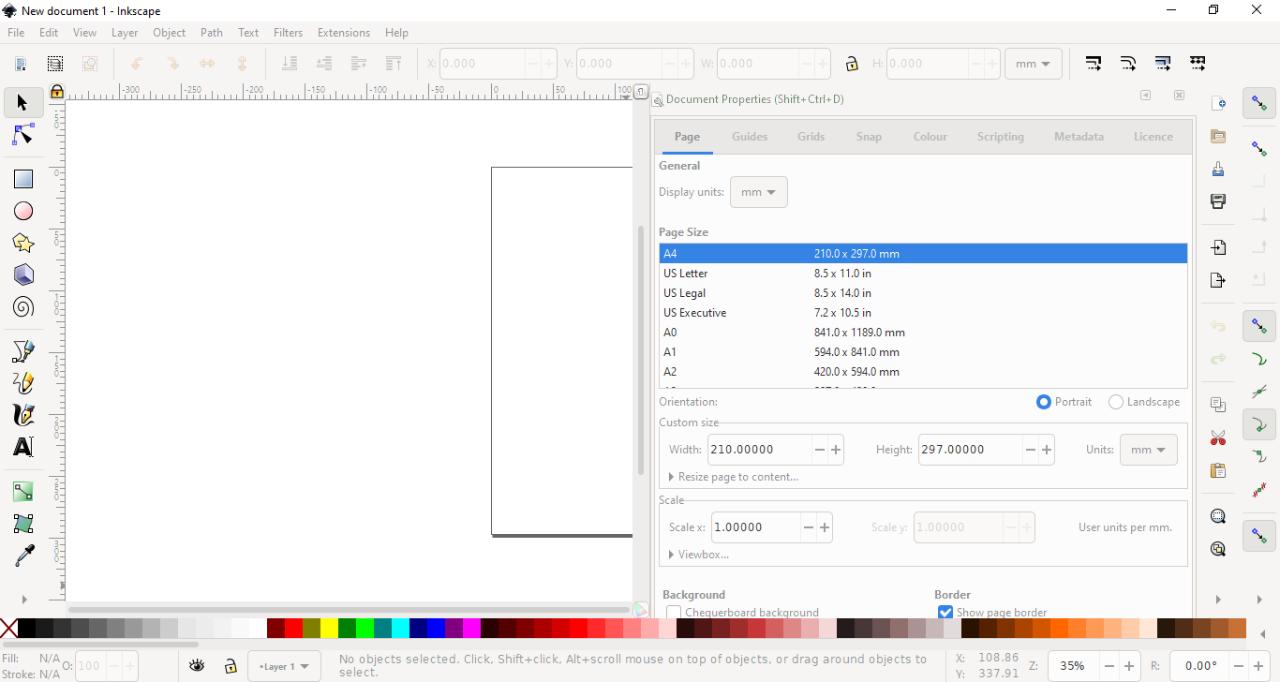
Step 2 - Create a blank document
-Open Inkscape and it should open a new document for you
-You can adjust the document size by clicking File > Document Properties
-We chose A4 for this project but you can adjust this to your needs
-Save it down in a place you can find later
-You can adjust the document size by clicking File > Document Properties
-We chose A4 for this project but you can adjust this to your needs
-Save it down in a place you can find later
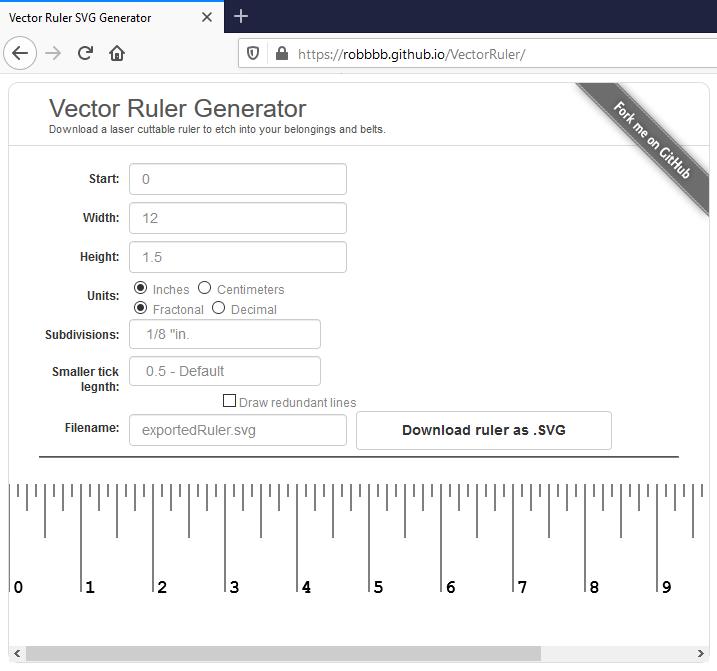
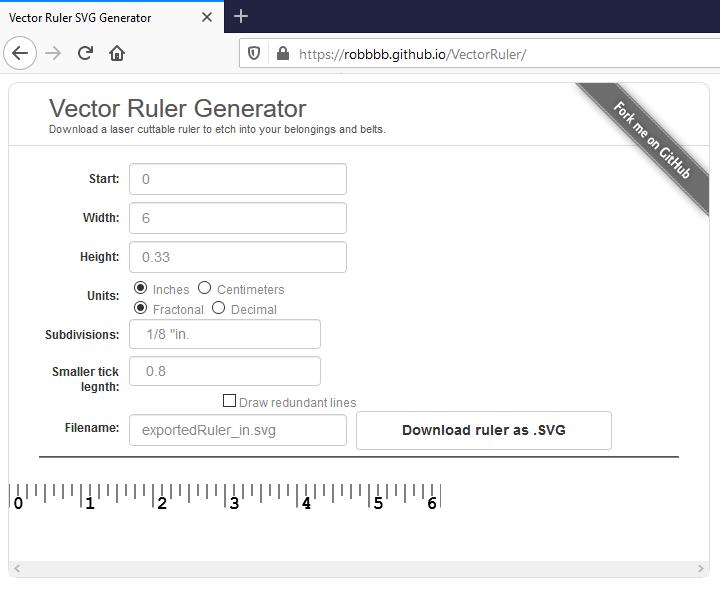
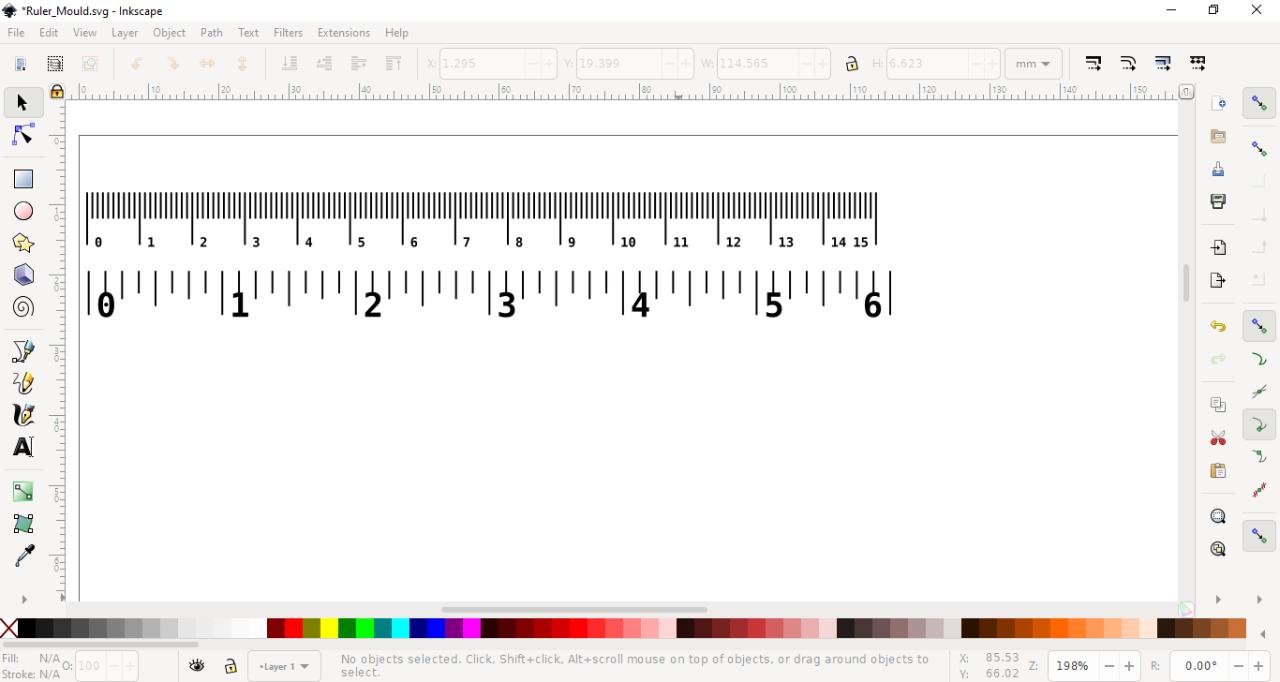
Step 3 - Generate the ruler
Vector Ruler Generator is a free and open source tool to generate rulers for etching/laser cutting into various materials
-Go to https://robbbb.github.io/VectorRuler/
-On our ruler we wanted both centimetres and inches and to be roughly 15 cm long
-Select the parameters you want and save them down somewhere you can find them with understandable file names so you know which one's which
-Go to https://robbbb.github.io/VectorRuler/
-On our ruler we wanted both centimetres and inches and to be roughly 15 cm long
-Select the parameters you want and save them down somewhere you can find them with understandable file names so you know which one's which

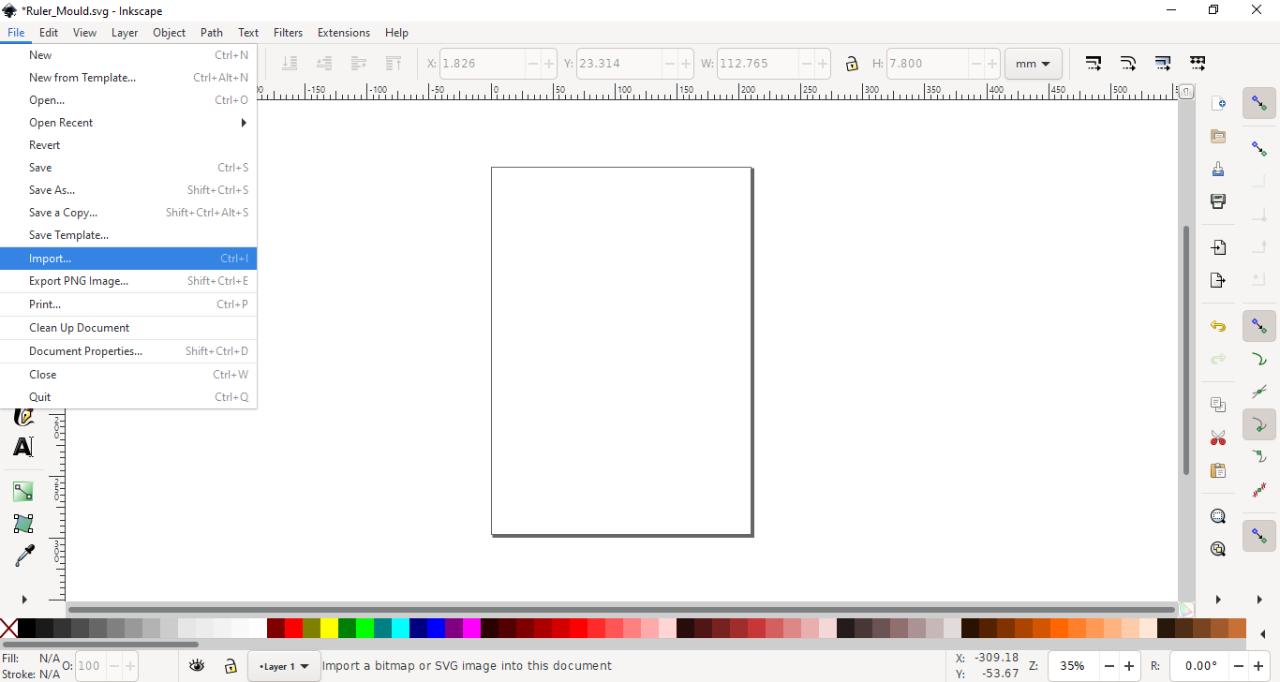
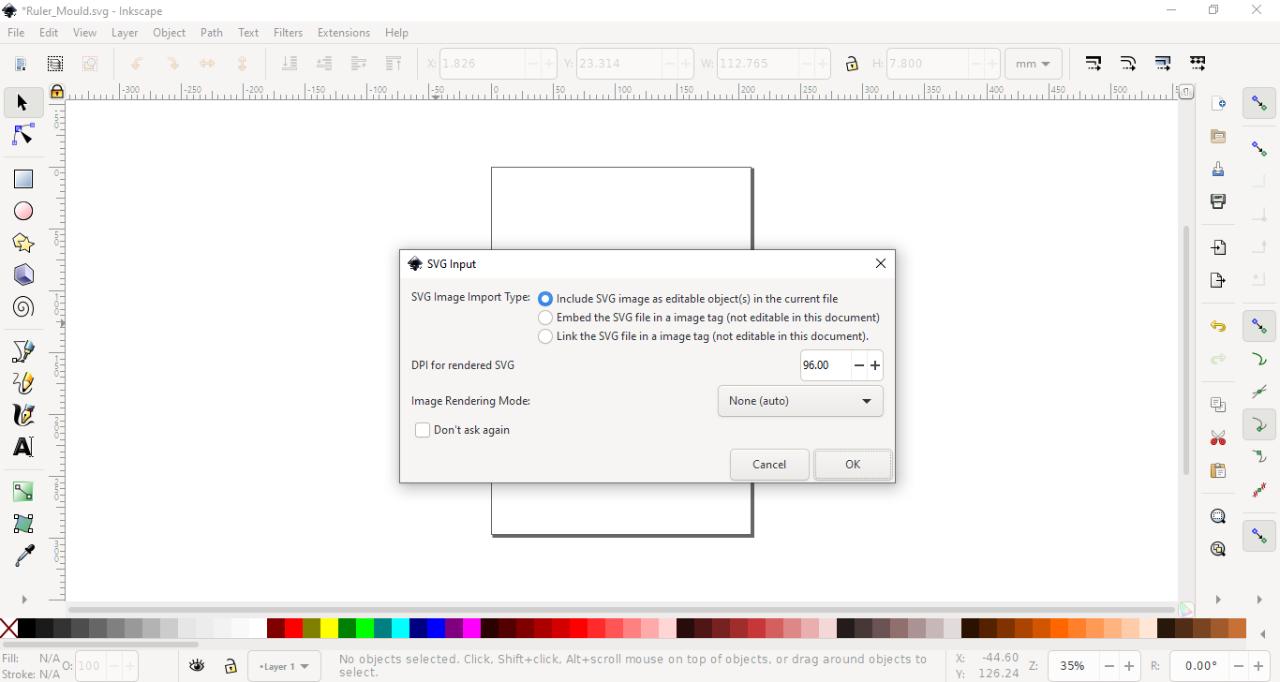
Step 4 - Import the files
-Click File > Import and select the file
-You will see a dialogue screen with some details
-Then click OK and you should see the files now
-Then repeat for the other ruler
-You will see a dialogue screen with some details
-Then click OK and you should see the files now
-Then repeat for the other ruler
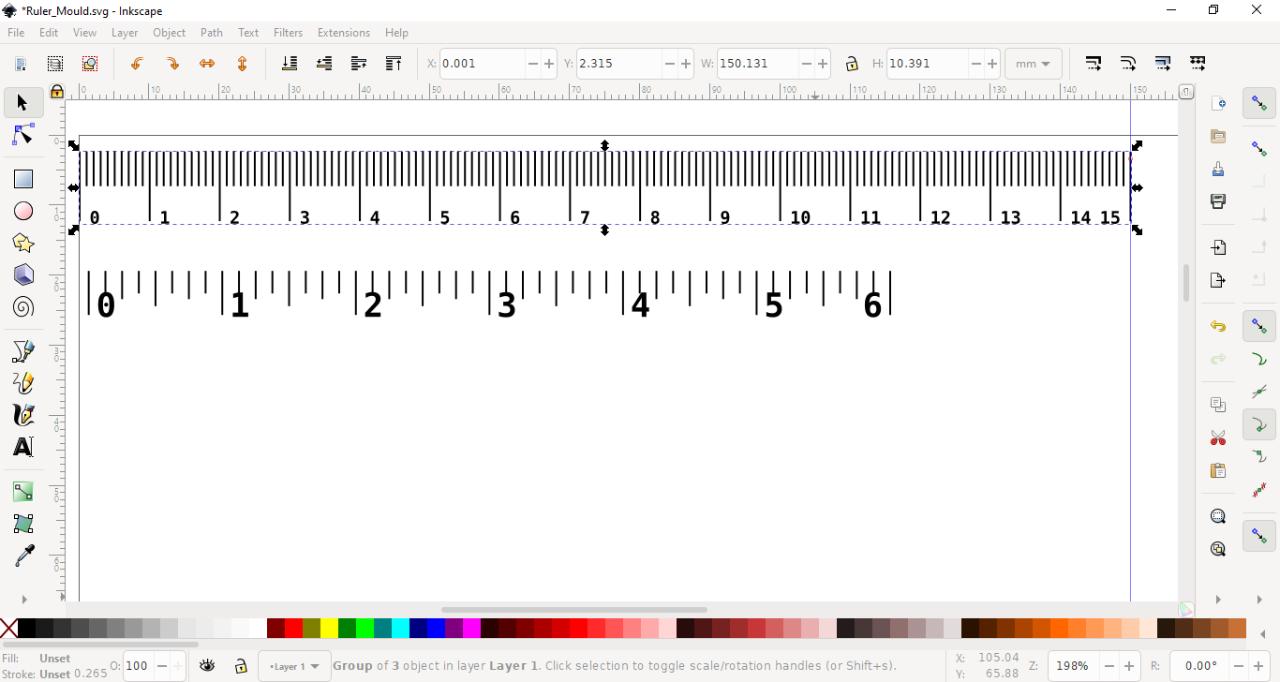
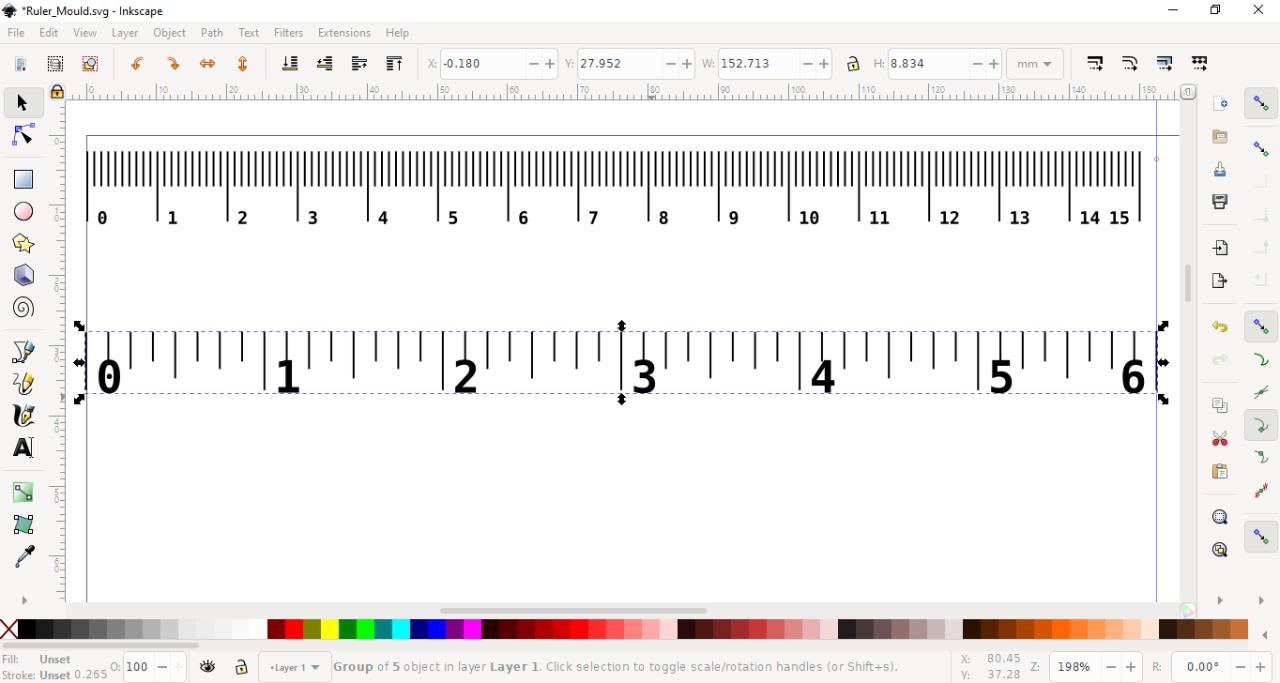
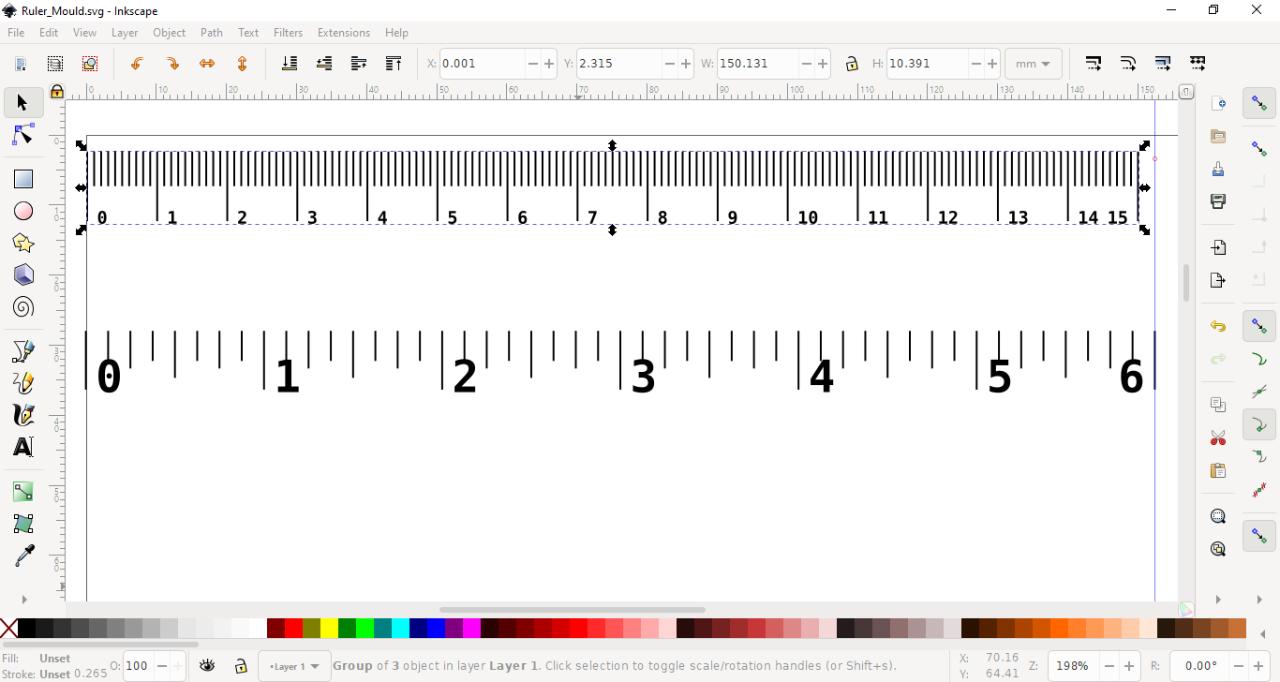
Step 5 - Resize the rulers
Because it may not import correctly into the software we will need to resize it to be accurate and adjust it for laser cutting. We will be doing this using guides in Inkscape
-To create a guide click on the ruler on the left hand side and drag to the right
-You should now see a blue guide, double click on it and set it to 150 mm and click enter
-Then resize the ruler so that the left hand side touches the line of the document and the right hand touches the guide
-Then repeat for the inch ruler with the guide set to 6 inches

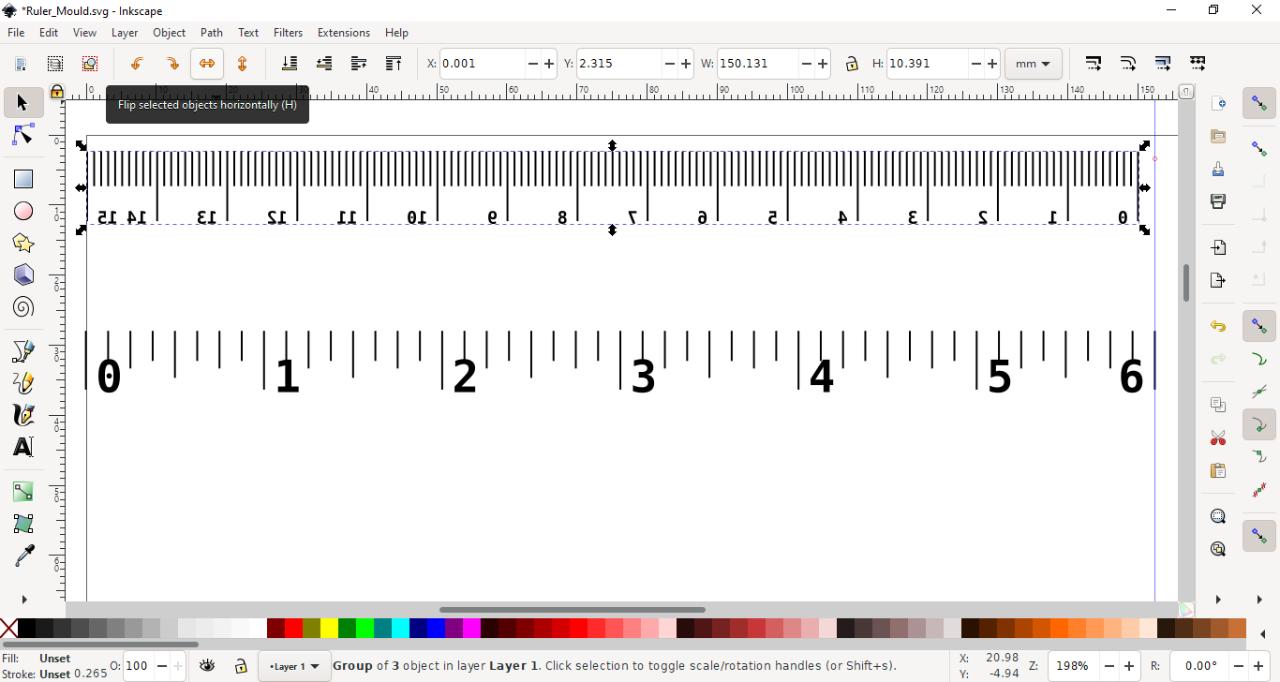
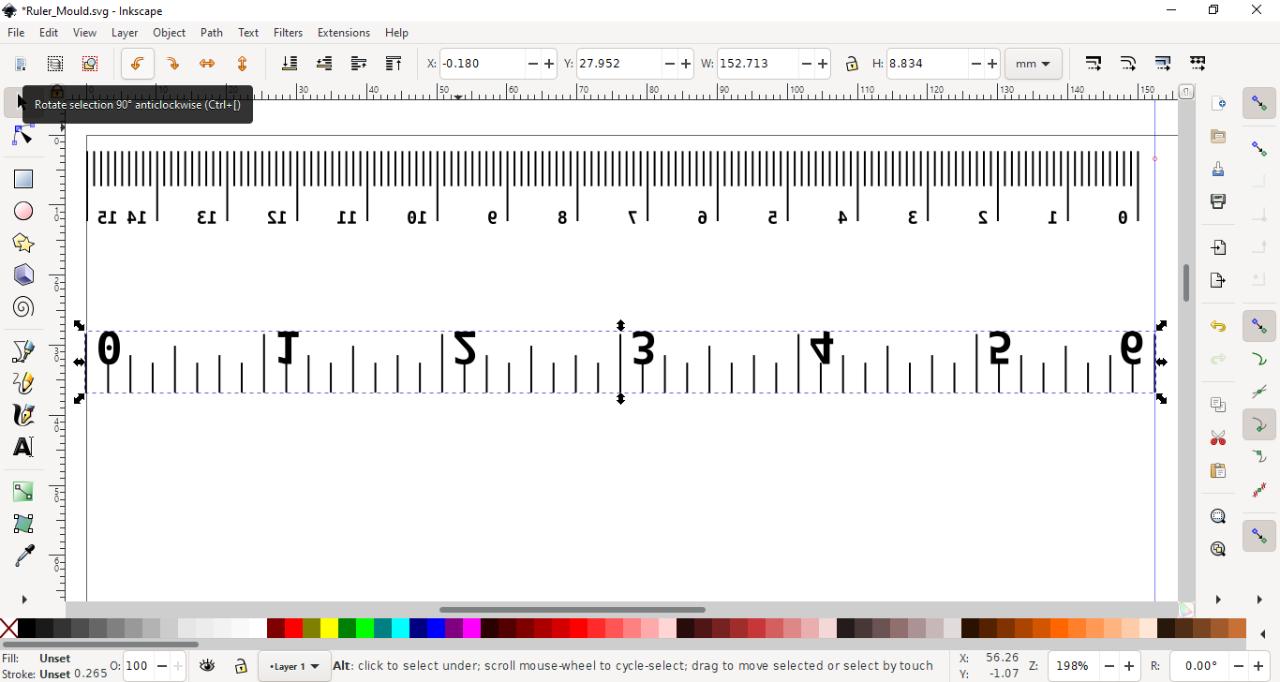
Step 6 - Adjust for laser cutting
If you are laser cutting a mould you need to ensure that the text is flipped so it reads correctly when you inject the part
-Select the part you wish to flip
-Then click on the "Flip selected objects horizontally" button on the top of the page
-You can also use the "Rotate selection 90°" buttons to adjust as necessary
-Select the part you wish to flip
-Then click on the "Flip selected objects horizontally" button on the top of the page
-You can also use the "Rotate selection 90°" buttons to adjust as necessary
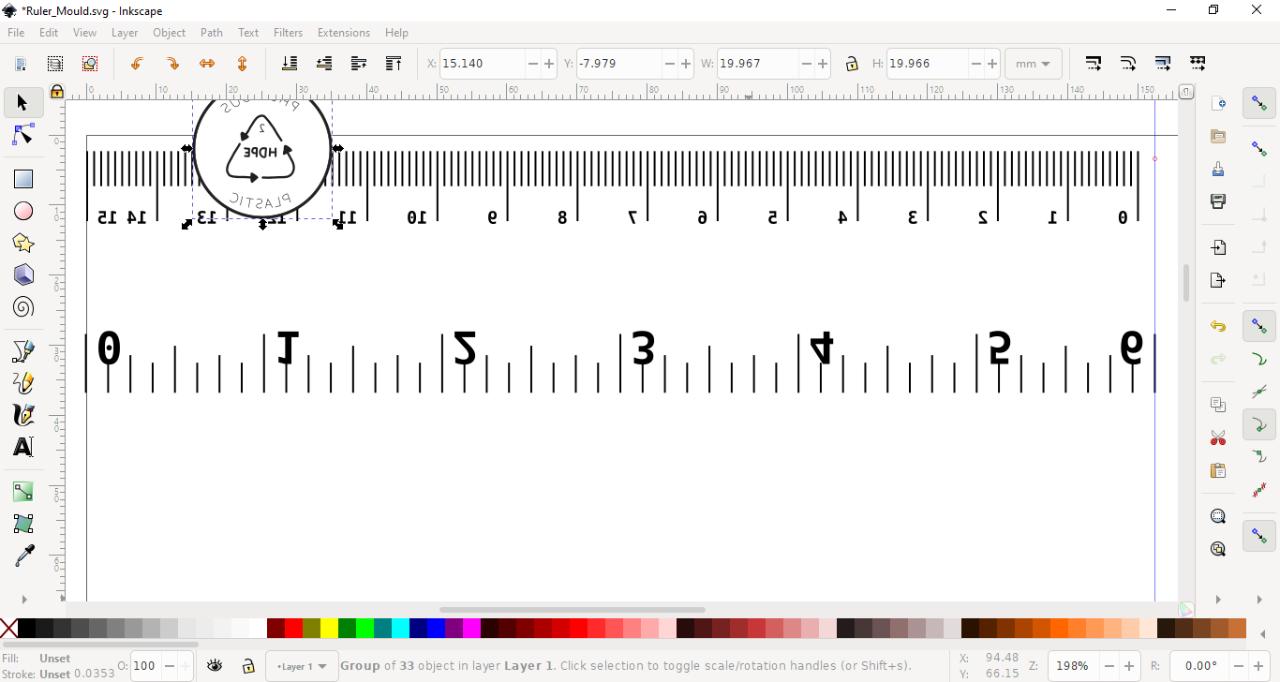
Step 7 - Add plastic identifier
Noting what plastic the rulers you are making will be made from is important because then the person in the future who is recycling it will know what temperatures to use. These can be found in the download kit for Precious Plastic or you can download them from the files attached to this How-to.
-Import the symbol you need in the same way you done with the ruler files
-It will then give you some import settings
-We selected "rough" precision to keep the file size down and because we know that the detail will be sufficient for laser cutting
-Now align it and place it where you want it to be
-Import the symbol you need in the same way you done with the ruler files
-It will then give you some import settings
-We selected "rough" precision to keep the file size down and because we know that the detail will be sufficient for laser cutting
-Now align it and place it where you want it to be


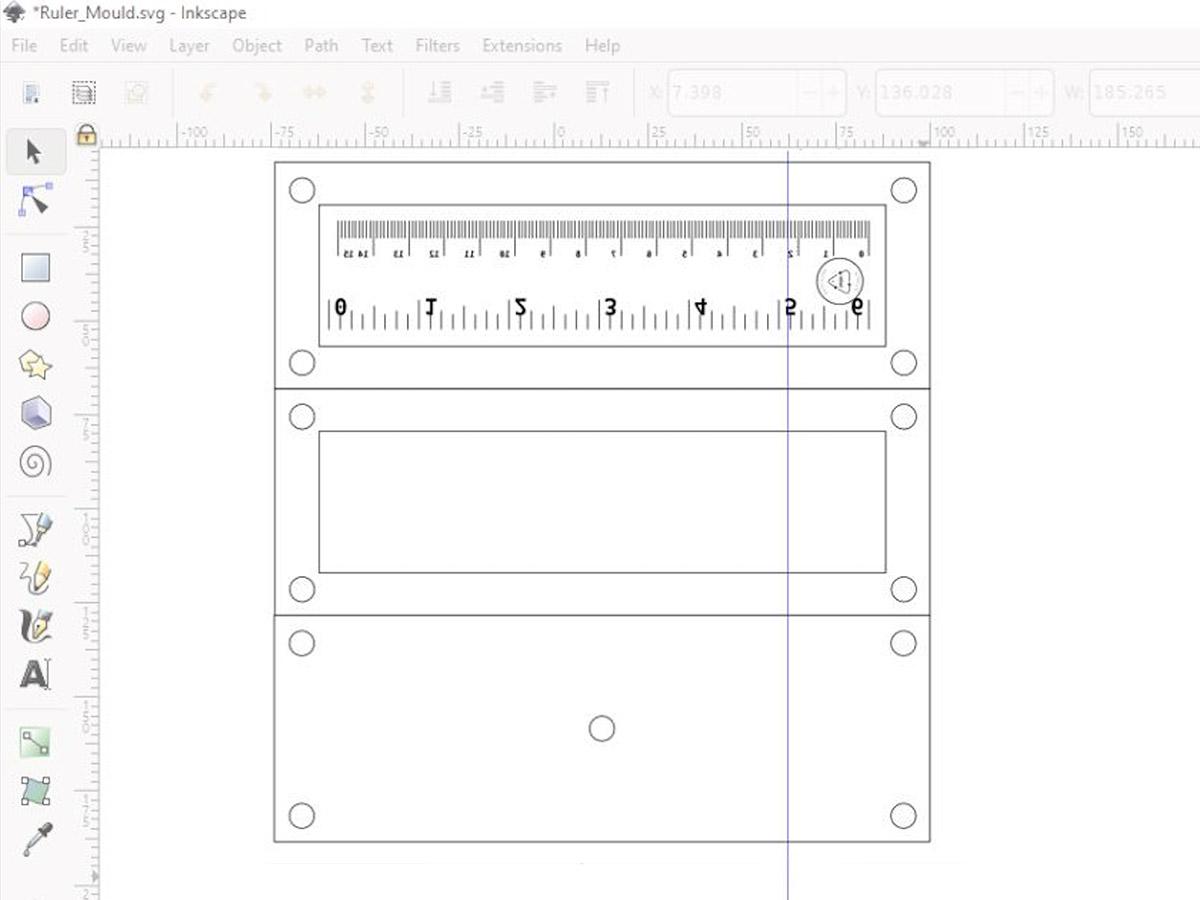
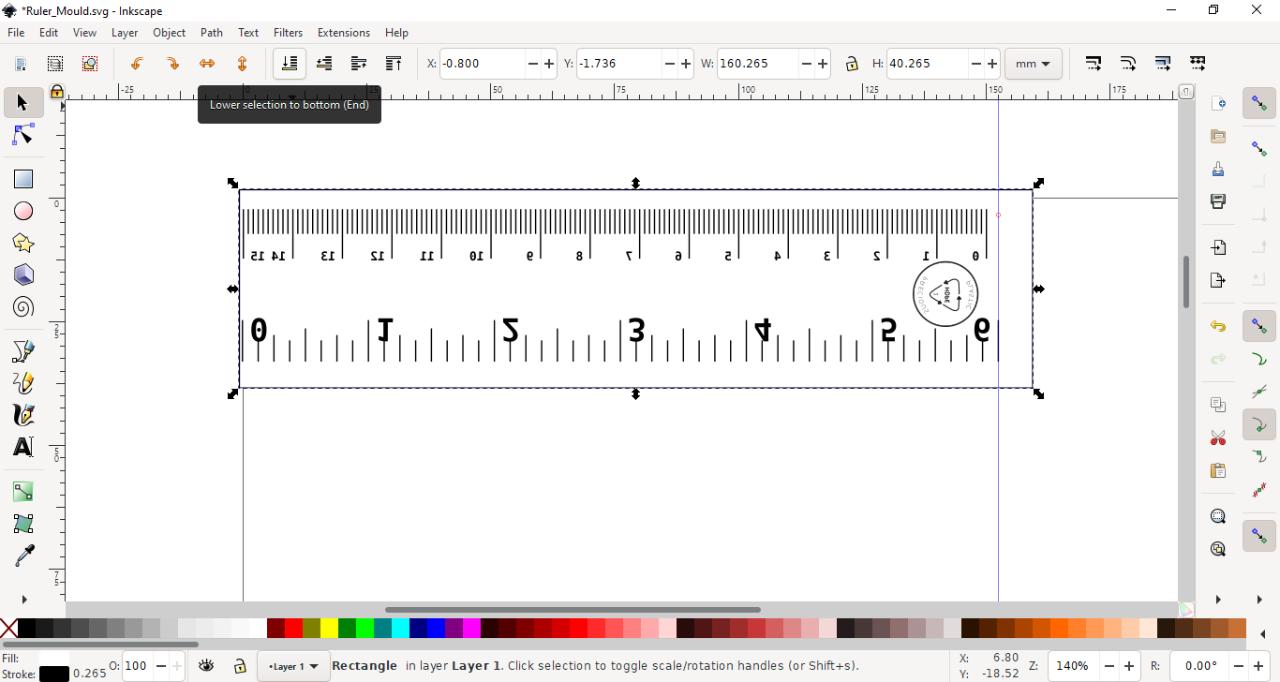
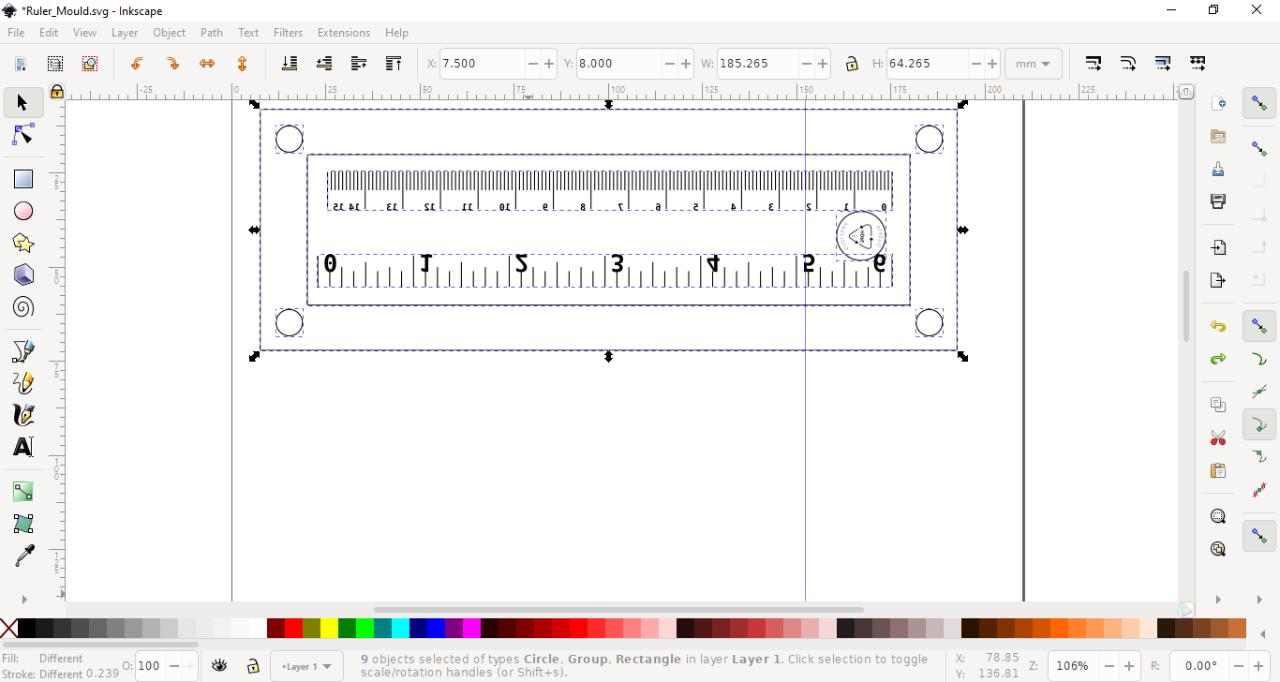
Step 8 - Add cut outs for the ruler
-To add a rectangle for the outline of the ruler click the Rectangle icon in the left menu
-You can now draw it around the rulers and select the specific height and width from the top menu
-You may need to adjust the alignment of the rectangles so that the rulers are visible
-Select the item and click the "Lower selection to bottom" icon from the top of the screen
-Repeat for the outer border of the mould


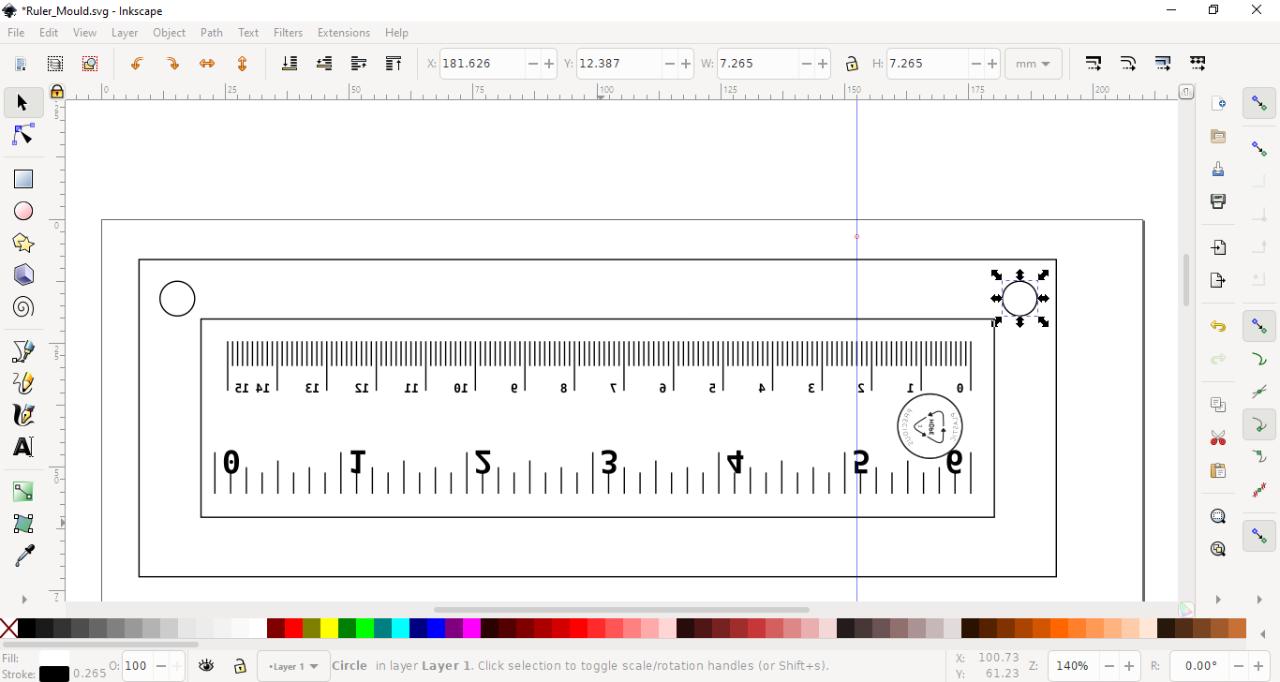
Step 9 - Add fastening items
You'll now need to add holes for wing nuts and bolts or quick release clamps.
-Select the circle icon in the left menu
-Draw a circle in the rough location
-You can adjust the x & y radius from the top menu
-Now select it and duplicate it by pressing CTRL + D
-Now hold CTRL and move it to the right (holding control means it will snap to be aligned in the x or y axis of where it was before)
-Now select both top holes and duplicate them and do the same to create the bottom two holes

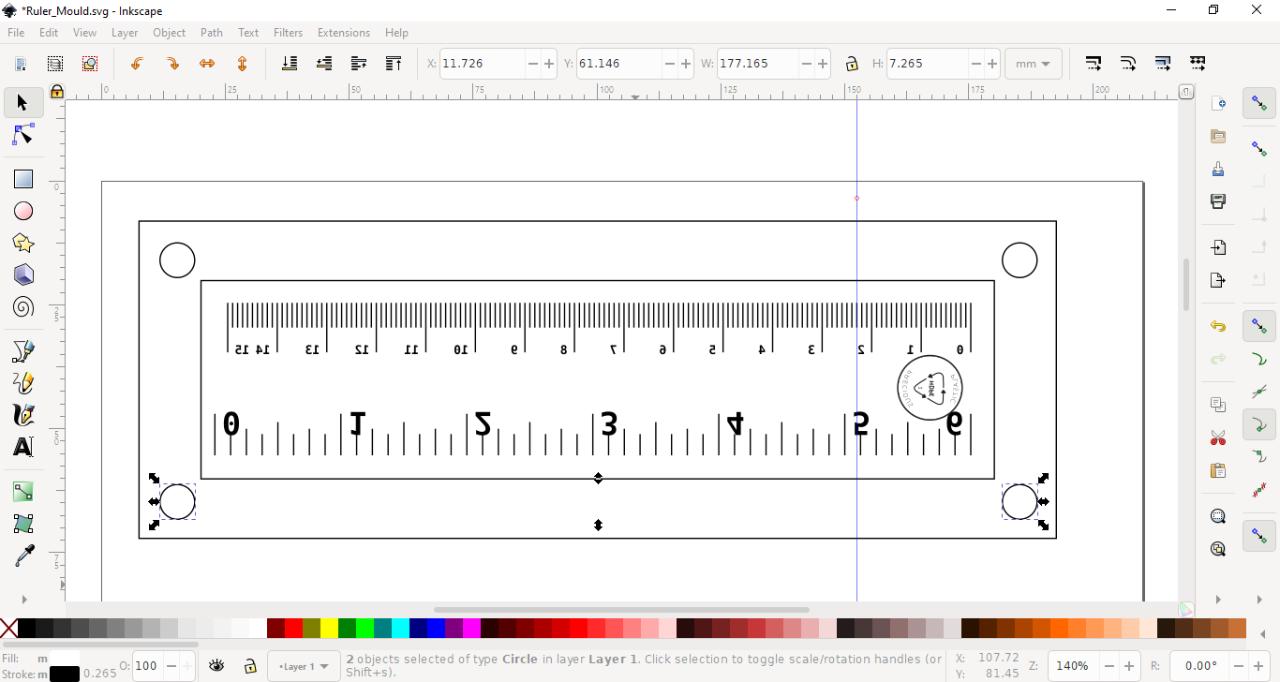
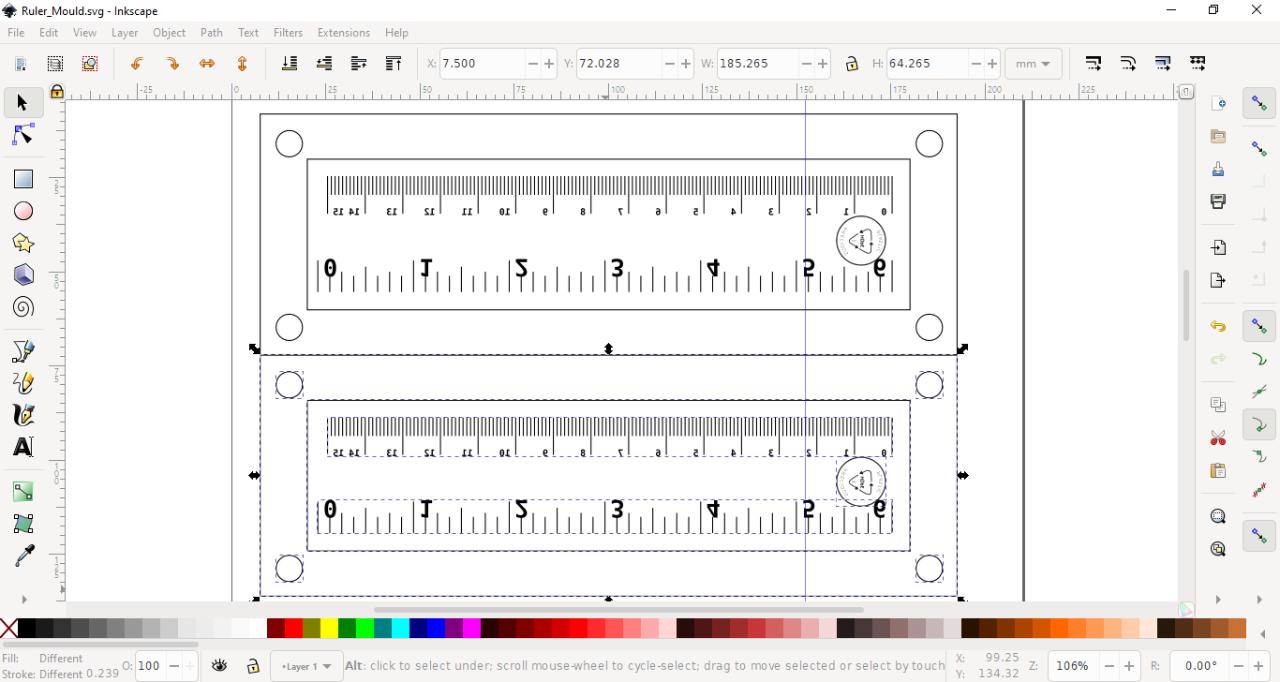
Step 10 - Make center mould
-Select all of the items using the selection tool or by pressing CTRL + A
-Now duplicate all the objects pressing CTRL + D
-Now hold CTRL and move the duplicated objects to be just below it to avoid wasted material when laser cutting
-Now you can delete the rulers and the material logo by selecting it and pressing delete
-Now duplicate all the objects pressing CTRL + D
-Now hold CTRL and move the duplicated objects to be just below it to avoid wasted material when laser cutting
-Now you can delete the rulers and the material logo by selecting it and pressing delete

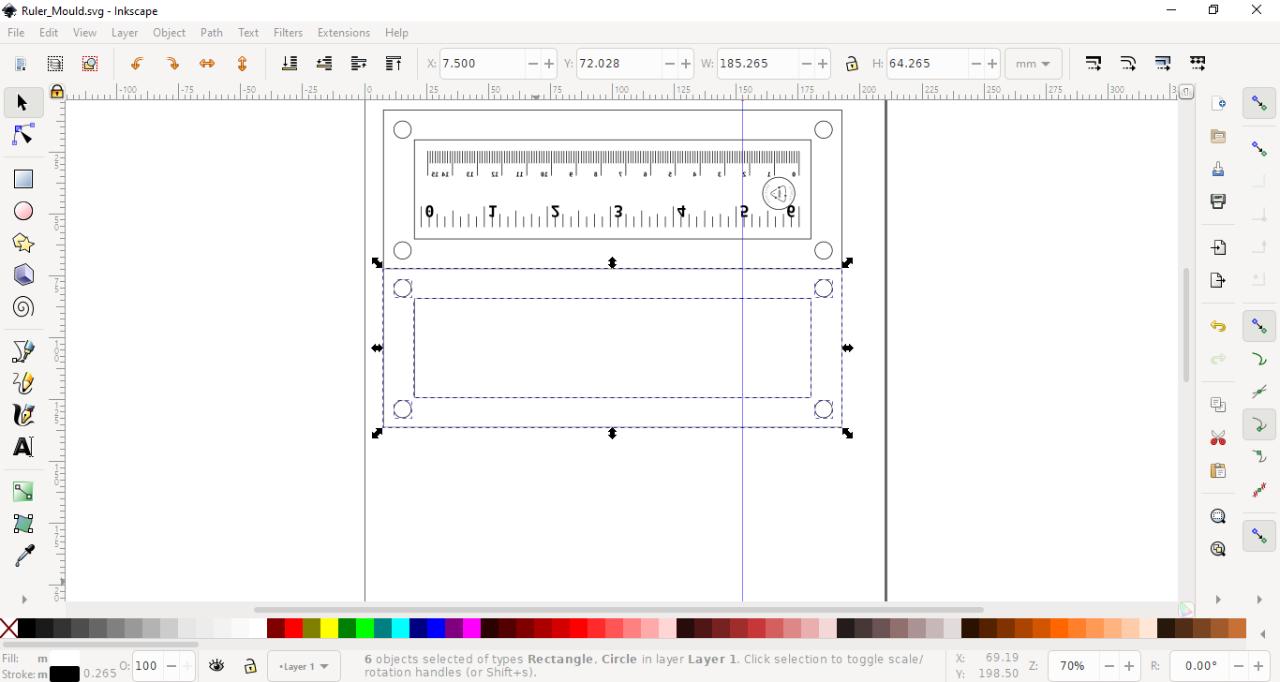
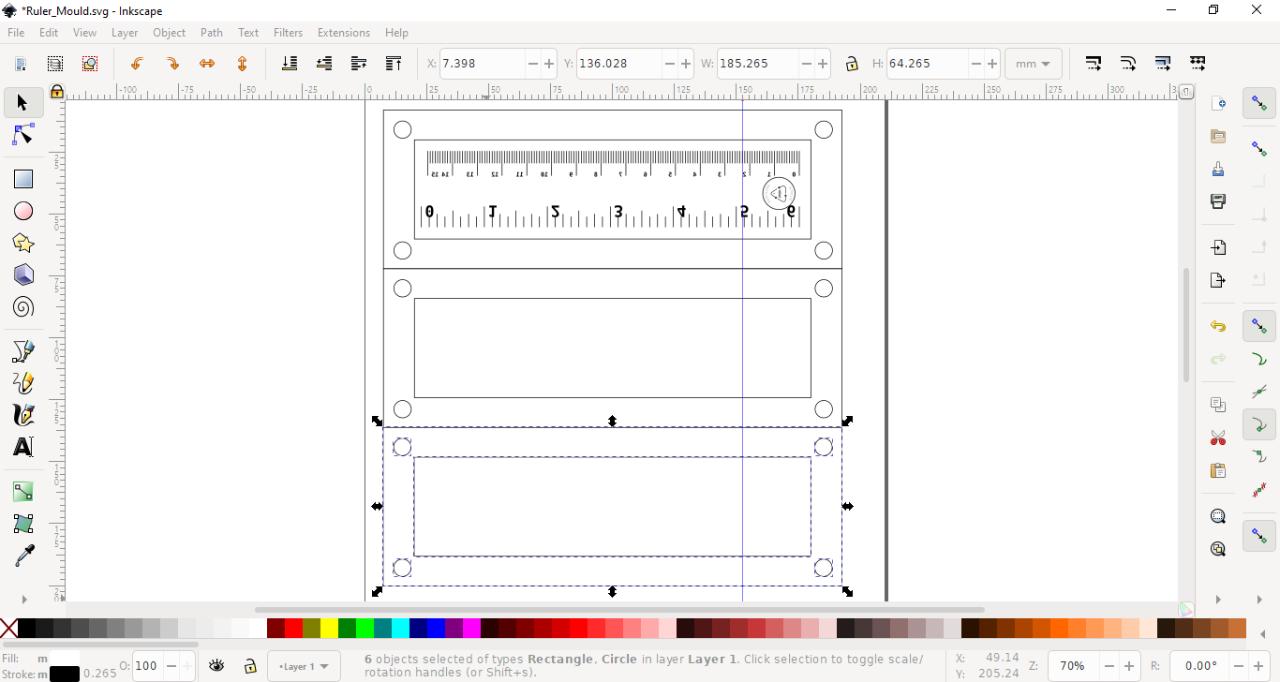
Step 11 - Make top mould
-Select all of the center mould using the selection tools and duplicate it again
-Now move it down like in the previous step so that the edges are touching
-Now you can delete the center rectangle and replace it with a circle for the nozzle of the injection machine that you have
-Now move it down like in the previous step so that the edges are touching
-Now you can delete the center rectangle and replace it with a circle for the nozzle of the injection machine that you have

Step 12 - Export, laser cut & inject
-You can now save it down as an .svg by clicking File > Save as
-Save it somewhere you will find it later
-You can now import it into the CAM (computer Aided Manufacturing) software for your laser to etch the rulers, inner rectangle & id code of the bottom plate and cut out all the other lines
-Now you will need to tap the threads and you can now injection mould it using the injection machine
-See the video by Kunststoffschmiede on the Dave Hakkens Community Channel for details on how to do this with Plexiglas
Step 13 - Spread the Love
-Open source is not Open source if you don't share the source & files
-You can put it on GitHub or other places like GitLab as well
-Feel free to share your work with us on our social media
At Darigov Research we specialise in open source hardware, software and education to help people tackle global issues in their local community.
If you wish to support us in the work that we do consider donating or joining us on Patreon
Donate - https://www.darigovresearch.com/donate
Patreon - https://www.patreon.com/darigovresearch
Website - https://www.darigovresearch.com/
Youtube Channel – https://www.youtube.com/channel/UCb34hWA6u2Lif92aljhV4HA
Twitter, GitHub, Instagram - @darigovresearch
Step 14 - Get started
We've been building Precious Plastic machines since V2 of the machines so we're very passionate about the great work that has been done so far and where this community will grow to!
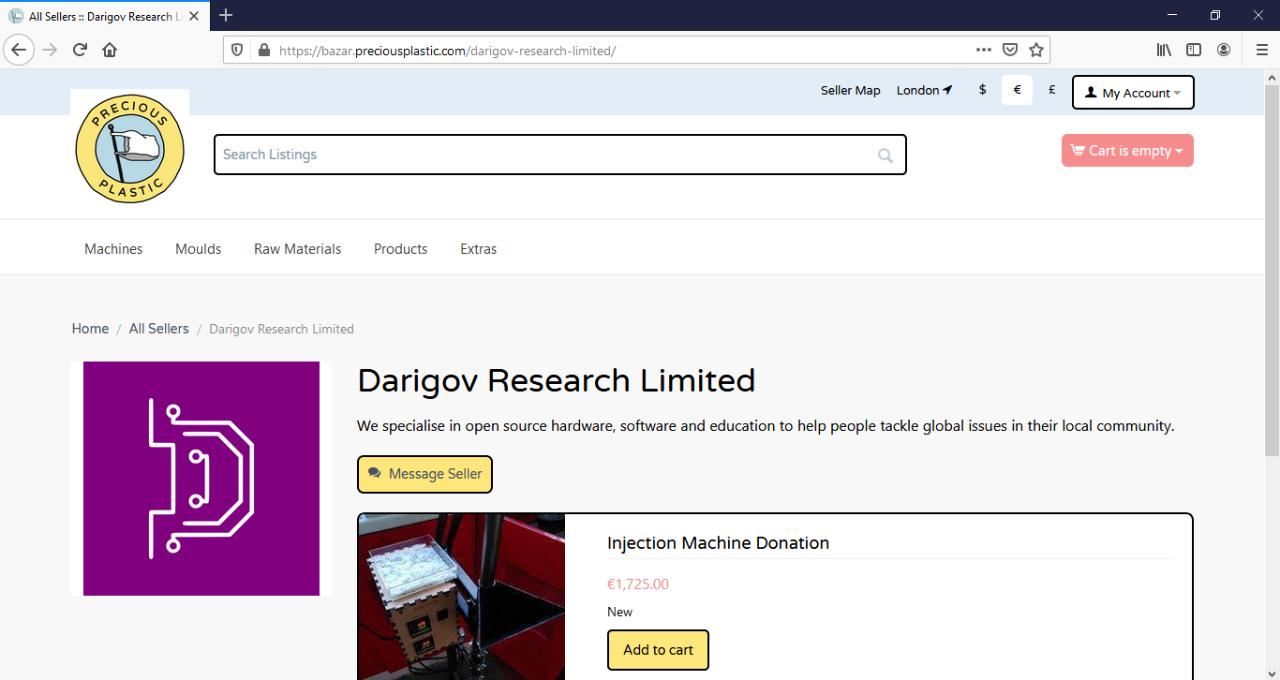
If you're interested in purchasing a machine or interested in inquiring about our services for any research and development purposes do take a look at the products we are selling on the Bazar or message us directly!
https://bazar.preciousplastic.com/darigov-research-limited/
If you're interested in purchasing a machine or interested in inquiring about our services for any research and development purposes do take a look at the products we are selling on the Bazar or message us directly!
https://bazar.preciousplastic.com/darigov-research-limited/
—
—
—
Comments