Make a Silicone Mould for Soft Plastics
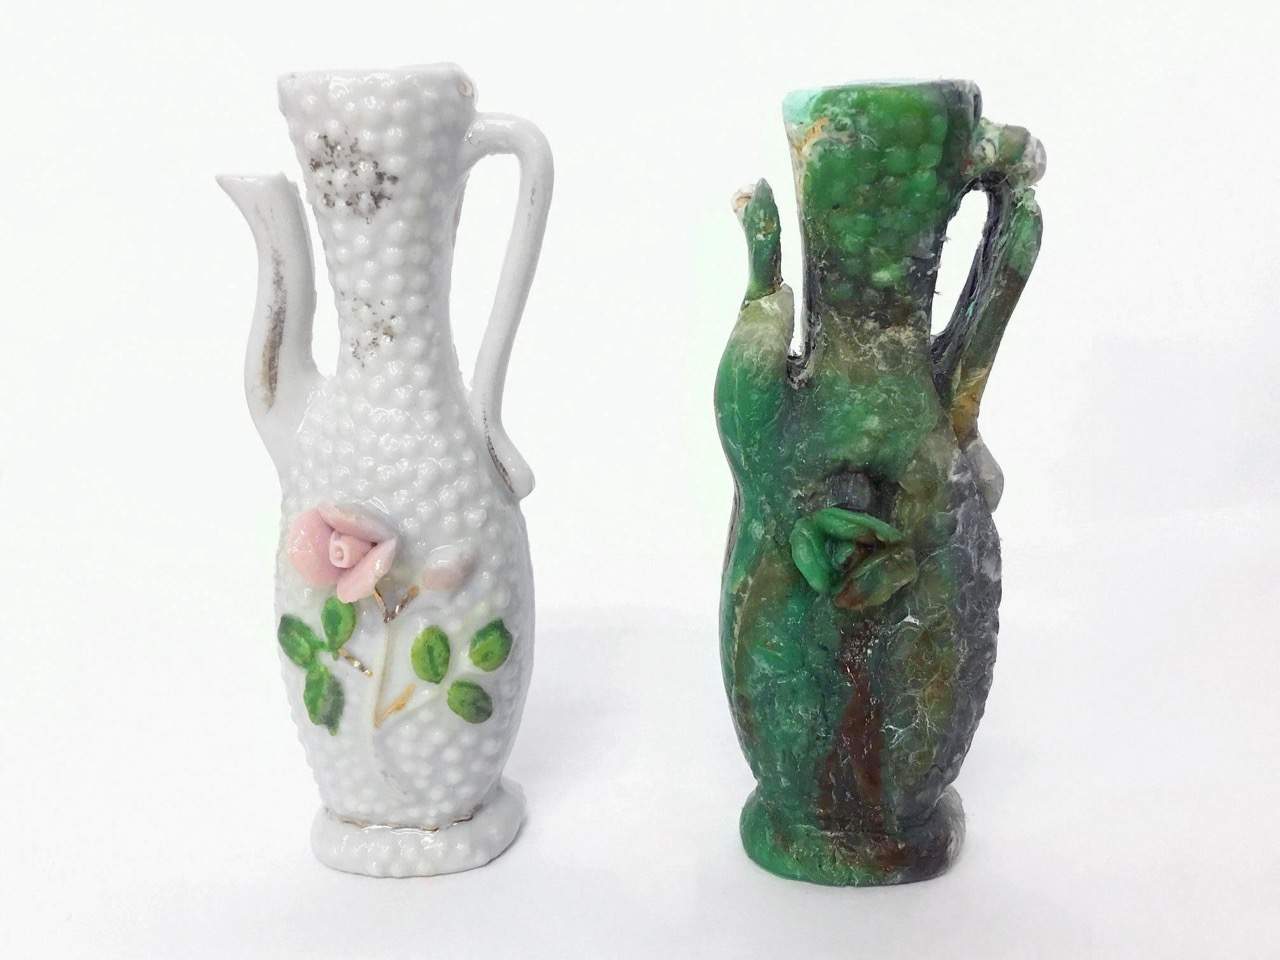
This tutorial will show you how to cast an object in silicone to use with soft plastics. Casting with silicone will allow you to remake intricate, delicate or unusual objects in plastic.
You can get as experimental as you wish casting simples items such as a vase or something as extreme as a tree! Don’t worry you will be able to use this mould over and over again.
—
Attachments
Resources
Step 1 - Gathering the Tools
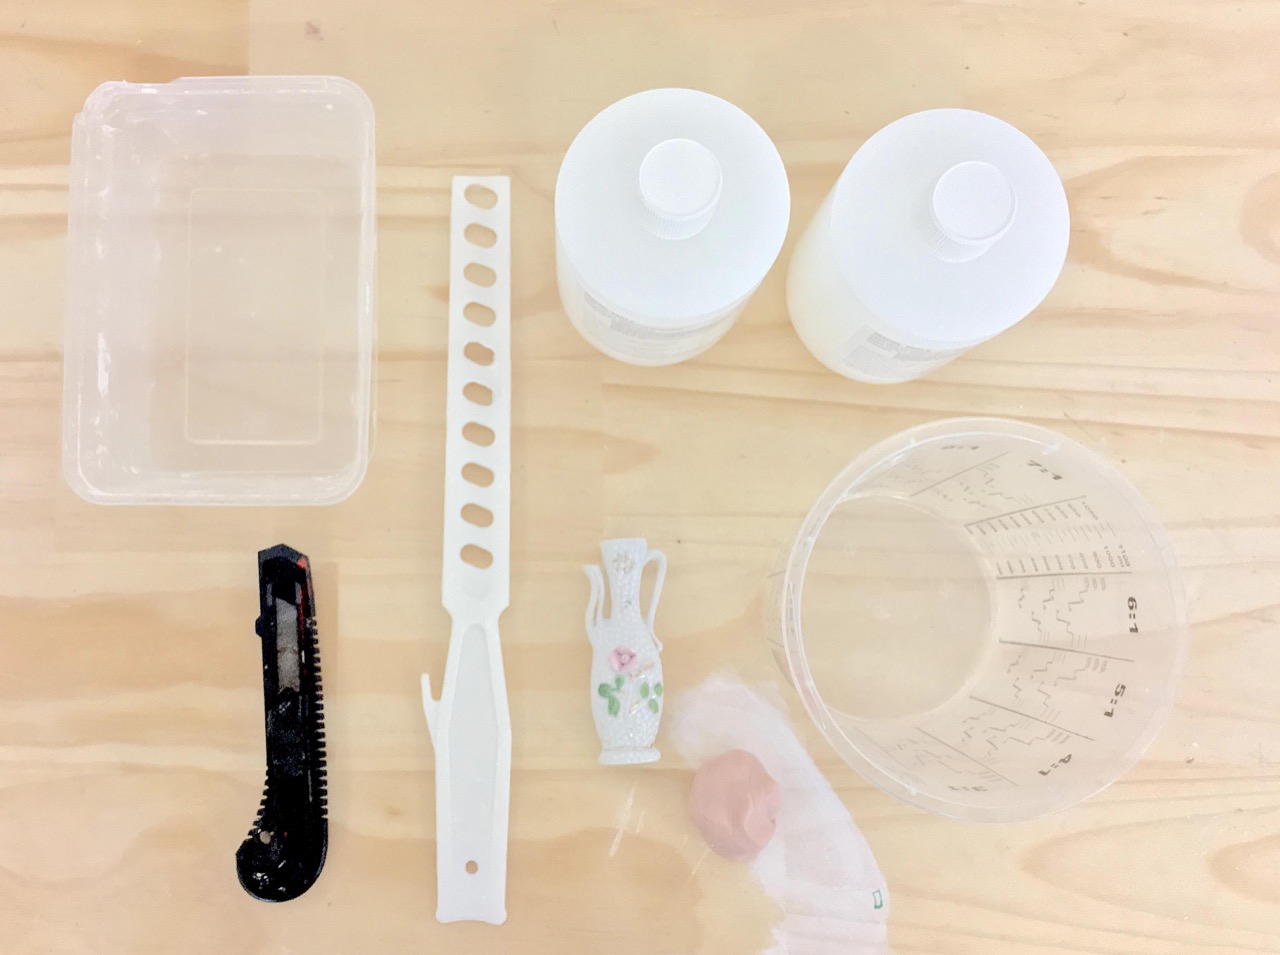
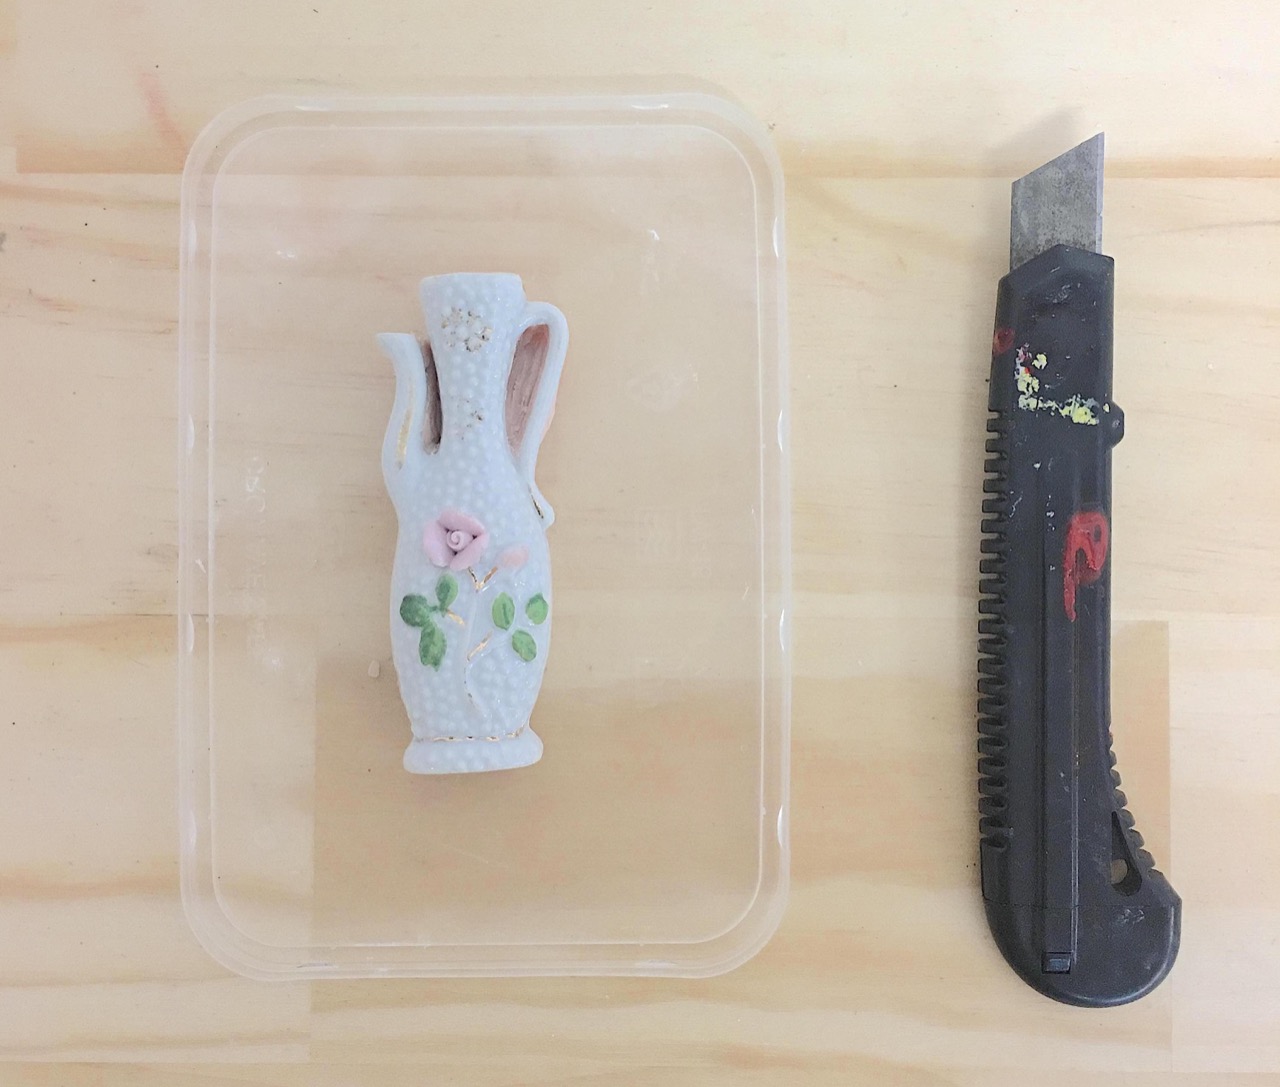
Before we begin make sure you have the right tools.
You will need:
Casting silicone (equal part 1:1)
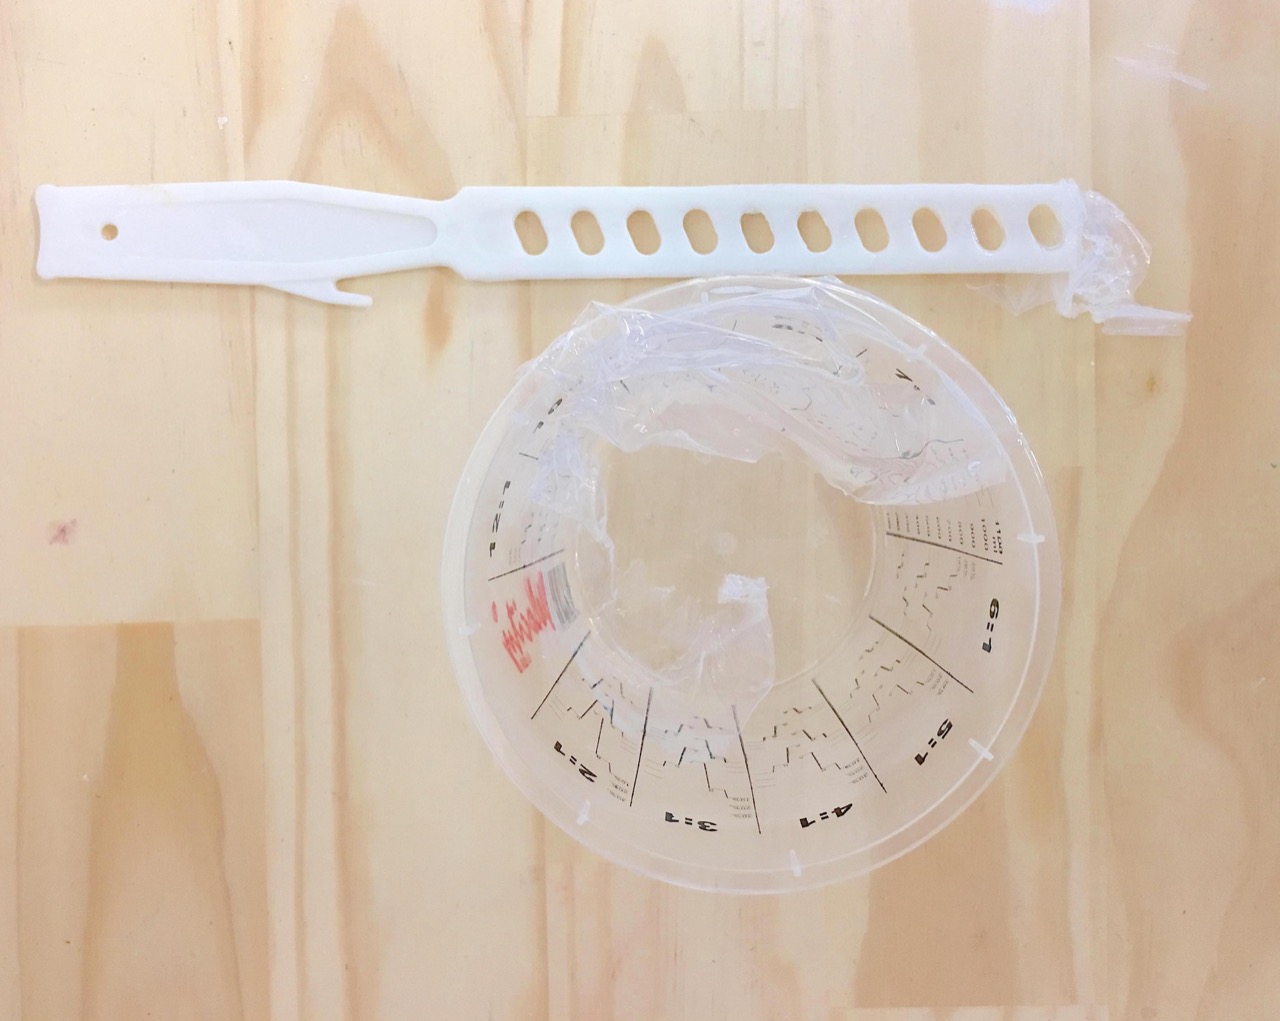
Measuring jug
Plastic stirrer
Take-away container (recycled of course!)
Clay
Knife
Your chosen object
For this tutorial I have used 500ml of silicone for an object which measures (h)10x(w)2.5x(l)3cm.
Make sure you have a clean work space and all your tools are ready. Silicone sets fast and can be costly to waste
You will need:
Casting silicone (equal part 1:1)
Measuring jug
Plastic stirrer
Take-away container (recycled of course!)
Clay
Knife
Your chosen object
For this tutorial I have used 500ml of silicone for an object which measures (h)10x(w)2.5x(l)3cm.
Make sure you have a clean work space and all your tools are ready. Silicone sets fast and can be costly to waste
Step 2 - Preparing Your Object
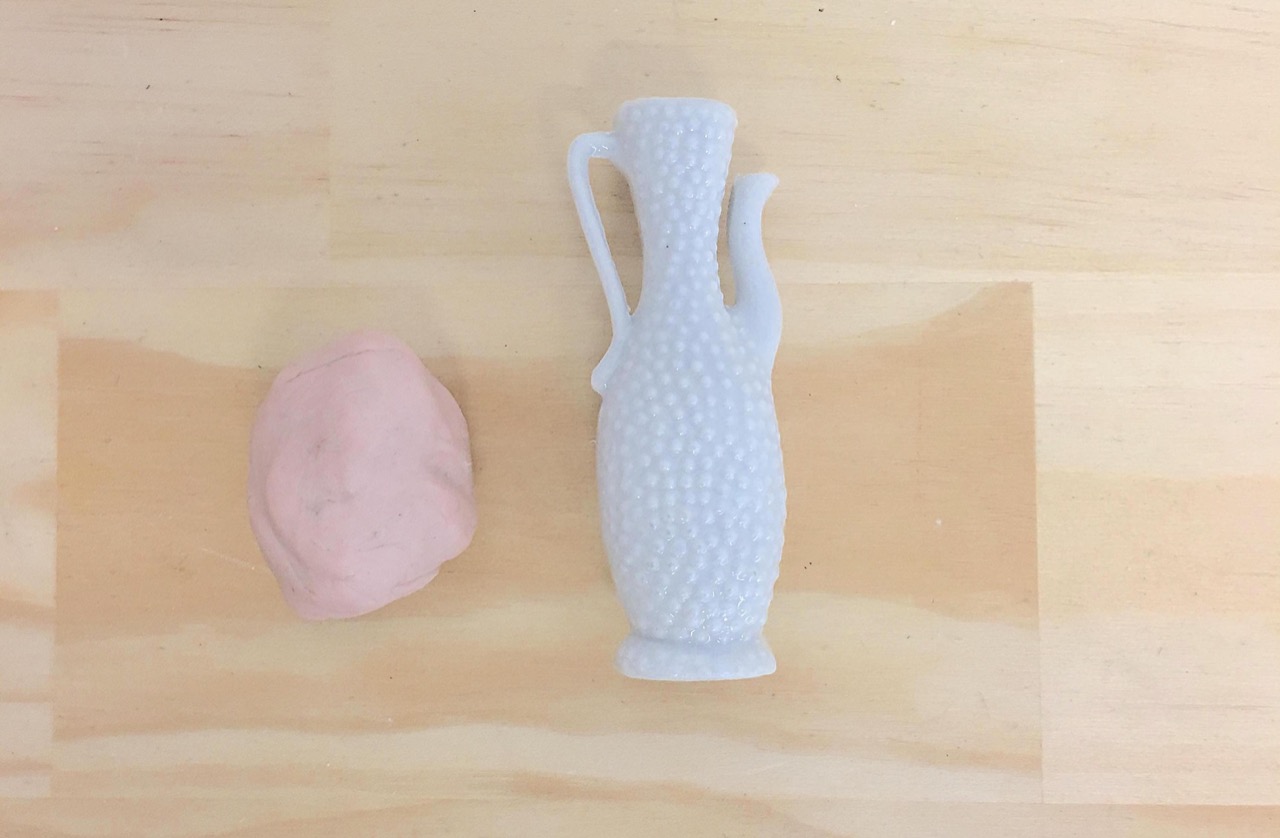
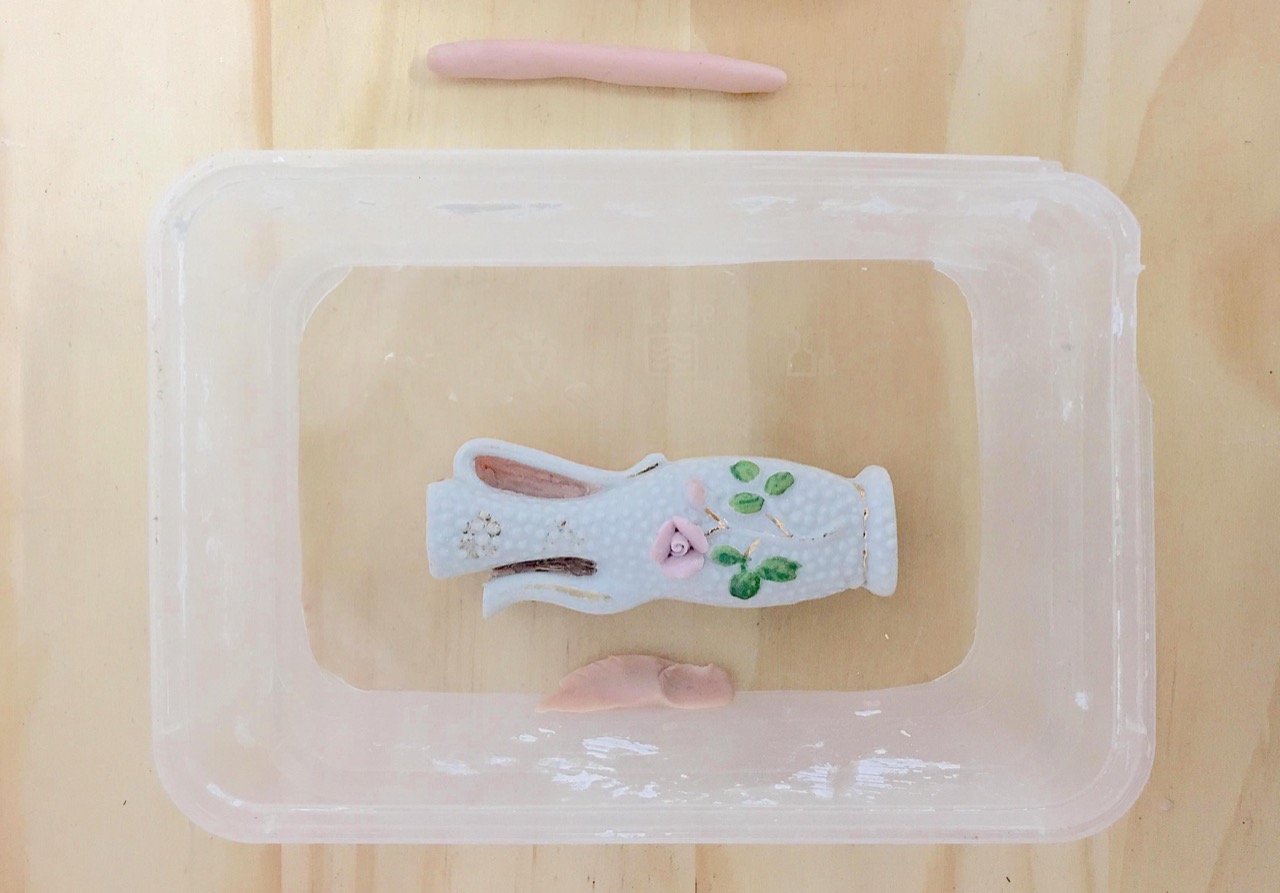
First clean your object of dirt or dust.
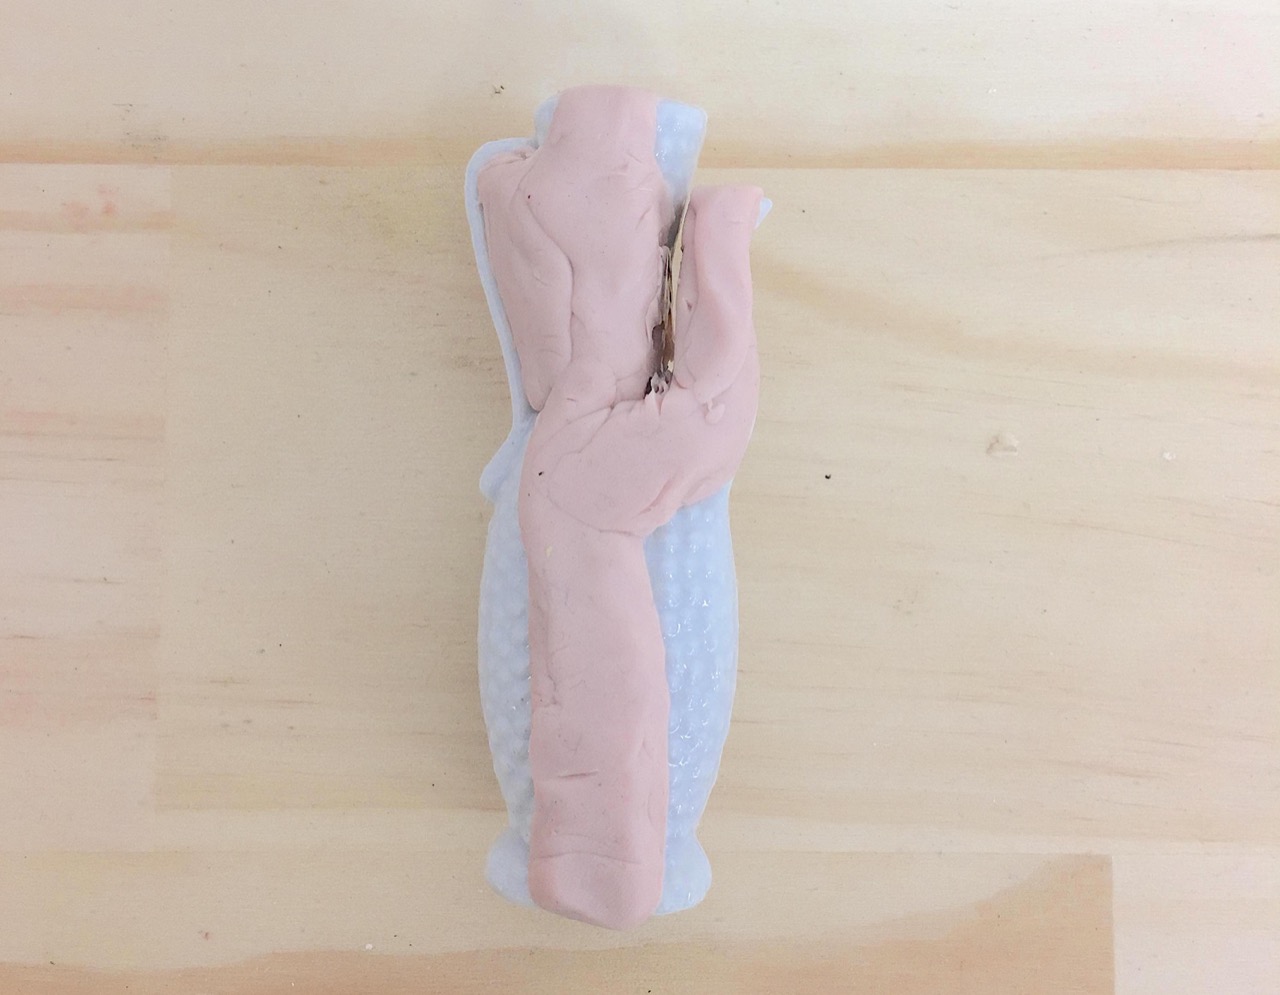
Using clay place a small strip to the back of your object making sure the object sits flat when placed down—this will become the entry for your plastic once the mould is complete.
Be sure to cover any wholes and neaten the edges with a knife cutting away any excess.
Place the object facing upwards onto the take-away container lid.
Now you are ready to build the walls of your mould box.
Step 3 - Making the Mould Box
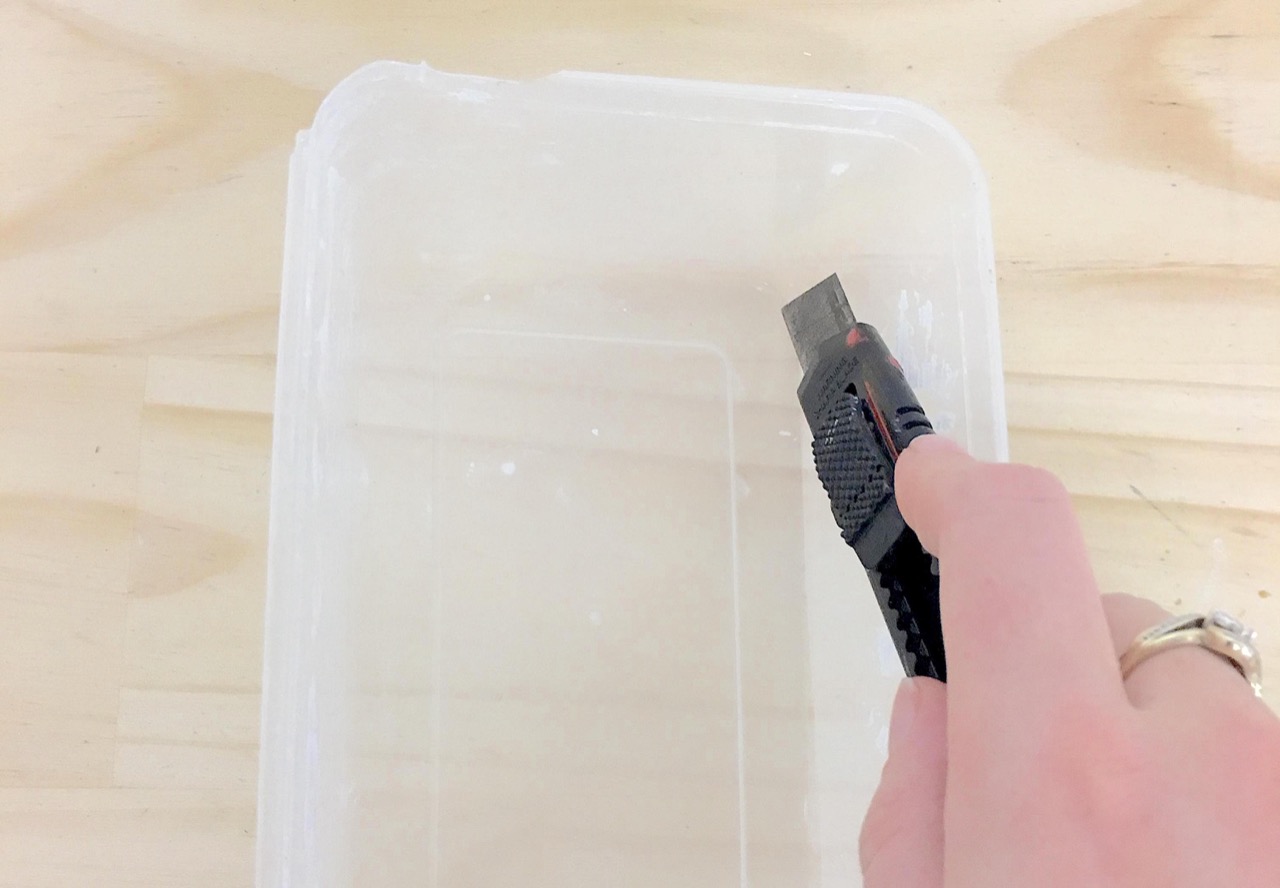
As take-away containers usually have uneven bases cut out the bottom of the container using a knife. You should be left with the container edges, the bottom and the lid. The container edges will be used as the walls of the box, the bottom will be used as an additional wall and the lid will become the bottom of your box.
Place the walls of the container over the lid and object. Leave a 2-3cm gap between the object and the walls. If the walls are too far from the object use the additional wall (the cut out bottom) as an insert to get closer to the object.
The closer you are to your object the less silicone you waste!

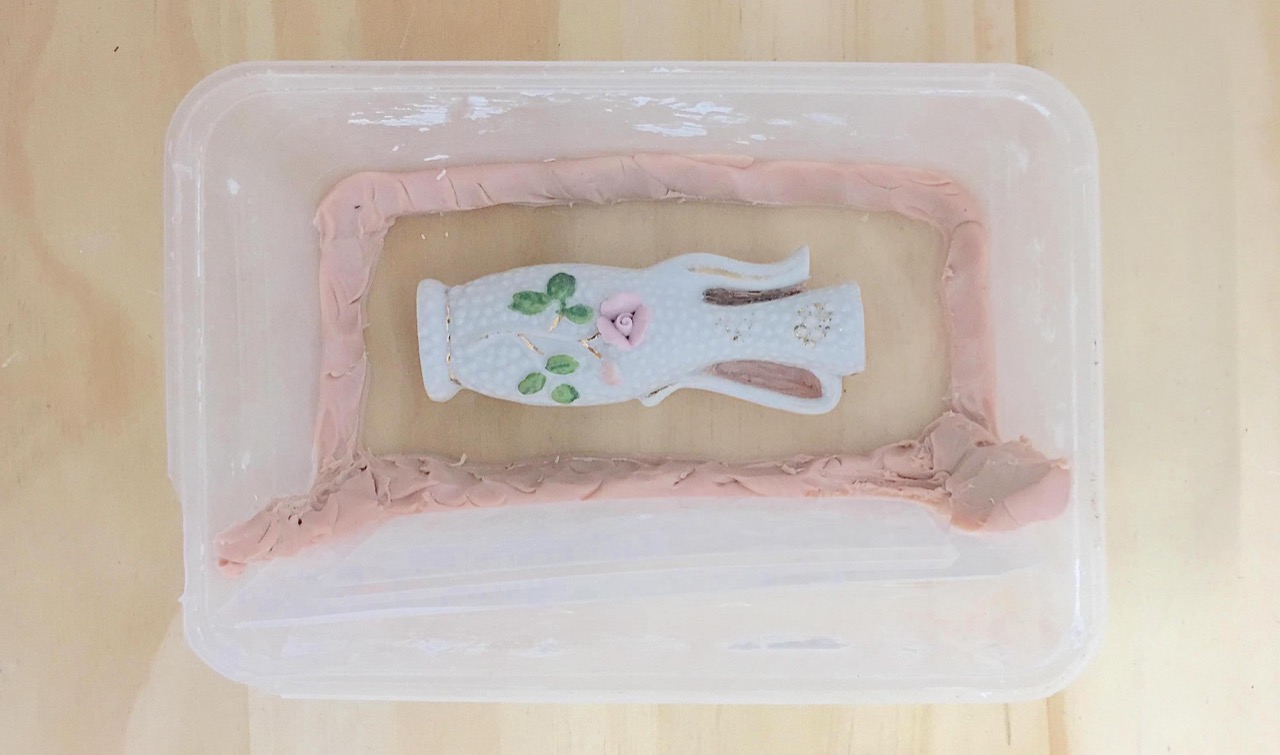
Step 4 - Sealing the Mould Box
Once you have the right area around the object we need to seal the base of the walls with clay so the silicone does not escape.
Roll the clay into a ball and then into thin noodles. Press the noodles along the edges off your walls inside and out. The mould box should now be silicone tight!
Roll the clay into a ball and then into thin noodles. Press the noodles along the edges off your walls inside and out. The mould box should now be silicone tight!

Step 5 - Preparing and Mixing the Silicone
The hardest part is over! Now it's time to prepare the silicone for pouring.
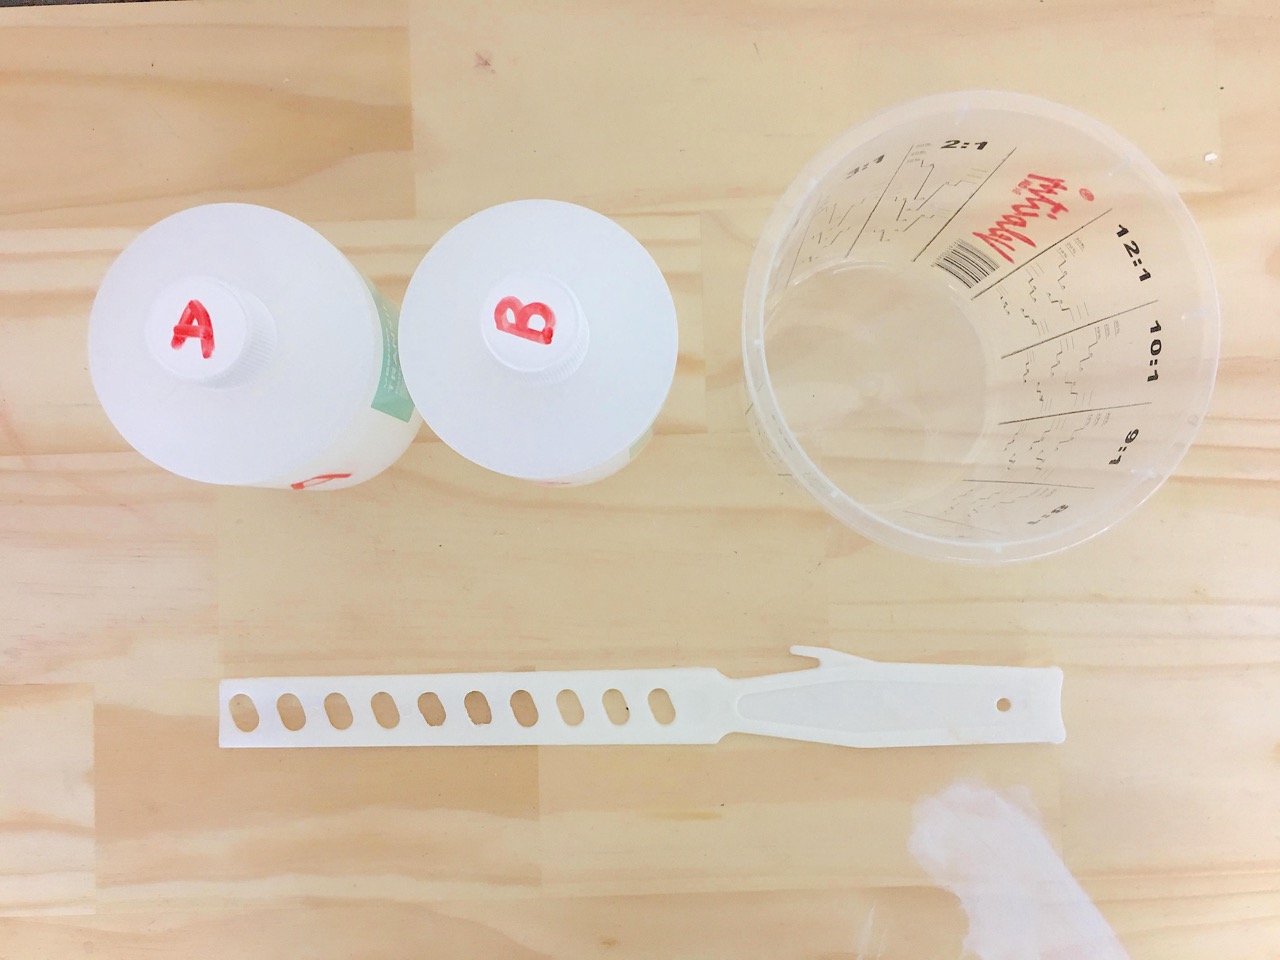
Preparation:
Line up the measuring jug, the silicone bottles (A) and (B), the stirrer and the mould box. Remember you must work fast before the silicone sets so you must have everything ready to go.
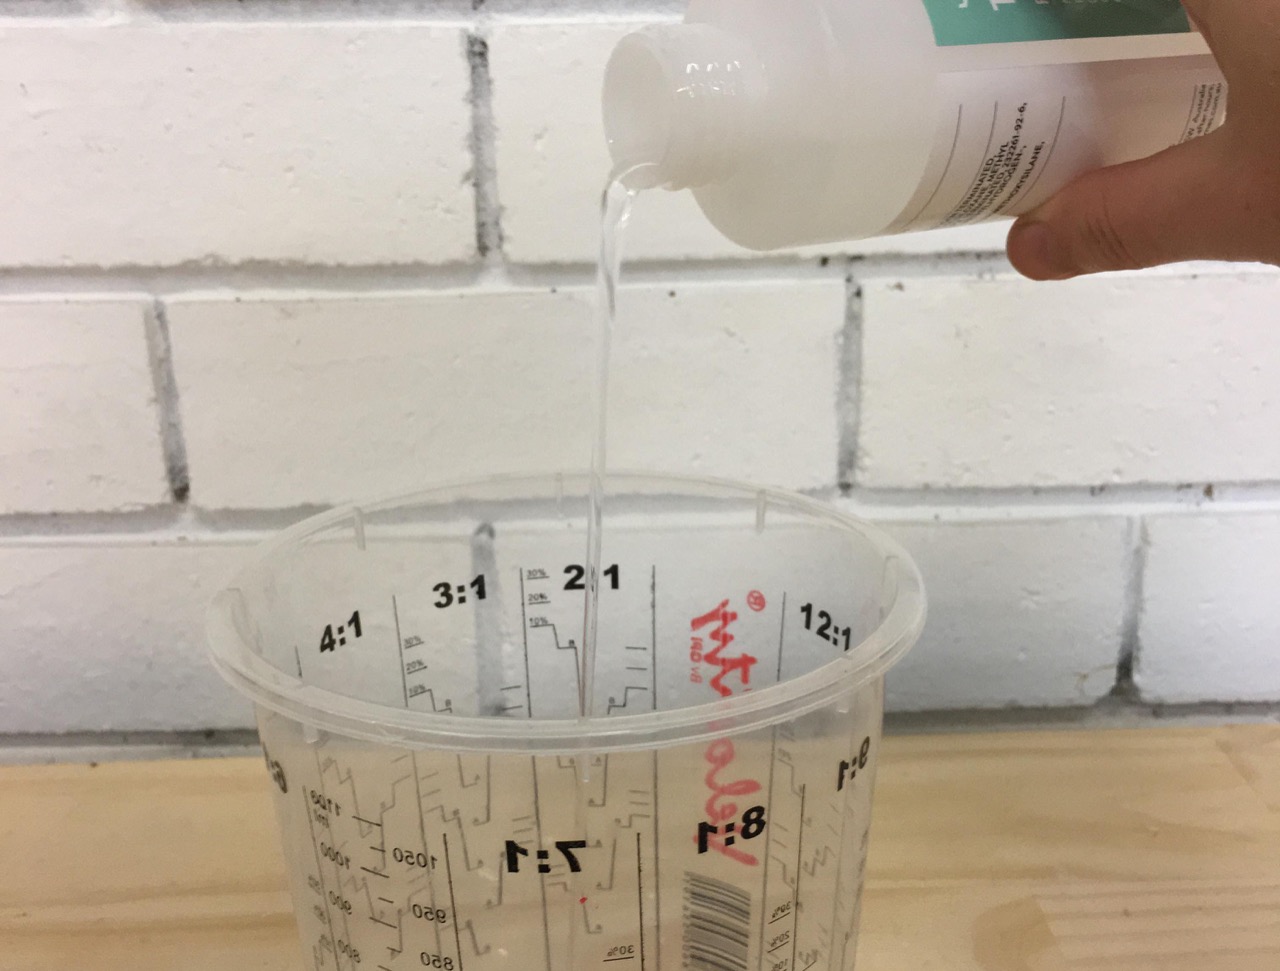
Mixing:
Add 250ml of part A into the measuring jug, then add 250ml of B. This should equal 500ml of silicone in the jug.
Now quickly mix the silicone with your stirrer. Be sure that the mixture is thoroughly mixed otherwise your silicone will not set properly.
Preparation:
Line up the measuring jug, the silicone bottles (A) and (B), the stirrer and the mould box. Remember you must work fast before the silicone sets so you must have everything ready to go.
Mixing:
Add 250ml of part A into the measuring jug, then add 250ml of B. This should equal 500ml of silicone in the jug.
Now quickly mix the silicone with your stirrer. Be sure that the mixture is thoroughly mixed otherwise your silicone will not set properly.
Step 6 - Pouring the Silicone & Clean Up
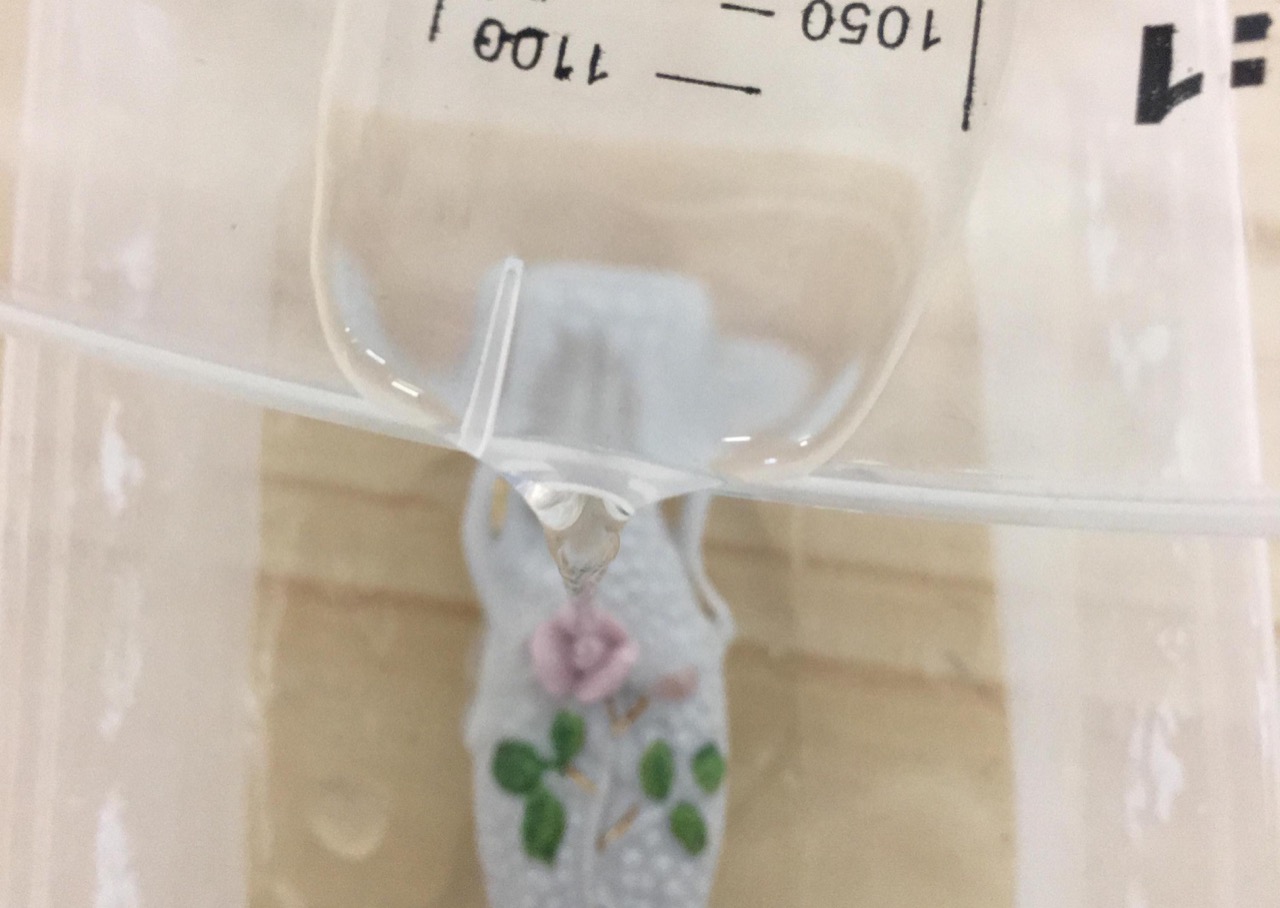
Pouring:
Concentrate on the highest point and the centre of the object—pour directly onto the most detailed section first, then moving around the object making sure the silicone reaches every part of the surface and the object is evenly coated.
Leave the silicone to set (approx 30 mins)
Cleanup:
Leave the excess silicone on your jug and stirrer. Let it to dry fro 30 mins. Once dry the silicone can be pealed off leaving the jug and stirrer perfectly clean.
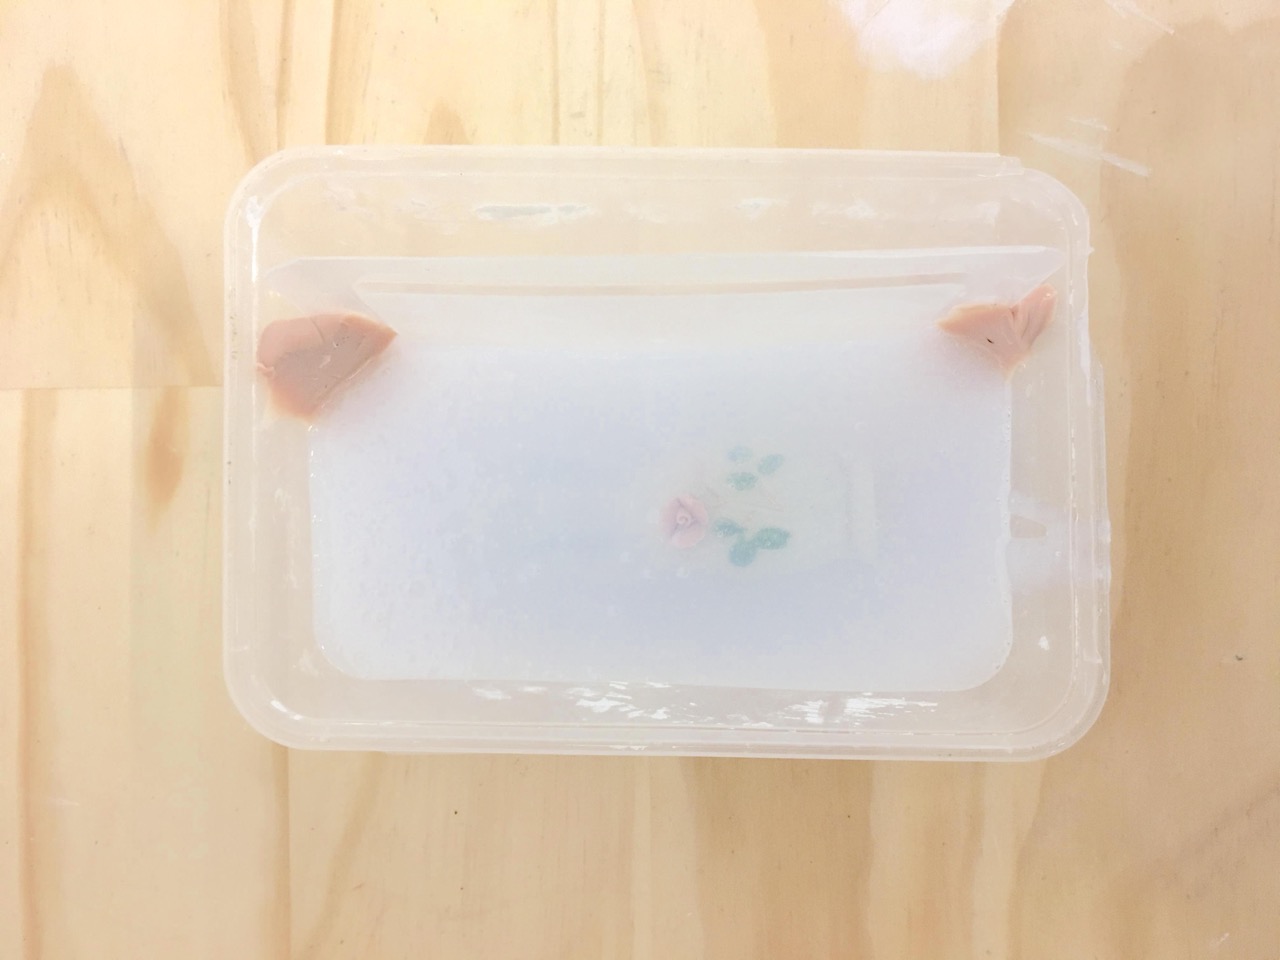
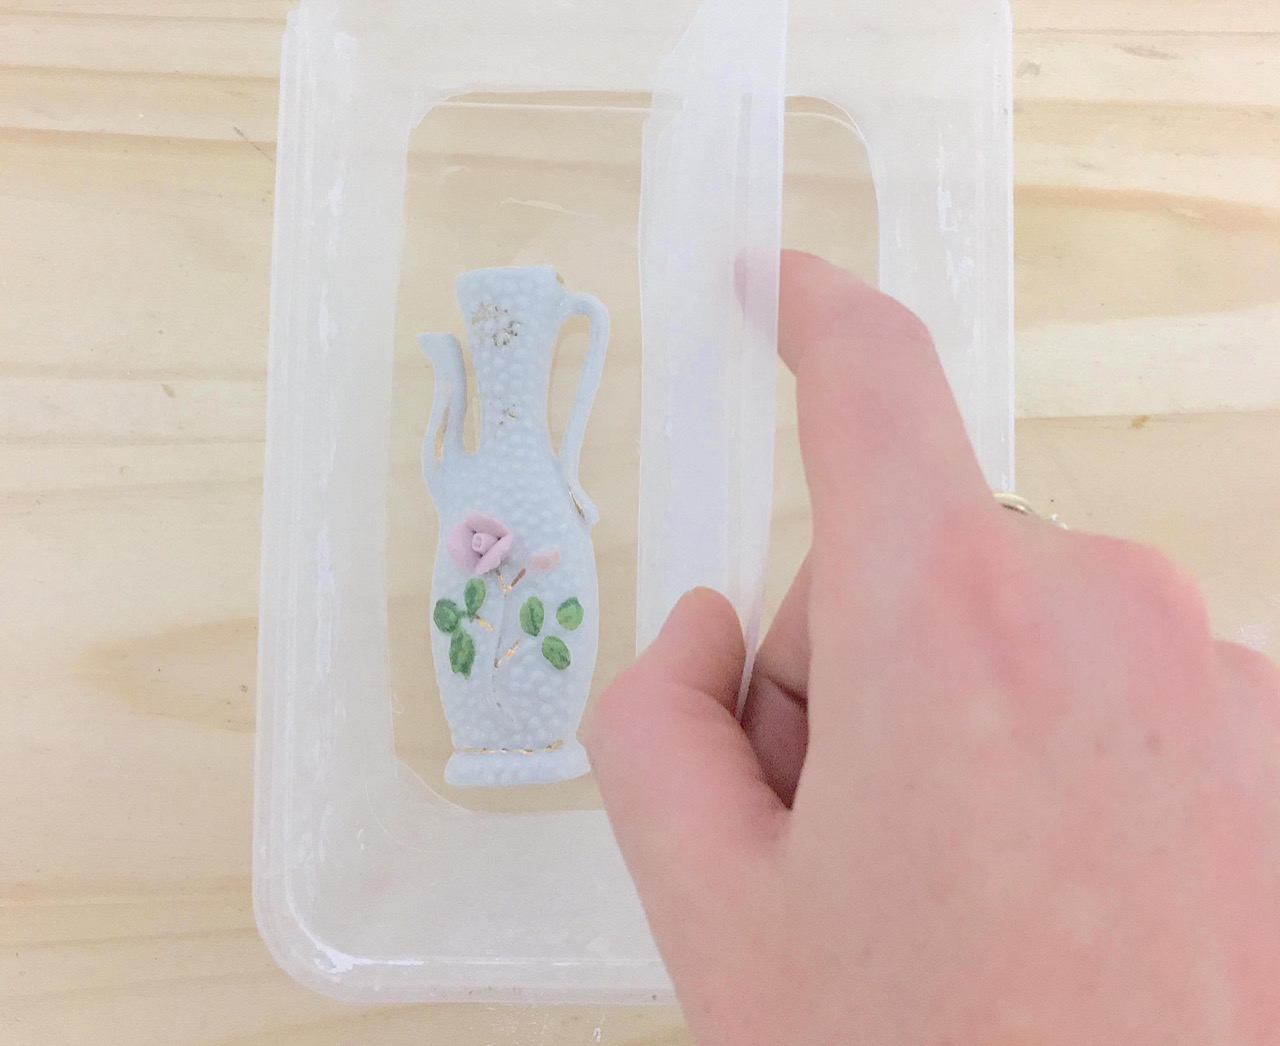
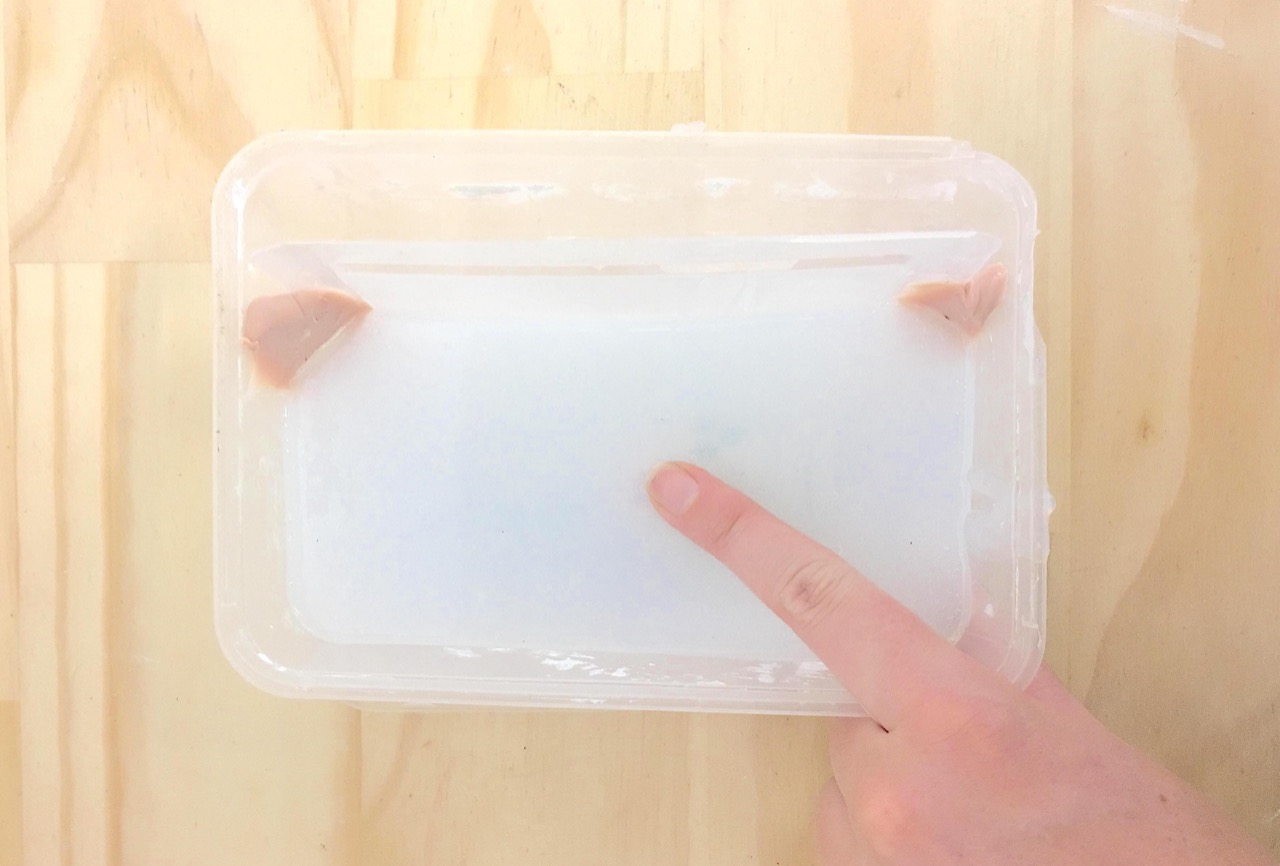
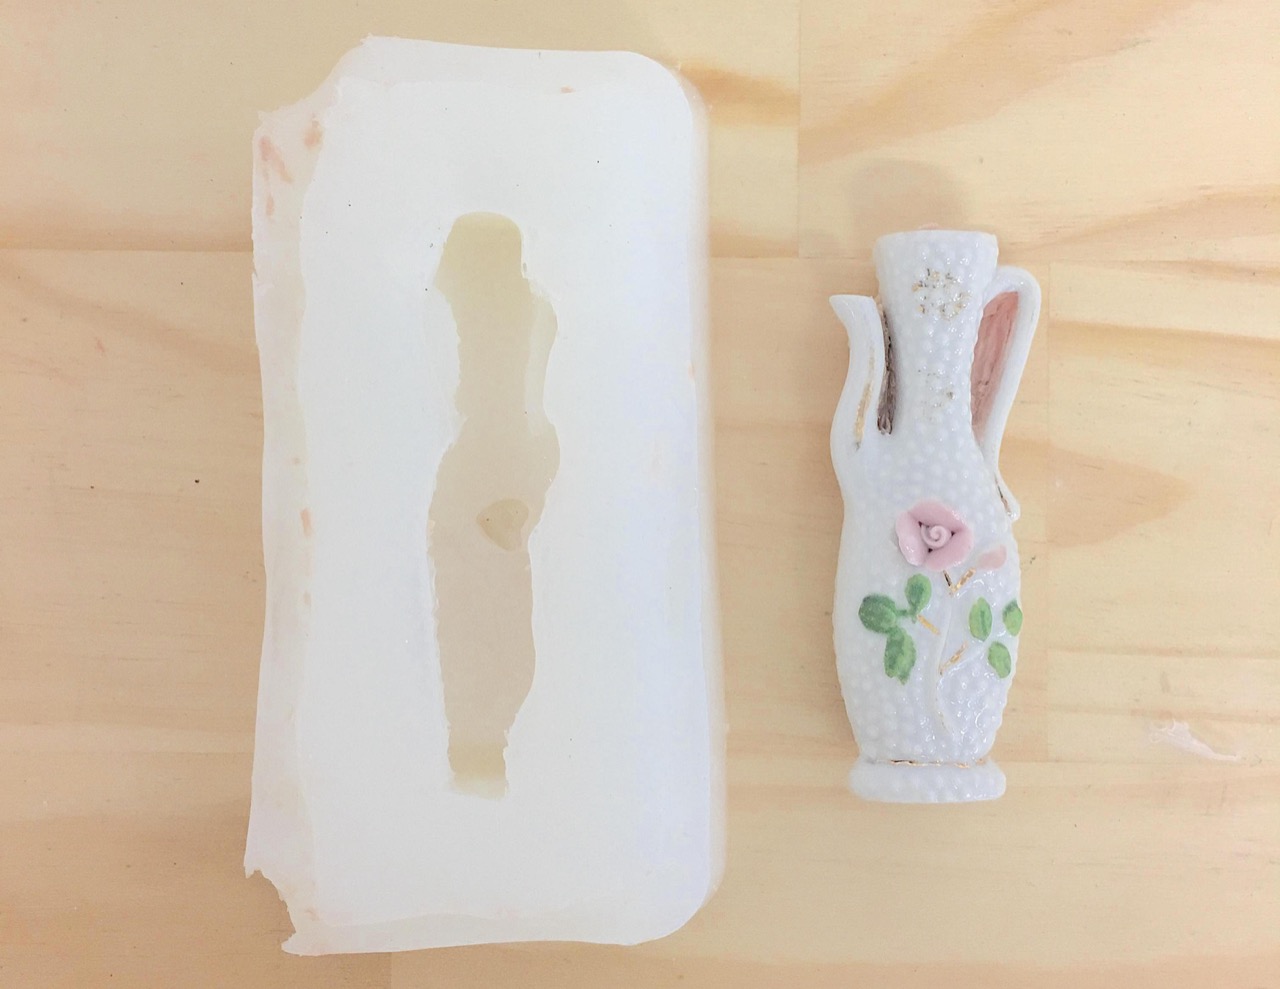
Step 7 - Releasing the Mould
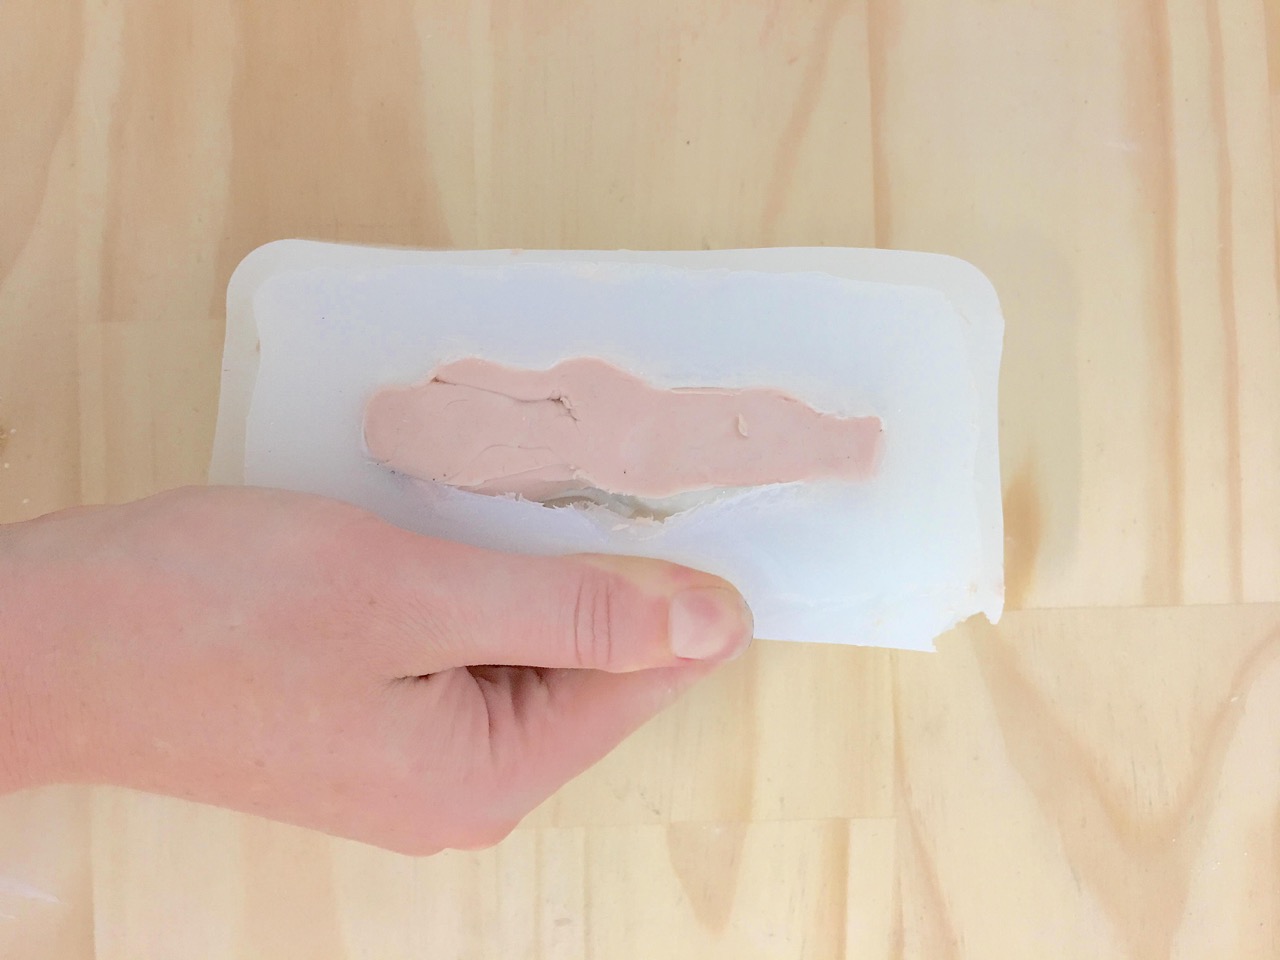
After 30mins or after the silicone stops being sticky you may release your mould. To do this you must remove the clay from the edges of your container and silicone mould. Once the clay is removed from the container and the silicone, stretch the sides of the mould to remove the object.
Keep the clay and the plastic container as you may use them again.
Once the Object is removed you are ready to use the mould!
Keep the clay and the plastic container as you may use them again.
Once the Object is removed you are ready to use the mould!
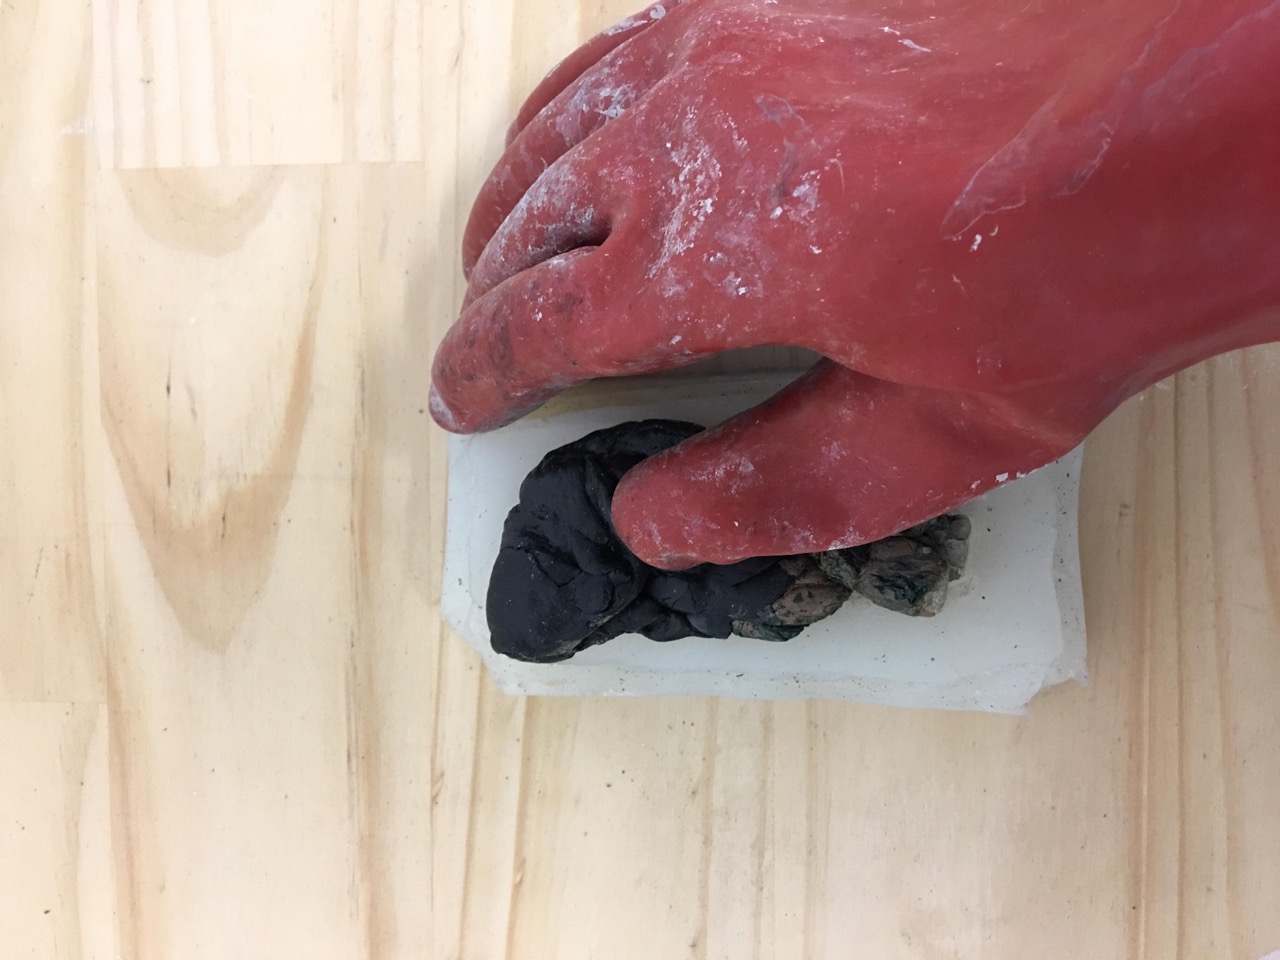
Step 8 - Using the Mould
Once the mould is released you are ready to begin using it.
Please note; this mould is suitable for soft plastics. This mould is best when plastic is hand-pressed into the mould. Be sure that you are using heat and chemical resistant gloves when handling the plastic.
For this mould I have reused plastic from another project to melt and press into my mould.
You may need to sand or cut off some messy edges to complete the look you want.
Silicone will capture any surface as will your plastic when being moulded so go big or go home!
Note: I have only used soft plastics (LDPE & HDPE) with this technique but please feel free to experiment.


—
—
—
Comments