Recycle plastic waste into 3d printing filament
In this how to we show you how you can recycle plastic waste into 3d printing filament. There are some things to watch out for and different machines needed to make for the best results.
You can check out our How-To video here:
<a href="https://youtu.be/IcmKFDxsUgA">https://youtu.be/IcmKFDxsUgA</a>
Feel free to visit our website :)
<a href="https://www.qitech.de/en/industries">https://www.qitech.de/en/industries</a>
—
Attachments
Resources
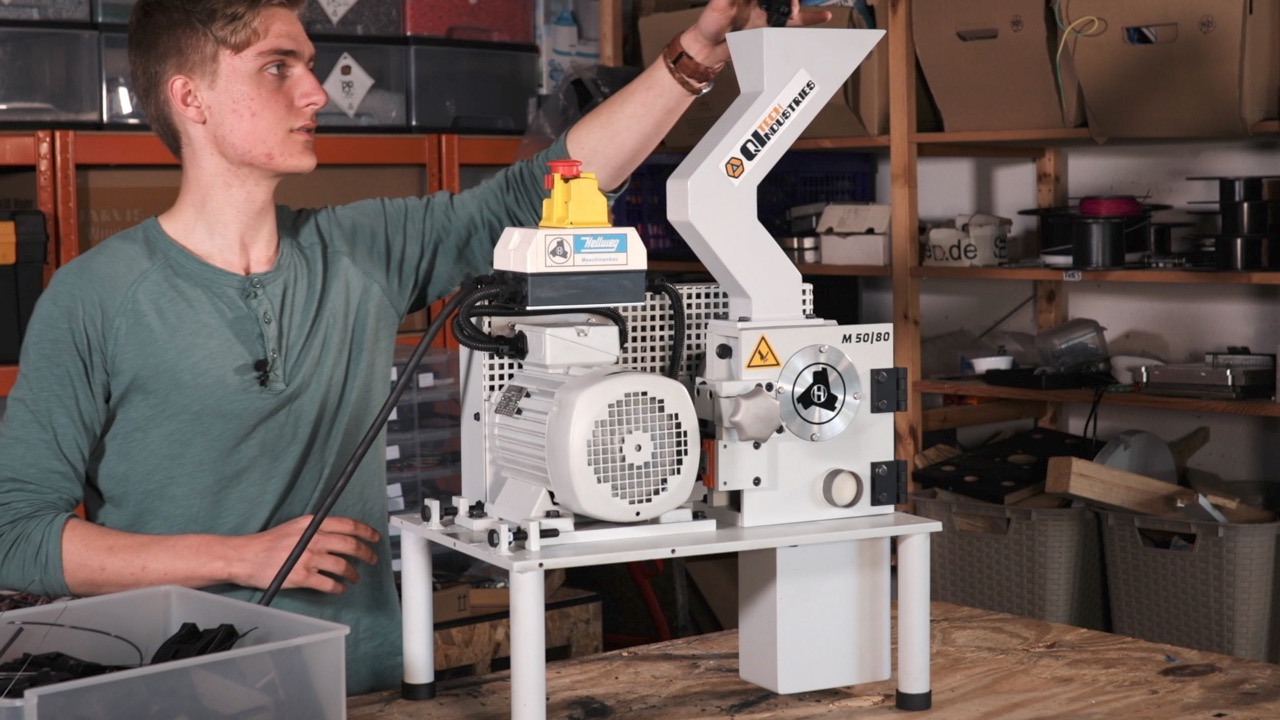
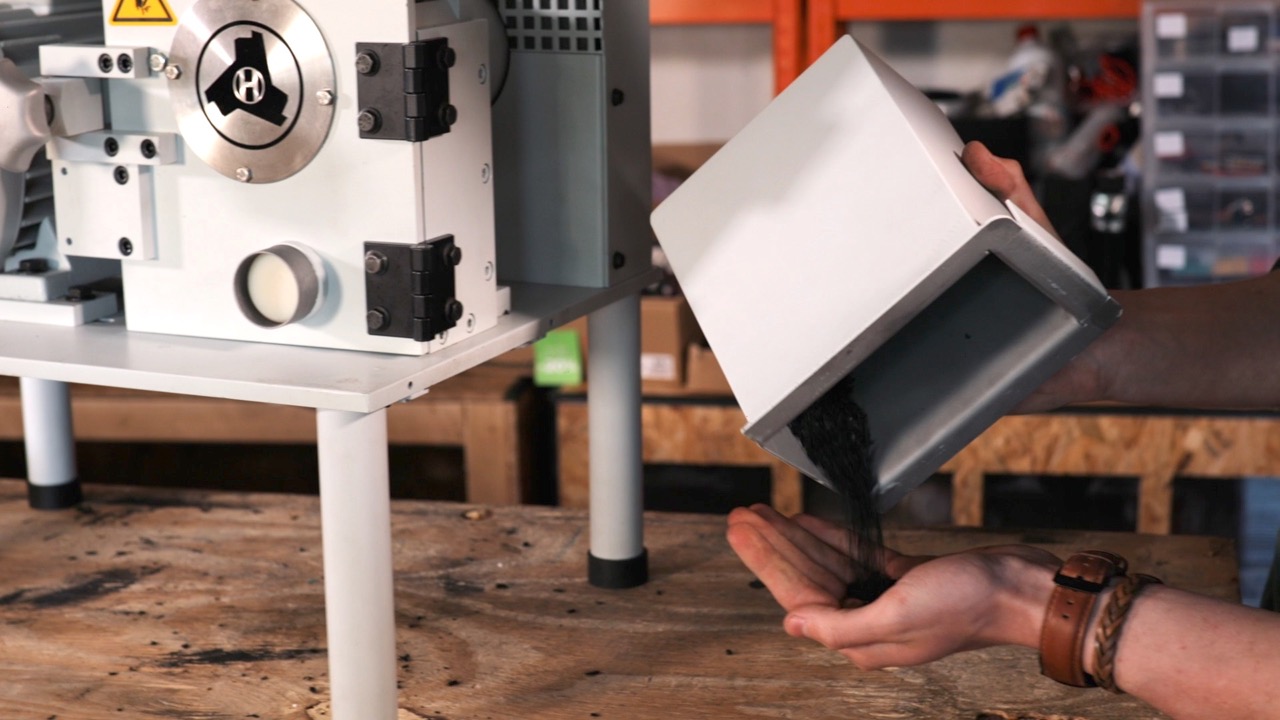
Step 1 - Shredding
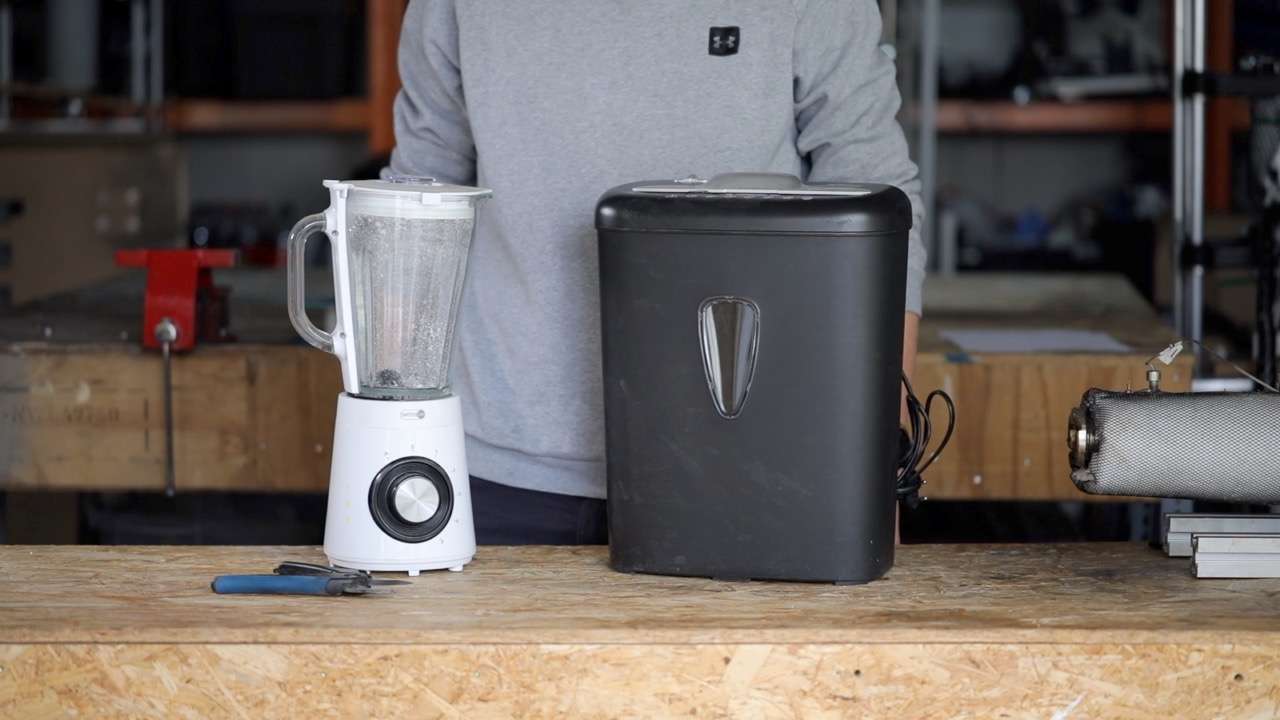
First, you will have to shred the material. We use our JARVIS Shredder, but if you don't have access to a shredder you can also look for workshops nearby on the Precious Plastic map or try some budget methods, e.g. a hand cranked shredder, a document shredder or the scissors-blender-combo. The more uniform the granulate is, the better the final result will be.
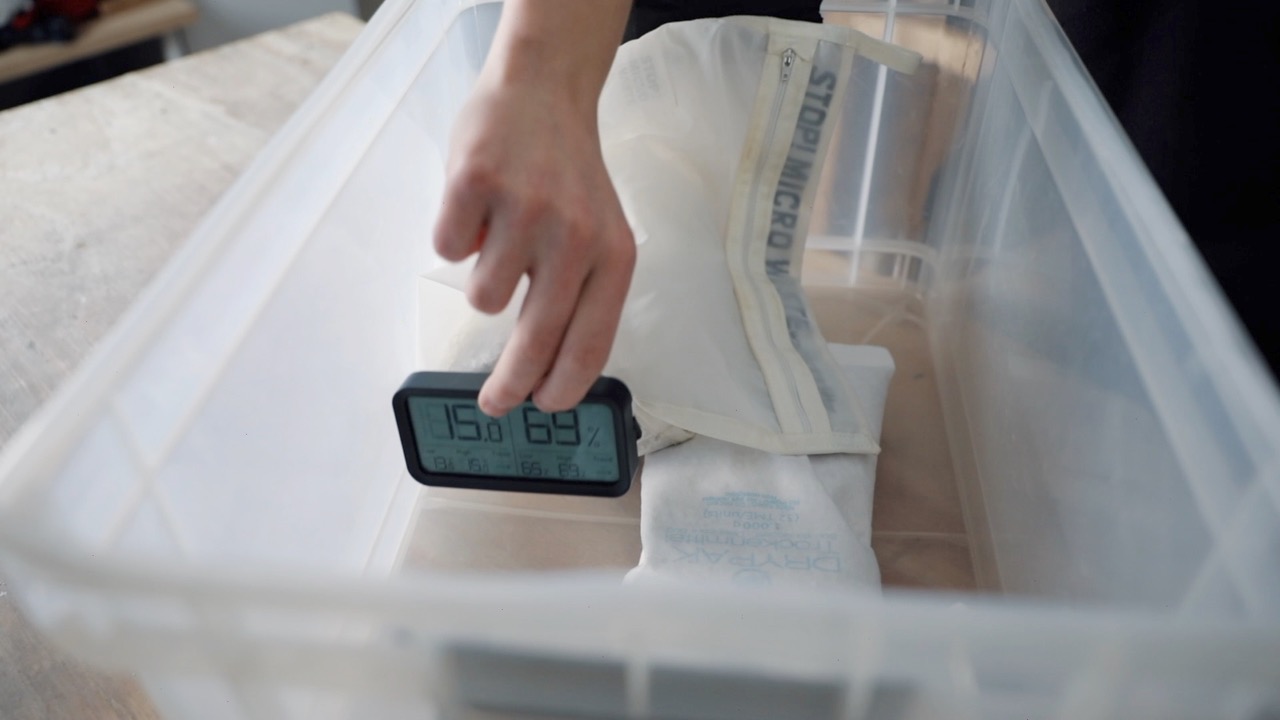
Step 2 - Drying
The next step is drying the material. We already published a thorough How-to on drying polymers with a self-built dry box, which you can check out here:
https://community.preciousplastic.com/how-to/dry-materials-for-higher-quality-products
https://community.preciousplastic.com/how-to/dry-materials-for-higher-quality-products
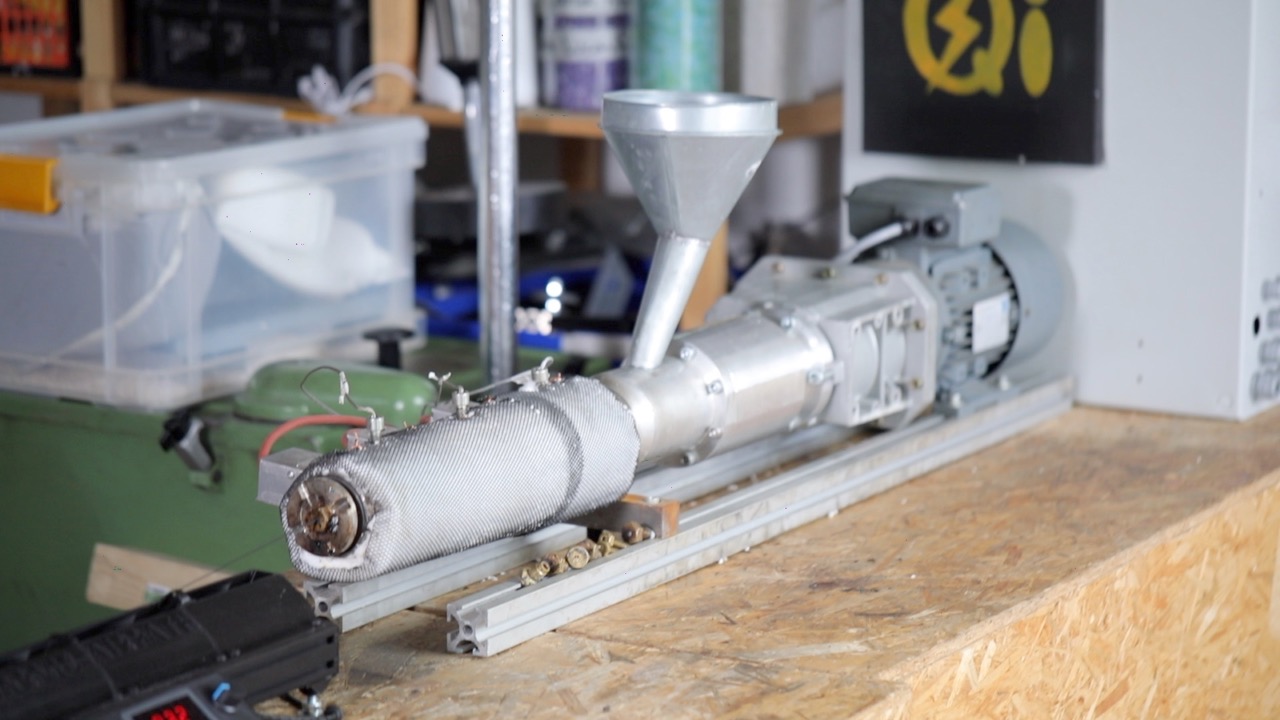
Step 3 - Extruding
Next up is the main step: extruding. Obviously, you will need an extruder. You can build one yourself using the Precious Plastic blueprints (https://community.preciousplastic.com/how-to/set-up-an-extrusion-workspace) or buy one online, e.g. on Precious Plastic Bazar. We also created a comparison list of different extruder models on our website, you can check it out here: https://www.qitech.de/en/ind/academy-area/filament-extruder-comparision.
We work with our 6th generation extruder and along the way of the development we learned that the following 3 things are especially important:
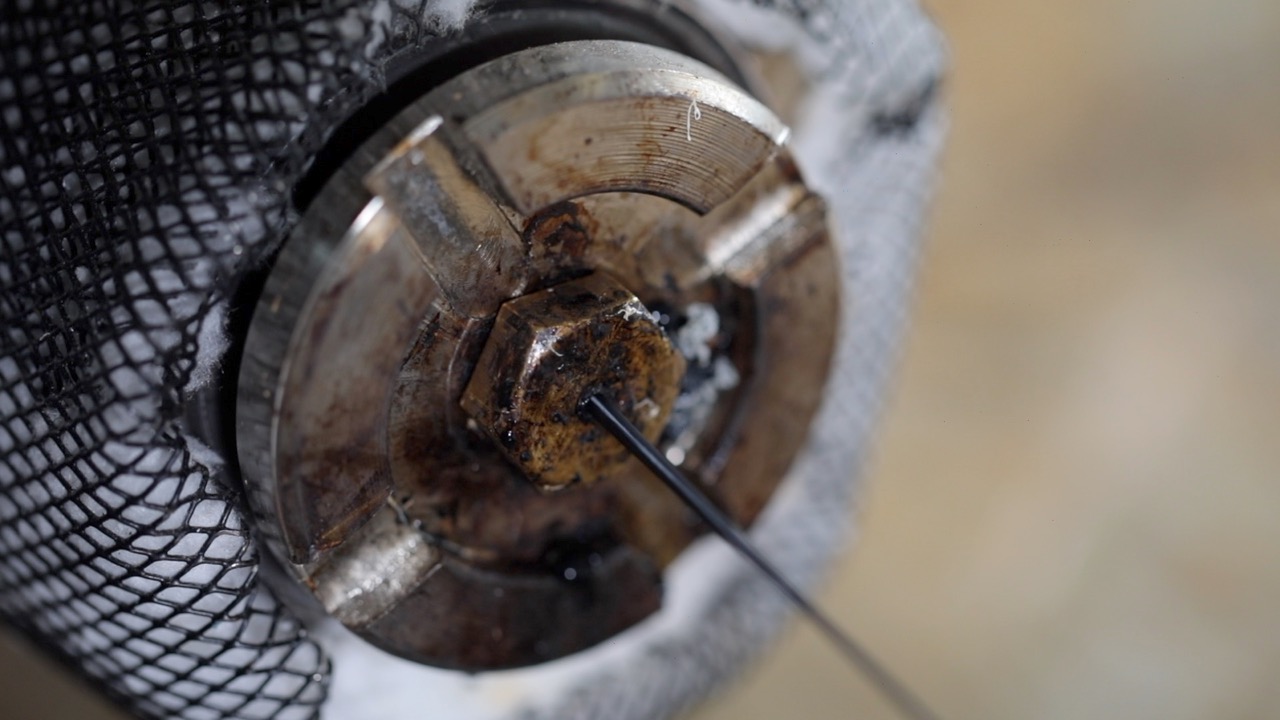
1. A proper compression screw
2. Precise temperature measurements and controls
3. Nozzles easily exchangeable
We work with our 6th generation extruder and along the way of the development we learned that the following 3 things are especially important:
1. A proper compression screw
2. Precise temperature measurements and controls
3. Nozzles easily exchangeable
Step 4 - Cooling
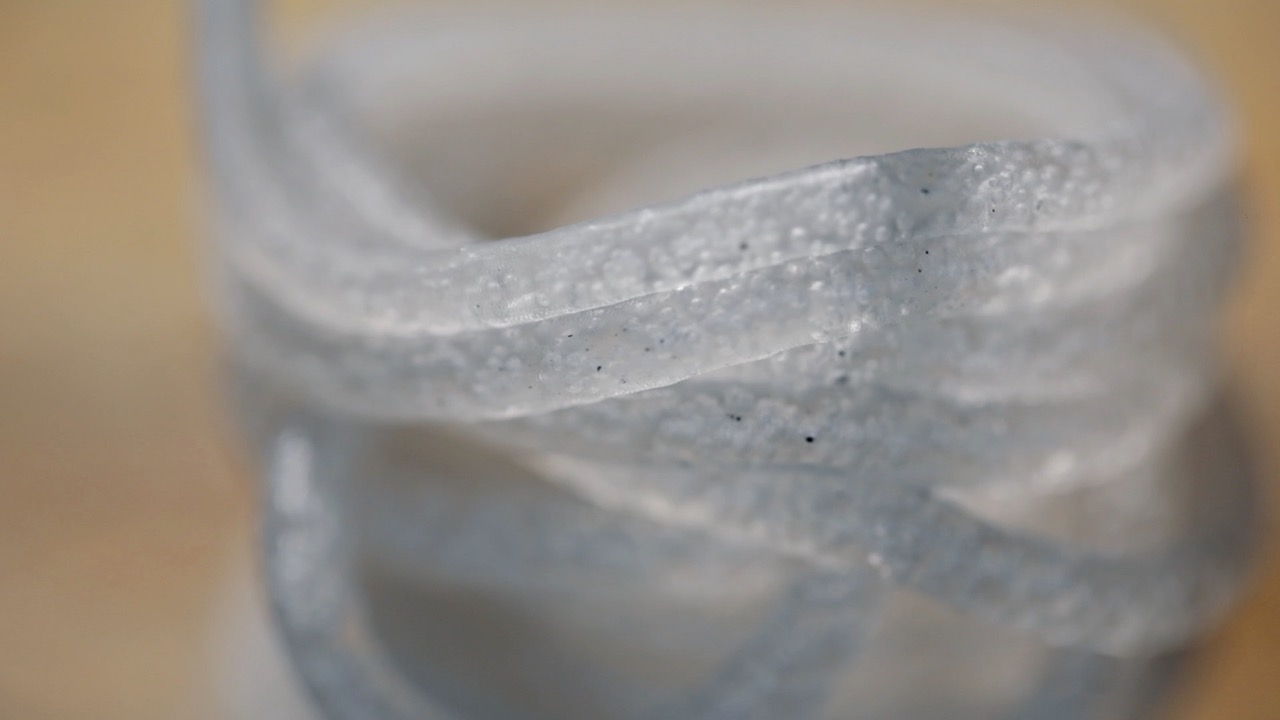
With hot filament coming out of the extruder it needs to get cooled and wound onto a spool. You can cool the Filament using water or air. We recommend using an air cooling system, because water cooling is a complicated mess and as long as you are making less than 3Kg/h an air cooling system works just fine. The most simple and cheap method is using a tower ventilator which you position horizontally under the filament. We use our own cooling unit, the JARVIS Airpath. Its fans can be controlled precisely in order to harden the filament but keep it soft enough to easily wind it on spools. The winding process will work best if the single filament tracks stick to each other slightly.
Step 5 - Winding
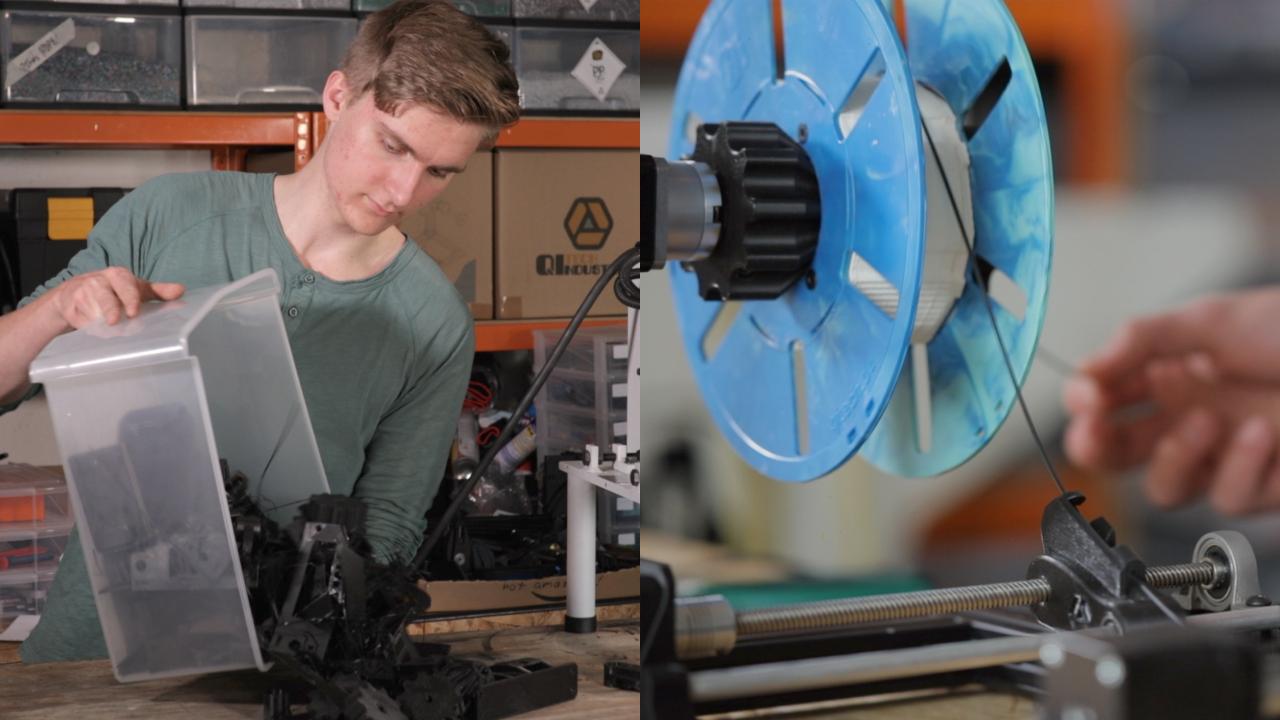
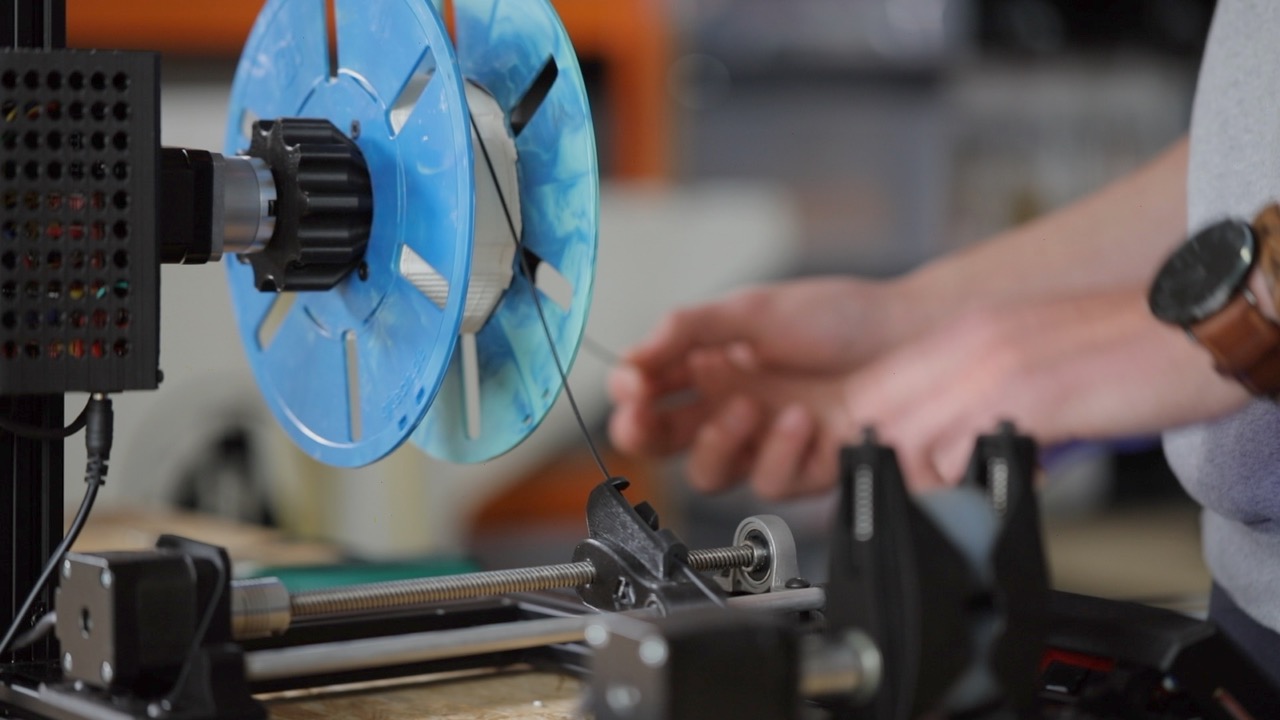
Finally, the filament can be wound onto a spool to be used with a 3d printer later. You will need a filament winder which should have a pull unit, a guider (to spool the single tracks from one side to the other) and a turning spool axis. An important factor to look out for when buying/building a Winder is that the filament always stays on tension so you don't end up with loose spools.
For this step, we use our JARVIS Winder; a winding unit that adjusts its spool motor speed automatically and makes perfect winding possible while maintaining the diameter of the filament as well. Simply insert the filament into the puller, thread it through the guider and then into the spool.
For this step, we use our JARVIS Winder; a winding unit that adjusts its spool motor speed automatically and makes perfect winding possible while maintaining the diameter of the filament as well. Simply insert the filament into the puller, thread it through the guider and then into the spool.
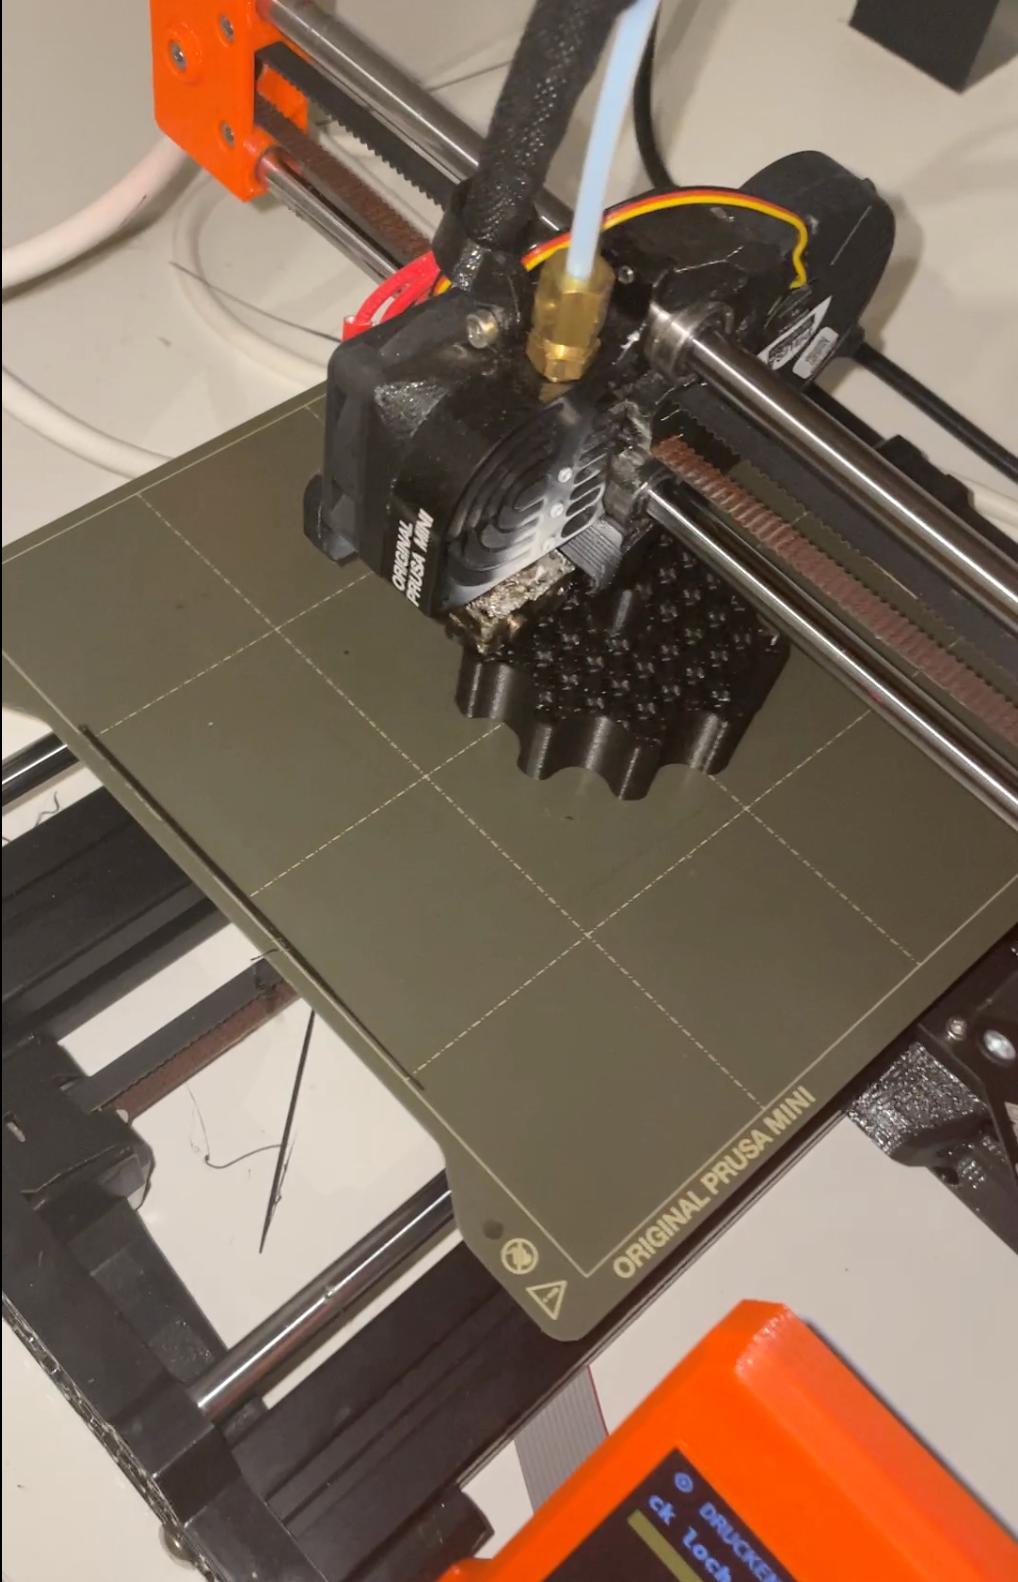
Step 6 - Printing
Now you can put your brand new filament to use with a 3d printer. Happy printing! :)
—
—
—
Comments