Self-compressing oven mould for making sheets
by DevLab.NRW
This Tutorial is about making sheets with a self-compressing mould and a kitchen oven. The approach has a very low invest and the possibility to make a few sheets in parallel.
—
Attachments
Resources
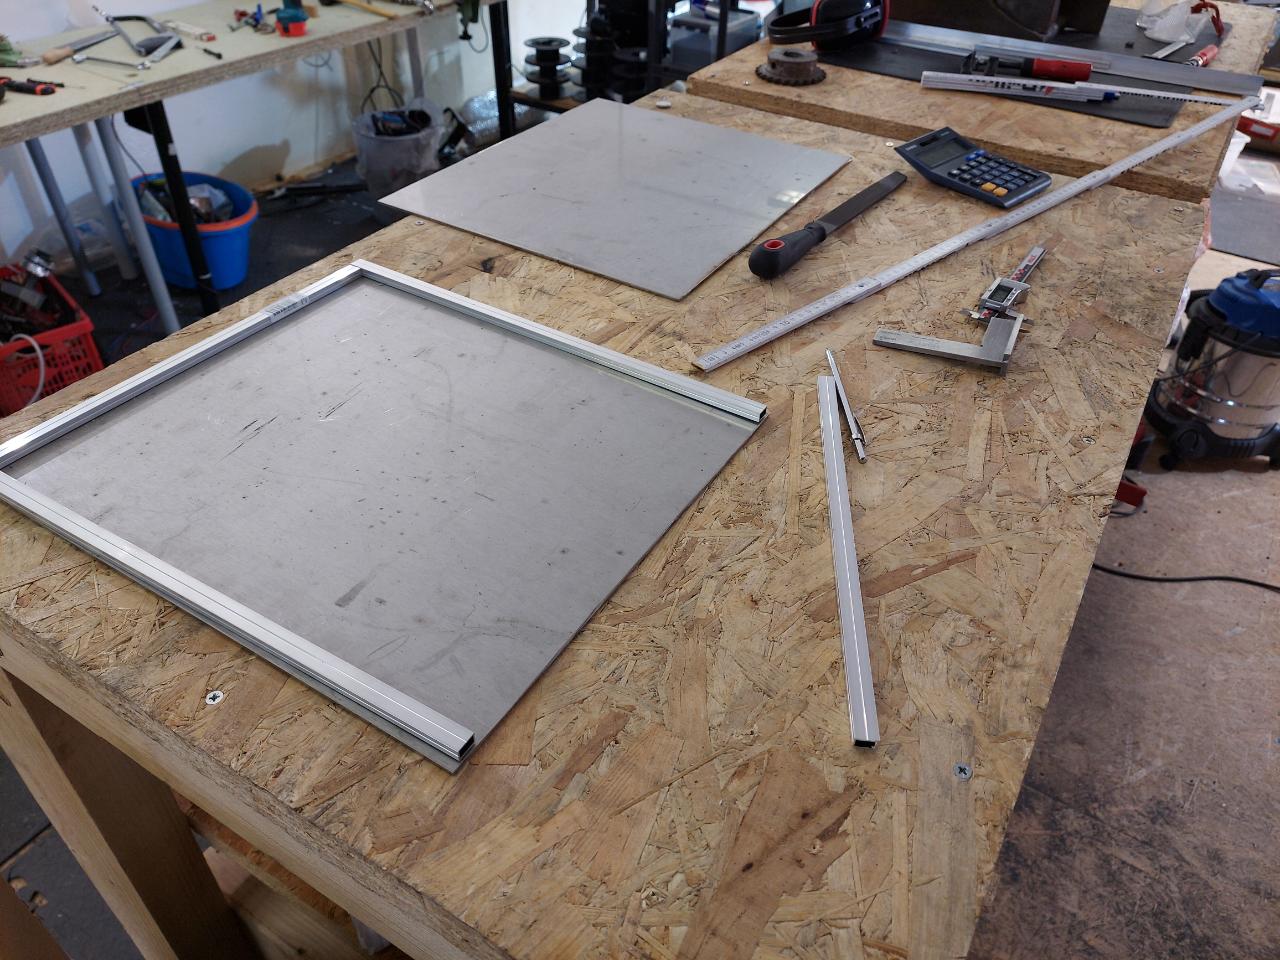
Step 1 - Cut the raw material
You will need two galvanized metal sheets and Aluminium profiles for the frame
Material:
2 pcs 350x400x3mm galvanized metal sheet
2pcs 12,5x7,5x400mm Aluminium Profile
2pcs 12,5x7,5x325mm Aluminium Profile
Tools:
Saw or flex
ToDo:
Sheets: Normally, you can buy metal sheets in the right dimension. Otherwise you need to mark the dimensions on a bigger one and make a cut out. We use a flex for the cutting but it is also possible to use another kind of saw
Frame:
Mark the right length on the profile an cut it by using a saw.


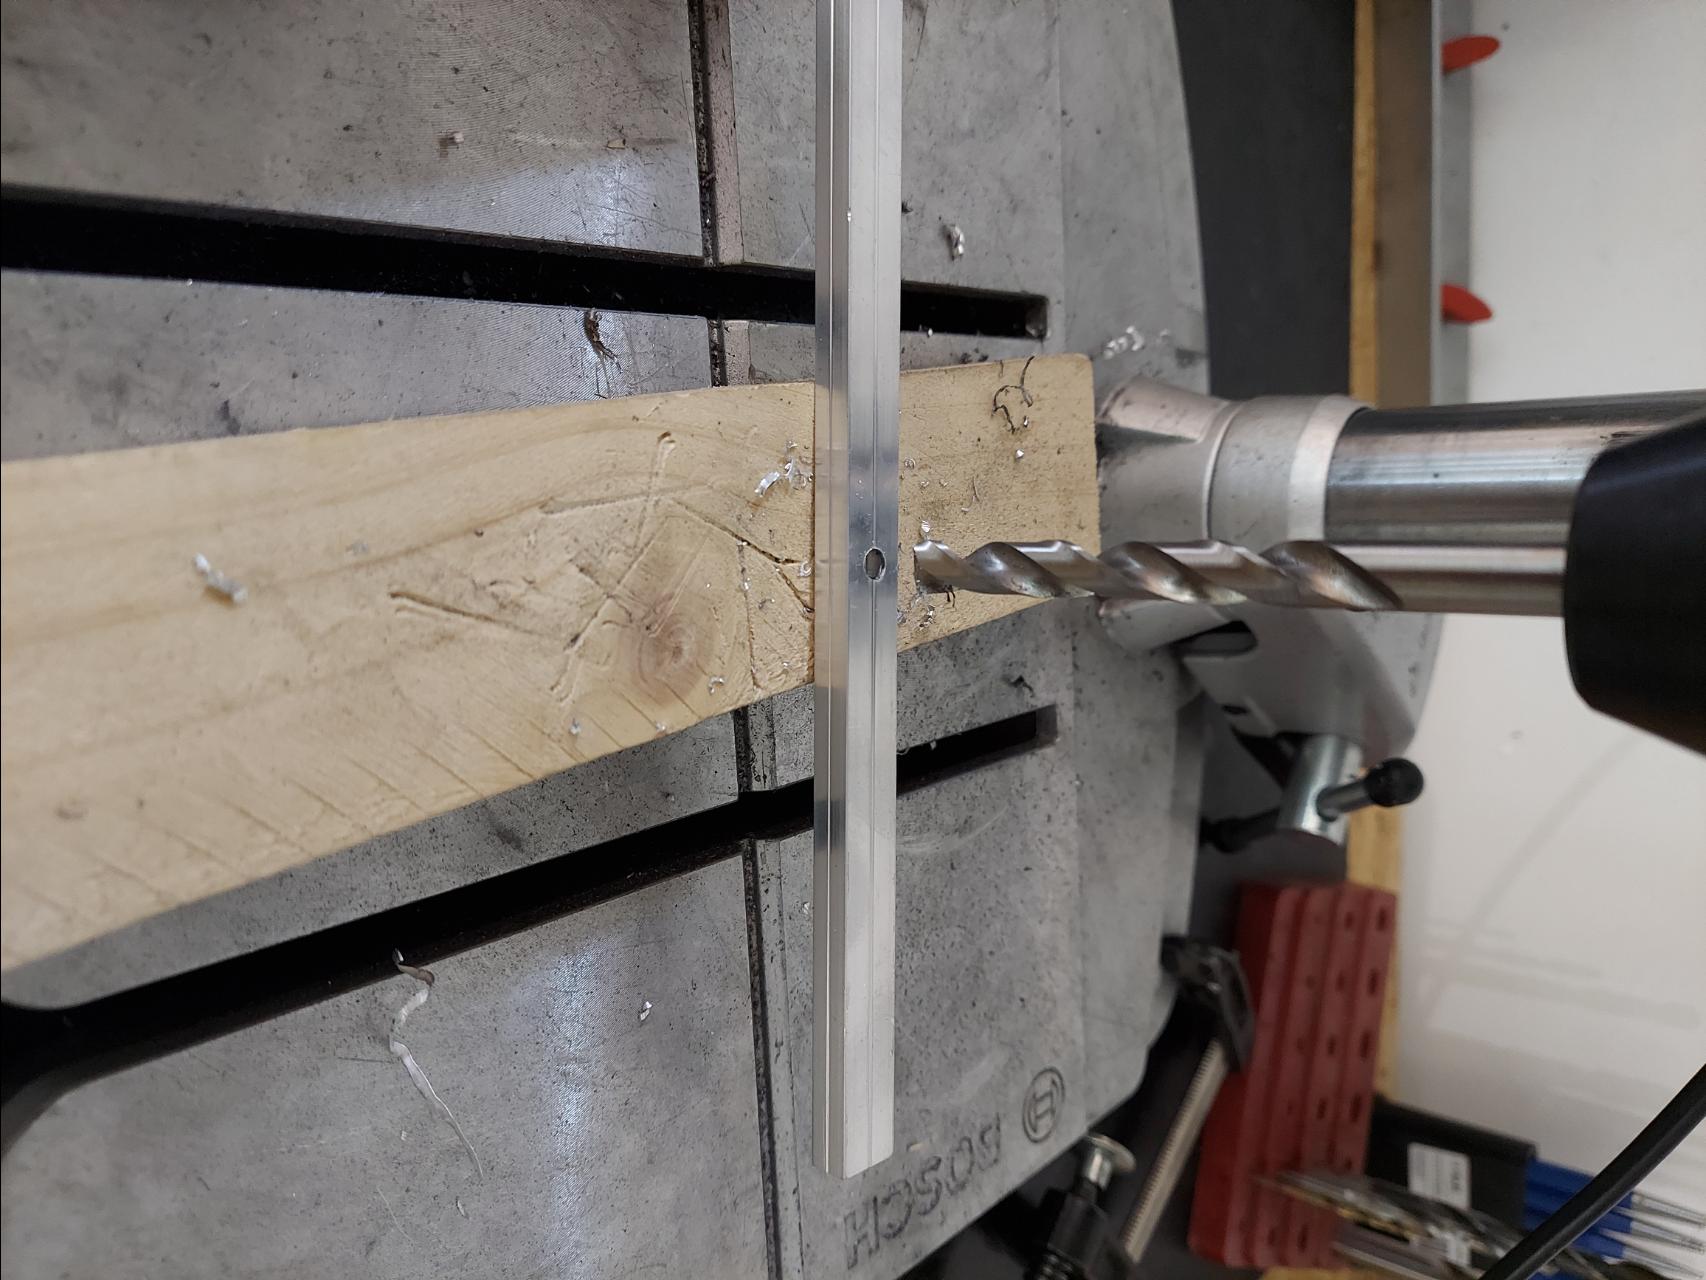
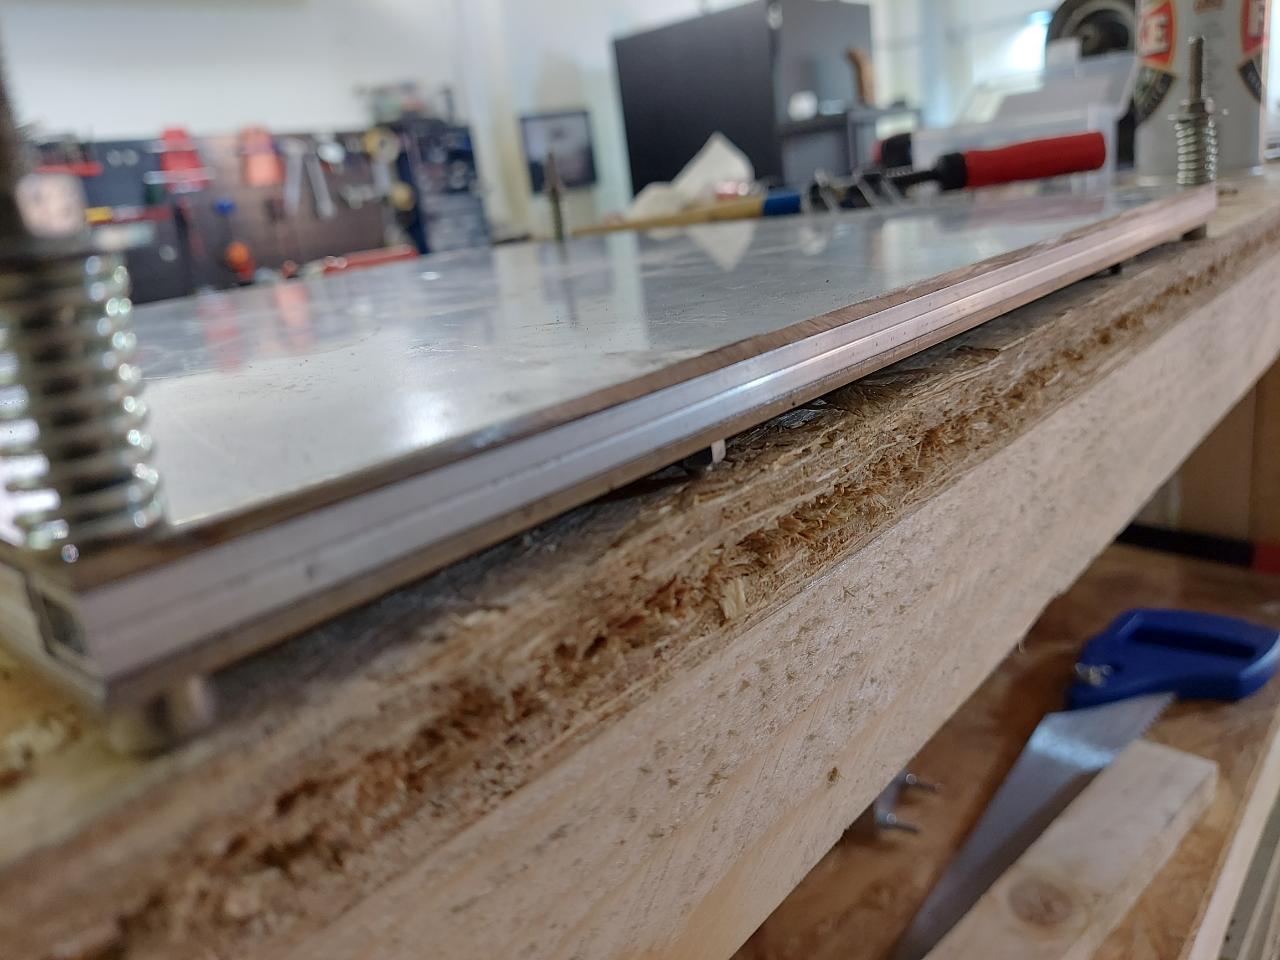
Step 2 - Drill assembly holes
The profiles will be screwed on one metal sheet, therefore you need to drill assembly holes first.
Material:
Cutted aluminium profiles and one metal sheet
Tool:
Metal drill 5mm und 8mm, clamp
To Do:
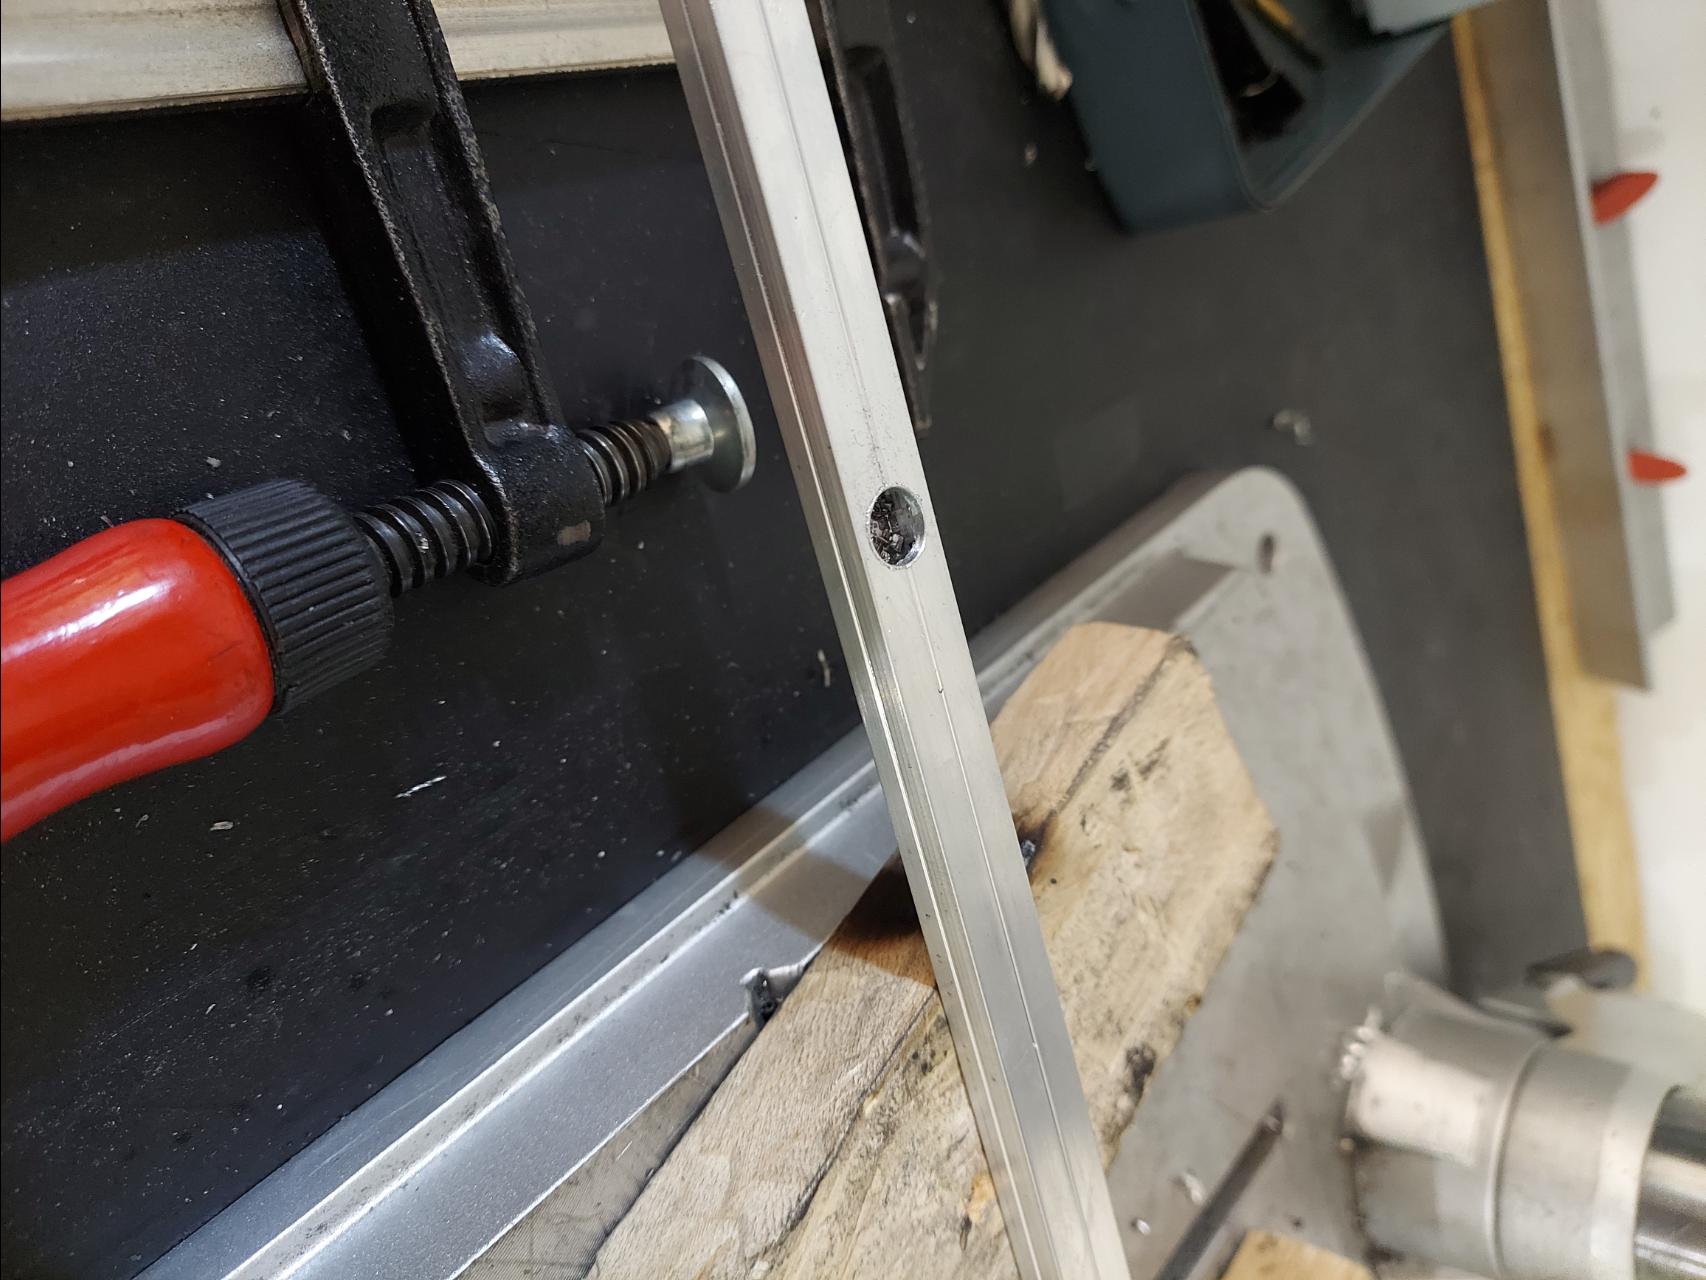
Place one 400mm profile on the metal sheet, fix it with a clamp and drill two 5mm holes through profile and metal sheet. A good location fort he holes is around 80mm from each side.
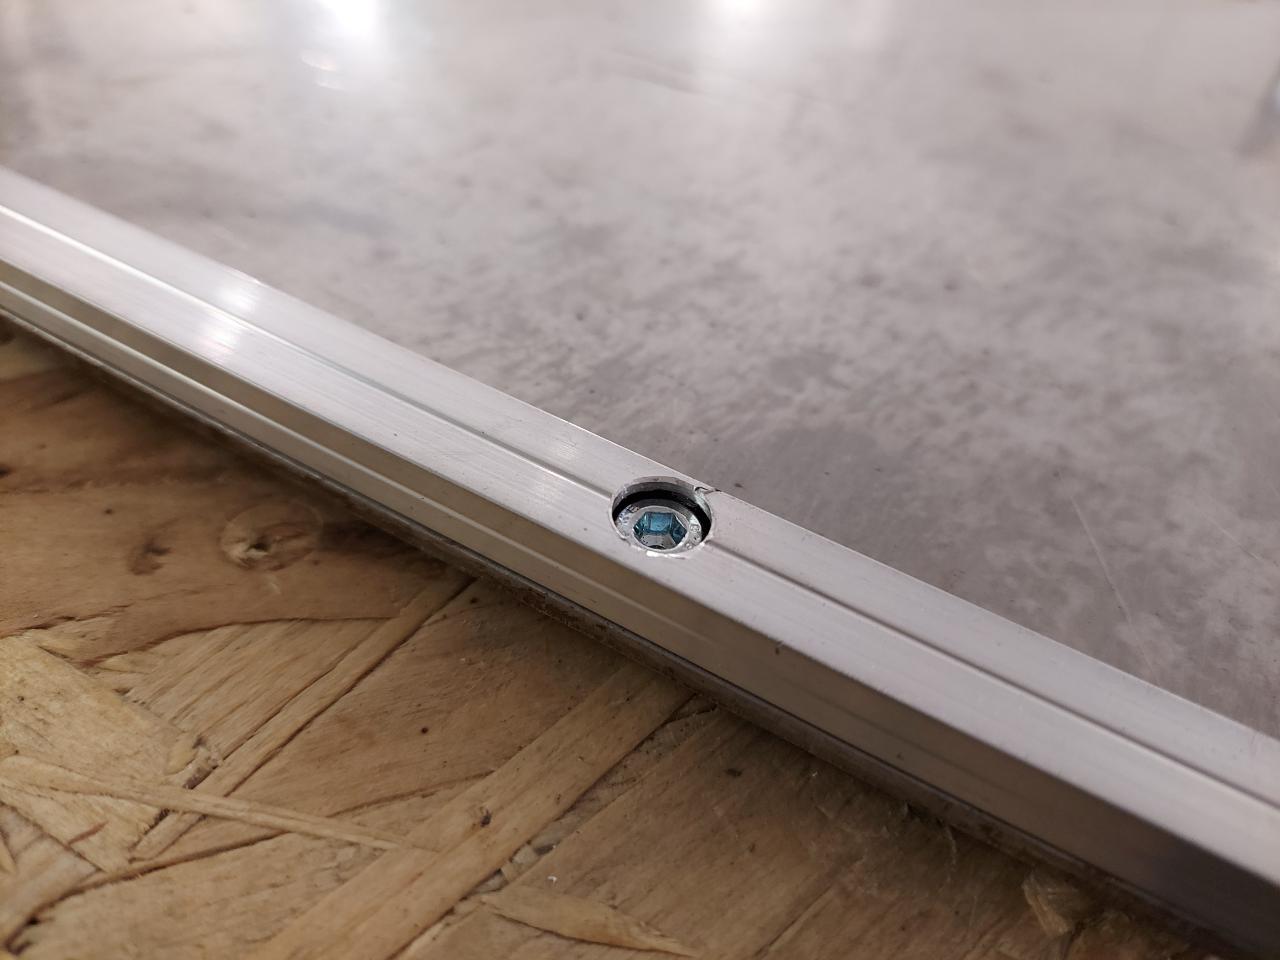
Now drill two 8mm holes on the upper side oft he aluminium profile. Make sure not to drill through the whole profile. The purpose oft he 8mm hole ist to perfectly fit the M5-Screw-Head into the profile.
Repeat the steps with the two 325mm profiles and then with the second 400mm profile.
Material:
Cutted aluminium profiles and one metal sheet
Tool:
Metal drill 5mm und 8mm, clamp
To Do:
Place one 400mm profile on the metal sheet, fix it with a clamp and drill two 5mm holes through profile and metal sheet. A good location fort he holes is around 80mm from each side.
Now drill two 8mm holes on the upper side oft he aluminium profile. Make sure not to drill through the whole profile. The purpose oft he 8mm hole ist to perfectly fit the M5-Screw-Head into the profile.
Repeat the steps with the two 325mm profiles and then with the second 400mm profile.
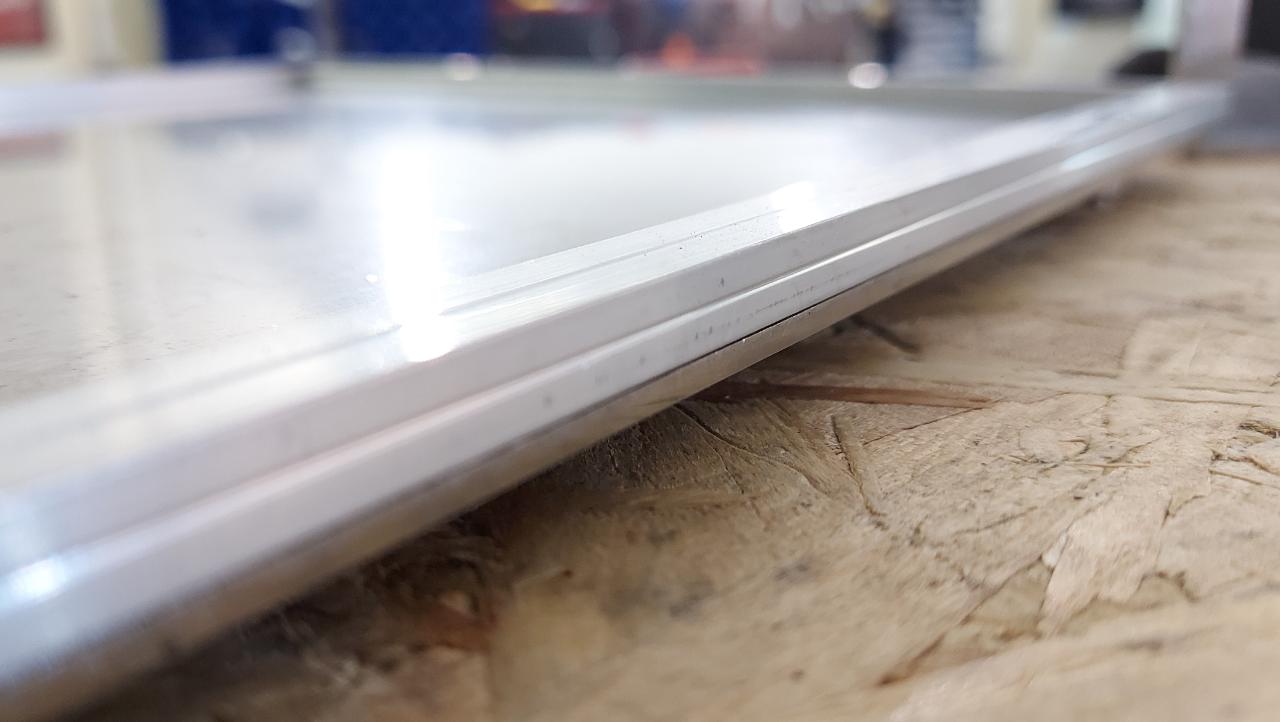
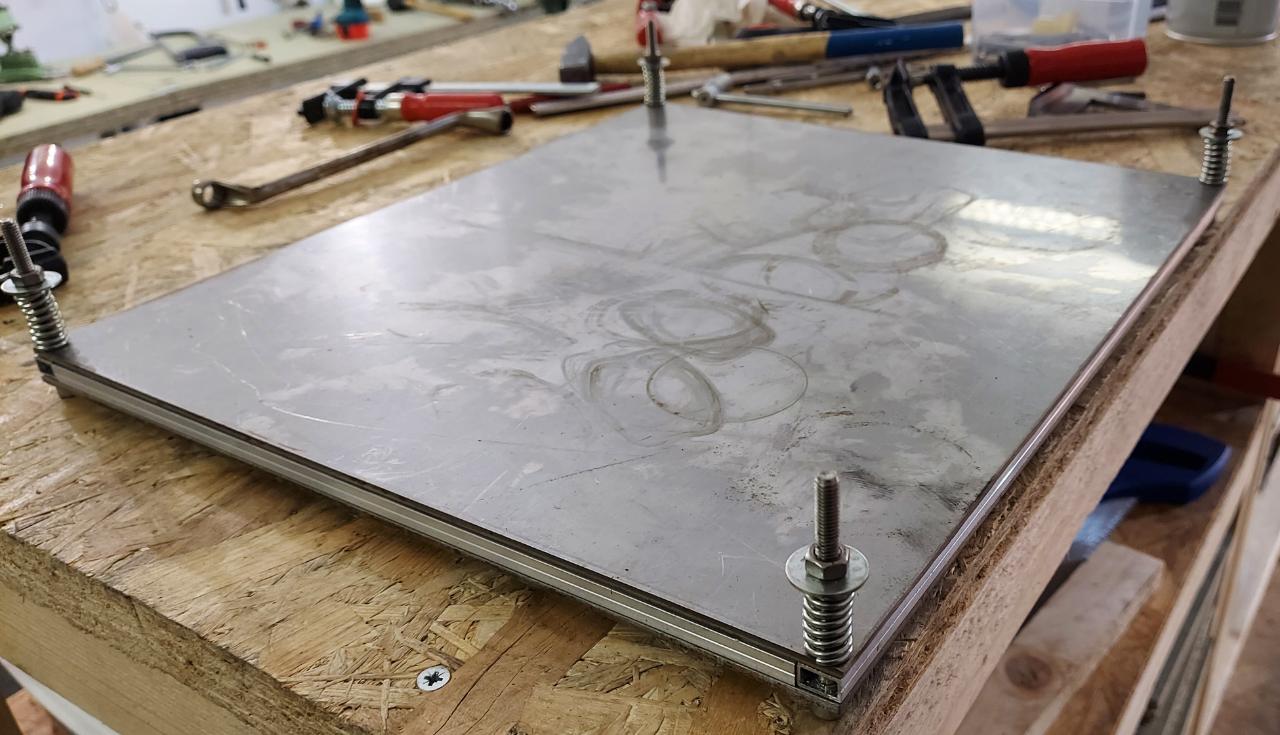
Step 3 - Screw the Alu-profile
Material:
drilled aluminium profiles and metal sheet, M5 Screw & Nuts
Tools:
Screw-Driver
ToDo:
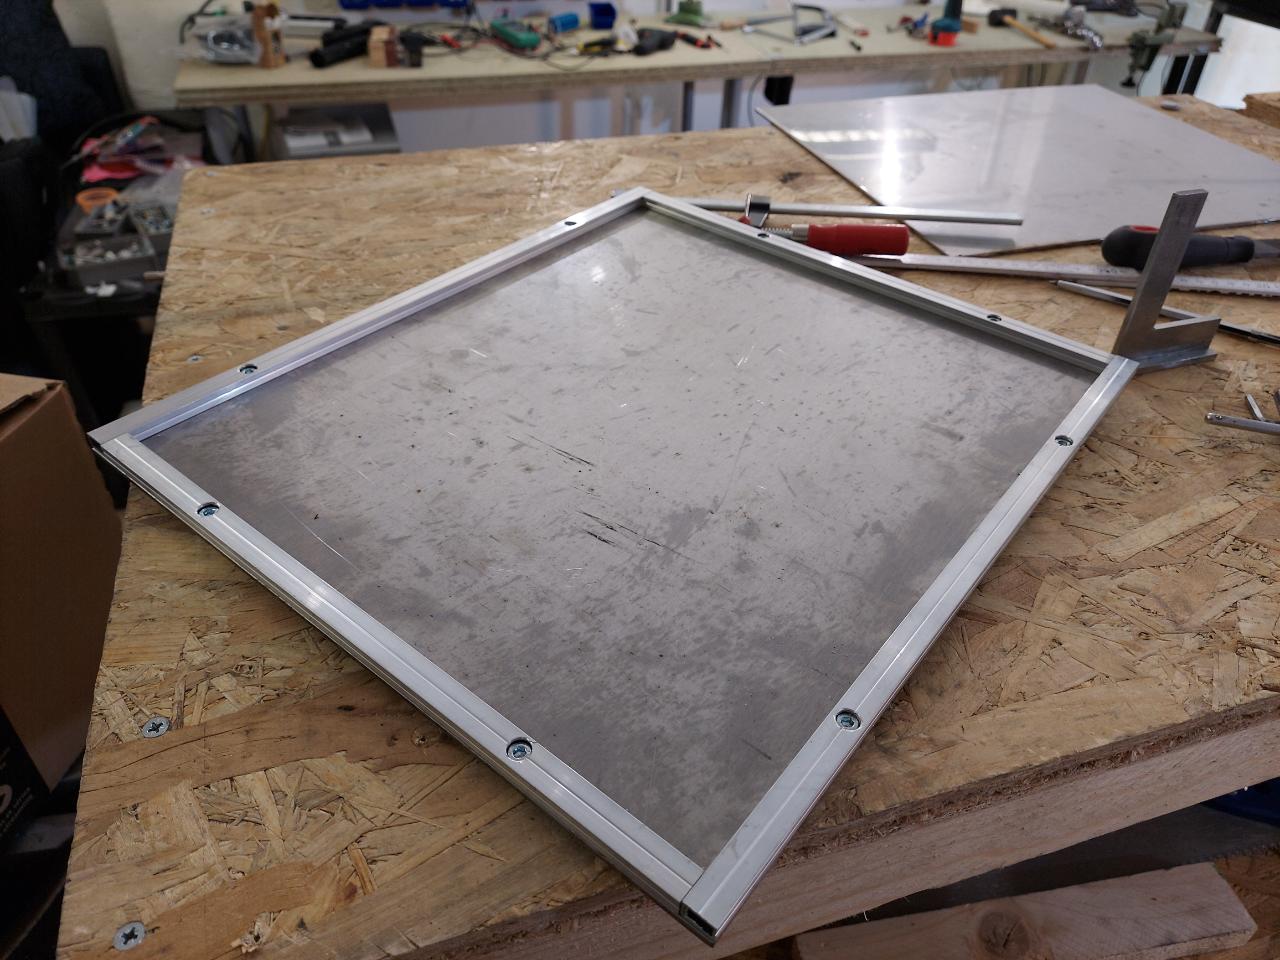
Place the eight screws in the profile and fix them with the nuts
drilled aluminium profiles and metal sheet, M5 Screw & Nuts
Tools:
Screw-Driver
ToDo:
Place the eight screws in the profile and fix them with the nuts
Step 4 - Drill compression holes
You will need four holes which hold the screws for the compression springs. I would suggest to place them in the corners oft he sheets, but it is also possible the locate them anywhere else.
Material:
Both metal sheets
Tools:
M6 Drill
ToDo:
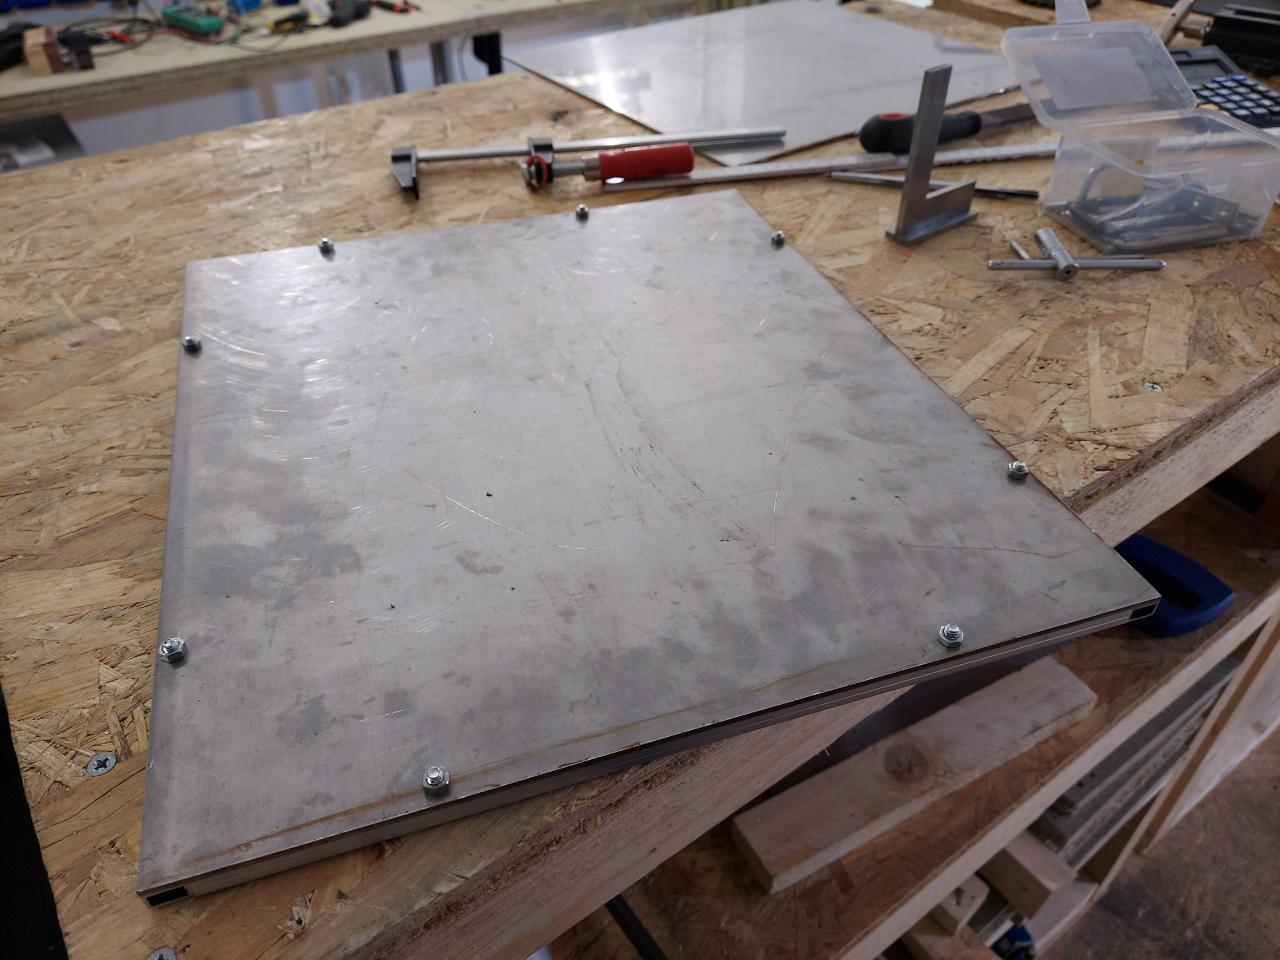
Place the second metal sheet on the framing and align them for perfect fit. Fixate everything with screw-clamps. Drill one hole in every corner.
Instead of holes, it is also possible to saw a cutout which makes the assembly / disassembly oft he compression screws faster.
Material:
Both metal sheets
Tools:
M6 Drill
ToDo:
Place the second metal sheet on the framing and align them for perfect fit. Fixate everything with screw-clamps. Drill one hole in every corner.
Instead of holes, it is also possible to saw a cutout which makes the assembly / disassembly oft he compression screws faster.
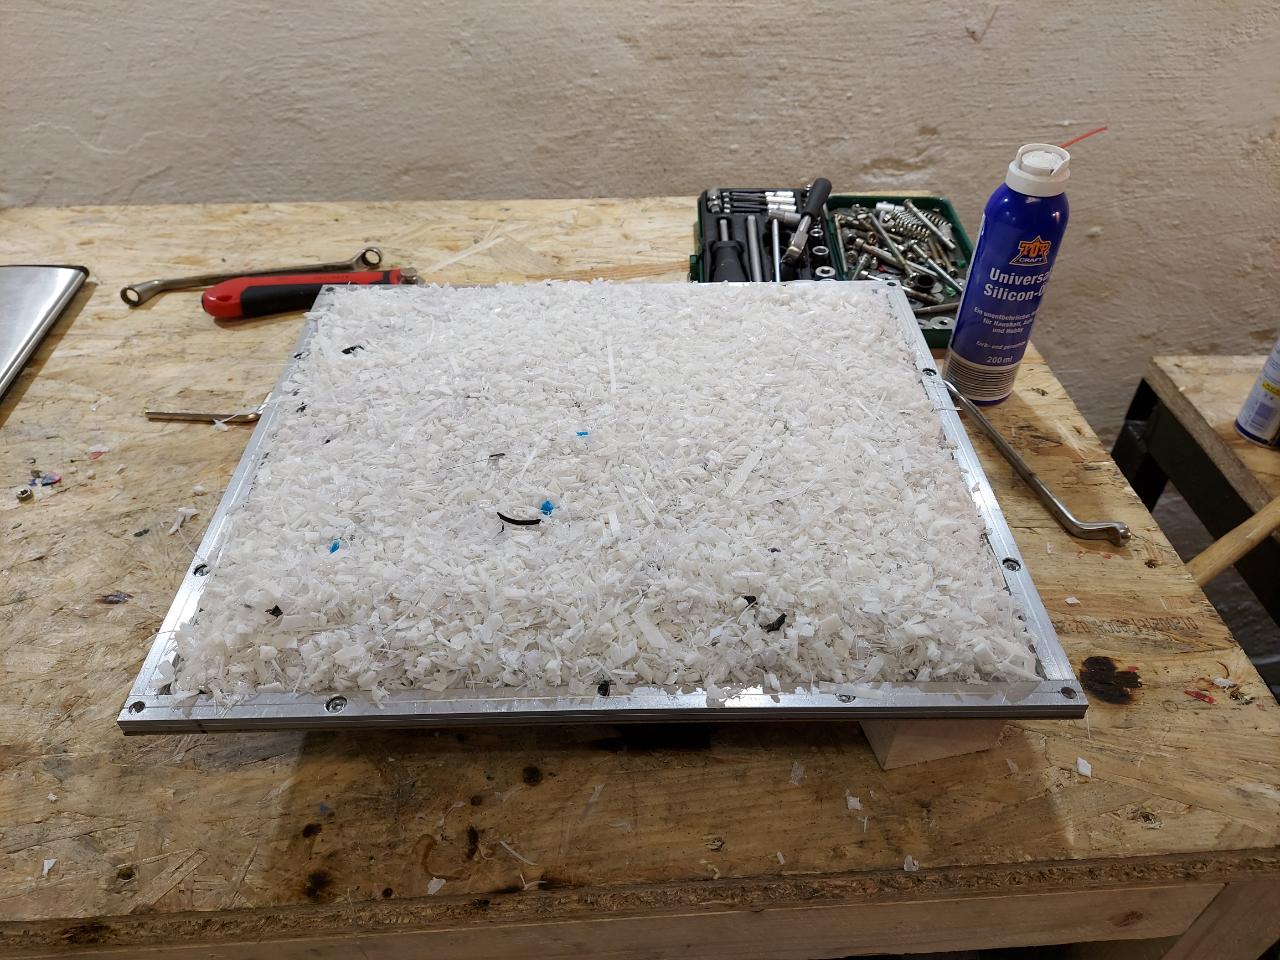
Step 5 - First testrun
The mould is finished so far, let’s test it.
Material:
Mould; small Plastic-Granulate or Pellets, Silicone-oil spray; oven, M6 Screw, washers, compression spring
ToDo:
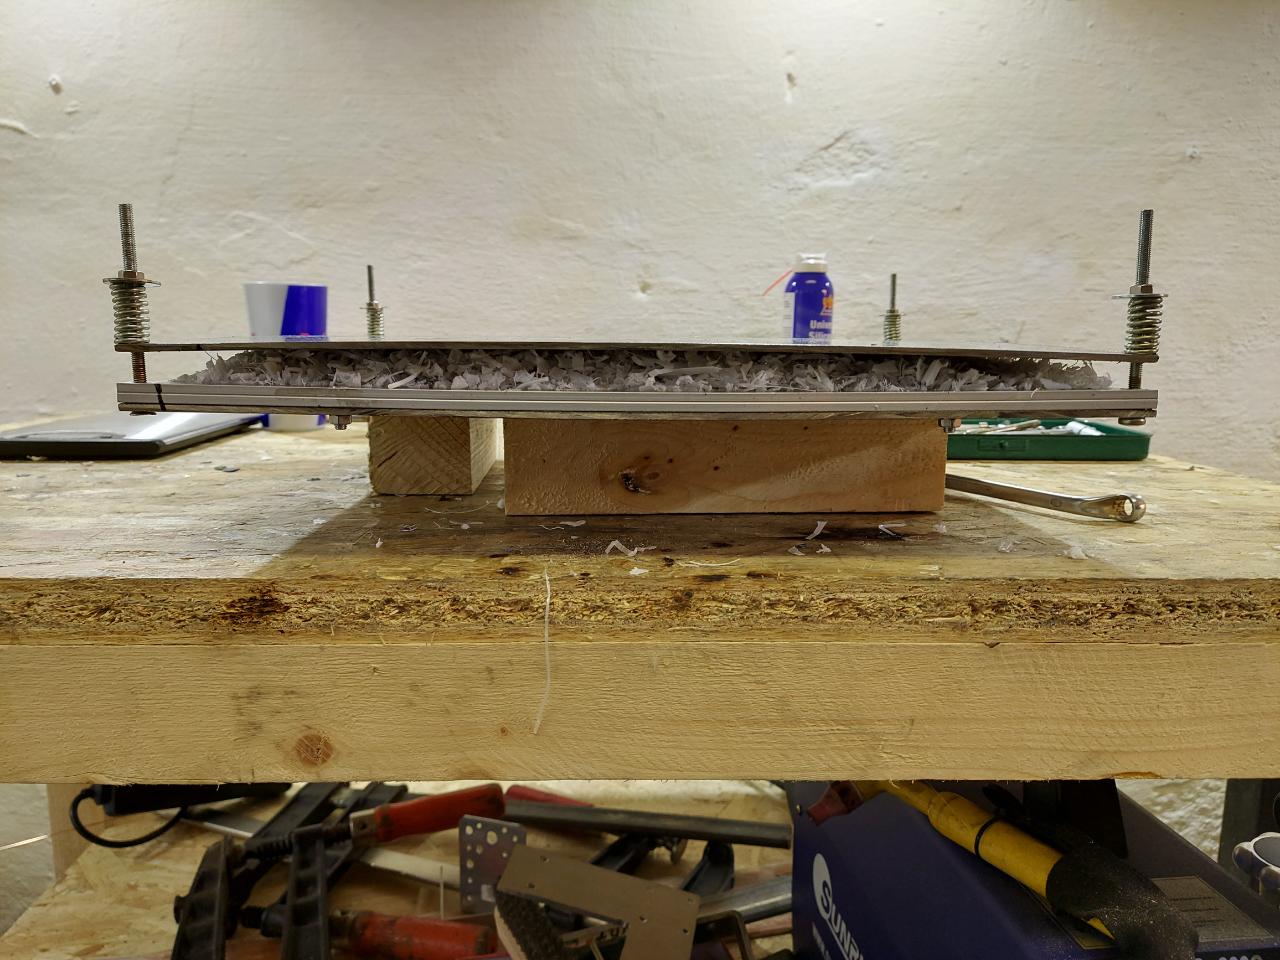
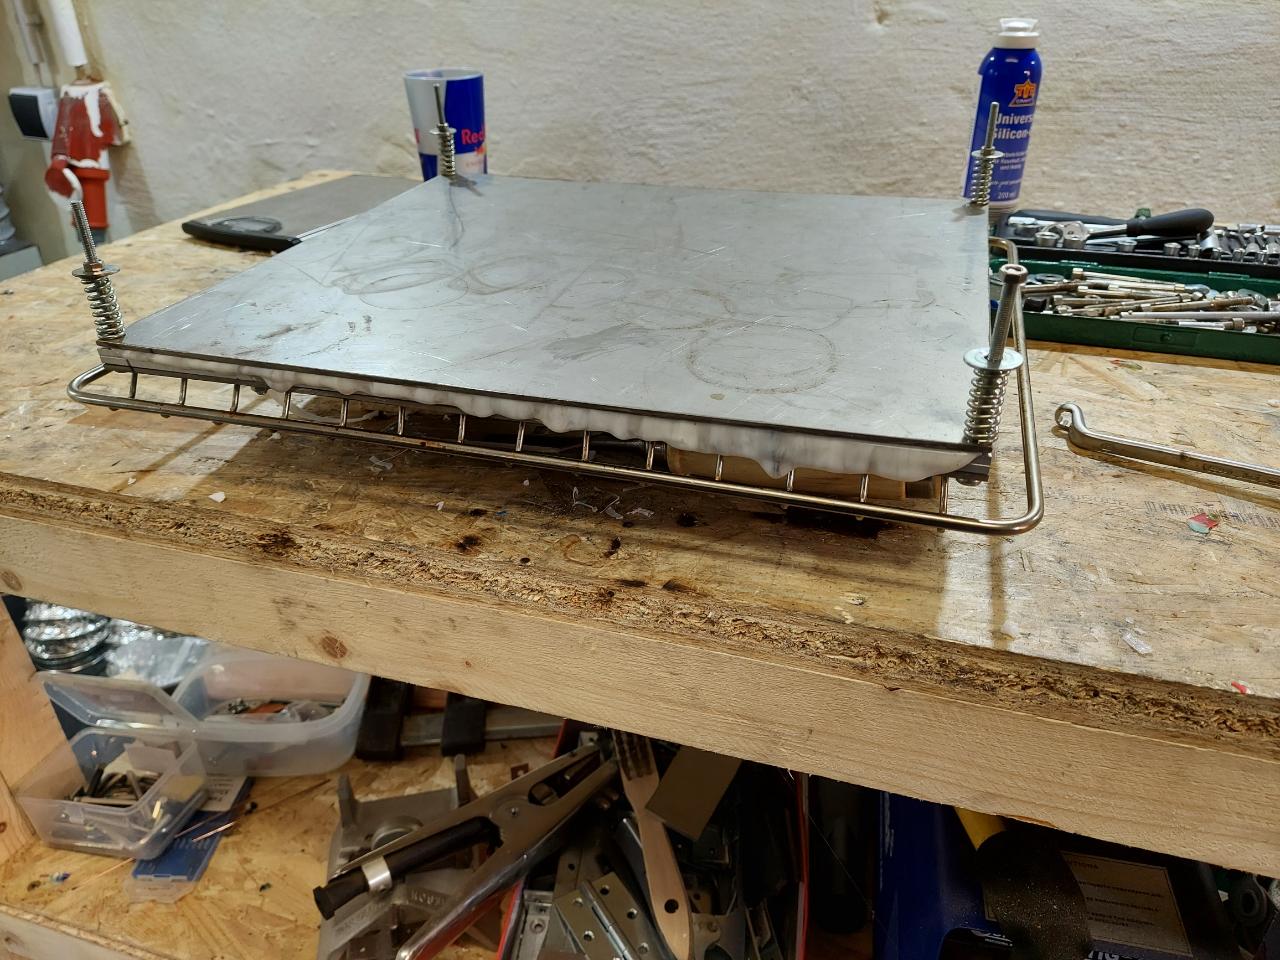
Give the inside oft he mould a slightly silicone oil cover by spraying a small amount on the top and bottom.
Fill the plastic into the mould and place the cover on the top. Then place the compessions screws in the cut out and tension the spring by screwing. Place the mold in the oven and choose the temperature depending on your plastic. If you don’t know the right temperature, start with 200degree and change it in the next run depending on the outcome. 1,5h baking time is also a good starting point.
Material:
Mould; small Plastic-Granulate or Pellets, Silicone-oil spray; oven, M6 Screw, washers, compression spring
ToDo:
Give the inside oft he mould a slightly silicone oil cover by spraying a small amount on the top and bottom.
Fill the plastic into the mould and place the cover on the top. Then place the compessions screws in the cut out and tension the spring by screwing. Place the mold in the oven and choose the temperature depending on your plastic. If you don’t know the right temperature, start with 200degree and change it in the next run depending on the outcome. 1,5h baking time is also a good starting point.
Step 6 - semi-auto mass production
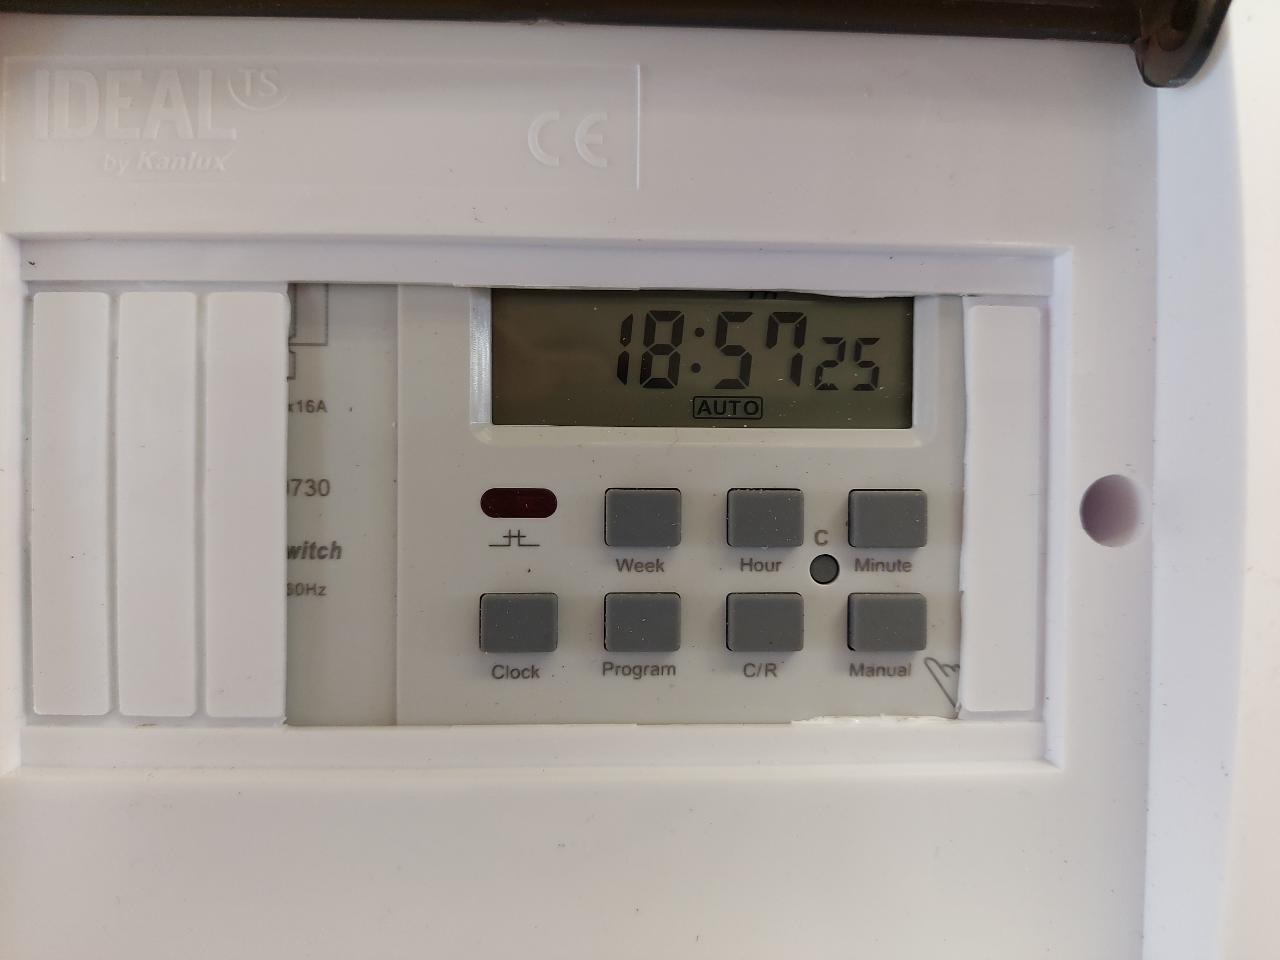
To make one sheet with the oven is nice, but it is possible to make a few more in parallel. So you can build a few more moulds an place them all together in the oven. If you don’t want to wait until the baking process is finished, you can also add a timer which switches the oven off automatically.
Material:
4 pcs. Oven Molds, Timer, Oven-rack(optional)
Tools:
Screw Driver
ToDo:
Prepare all four moulds like shown in step 5. Stack them in the oven and start the baking process. Be aware of the baking time which normally goes up because of the higher thermal mass in the oven.
Start the timer. The oven process now runs automatically with no need of a human for switching off


Step 7 - Process Video
A short Video of the whole process
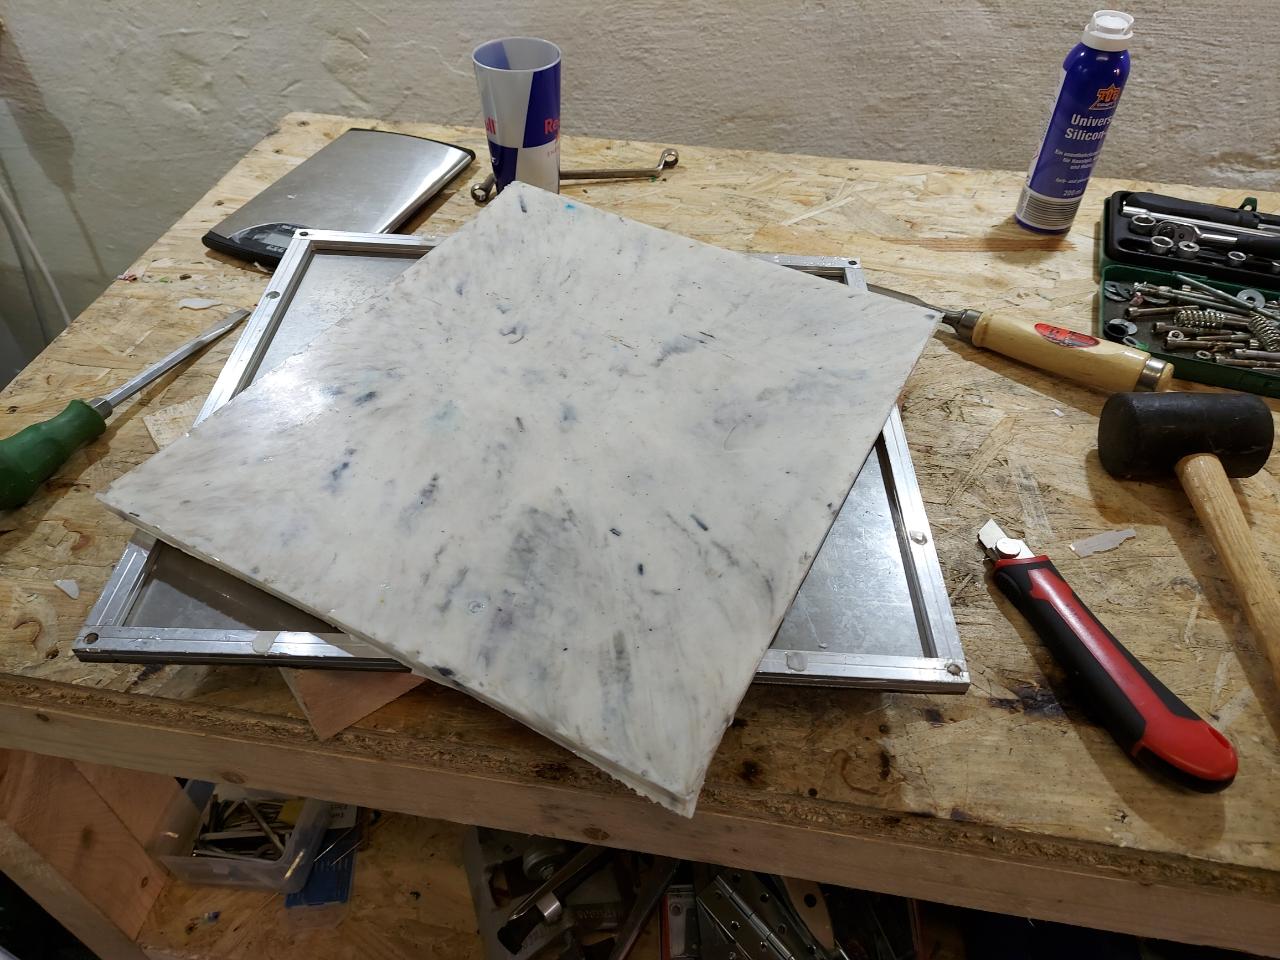
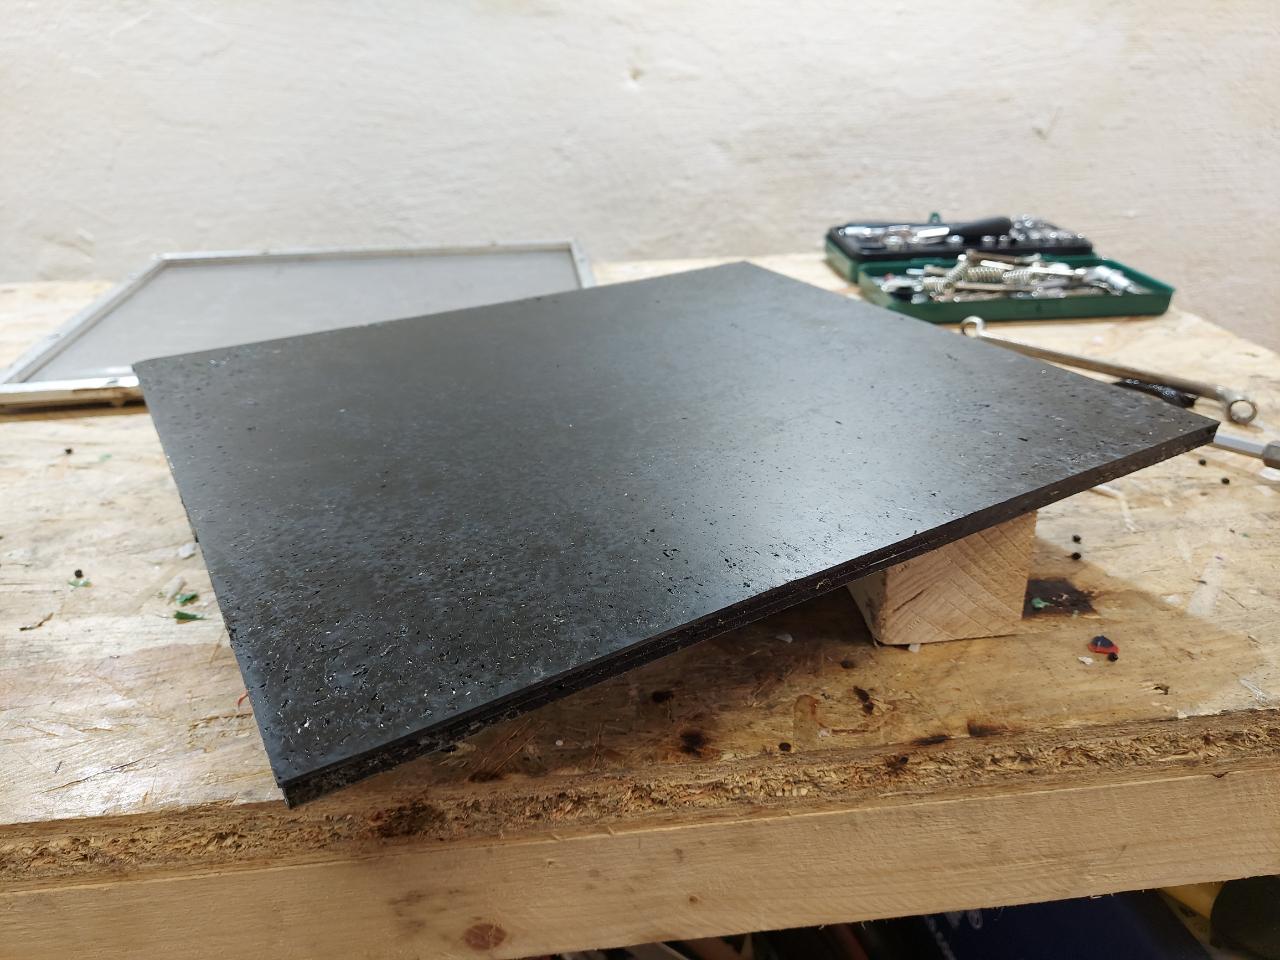
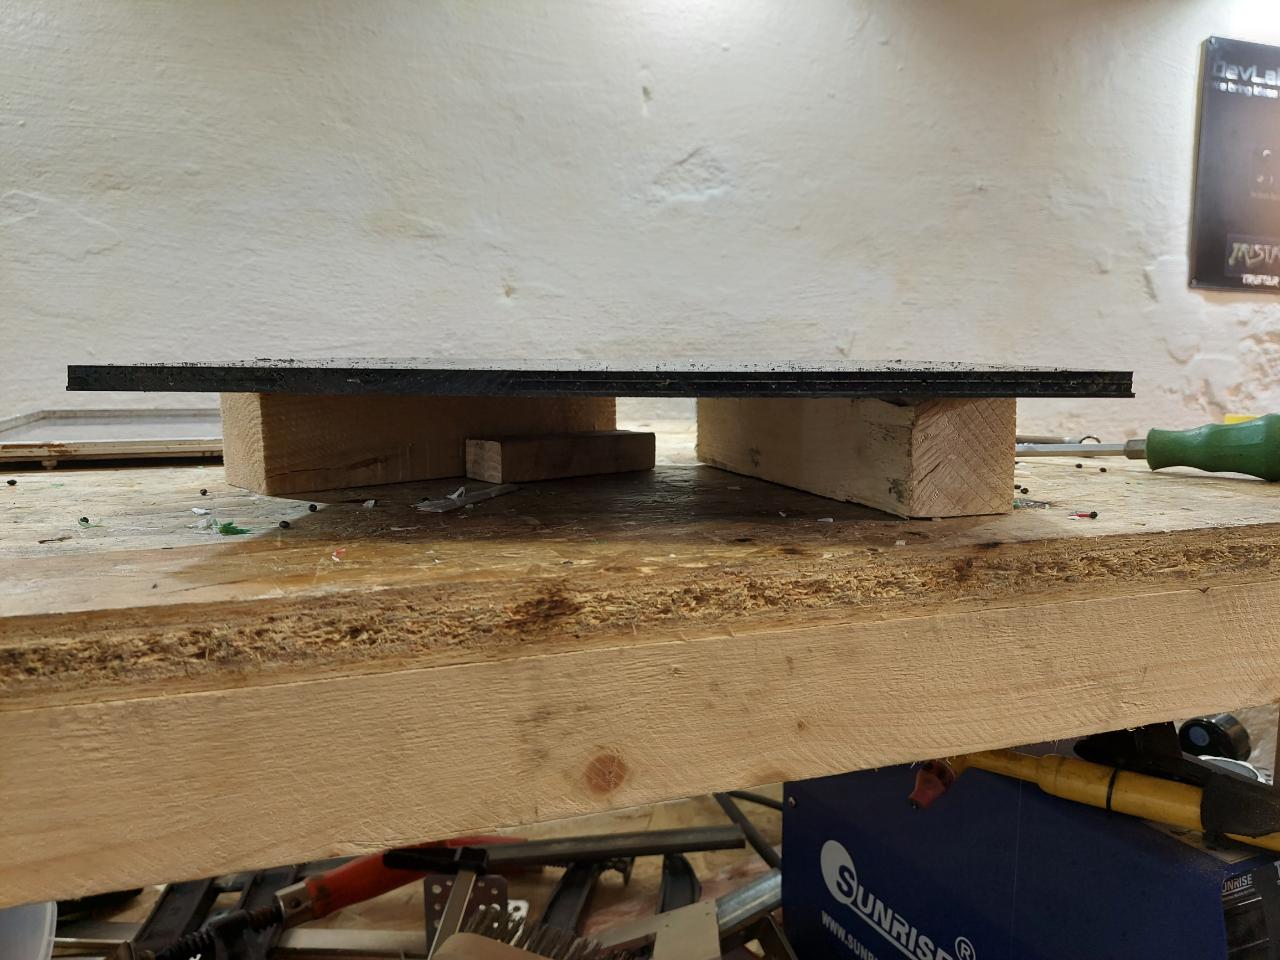
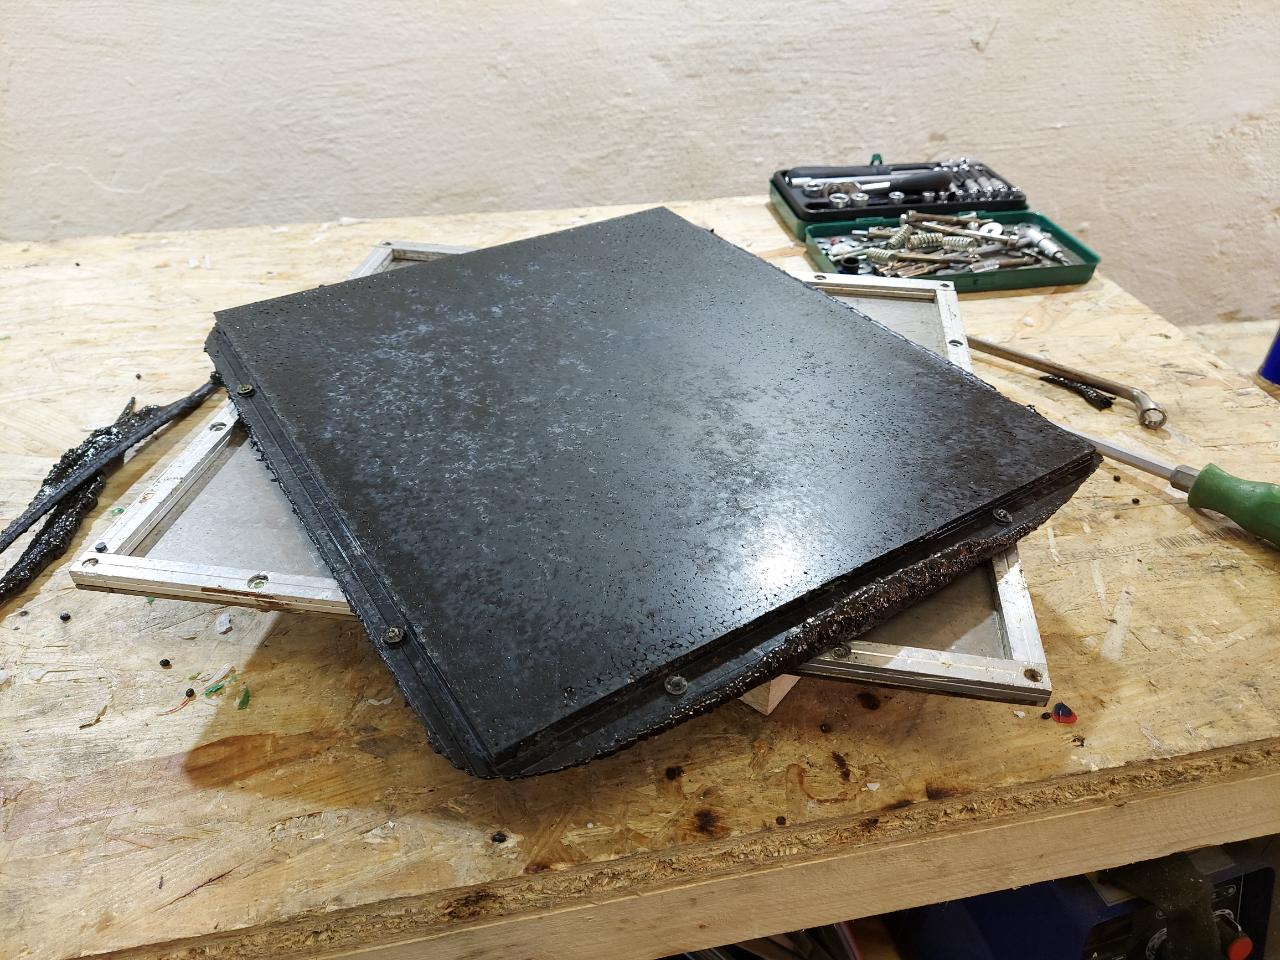
Step 8 - Results
Here are some pictures of a sheet made out of ABS. If you compare it with the simplicity of the process, the outcome is really great. After cutting the edges, you will get a flat sheet with good surface. (small pellets / flakes work best)
So, try the process yourself. Play around with it, hack it and if you find even a better / simpler way to produce sheets, share it with the community by making a How-to
Let me close with some words of Warning:
Always pay attention to occupational safety. Wear gloves, safety glases and a respirator mask while working with molten plastics. Don't melt plastic in your cooking oven, buy a cheap second hand oven which you only use for the melting. Thanks :-)
—
—
—
Comments