SKATE RAILS: how 2 make / use recycled skate rails
by Precious Plastic San Gabriel Valley
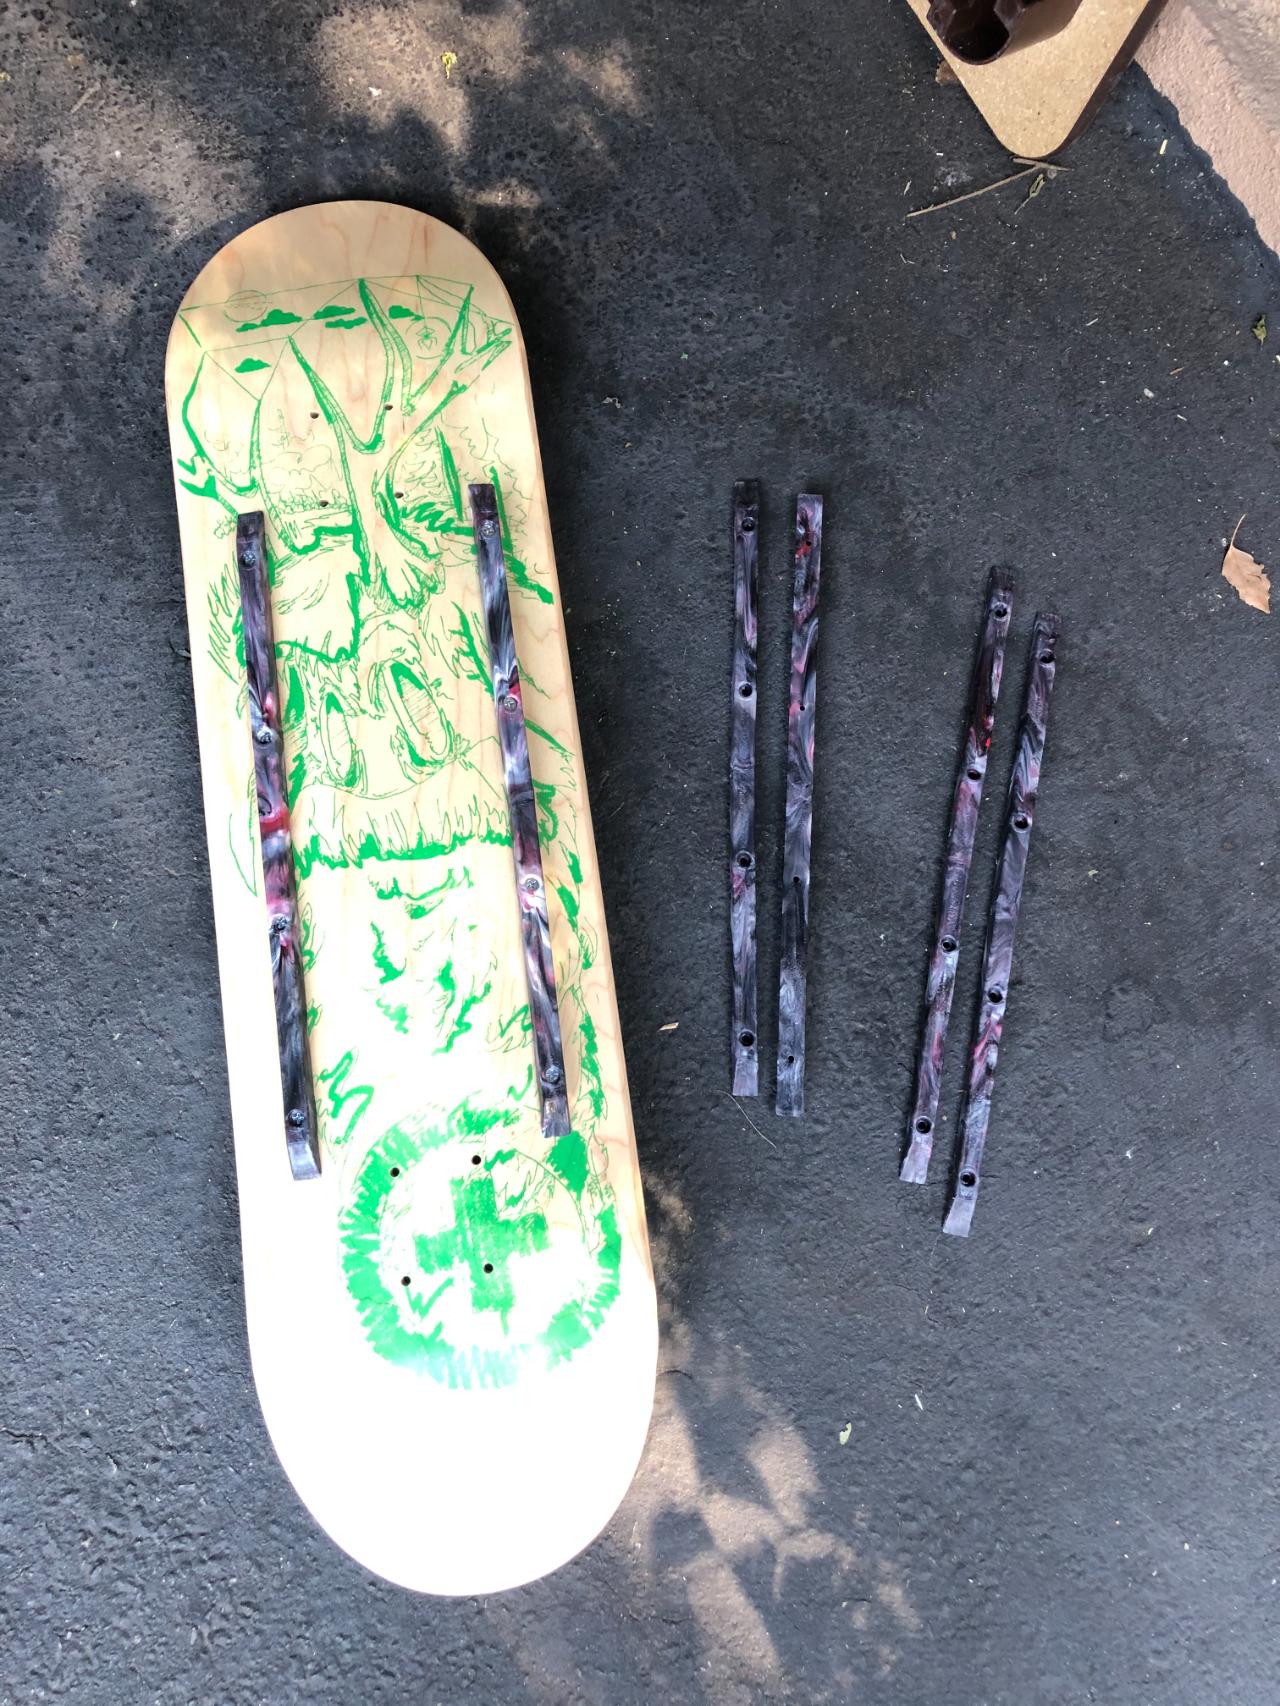
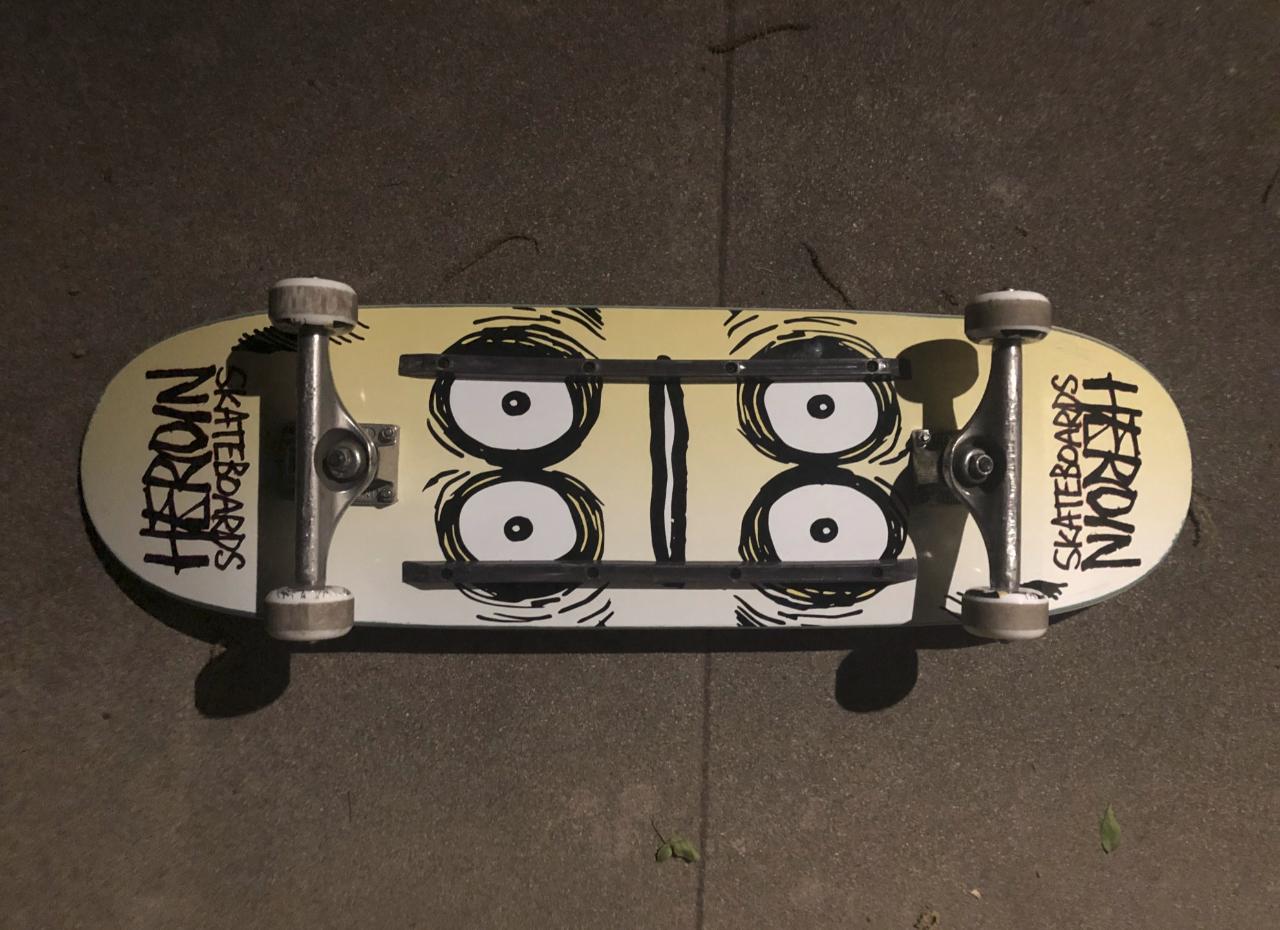
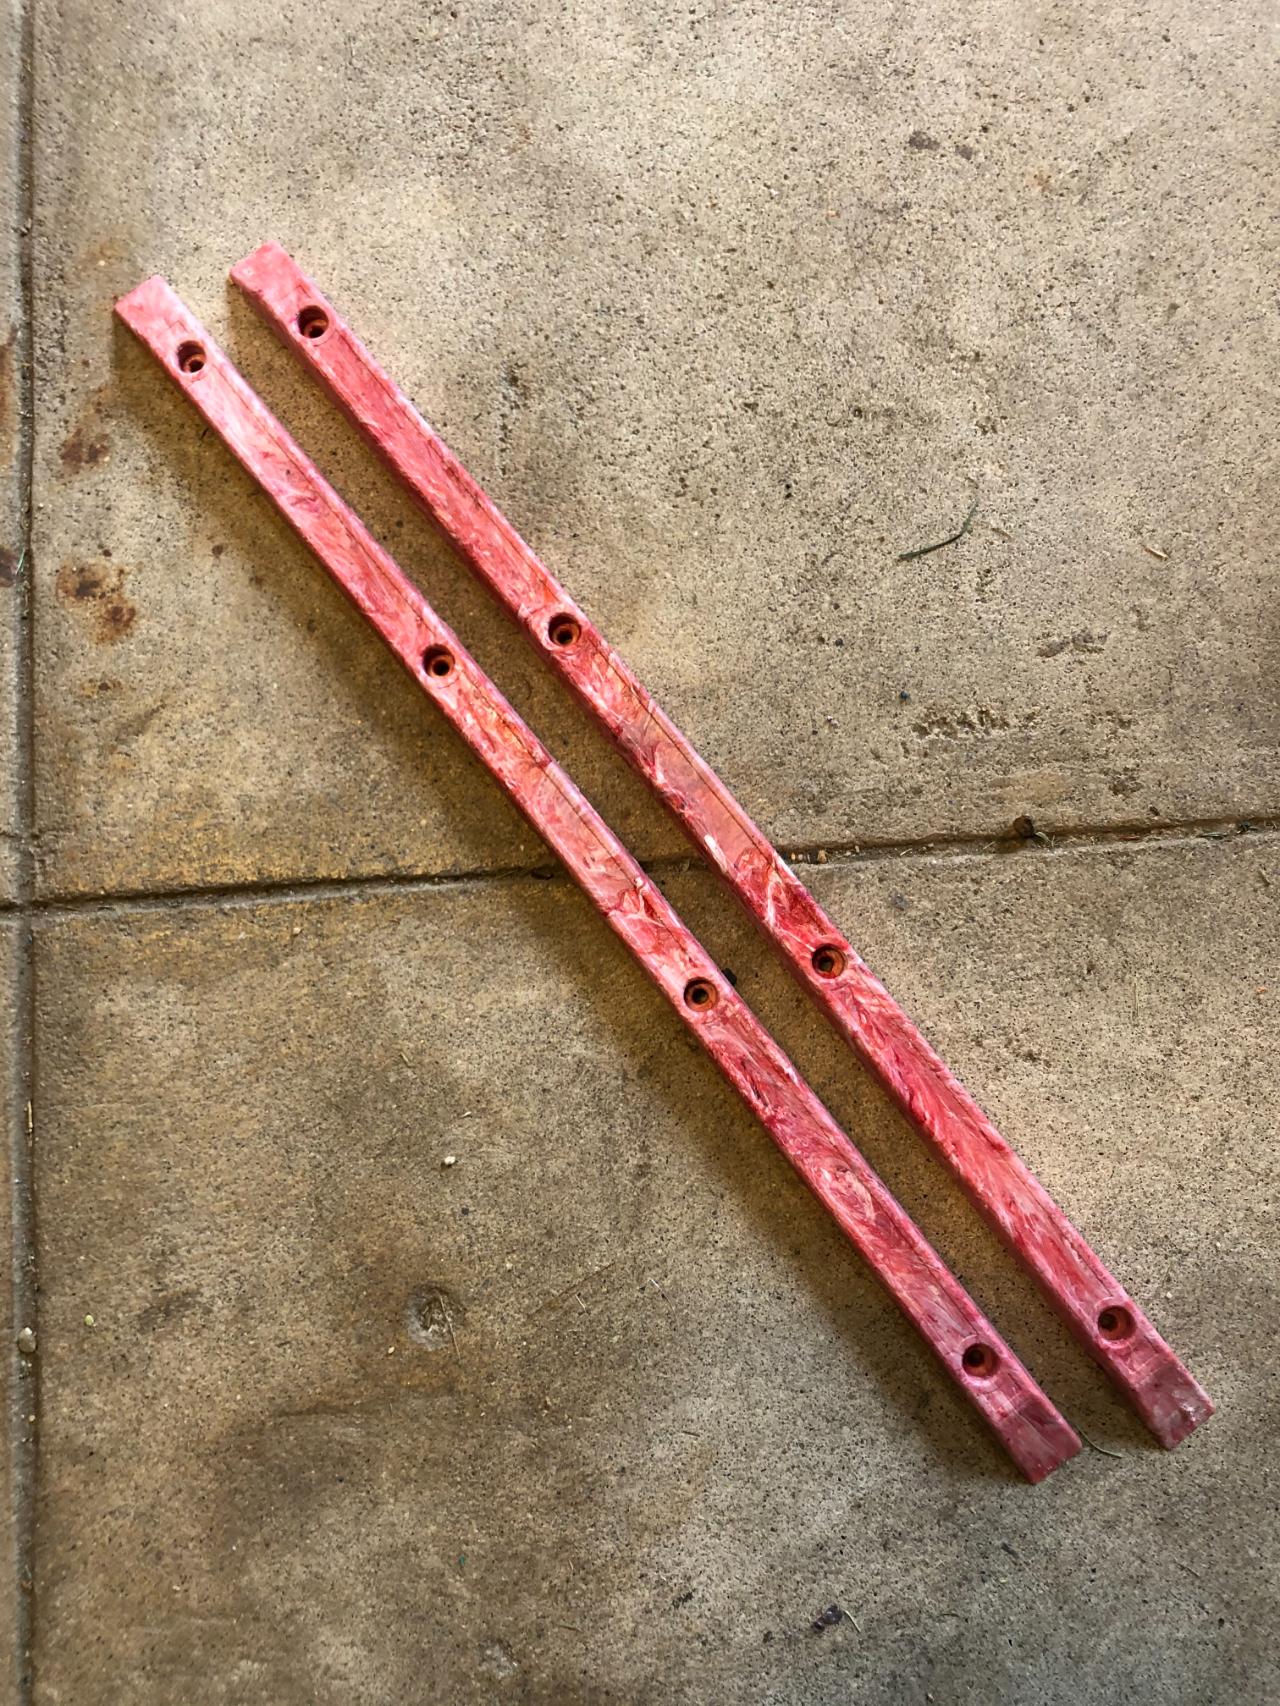
Deck rails have been used by skateboarders since the 80’s to (1) help boards slide better on handrails, coping, curbs, etc., and (2) to protect board graphics. These recycled rails succeed at both of those things, but offer something that skateboarding has never seen before: a set of deck rails that is made from 100% post-consumer waste.
—
Attachments
Resources
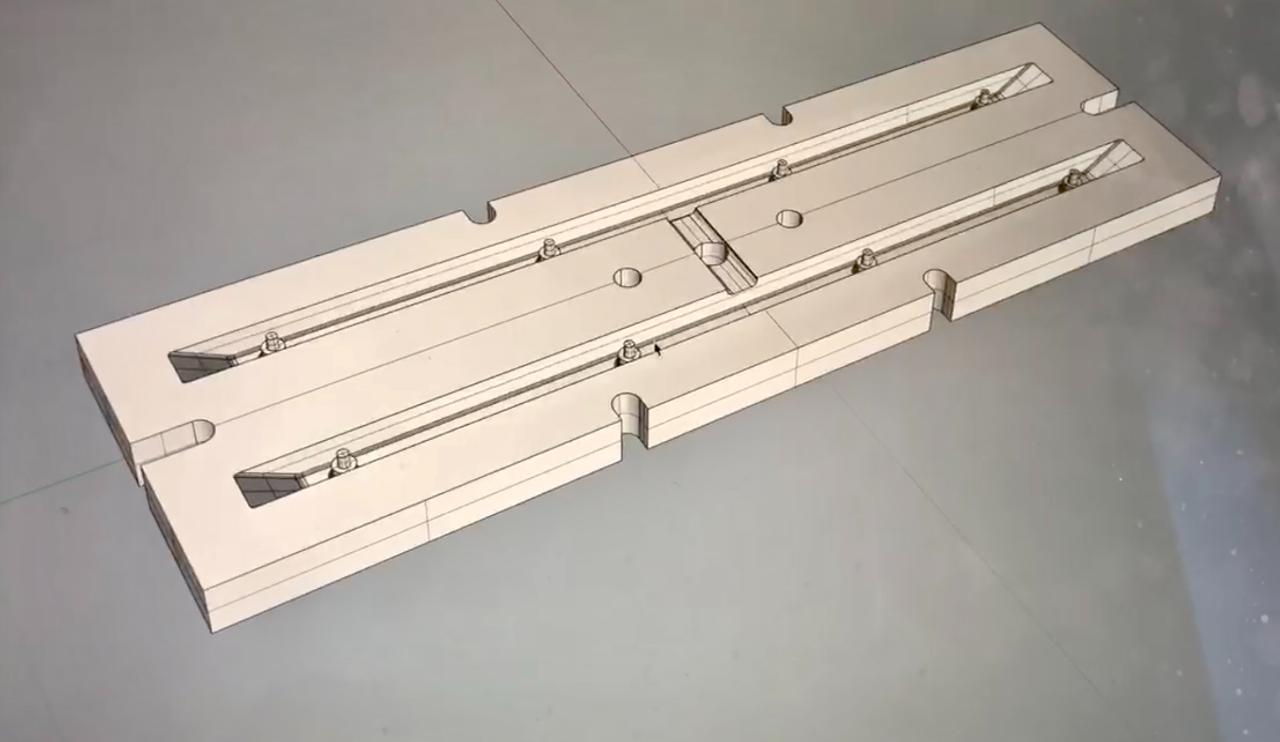
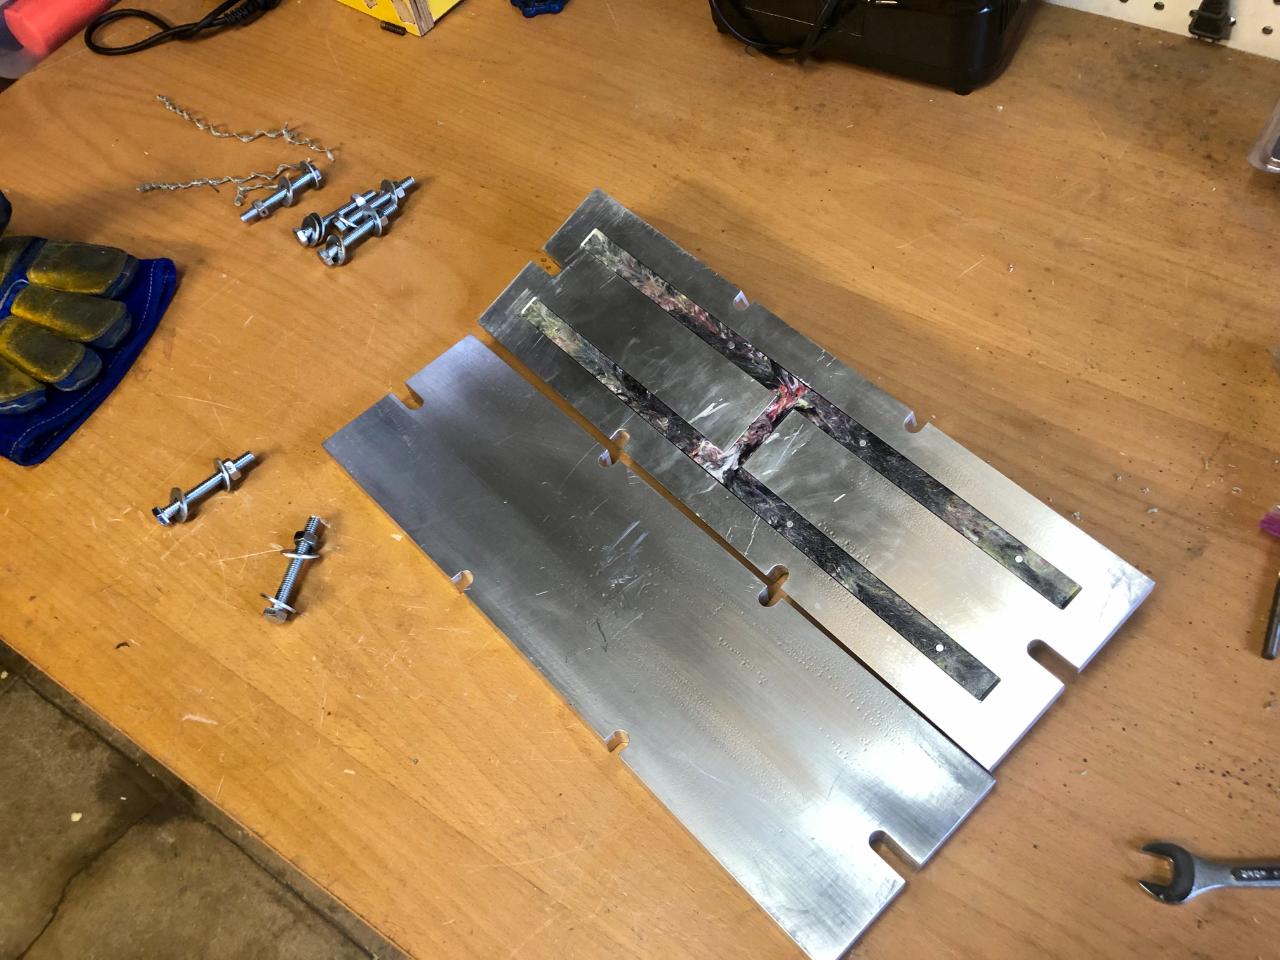
Step 1 - Order / Make the Mold
You can buy my mold, or my mold design from the precious plastic bazar or my website (links below), or design a version yourself.
(with anything Precious Plastic related that sells on my website, I donate 5% of the sales to https://preciousplastic.com/support)
https://bazar.preciousplastic.com/precious-plastic-sgv/
https://skatehyena.com/
(with anything Precious Plastic related that sells on my website, I donate 5% of the sales to https://preciousplastic.com/support)
https://bazar.preciousplastic.com/precious-plastic-sgv/
https://skatehyena.com/
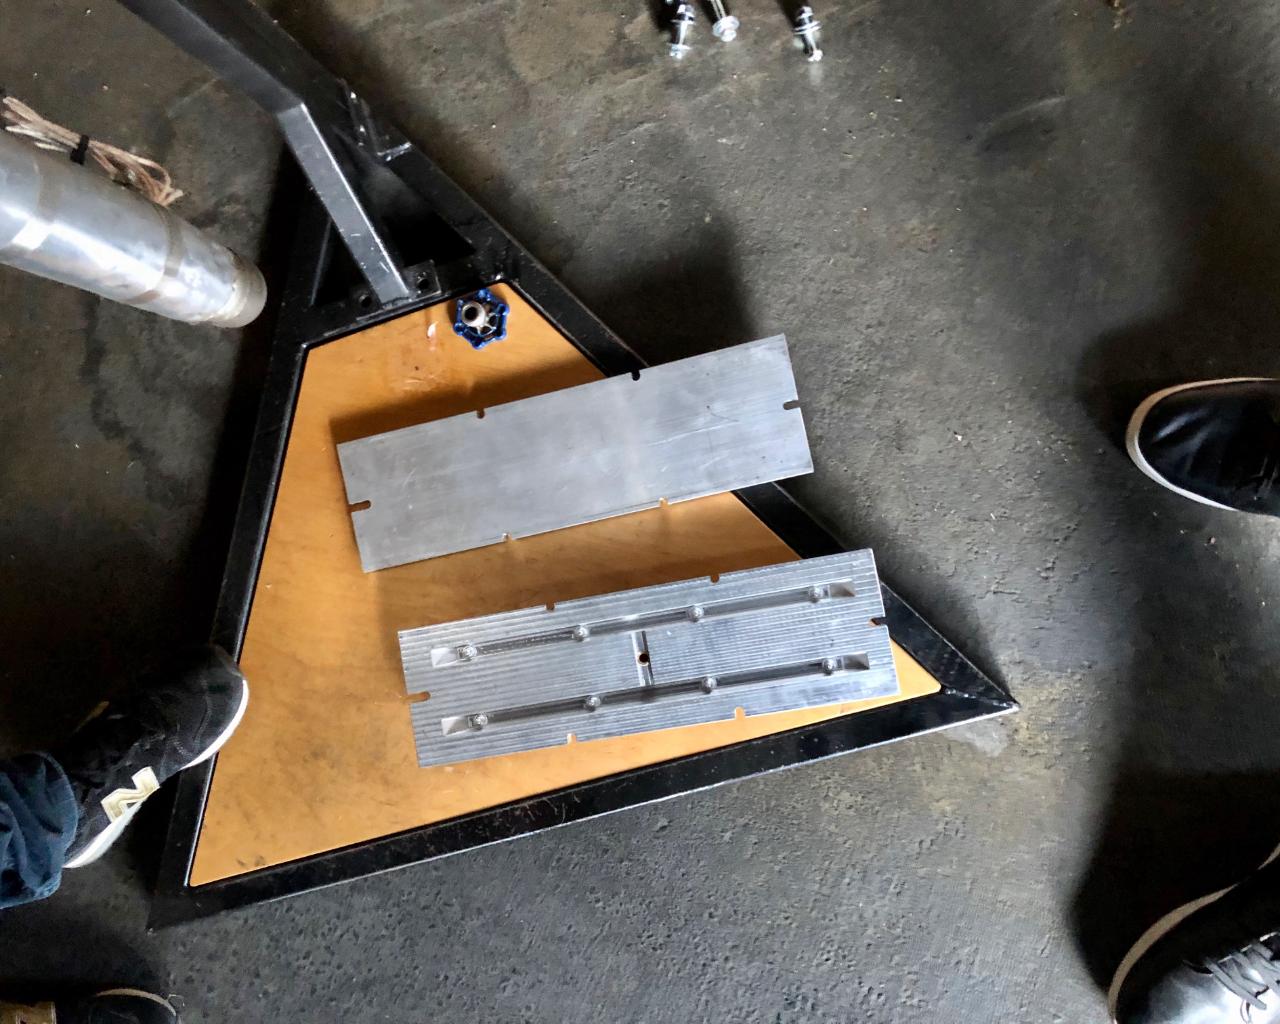
Step 2 - Having the Mold Made!
If you buy my mold, then you’ll receive it in about 4 weeks.
If you buy my mold design (or design it yourself), then you’ll have the digital file, but you’ll still need to have the mold made, which leaves two options:
- Make it yourself
- Send the file to someone to make the mold:
- Your local CNC machinist
- Whoever is the most local mold maker to you on the Precious Plastic Bazar
Step 3 - Reycled Used Plastic
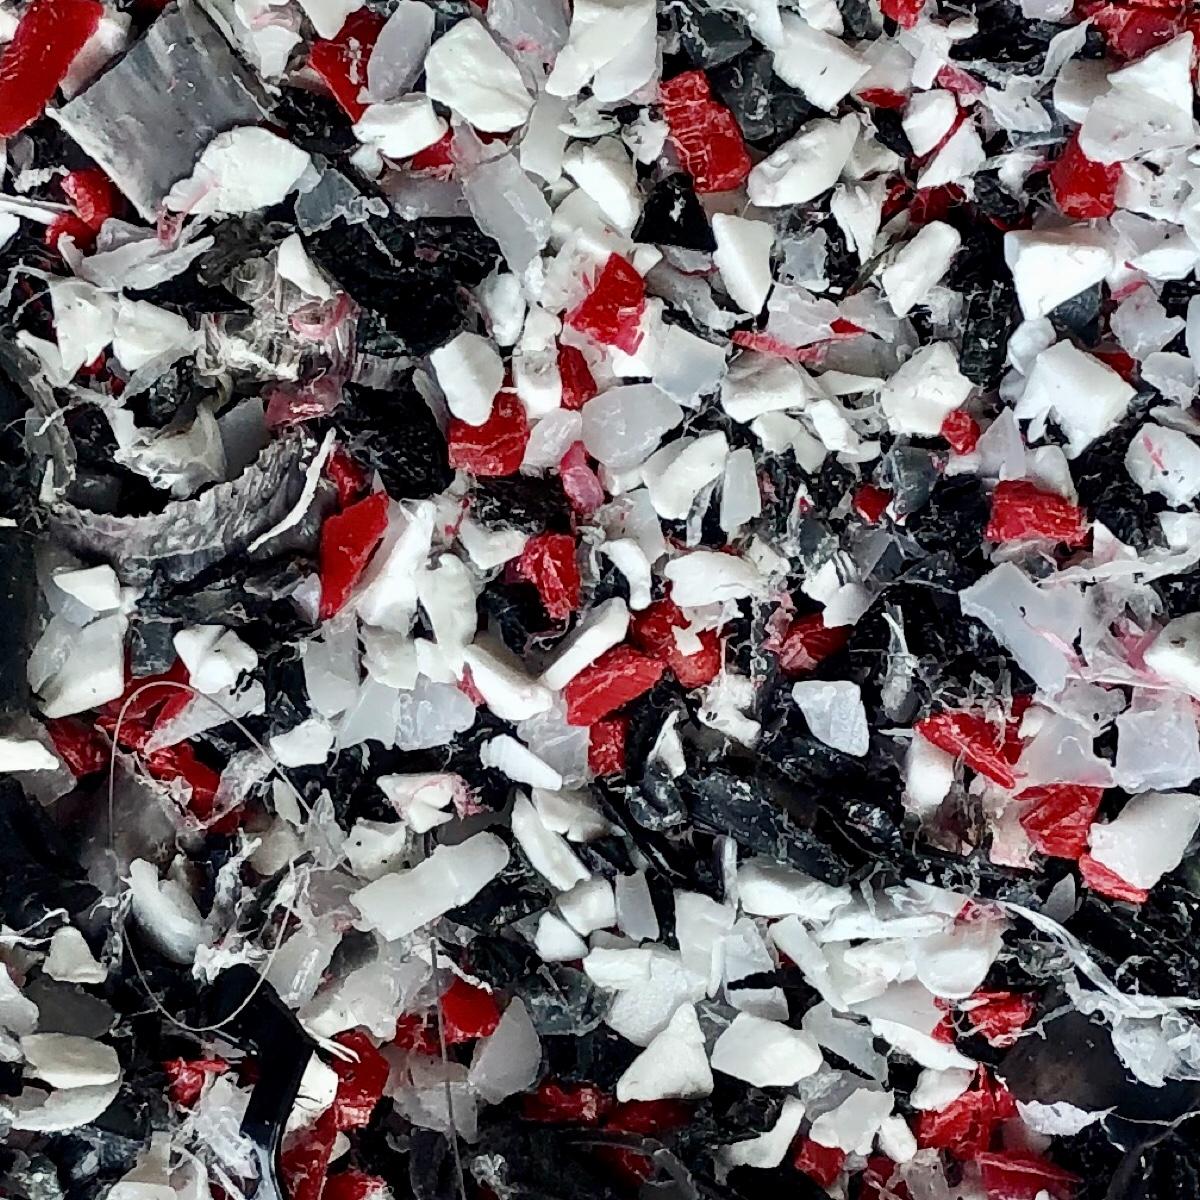
Collect used plastic to shred and shred it, or buy pre-shredded plastic:
https://bazar.preciousplastic.com/machines/shredder/
https://bazar.preciousplastic.com/raw-material/plastic/
(I’ve found that type #2 HDPE has worked best for me for durability and boardsliding, but I’d love to hear what other people find if another plastic type works better/differently for them)
https://bazar.preciousplastic.com/machines/shredder/
https://bazar.preciousplastic.com/raw-material/plastic/
(I’ve found that type #2 HDPE has worked best for me for durability and boardsliding, but I’d love to hear what other people find if another plastic type works better/differently for them)
Step 4 - Get Injection Machine
Buy or build an injection machine
https://bazar.preciousplastic.com/machines/injection/
https://youtu.be/qtZv96ciFIU
(also, I realize that an extruder might be a better Precious Plastic machine for this product. That said, I can’t afford an extruder, so I’ve been using the V3 injection machine. I’d love to hear any feedback if someone out there makes these rails with an extruder.)
Step 5 - Plastic Education!
Learn how to use your new injection machine and mold and get a crash course on plastics (link below). When going through all of this educational info, if you have any questions feel free to email me at preciousplasticpasadena@gmail.com
https://community.preciousplastic.com/academy/
https://community.preciousplastic.com/academy/
Step 6 - Inject!
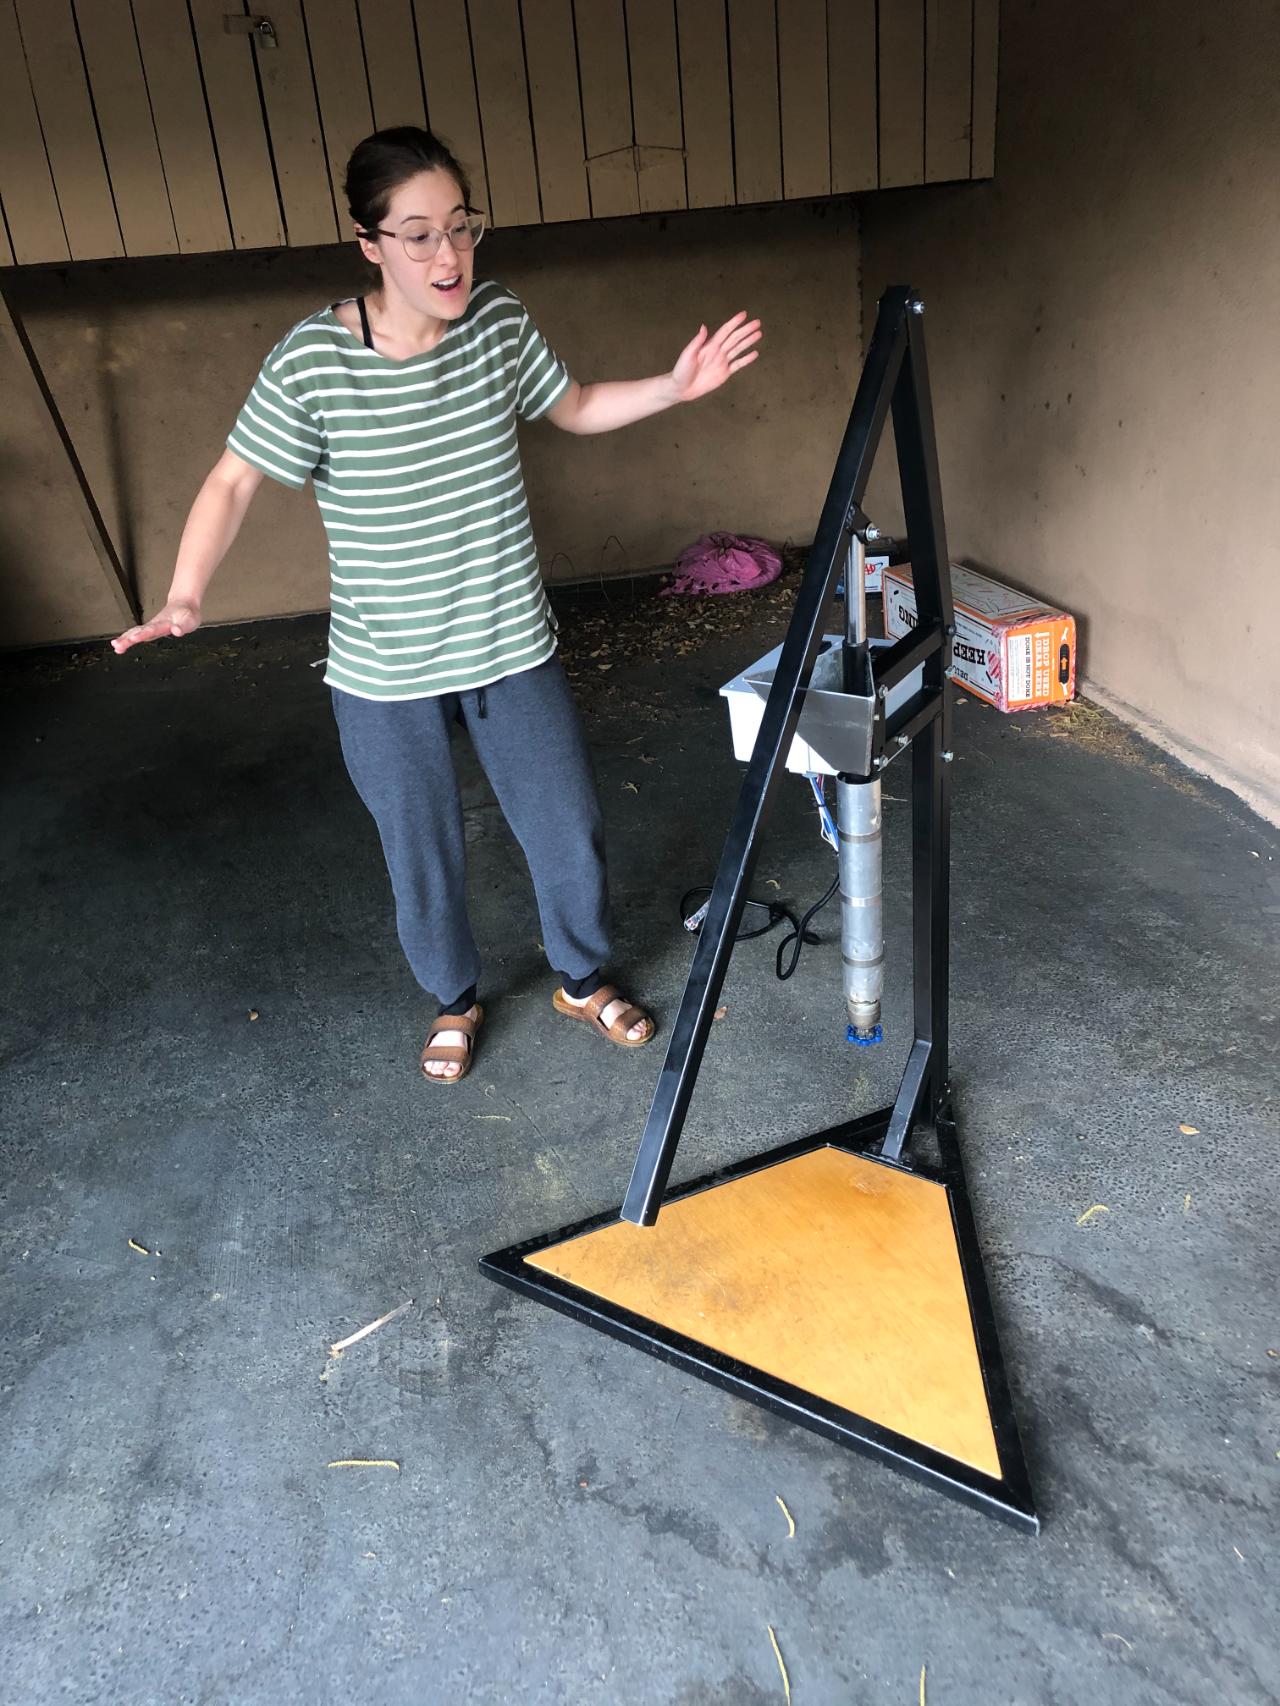
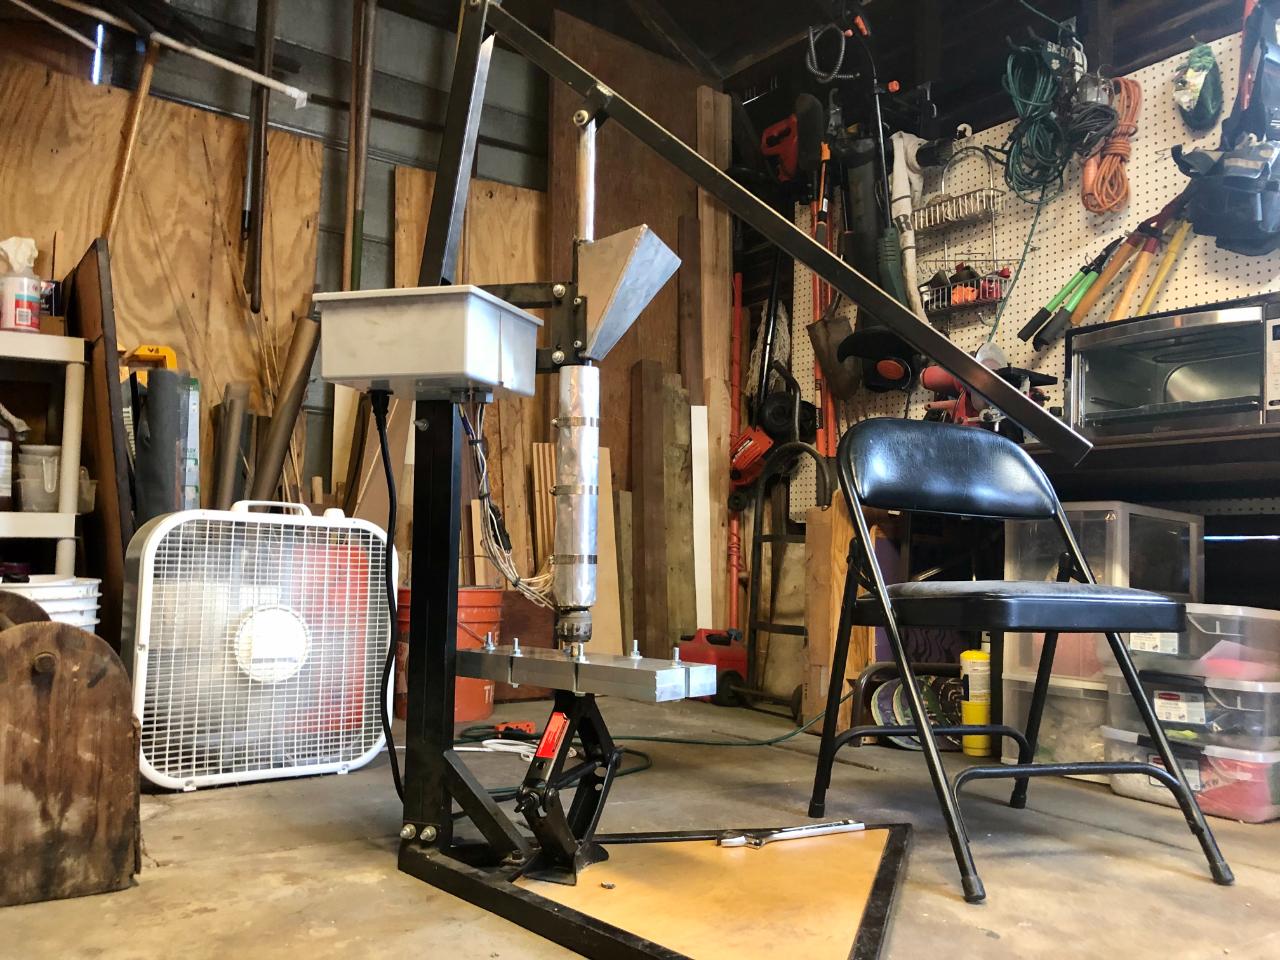
I've been using the Precious Plastic V3 injection machine with a carjack (because the mold is too wide to screw onto the injection machine all the way). See link below for Precious Plastic's How-To for using the V3 injection machine.
The rail mold takes about 80 grams of molten plastic (this varies depending on the plastic type), so you'll end up using about 80% of the plastic from an injection machine that's been filled to the brim.
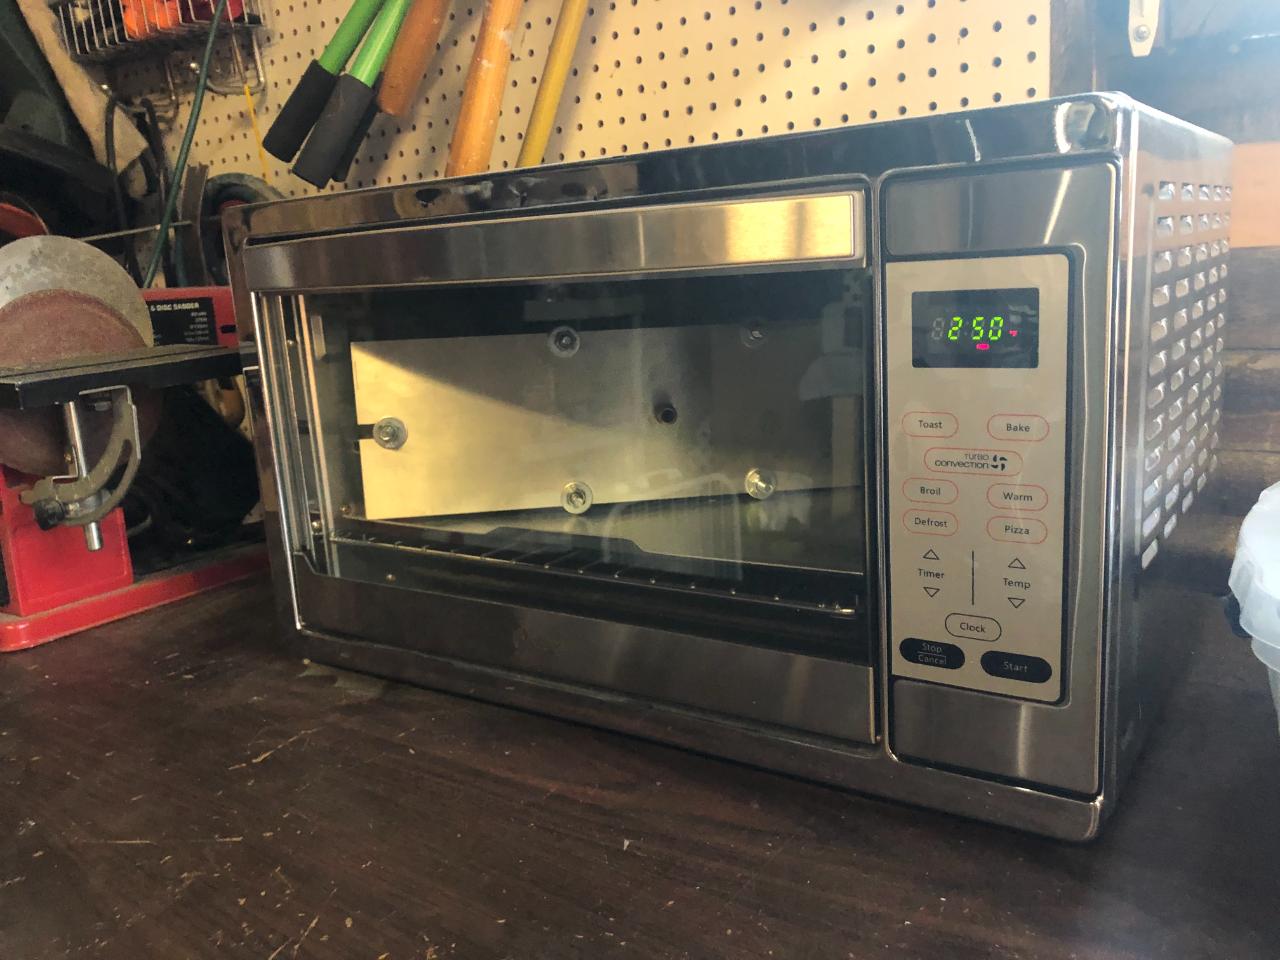
I also pre-heat the mold for 15 minutes at 250°F / 121°C, so that when the molten plastic hits the mold, it's not hitting a lukewarm surface and allows for better melt-flow.
https://community.preciousplastic.com/how-to/work-with-the-injection-machine
The rail mold takes about 80 grams of molten plastic (this varies depending on the plastic type), so you'll end up using about 80% of the plastic from an injection machine that's been filled to the brim.
I also pre-heat the mold for 15 minutes at 250°F / 121°C, so that when the molten plastic hits the mold, it's not hitting a lukewarm surface and allows for better melt-flow.
https://community.preciousplastic.com/how-to/work-with-the-injection-machine
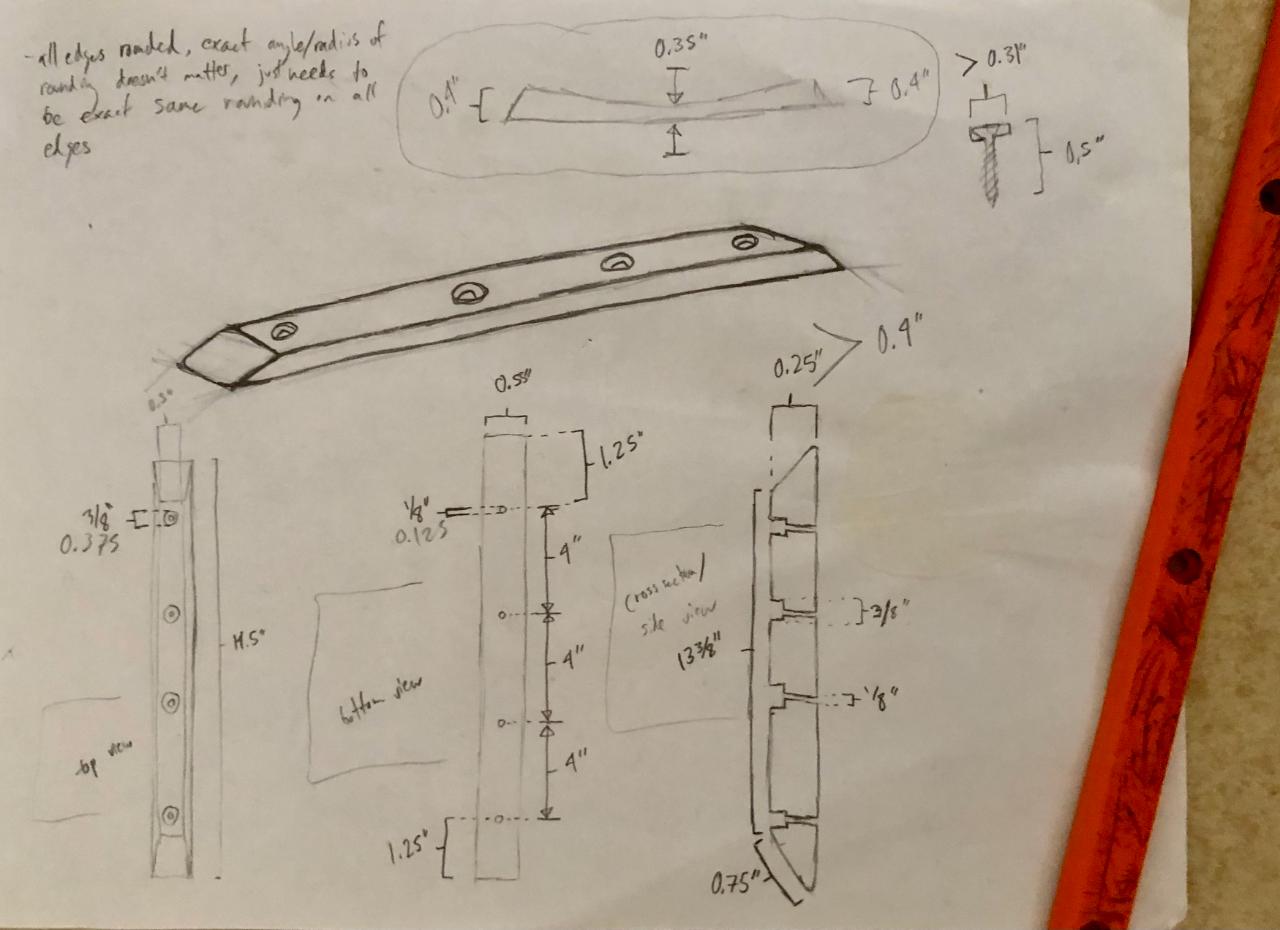
Step 7 - Screws!
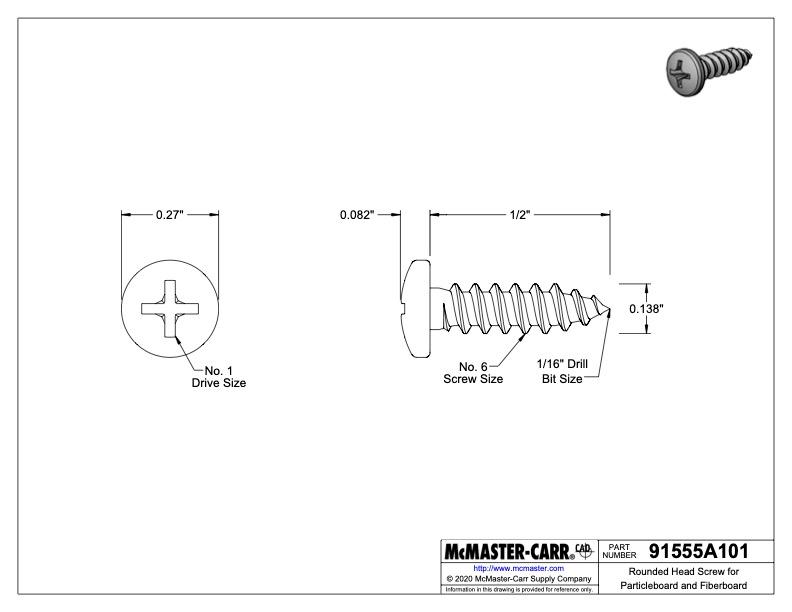
After you've made the rails, screws are needed to attach the rails to the bottom of a skateboard. Order screws that fit the rails and work with skateboard decks (this took a lot of trial and error to figure out which screws work best).
Here's the options I found that work best:
- Order these: https://www.mcmaster.com/91555A101/
- If you’re not able to order through McMaster, find screws that match the image attached to this step.
I recommend using a plain non-powered phillips head screwdriver to screw the rails onto a board and not strip out the wood. But an electric drill can work if you’re delicate.
Step 8 - SKATE & DESTORY
Make your own recycled rails, and anything else that you can think of to have injection molds made of! And happy recycling!

—
—
—
Comments