Upgrade your Extrusion screw
Switching to an industrial screw will open up many new exciting ways of working with the extrusion machine.
—
Attachments
Resources
3D Files
- 3D Step File: /files/Extrusion_screw/Extrusion screw/CAD/Plastic Screw extruder v1.stp - Preview
Step 1 - Get a screw
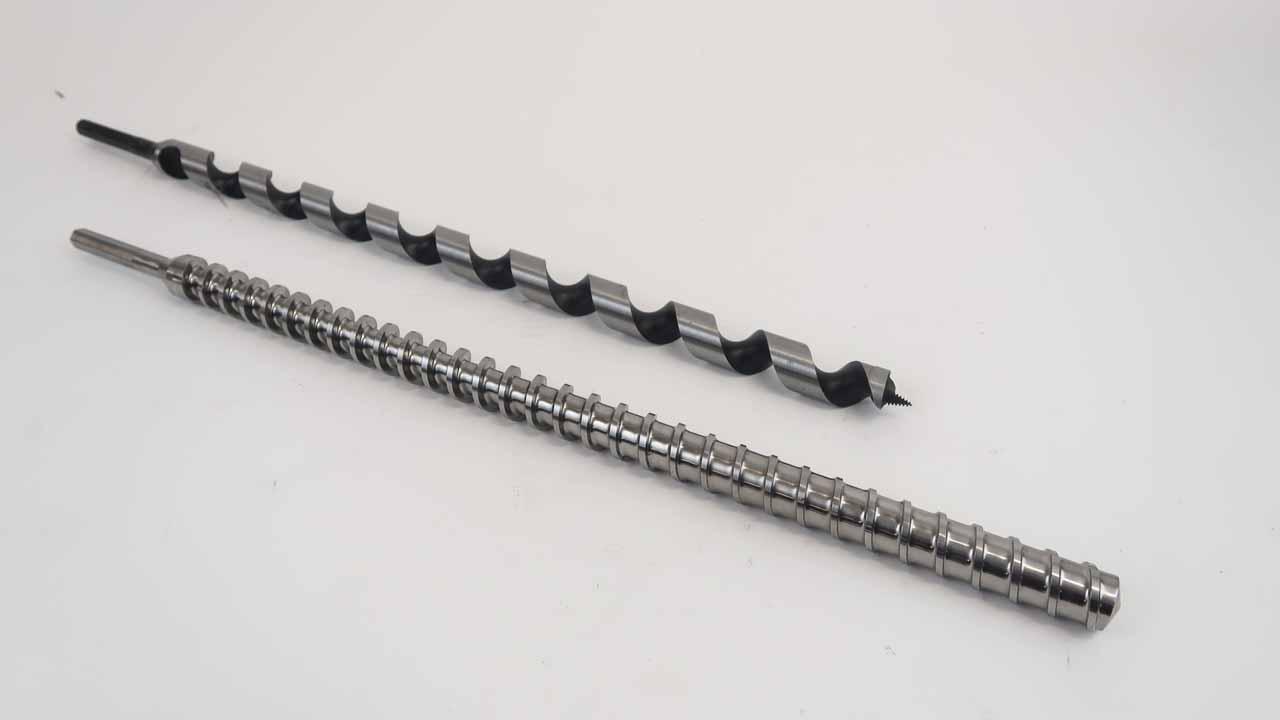
V2 of the extrusion machine uses a wood auger to transport the plastic from one side to the other of the barrel while being heated up and melted. It works fine for most applications but if you want to push extrusion to the next level you need a screw that builds up pressure while transporting the plastic.
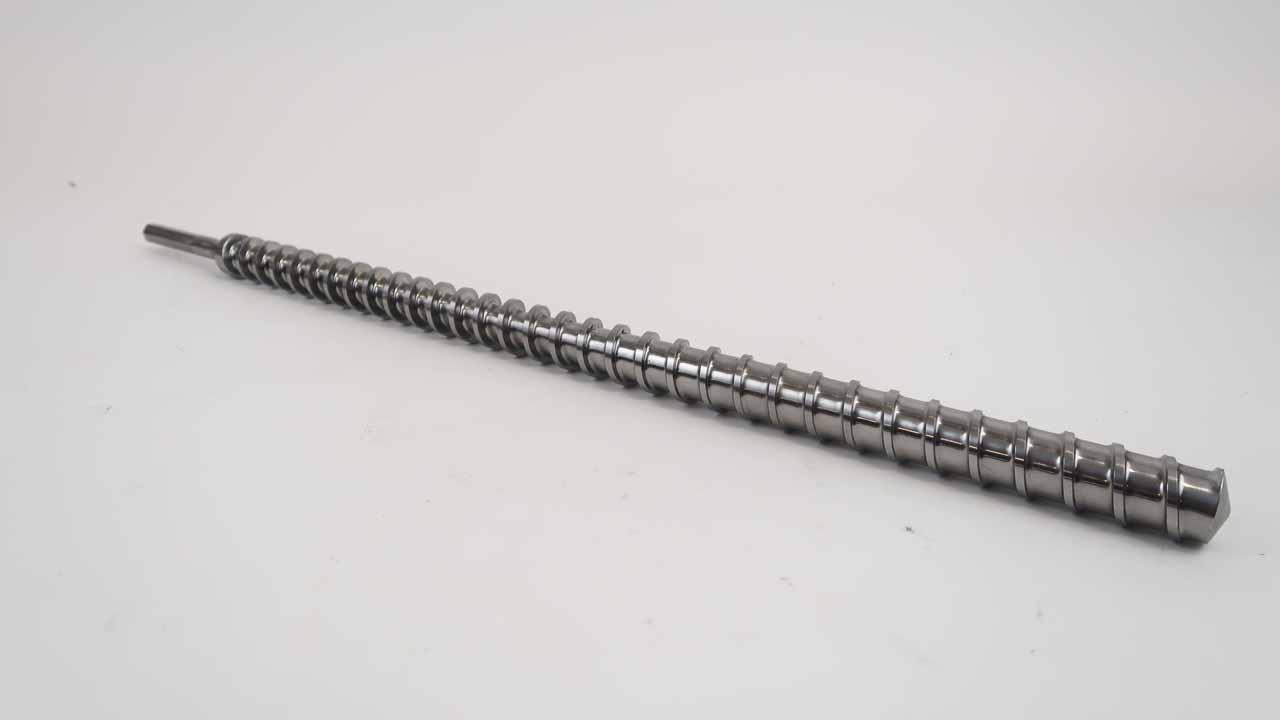
You need an industrial screw.
You can download the technical drawing (go to top of this page) if you're adventurous enough to make it yourself, or you can buy it on the Precious Plastic Bazar.
👉 bazar.preciousplastic.com
You need an industrial screw.
You can download the technical drawing (go to top of this page) if you're adventurous enough to make it yourself, or you can buy it on the Precious Plastic Bazar.
👉 bazar.preciousplastic.com
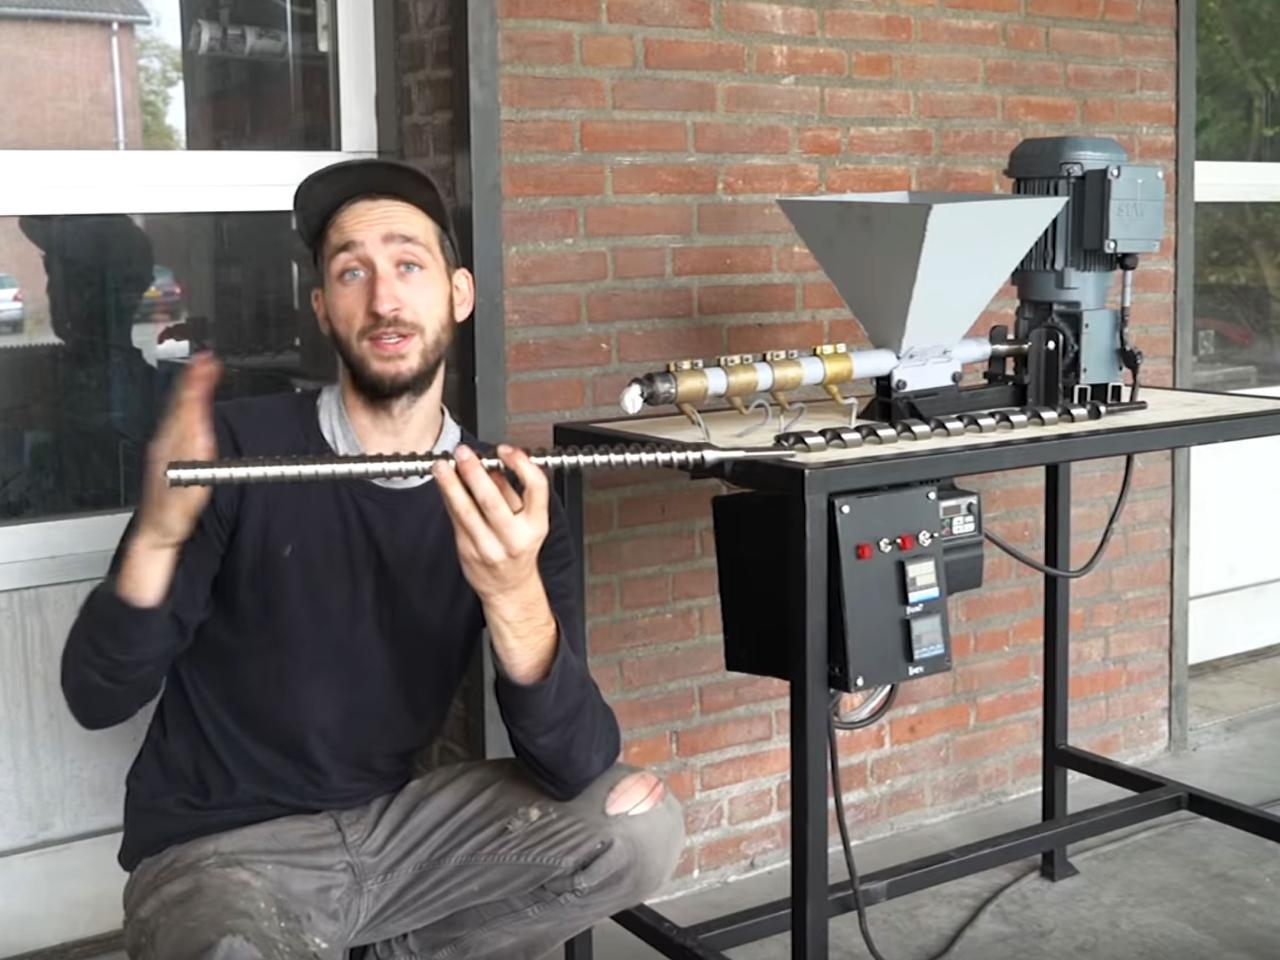
Step 2 - Install the screw
The new screw should fit straight into your existing barrel if your machine has been built according to the drawings in our Download kit. You can also have a look on the Bazar for other sizes if you should need.

Step 3 - Reinforce your machine
You can simply swap this screw for your existing one, but make sure you reinforce your machine. This is very important as this screw brings way more pressure on your machine, particularly on the barrel-holder, the motor and the bottom plate.
Have a look at our ‘Beam making’ Video to learn more about this and see how you can make beams with this upgraded screw.
👉 https://www.youtube.com/watch?v=zNGuuSKE1pY
Have fun extruding!
Have a look at our ‘Beam making’ Video to learn more about this and see how you can make beams with this upgraded screw.
👉 https://www.youtube.com/watch?v=zNGuuSKE1pY
Have fun extruding!
—
—
—
Comments