Weld plastic: Heat gun
With the heat gun you can weld two pieces of the same plastic type together.
Here you’ll find some tips for this technique.
—
Attachments
Resources
Step 1 - Stay safe
When talking about safety, we are only referring to precautions about working specifically with plastic, as it’s our thing. Working with machines like the table saw requires a certain level of expertise, so please take all the precautions related with how the machines work.
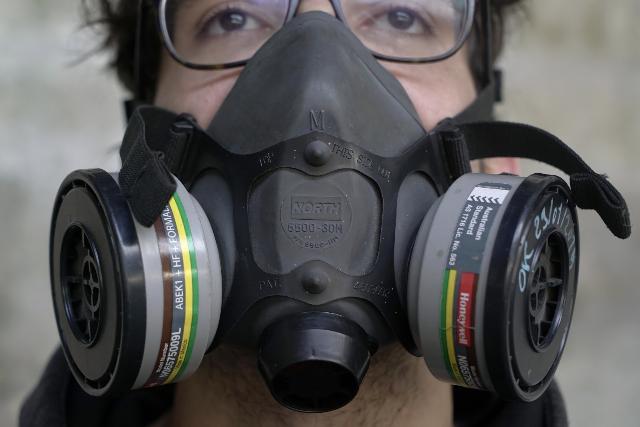
As we are melting plastic, bad fumes can be released. In order to work safer, make sure to use a gas mask with ABEK filters to prevent inhaling possibly toxic fumes. Special attention on plastics like PS and PVC. Also when handling with heated elements we recommend to wear working gloves.
Recommended safety equipment:
- ABEK mask
- gloves
Step 2 - Gather your tools for welding
Welding is a process in which we join two parts together by applying heat and adding a filler of the same material in between the parts.
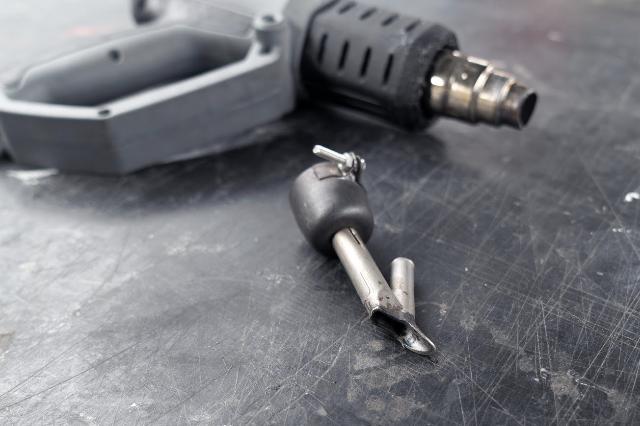
In order to do this we are using a hot gun with a specific nozzle that helps us to spread the melted material on the surfaces which we want to weld. This nozzle will concentrate the heat on the welding line and will guide the stick in the process.
In order to do this we are using a hot gun with a specific nozzle that helps us to spread the melted material on the surfaces which we want to weld. This nozzle will concentrate the heat on the welding line and will guide the stick in the process.
Step 3 - Prepare the edges
In order to maximise the welding surface, we make a chamfer along the sides of both pieces. For that you can use a manual milling machine or a hand router with a V shape tool.
By making a chamfer we are increasing the surface that will be melted together with the welding line and therefore we’ll create a stronger weld.
By making a chamfer we are increasing the surface that will be melted together with the welding line and therefore we’ll create a stronger weld.


Step 4 - Make a welding stick
We will need a plastic stick to weld the pieces together. It’s very important that the welding material comes from the same source as your pieces, otherwise the weld might not be homogeneous.
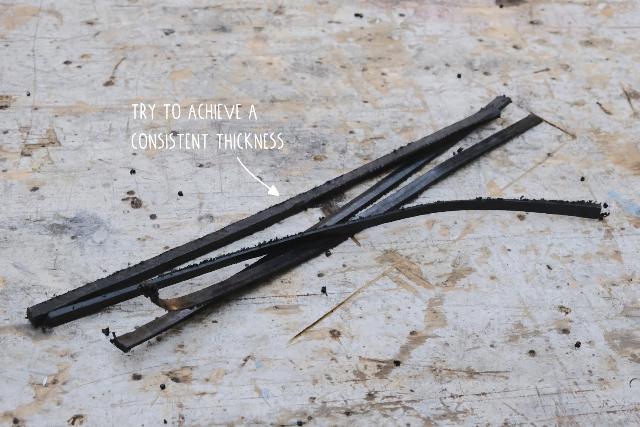
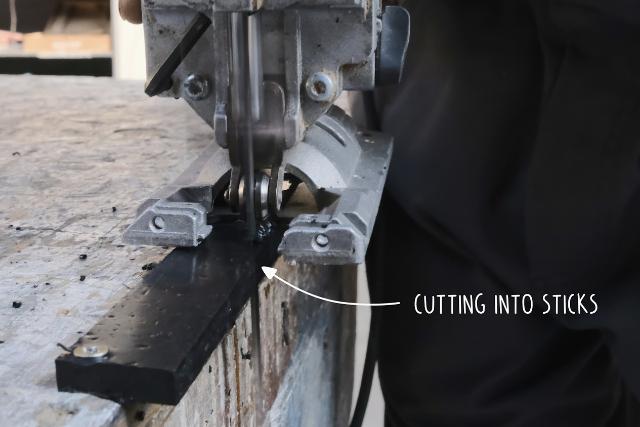
The stick can be made in many ways, it can be extruded or it can be cut out of a sheet, like it is shown here. The important part is that it’s as consistent as possible and also fits inside the welding tool. Generally something between 2-4mm should work.
The stick can be made in many ways, it can be extruded or it can be cut out of a sheet, like it is shown here. The important part is that it’s as consistent as possible and also fits inside the welding tool. Generally something between 2-4mm should work.

Step 5 - Prepare the heat gun
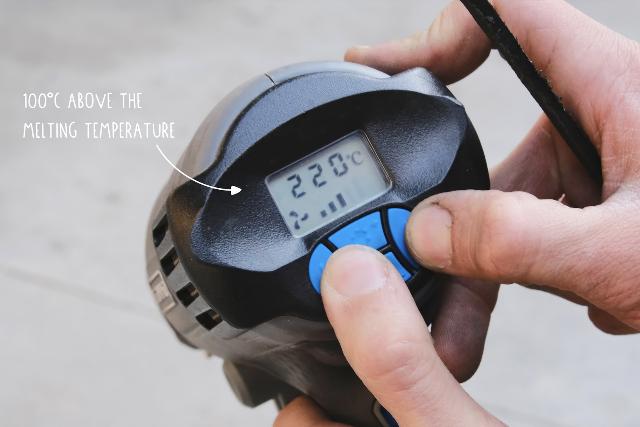
Set the temperature of the heat gun significantly higher than the melting temperature of the plastic you are welding.
In this case we are welding HDPE with a temperature around 100ºC above the melting point, since we want to quickly melt both the surface and the stick.
In this case we are welding HDPE with a temperature around 100ºC above the melting point, since we want to quickly melt both the surface and the stick.
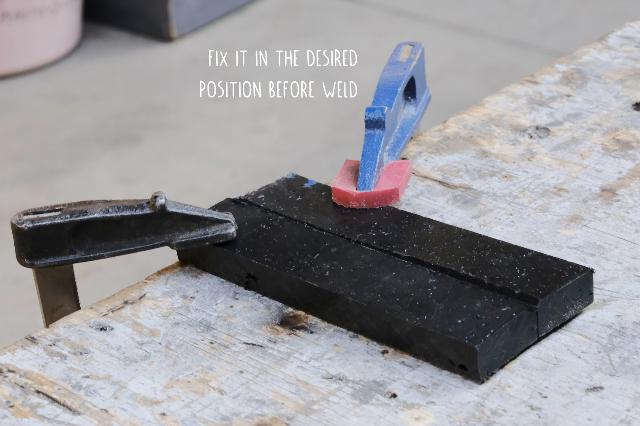
Step 6 - Clamp the pieces
During the process we will apply pressure, so we need to clamp the pieces together tightly in order to avoid undesired movements while welding.
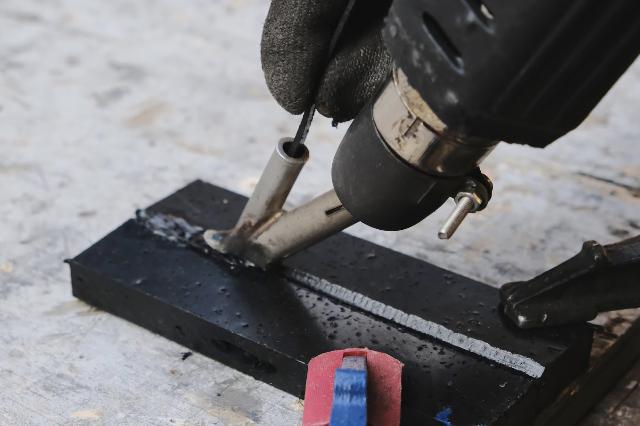
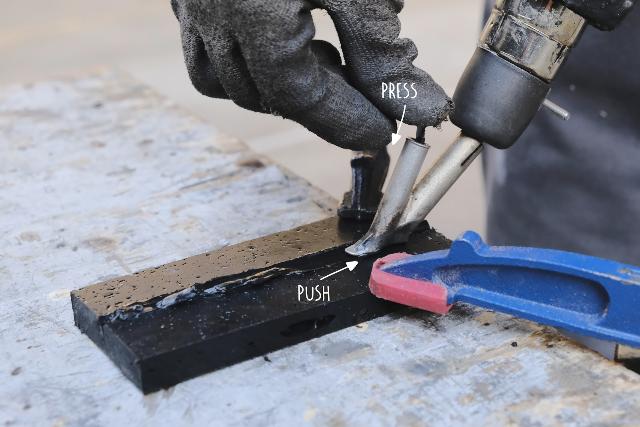
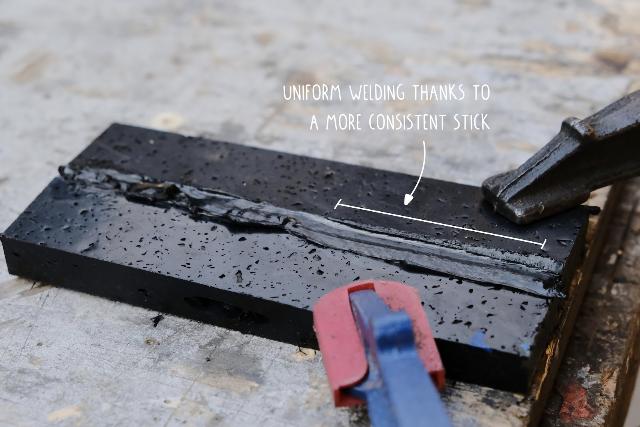
Step 7 - Weld
Wait until the heat gun reaches the desired temperature, then put the heat gun welding nozzle right over the groove. Gently press the stick through the nozzle and follow the groove slowly but steady. In order to achieve a uniform welding we need to give the heat gun enough time to melt both the stick and the surfaces.
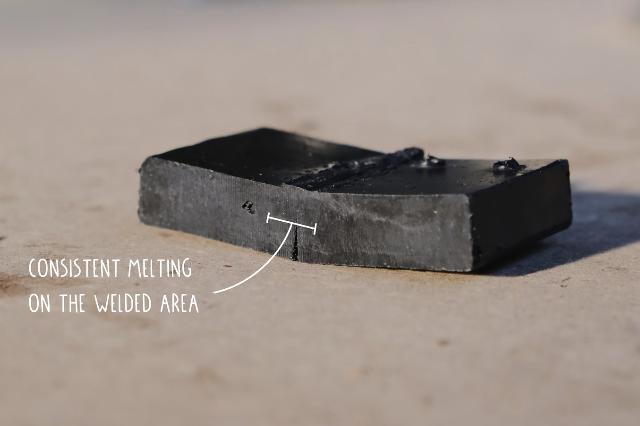
Step 8 - Done
If the welding has been done correctly both pieces should be fused together with the added material. A good way to see the result is by cutting through the piece and checking the consistency on the welded area.
—
—
—
Comments