Compression machine 2.1
This upgrade will make your compression machine way more efficient and streamlined. Off you go!
—
Attachments
Resources
3D Files
- 3D Step File: /files/CAD/frame compression.STEP - Preview
Step 1 - Get ready
One of the main challenges with the V2 of our compression machine: It's a rather slow process if compared with the injection or extrusion. This is particularly true because the plastic is first heated, then compressed and cooled in the oven- lots of waiting time. Good for experimenting but not feasible if you want to run a production.
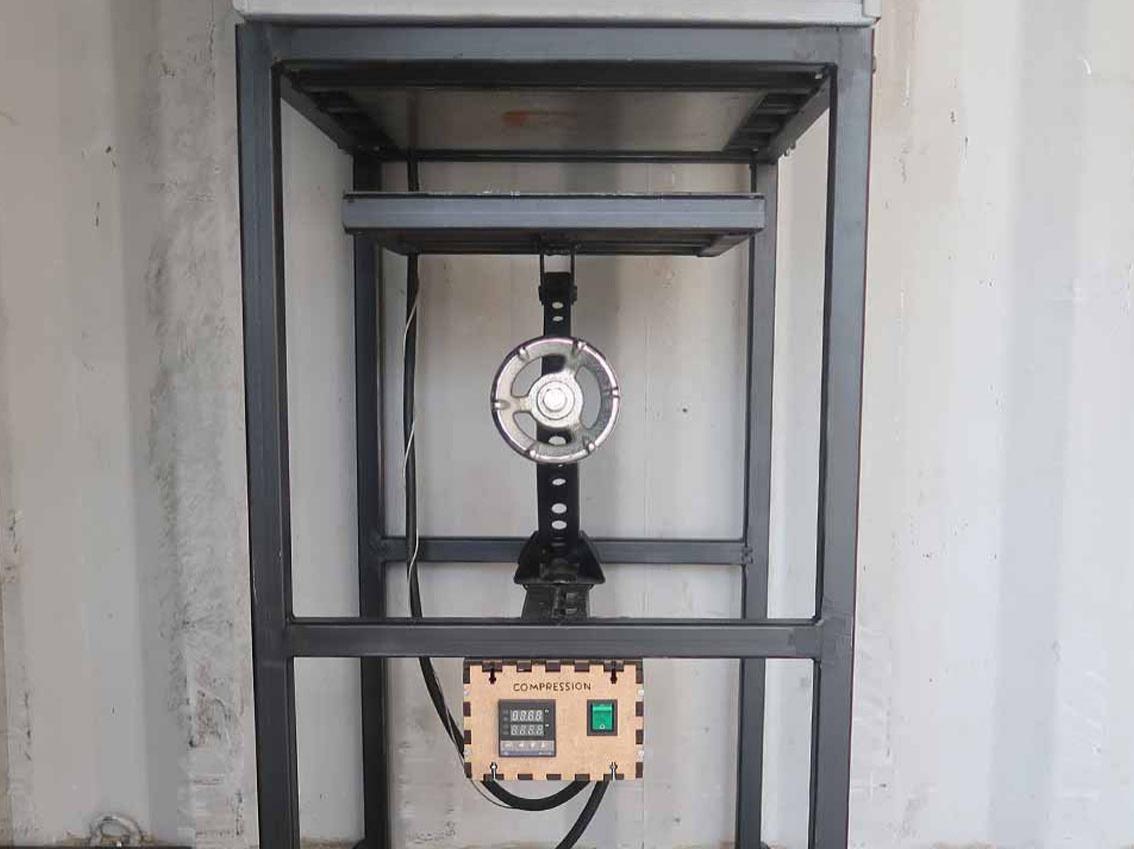
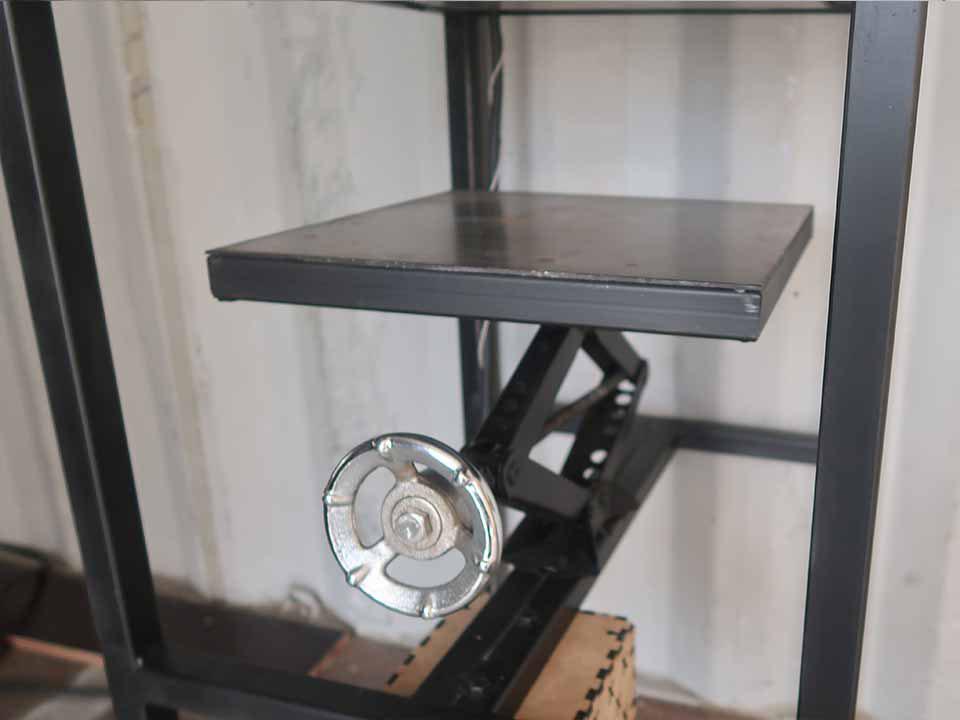
With this upgrade the compression area (carjack) is shifted underneath the machine, this way the machine can run continuously. With this change you can now compress and cool one mould while you're heating up a second one. Besides being more productive and efficient this upgrade makes the machine easier to build as you don’t need to install the compression mechanism inside the oven. Take note of the drawings.
With this upgrade the compression area (carjack) is shifted underneath the machine, this way the machine can run continuously. With this change you can now compress and cool one mould while you're heating up a second one. Besides being more productive and efficient this upgrade makes the machine easier to build as you don’t need to install the compression mechanism inside the oven. Take note of the drawings.
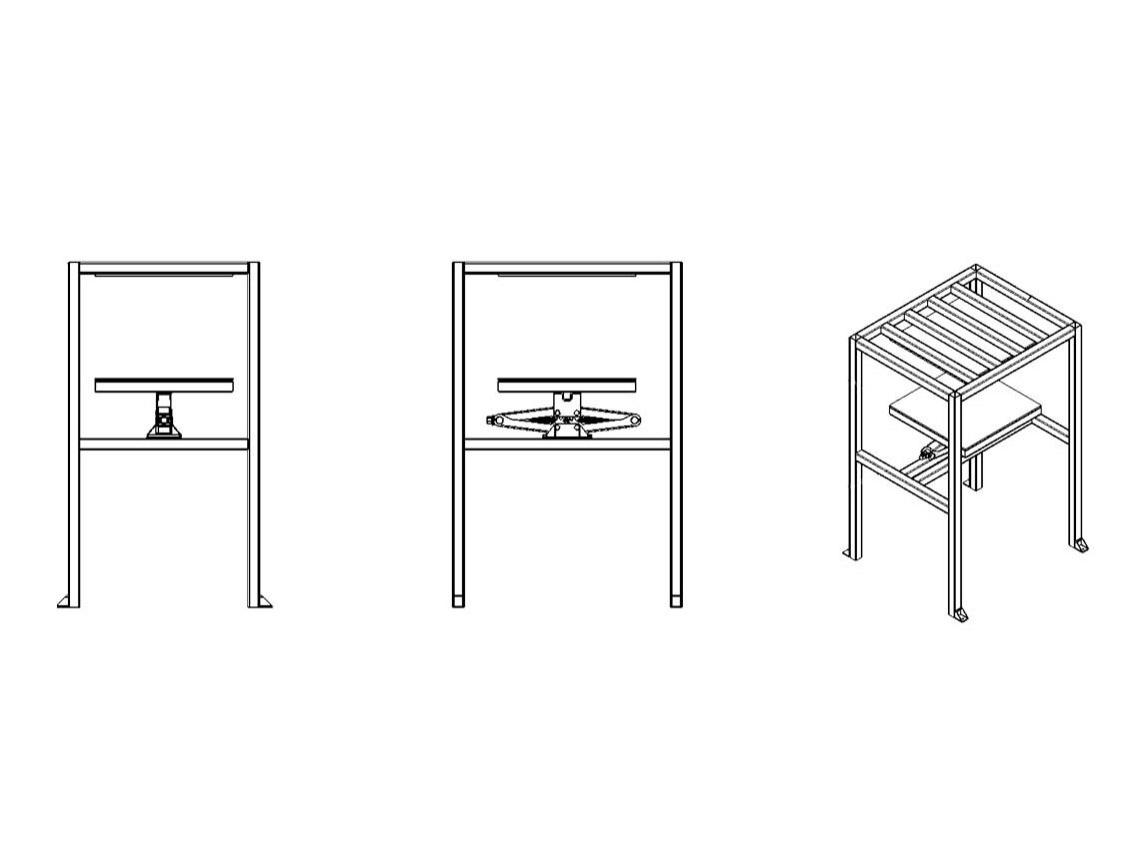
Step 2 - Cut and weld metal
Use the schematics to measure and cut your metal. Your oven may be a different size, so make sure you adjust the measurements where necessary.
Weld all your parts together and paint.
Weld all your parts together and paint.
Step 3 - Add the oven
Take your desired oven and fasten it to the machine. If it already works then you could leave it as is, or you can install a PID controller which might give you slightly more control.
Tip: It’s never a bad idea to add more insulation which will make your machine more energy efficient.
Tip: It’s never a bad idea to add more insulation which will make your machine more energy efficient.
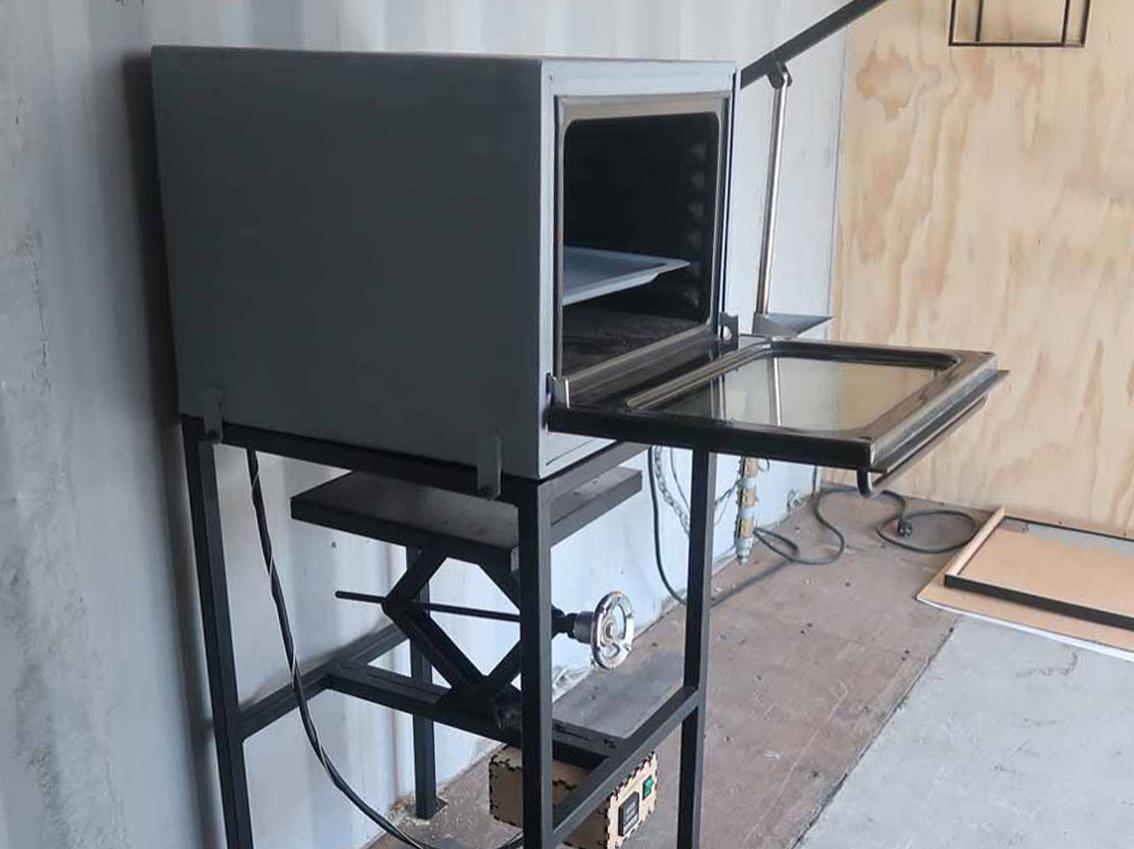
Step 4 - Melt your plastic!
You can now use your oven for plastic recycling!
—
—
—
Comments