Create a bench with 2x4 beams
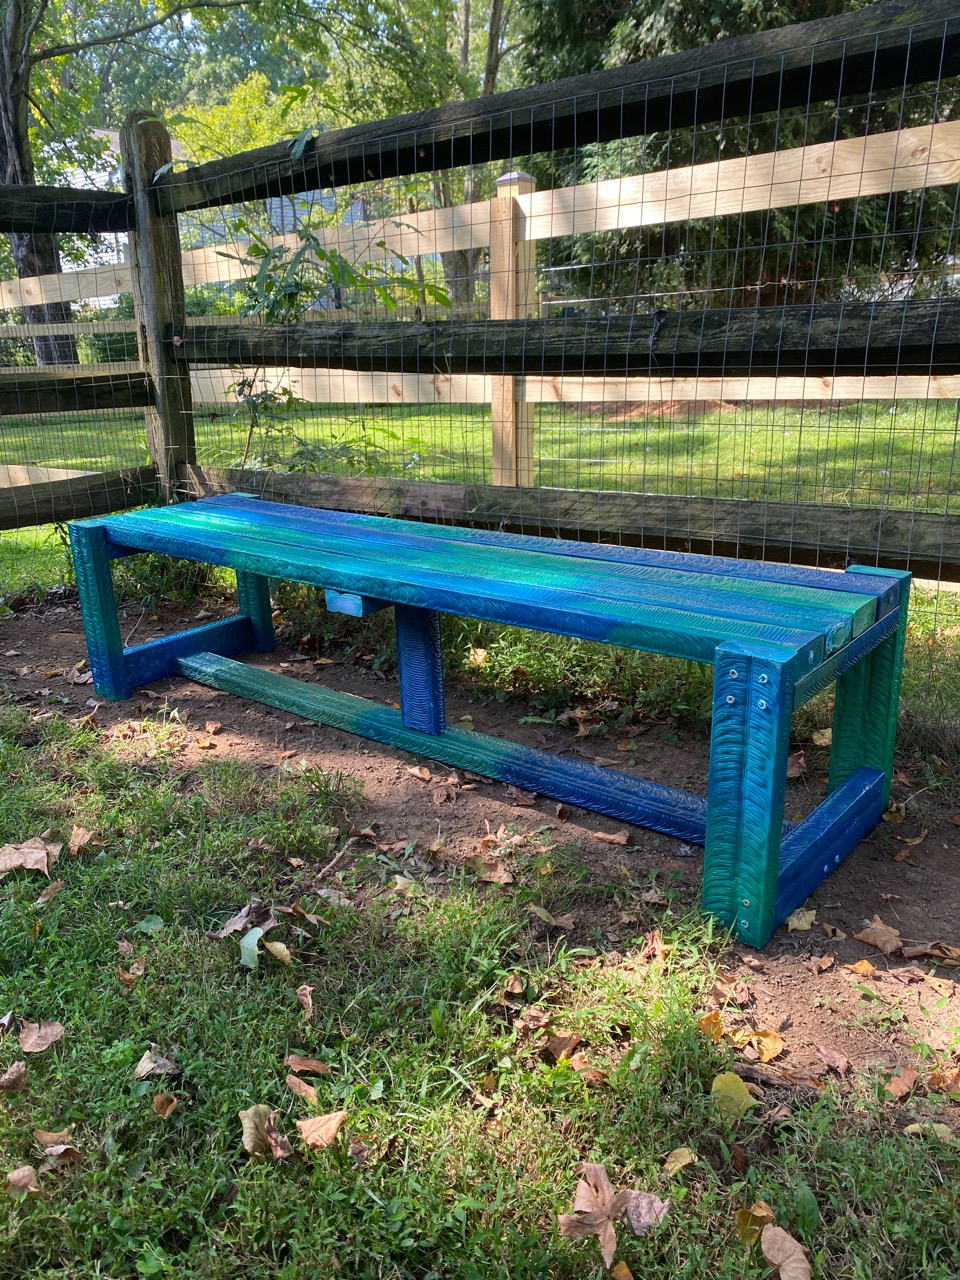
This how-to will showcase how to create a bench using 2x4 extruded beams. Once complete, your bench will consist of over 80 pounds of plastic waste!
—
Attachments
Resources
Step 1 - Prepare your material and equipment
This process will require a few tools and equipment. These include:
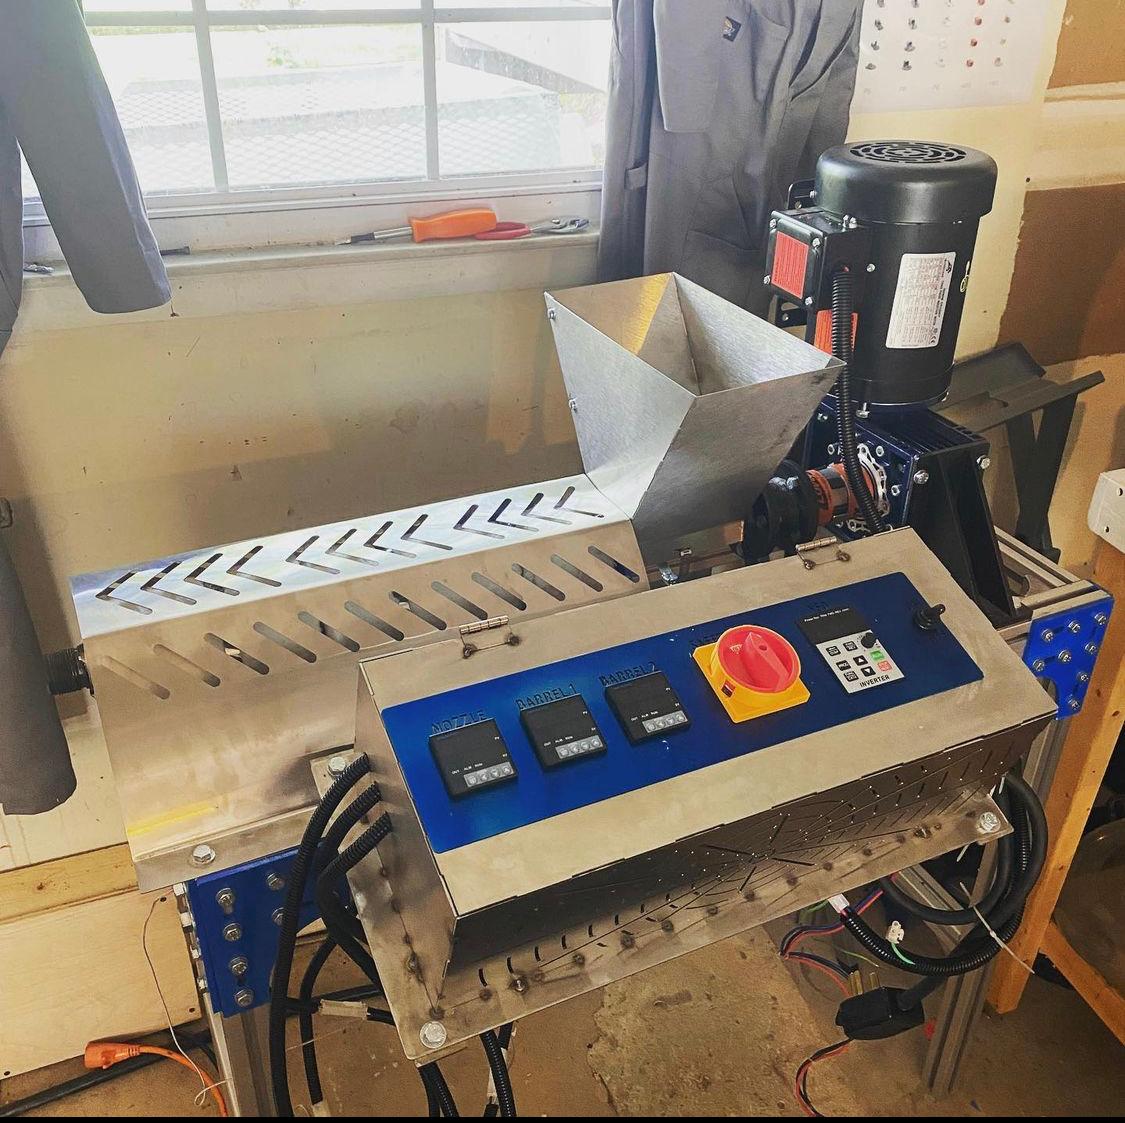
-V4 Extruder
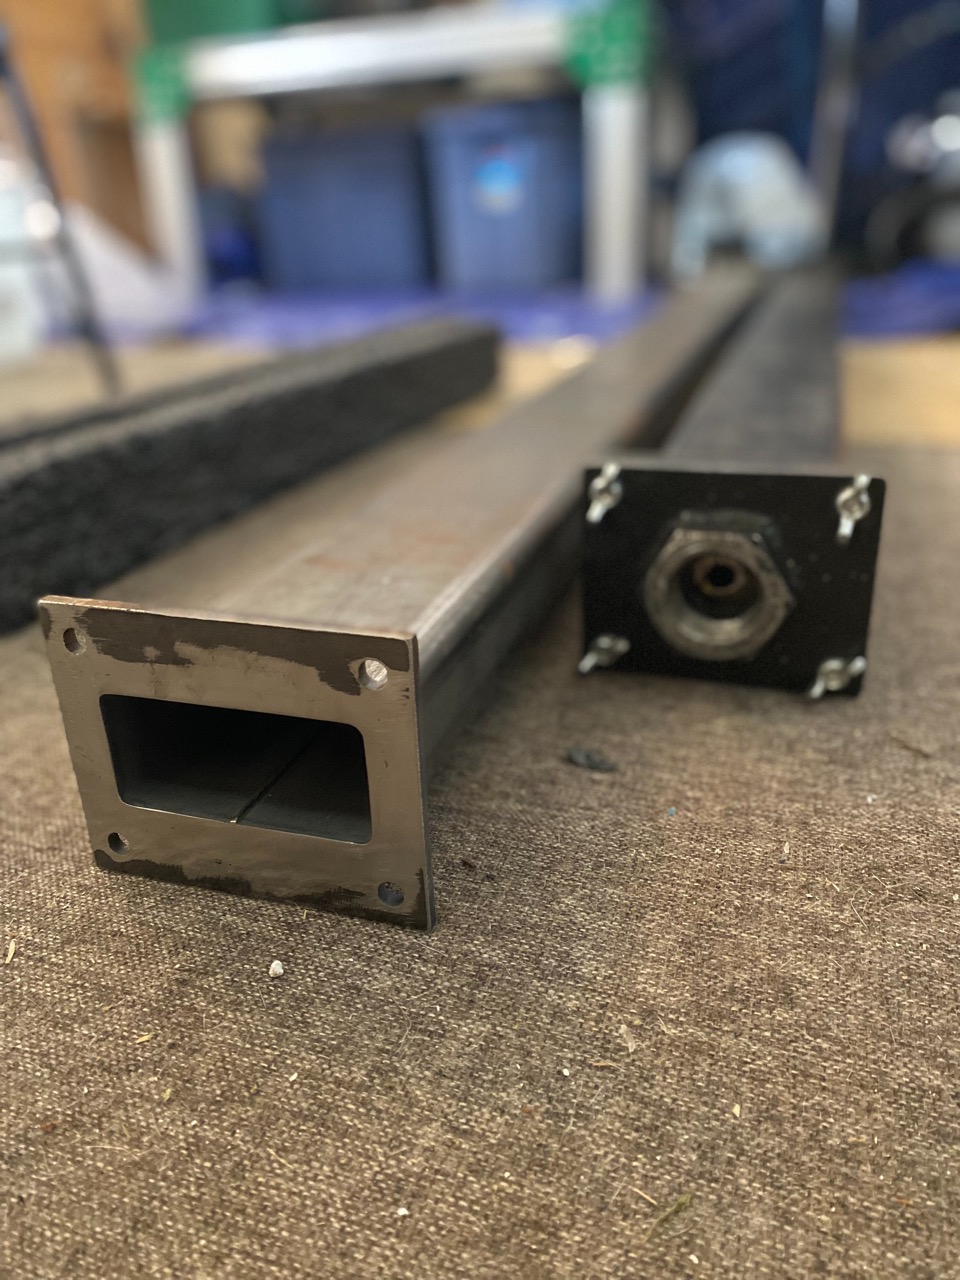
-2x4 mold( measurements= 1.5"x3.5"x6')
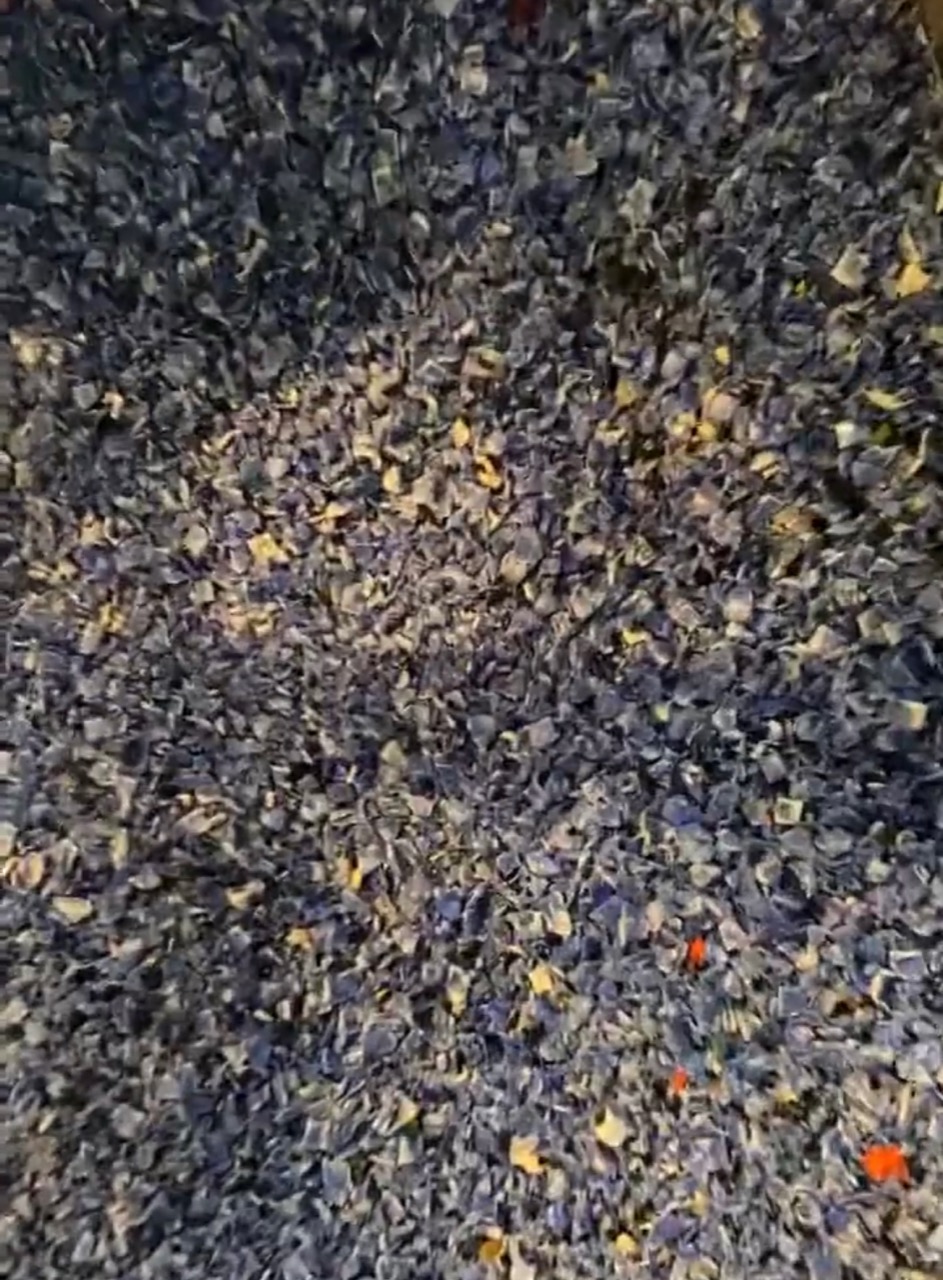
-Roughly 85 lbs of shredded PP plastic
-Cooling tank
-Miter Saw
-Drill
-Drill Bits
-Deck Screws
Once you have all your material and equipment you're ready to get started!
-V4 Extruder
-2x4 mold( measurements= 1.5"x3.5"x6')
-Roughly 85 lbs of shredded PP plastic
-Cooling tank
-Miter Saw
-Drill
-Drill Bits
-Deck Screws
Once you have all your material and equipment you're ready to get started!
Step 2 - Prep
In this step we want to make sure all of our plastic is as clean as possible, sorted by type ( and color if preferred), and shredded to desired flake size. For our bench we used all PP (#5)
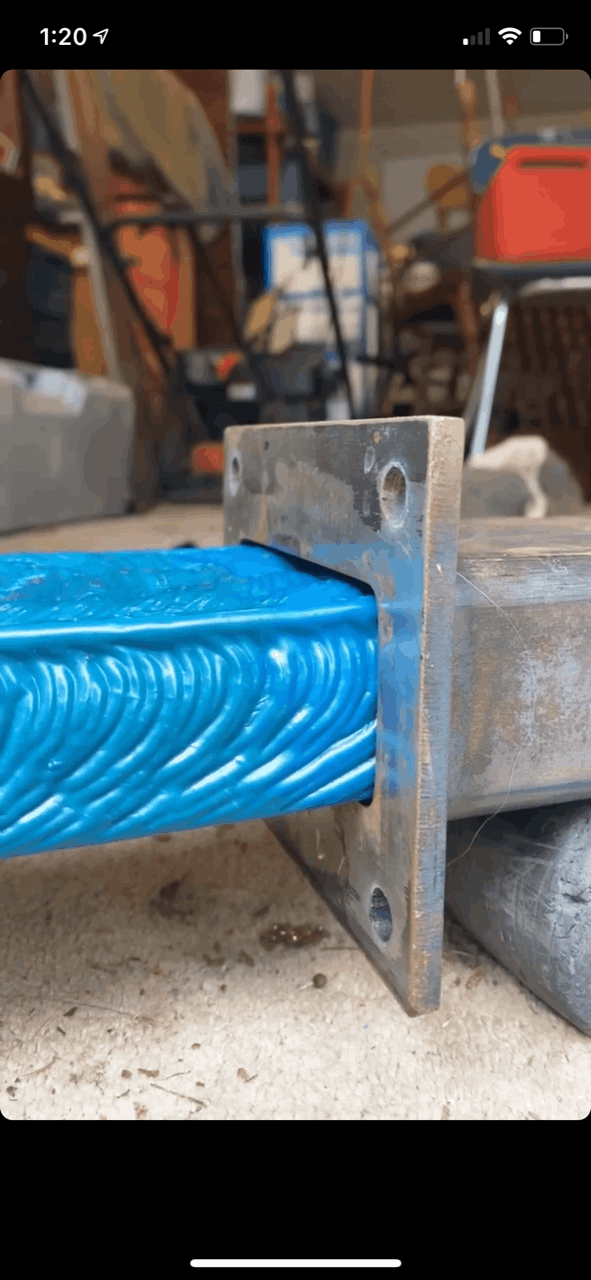
Step 3 - Extrude
Now that all of our plastic is prepped it is ready to be extruded into beams. We set our extruder temps to 240 degrees Celsius for our PP plastic with good results. At this point the mold should now be attached. Once temps have been set, you can begin extruding at 45-50 rpms. Keep a close eye on the hopper ensuring it stays filled. Once all 6 feet of the mold has been filled it can be disconnected from the extruder and dropped in a cooling tank with cold water for about 20 min. After the plastic has solidified it can be removed from the mold. Repeat this step until you have 8 six foot beams.
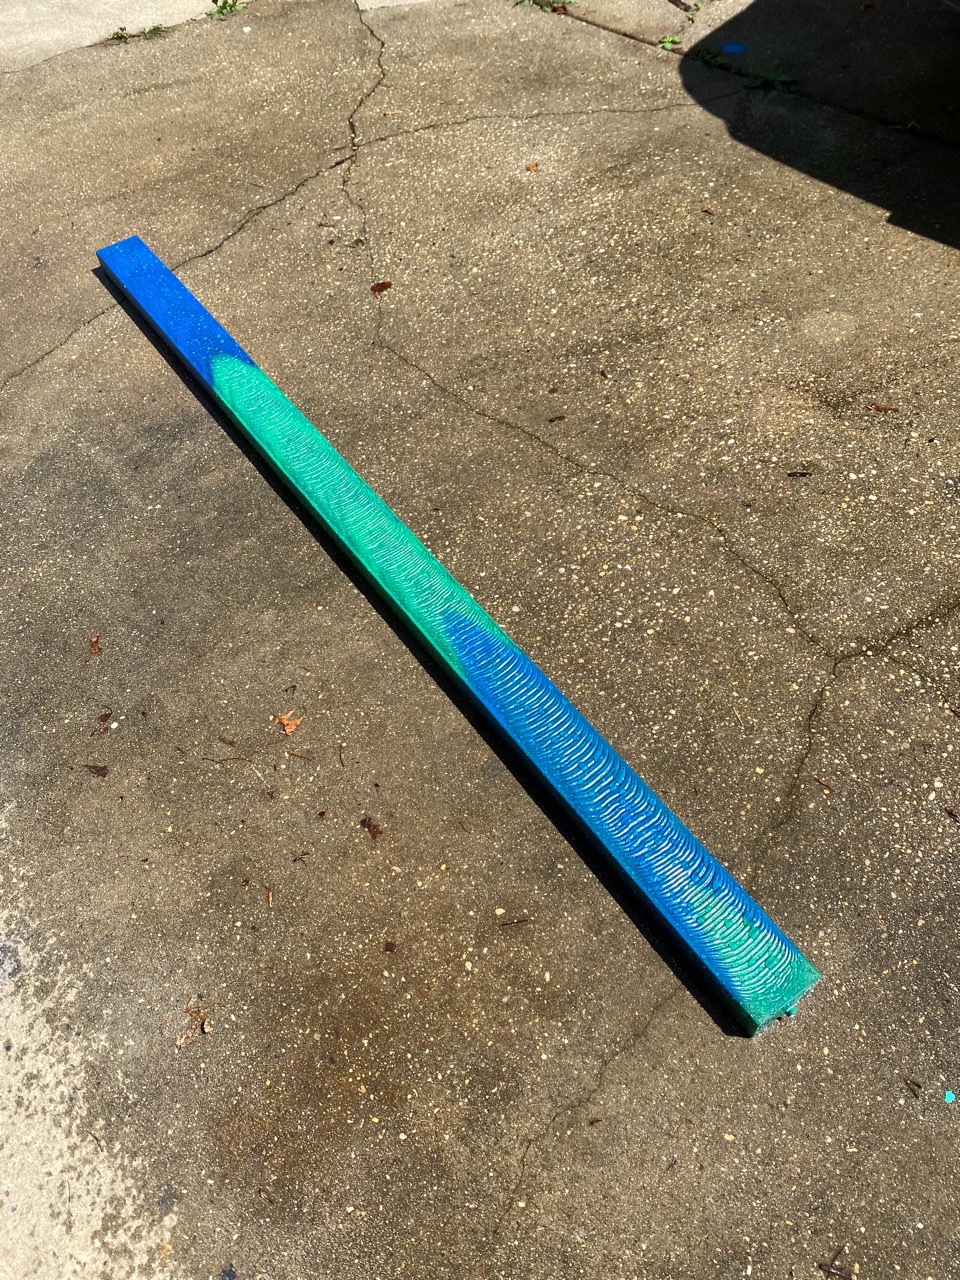
Step 4 - Cut
Now the beams need to be trimmed and cut to size. First, the beams will need to have the ends trimmed of any protruding plastic.
Once trimmed, the beams will need to be cut using a chop saw to the measurements listed:
(4) 5’4” beams (Benchtop)
(1) 60” beam (Ground Support)
(4) 16” beams (Legs)
(6) 15” beams (Braces)
(2) 11 1/4” beams
Once trimmed, the beams will need to be cut using a chop saw to the measurements listed:
(4) 5’4” beams (Benchtop)
(1) 60” beam (Ground Support)
(4) 16” beams (Legs)
(6) 15” beams (Braces)
(2) 11 1/4” beams

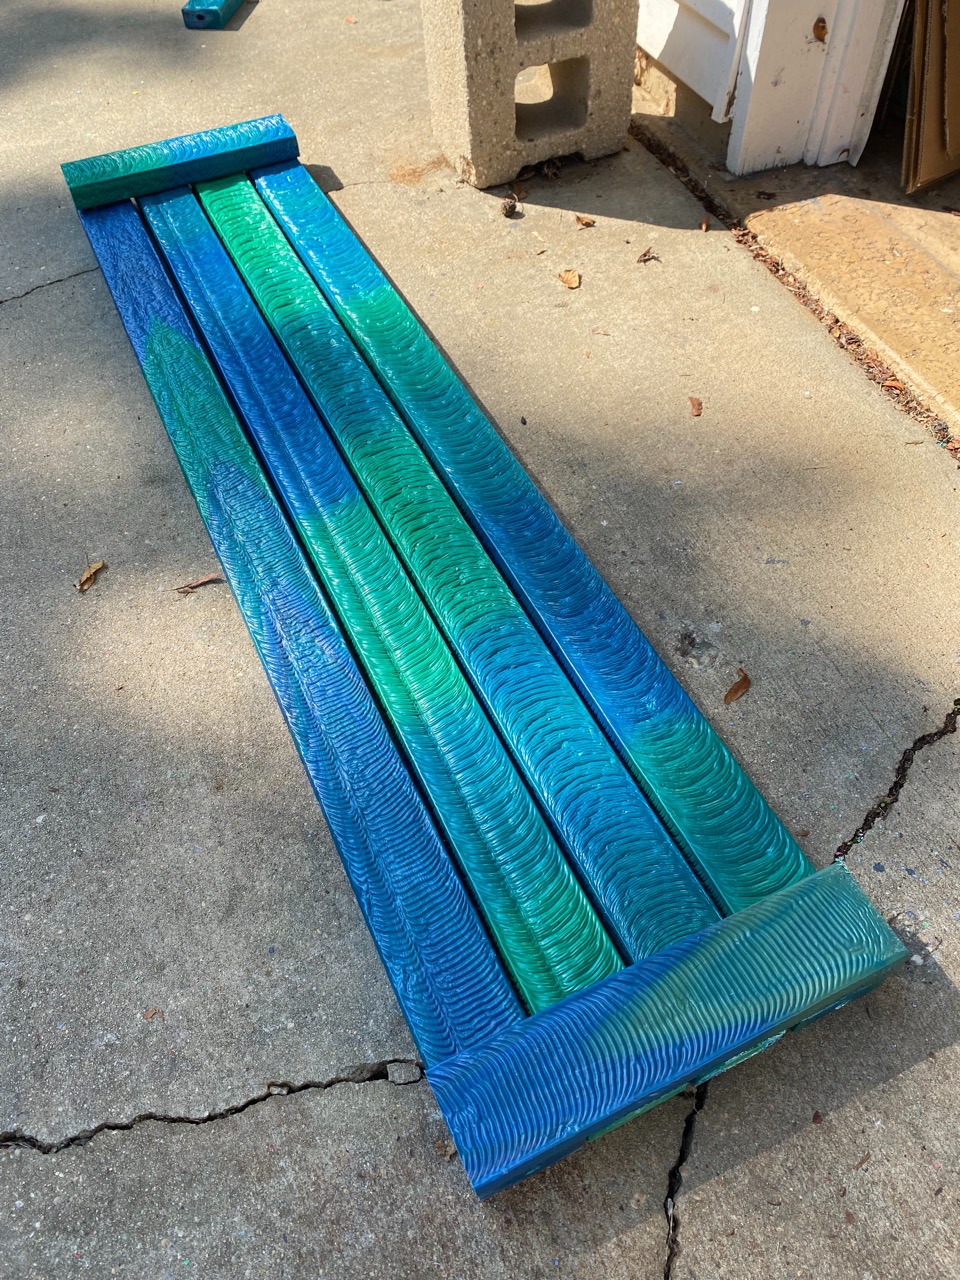
Step 5 - Staging
Now that we have all our pieces made and cut to size we can begin assembly
Now, Lay out your 4 longest beams next to each other to stage your bench top. Each beam should have roughly a quarter inch of spacing between them. Now add your braces along the ends of the benchtop
Now, Lay out your 4 longest beams next to each other to stage your bench top. Each beam should have roughly a quarter inch of spacing between them. Now add your braces along the ends of the benchtop
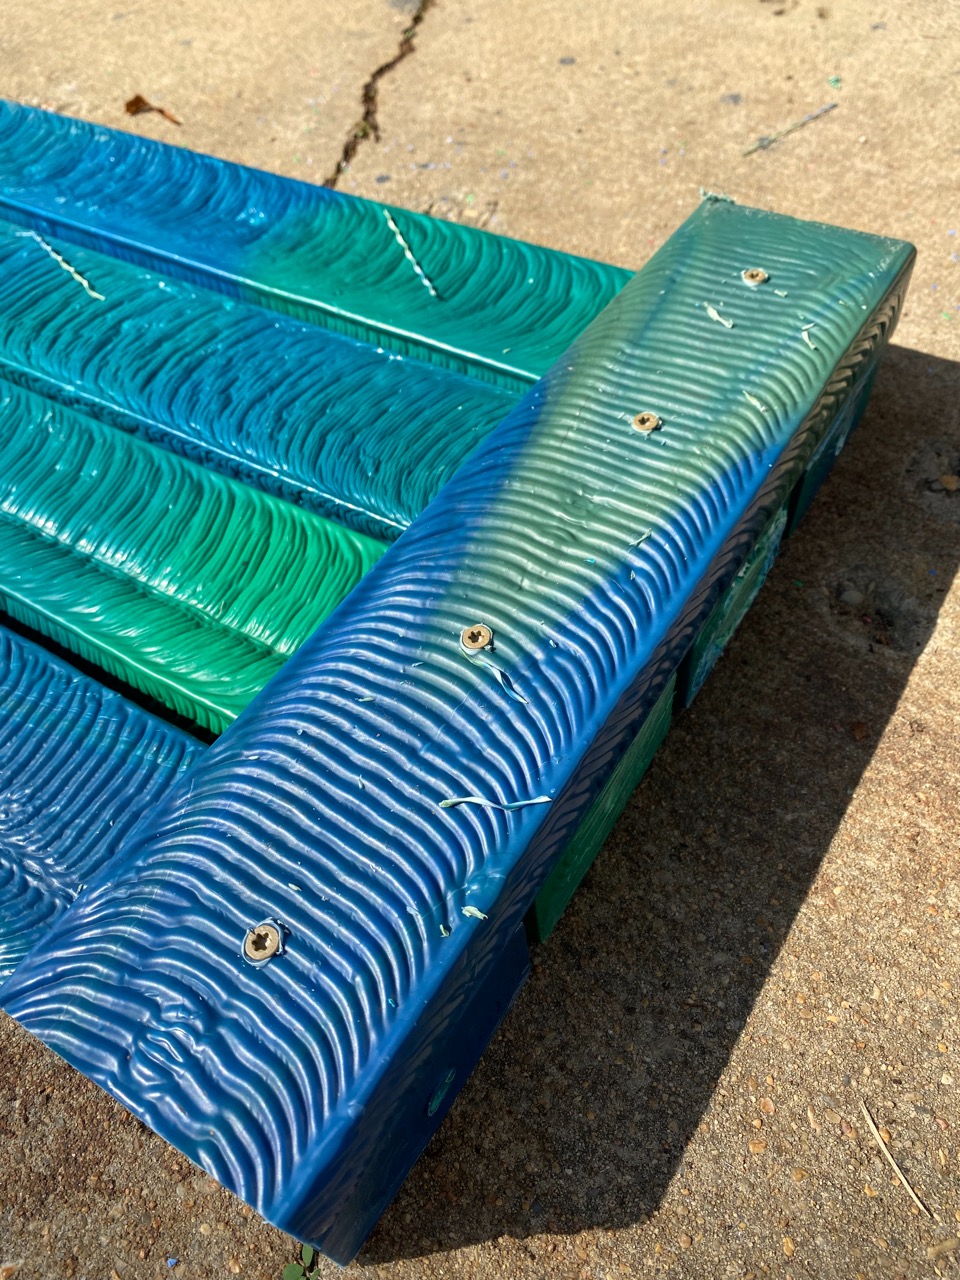
Step 6 - Assemble
At this point in the process we can begin attaching the beams using 2.5 inch deck screws. These holes should be pre-drilled with pilot holes to prevent cracking
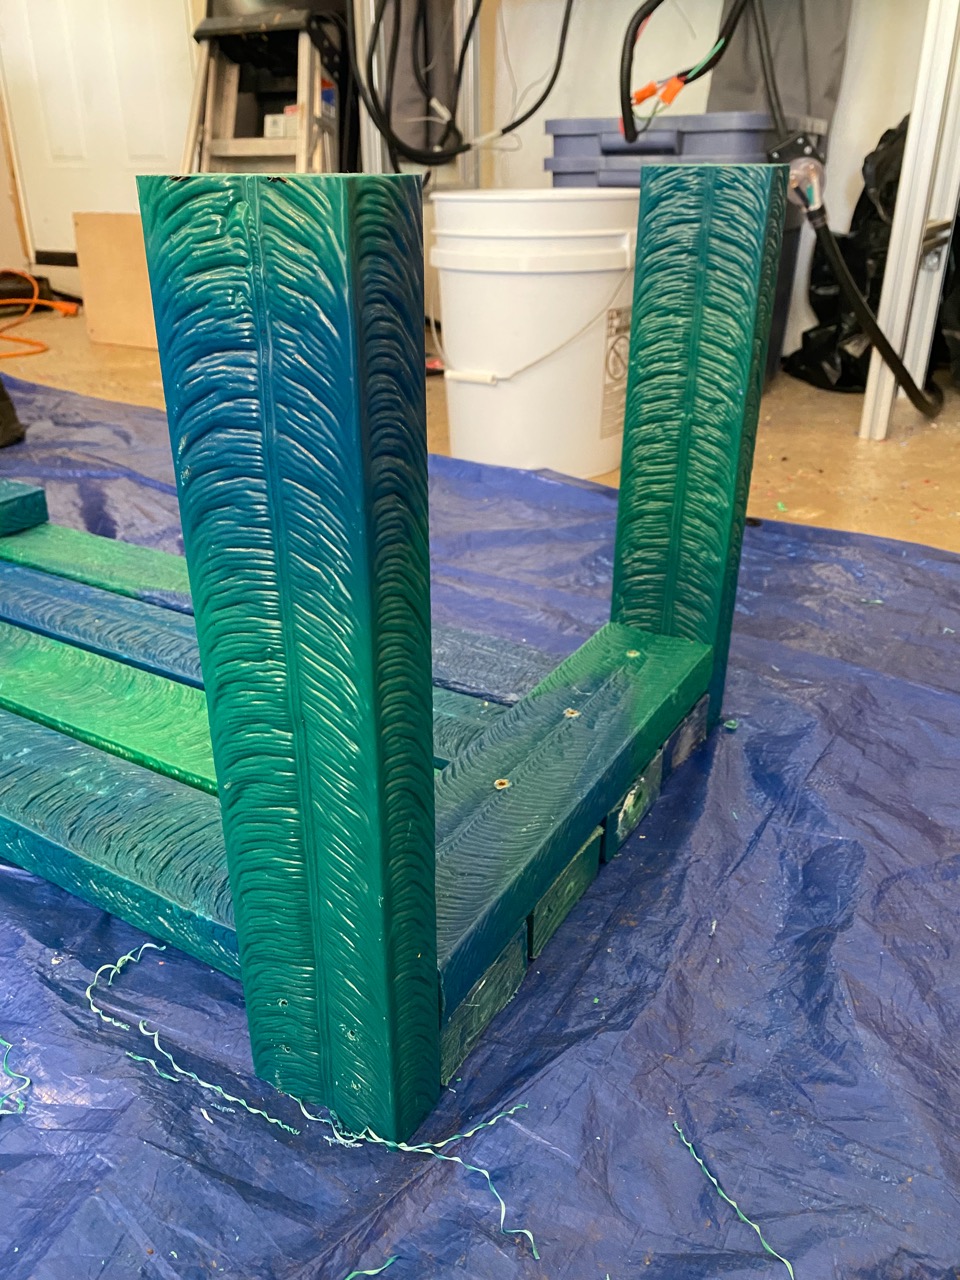
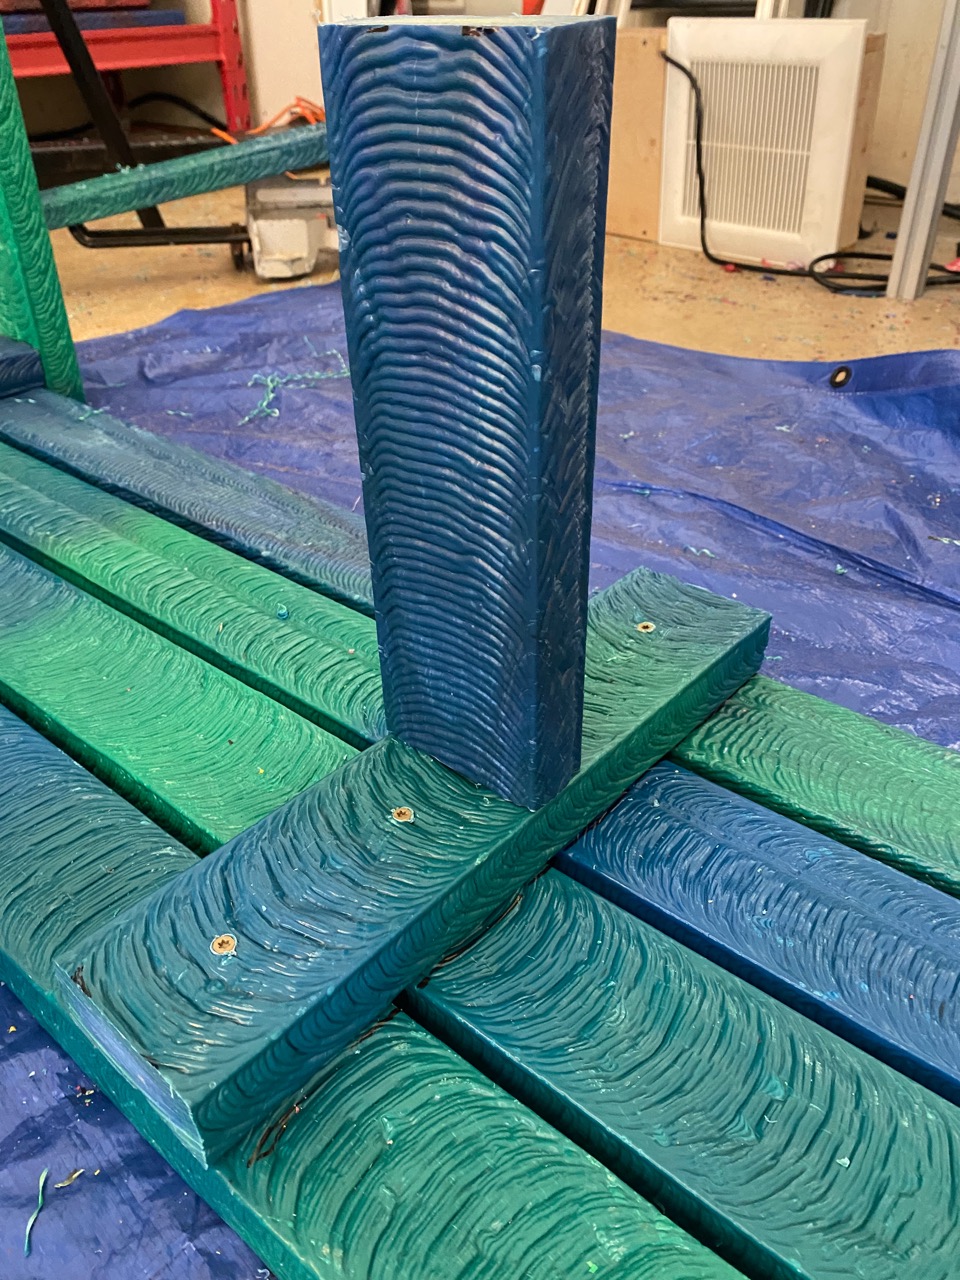
Step 7 - Attaching legs
This is when the bench will start to take shape. While assembling we recommend doing so on a tarp to collect any shavings created by drilling to be re-used.
Take your 16 inch beams and stage them as the legs on all four corners. Drill pilot holes and attach with screws.
Take your 16 inch beams and stage them as the legs on all four corners. Drill pilot holes and attach with screws.
Step 8 - Attaching supports and braces
Now that we have our bench top and legs, all that’s left is to brace and support the structure. Take your 15 inch beams and place them between the legs to create braces between them. Then take your 11 1/4 inch beams to create a support perpendicular to the bench, attaching the bench top to the 60 inch beam which will run across the bottom of the bench on the ground

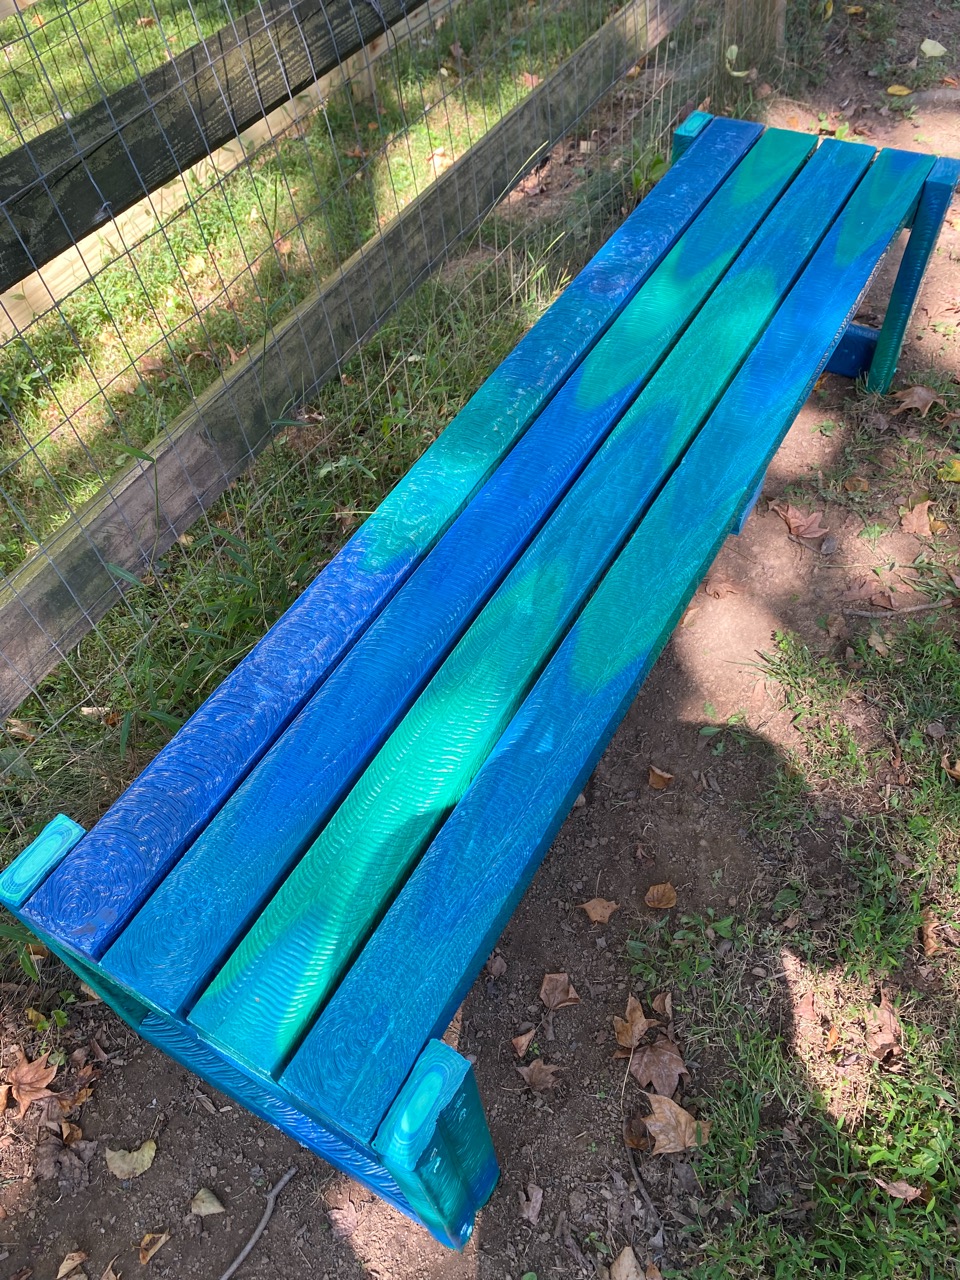
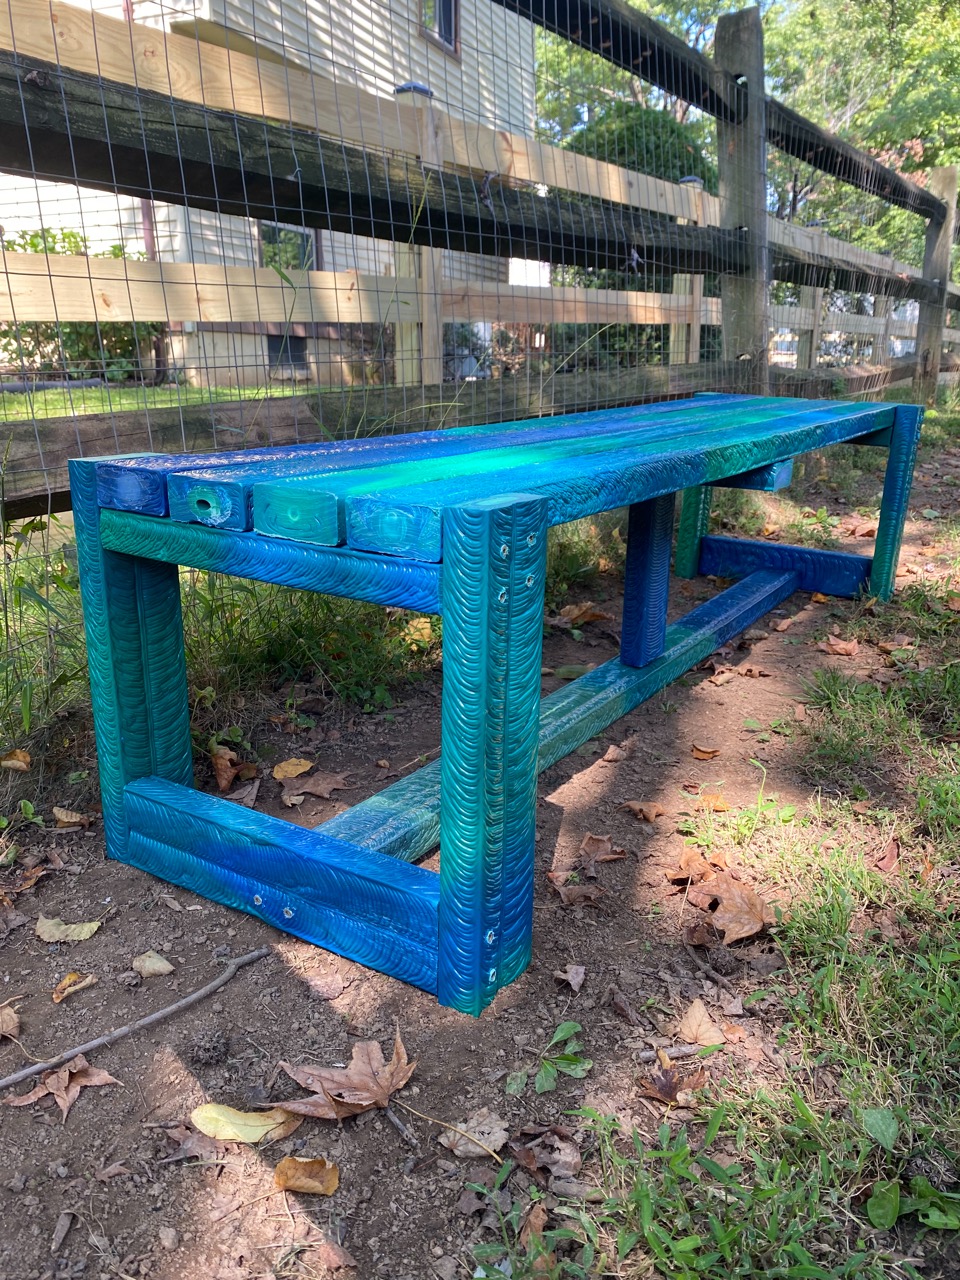
Step 9 - Enjoy!
Now you can find a great location to install your new bench whether it be in your backyard or local park!

—
—
—
Comments