Glue HDPE & PP with 2-component adhesives

2-component adhesives can offer a strong bonding and they are easy to use. On the other hand they are extremely wasteful since they usually come in single-use packaging.
We generally don't recommend glueing parts together as it will make the disassembly harder at the end of the product’s life. So check out other joining techniques first!
If this is still needed, here some guidelines.
—
Attachments
Resources
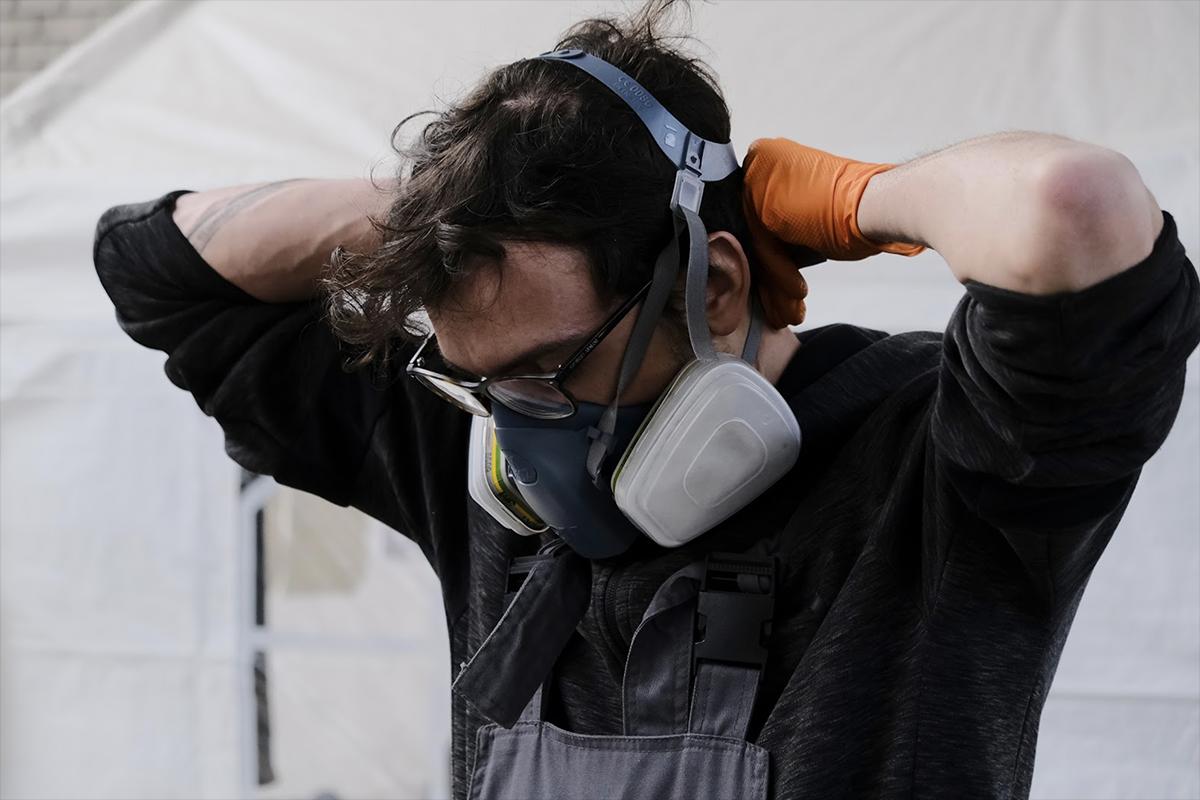
Step 1 - Stay safe
While handling with 2-component adhesives it’s safe to use an ABEK mask and safety glasses in order to prevent nose, eyes and throat from irritations. Also gloves are needed to avoid any direct contact with the adhesives. Preferably it’s better to work in an open and well ventilated space to avoid gases to accumulate.
Recommended safety equipment:
- ABEK mask
- safety glasses
- gloves
Recommended safety equipment:
- ABEK mask
- safety glasses
- gloves
Step 2 - Which is the best Adhesive?
First off: Using 2-component adhesives is very wasteful and its use should be avoided as much as possible. Please first consider to use screws, snapping unions, or even change the design or the material.
But we want to show which adhesive offers the best performance in case you see no other option.
Among the world of 2-component adhesives there are several types: epoxy, methyl methacrylate, polyurethane... We found that methacrylate adhesives work best for bonding plastic. These can especially be useful when trying to bond PP and HDPE which are generally difficult to bond with other solutions.
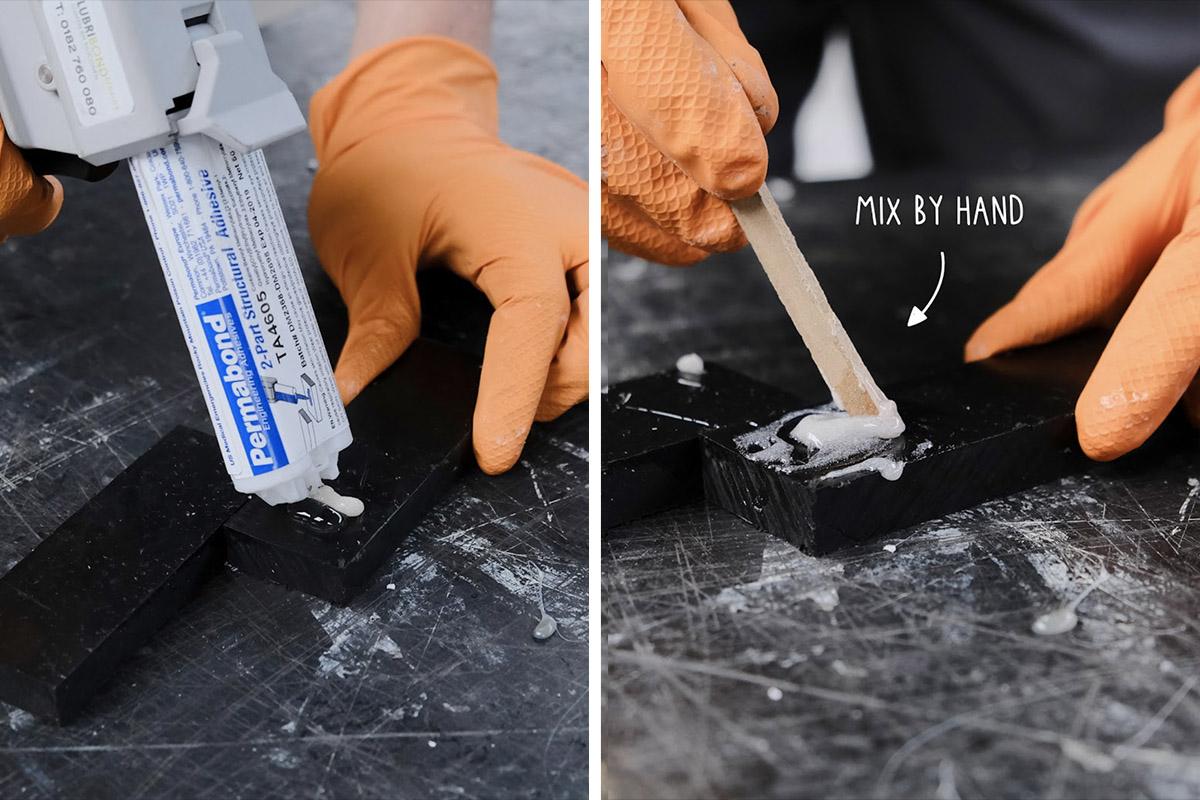
Of course the composition of the adhesive will change depending on the brand. Based on our experiences we recommend to use the Permabond Structural Adhesive TA4605.
But we want to show which adhesive offers the best performance in case you see no other option.
Among the world of 2-component adhesives there are several types: epoxy, methyl methacrylate, polyurethane... We found that methacrylate adhesives work best for bonding plastic. These can especially be useful when trying to bond PP and HDPE which are generally difficult to bond with other solutions.
Of course the composition of the adhesive will change depending on the brand. Based on our experiences we recommend to use the Permabond Structural Adhesive TA4605.

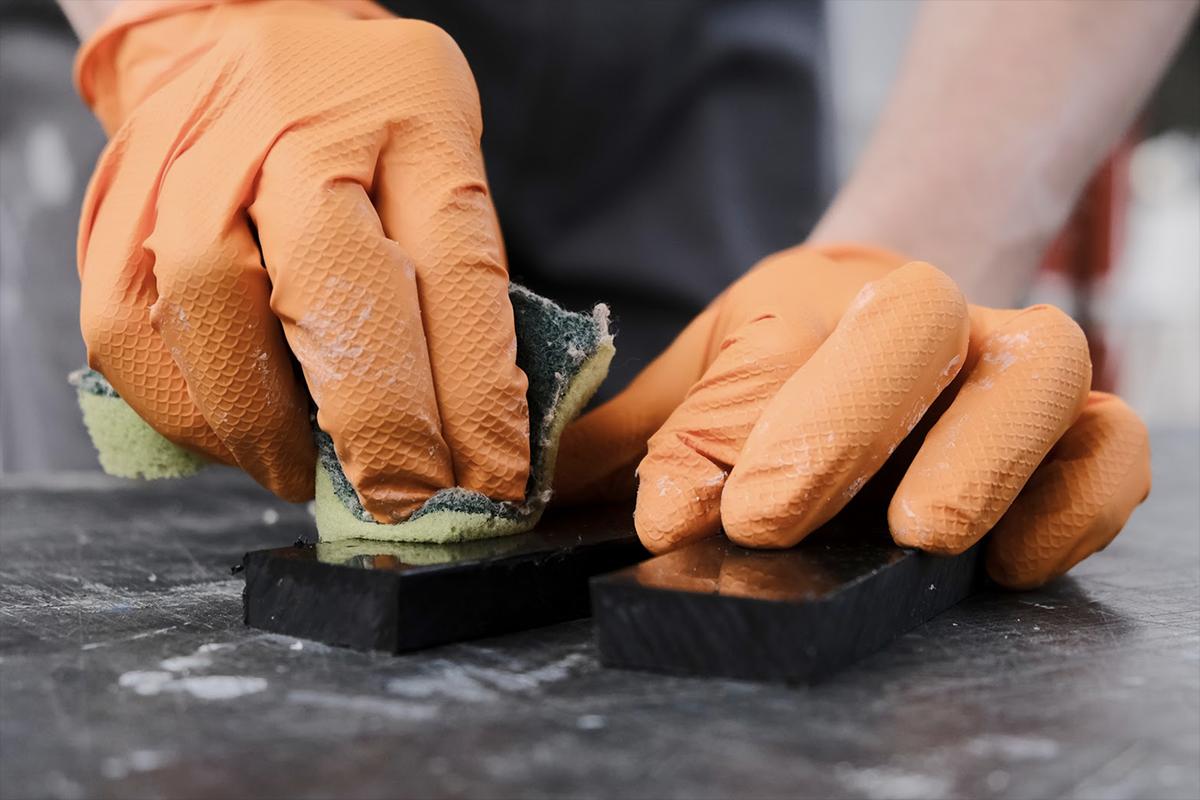
Step 3 - Clean surface
Before applying the adhesive make sure to clean the surfaces with a non-aggressive product like IPA (Isopropyl Alcohol) cleaner and a Scotch Brite or similar to remove any dirt or release agent left from the mould.
Step 4 - Apply the adhesive
First we have to make the mixture. Usually this adhesive comes with a single-use mixer nozzle, but it can also be made by hand, with a flat stick.
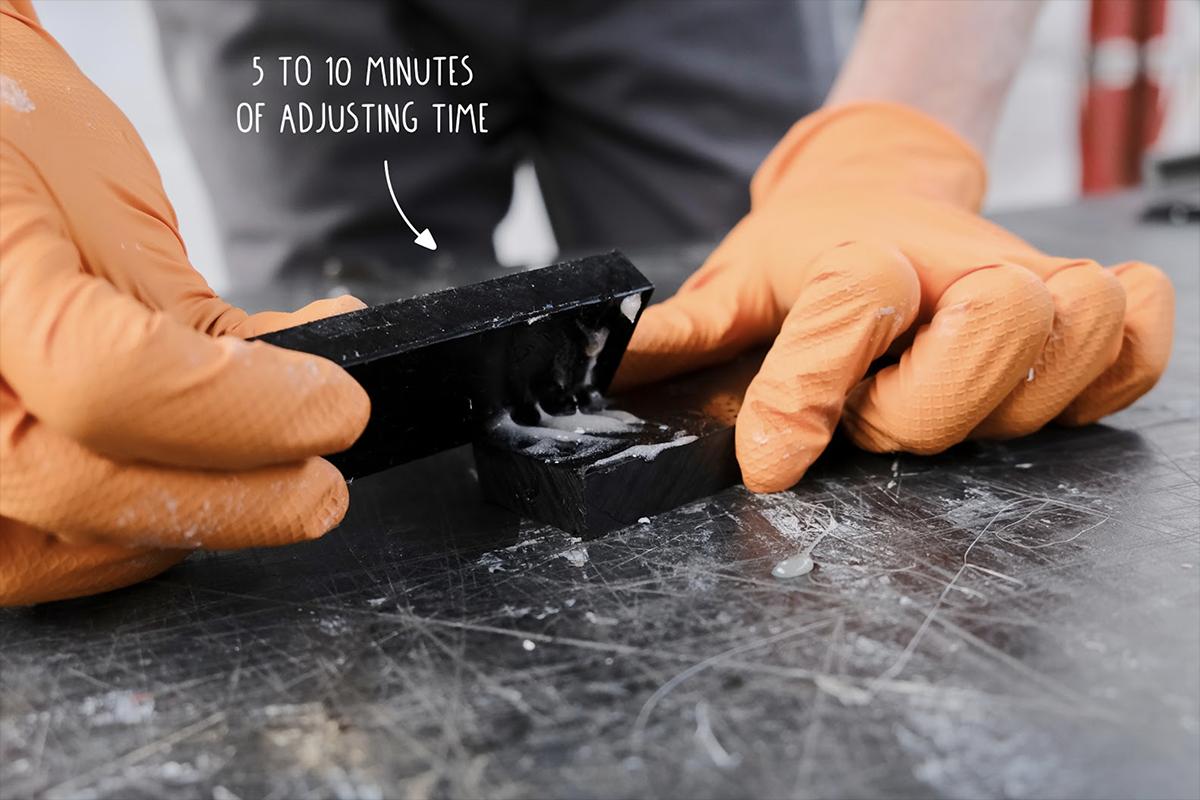
Once the mixture is homogeneous we can apply that to the surface we previously cleaned and place carefully the other piece on top. The advantage of this adhesive is that you have time to move your pieces to their precise position, since it takes 5-10 min to start working.
Once the mixture is homogeneous we can apply that to the surface we previously cleaned and place carefully the other piece on top. The advantage of this adhesive is that you have time to move your pieces to their precise position, since it takes 5-10 min to start working.
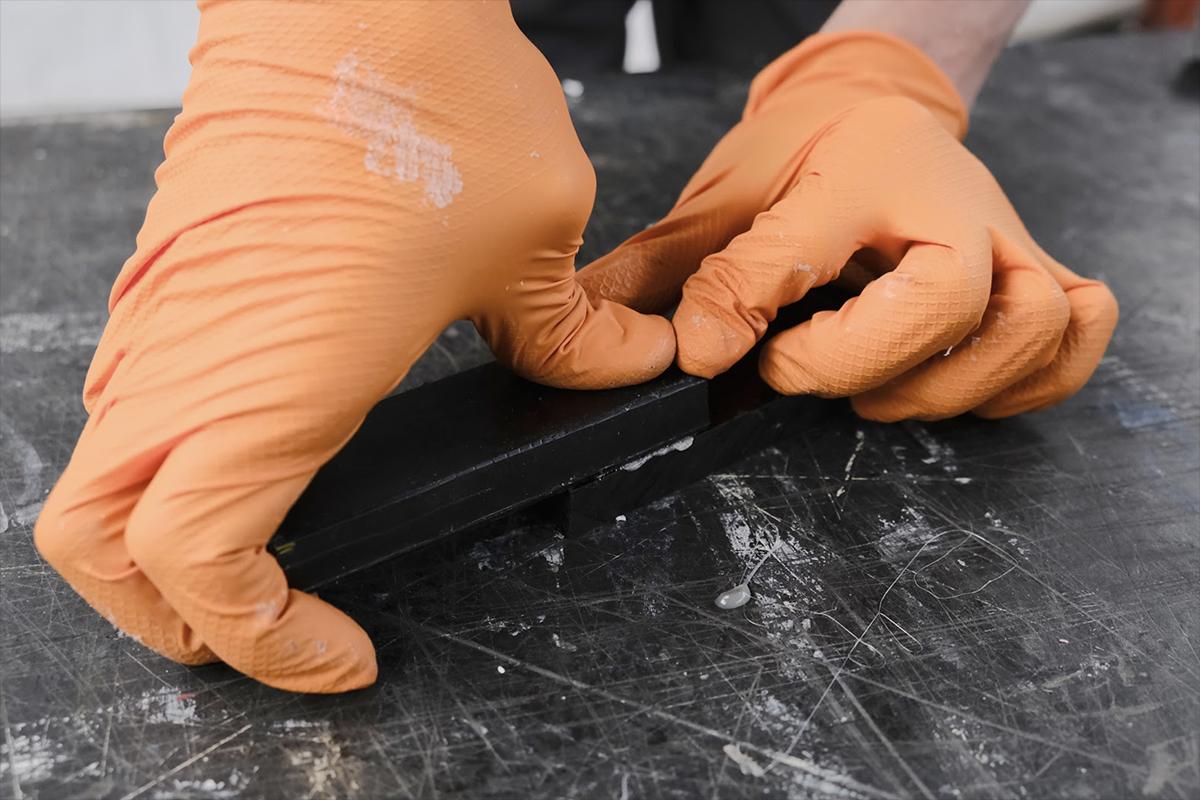
Step 5 - Apply pressure
Once the piece is in the right position, we have to apply pressure (preferably with a clamp) and leave it 24h till it’s fully curated (at 23ºC). If the temperature is lower it will take longer to curate, with each -8ºC the curating time doubles.

Step 6 - Recommended applications
This method is quite specific and expensive to get. We suggest to only use this adhesive when a really strong bonding is needed between same materials like PP or HDPE.
Oh, and better try to avoid mixing materials with this or other permanent solutions to keep your materials as recyclable as possible.
Oh, and better try to avoid mixing materials with this or other permanent solutions to keep your materials as recyclable as possible.

—
—
—
Comments