Glue with a heat gun (HDPE & PP)
Hot melt adhesives don’t offer the same performance as 2-components-adhesives, but they provide an accessible, quick and wasteless solution for those applications with no need for a high performance bonding.
We generally don't recommend glueing parts together as it will make the disassembly harder at the end of the product’s life. So check out other joining techniques first! If this is still needed, here some guidelines.
—
Attachments
Resources
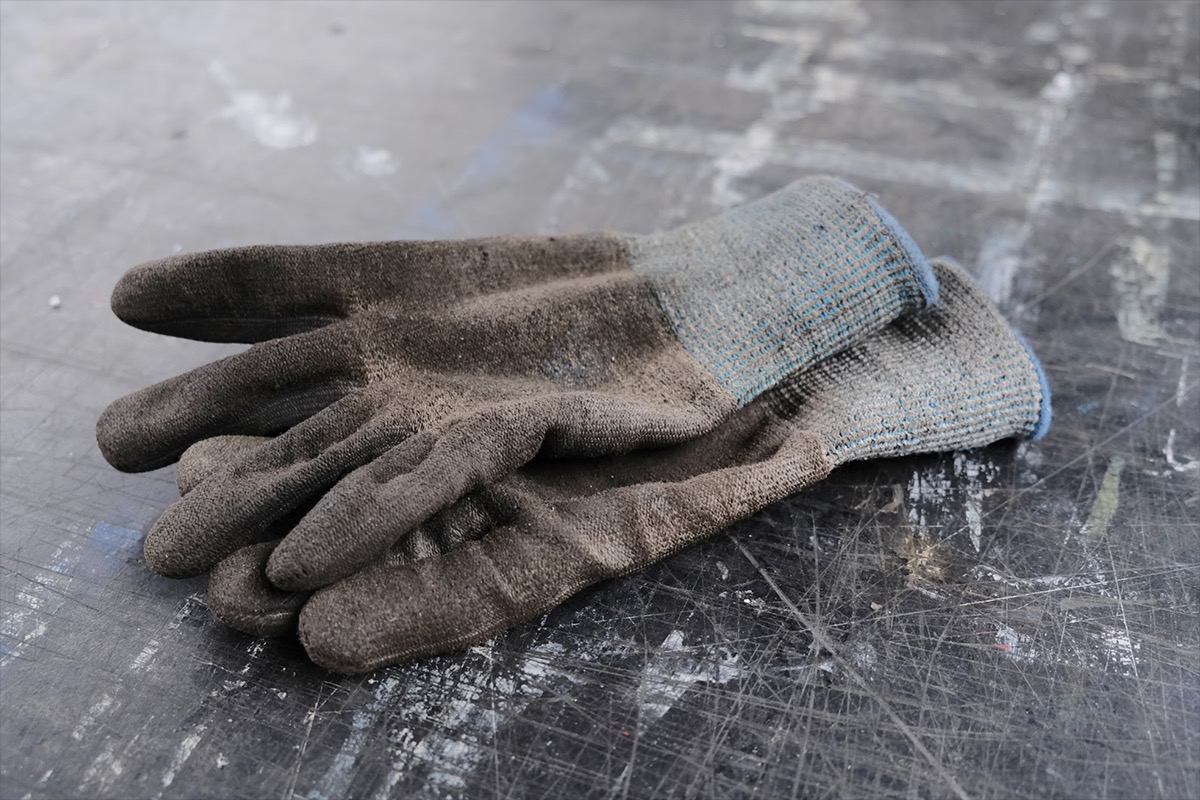
Step 1 - Stay safe
While handling a glue gun, basically we are melting glue, therefore gloves are needed in order to avoid any direct contact with the hot glue. Also, it’s better to work in an open and well ventilated space to avoid gases to accumulate. And even though it’s not obligatory it’s always recommendable to wear a mask.
Safety recommendations:
- gloves
- ventilated space, mask
Safety recommendations:
- gloves
- ventilated space, mask
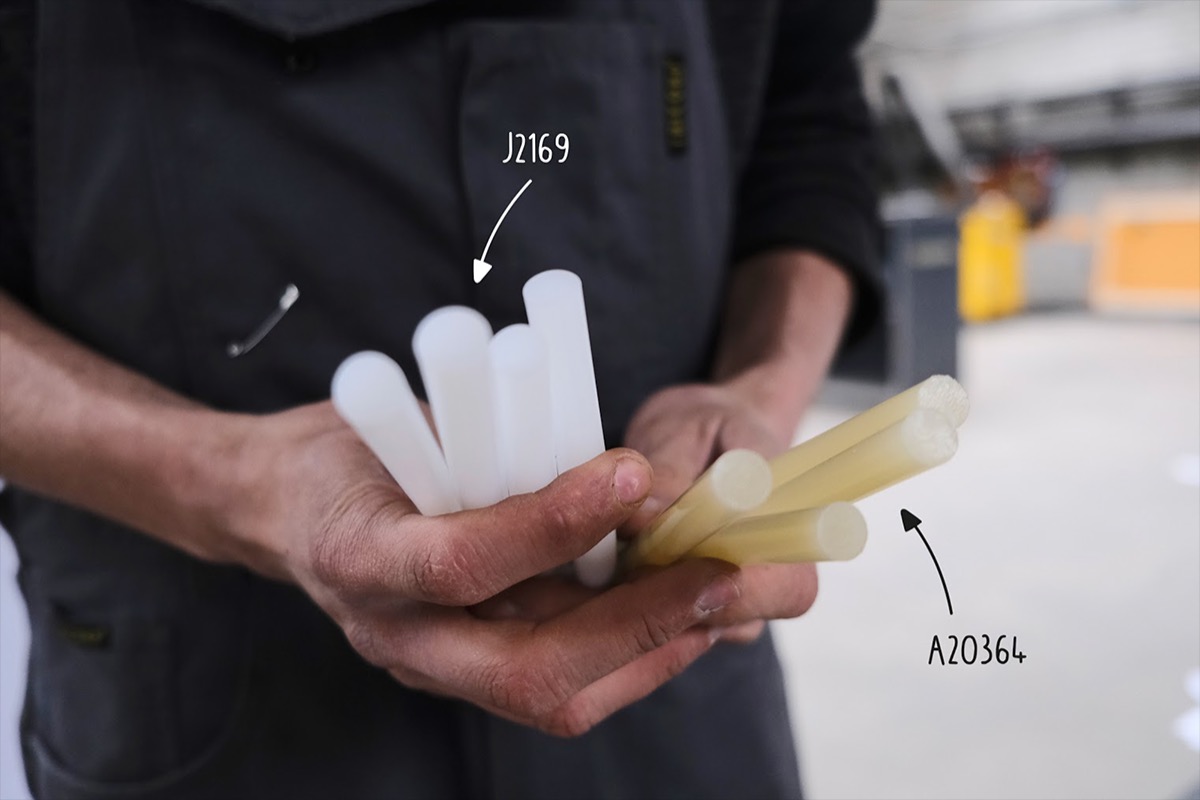
Step 2 - Choose the right glue sticks
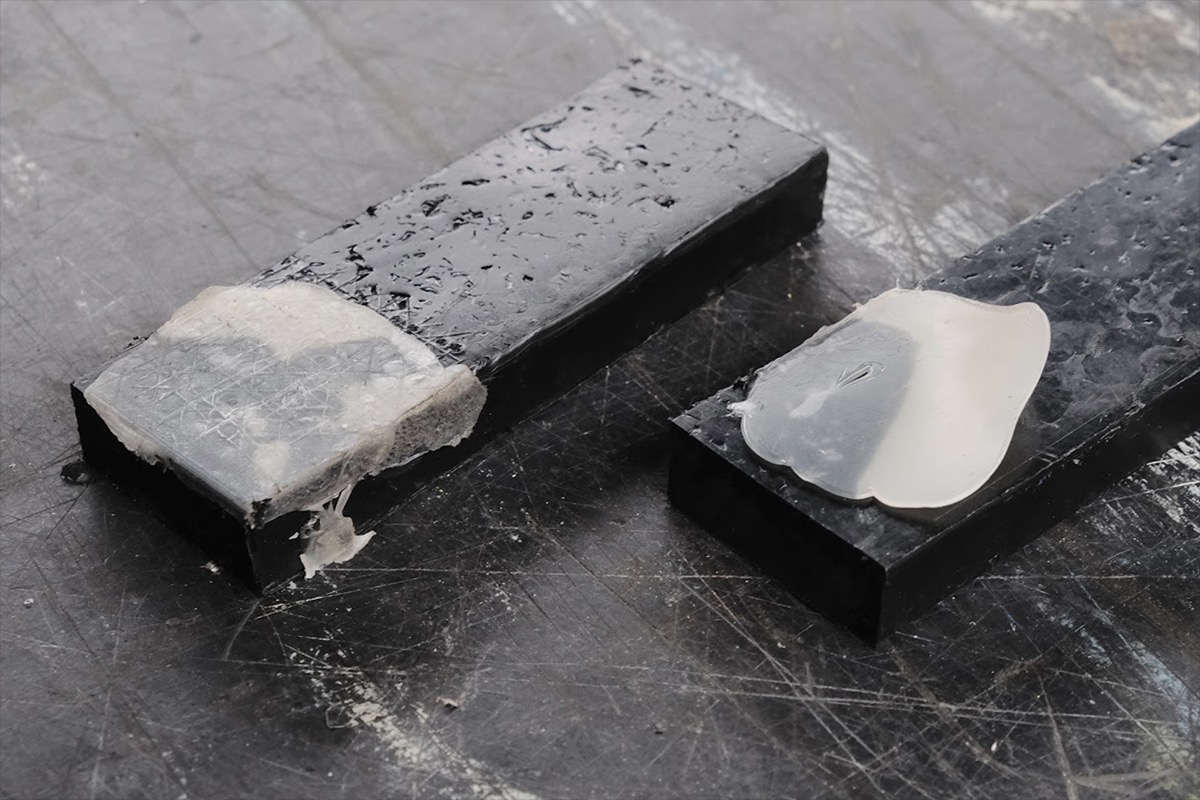
Through testing we found that hot melt adhesives based on ethylene vinyl acetate copolymer (yellowish) work best for PP and HDPE. Also hot melt adhesives based on acylate (white) could work, but only for HDPE.
Of course the composition of the glue will vary depending on the brand. In our research the following BÜHNEN hot melts worked well:
- A21325.1 (for PP)
- A20364.1 and J2169 (for HDPE)
Of course the composition of the glue will vary depending on the brand. In our research the following BÜHNEN hot melts worked well:
- A21325.1 (for PP)
- A20364.1 and J2169 (for HDPE)
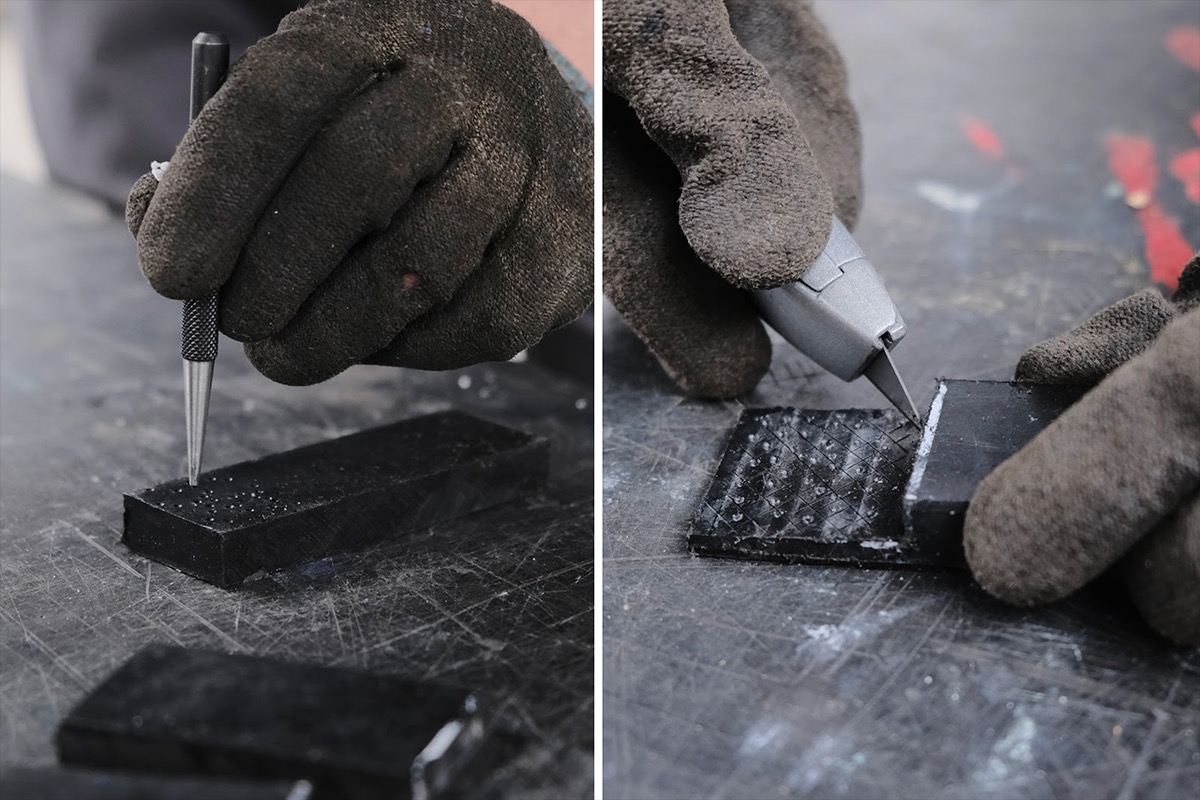
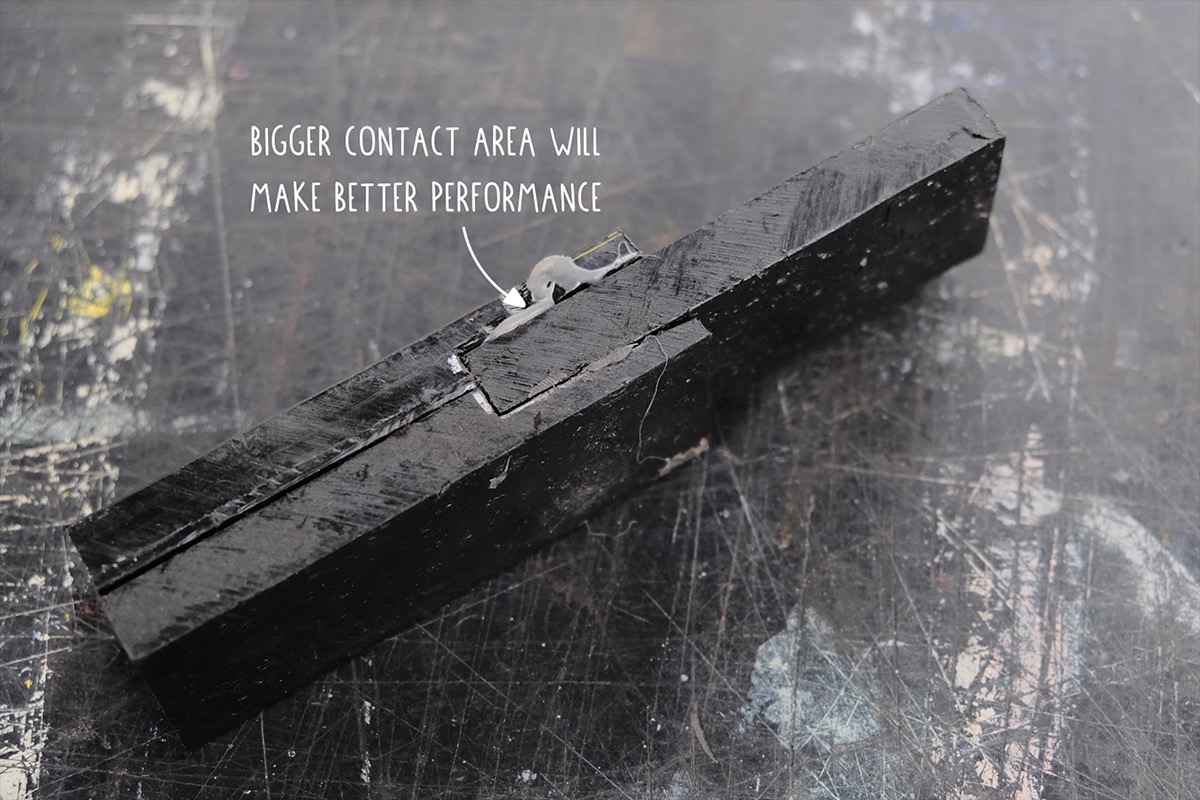
Step 3 - Prepare the surfaces
It’s known that hot melts don’t offer a very strong bonding, so to maximize the contact area and improve the grip we recommend to scratch the surfaces where the joinery will be made.
Before applying the hot melt make sure to clean the surfaces you are going to glue together with a non-aggressive product like IPA (Isopropyl Alcohol) cleaner and a Scotch Brite or similar to remove any dirt or release agent left from the mould.
Before applying the hot melt make sure to clean the surfaces you are going to glue together with a non-aggressive product like IPA (Isopropyl Alcohol) cleaner and a Scotch Brite or similar to remove any dirt or release agent left from the mould.
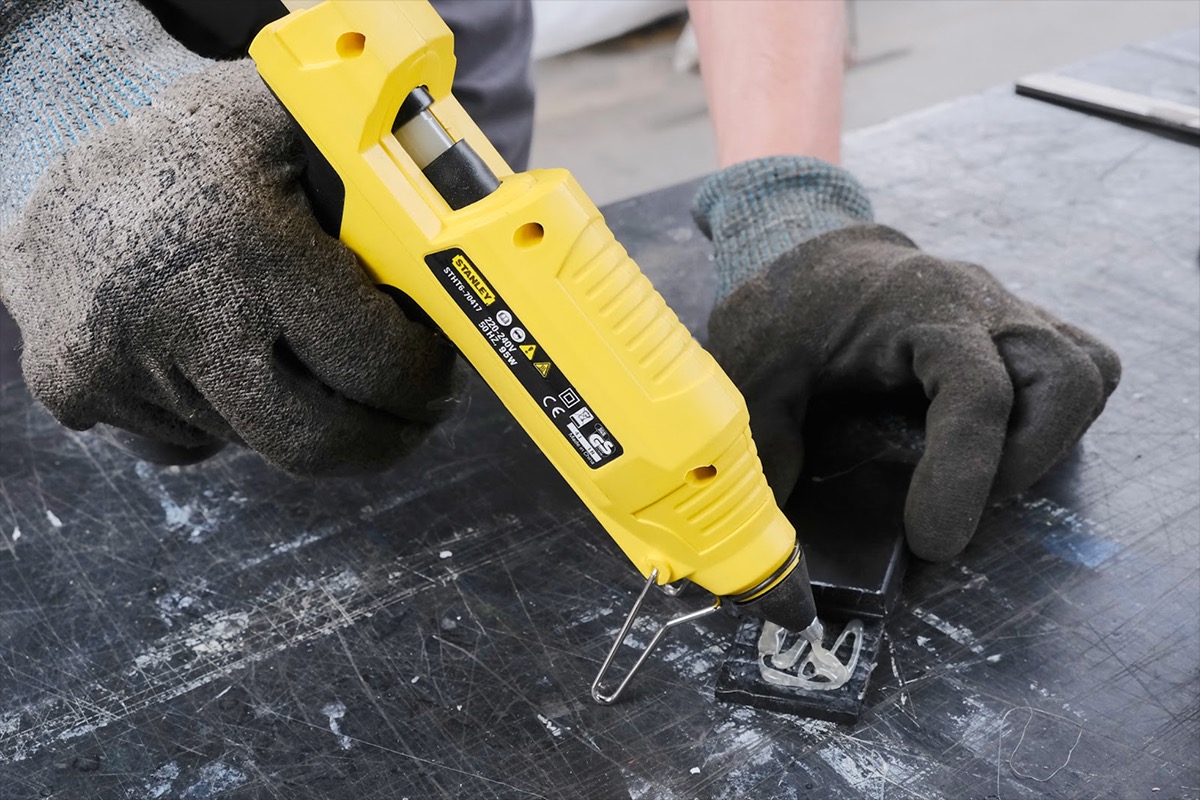
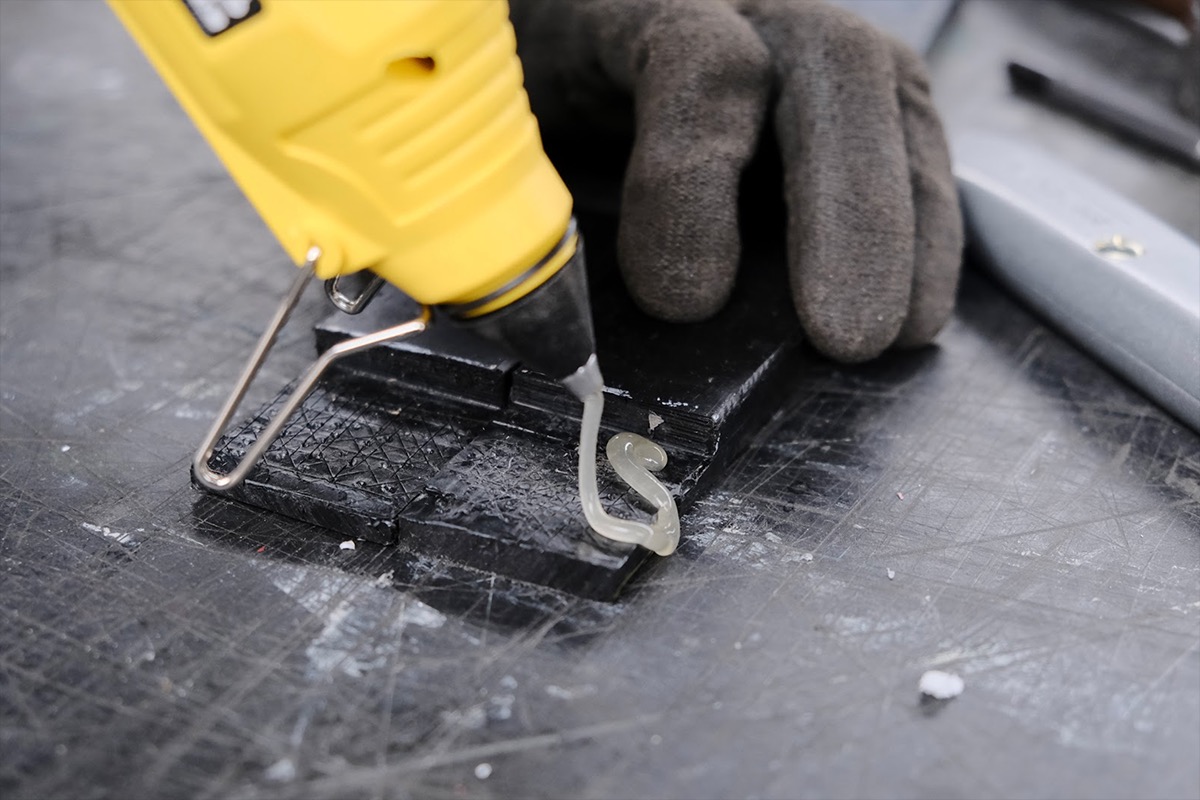
Step 4 - Apply the hot melt
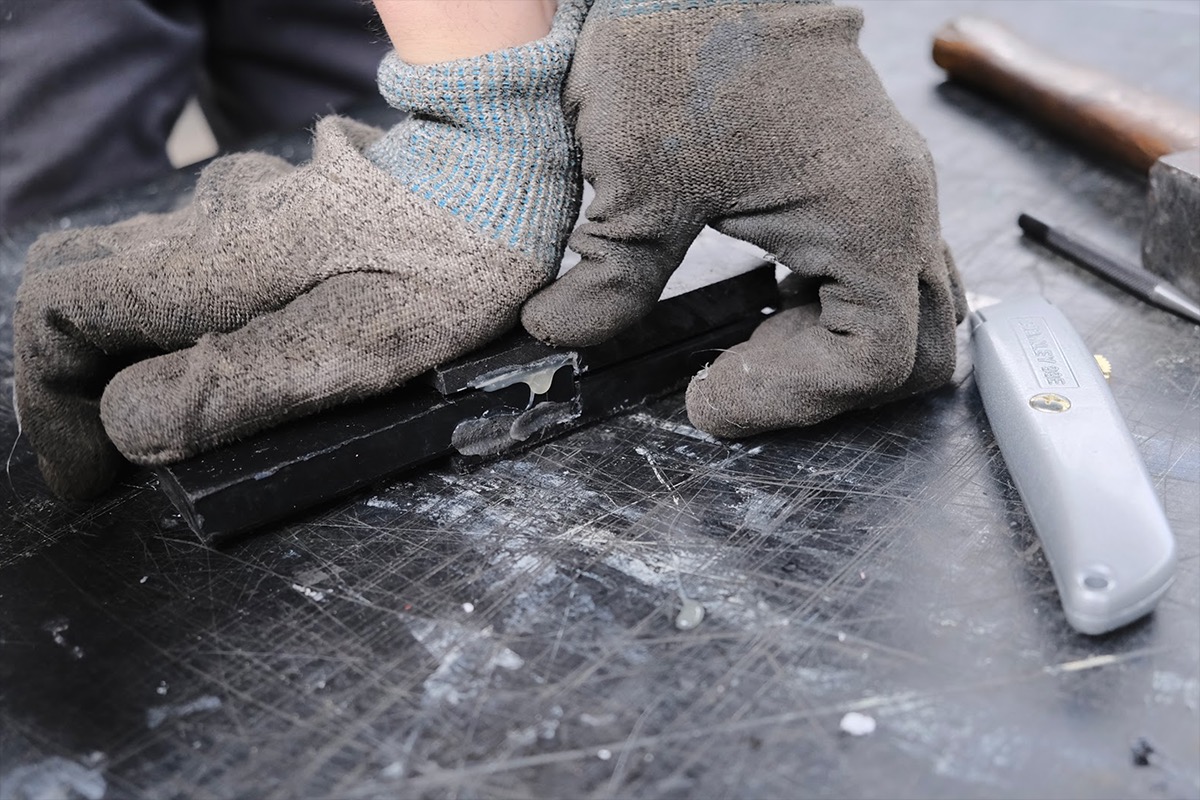
Put the stick into the glue gun and wait until the machine is hot enough to melt it. Make sure you have all your pieces handy. Apply the hot melt on the first piece, then directly place the other piece on top and apply pressure (clamping preferred).
You want to glue the pieces together while the glue is still hot (< 25s). So make sure you have everything ready because you have very little time for error correction. Once you put them together, in a few seconds both pieces will get glued.
You want to glue the pieces together while the glue is still hot (< 25s). So make sure you have everything ready because you have very little time for error correction. Once you put them together, in a few seconds both pieces will get glued.
Step 5 - Recommended applications
Hot melts are generally accessible and easy to apply, but they offer a relatively weak bonding. But other than being a downside they can actually be a nice technique for designs which require a more temporary fix or assembly.
(Another very functional application: This adhesive can help making other joinery methods watertight by sealing the surface.)
(Another very functional application: This adhesive can help making other joinery methods watertight by sealing the surface.)

—
—
—
Comments