Inject a plate
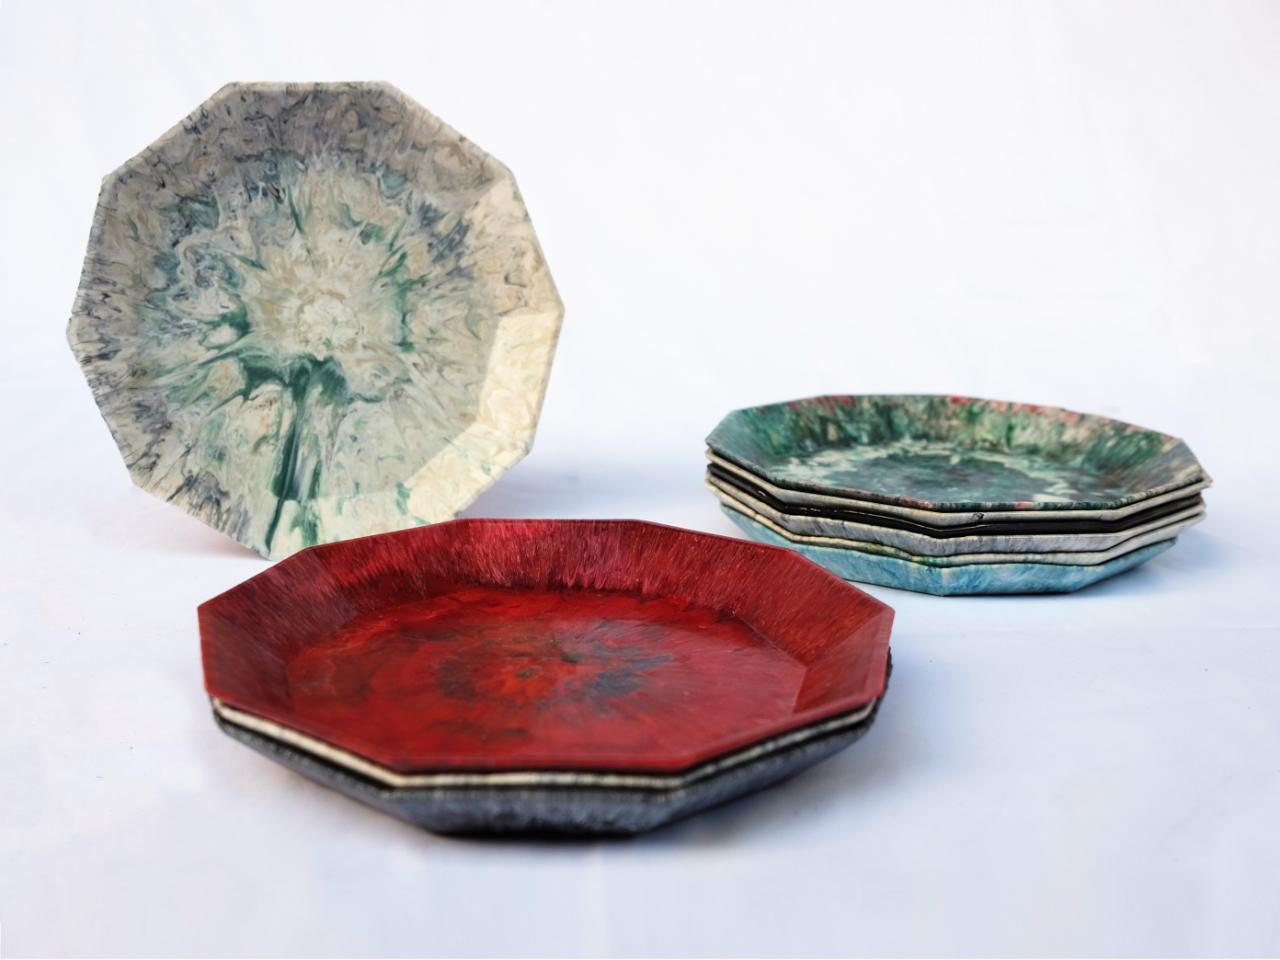
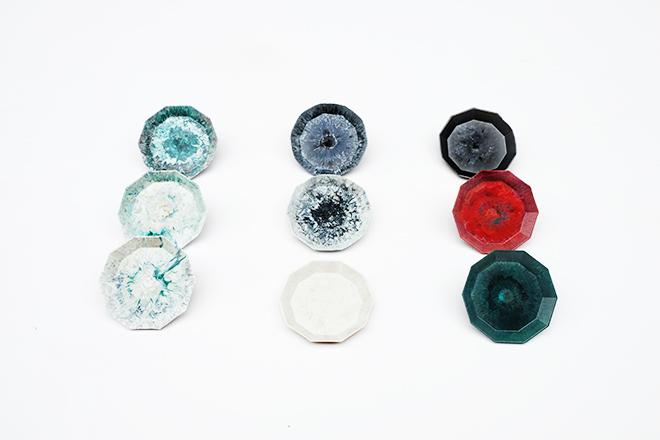
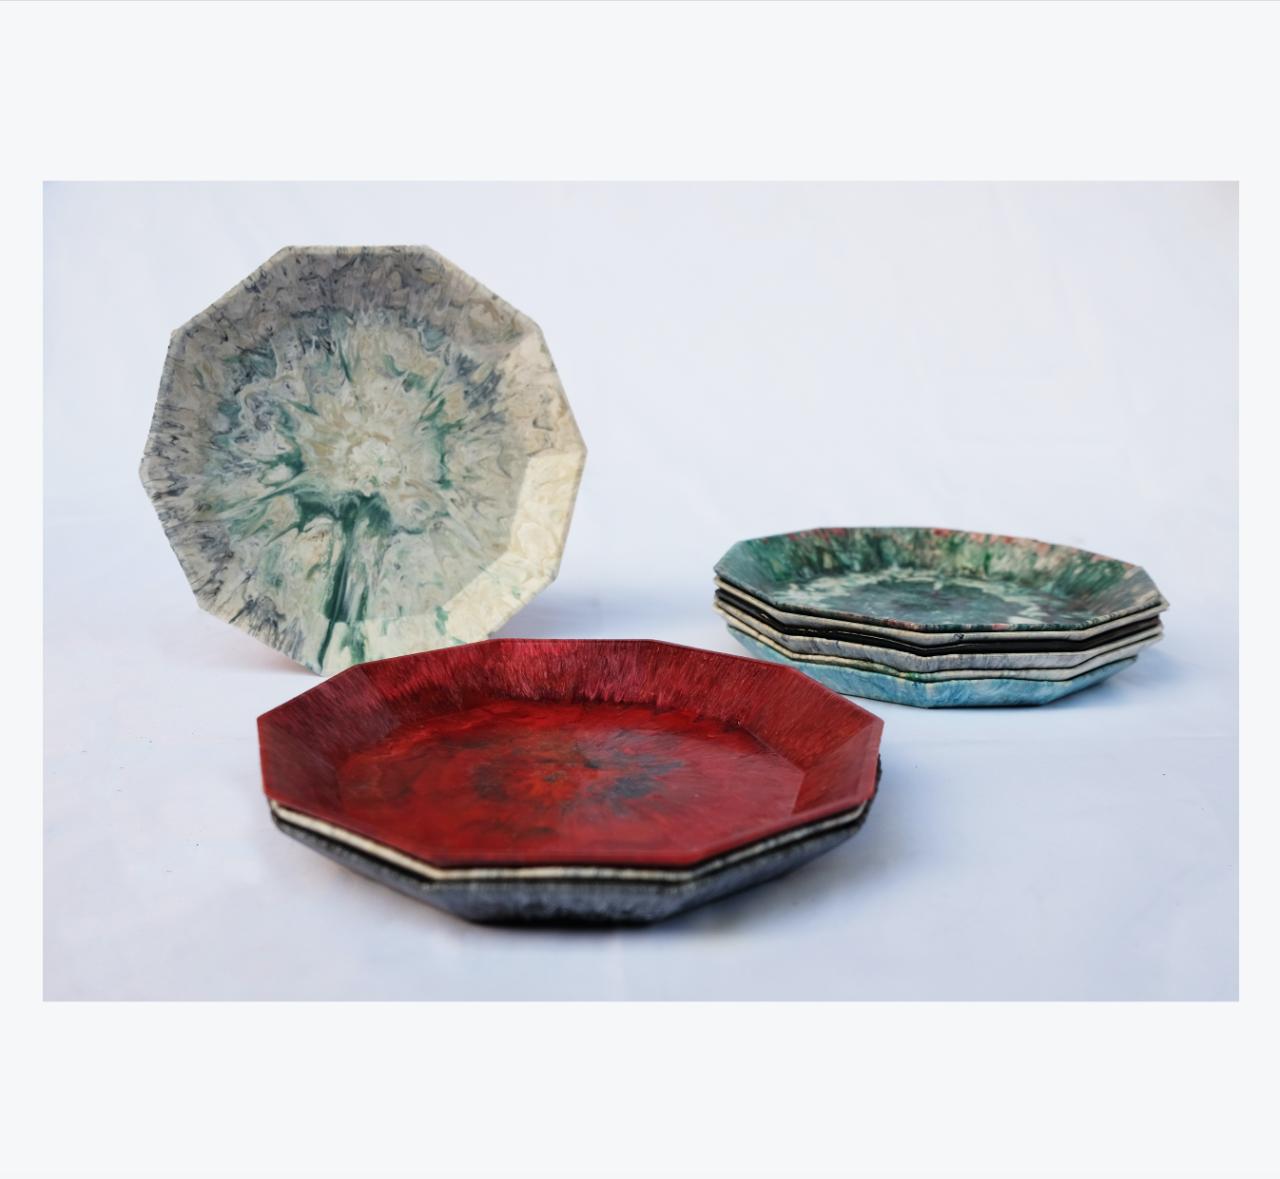
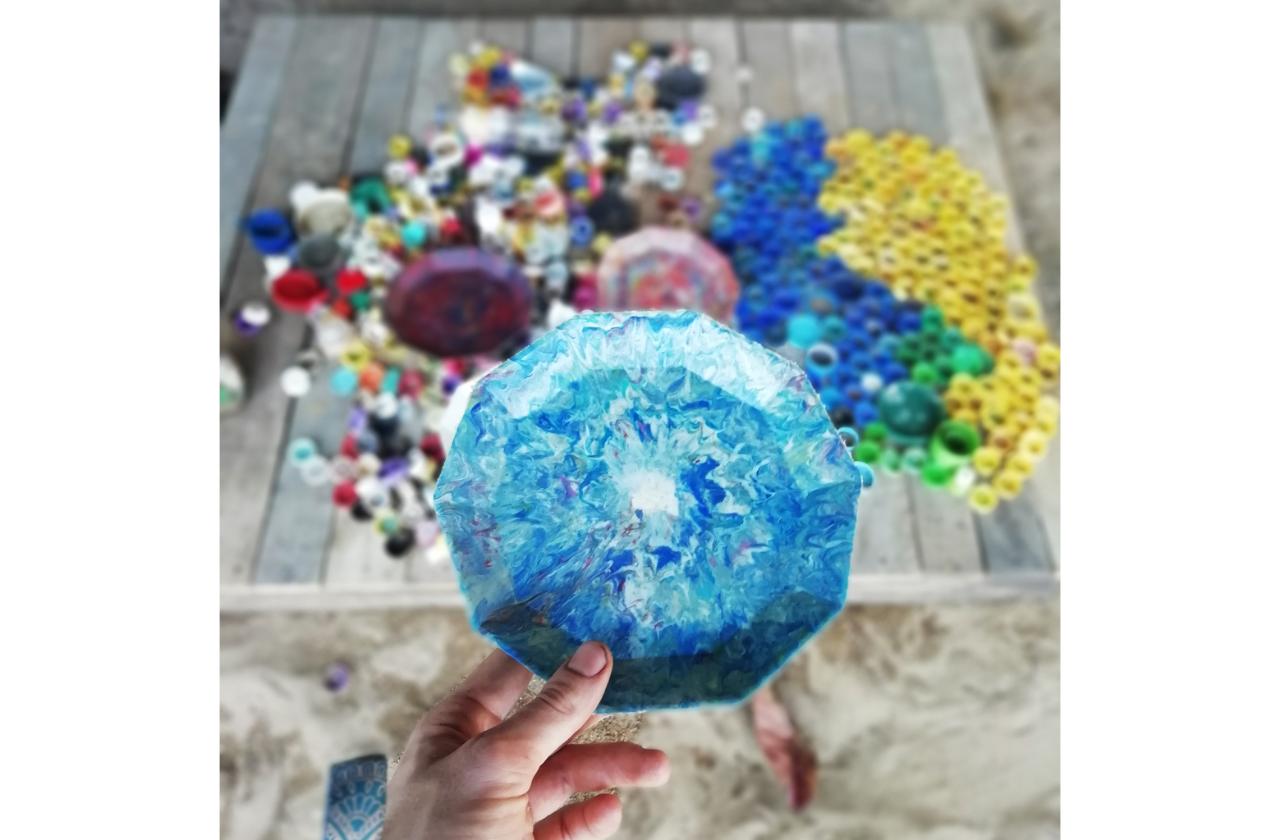
In this awsome "How To" you will make an aluminium mould for injecting a plate (3mm thickness) from recycled plastic.
Can be used for serving dry food like nuts or for objects :)
Should not be used for eating purposes - only if you apply a correct coating or lacquer!
Check out the real life plate execution here: <a href="https://www.youtube.com/watch?">https://www.youtube.com/watch?</a> v=YzjTm3FRLVY&t=5s
This product rocks!
*special thanks to Paul Denney!
—
Attachments
Resources
3D Files
- 3D Step File: /Plate tool assembly - thomas - 3mm.stp - Preview
Step 1 - Get ready
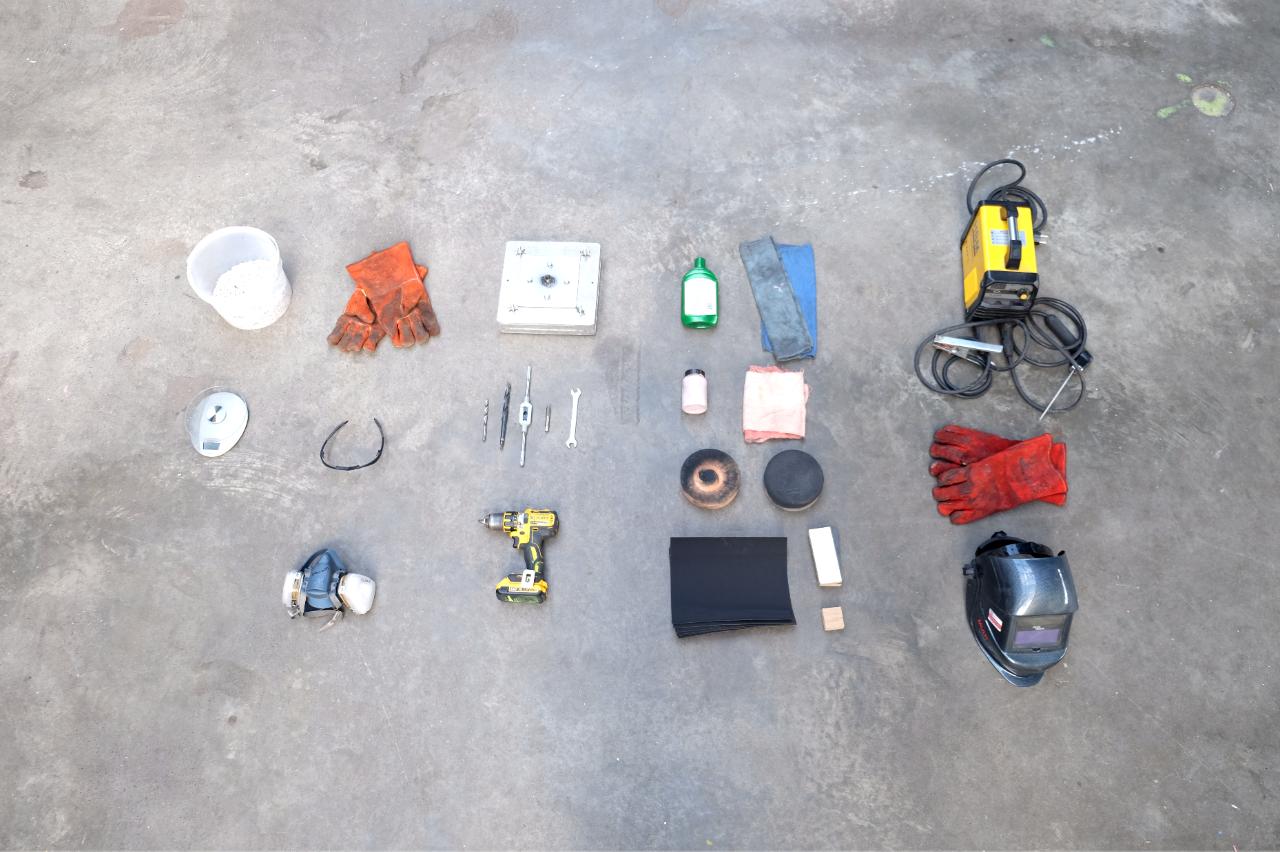
Tools needed:
- CNC, tools to cut (cutting plier), drill and welder - Mask with ABEC filter, gloves, glasses
- scale, sanding paper, polishing paste (for metal) - 4 bolts of 8m width, min length 9 cm + nuts
- 2 metal dowel pins (6m example)
- 8m + 6m drill bit
- wrenches
- 2 aluminium blocks 26x26x4cm,
- metal sheet min 15x15x0.5cm
- plumbing connector 1 inch,
- Precious Plastic stamp for your plastic type
Machines needed: Injection machine and a shredder (or shredded plastic)
Step 2 - The mould
As we will make this plate with the injection machine, we need to make the mould for it. It will be made of 3 parts: Bottom and top part out of aluminium. And next is the connector part made from steel.
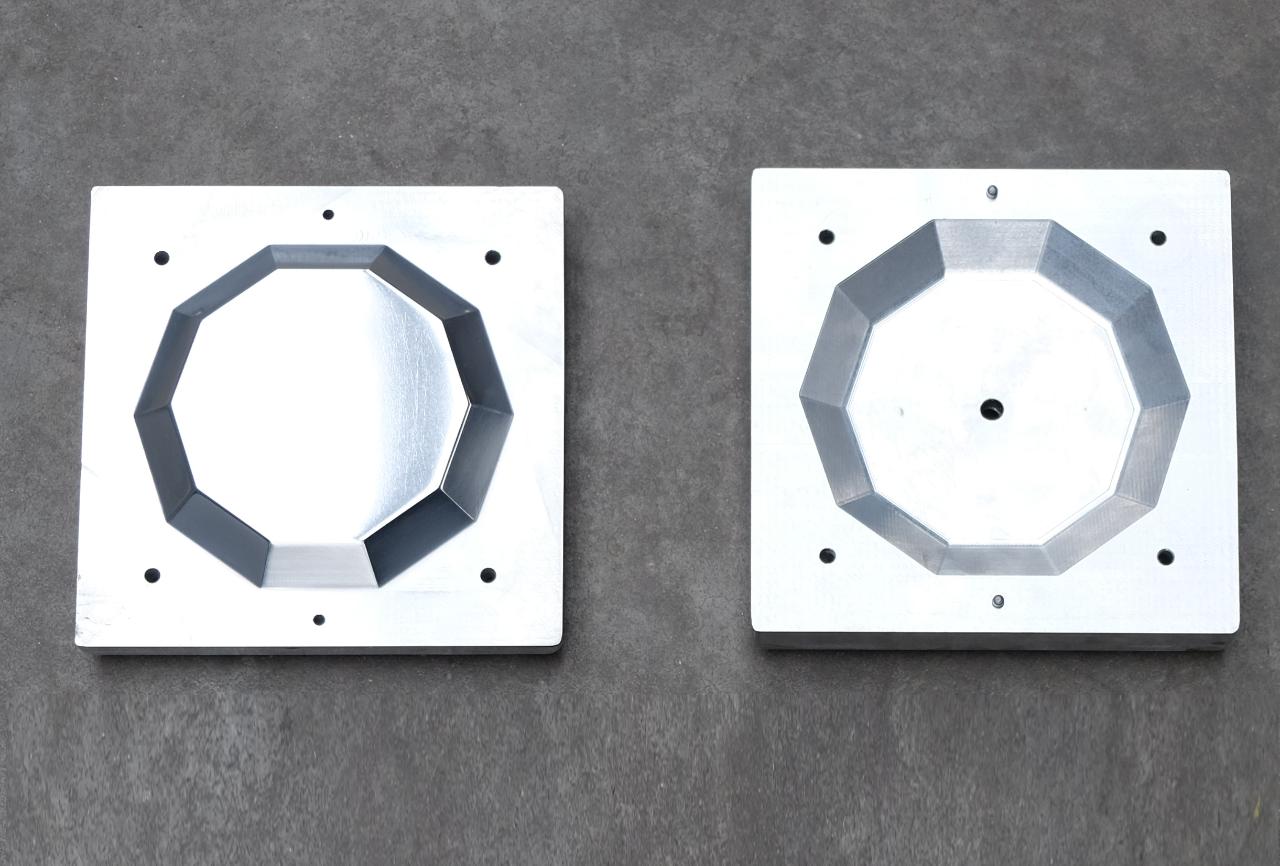
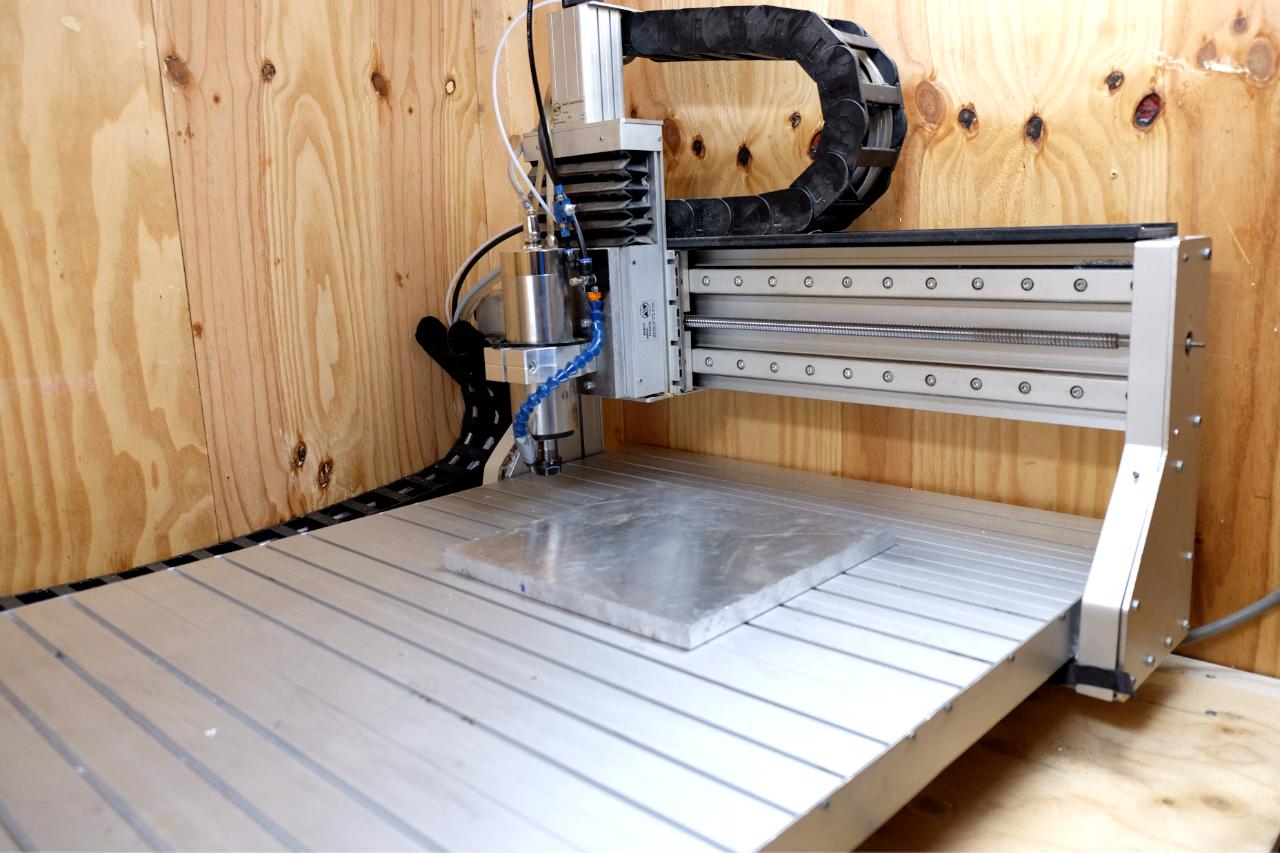
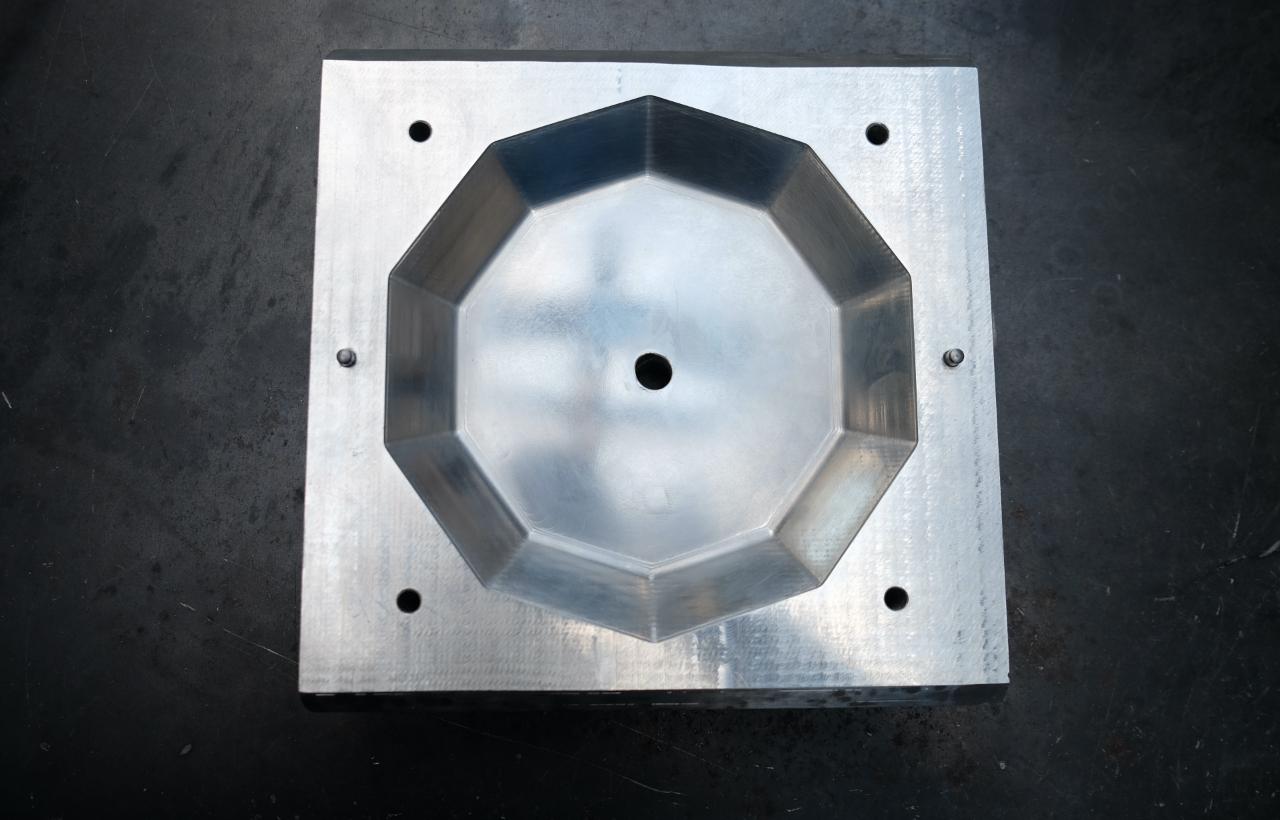
The top and bottom part will be CNC-milled out of two blocks of aluminium while we’ll make the connector part manually.
The top and bottom part will be CNC-milled out of two blocks of aluminium while we’ll make the connector part manually.
Step 3 - CNC your top and bottom parts
Let’s start with the CNC part.
Download the attached STEP file and CNC-mill them into the 2 separate aluminium blocks both equal sized of minimum size 26cm x 26cm x 4cm. (Note: The standard Precious Plastic Injection machine limits the max width for moulds to 28cm).
The step file includes 6 reference points to be milled. These points make it easy to manually drill on the exact location of the aluminium blocks. If you are not lucky enough to have access to a CNC milling machine, you can send the files to a CNC cutting company (consider that this will be more expensive and will probably take longer).
Once the mould is cut, polish the mould to achieve a high quality surface for your product. You can do that yourself or ask the CNC cutting company to polish the mould for you.
*special thanks to Friedrich
Step 4 - Drill the holes in the aluminium mould
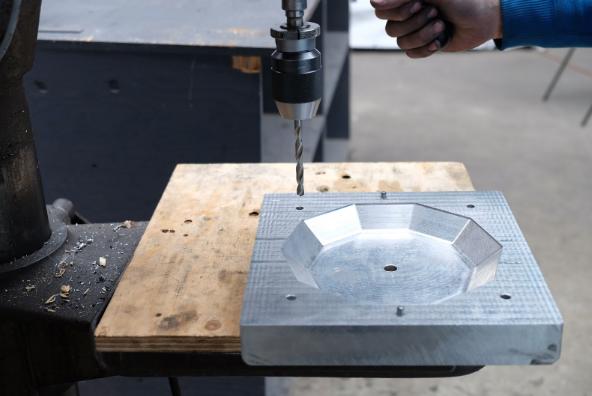
Now the mould parts need holes. We have to make 2 types of holes. Total will be 6. (the injection hole comes later)
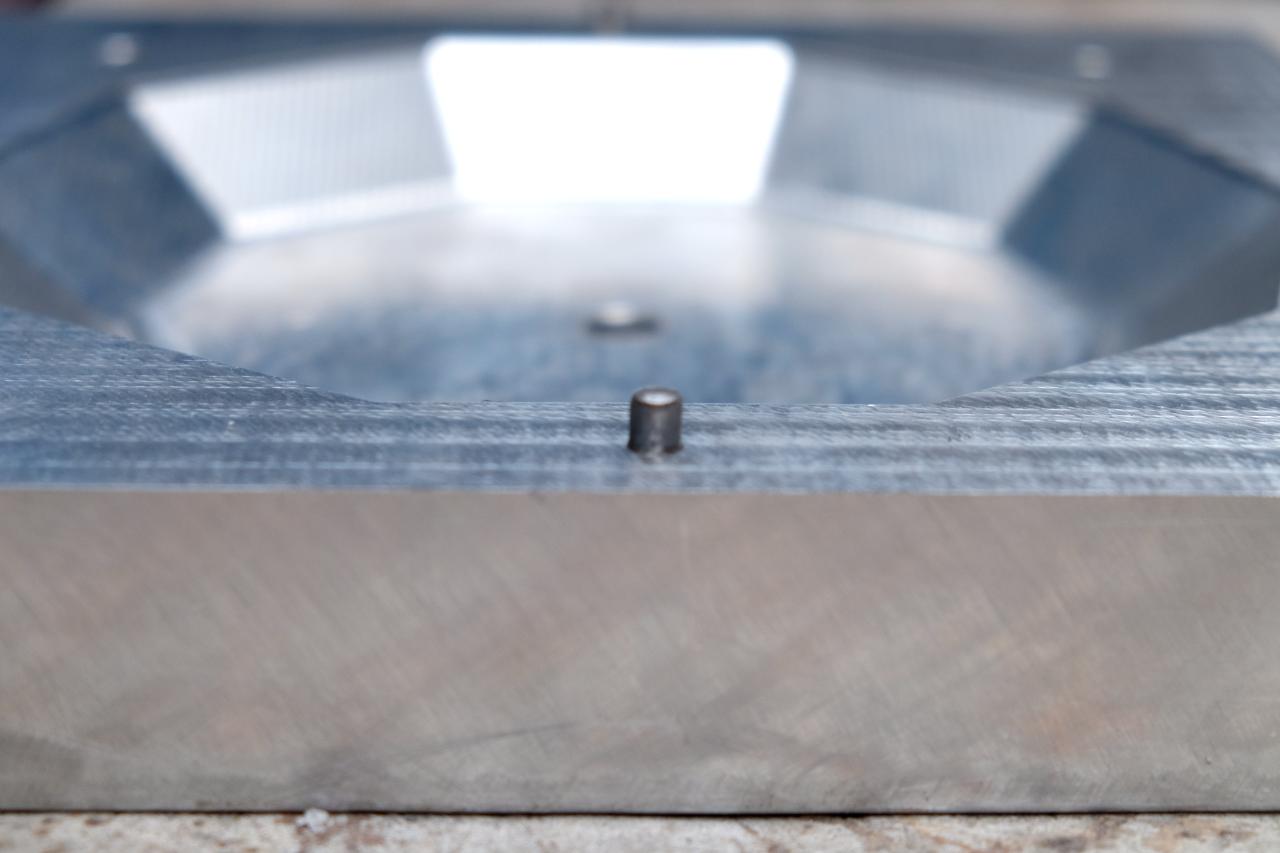
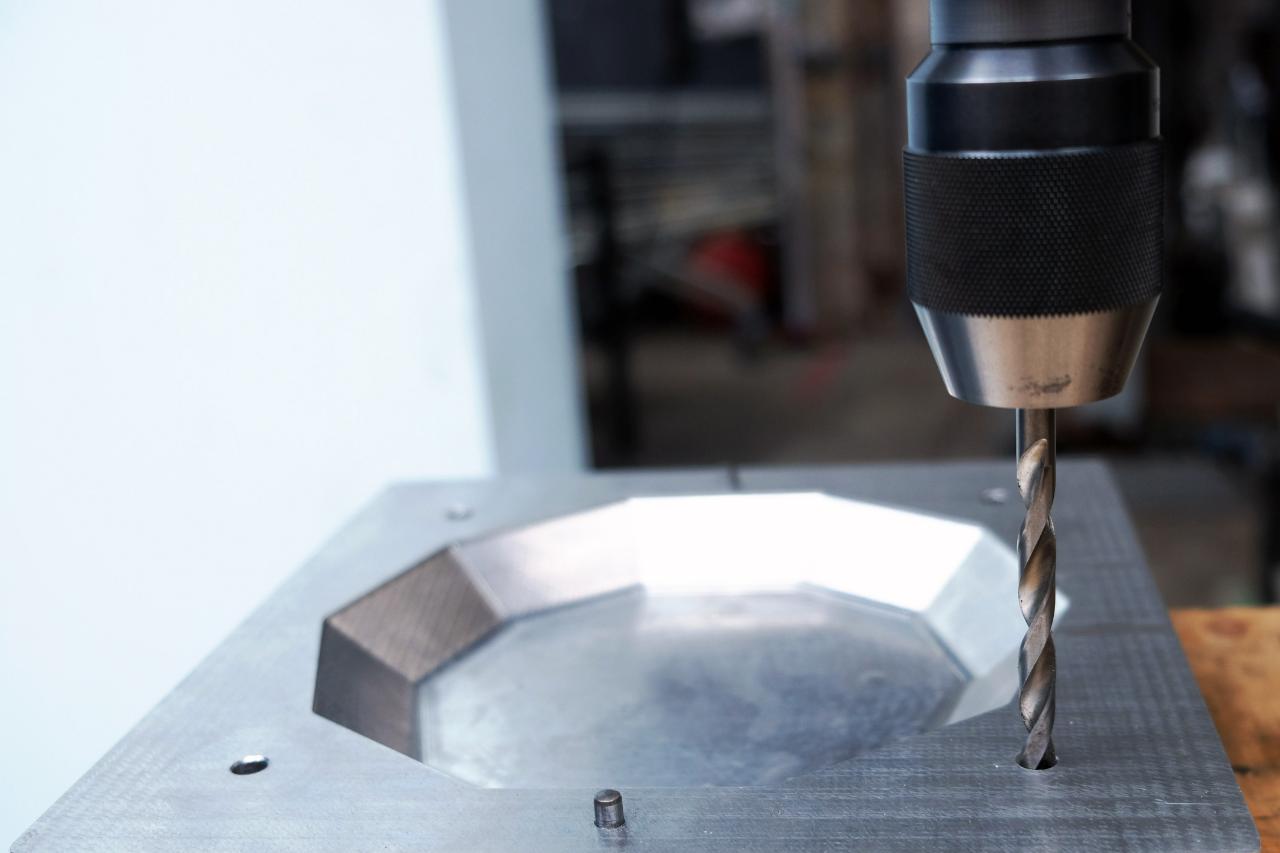
First we drill 2 halfway holes on both inner sides of the aluminium blocks to fit 2 metal dowel pins in there. These pins make sure your mould is always aligned straight when you are injecting. (see first image) Drill the hole size according to the dowel pin size you have. I used 6m width. Drill the holes on both sides half way.
After opening and closing the mould more often the opening and closing will become more easy.
Then 4 holes are needed to connect and close the mould with bolts and nuts. Drill 4 holes on the 4 corners of the aluminium blocks. Use the pre marked drill indicators ór close the mould straight
Step 5 - Drill the injection hole
Using a 13mm bit, drill a hole in the center of the bottom mould part. This is where the plastic will flow into the mould, out of the injection machine. The center drill indicator is also included in the STEP file.
Step 6 - Make the connector plate
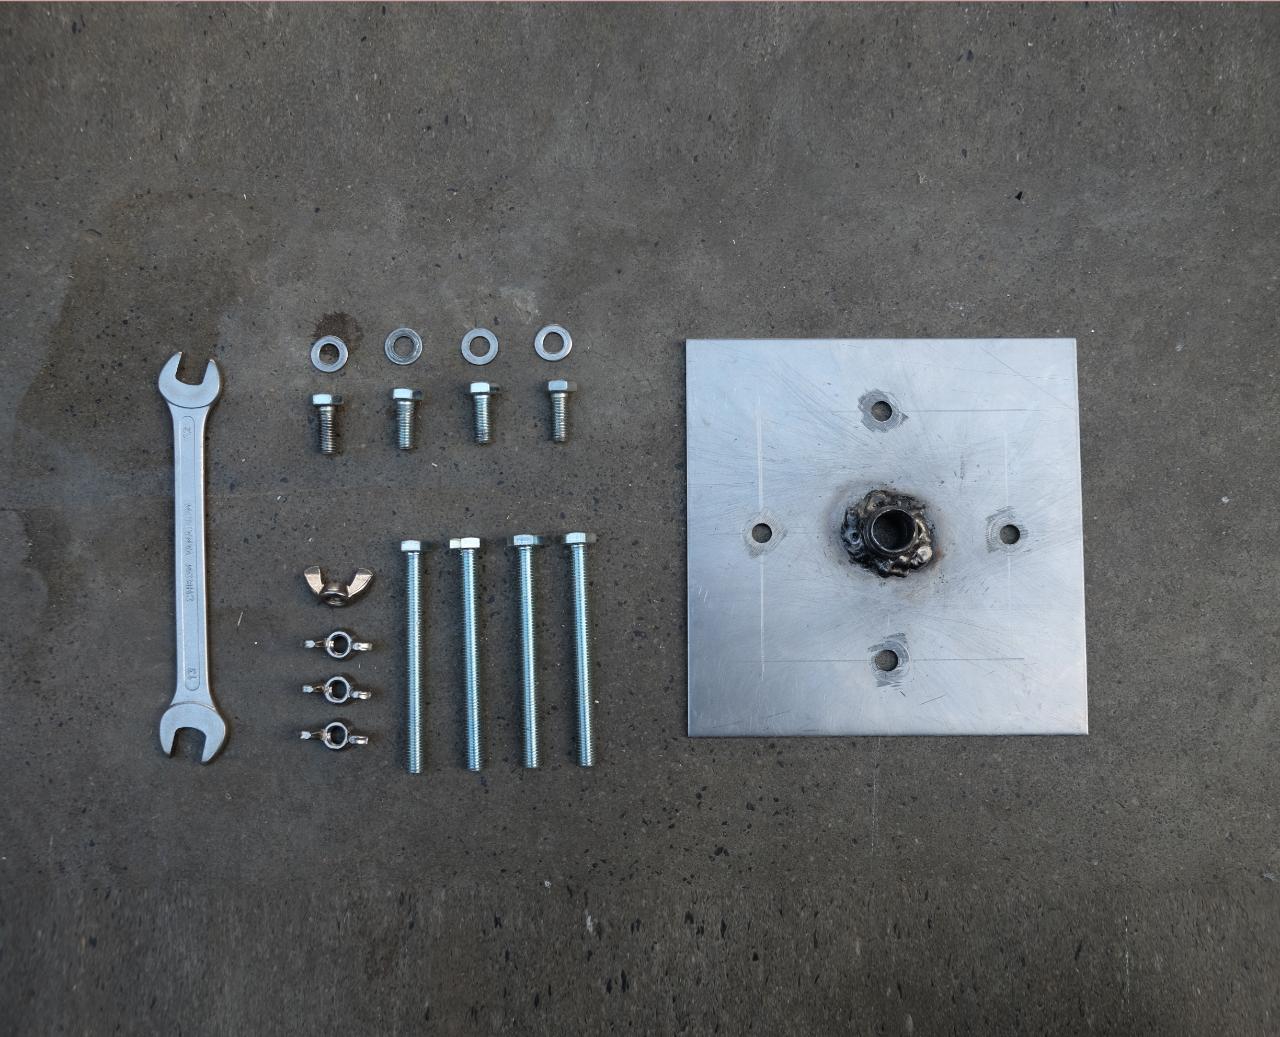
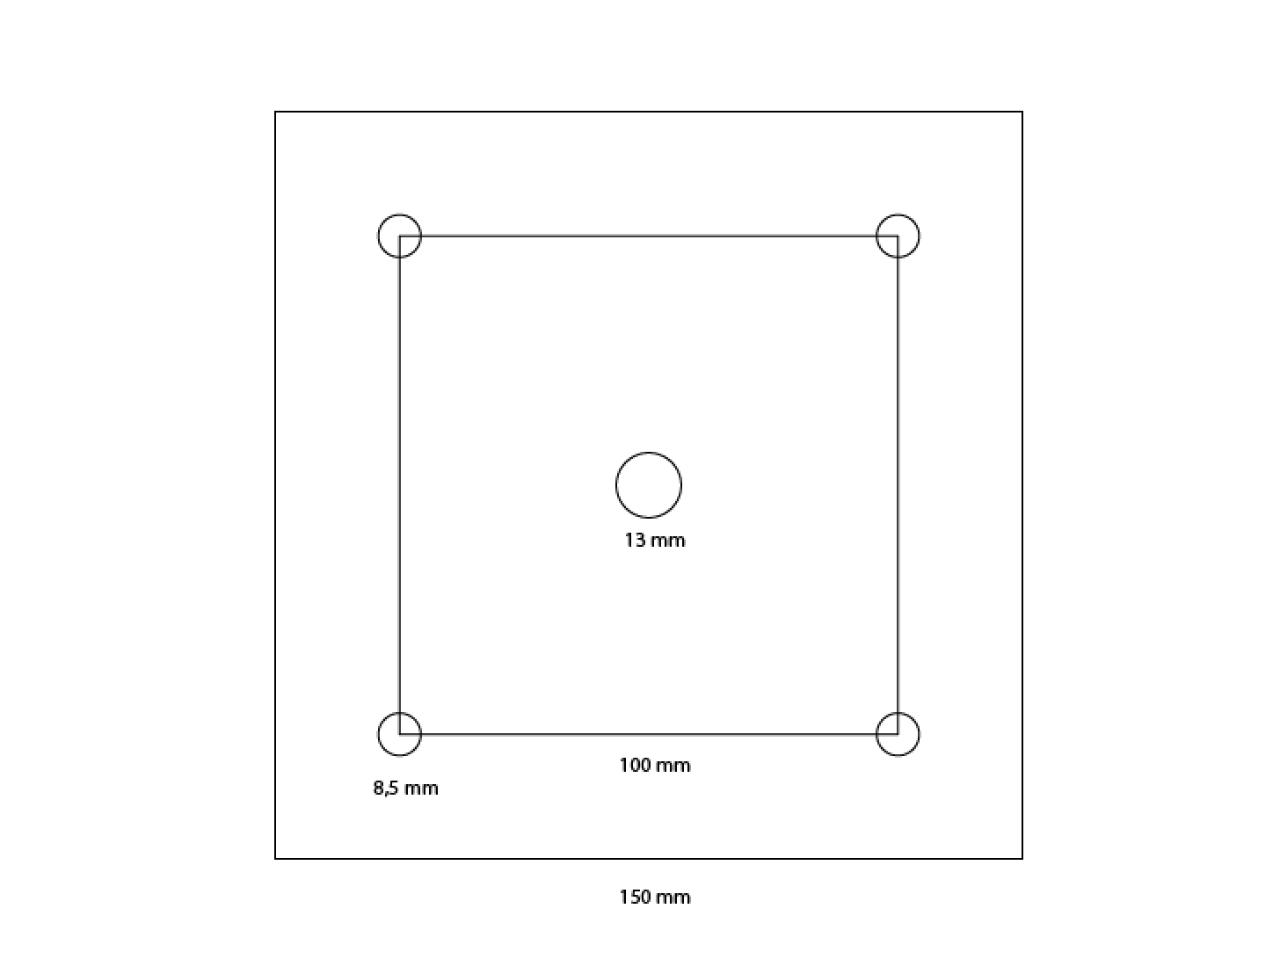
To make the connection plate, we need a square steel sheet of 150cm x 150cm (minimum 0.5cm thick) and a nozzle which fits your injection machine (here: 1/2 inch - BSP - type). Check the connection types of the injector. https://youtu.be/qtZv96ciFIU?t=255
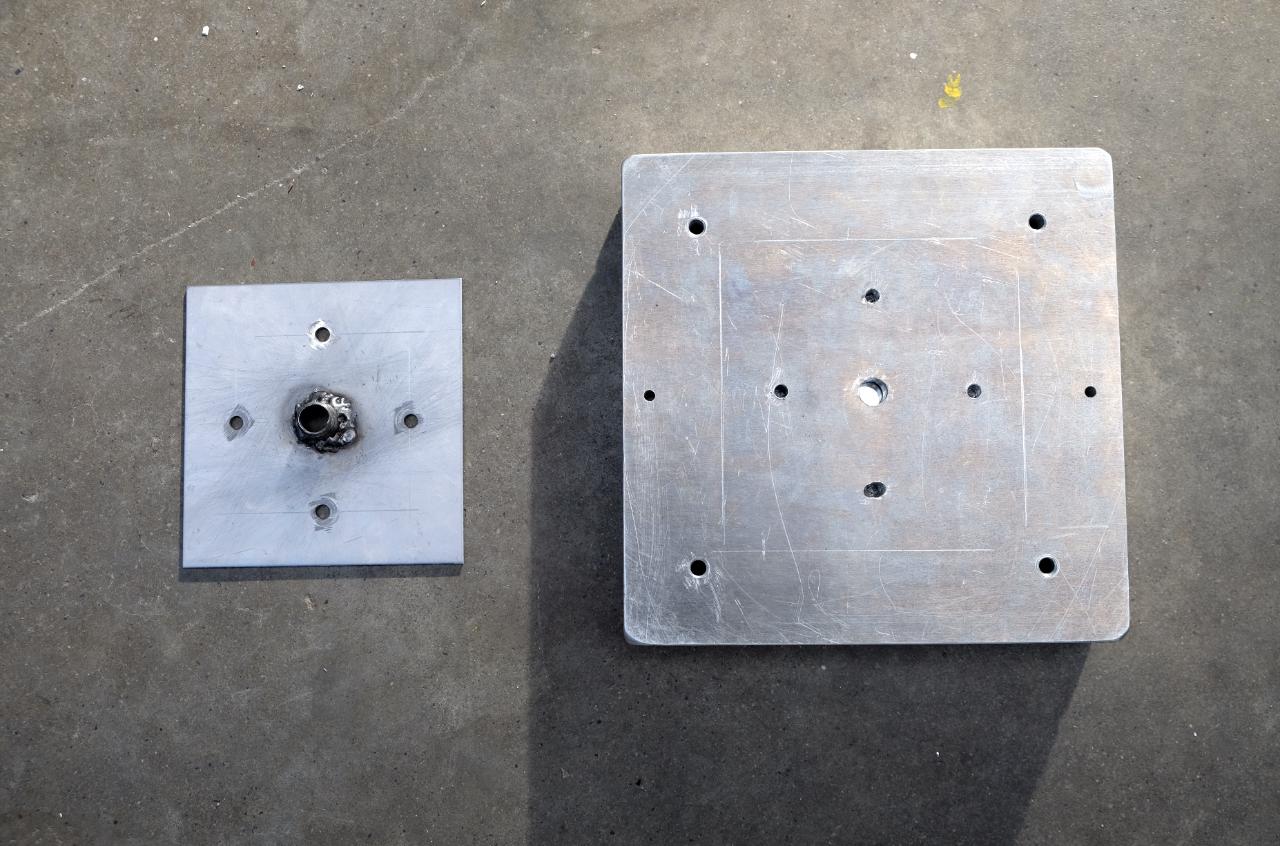
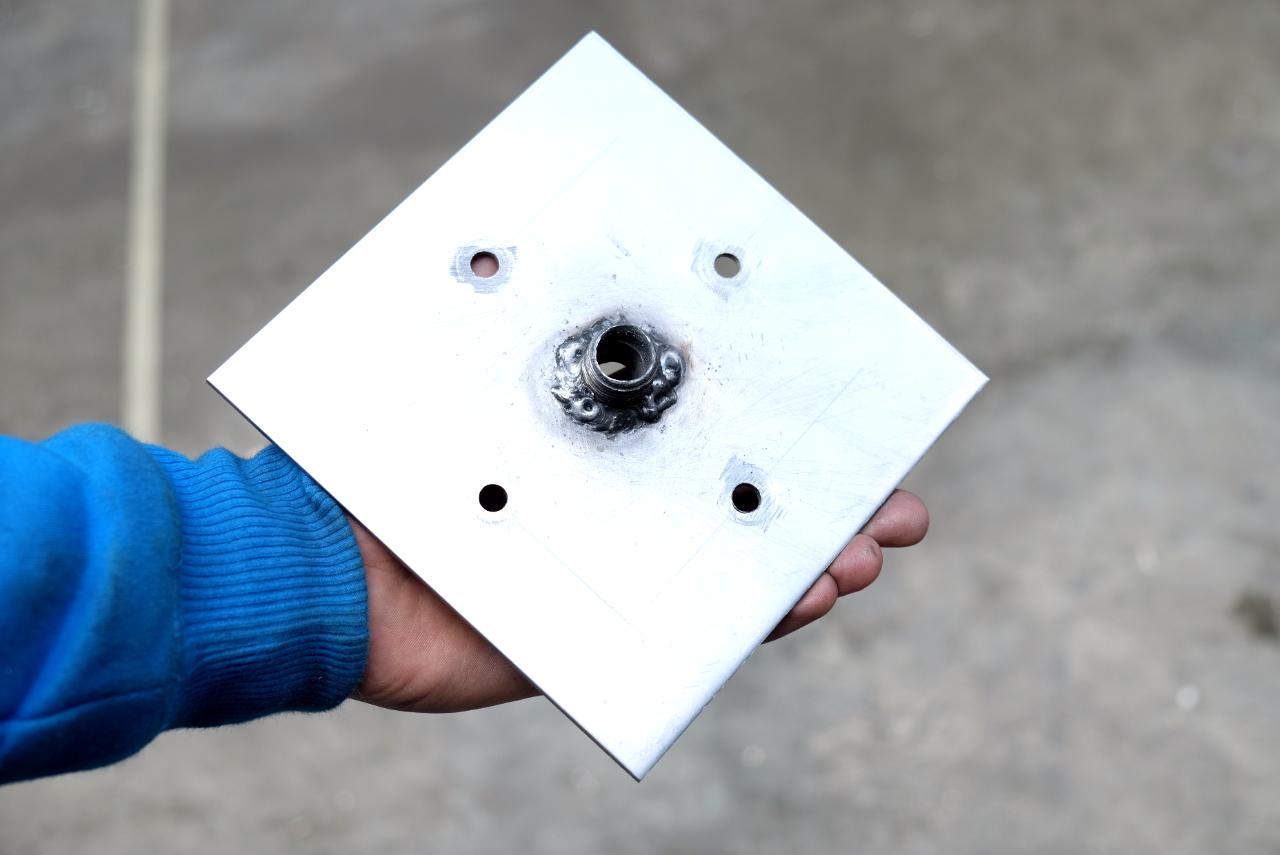
Mark the center points for the holes according to the drawing and drill the holes.
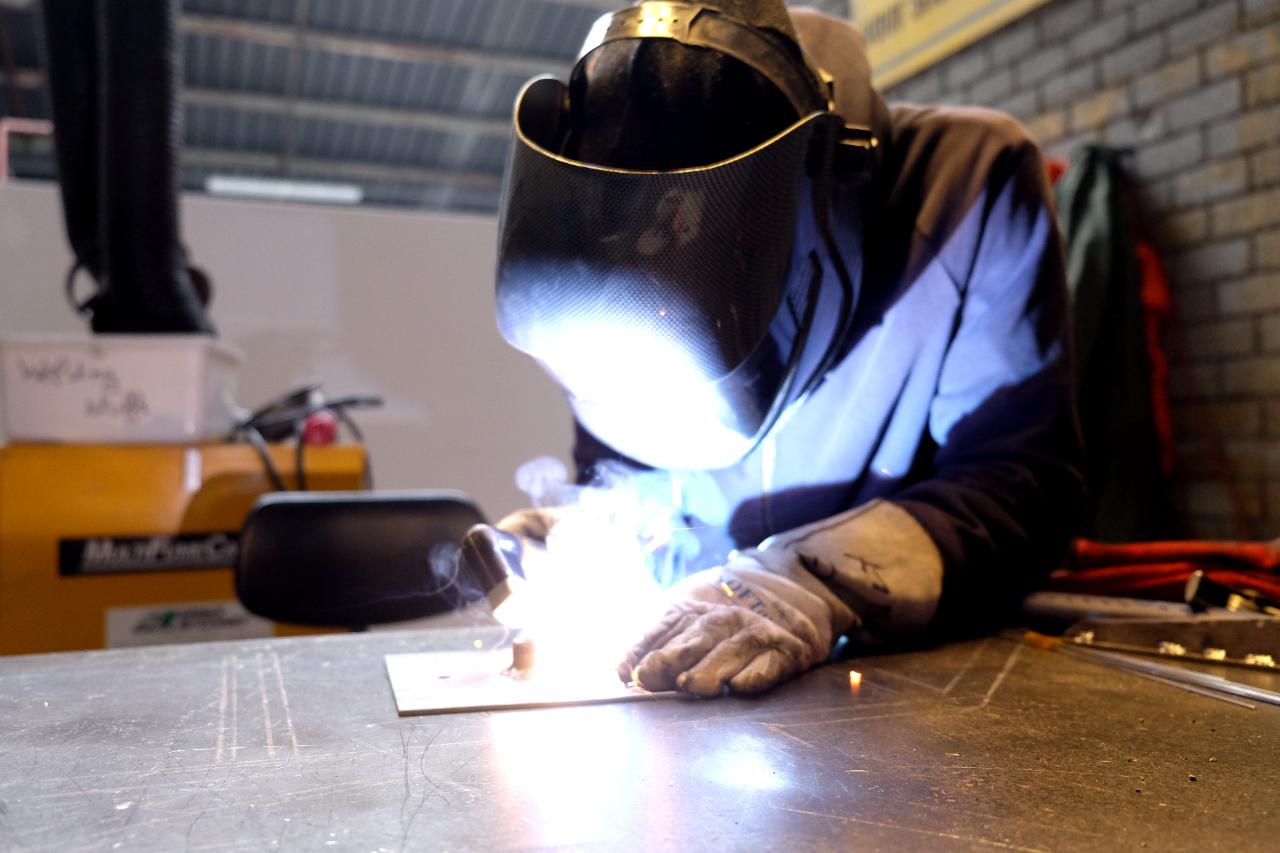
Then place the nozzle on top of the 13mm hole and weld it to the plate. Make sure to place it exactly in the center, this will help screwing the mould to the injector easily, and make the plastic flow through more fluently.
This part needs to align perfectly to the rest of the mould and the injection machine, so try to work as precisely as possible.
Step 7 - Sand the mould edges
The mould will be more user friendly if you sand the hard edges away, as CNC cut aluminum can be very sharp. Optionally, I would advise that you add an inclined edge to the bottom part of the mould, this will make it much easier to open and close the mould.
It is important that the inside of the mould is sanded and polished for a clean finish of the product. This will make the difference between a high quality product and a rough one. Use a wooden block with sanding paper to keep your sanding straight. Start with 120 grain size and double the amount with each step (120, 240, 440 etc. all the way up to 2000).
Use a cloth to clean your mould from aluminium dust. Don’t blow it out of the mould this is very bad for your lungs! After, use metal grained steel wool and then fine steel wool. The last step is to polish your mould with an additional clean cloth and polishing paste.
Step 8 - Assemble the mould
You are now done with the mould’s preps and can assemble all the parts together. First connect the top and bottom part, using the dowel pins to help you with alignment and bolts and nuts to tighten all together. Then you can connect the connector plate to the top and bottom part of the mould. You’re now good to go.
Step 9 - Get yo plastic!
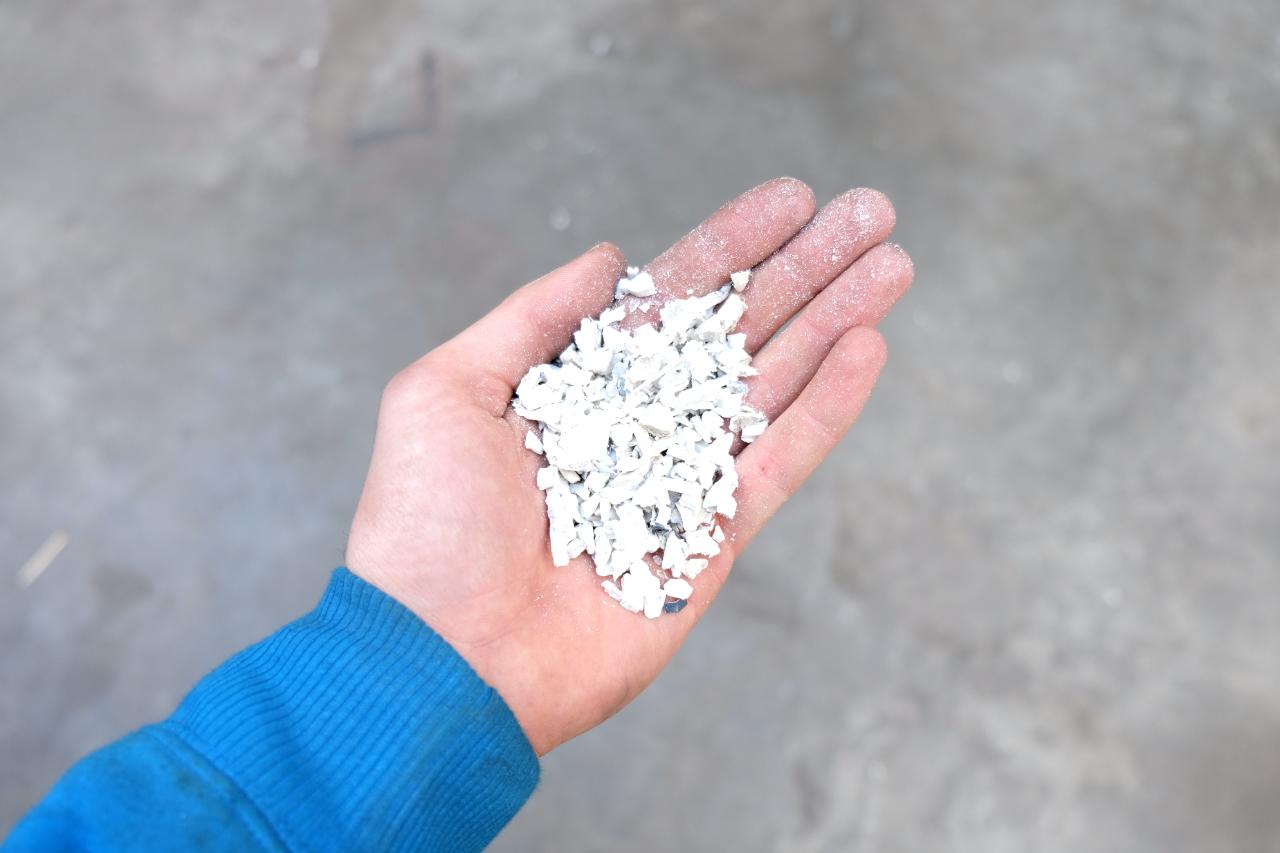
Use PP, HDPE, LDPE or PS (you probably will have most success with PP or LDPE).
The maximum amount that can be used for the standard injector is 150g.
The maximum amount that can be used for the standard injector is 150g.
Step 10 - oh man! Injection time!
Fully fill the injector with material, but be careful not to overfill as this can lead to plastic glueing to the hopper or outside of the injector. Set your temperature based on the correct melting temperatures for your plastic type. It’s good to make the lower heating element slightly hotter than the upper, to avoid solidification of the plastic.
Move the injector lever up and down to push the material deeper into the barrel. Afterwards add more material, and leave the handle bar down to keep pressure on the plastic. After around 15 min heating lift the handle bar up and open the injector. Cut away the first drip of plastic from the barrel (might still contain some unmelted plastic), and directly screw your mould to the injector.
Wear a protective mask and eye cover, as well as heat resistant gloves during this part of the process. Safety first.
Inject your plastic by pulling down with all the pressure that you can manage, to create one continuous injection. You will need to maintain pressure for 30 seconds. Do not press in parts! If you are not sure that your strength and weight are enough, you can ask someone to help you in applying force to the injection.
Step 11 - Discover your creation
Keep the handle bar down. Quickly unscrew your mould from the injection barrel, and re-plug the connection point on the injector, so that no plastic leaks out. By applying water you can speed up the cooling process. When the mould is cooled open the two sides of your mould by unscrewing the bolts. Use a hammer and pin (like your bold for example), to hammer out the plate through the nozzle connector on the top.
Step 12 - Finish the plate
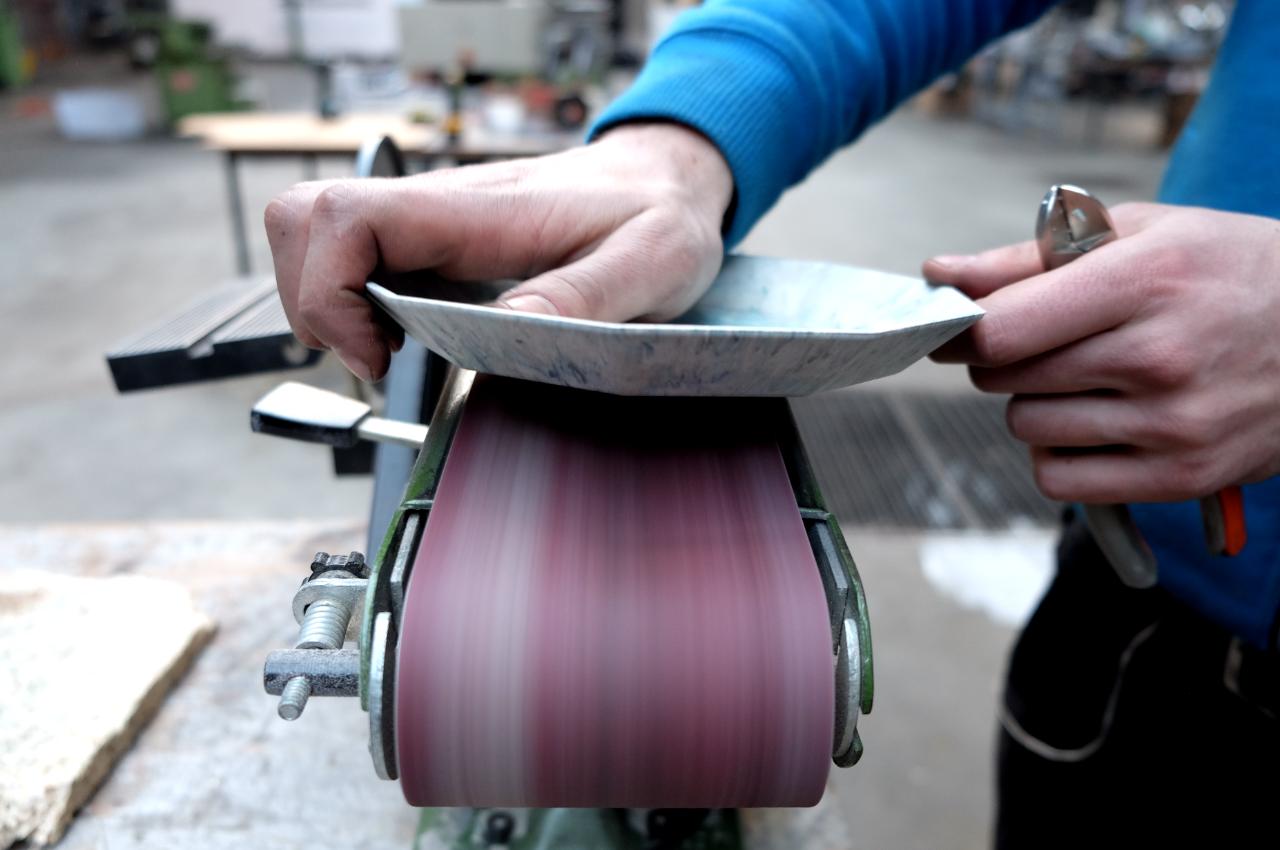
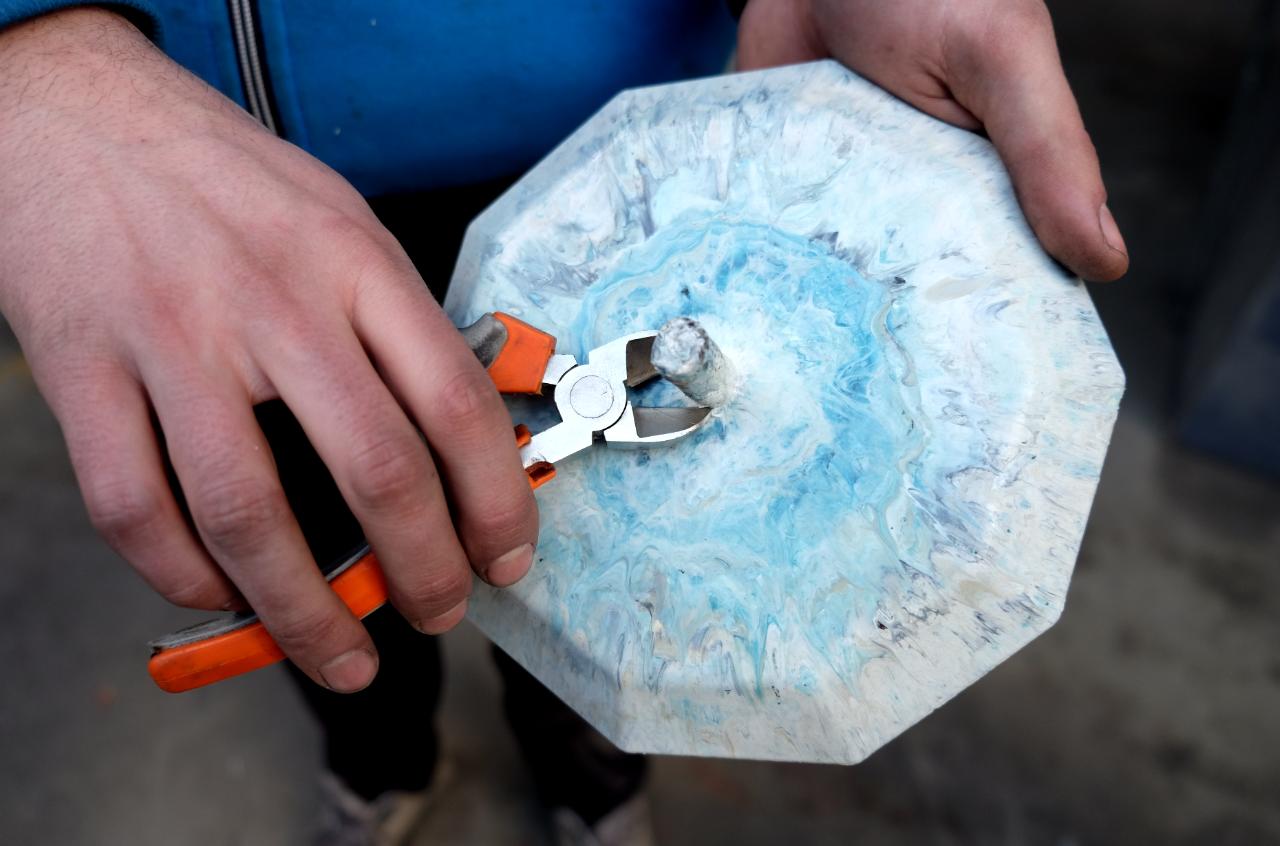
Cut away the excess material at the injection point with some sharp plier. Sand the uneven areas to give it a clean finish. For this you can use a machine or your bare hands(if you dare to).
*Disclaimer:
Due to no full possible verification of the plastics sources
do not eat food from this plate unless you applied a lacquer to the surface.
*Disclaimer:
Due to no full possible verification of the plastics sources
do not eat food from this plate unless you applied a lacquer to the surface.
Step 13 - Label your plastic! Stamp the plate!
Ideally, at this point you should add a plastic type symbol to your product to show what plastic is made from!
This is important so that later on people know which type it is, and it can be recycled again.
There are different techniques you can use to stamp your material.
Here we used the Precious Plastic stamps (You can get them online on the Bazar).
This is important so that later on people know which type it is, and it can be recycled again.
There are different techniques you can use to stamp your material.
Here we used the Precious Plastic stamps (You can get them online on the Bazar).
Step 14 - Finish like a heroe
Grab yourself a well earned beer (or tea for the under 18’s...), and admire your work!
For any questions contact me on hoogewerfthomas@gmail.com.
Or send a photo of your creation to me ;)
Check out the real life plate execution in Panama!
https://www.youtube.com/watch?v=YzjTm3FRLVY&t=5s
*special thanks to Paul Denney!
*****Disclaimer*****
Due to no full possible verification of the plastics sources
do not eat food from this plate unless you applied a lacquer to the surface.
—
—
—

Comments