Injection wall mount
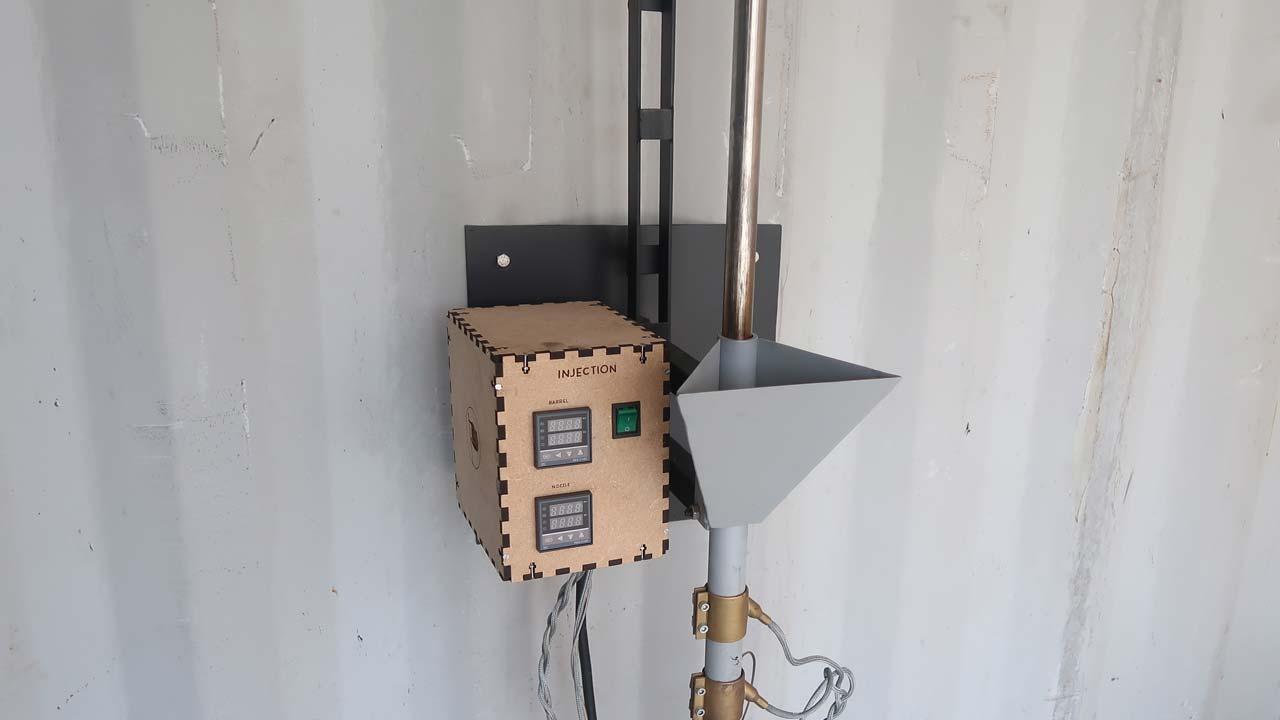
The version 2 of our injection machines comes with a basic frame that keeps it standing. Easy peasy. However, how cool would that be to mount your injection machine on the wall?
—
Attachments
Resources
3D Files
- 3D Step File: /files/Injection_Wall_mount/Injection Wall mount/CAD/Wallmount.STEP - Preview
Step 1 - Get ready
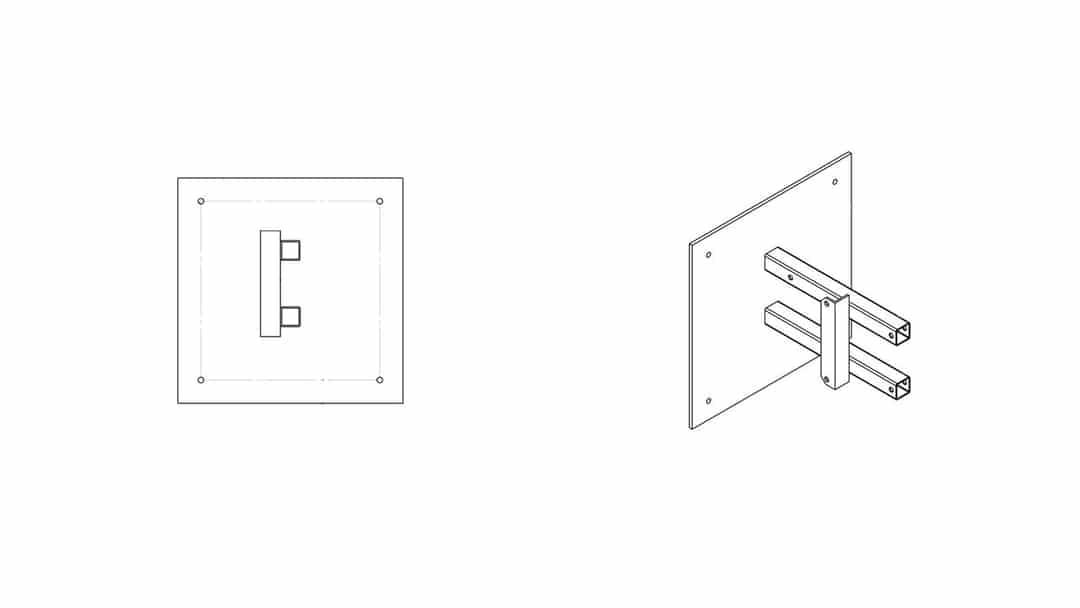
We have created a simple wall mount so you don’t need to make the entire bottom half of the frame. Moreover, this mount makes the machine way more stable and solid. Nothing moves. However, keep in mind that it doesn’t fit every place and you can’t move it around anymore. You can find the technical drawing in our download-kit.
Step 2 - Cut, drill, weld and paint
Follow the dimensions shown in the download files and cut your materials to size. Once cut you can drill the parts as needed.
With your parts ready, position them together and weld.
After welding you can add some paint for a better look and extended life.
With your parts ready, position them together and weld.
After welding you can add some paint for a better look and extended life.
Step 3 - Mount your machine
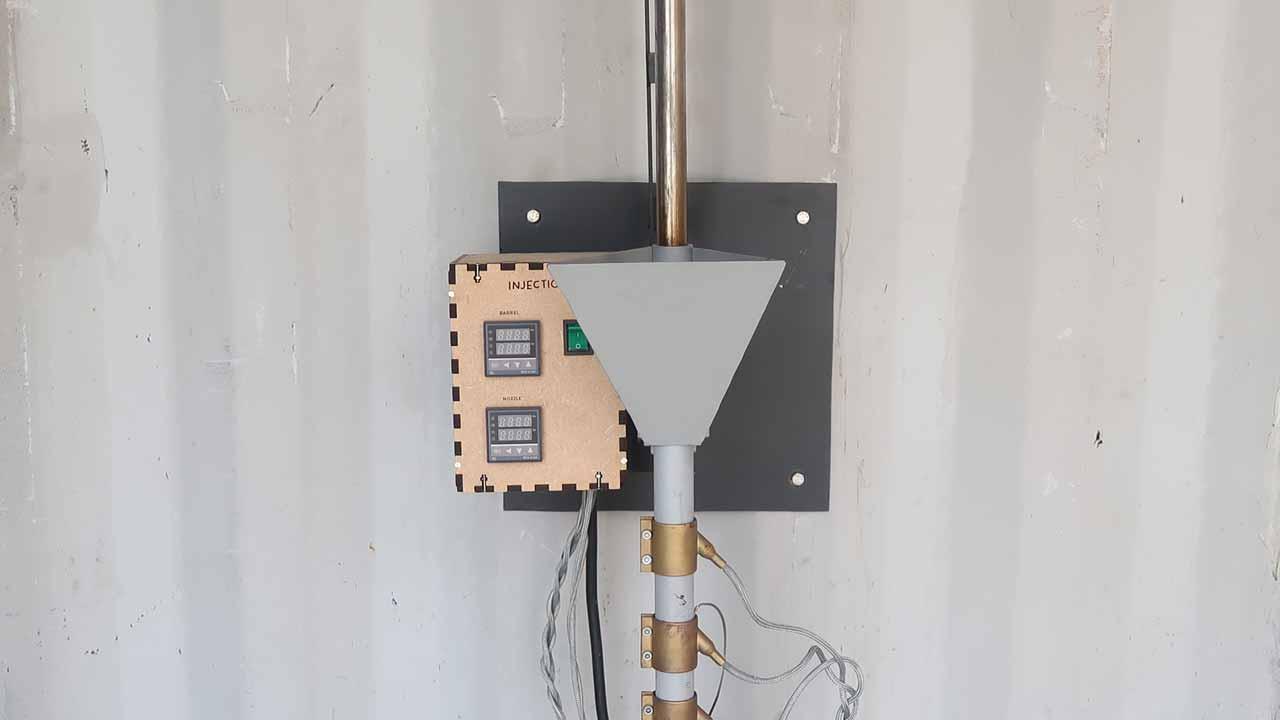
Now you can connect your bracket to the wall and hang your injection machine. Be sure to put it in the right place.
Done :)
Done :)
—
—
—


Comments