Make a quick release for the extrusion machine
The extrusion machine has the capacity to extrude a lot of plastic very quickly, but what if you wanted to make smaller or bigger items that can’t be screwed on to the barrel. This is why we developed the low tech sliding quick release for all your extrusion needs.
—
Attachments
Resources
Step 1 - Prepare your pieces
First off, in this how-to precision is key. We recommend you to take extra care and time making this nozzle adapter. Once ready, this adapter should fit with all of your future products. Prepare the materials you need. Bear in mind that these items are a rough guide and you can use similar items that you may have available to the same effect.
In this How-to we will use:
A: 2x 5mm plates (65mm x 70mm)
B: 2x 20mmx 3mm angle bar (70mm)
C: 2x 5mm strips (70mm x 25mm)
D: 20mm Galvanised Union
E: Scrap pieces of metal (approx 20mm x 20mm)
In this How-to we will use:
A: 2x 5mm plates (65mm x 70mm)
B: 2x 20mmx 3mm angle bar (70mm)
C: 2x 5mm strips (70mm x 25mm)
D: 20mm Galvanised Union
E: Scrap pieces of metal (approx 20mm x 20mm)
Step 2 - Rounding the corners
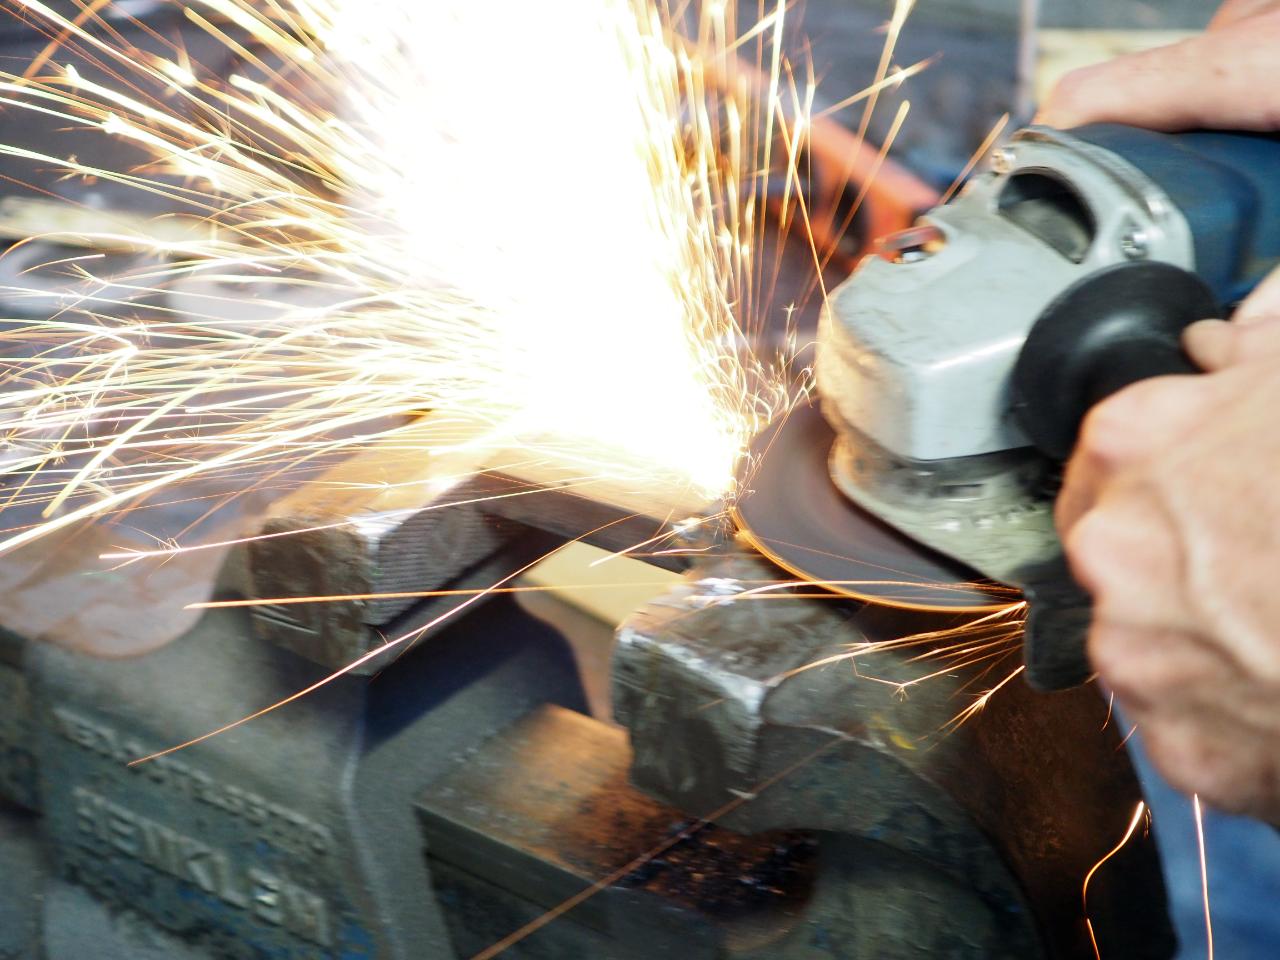
Angle bars tend to come with rounded internal corners but we need a snug fit for 1 of our metal plates (part A). To do this we use a grinder to round the edges of the sides (longer edges) so that the plate and the angle bar sit together smoothly.

Step 3 - Welding the angle bars
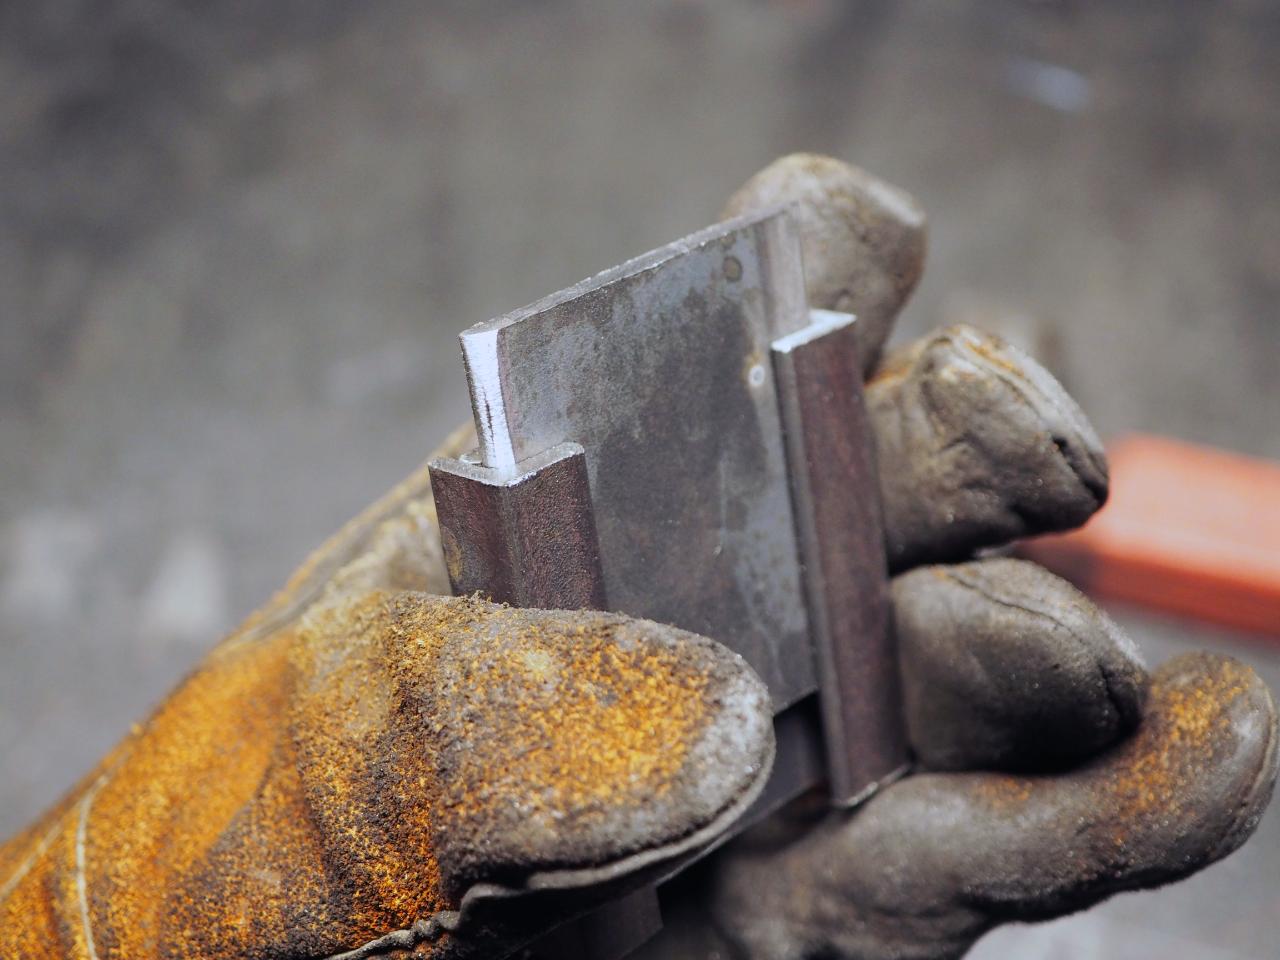
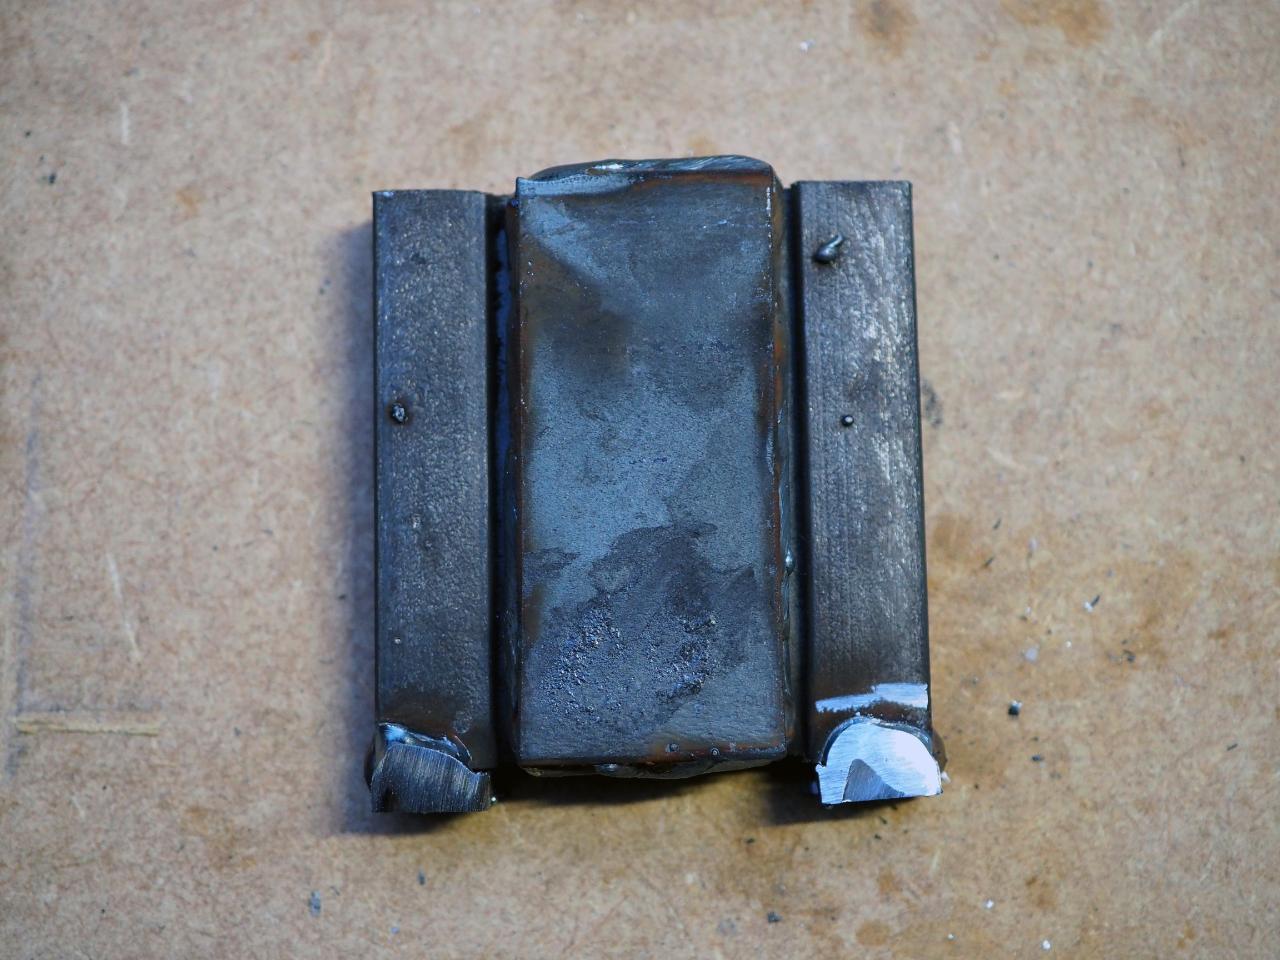
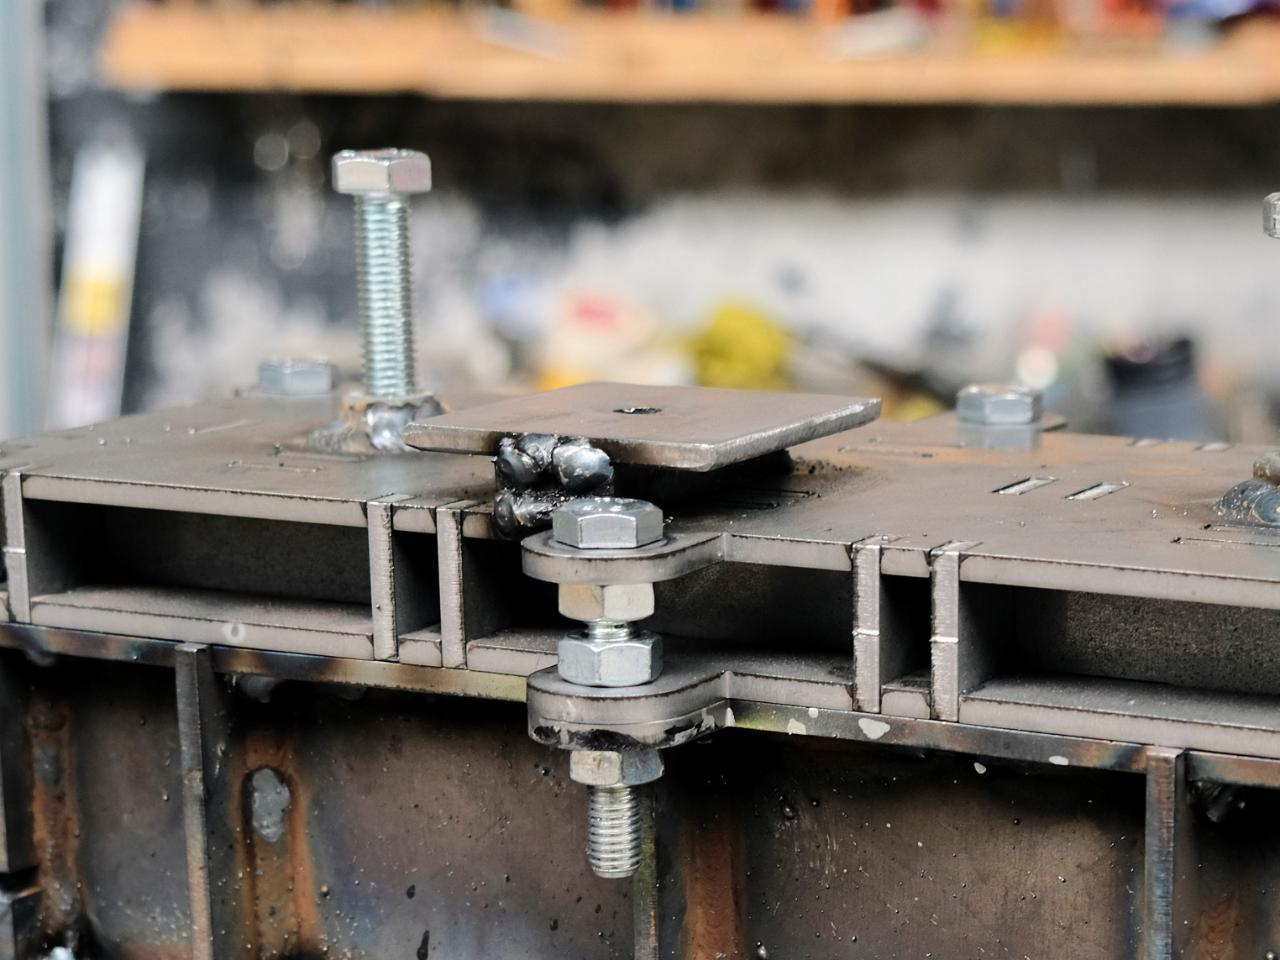
Once both sides are grounded take the second plate (part A) and 2 angle bars (parts B) and clamp them together as seen in the picture. A snug fit is required and the angle bars must be pressed firmly and evenly against the plates.
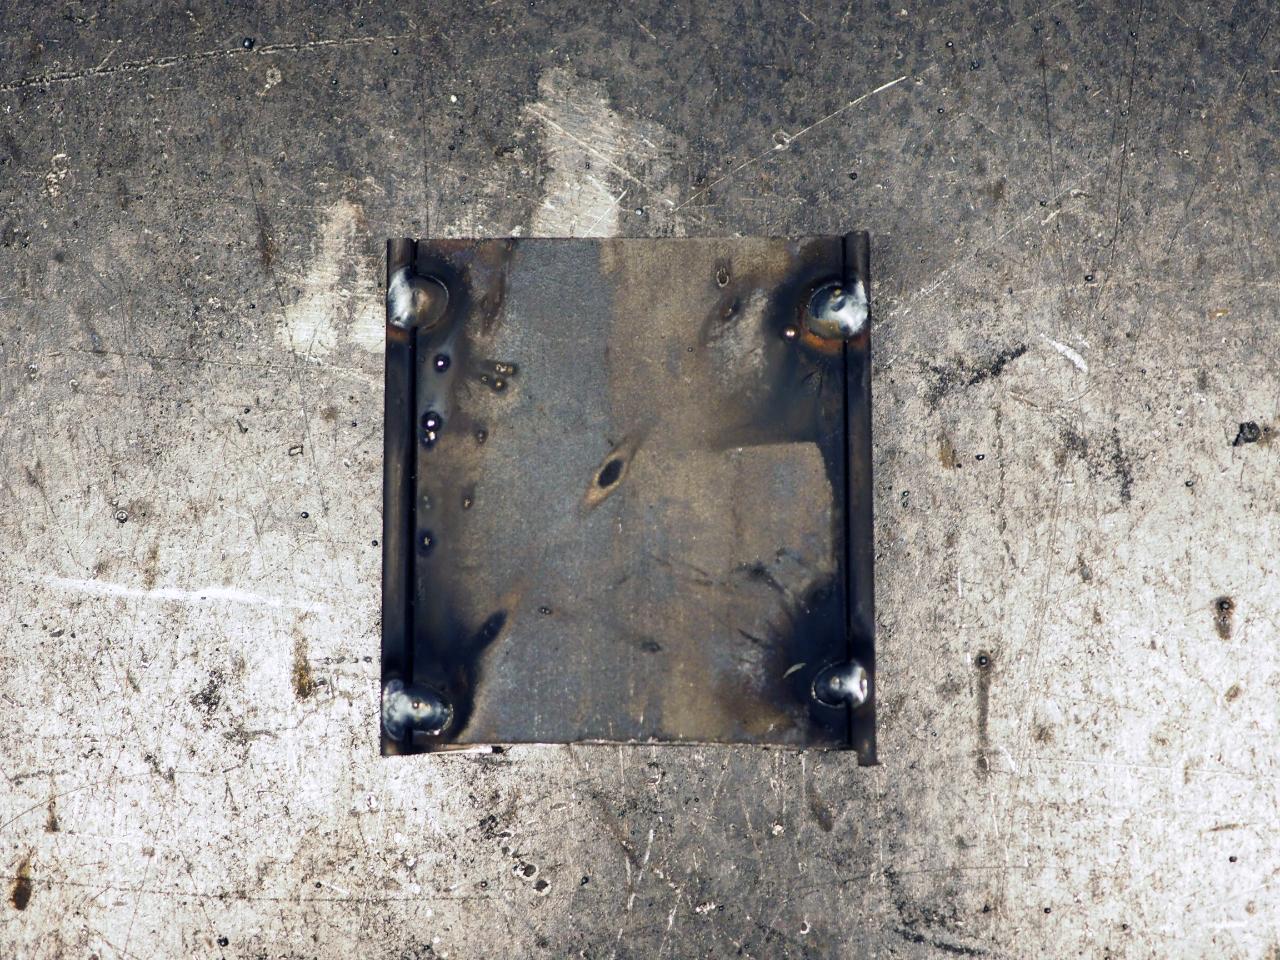
Tack weld the angle bars to the recently added flat plate (the one without the rounded edges). Take this opportunity to make sure that the rounded corner plate can still be removed. It will be tight, that is ok - too loose would be a problem.
Tack weld the angle bars to the recently added flat plate (the one without the rounded edges). Take this opportunity to make sure that the rounded corner plate can still be removed. It will be tight, that is ok - too loose would be a problem.

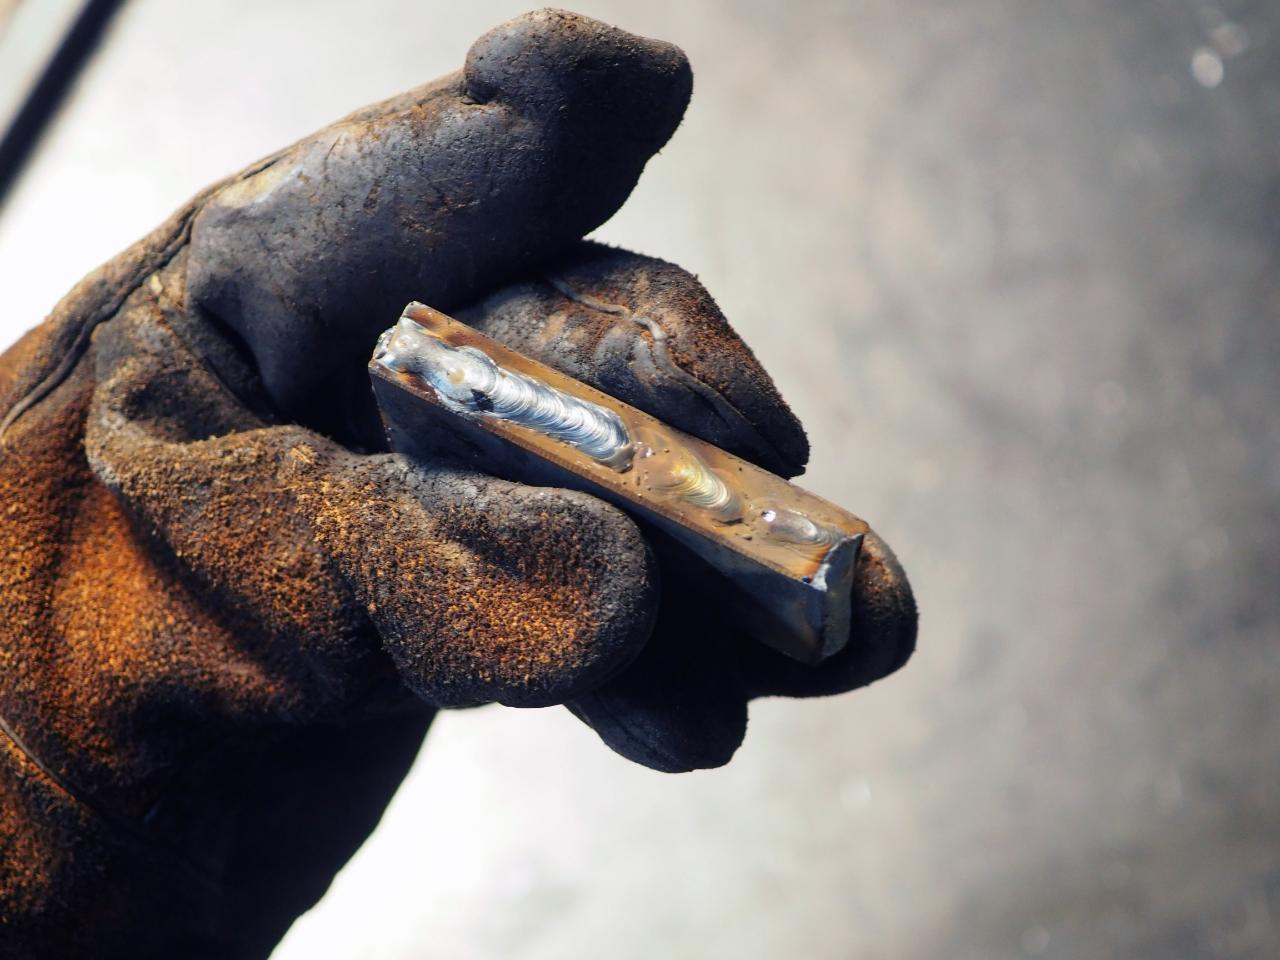
Step 4 - Strip weld
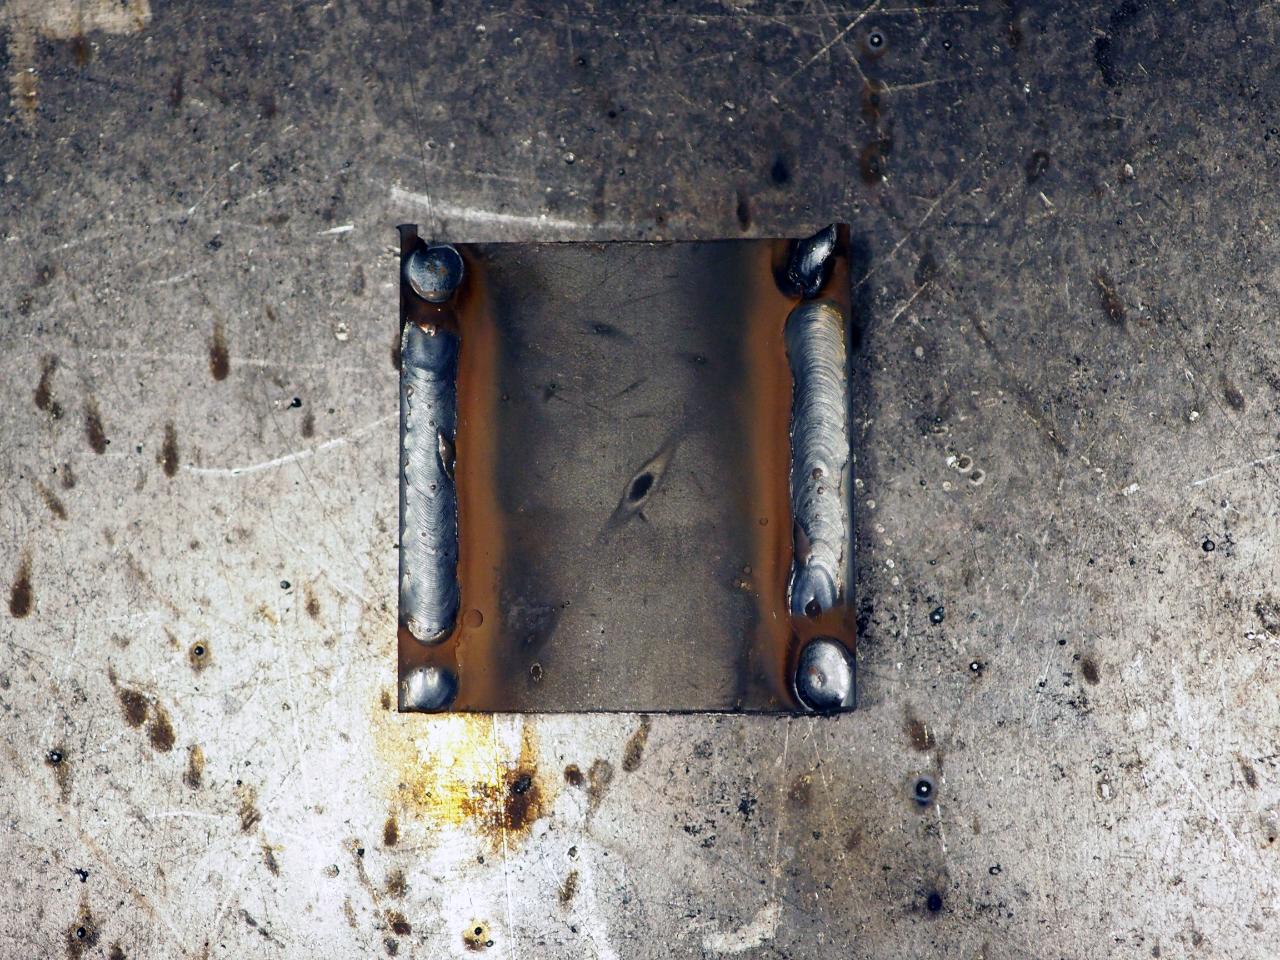
With both plates in place, and you are confident everything is still tight and fully aligned fully weld the previous tacks welds.
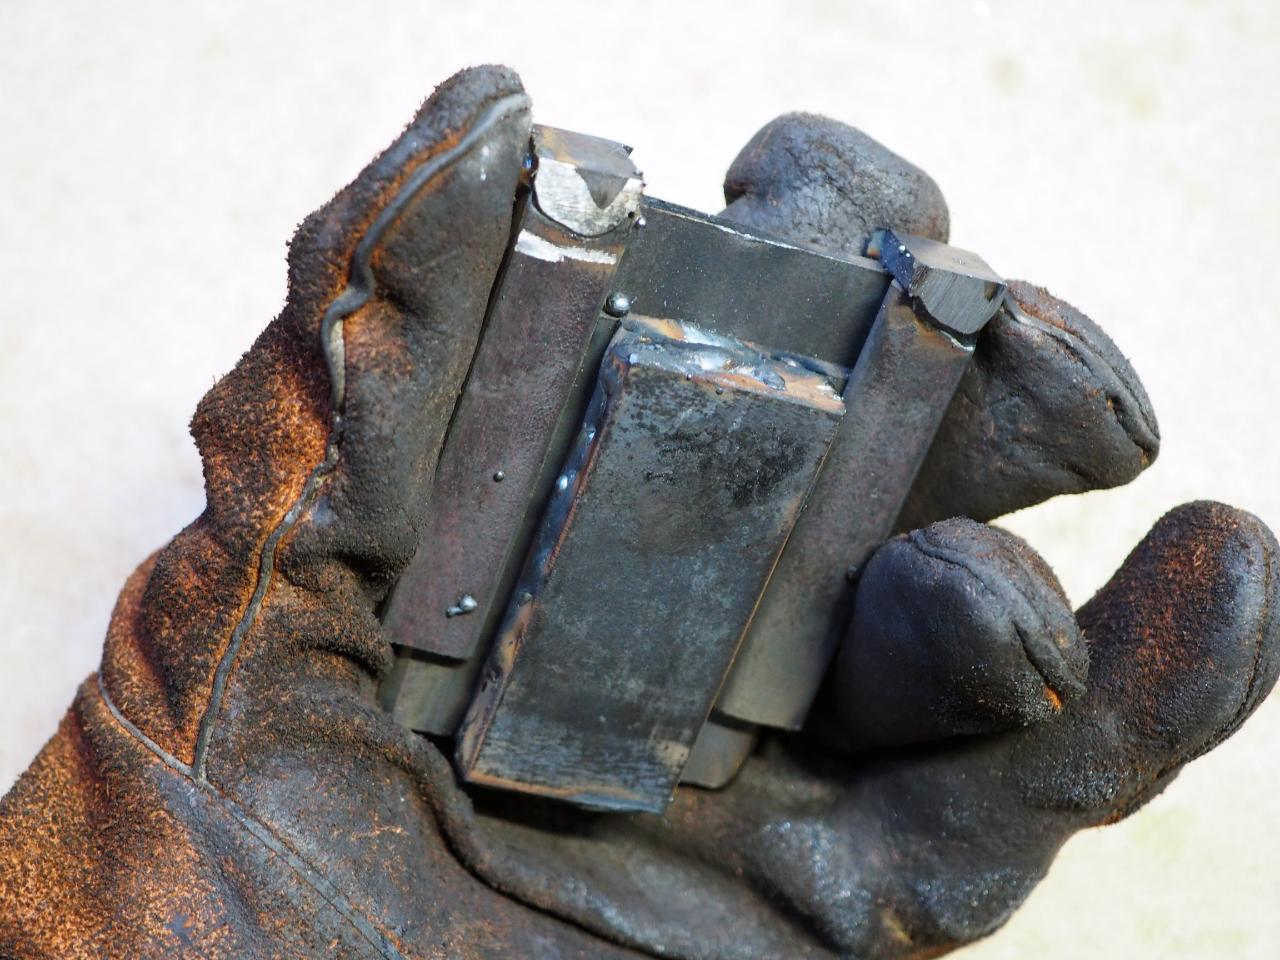
Step 5 - Adding stoppers
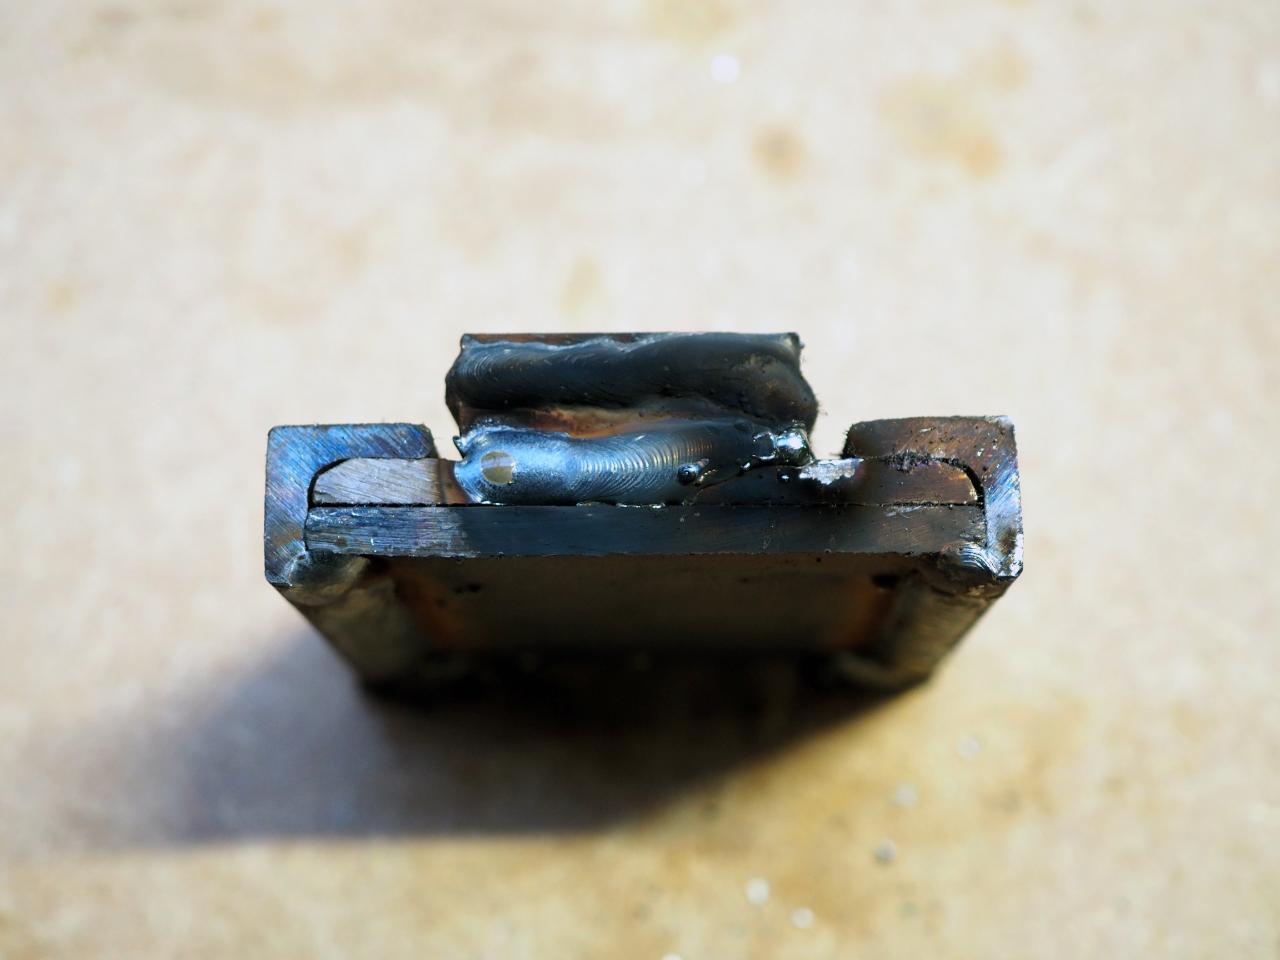
Now take the two small pieces of metal strips (part E) and place them onto one of the ends of your quick release (either side works as long as they are both on the same sides). These pieces will act as a limiter ensuring the future extrusion hole lines up every time. Once aligned weld the stoppers to the angle bar and non-moveable plate.
You may need to clean up the edges with an angle grinder after but this is optional.
You may need to clean up the edges with an angle grinder after but this is optional.
Step 6 - Welding strips
If you are able to source 10mm steel, then you can skip this step. If not you will need to weld together the two 25mm x 5mm strips (part C). Ensuring they are tightly pressed together.

Step 7 - Connecting the strip to the metal body
Place the strip metal piece on to the plate not welded to the angle bar. No part of the strip should touch the angle bar. Then weld on the top and bottom ensuring that you weld the strip to only one plate, so you can still slide the mains parts independently.
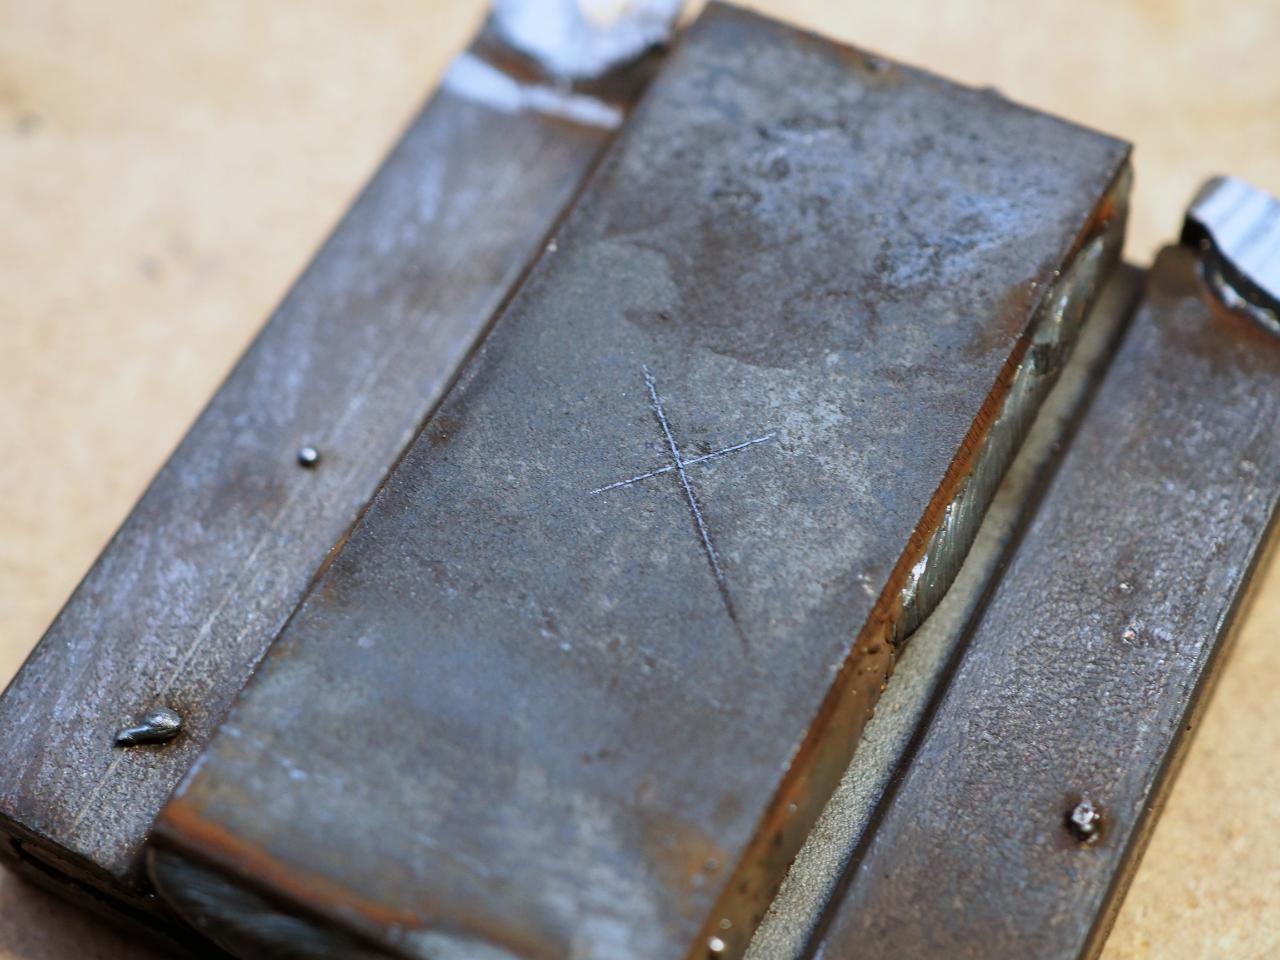
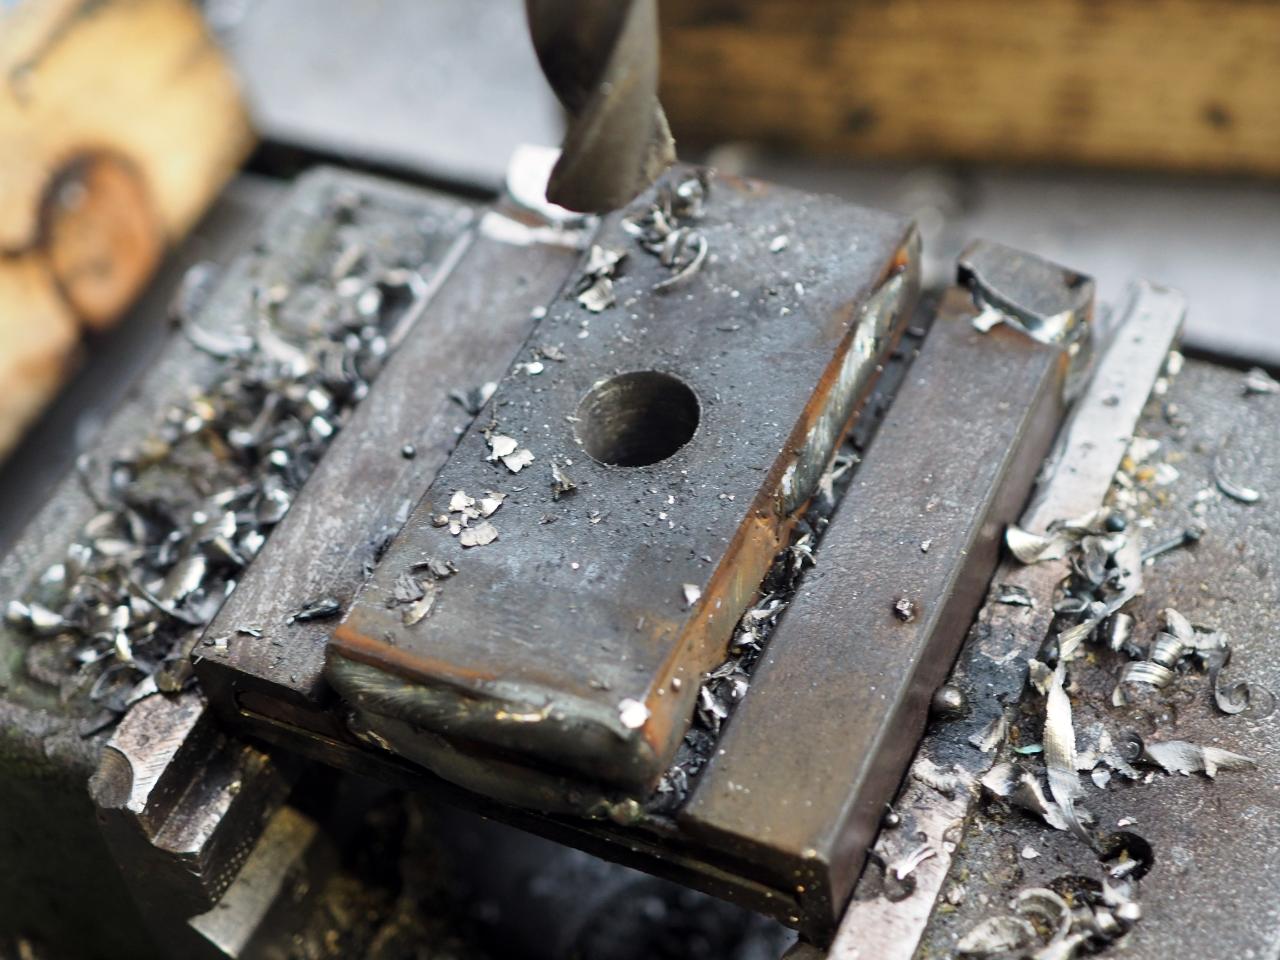
Step 8 - Drilling extrusion hole
With all the parts tightly together now, drill a hole in the centre of the welded metal strip. ø10mm is recommended but depends on your planned product input diameter.
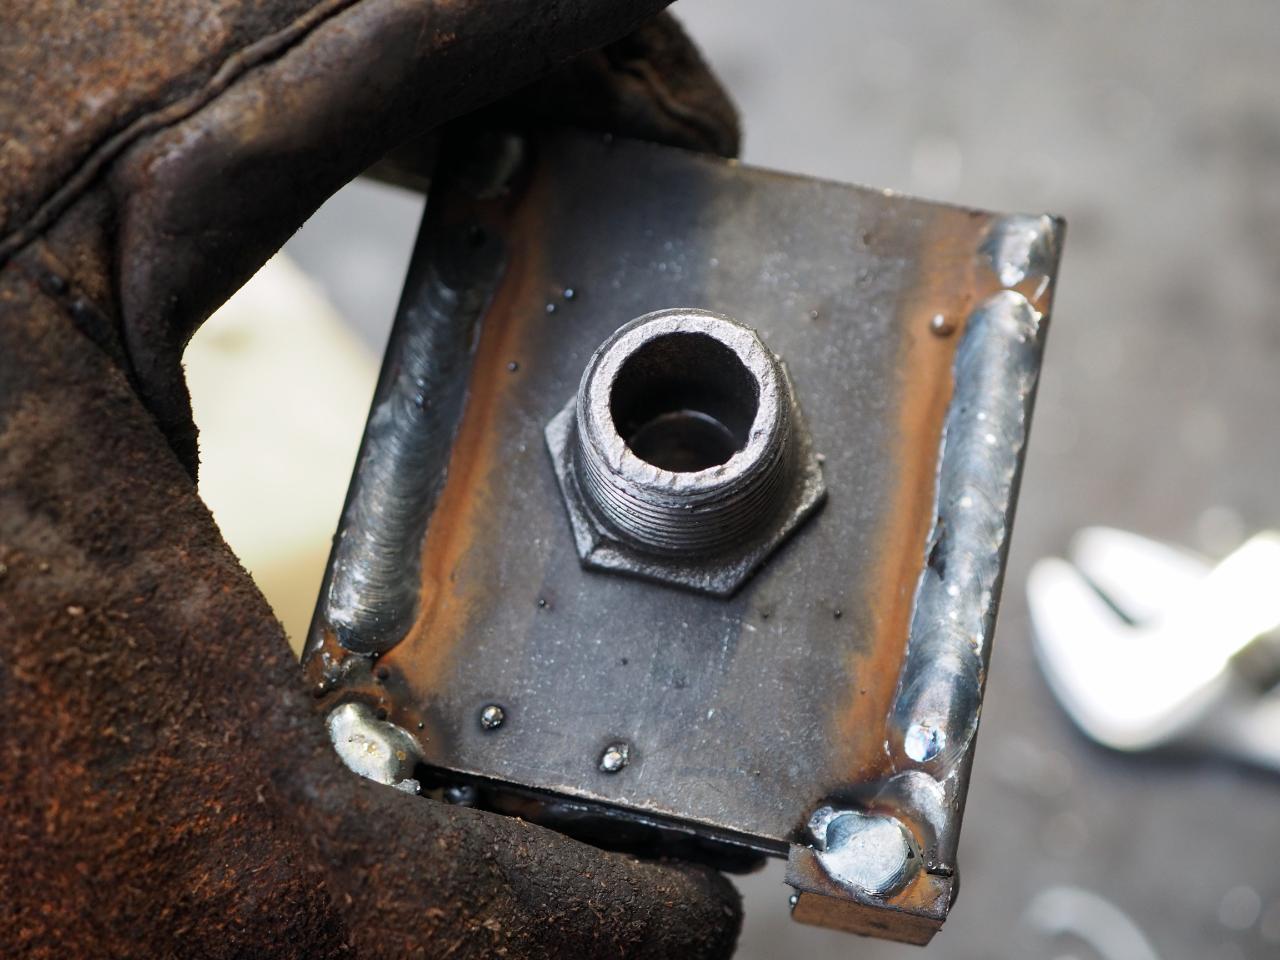
Step 9 - Welding the nozzle
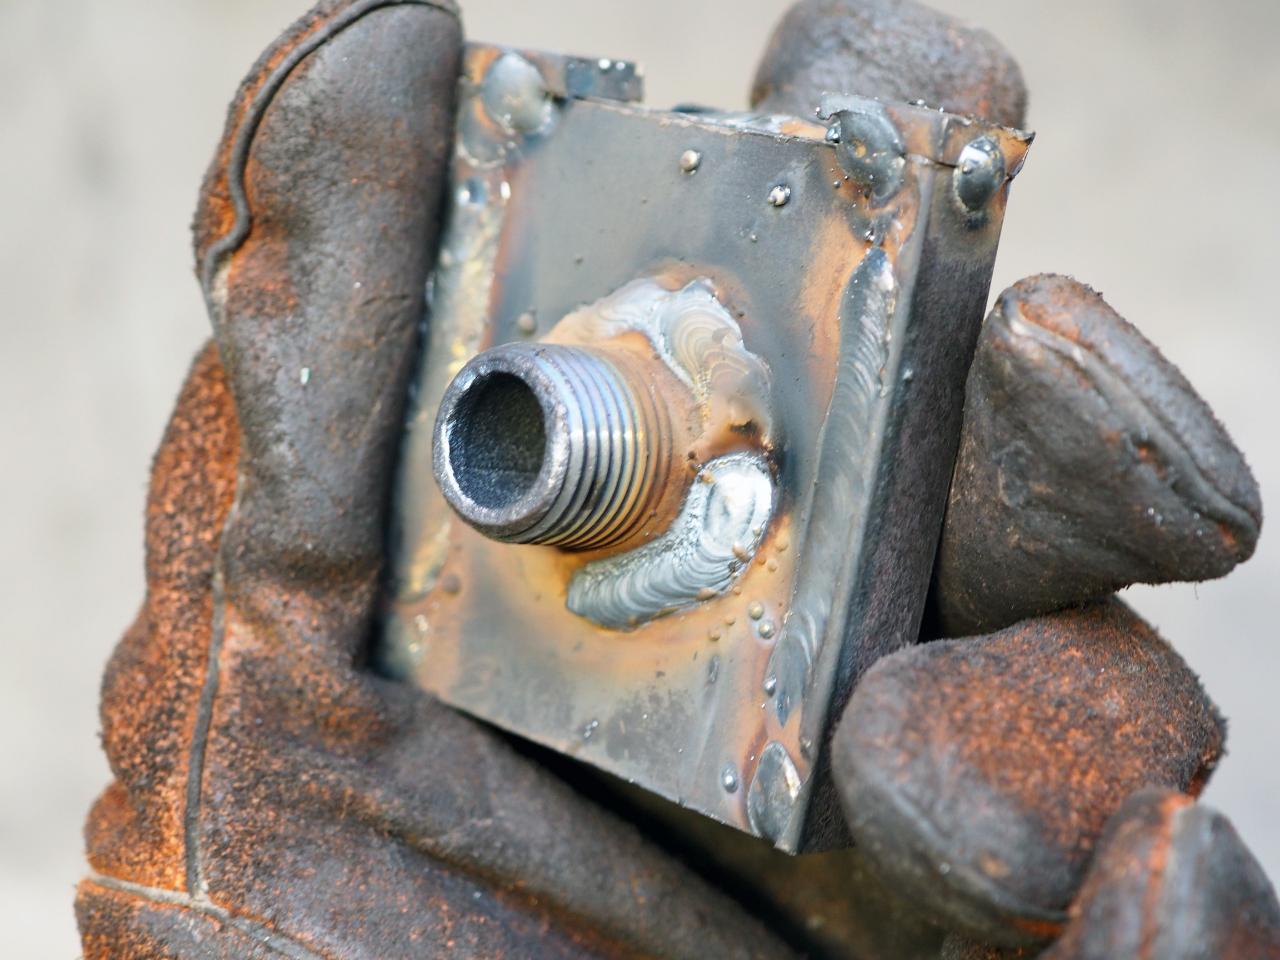
Now on the main plate is welded to the angle bar, add your nozzle adapter (part D) to attach the quick release to our extrusion. We used a ½ inch galvanised union, but find the one which fits your extrusion machine. (Note that brass will not work here since you cannot weld brass to steel.)
The union is cut in half and then placed on the centre of the hole. The nozzle is then welded ensuring that no welds touch/damage the threads.
The union is cut in half and then placed on the centre of the hole. The nozzle is then welded ensuring that no welds touch/damage the threads.
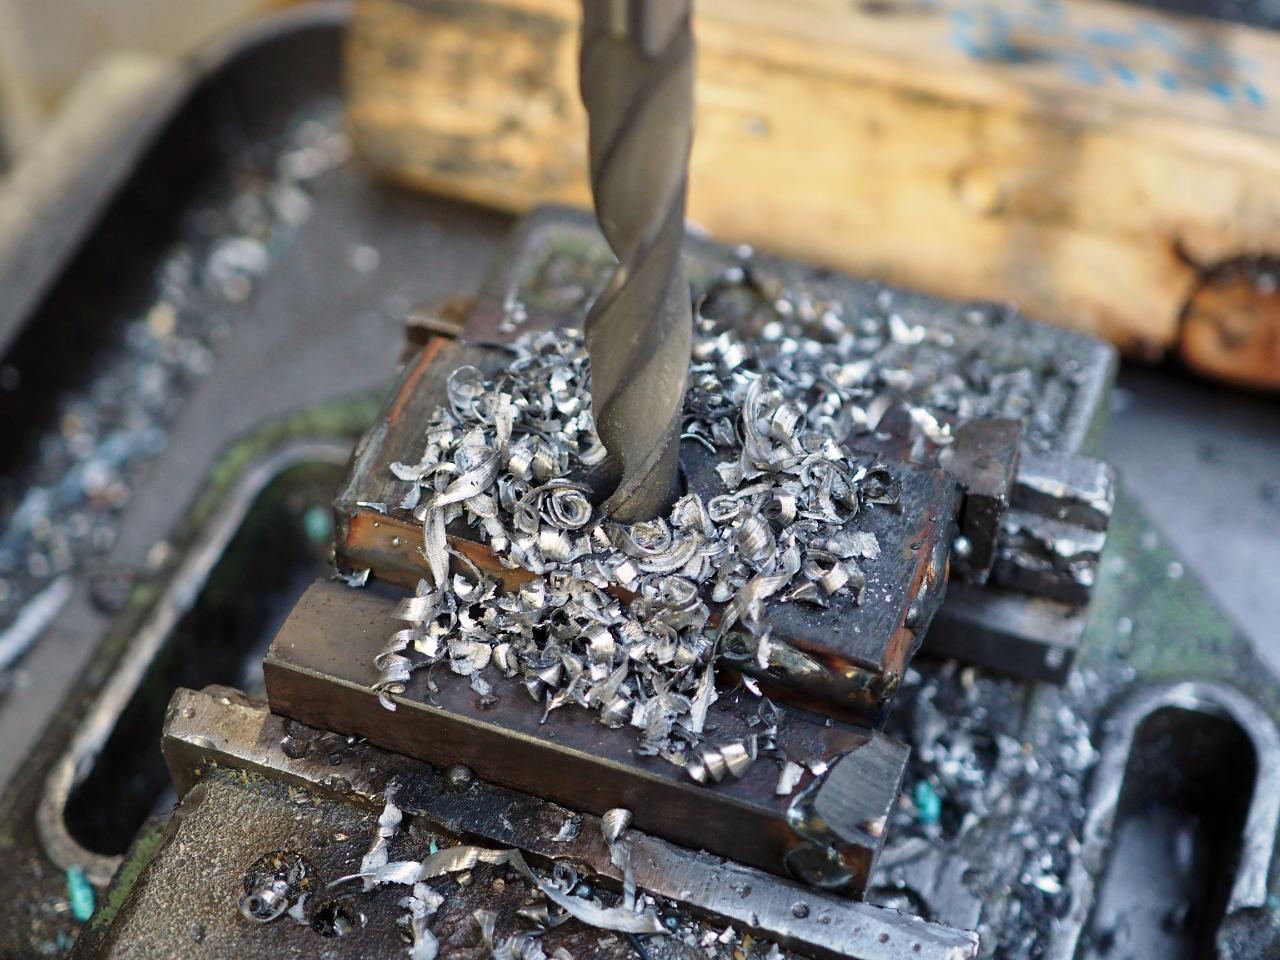
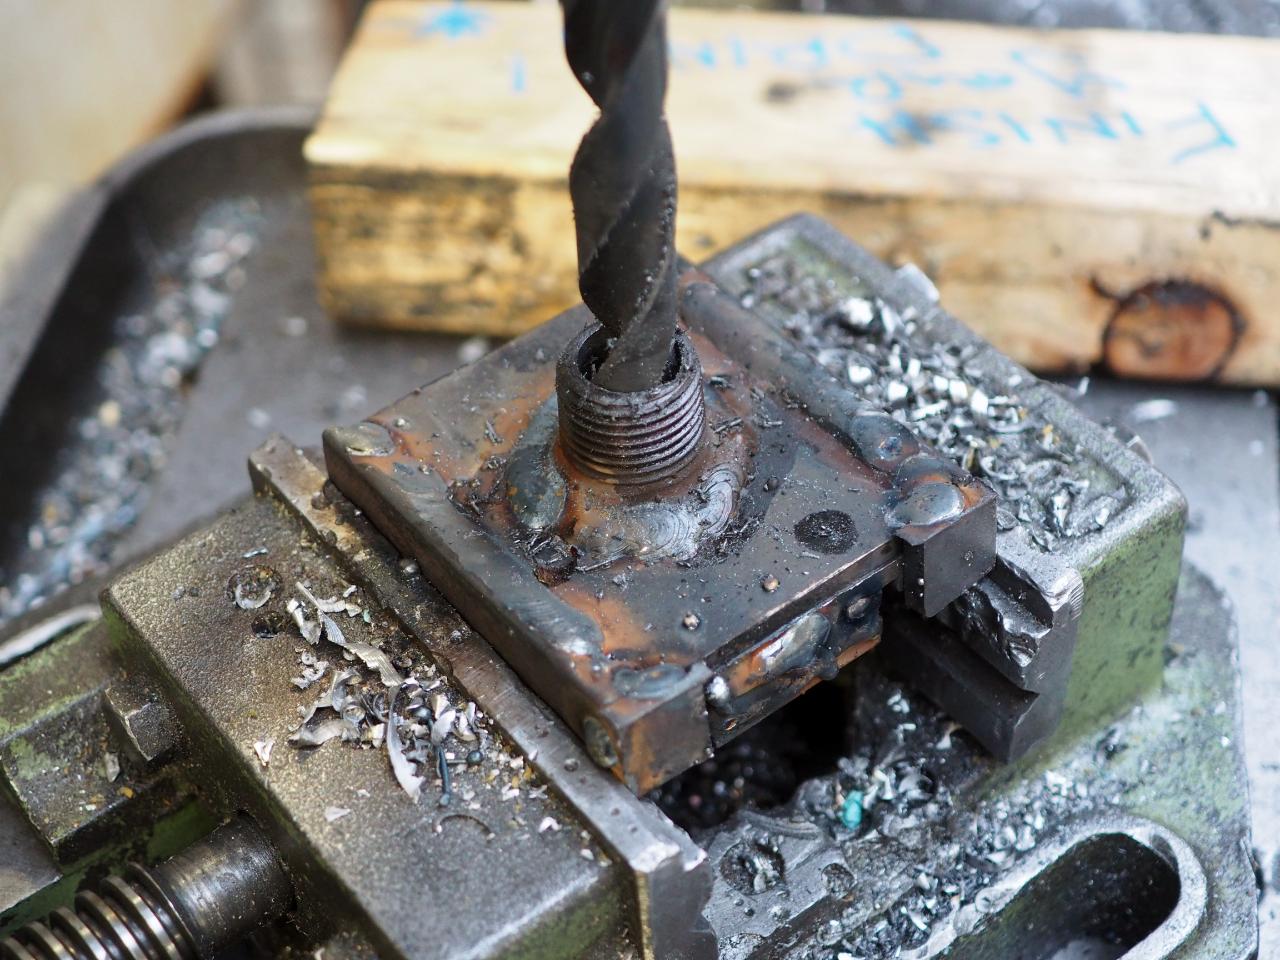
Step 10 - Expanding the nozzle hole
Now that the nozzle is welded, we need to ensure the nozzle channel is smooth and uniform To do this we remove the sliding portion of the quick release leaving only the nozzle portion of the quick release. We then choose a drill bit that will take a fraction of a millimetre off the inside of the nozzle and make our original hole larger using a drill press.
This will ensure a clean passage for our plastic when we extrude and allow us to clean any blockages.
This will ensure a clean passage for our plastic when we extrude and allow us to clean any blockages.

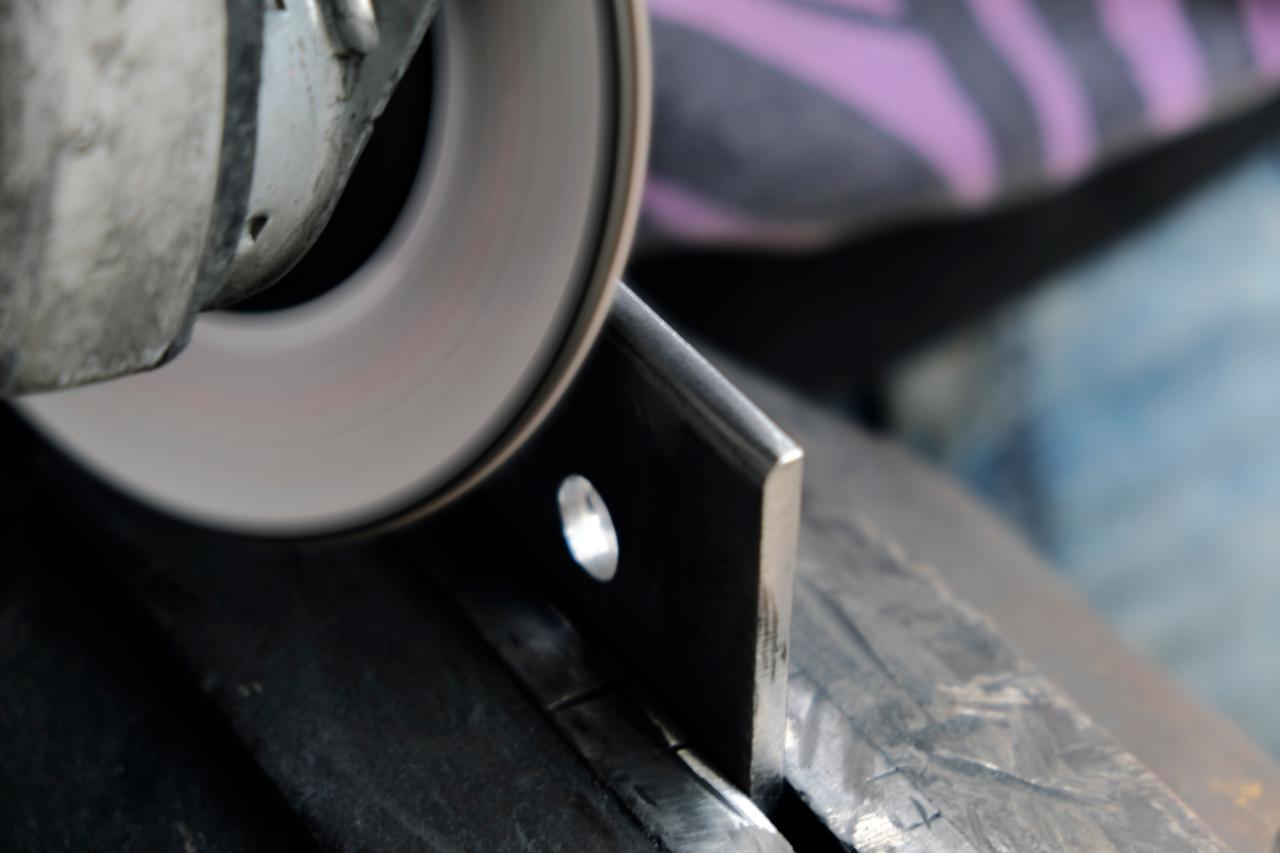
Step 11 - Smoothing the sliding mechanism
Almost ready! Now the only thing remaining is to ensure that the mechanism slots together with ease. You will no longer be able to adjust the nozzle portion, however, the sliding part can be sanded, ground, and polished to ensure a smooth surface is achieved.
The result should be a mechanism that slides into and out of the nozzle with ease but should not be loose. Both plates need to pressed firmly together for the system to work. Test out where the plate gets a bit stuck and then adjust the sides by grinding, sanding and polishing them.
The result should be a mechanism that slides into and out of the nozzle with ease but should not be loose. Both plates need to pressed firmly together for the system to work. Test out where the plate gets a bit stuck and then adjust the sides by grinding, sanding and polishing them.
Step 12 - Welding it to your mould
Once a smooth motion is achieved, you can weld this piece to your mould permanently. Take care to not block the movement with fresh welds.
Step 13 - DONE!
Great you are ready to extrude!
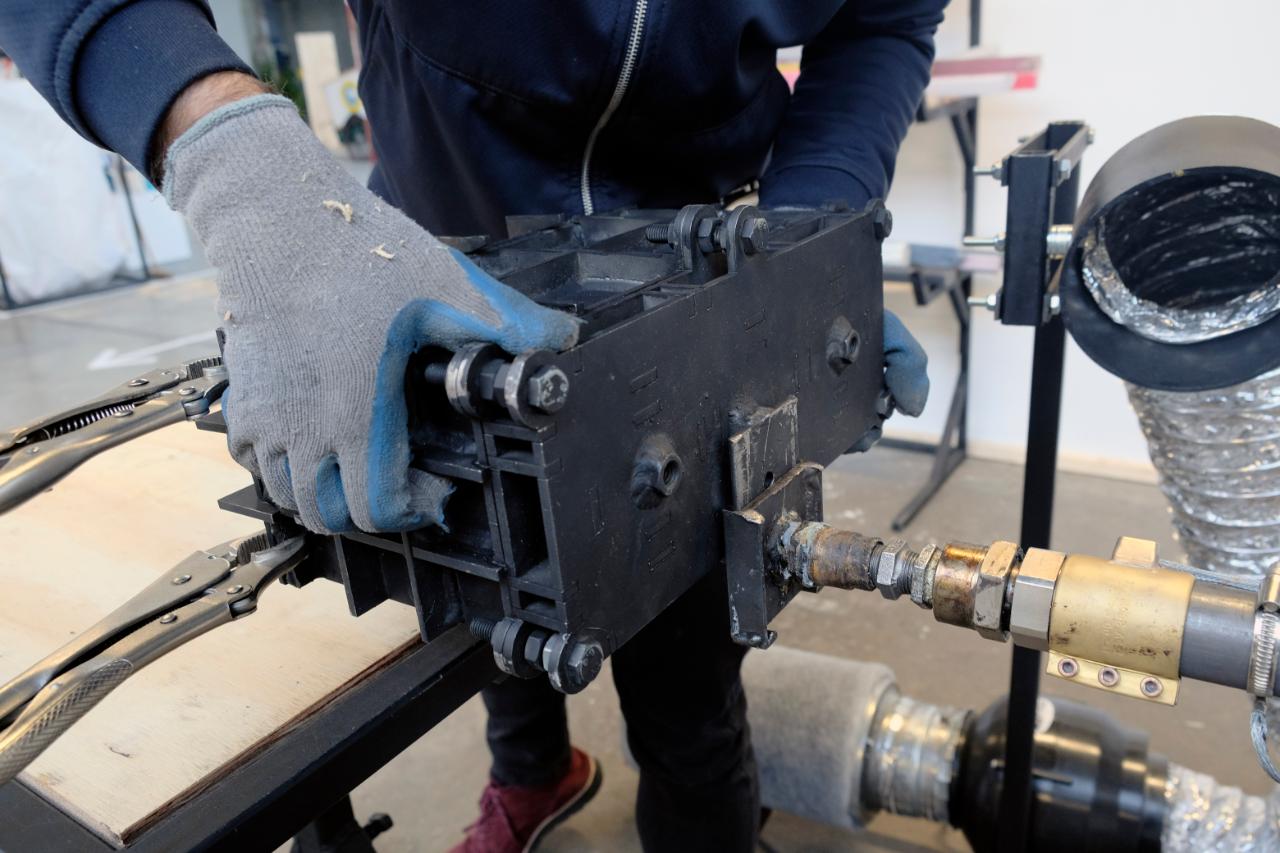
To use the quick release you have to screw the female section onto your extruder, ensuring you are able to slide in from the top.
When in place you are ready to extrude.
You can find a full guide which includes the usage of the quick release in the How to “Extrude into a closed mould”.
👉 https://community.preciousplastic.com/how-to/make-a-quick-release-opening-system-for-injection-moulds
—
—
—
Comments