Make a quick release opening system for injection moulds
Injecting is a slower process compare to the other machines, generally it takes from 10 to 15 min to inject a product. That's why we've been looking for different alternatives to make this process as fast as possible, even for very simple steps like opening and closing. When you inject 3-5 times is not that bad to screw in and out 4-6 bolts, but when you need to do the same step 50 times, to save a couple of seconds each time, it's a lot!
—
Attachments
Resources
Step 1 - Get ready
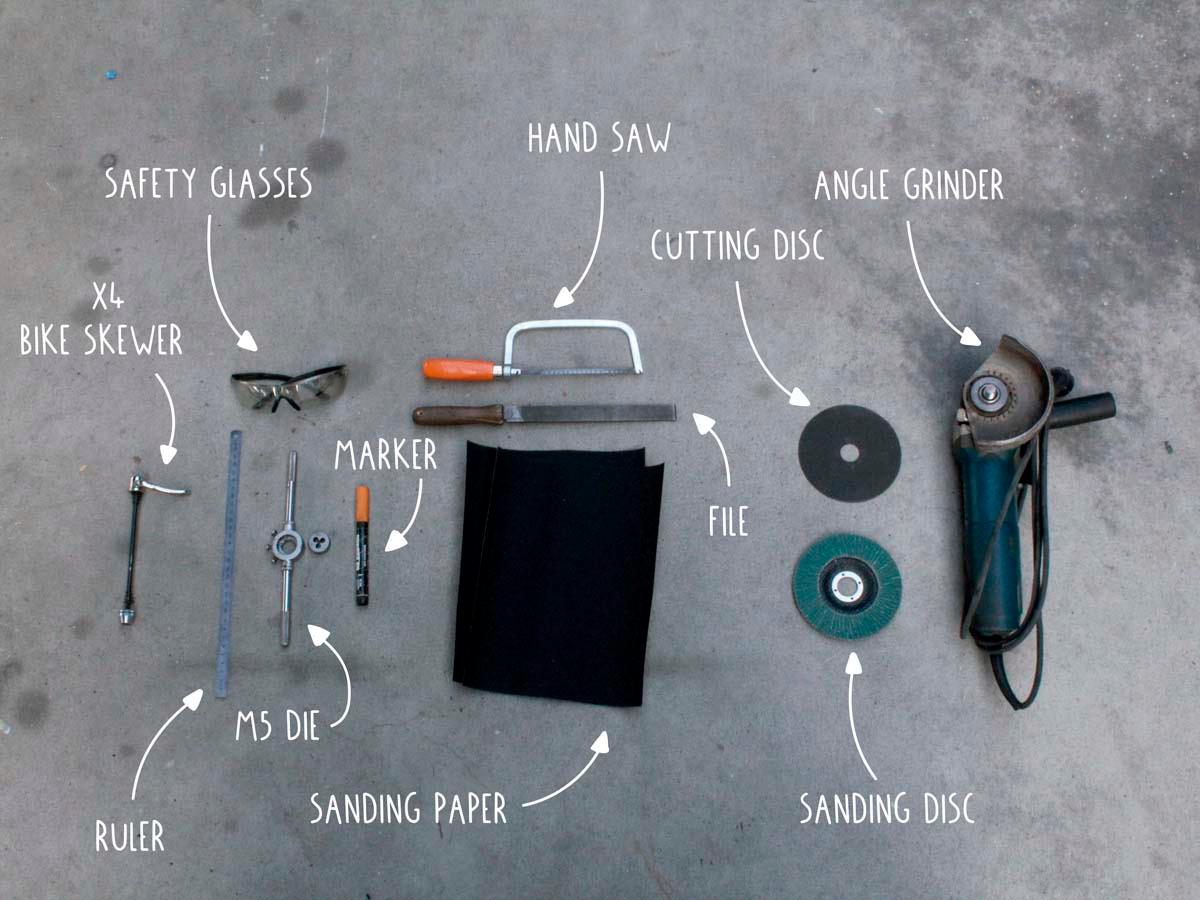
Before you start, gather the materials and tools you need to make the quick release system:
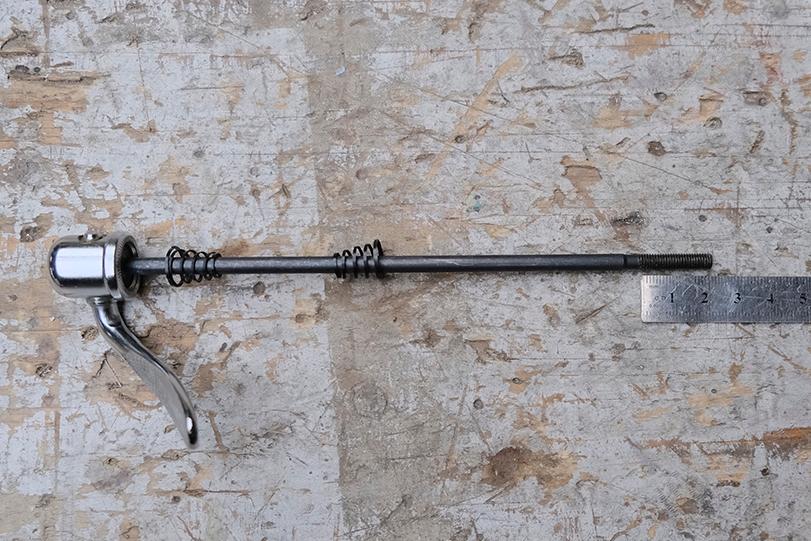
Materials: 4 bike skewers (standard thread thickness: 5mm).
You can use more depending on the type of mould you have, i would recommend you to use at least 4.
Tools: ruler, M5 die, safety glasses, marker.
And for cutting and sanding, you can either use. a hand saw, file adna sanding paper or a grinder with cutting and sanding disc
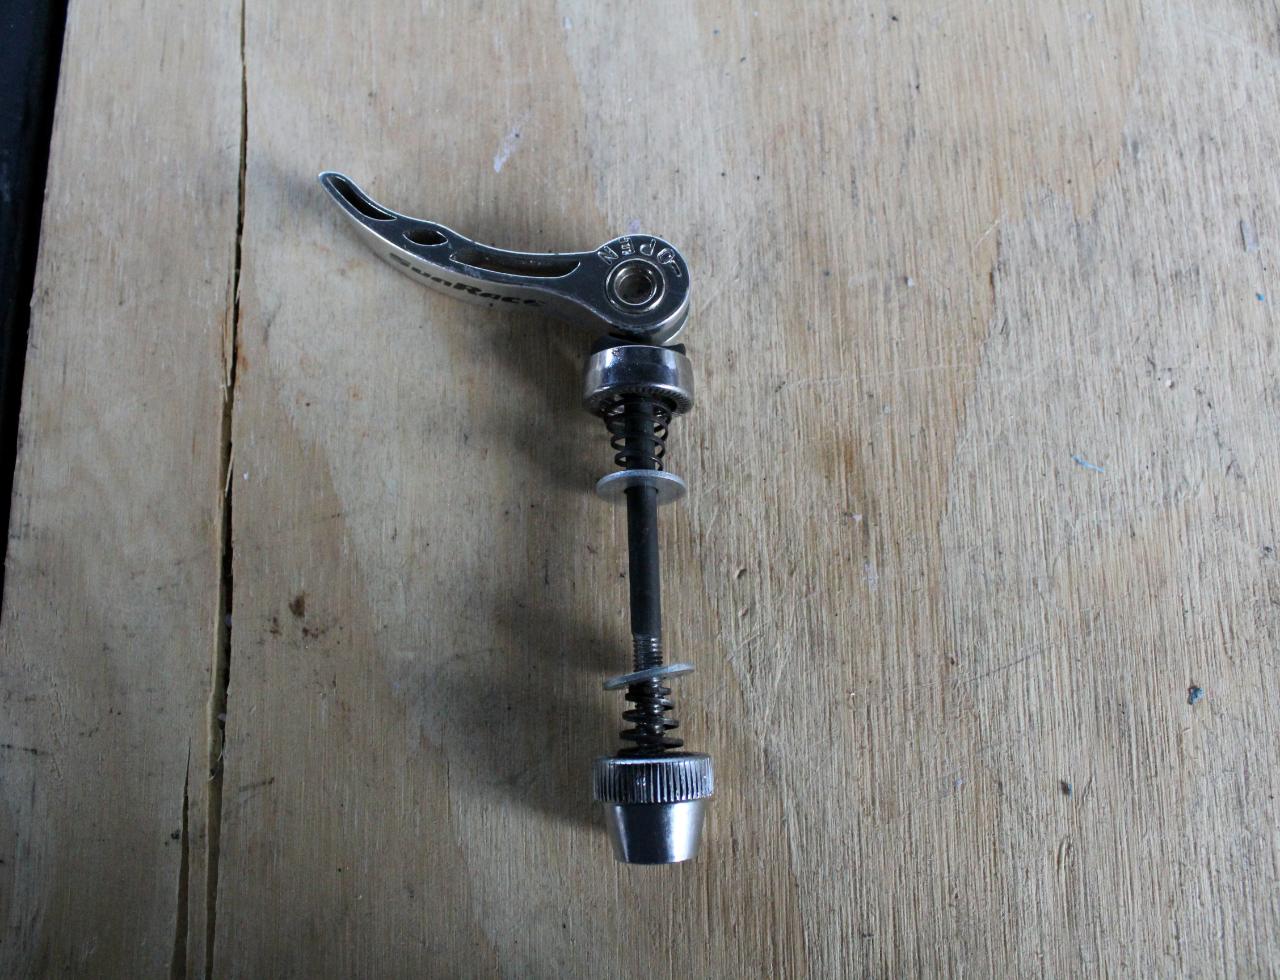
Step 2 - Prepare your clamps
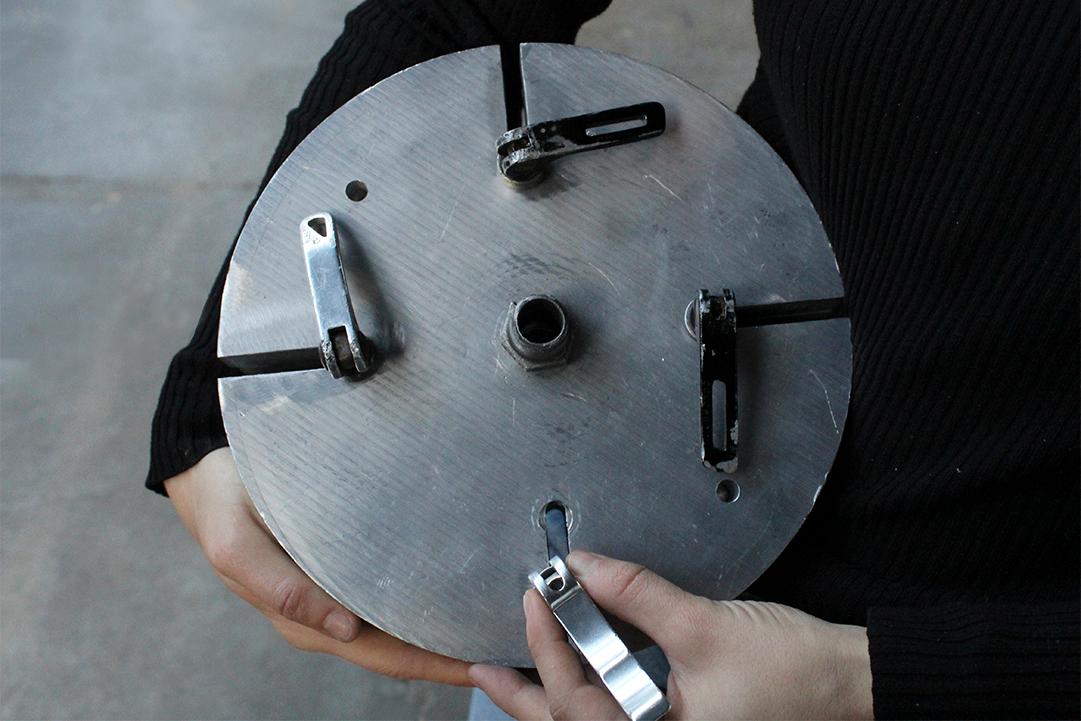
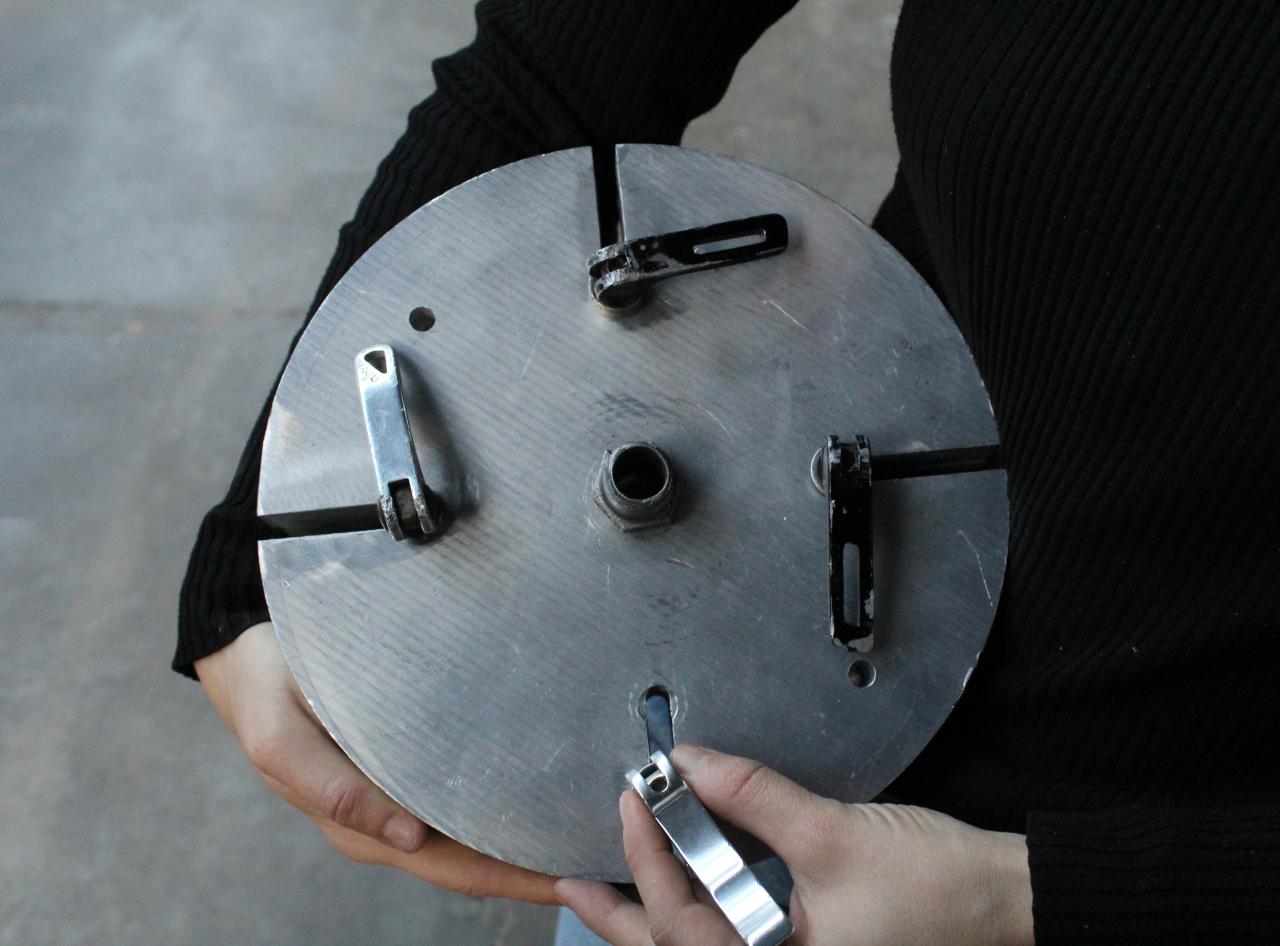
The principle of this system is that you press the mould parts together with self-made clamps.
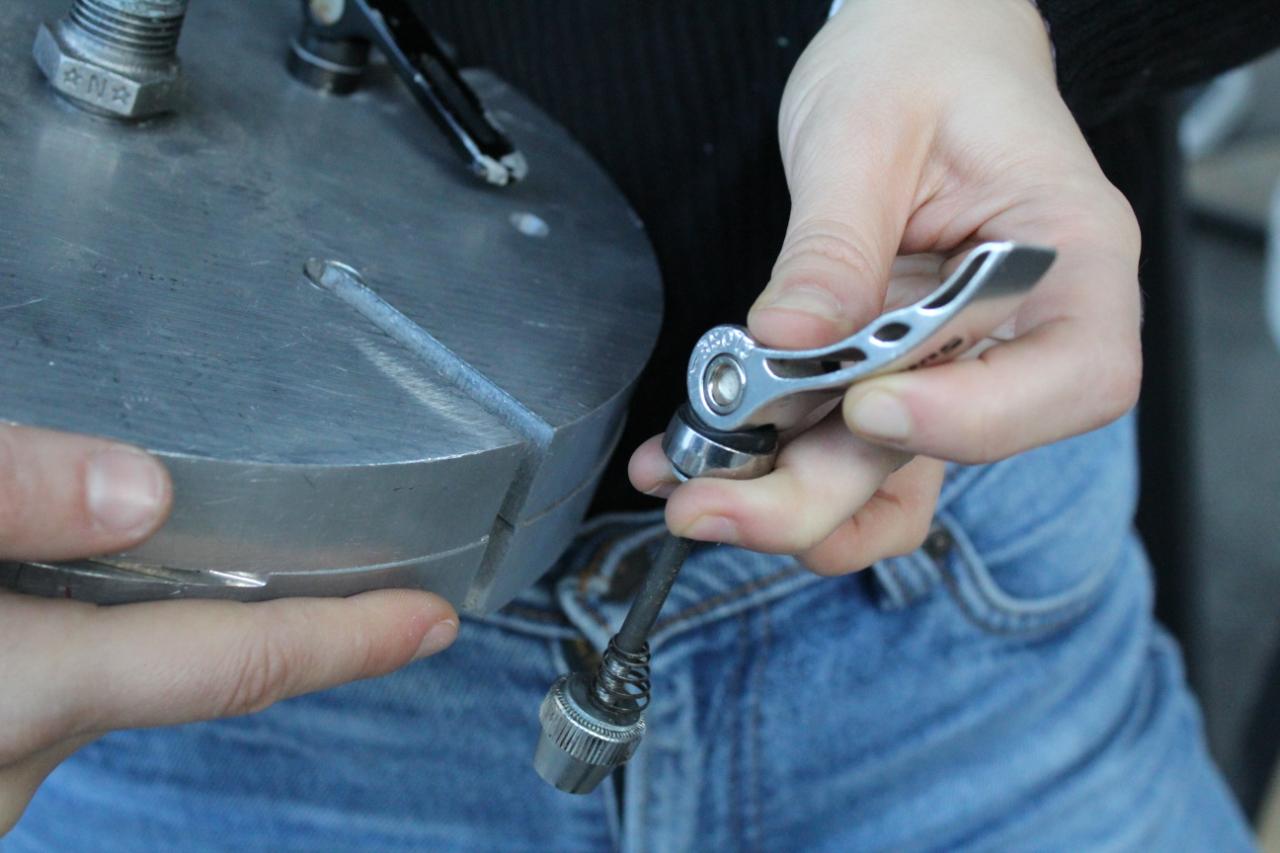
Let’s start with adapting the quick release wheel bike clamps.
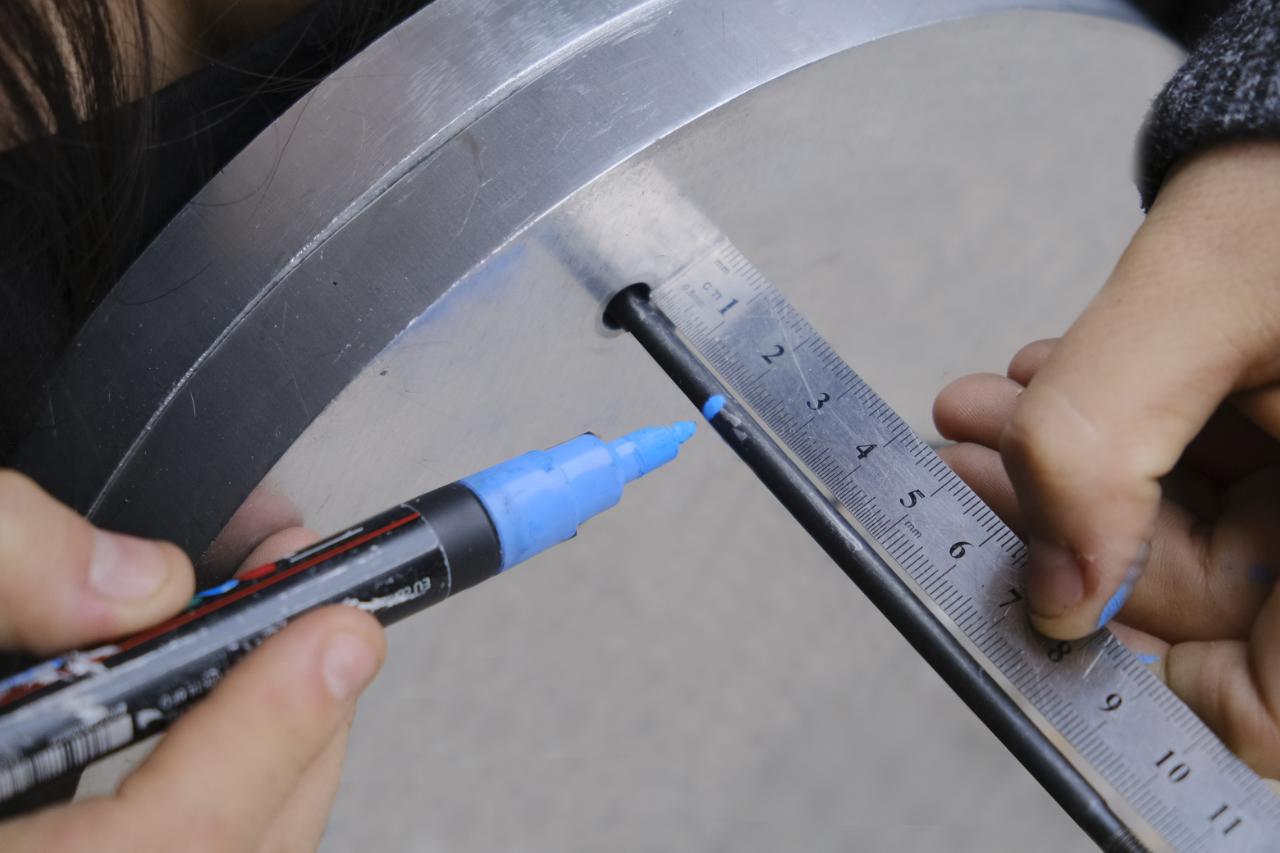
Measure the length of the threaded part, then put the clamp through your mould and apply the measured length with a marker. This is how much you need to cut off to fit the mould thickness, so you can tighten it up properly.
Let’s start with adapting the quick release wheel bike clamps.
Measure the length of the threaded part, then put the clamp through your mould and apply the measured length with a marker. This is how much you need to cut off to fit the mould thickness, so you can tighten it up properly.

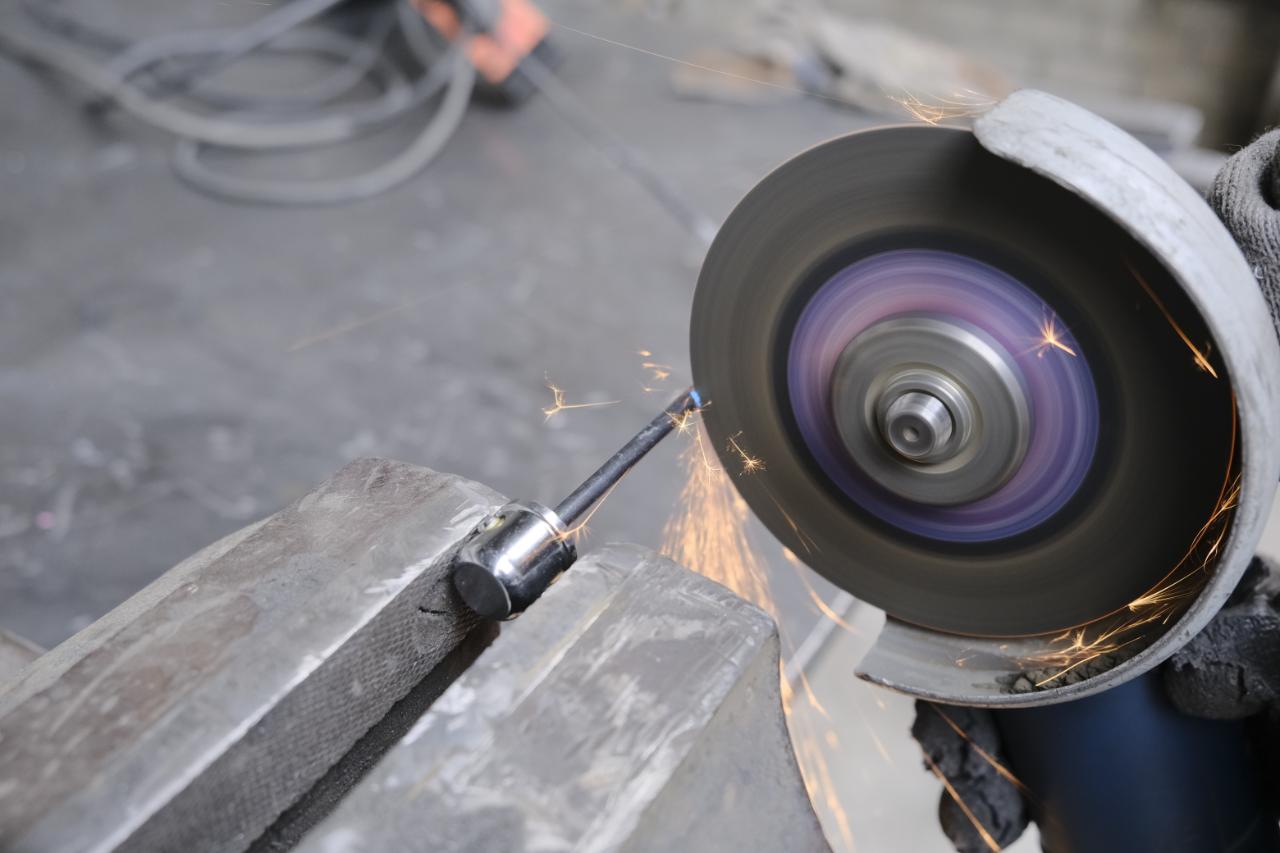
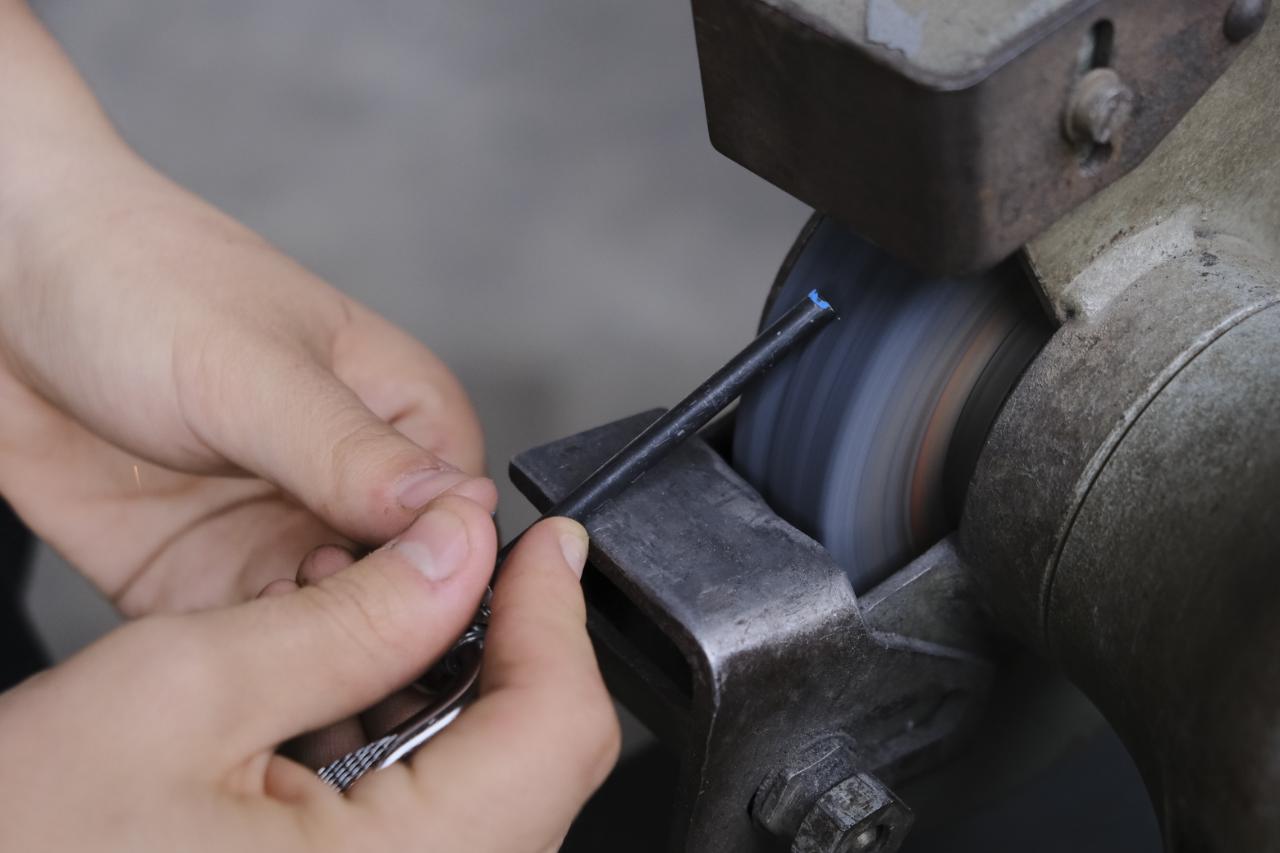
Step 3 - Cut the clamps
Cut your clamp to your needed length (with a hand saw or angle grinder) and then soften the sharp edges.
This is very important so to screw in the nut easily without damaging its thread.
This is very important so to screw in the nut easily without damaging its thread.

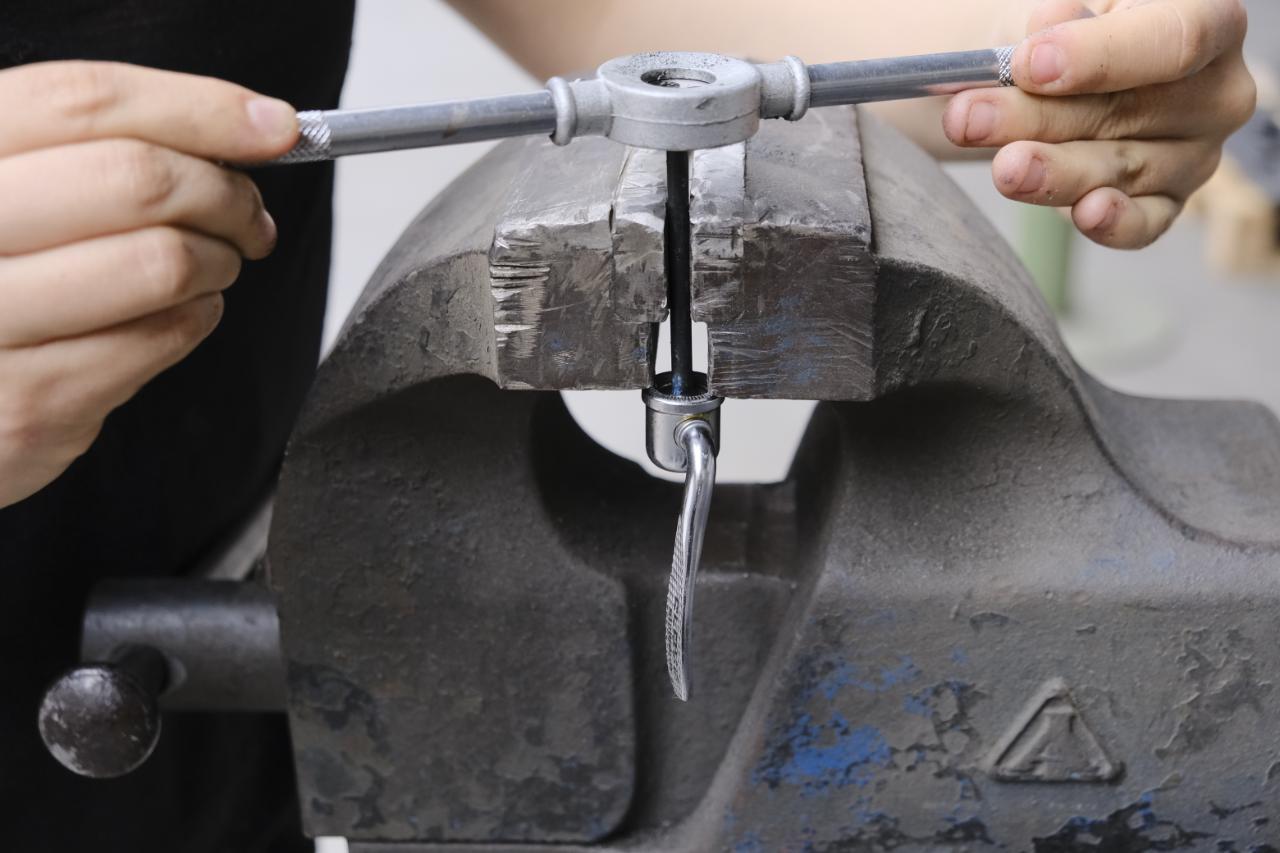
Step 4 - Remake the thread
Take your M5 die to re-make the thread. It should be the same length as it was previously (measured in Step 3). You can even make it slightly longer (max. 5 mm), to ensure that the mould will close very tightly.
Cool, so now you have your clamps ready.
Cool, so now you have your clamps ready.

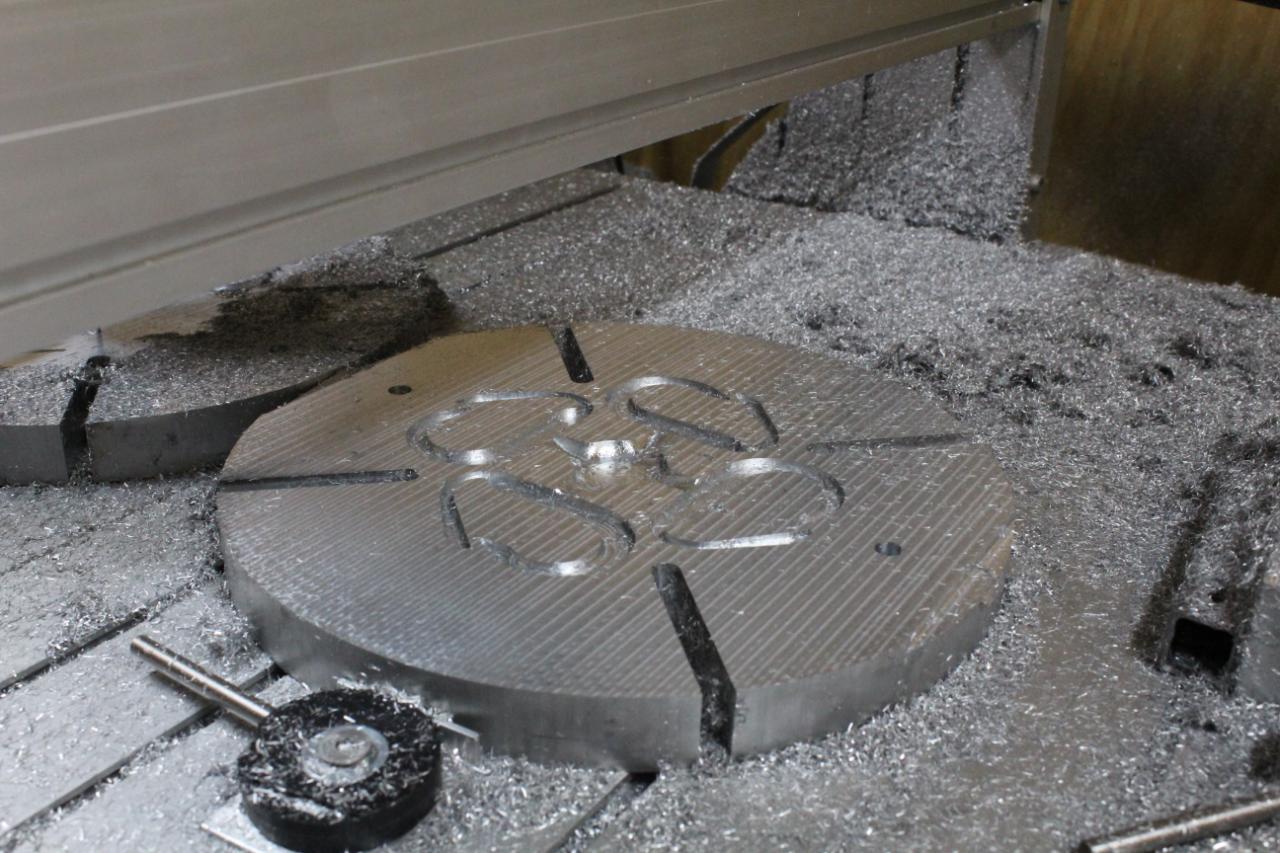
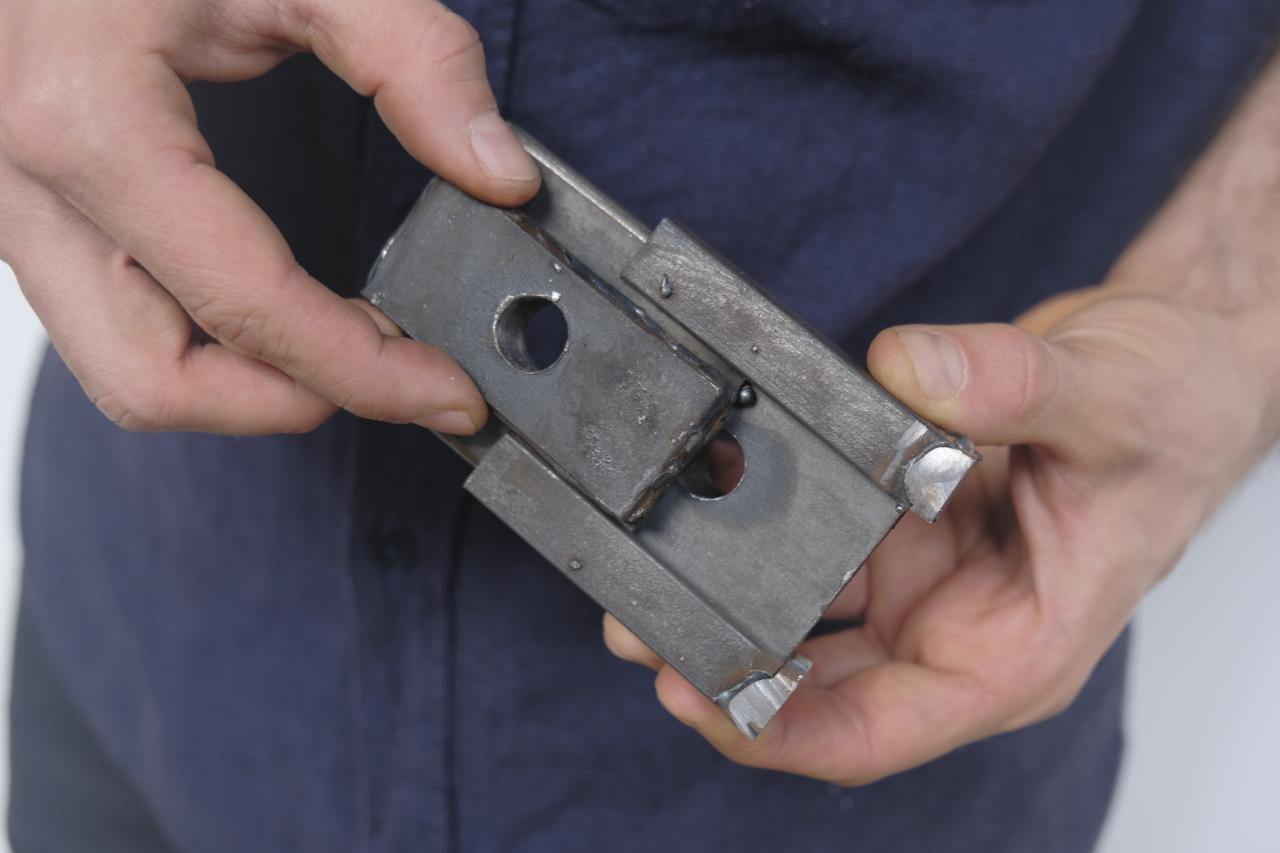
Step 5 - Slots in the mould
To make it easier to attach and detach the clamps from the mould, you can make slots in your mould.
You can include them in the cnc/laser cut file of your mould or you can also cut them yourself with an angle grinder.
The slots should be around 6 mm wide to make it easy to slide the clamp in and out. (If for some reason it becomes wider, use bigger washers in between to fix the clamps).
You can include them in the cnc/laser cut file of your mould or you can also cut them yourself with an angle grinder.
The slots should be around 6 mm wide to make it easy to slide the clamp in and out. (If for some reason it becomes wider, use bigger washers in between to fix the clamps).
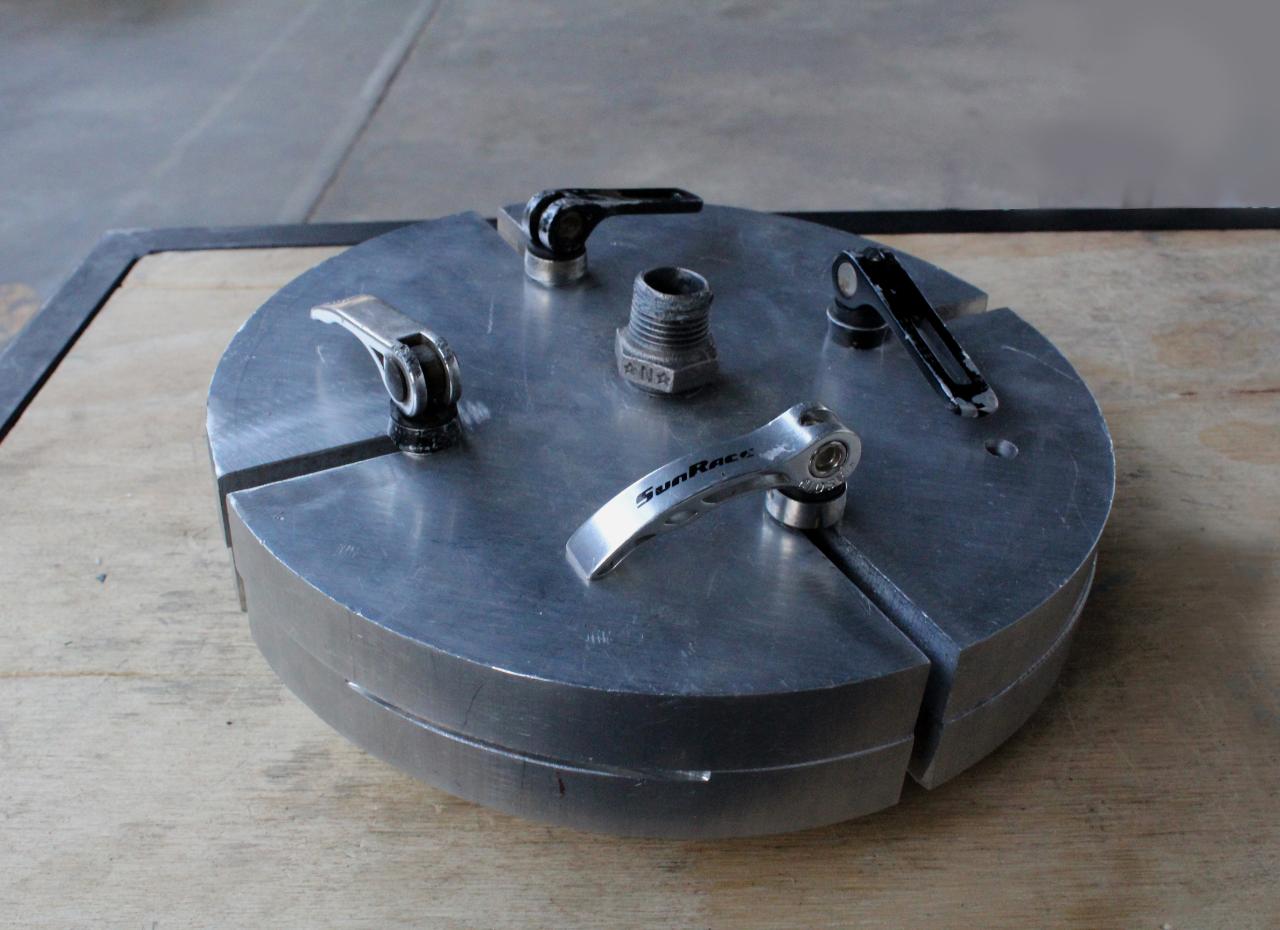
Step 6 - Close and open the mould
That’s it, now you have all the parts you need.
To close the mould, slide the clamps into the slots, and screw them in until you can tighten them enough to easily tighten and loosen with the clamps.
Ready to inject!
To close the mould, slide the clamps into the slots, and screw them in until you can tighten them enough to easily tighten and loosen with the clamps.
Ready to inject!
Step 7 - Quick release system for the injection machine
To make the process even faster, you can also add a quick release system for the machine!
Learn how to make the quick release system:
👉 https://community.preciousplastic.com/how-to/make-a-quick-release-for-the-extrusion-machine
Happy injecting! :)
Learn how to make the quick release system:
👉 https://community.preciousplastic.com/how-to/make-a-quick-release-for-the-extrusion-machine
Happy injecting! :)
—
—
—
Comments