Make great beam patterns!
by OSR-Plastic

People ask me occasionally how to get beautiful patterns in the beams and the funny thing is that zero technical tricks are used to make that happen! The used technique for making beams is exactly the way Precious Plastic does it, using a simple steel pipe as a mold and let the extruder do the work :-)
Here is what you can try to get the same results!
—
Attachments
Resources
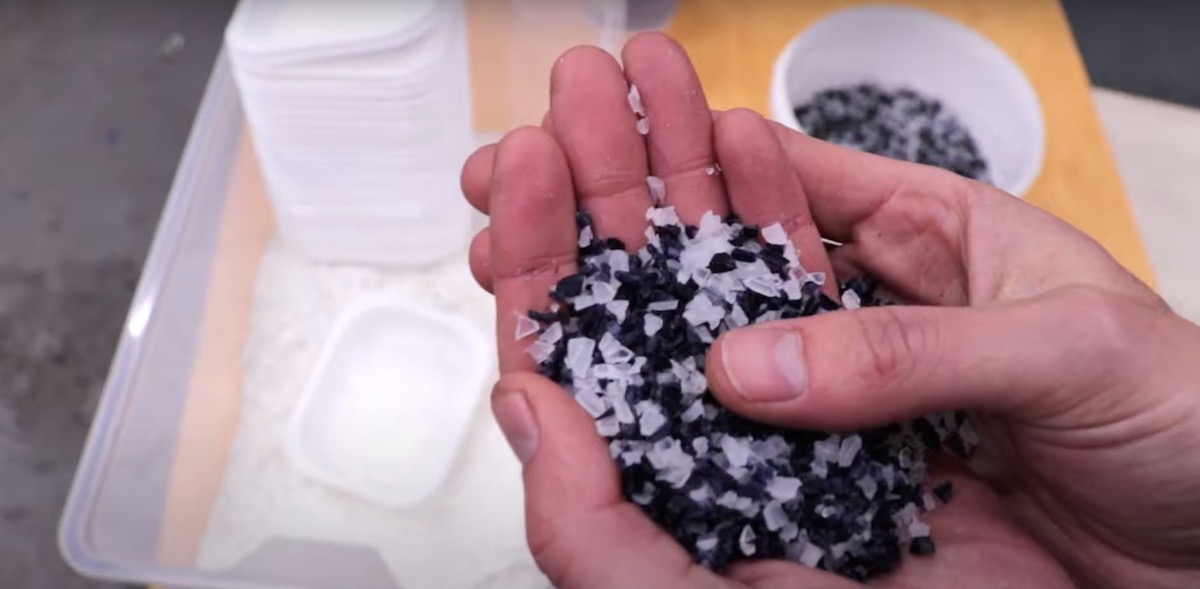
Step 1 - Prepare your blends carefully
In order to create patterns with nice layers, you need at least 2 colors. It doesn't really matter if you work with PP or PE, I haven't seen differences while working with these two. Keep the color mixes seperate. I mixed the dark blue that I used here with transparant flakes because it's a nice 'filler'. You will need less dark blue to create the same output because the color pigments are often very strong. So if you add 1kg transparant to 1kg dark blue, you get 2kg dark blue without loss of color quality.
The white used here is pure white.
The white used here is pure white.
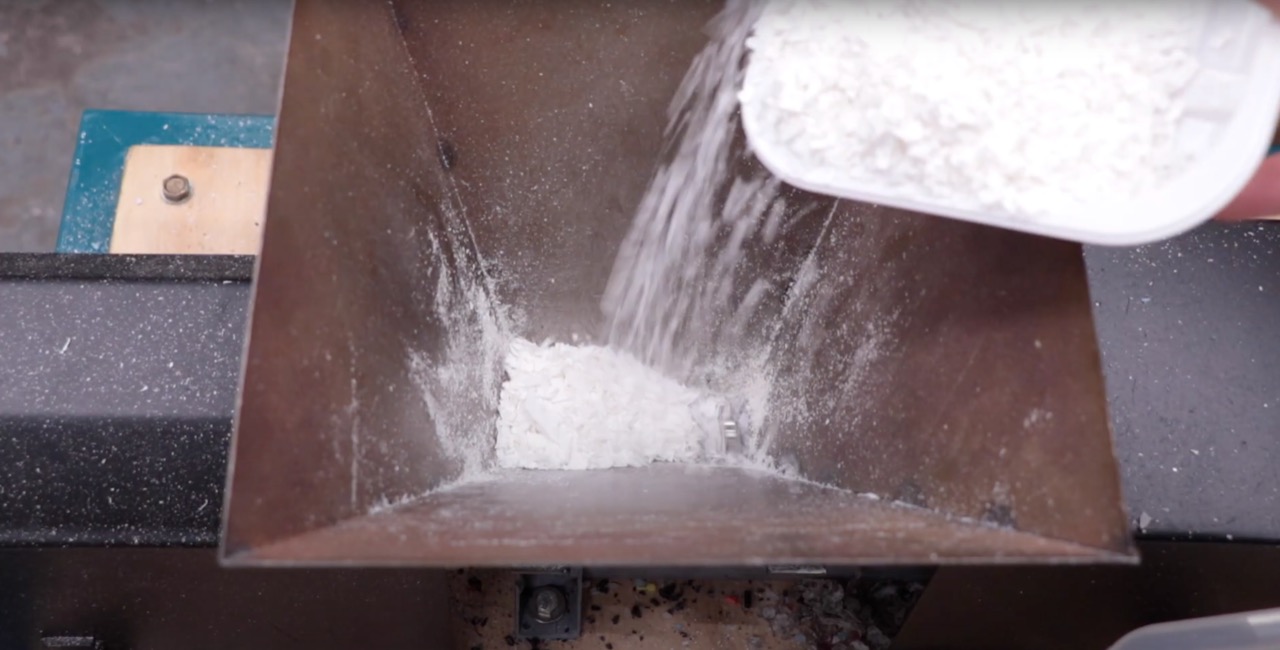
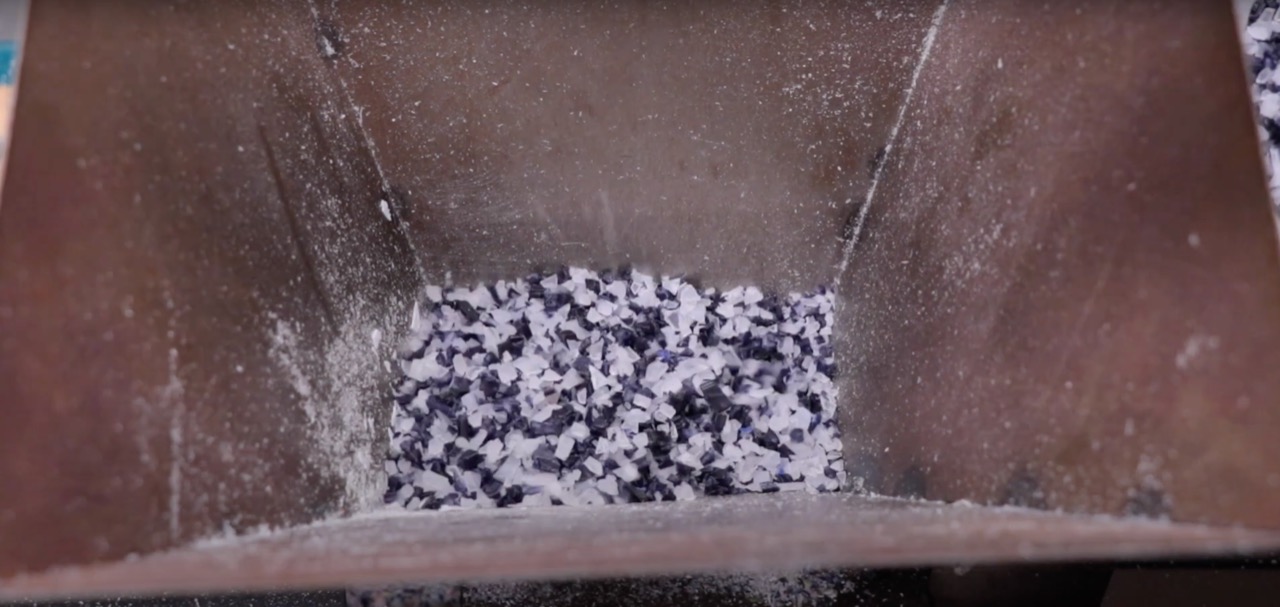
Step 2 - Time to do the cooking!
Insert a few scoops in your extruder, turn the machine on and see if it comes out fully melted. Install your (cold) mold and turn on the machine again. For the first color I would go for 3 scoops in total ( minus the leftover already in the hopper). When the hopper is almost empty, toss in 2 scoops of your second color. Repeat this step while playing with the quantities until the mold is full. Time to remove to cool down a bit. I noticed the advice of cooling the mold in water to prevent plastic of running out, but that hardly happens in here so I never do that.
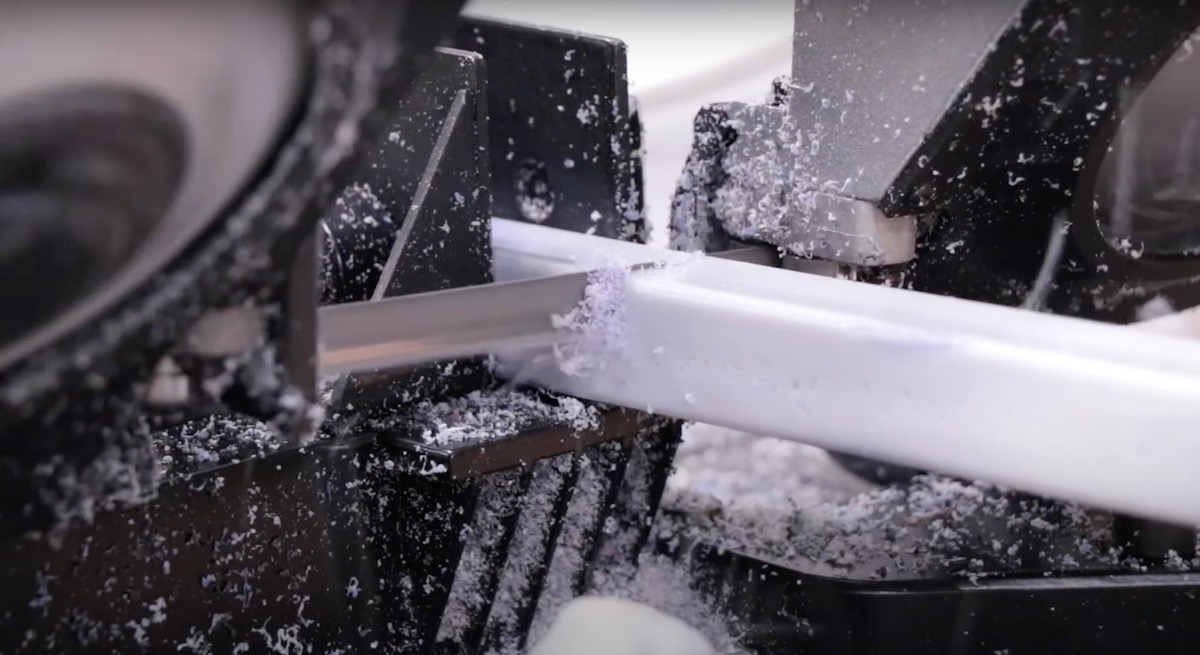
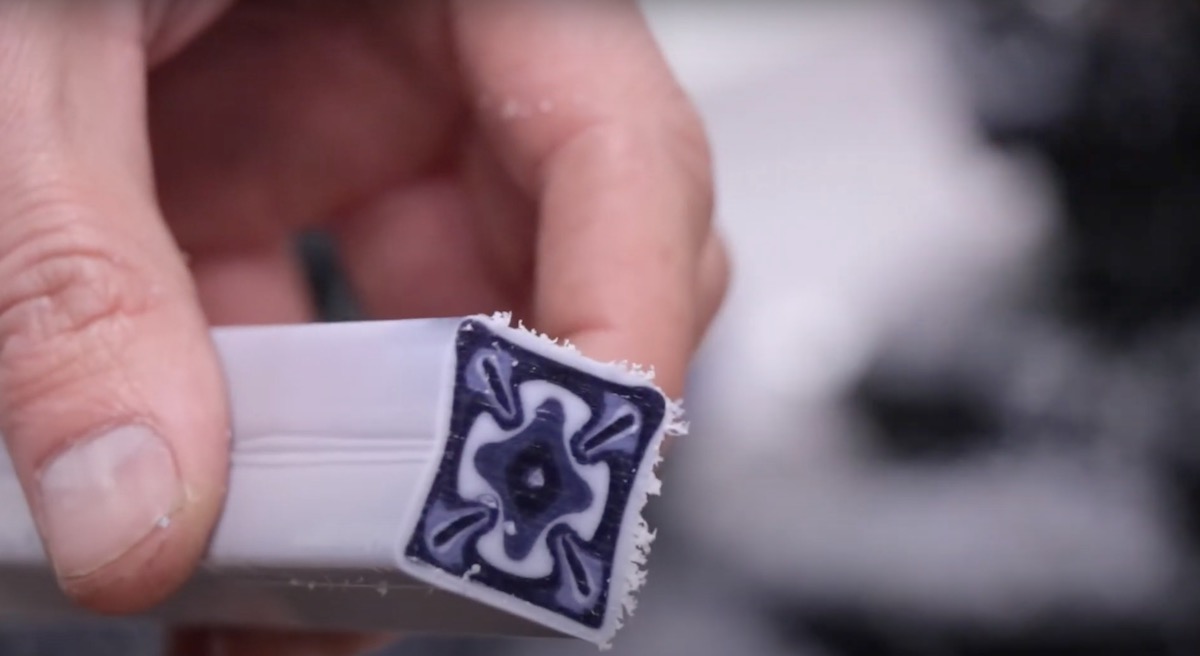
Step 3 - Unboxing and see what came out
Time to check out what the mix did! :-) When you start cutting the beam into little bits you will see an interesting changing of the pattern and my best explanation would be the following: The first color inserted sticks to the wall/surface of the mold and cools down a little. The core stays fluid and gains acces for the second color to pass trough. changing the input color again and again will create multiple layers in your beam. See next step for theory part 2 :-)
Step 4 - Theory part 2 & proces video
Another important theory is that... further in the mold, the plastic will be less hot so pressure is being build up more in order to let the plastic flow. The further away from the inlet, the patterns start to get very interesting and that's all created by differences in temperature flows and pressure. Especially with the square tube is this super interesting because of the corners where the flow will slow down more. I assume round tube will only create circle patterns.
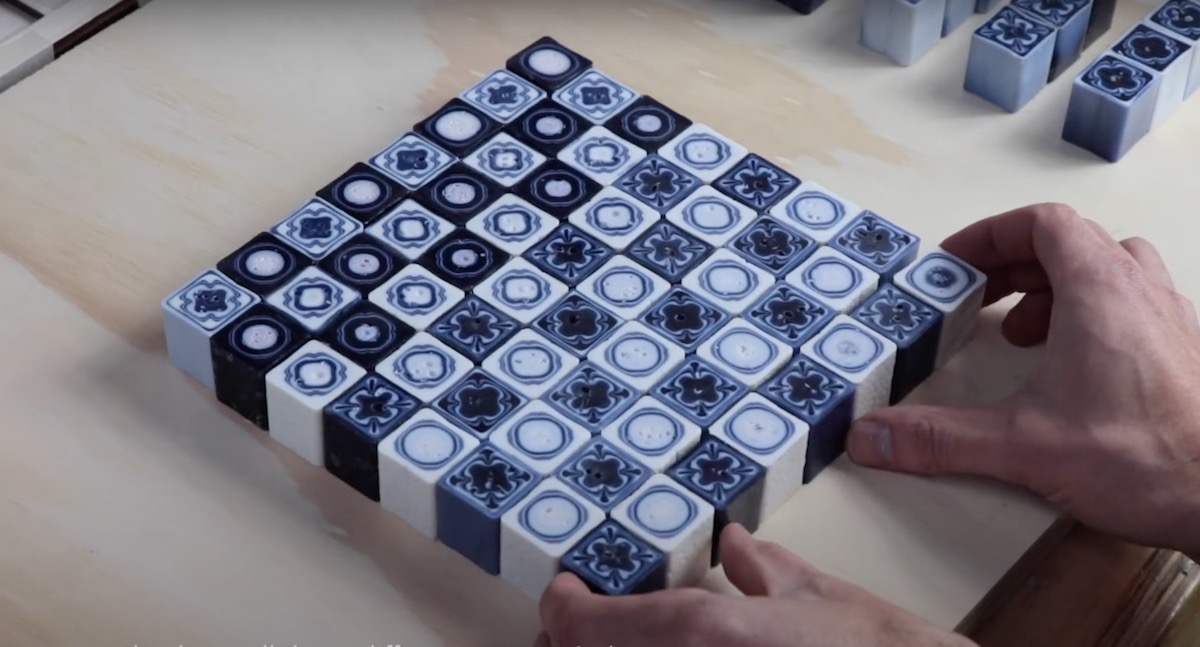
Check out the video to see the making of a Chessboard with these amazing beams. Thank you for reading and enjoy your pattern creating!
Check out the video to see the making of a Chessboard with these amazing beams. Thank you for reading and enjoy your pattern creating!
—
—
—
Comments