Make plaster moulds for large products
by OSR-Plastic
Here, we outline the process of making and using plaster moulds. It’s a great low tech way of making larger, more complex products.
—
Attachments
Resources
Step 1 - Consider pros and cons
Before you start, it is important to note that there are some drawbacks to using this process. Plaster moulds are not long lasting - so this may not make sense as a common way to process plastic.
However, it is a great way to inject large, solid products and can be used as a prototyping technique. For example - if you want to test the shape of a mould before it is milled into a block of aluminium.
You’ll need:
-Extruder machine
-Shredded plastic
-Casting plaster
-Mould release
-A model or object to replicate
-Melamine or plywood
-Heat gun
-Paint, chopped fibreglass, shellac (optional)

Step 2 - Make a model to replicate
You’ll need a model or object to cast your plaster mould around. This could be anything - a model you made, a 3D print, your favourite toy. Consider how many parts your mould requires. Our product required a two part mould.
In this case, the desired shape was cut out of foam using a home made hot wire and hand sanding.
Pay close attention to the surface finish - if there are any small bumps or dents, these will show in the final product. If you care about this - keep sanding, filling and painting.
In this case, the desired shape was cut out of foam using a home made hot wire and hand sanding.
Pay close attention to the surface finish - if there are any small bumps or dents, these will show in the final product. If you care about this - keep sanding, filling and painting.

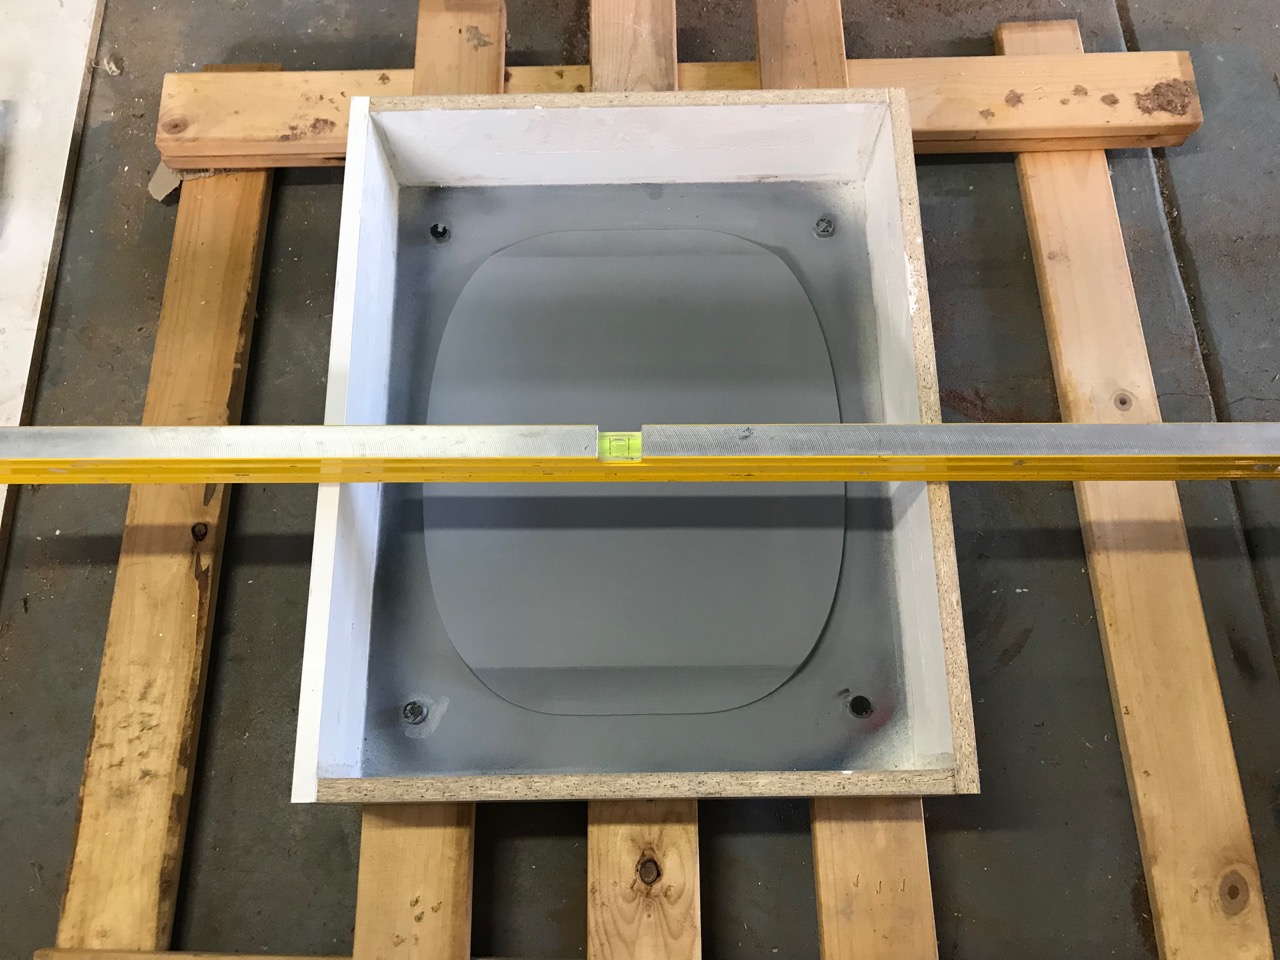
Step 3 - Make a box to cast your mould
Make a box around your model and ensure everything is sealed and secure (you don't want your model floating up when you pour the plaster). For the box, melamine works really well but you can also use plywood.
You might also want to use a mould release (vaseline works!) to make sure the plaster releases more easily.
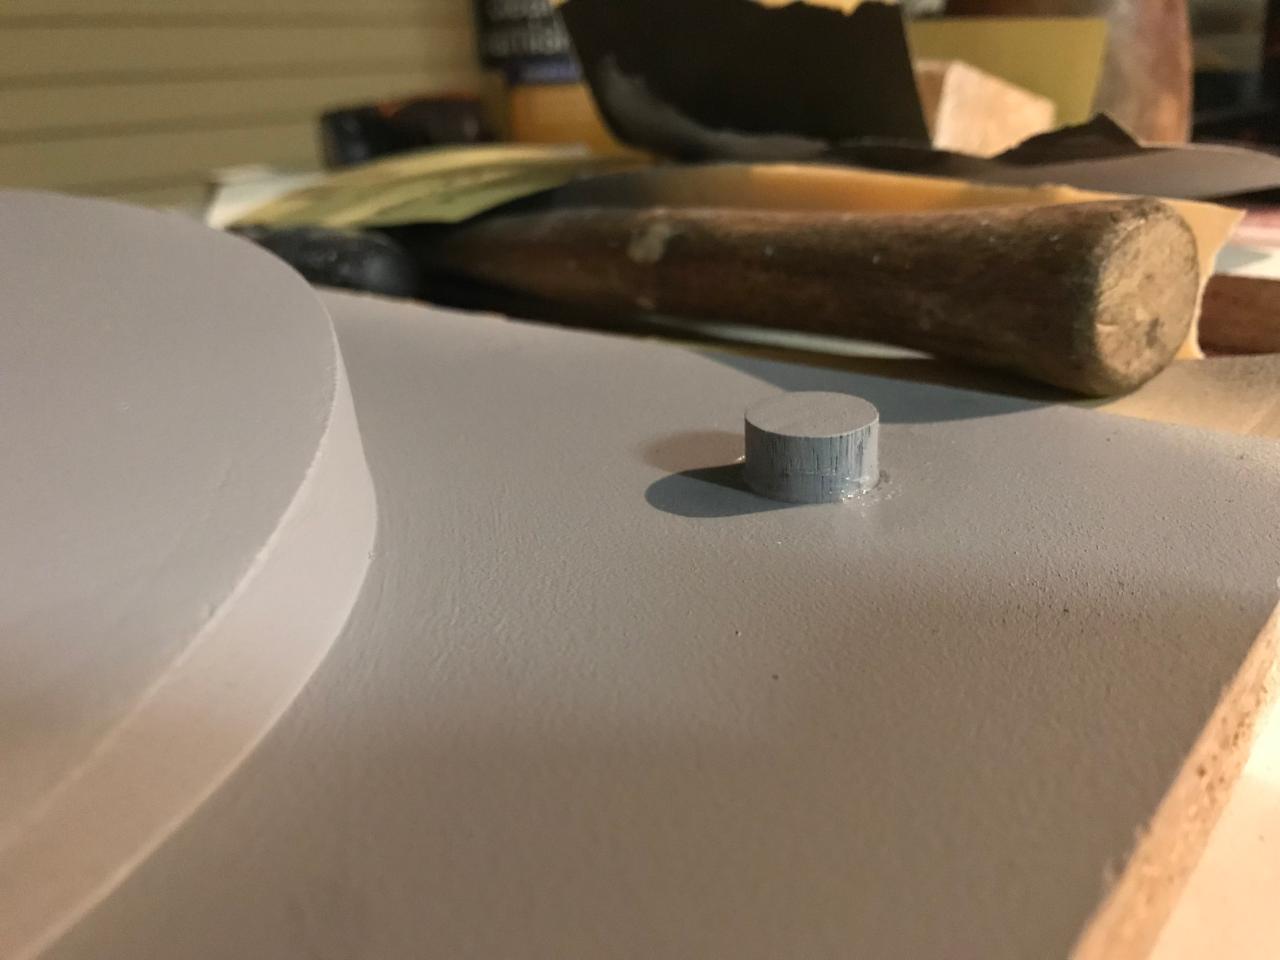
Some reference pins are also handy to make sure the moulds line up with each other later on.
You might also want to use a mould release (vaseline works!) to make sure the plaster releases more easily.
Some reference pins are also handy to make sure the moulds line up with each other later on.

Step 4 - Mix and pour the plaster
Mix the casting plaster according to the manufacturer specifications. In this case, chopped fibreglass was added to the mix to increase the mould durability.
Pour the mix into the box - as a general rule, pour it to twice the height of the model.
As soon as you pour the mix, spend a few minutes taping the box with a hammer to make sure any air pockets rise to the surface.
Allow the plaster to cure for a couple of days before you demould.
Pour the mix into the box - as a general rule, pour it to twice the height of the model.
As soon as you pour the mix, spend a few minutes taping the box with a hammer to make sure any air pockets rise to the surface.
Allow the plaster to cure for a couple of days before you demould.

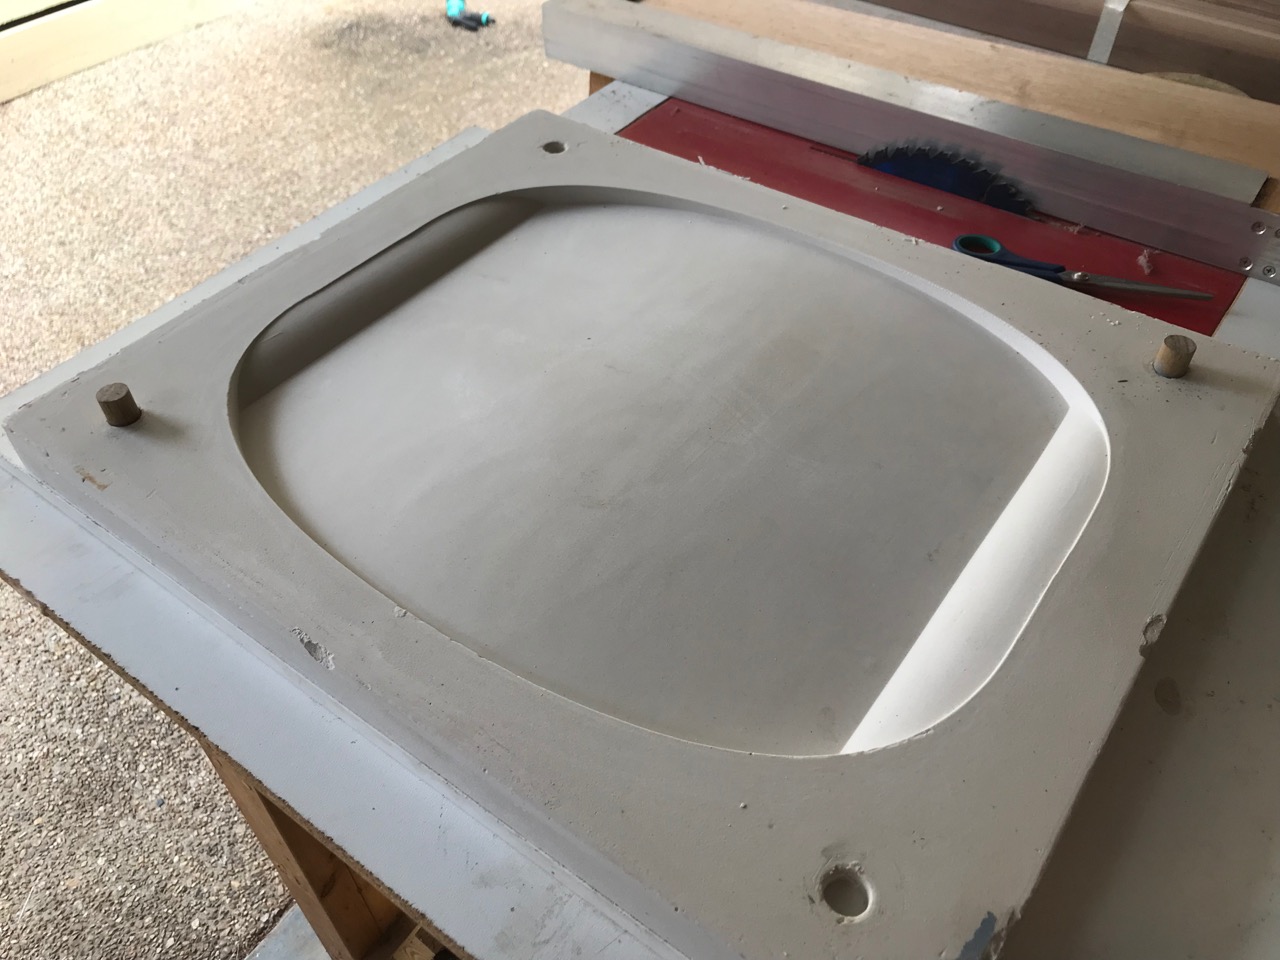
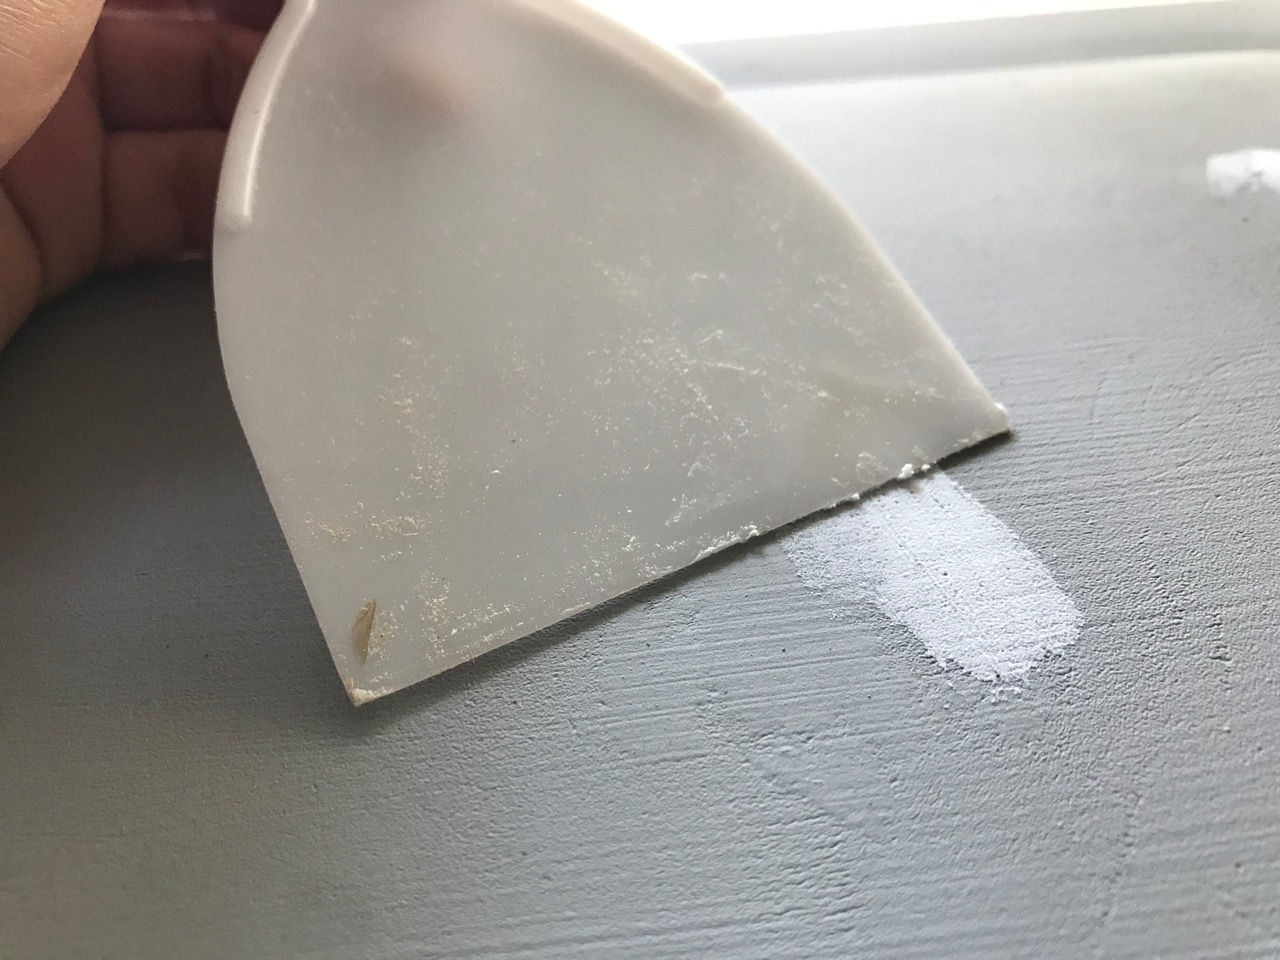
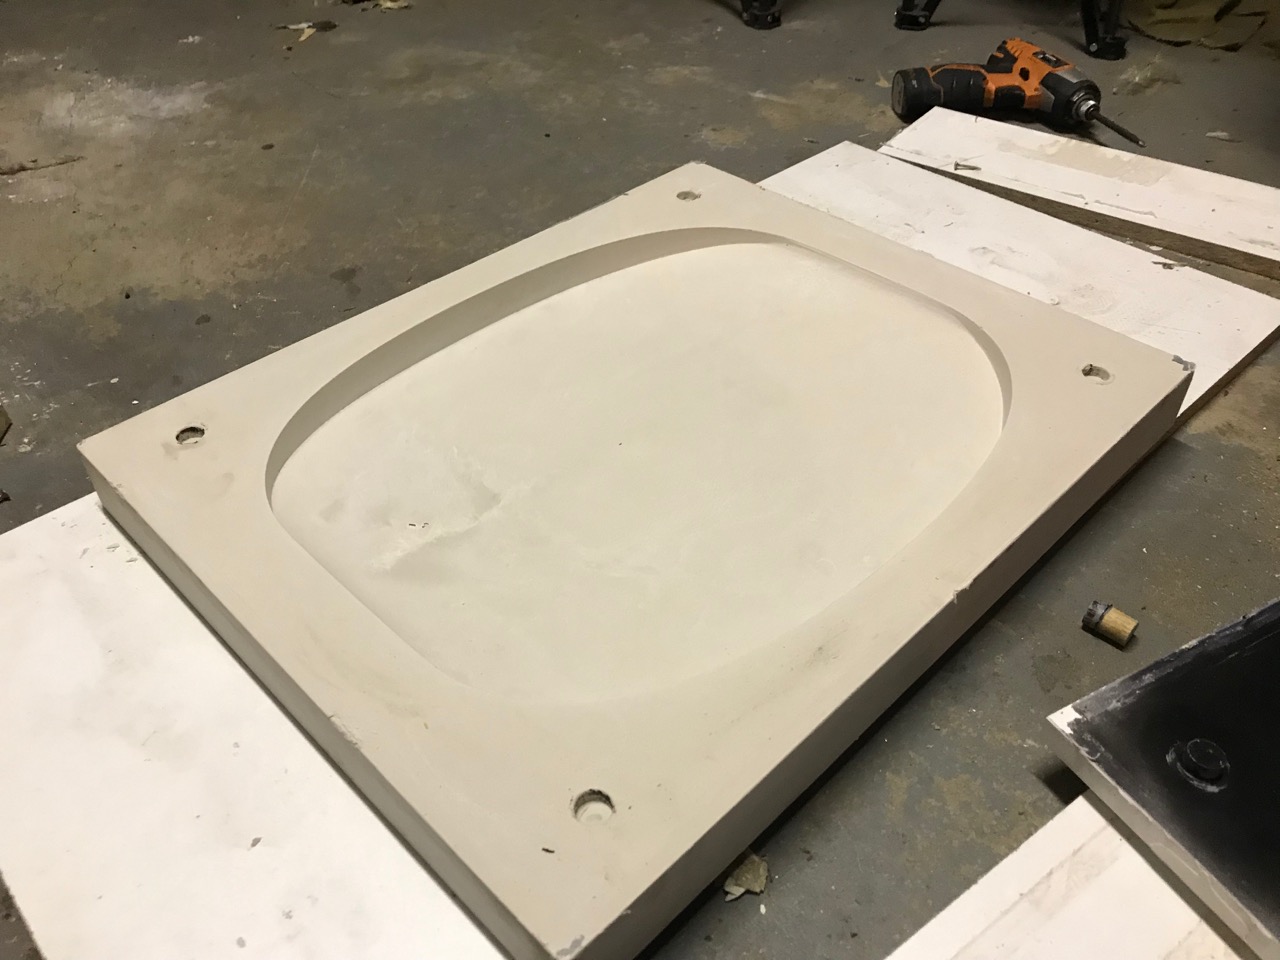
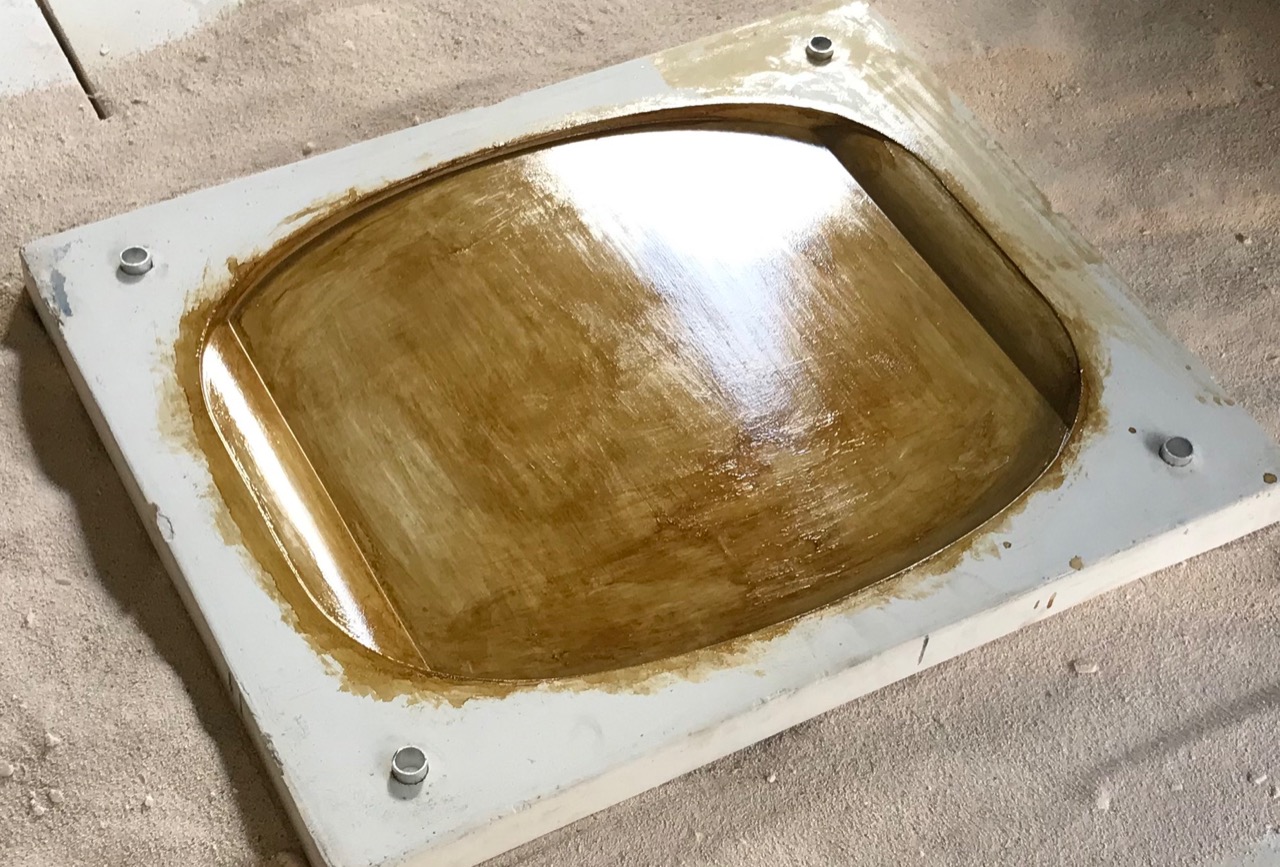
Step 5 - Air dry and seal
Now that you have both parts of your mould, it is best to let them air dry for a couple of days. You’ll feel when they’re touch dry (and they’ll be much lighter) - this means you are ready to progress.
As an extra step - you can add a layer of shellac on the plaster surfaces. When it cures, you can then add a mould release (silicone oil or vaseline). This will ensure plastic does not stick to your mould and you can use it again.
As an extra step - you can add a layer of shellac on the plaster surfaces. When it cures, you can then add a mould release (silicone oil or vaseline). This will ensure plastic does not stick to your mould and you can use it again.
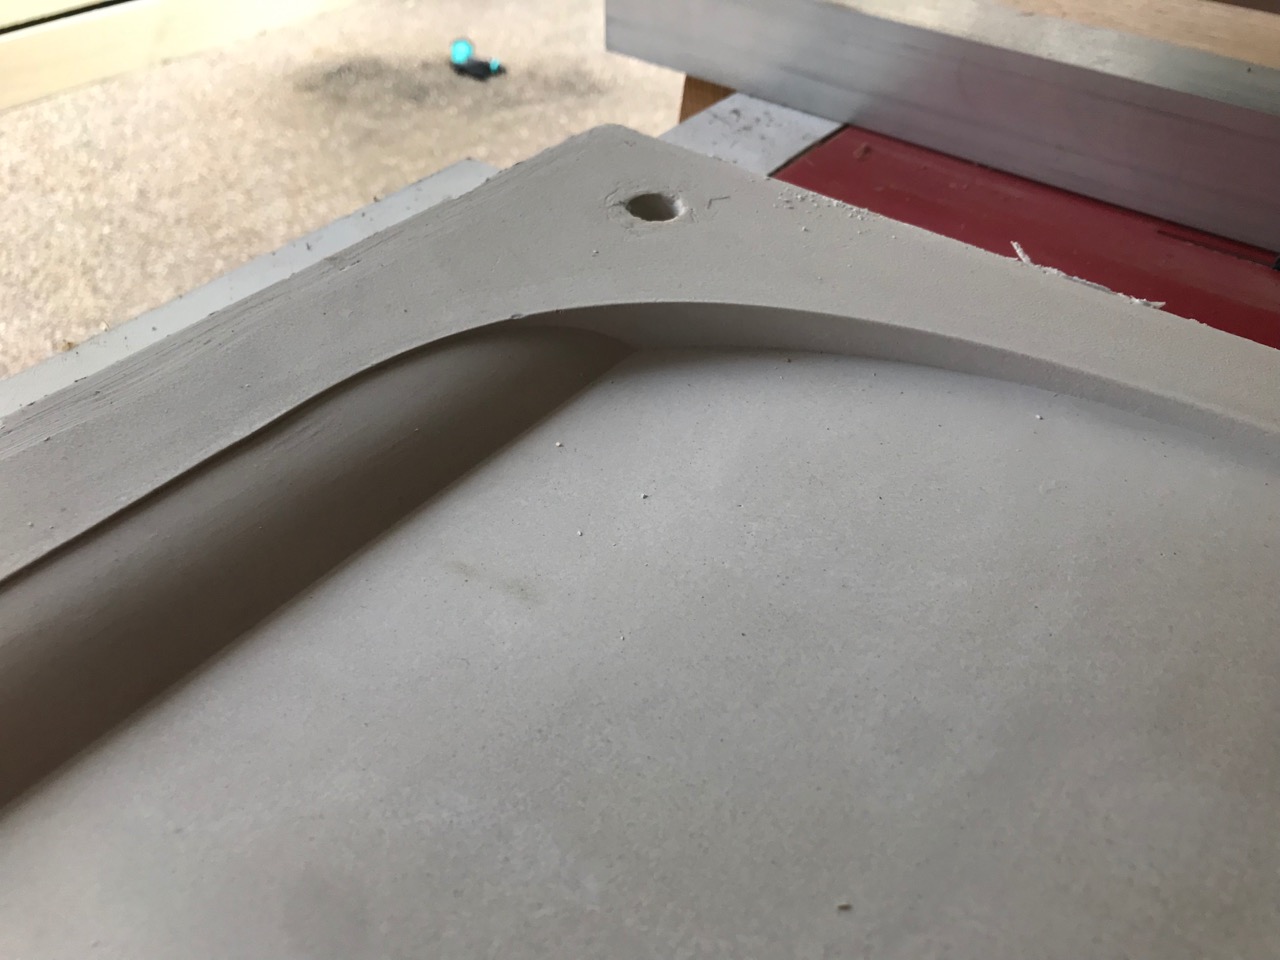
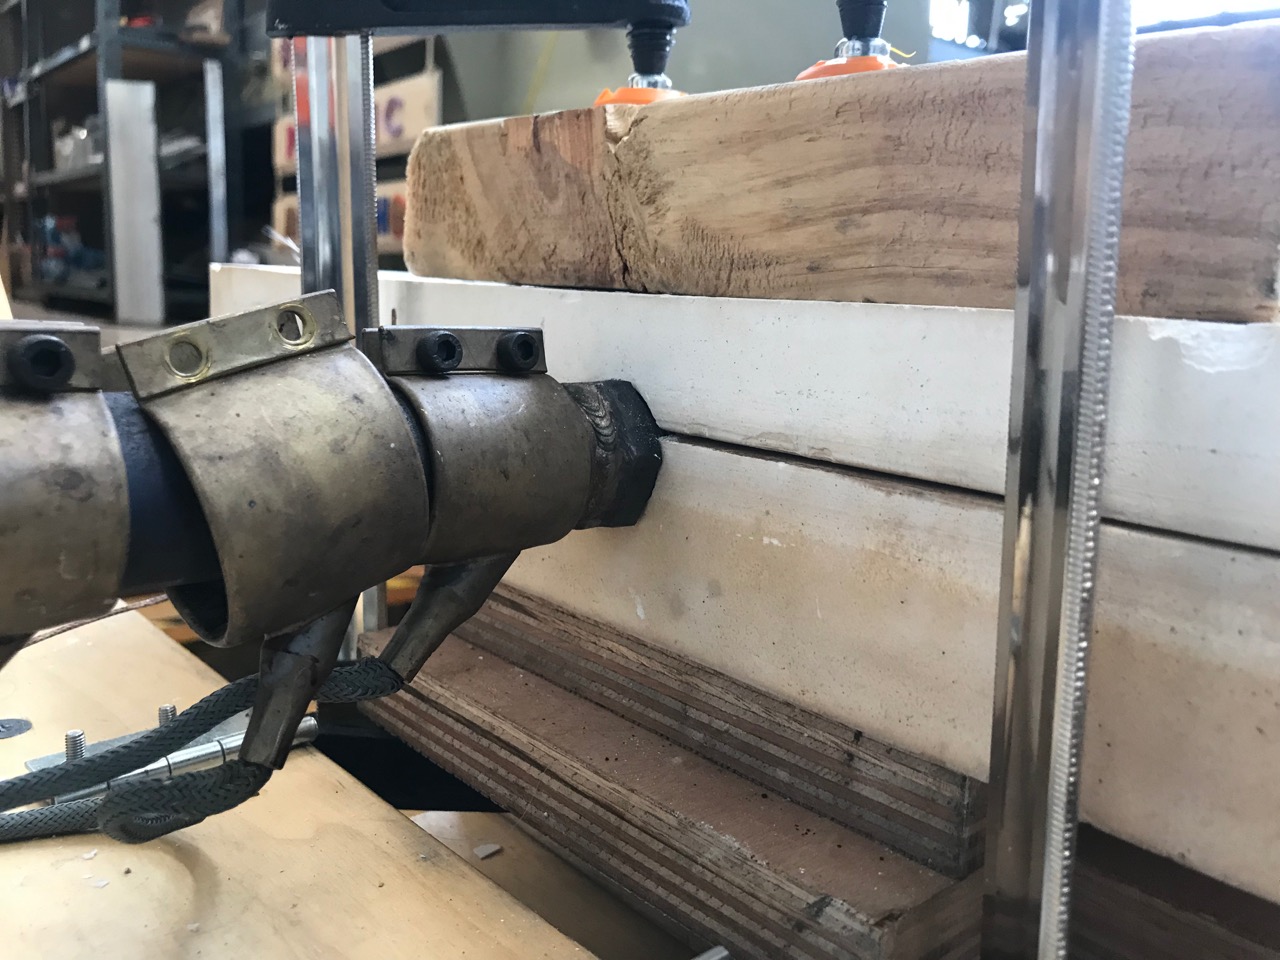
Step 6 - Drill injection + relief holes
Ok, time to prepare the mould for your machine. Clamp the parts of your mould together so that they align. In this case, a large hole was drilled to connect to the extruder machine.
Some smaller holes were also drilled in various locations to act as indicators that the plastic has reached that point. They also help to prevent a build up of pressure.
Some smaller holes were also drilled in various locations to act as indicators that the plastic has reached that point. They also help to prevent a build up of pressure.
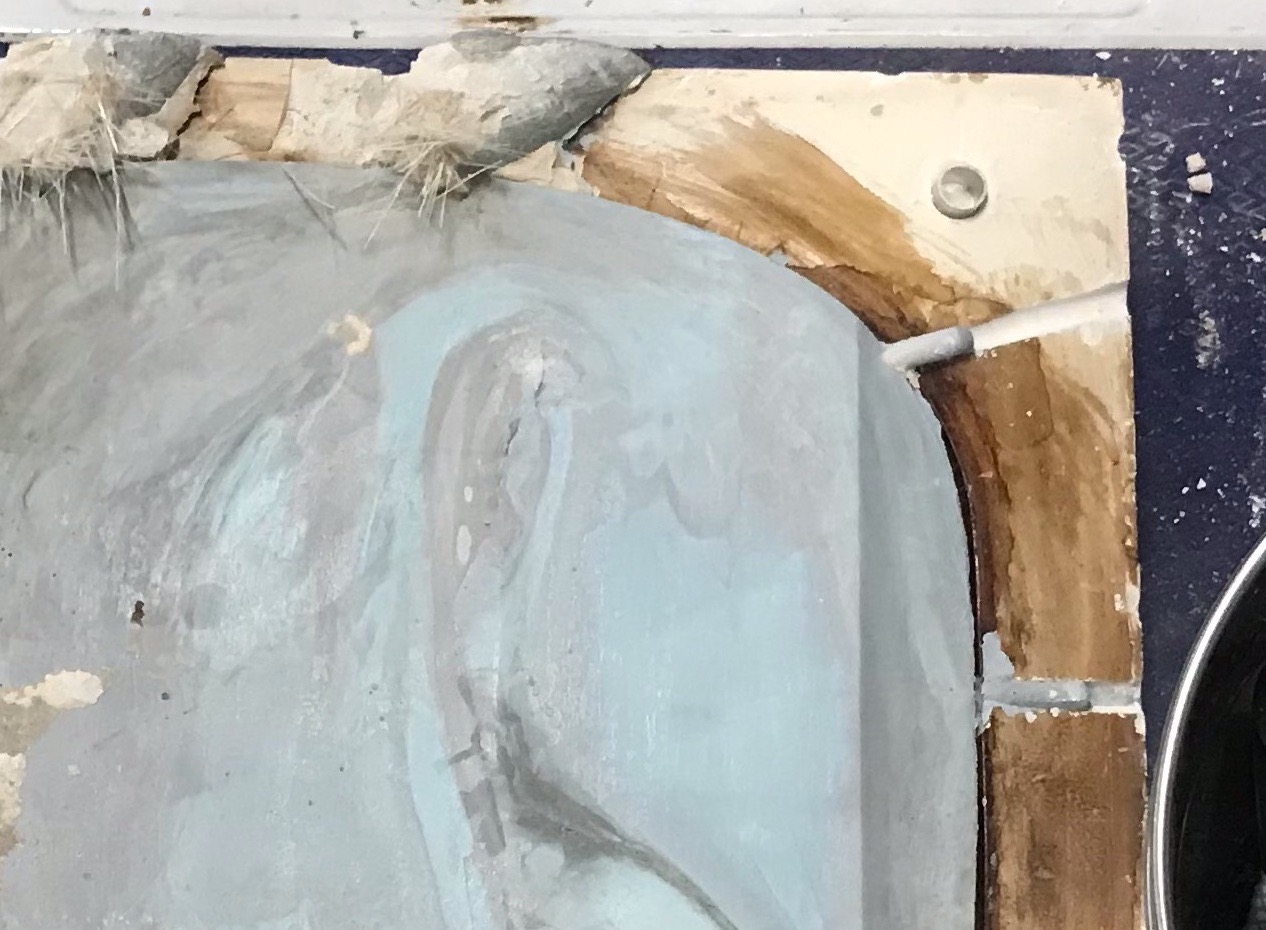
Step 7 - Heat your mould
Since this is a slow injection moulding process, you’ll need to make sure the inside of the mould stays hot the whole time. This can be done a number of ways - in this case, large holes were drilled to circulate hot air through the mould from two heat guns.

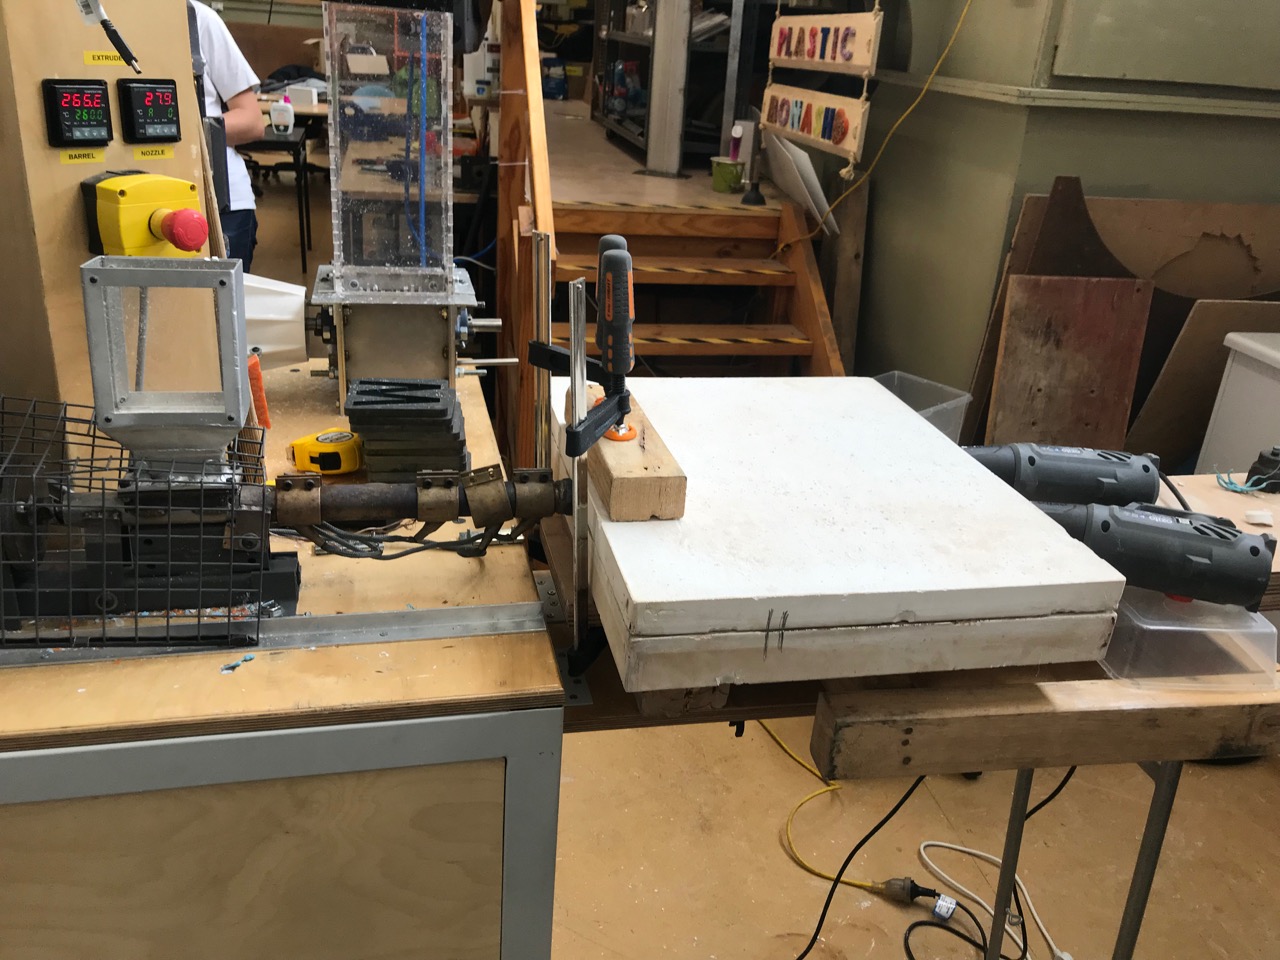
Step 8 - Inject (using the extruder)
Ok, you’re almost ready to inject. Start heating your plaster mould. While that’s heating, fire up your extruder and prepare your plastic. When your mould is hot, you can start injecting. This could take anywhere from a few minutes to a few hours depending on the size of your product. In this case, the injection process took about 2.5 hours to fill the mould.
When plastic has reached all of your reference points (those little holes you drilled earlier) that means your product is fully injected. At this point, turn off your heat guns and extruder. You also need to plug all of the holes to maintain pressure inside the mould.
When plastic has reached all of your reference points (those little holes you drilled earlier) that means your product is fully injected. At this point, turn off your heat guns and extruder. You also need to plug all of the holes to maintain pressure inside the mould.
Step 9 - Demould
You'll have to wait a while for everything to cool down at room temperature. The plaster will insulate the heat so this could take up to 12 hours depending on the size of your product.
Demould your product and be careful to preserve your mould so you can use it again!
Demould your product and be careful to preserve your mould so you can use it again!
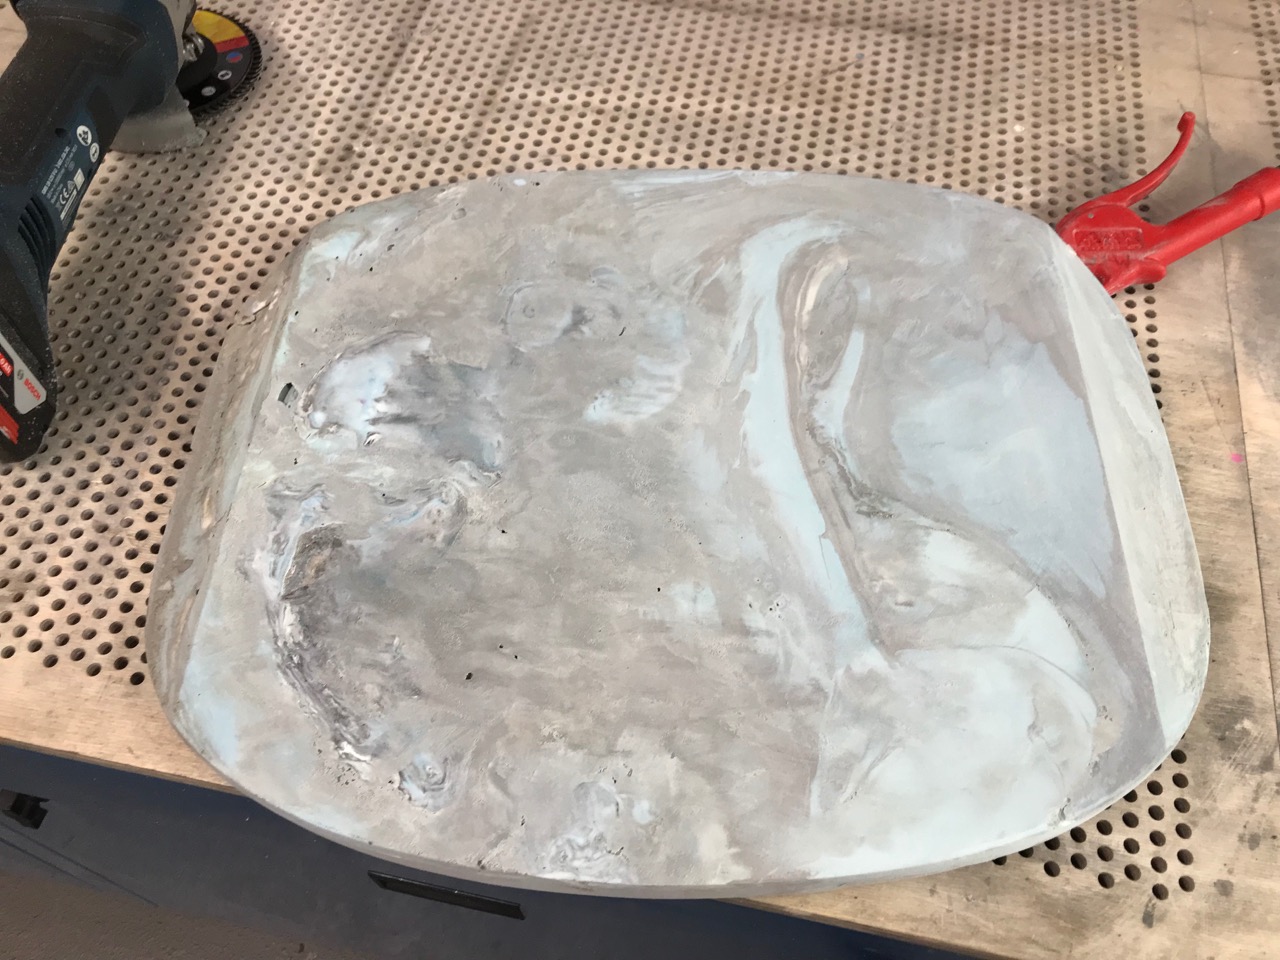
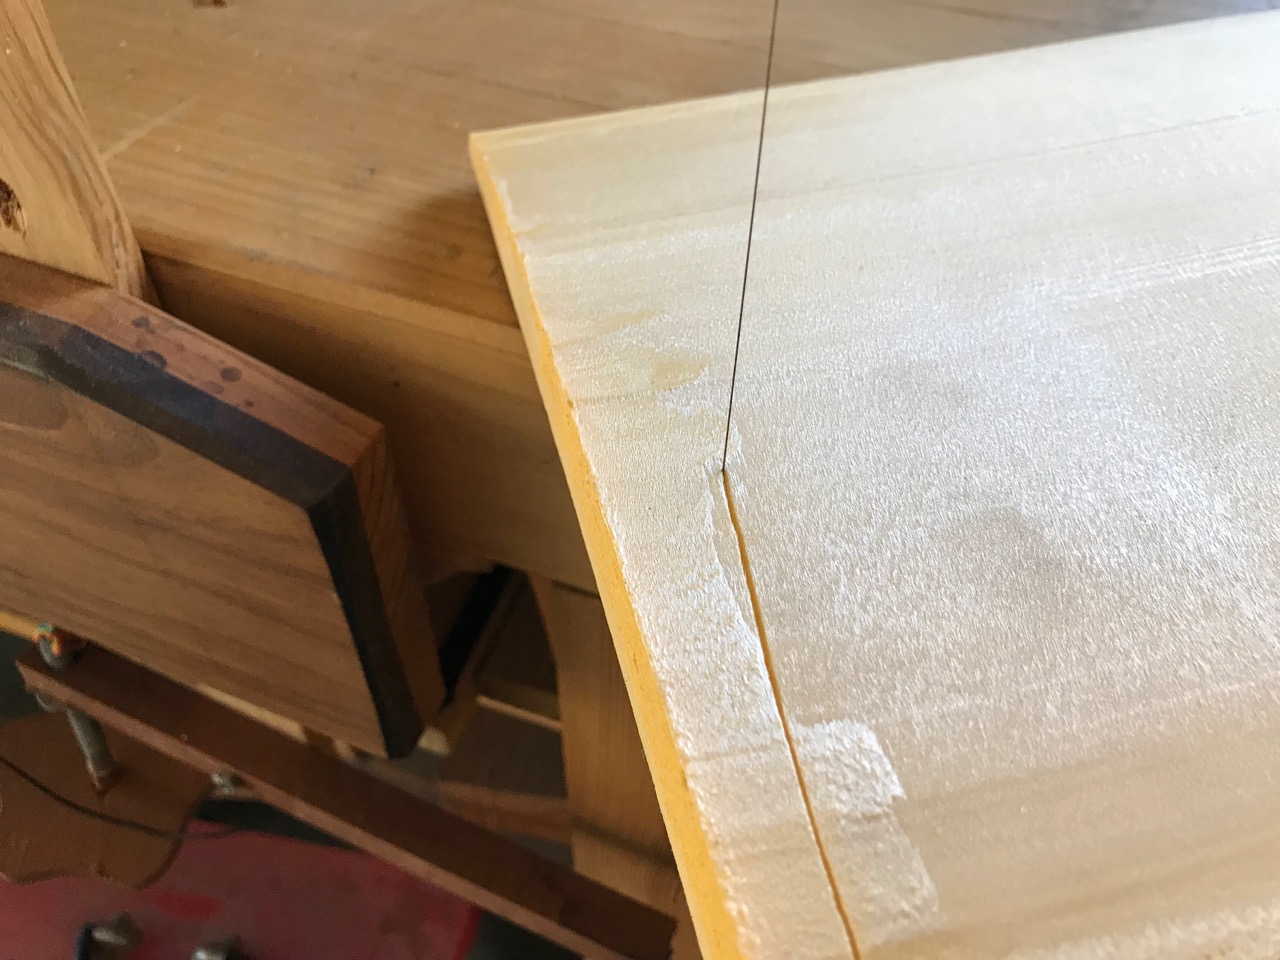
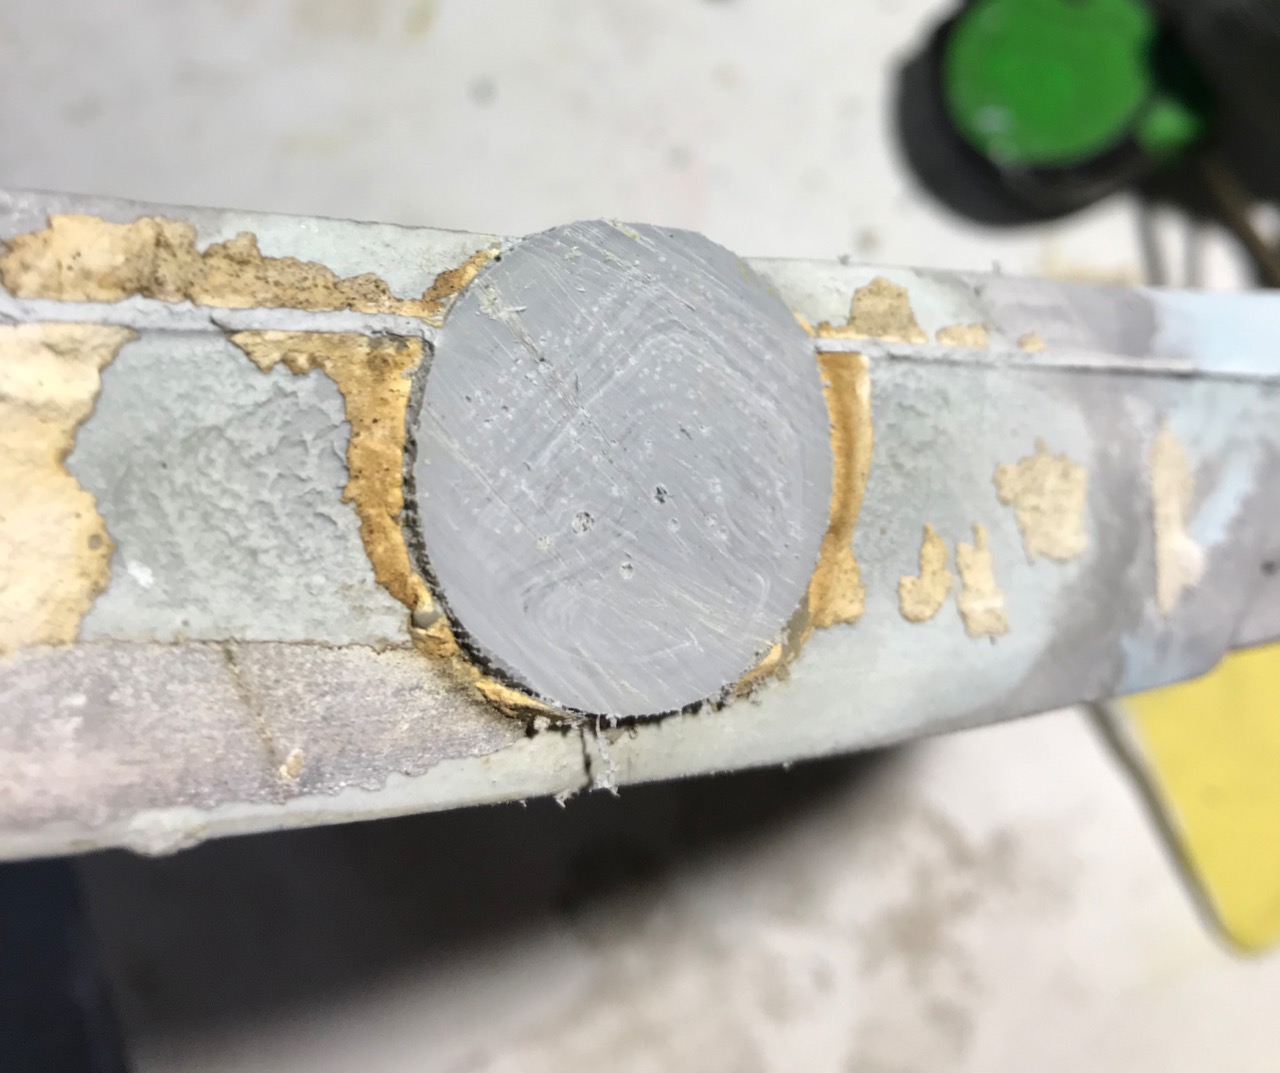
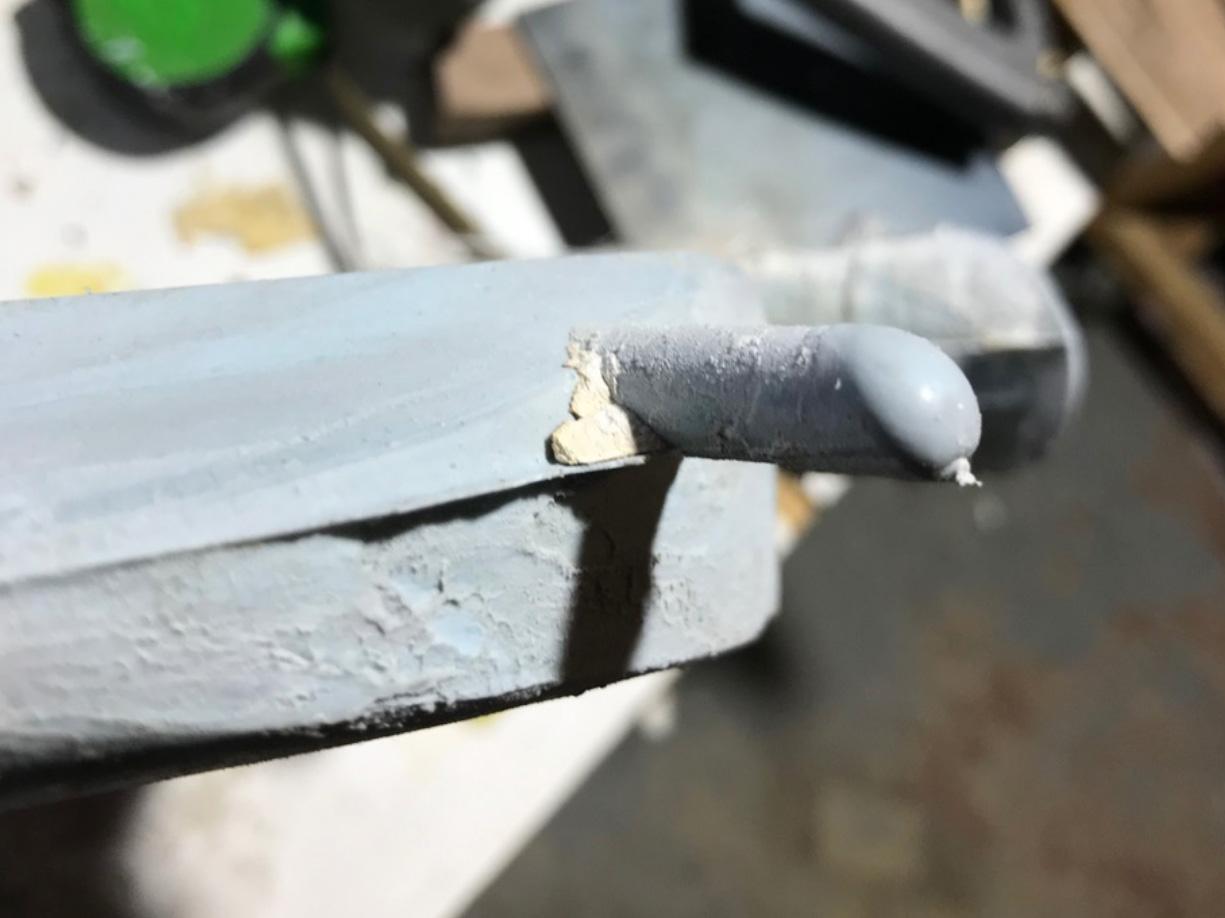
Step 10 - Post processing
If you've done everything properly, there will only be minimal post processing required. This involves cutting off the injection point and the relief channels.
You can also clean up the part line. We recommend doing this with a knife so you can recycle the shavings again!
You can also clean up the part line. We recommend doing this with a knife so you can recycle the shavings again!
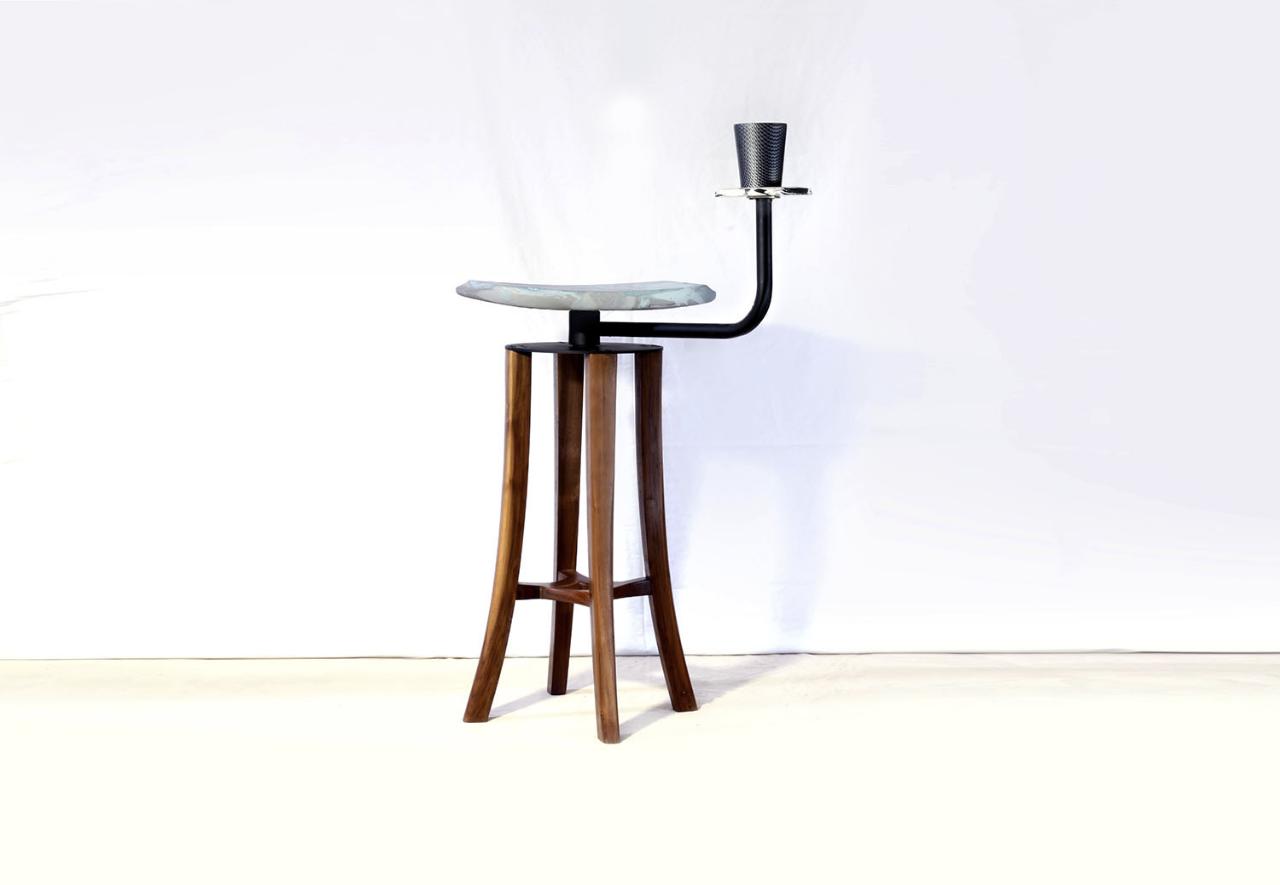
Step 11 - That's it!
A little time consuming but a nice low tech mould making technique. It will never replace machined moulds, but can definitely be useful for prototyping larger, more organic shapes.
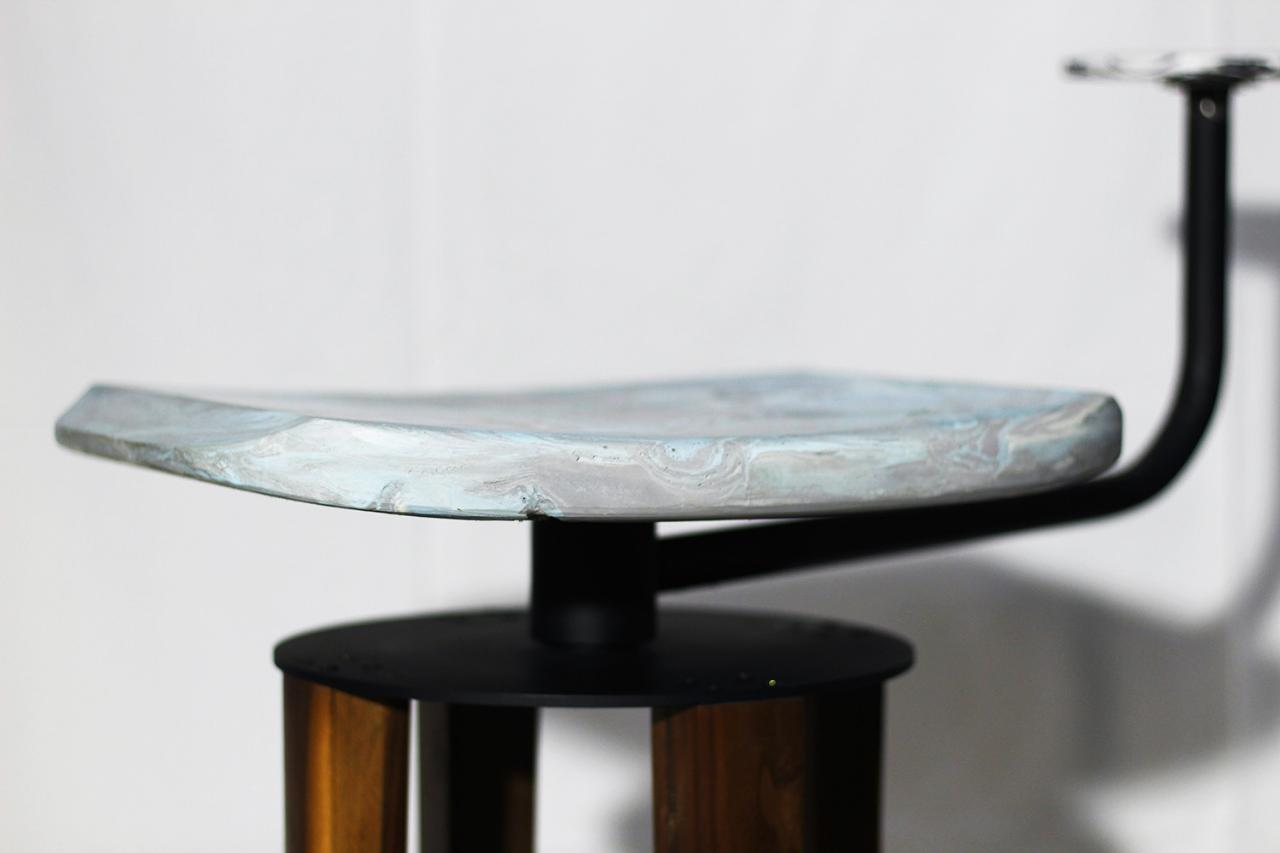
Here’s our final product - a stool made from old polypropylene chairs. But the possibilities are endless.
One thing that you could change is the contrast between the plastics you feed into the extruder. In this case, the colour choices were quite similar so there isn’t much contrast. This is something that can definitely be controlled depending on the look you are going for.
—
—
—
Comments