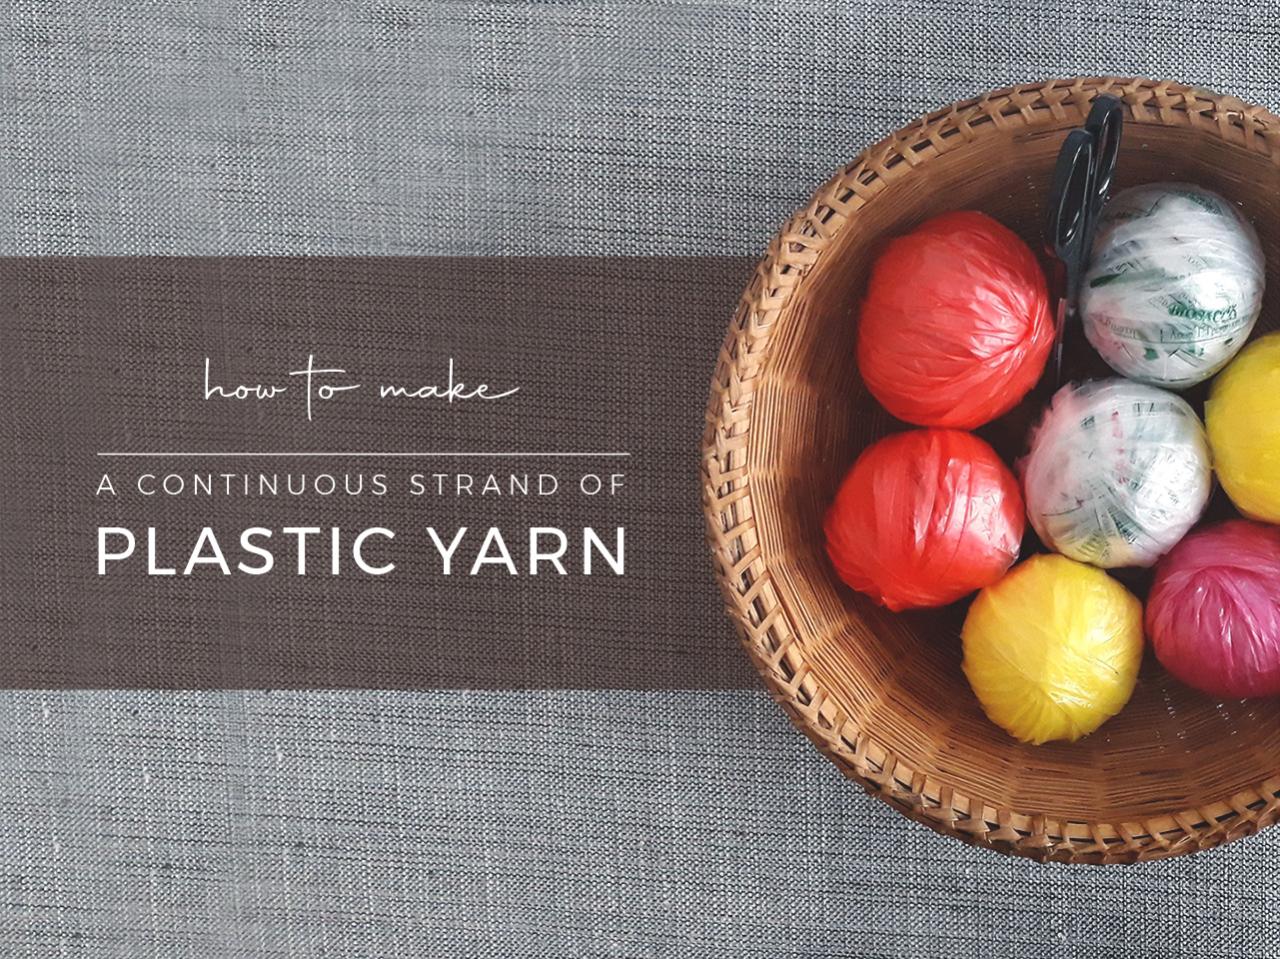
Make plastic yarn (plarn) from a plastic carry bag
by OSR-Plastic
With this technique we will get a single, continuous, seamless strand of yarn without any joining knots.
All you will need is a plastic bag, a pair of scissors and any object that can be used as a weight (your mobile phone will do!).
Once you have this yarn you can apply any handcrafted technique - knitting, crochet, weaving, macramé or braiding!
—
Attachments
Resources
Step 1 - Video Tutorial
This video explains the entire process.
Once you watch it, you can follow the detailed steps below to make your yarn.
Enjoy!
Once you watch it, you can follow the detailed steps below to make your yarn.
Enjoy!
Step 2 - Cutting off the Seam
Image 1:
Let's consider the plastic bag to be made up of the seam, the body and the handles. Knowing these terms will help us during the process of making the yarn.
Image 2:
Start by flattening the plastic bag and removing all the creases.
Cut off the seam.
Let's consider the plastic bag to be made up of the seam, the body and the handles. Knowing these terms will help us during the process of making the yarn.
Image 2:
Start by flattening the plastic bag and removing all the creases.
Cut off the seam.
Step 3 - Folding the Bag
Image 3:
You will notice that your bag has 2 flaps or folds.
(Most plastic bags have it, but if yours doesn't, then Image 3 and Image 4 do not apply.)
Image 4:
Take the flap that is away from you and fold it in, towards you.
Image 5:
Now, fold the bag in half, not all the way to the end but leaving a margin of about 3 to 5 cm.
Fold it a couple of times more.
If your plastic bag is thick, you can fold it a fewer times so that it is easier to cut.
Step 4 - Cutting the Strips
Image 6:
Place a weight at the end of the bag, on the handles.
We will be cutting parallelly along the length of the bag, not all the way till the end but until the margin.
Make cuts all the way until the handles. Cut the handles off.
Note:
- Make cuts roughly at an equal distance from each other to get a yarn of uniform thickness.
- You can cut the yarn as thick as you like depending on your project. In the video, I have cut the yarn about 1.5 cm apart which is good to crochet with with a 3 mm hook. If you would like to make something chunkier, you can cut it 5 - 8 cm apart. Of course, the thickness of the yarn also depends on the thickness of the bag, so just play around!
Step 5 - Making the Diagonal Cuts
Image 7:
Unfold the strips of the bag.
Image 8:
Open out & unfold the margin area.
Image 9:
Instead if cutting parallelly, we will be cutting diagonally so that we get a continuous spiral.
Start by cutting the the first end off, the cut that is towards you.
Now cut from the 2nd cut towards you to the 1st cut on the other side, away from you.
Keep doing this until you reach the end. Cut the last end off.
And the yarn is ready, hooray!
Ball it up or wind it around a bobbin.
—
—
—


Comments