Sun Concentrator for Solar plastic melting
by volkseco
In order to provide you with energy independence, volks.eco offers you a solar and portable solution reaching up to 250 ° C (482 ° F). This device is intended for the production of recycled plastic injections, according to the project carried out in collaboration and presented by Plastok.ch.
[https://www.instructables.com/id/Solar-Plastic-Injection]
3D Model: <a href="https://a360.co/3ilST2c">https://a360.co/3ilST2c</a>
—
Attachments
Resources
Step 1 - Cut the Wooden Planks
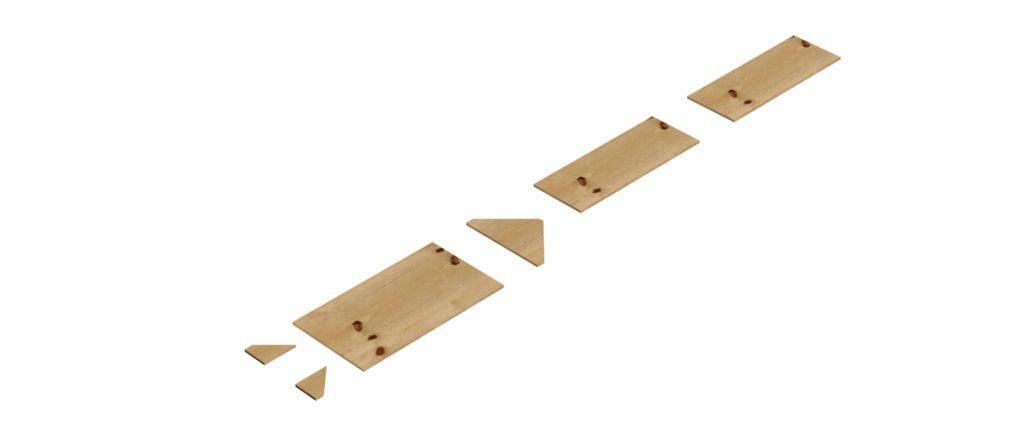
Cut wooden planks 12 millimeters thick, according to the dimensions indicated in the attached file. [mm]
Step 2 - Cut the Mirrors
Cut the mirrors 4 millimeters thick, according to the dimensions indicated in the attached file. [mm]
Step 3 - Cut the Double Tape
Cut 6 double tape strips of 500 millimeters. If possible use a outdoor double tape
Step 4 - Assemble mirrors and planks
Assemble the mirrors and the wooden planks with double-sided tape according to the attached image. Please note the shutters are asymmetrical
Step 5 - 3D Print concentrator Holders
Print the attached 3D files, preferably in ABS
Use this link to download the 3D files : https://a360.co/3ilST2c
Use this link to download the 3D files : https://a360.co/3ilST2c
Step 6 - Assemble the Sun Collector
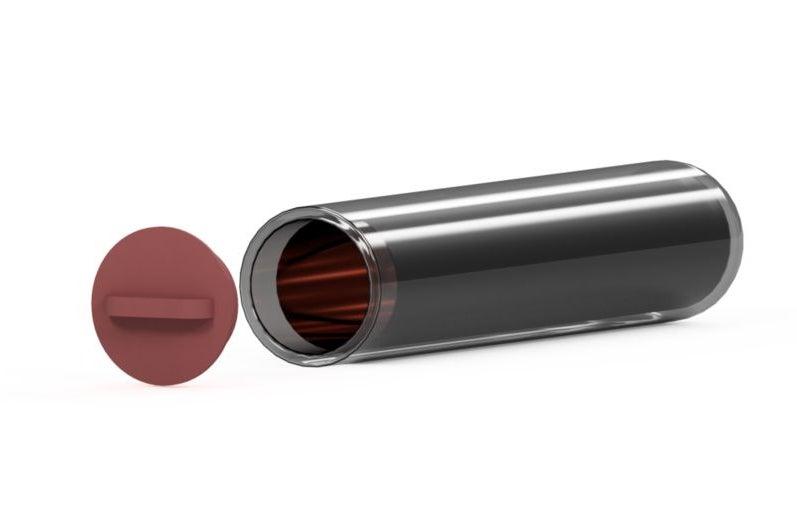
The sun collector made is made of tempered glass and can provide temperatures above 250°C
To fixe the tube tighten the screws of the 3D printed front holder
The overall size is 660 mm (overall) X 127mm outside diameter. The approximate interior dimensions are: 584 mm X 101mm inner diameter.
Available on : https://www.volks.eco/produit/sun-collector/
To fixe the tube tighten the screws of the 3D printed front holder
The overall size is 660 mm (overall) X 127mm outside diameter. The approximate interior dimensions are: 584 mm X 101mm inner diameter.
Available on : https://www.volks.eco/produit/sun-collector/
Step 7 - Assemble all pieces
Assemble all components with wood screws and 2 3D print filaments.
To assemble the shutters, first drill the hole for the screws to have a pivot effect.
To assemble the shutters, first drill the hole for the screws to have a pivot effect.
Step 8 - Use the sun concentror
To use the solar concentrator, it is advisable to use temperature probes.
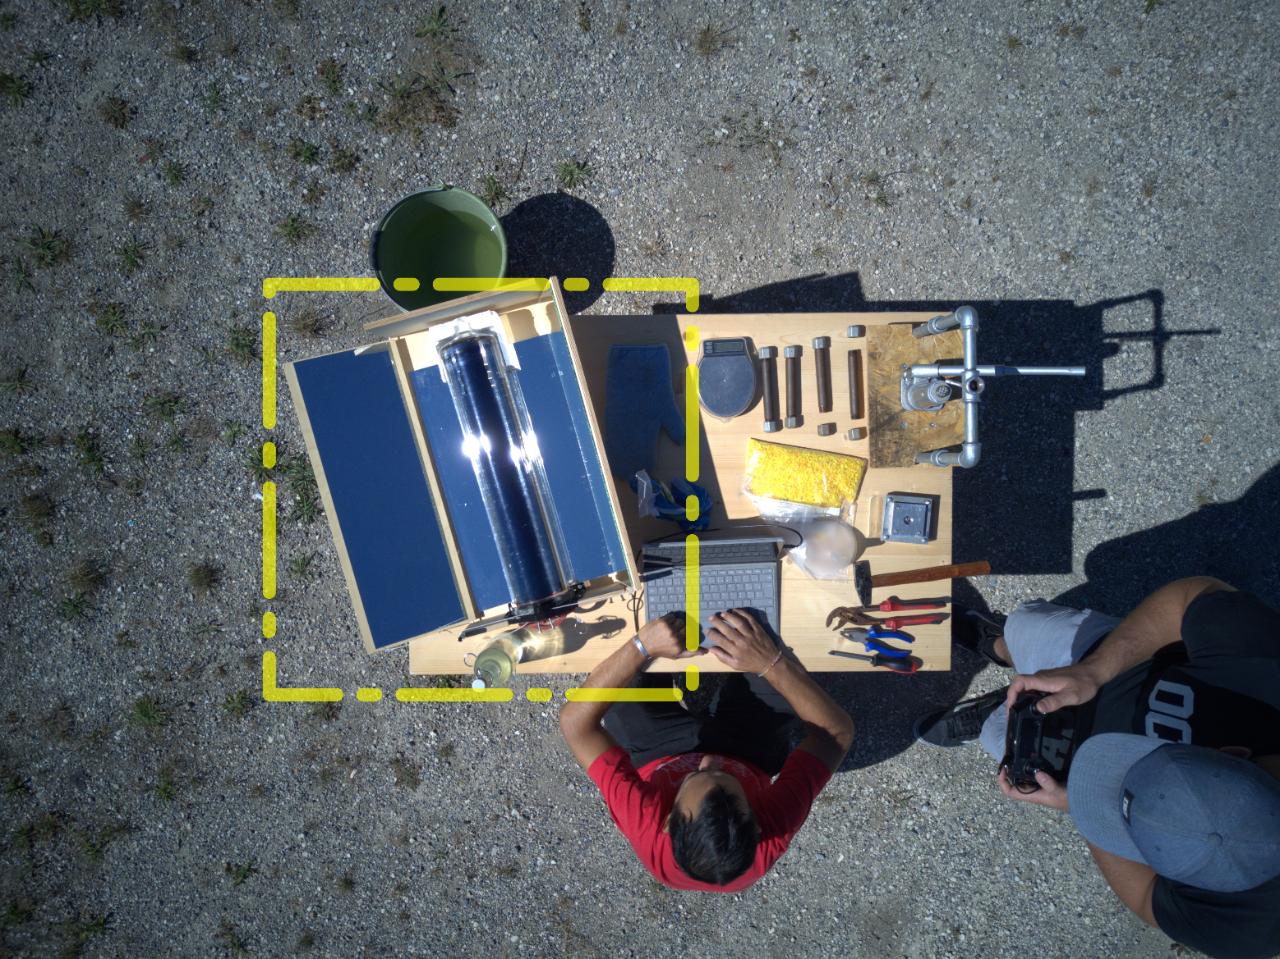
The concentrator should be placed with the solar collector perpendicular to the sun light (12h - south).
The shutters should be adjusted so that the maximum light is projected onto the collector, as shown in the picture.
The concentrator should be placed with the solar collector perpendicular to the sun light (12h - south).
The shutters should be adjusted so that the maximum light is projected onto the collector, as shown in the picture.
Step 9 - Solar Plastic Injection
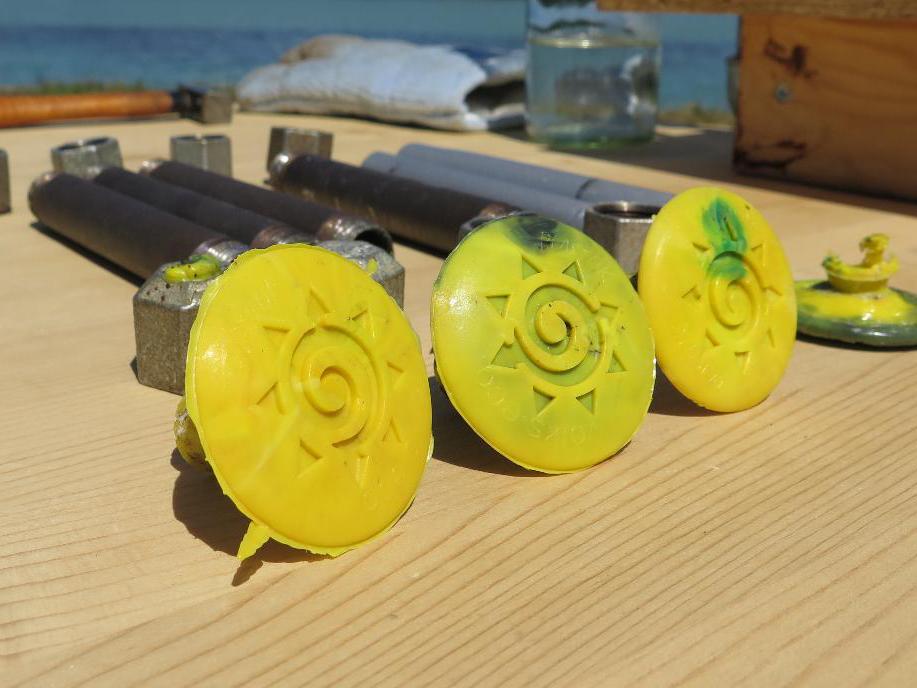
Time to melt some plastic!
Have a look at this How-to to learn more about the Solar Injection Process :)
https://community.preciousplastic.com/how-to/solar-plastic-injection-
Have a look at this How-to to learn more about the Solar Injection Process :)
https://community.preciousplastic.com/how-to/solar-plastic-injection-
—
—
—





Comments