Tag the collection bags
In this how-to, you will learn how to make tags for your collection bags. The tags are attached to the bags during transport. This way the Shredder Workspace will not confuse the plastic-type waste from the Collection Point.
—
Attachments
Resources
Step 1 - Choose your stencil technique
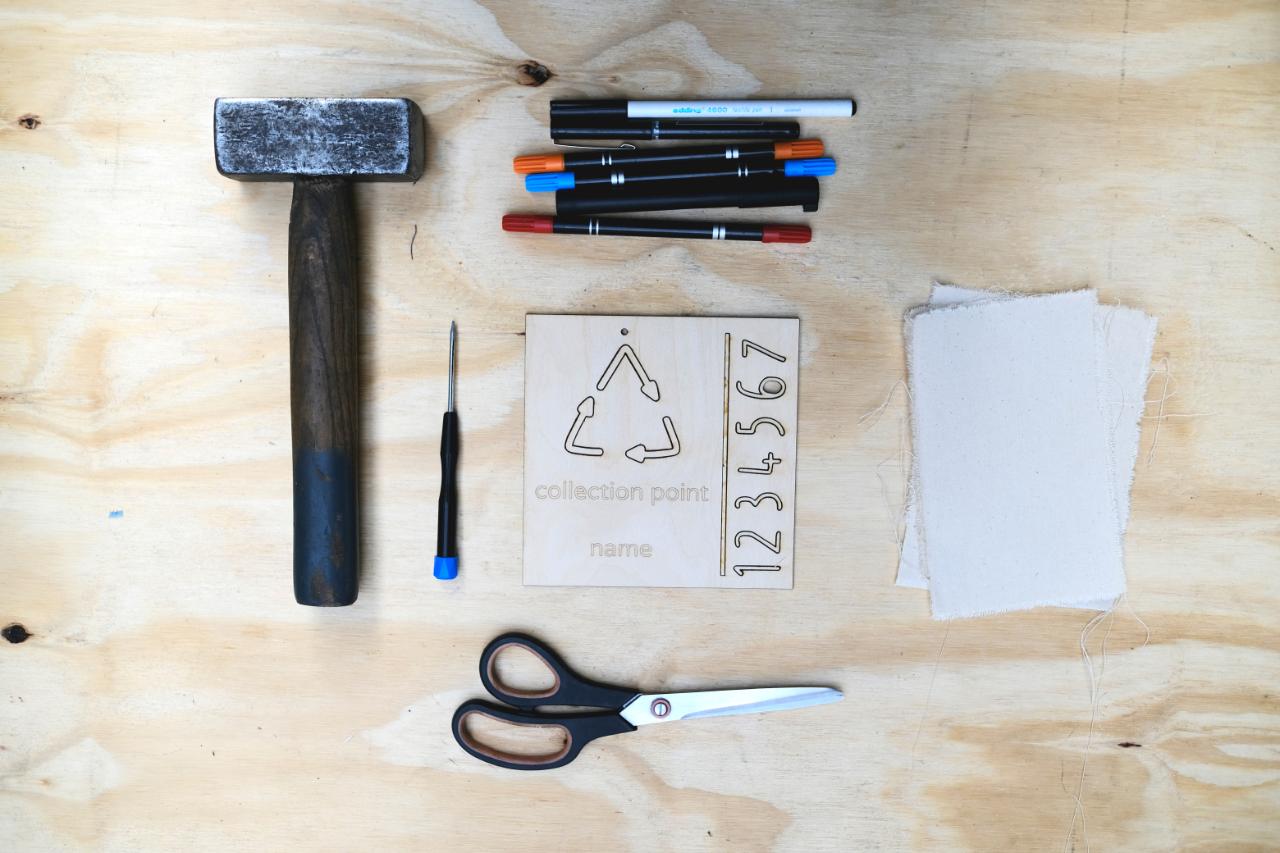
You will need a stencil to create your own tags. The stencil will help you speed up the process. You can make it in many ways, such as using a cardboard box and a knife, a laser-cut machine on wood, a CNC machine on steel or plastic, or even a 3D printer using PLA. Each technique requires different materials, and therefore different costs.
The best technique is the one you have most easily accessed, is economical and will produce a long-lasting stencil. Cardboard boxes with a cutter are the cheapest option, but it will take a long time to make and the stencil will not last long. We recommend the laser cut on plywood. Ask the nearest FabLab in your area, they can help you :).
The best technique is the one you have most easily accessed, is economical and will produce a long-lasting stencil. Cardboard boxes with a cutter are the cheapest option, but it will take a long time to make and the stencil will not last long. We recommend the laser cut on plywood. Ask the nearest FabLab in your area, they can help you :).

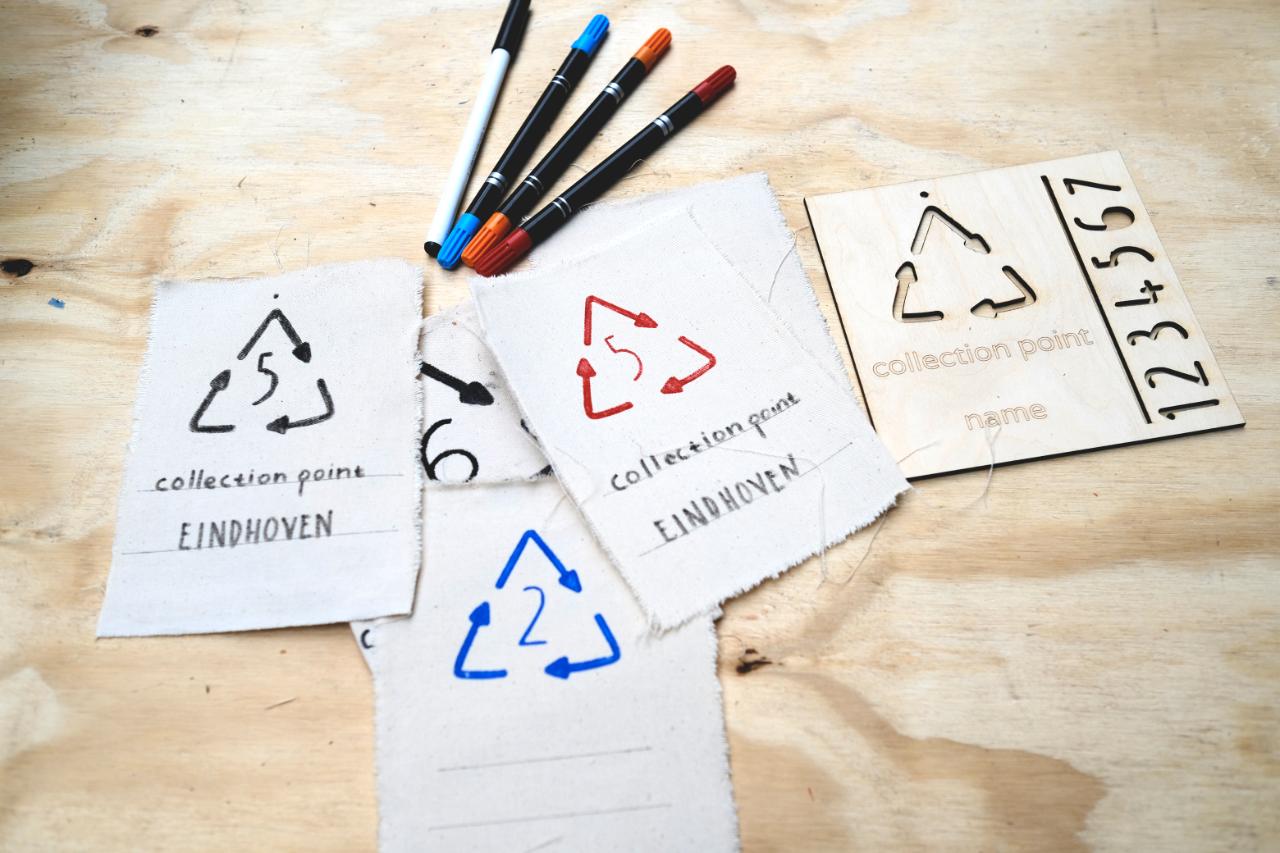
Step 2 - Download your illustrations
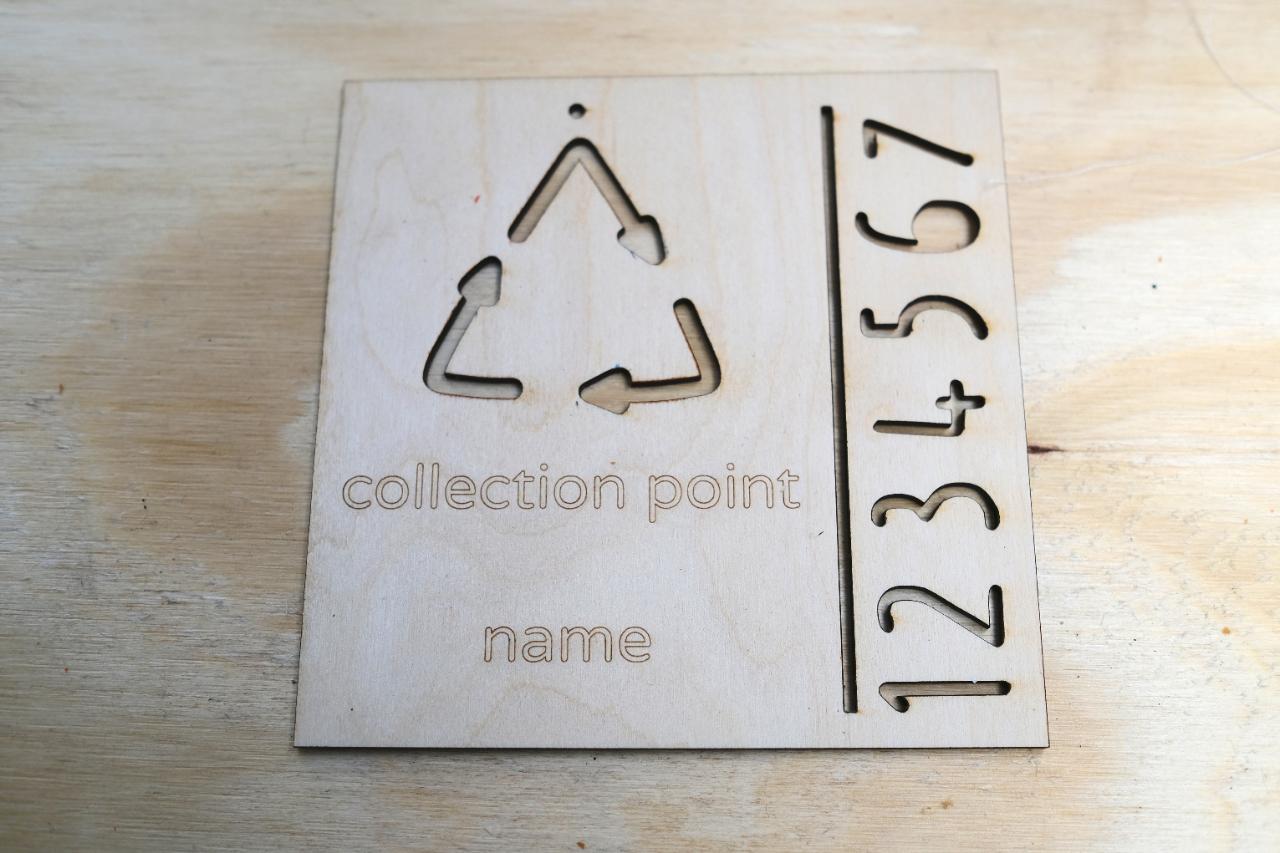
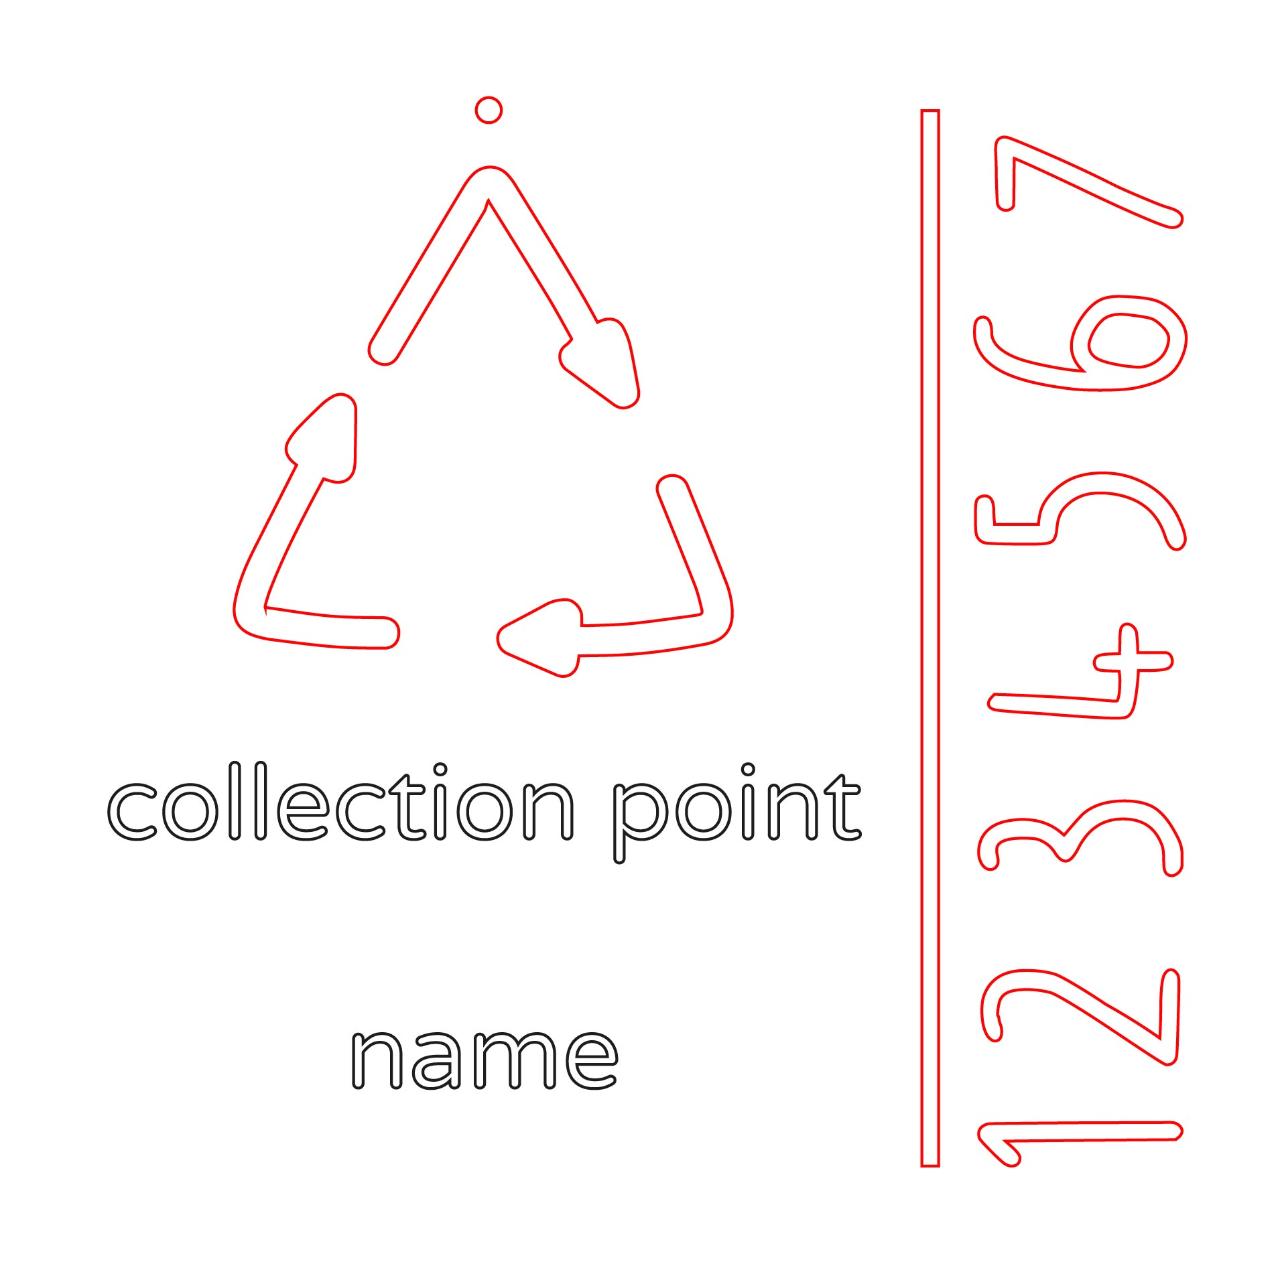
Above on that beautiful button, you are gonna find the image of the stencil. Send this image to your nearest laser cut machine. Ask for a laser cutting on a plywood 3 mm.
The dimension of the stencil is 150x150 mm. The red lines on the picture mean cutting and the black one means engraving.
Or if you want to try to make it by yourself on cardboard print the image on an A4 paper and stick it to the cardboard.
The dimension of the stencil is 150x150 mm. The red lines on the picture mean cutting and the black one means engraving.
Or if you want to try to make it by yourself on cardboard print the image on an A4 paper and stick it to the cardboard.
Step 3 - Paint over your outline
If you order the stencil on a laser cut machine then the result will be perfect. Make sure to sand the plywood and remove the black stain from the laser.
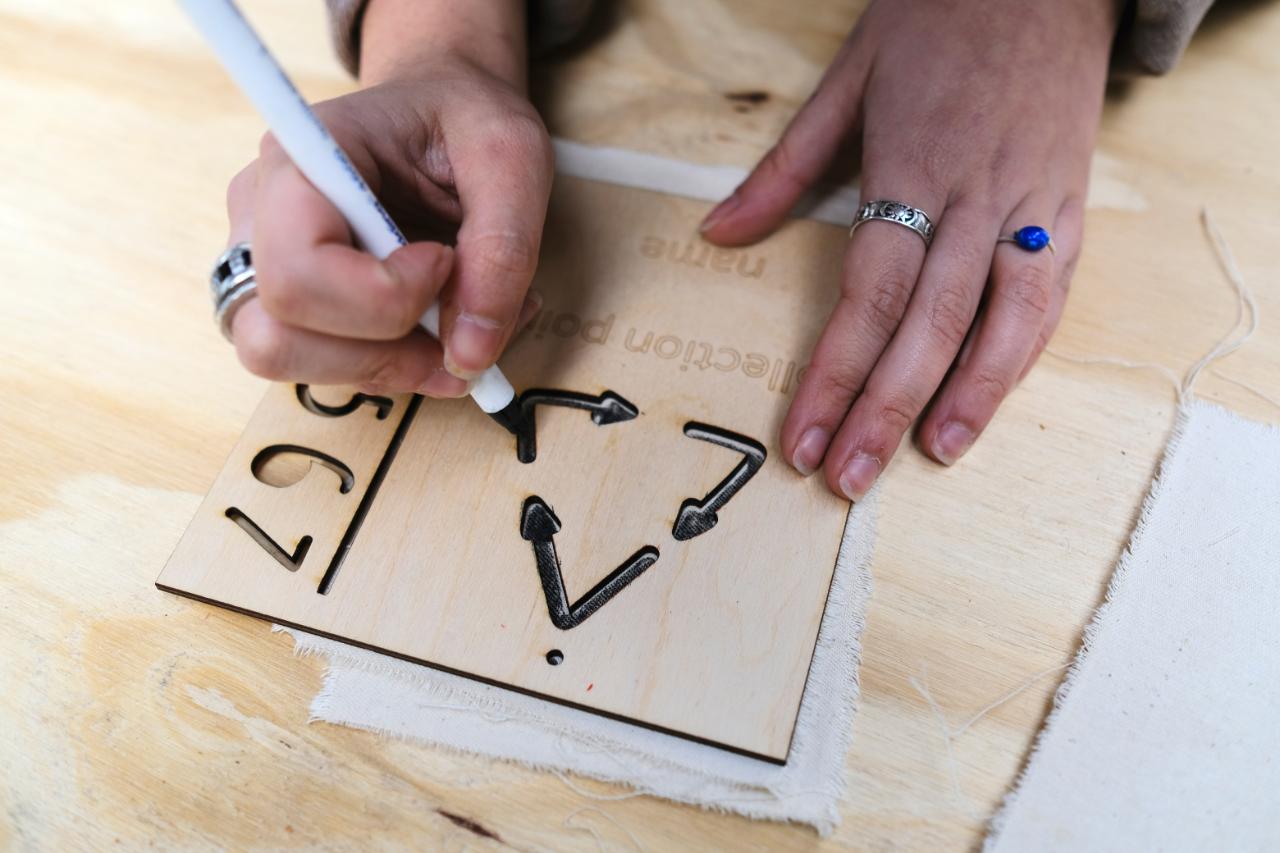
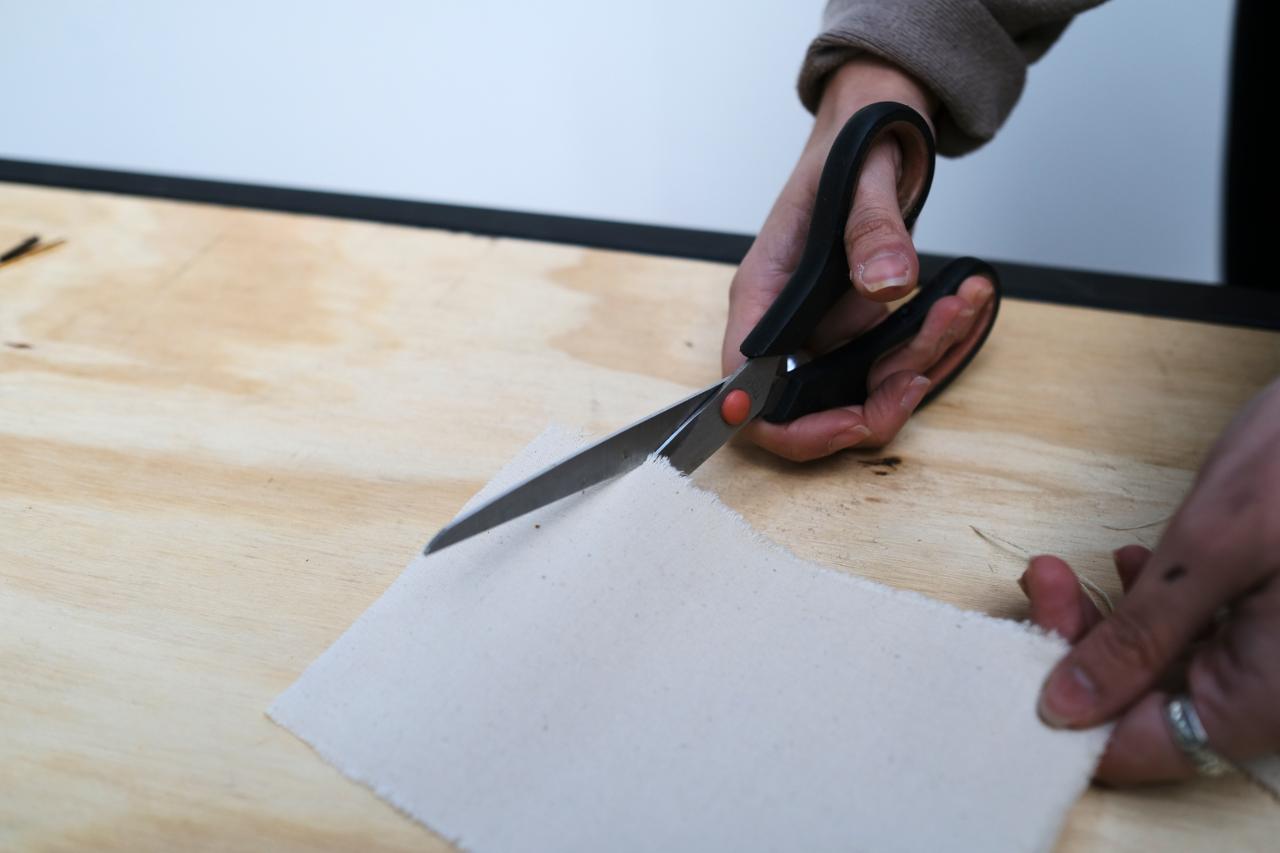
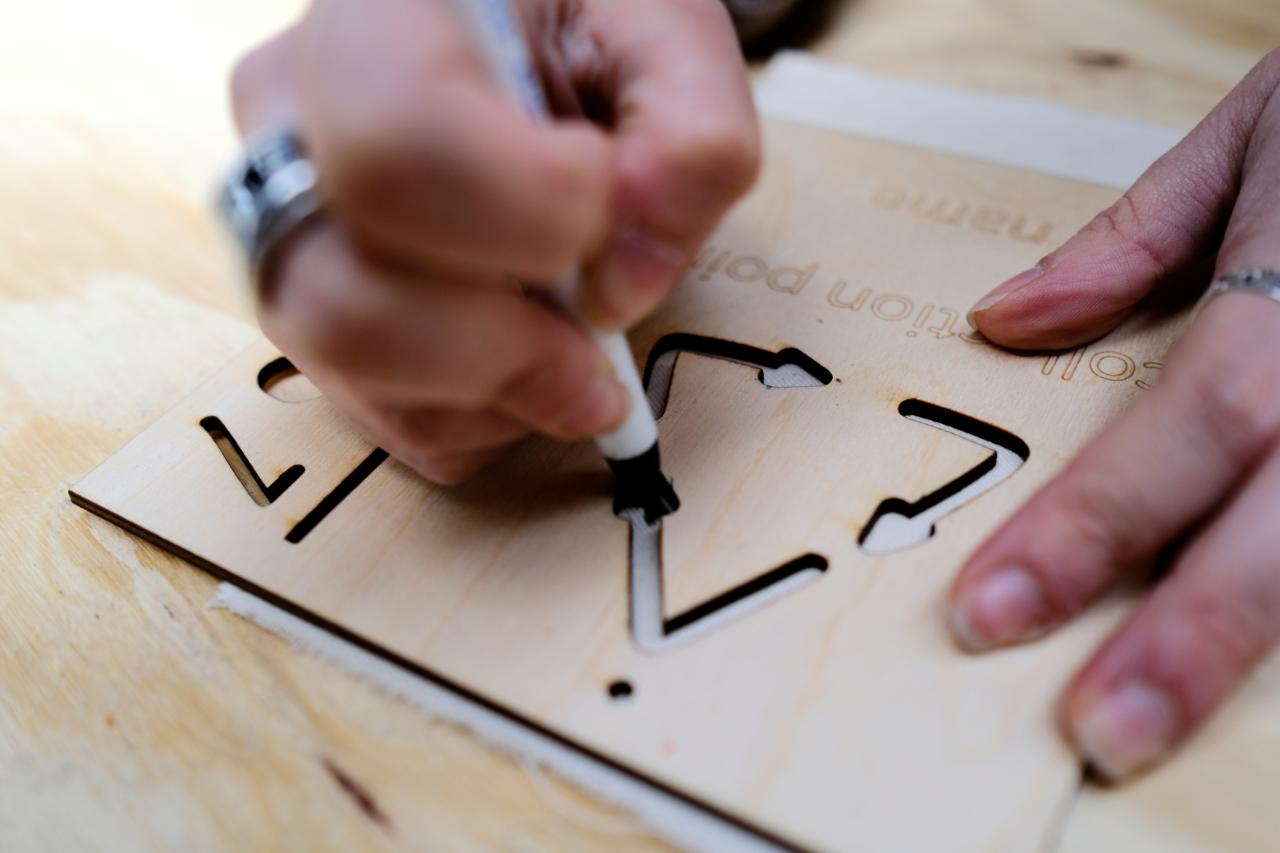
Your stencil is ready. Now it is time to use it. I recommend a thick marker. Cut through the fabric and attach the stencil. We used a piece of canvas fabric. Use the marker to draw the triangle.
Your stencil is ready. Now it is time to use it. I recommend a thick marker. Cut through the fabric and attach the stencil. We used a piece of canvas fabric. Use the marker to draw the triangle.
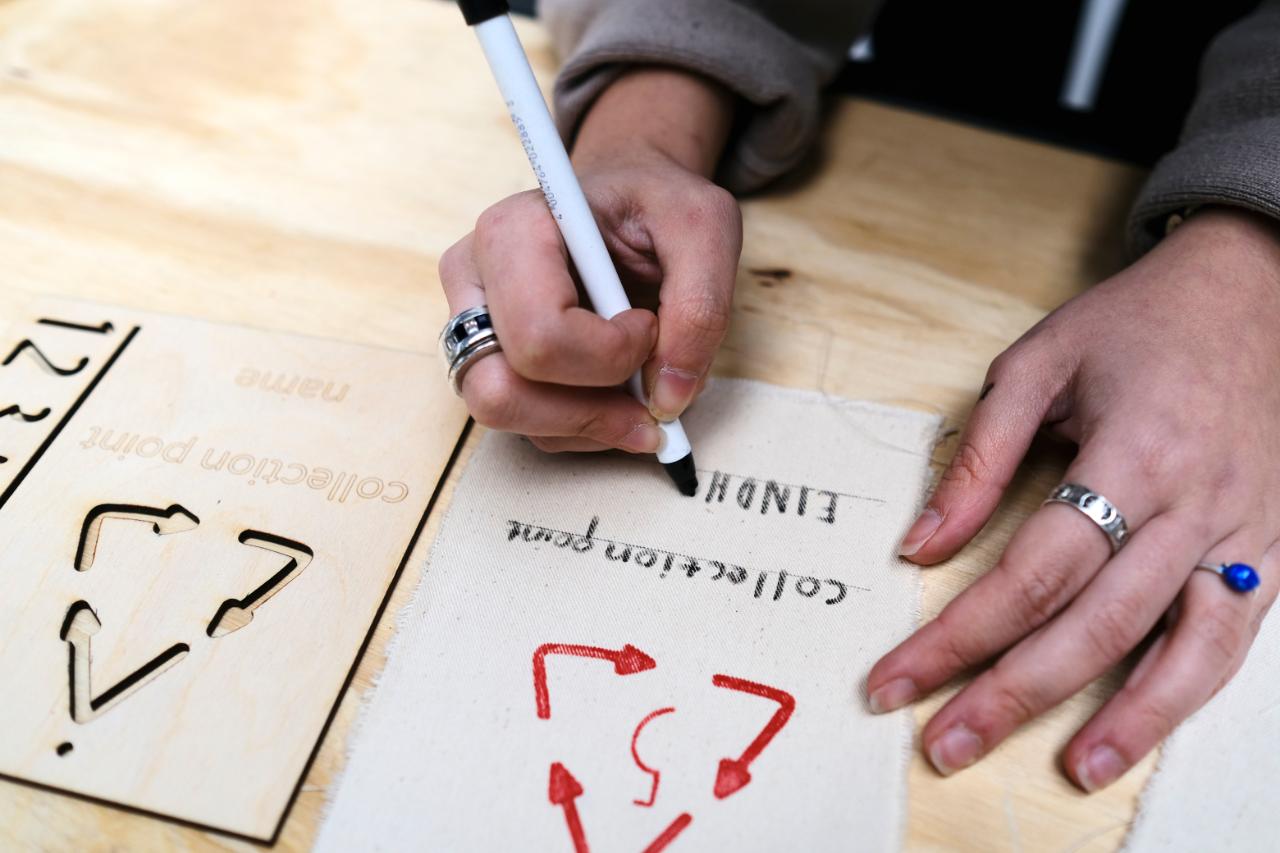
Step 4 - Draw the number and write your info
You drew the triangle, now its time for the number. In the stencil, you will find all the recycling numbers made in Precious Plastic font, but you can always make it more personal. Don’t forget to write your Collection Point name! Use the stencil as a ruler if you want to make straight lines.
Last tip: you can always use different colours if you want to sort your plastic label also by colour.
Last tip: you can always use different colours if you want to sort your plastic label also by colour.

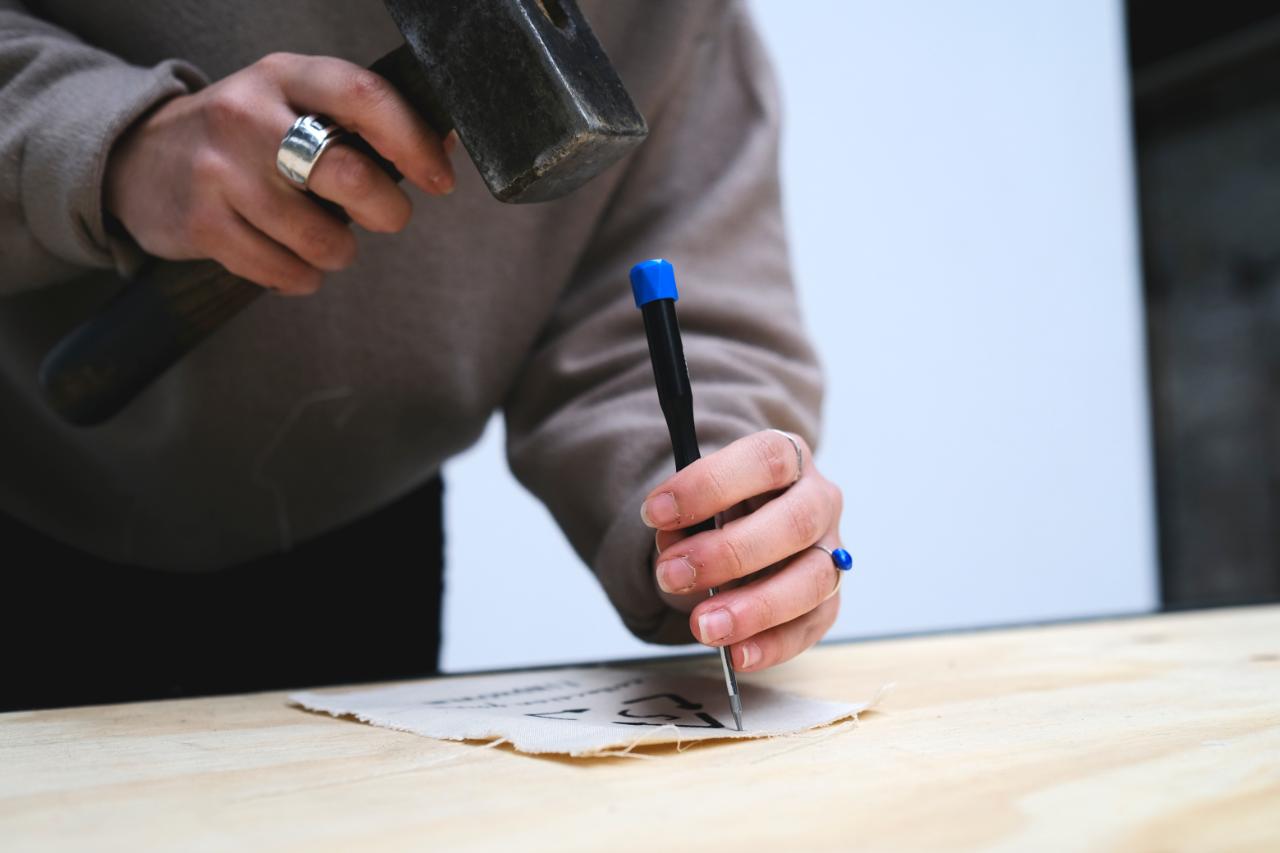
Step 5 - Open a hole and place the string
Time to open the hole, you can do it easily with a hammer and a thick nail. Now put the string and you are done. Choose a strong string, we used leather.
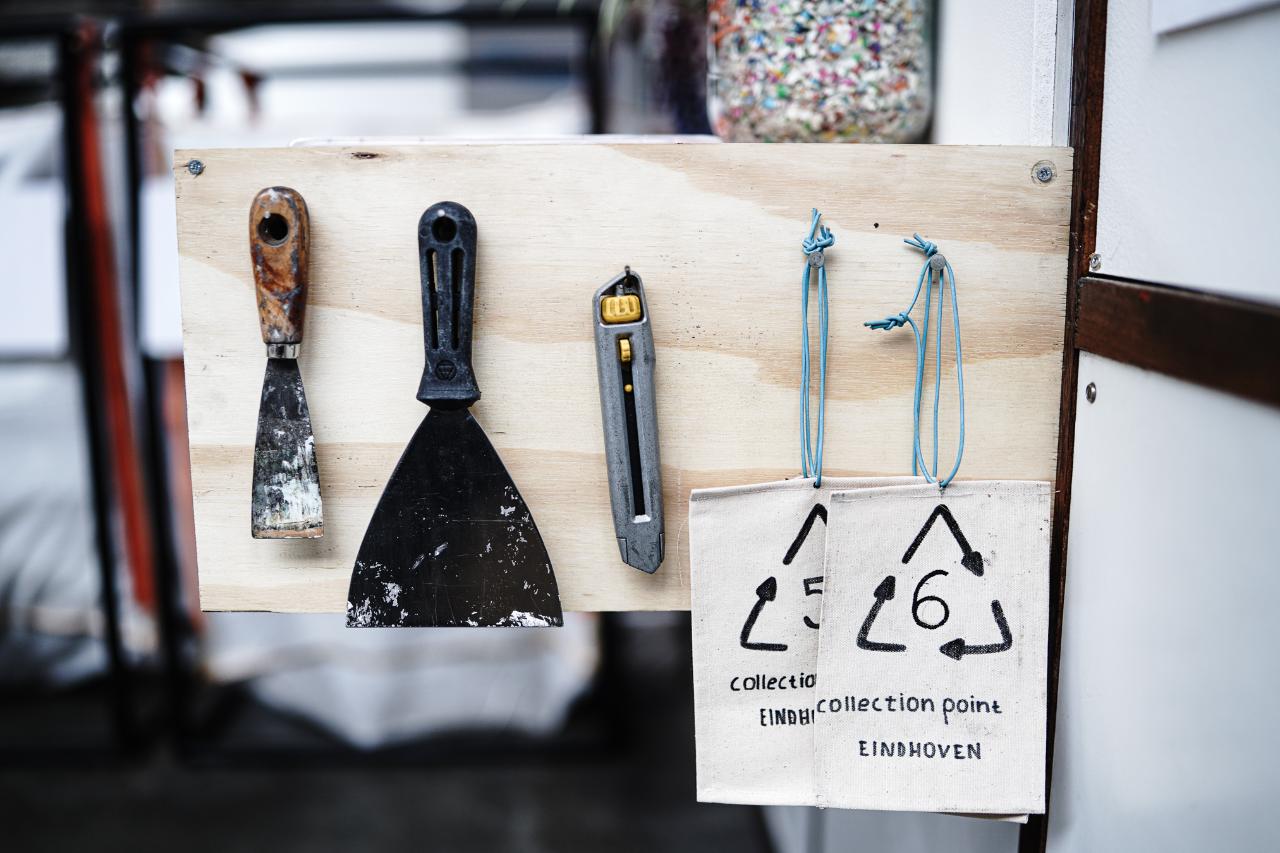
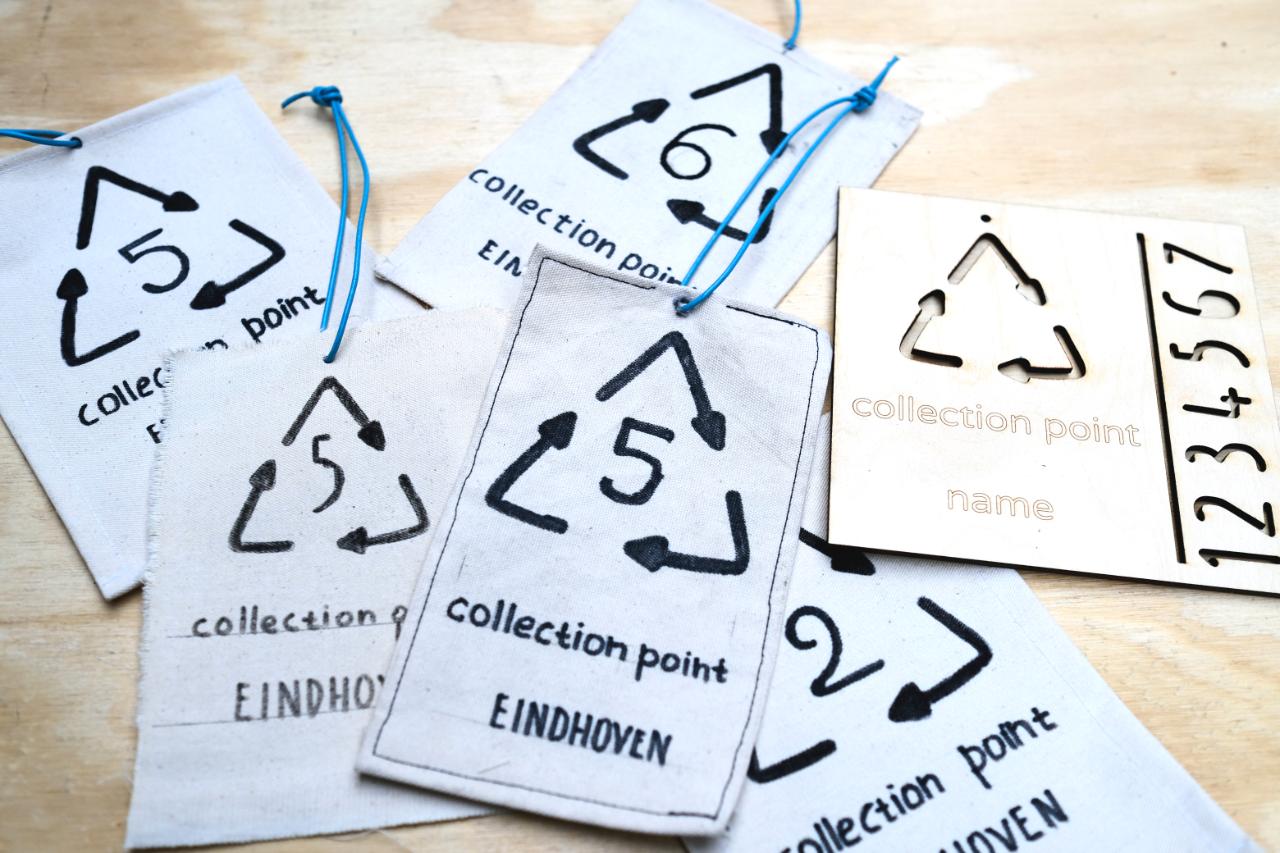
You can give your label some love. Sew the ends, iron them and keep them on your hanging board to reuse them again.
You can give your label some love. Sew the ends, iron them and keep them on your hanging board to reuse them again.

—
—
—
Comments