Tips & Tricks for furniture development.
by SuuT KuXtaL
Having a smooth and shiny finish is what we all look for. Our goal should be to make recycled plastics look precious so that they can be seen as an attractive and high-quality alternative.
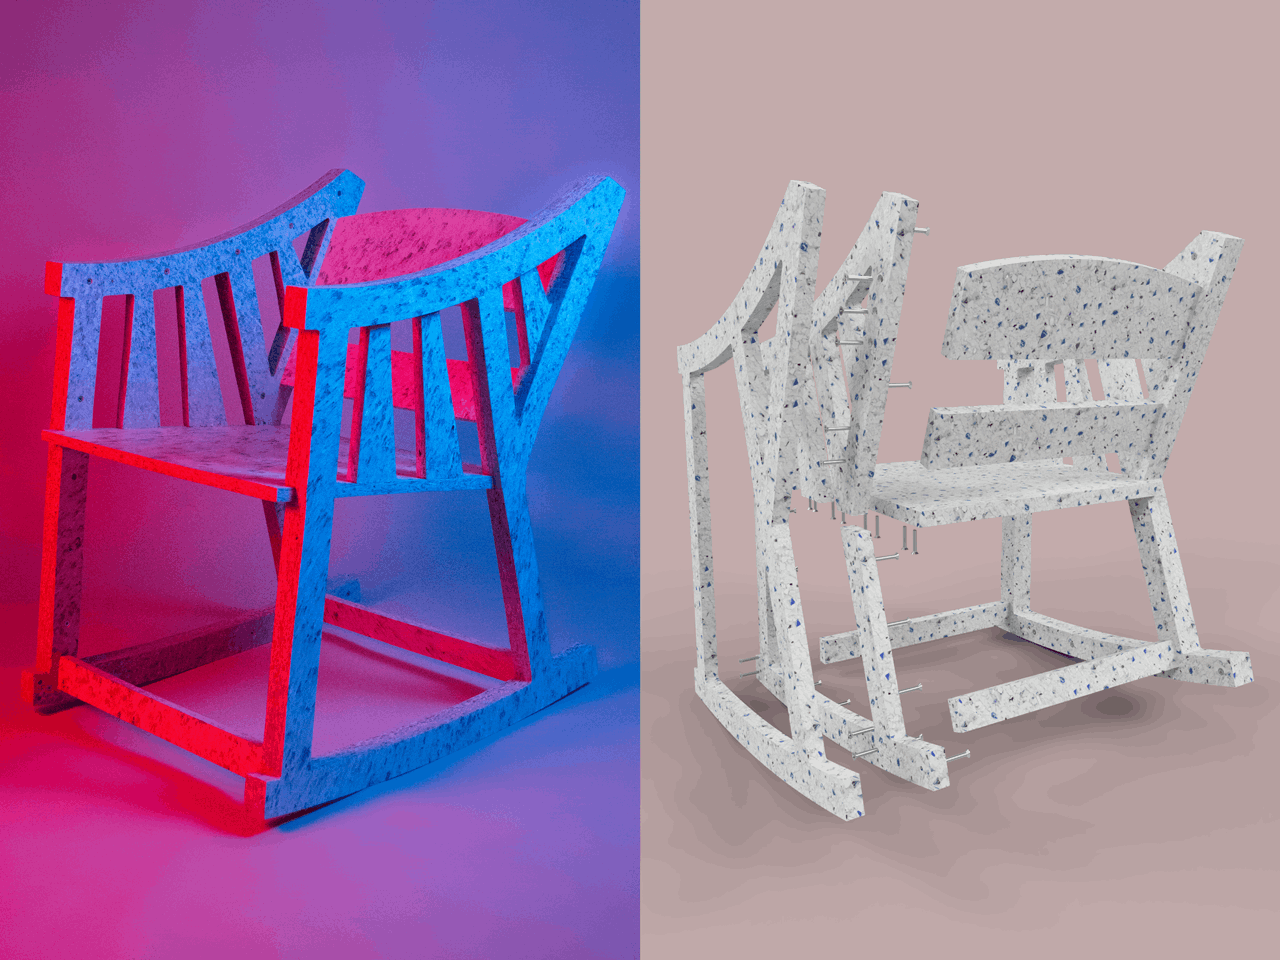
Here we provide the process we followed to develop an HDPE cradle that transforms into two rocking chairs once it is no longer in use. Tips and tricks are shared to achieve a smooth and shiny finish and hide the screws or fixings as much as possible.
—
Attachments
Resources
Step 1 - The whole process summarized in a 1-minute video.
This video shows the process followed for the assembly and final finishing of the cradle. However, the next steps will go over some important facts and the materials and tools that were used.
Step 2 - Sheet manufacturing and CNC parameters.
All this process was developed by Blue Phoenix Plastic Mexico (https://www.instagram.com/bluephoenixplasticmx/).
The sheet manufacturing itself requires a special how-to. However, it's worth noting that the manner plastic sheets are made has an impact on the surface finish. Applying a mould release to the steel surface as well as having a polished surface can give a very smooth and nice finish to the plastic sheet with no extra work.
CNC parameters:
- Router: Makita 3709 110 V 530 W 30,000 rpm.
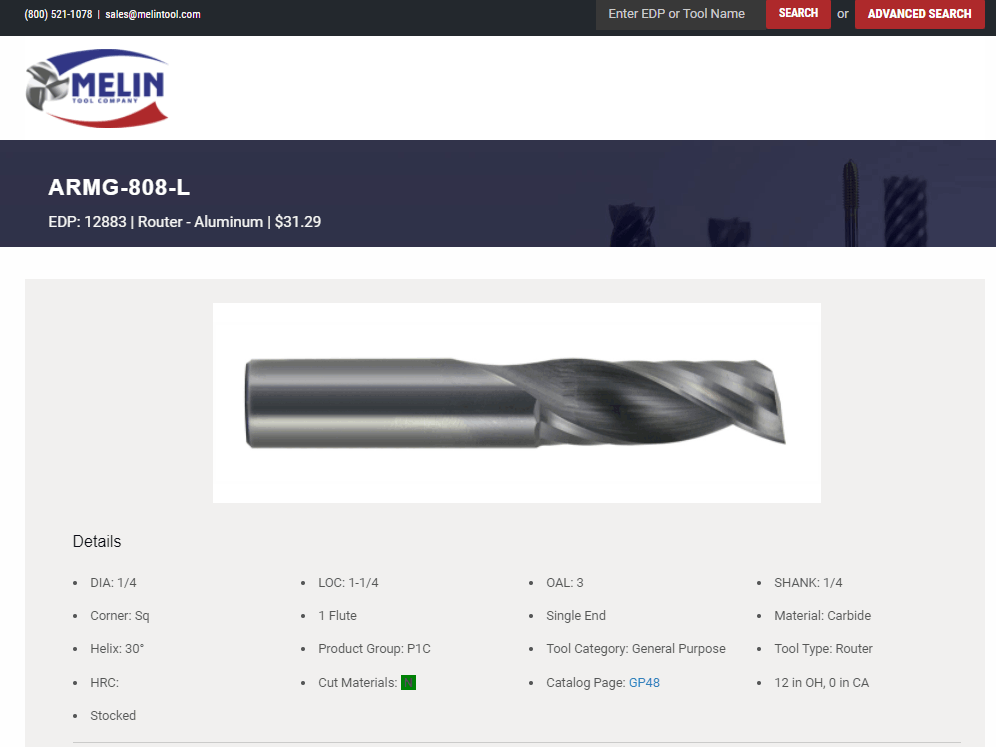
- Router Bit: ARMG-808-L Melin Tool (1 Flute, Carbide, Dia: 1/4", LOC: 1-1/4", OAL: 3", Shank: 1/4", Single End, Helix 30°).
- Spindle Speed: 30,000 rpm.
- Cutting Feedrate: 2400 mm/min.
- Plunge Feedrate: 300 mm/min.
- Maximum Roughing Stepdown: 1.2 mm.
The sheet manufacturing itself requires a special how-to. However, it's worth noting that the manner plastic sheets are made has an impact on the surface finish. Applying a mould release to the steel surface as well as having a polished surface can give a very smooth and nice finish to the plastic sheet with no extra work.
CNC parameters:
- Router: Makita 3709 110 V 530 W 30,000 rpm.
- Router Bit: ARMG-808-L Melin Tool (1 Flute, Carbide, Dia: 1/4", LOC: 1-1/4", OAL: 3", Shank: 1/4", Single End, Helix 30°).
- Spindle Speed: 30,000 rpm.
- Cutting Feedrate: 2400 mm/min.
- Plunge Feedrate: 300 mm/min.
- Maximum Roughing Stepdown: 1.2 mm.
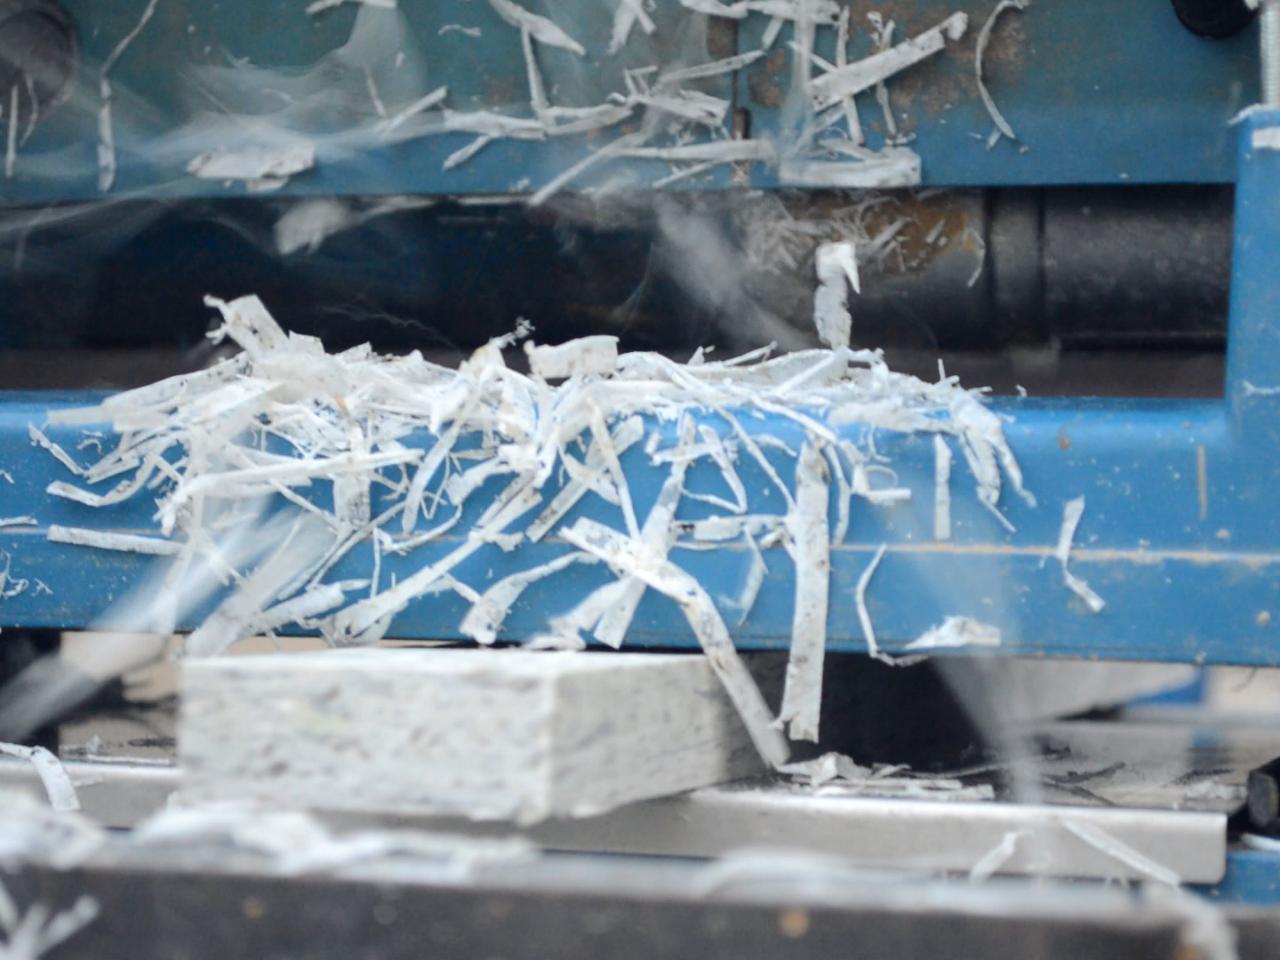
Step 3 - Achieve a specific and constant thickness.
When making plastic sheets, it is usual for the thickness of the sheet to vary from batch to batch. The final depth may or may not be relevant, depending on the final product. However, if the design calls for a specific thickness, a wood planner is an option.
Remember to always save the plastic leftovers as they are already in small particles ready to be recycled for a further project. Nonetheless, for the purpose of this project, the plastic leftovers were used for the next step.
Hardware:
Ryobi AP-10 planer.
Remember to always save the plastic leftovers as they are already in small particles ready to be recycled for a further project. Nonetheless, for the purpose of this project, the plastic leftovers were used for the next step.
Hardware:
Ryobi AP-10 planer.
Step 4 - Repair bubbles or holes inside or on the sheet.
Even industrial recycled plastic sheet production may have imperfections inside or on the sheet. Luckily, there is always a way to repair and fill them with the same material.
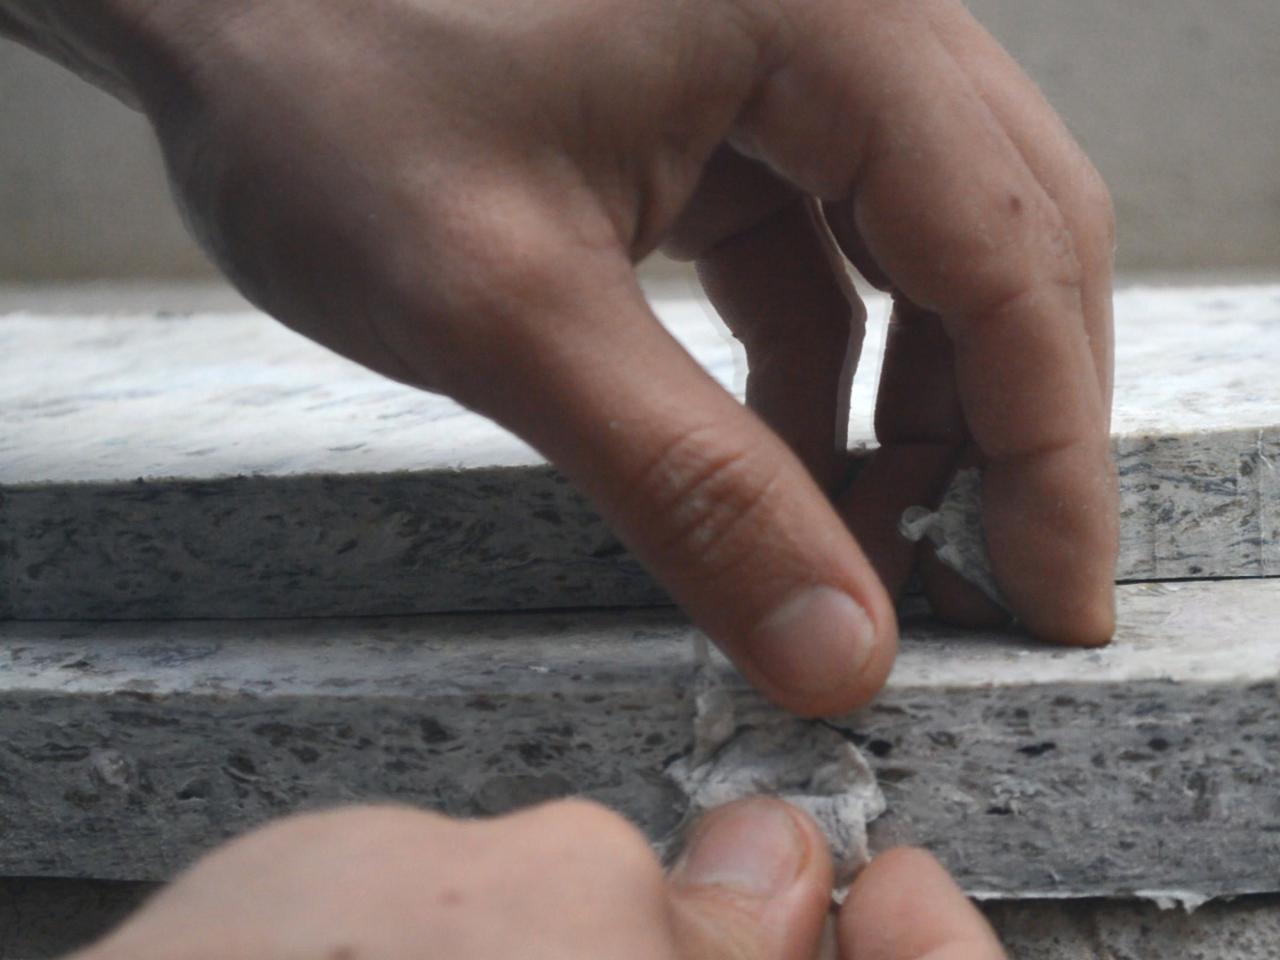
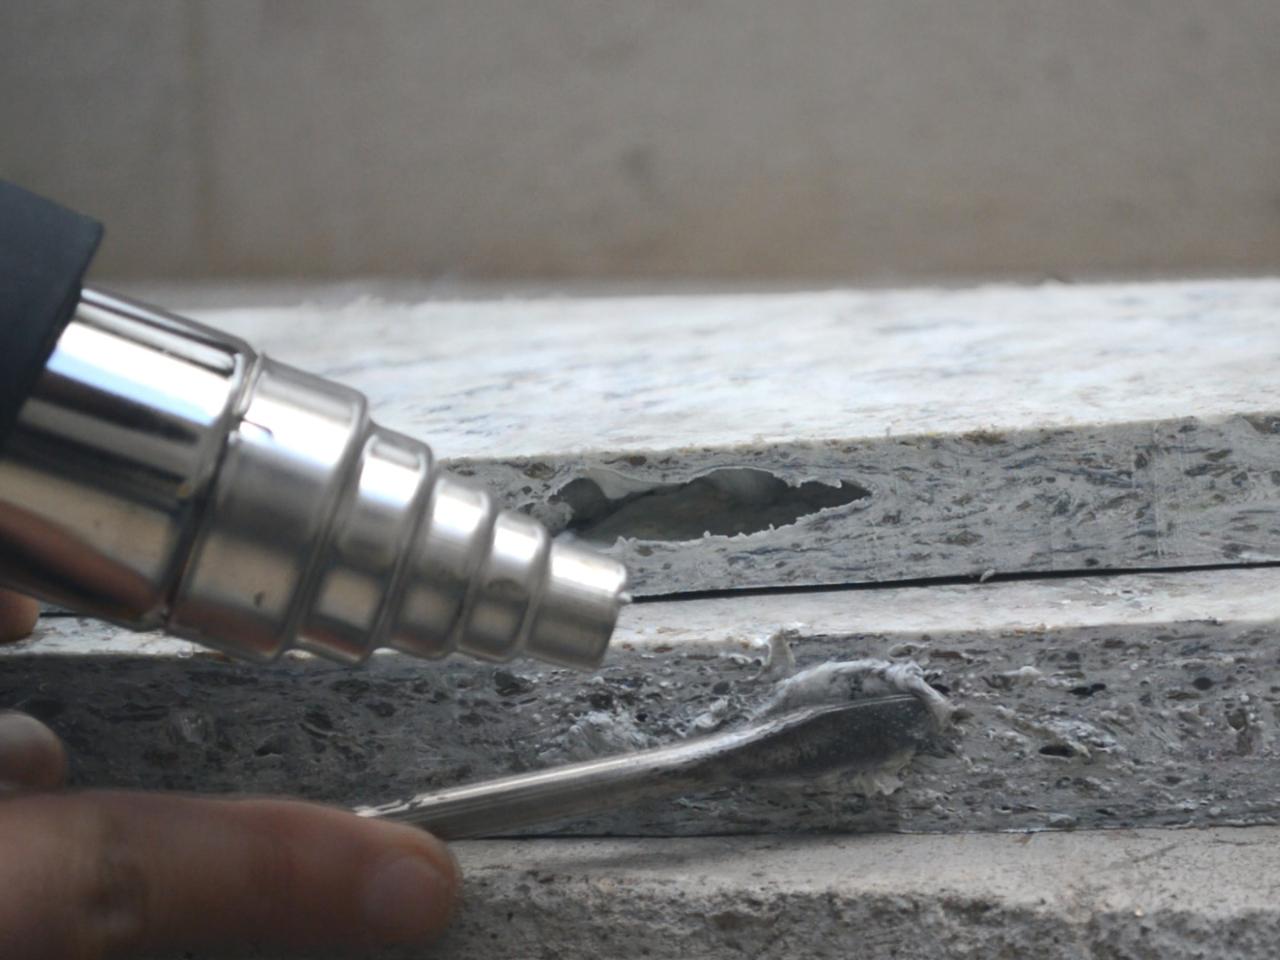
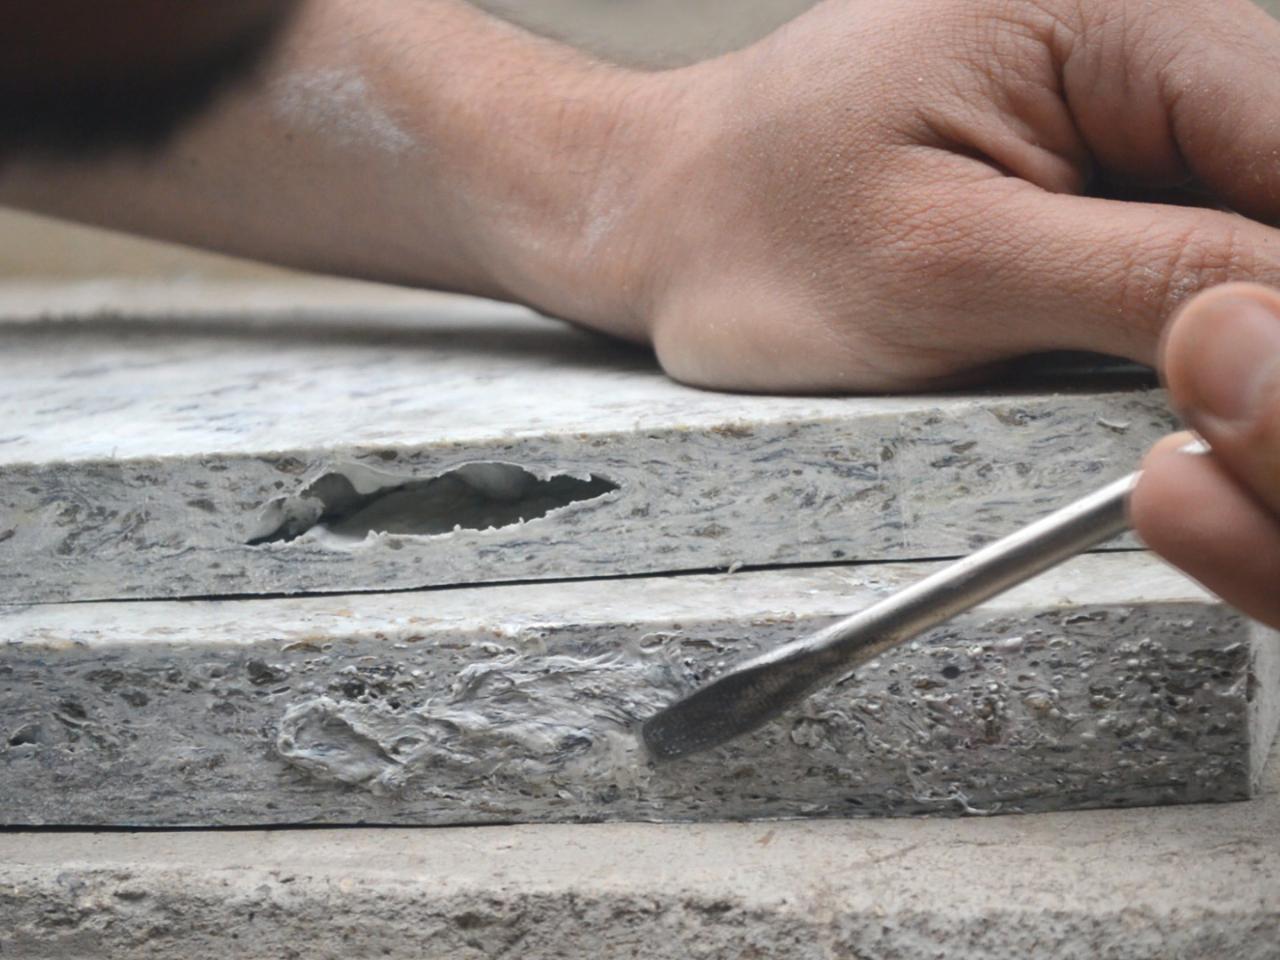
Use a heat gun or a hair dryer and the leftovers to make a ball a bit bigger than the hole to fill. Pre-heat the area to be filled and, with the help of a flathead screwdriver, start pushing the plastic ball inside the hole (use the heat gun in this process if needed).
It's best to leave extra material to ensure the hole is completely filled. You can always sand off excess material.
Step 5 - General sanding.
This process depends on the quality of the HDPE sheet surface. If the surface is not as smooth as desired, you can sand it by hand or with the help of a band sander and/or an orbital sander. Because we used a wood planer to achieve a specific thickness, we got a rough surface and had to start using 220 wet-dry sandpaper. This was the range of grits used: 220, 320, 400, 800, 1200, 2000.
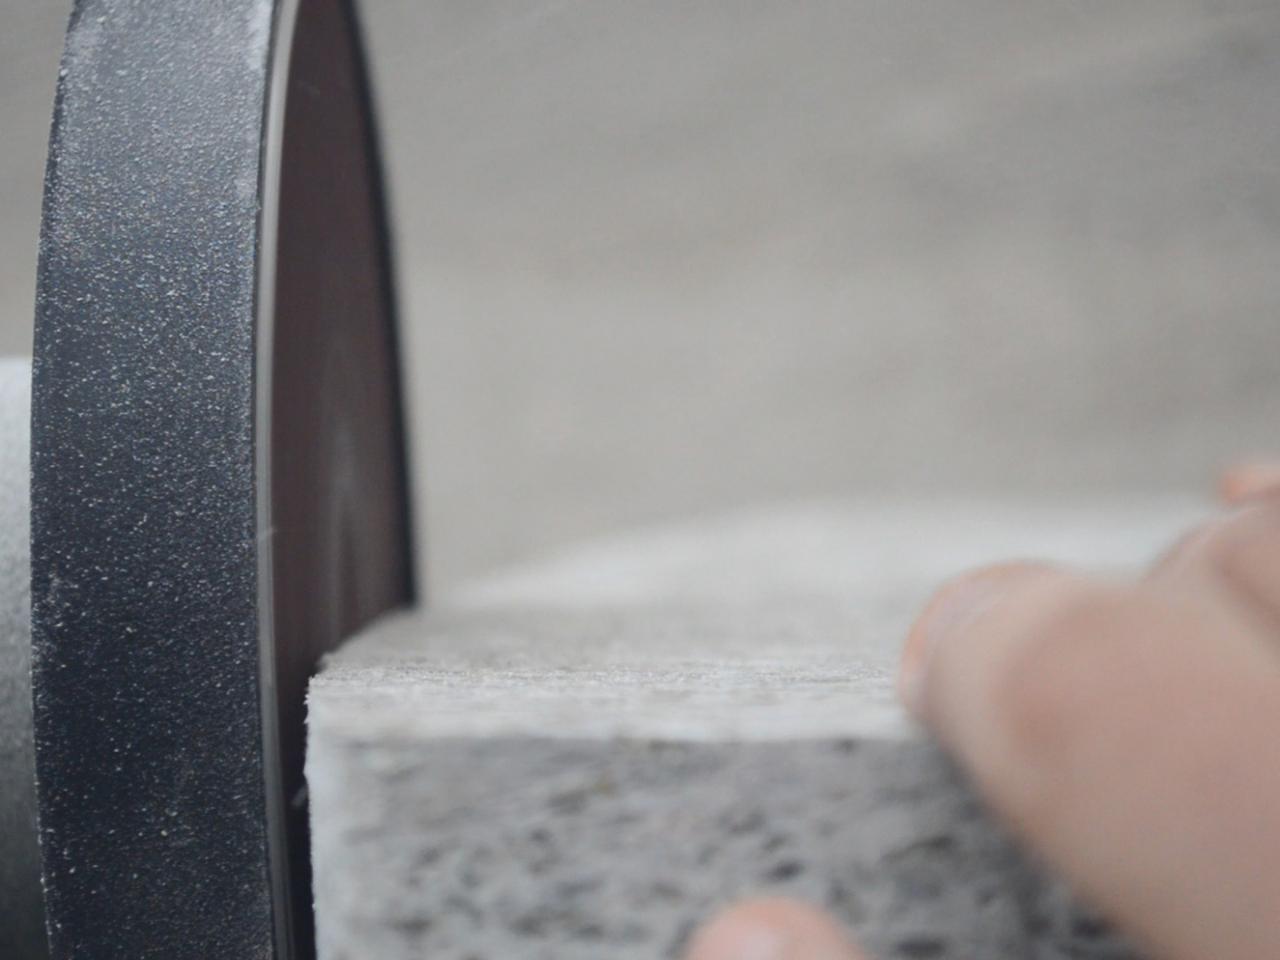
Something that also works for having a super smooth finish on the edges is using a sand bander with a fully used belt (worn). If you apply force against the used belt while it is rotating, instead of sanding the edge, it is going to start melting the rough edge in such a way that after a couple of seconds you will feel a nice smooth finish (see photos 2 and 3).
Something that also works for having a super smooth finish on the edges is using a sand bander with a fully used belt (worn). If you apply force against the used belt while it is rotating, instead of sanding the edge, it is going to start melting the rough edge in such a way that after a couple of seconds you will feel a nice smooth finish (see photos 2 and 3).


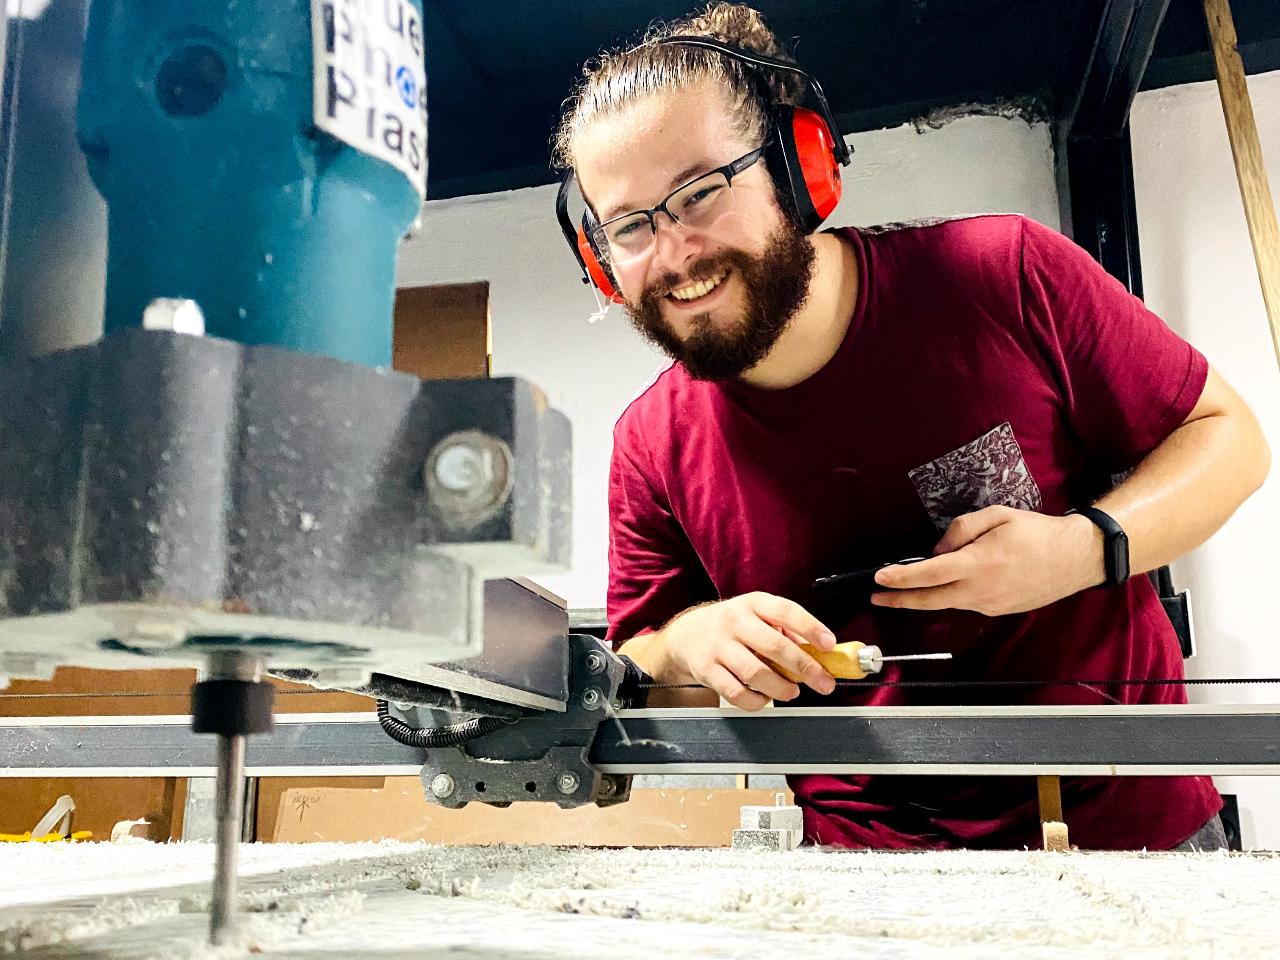
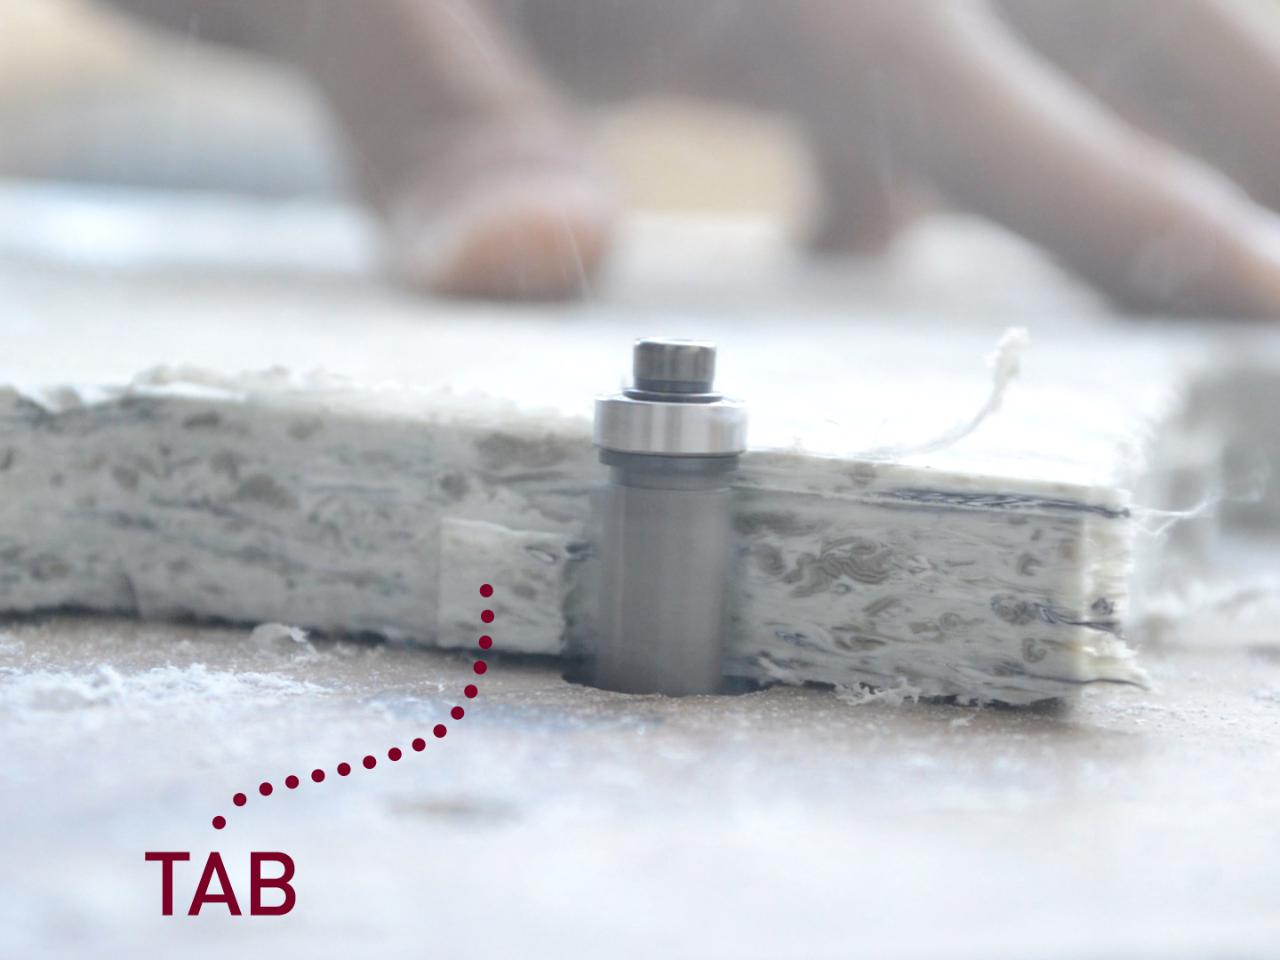
Step 6 - Getting rid of TABS post CNC cutting.
This step only applies when sheets are cut with CNC leaving TABS that maintain the piece attached to the sheet for transportation. However, this step might also help get a smooth finish on the edges.
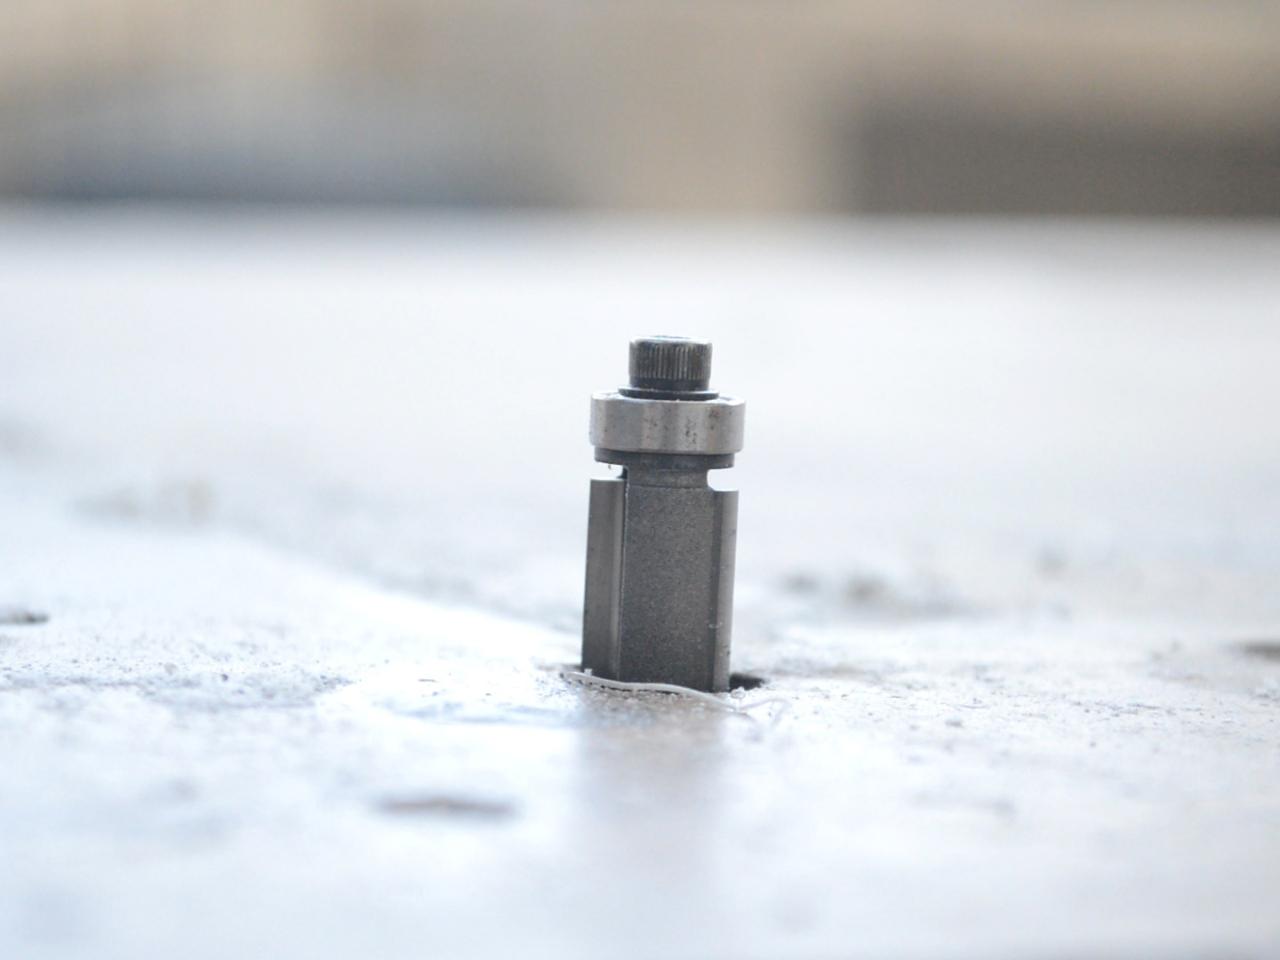
It was used a router at 35,000 rpm and a flush-tipped router bit to get rid of the tabs. This process also helped achieve a super smooth finish on the edges, which can get a bit rough after several passes of the CNC cutting process.
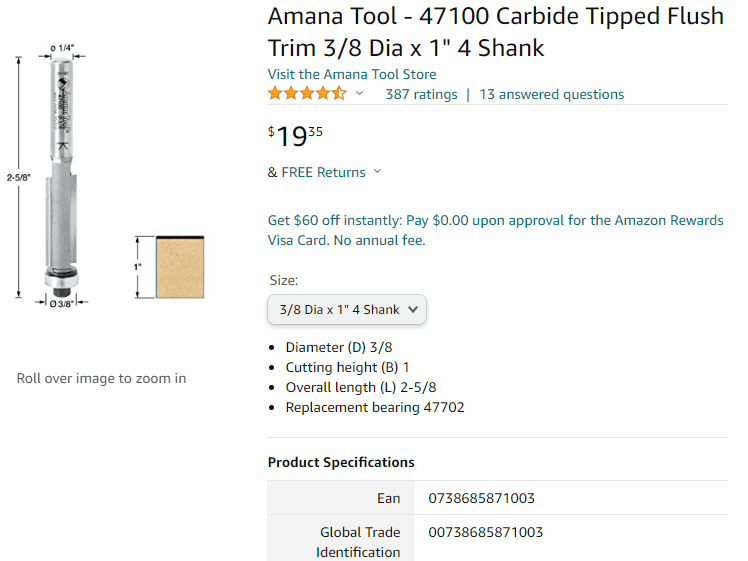
Hardware:
- Amana Tool - 47100 Carbide Tipped Flush Trim 3/8" Dia x 1/4" Shank
- Bosch Router Tool, Colt 1-Horsepower 5.6 Amp Electronic Variable-Speed Palm Router PR20EVS
It was used a router at 35,000 rpm and a flush-tipped router bit to get rid of the tabs. This process also helped achieve a super smooth finish on the edges, which can get a bit rough after several passes of the CNC cutting process.
Hardware:
- Amana Tool - 47100 Carbide Tipped Flush Trim 3/8" Dia x 1/4" Shank
- Bosch Router Tool, Colt 1-Horsepower 5.6 Amp Electronic Variable-Speed Palm Router PR20EVS
Step 7 - Strategic location of screws and fixings.
The design process should always be the first step. However, as this step is connected to the following, it was decided to be here.
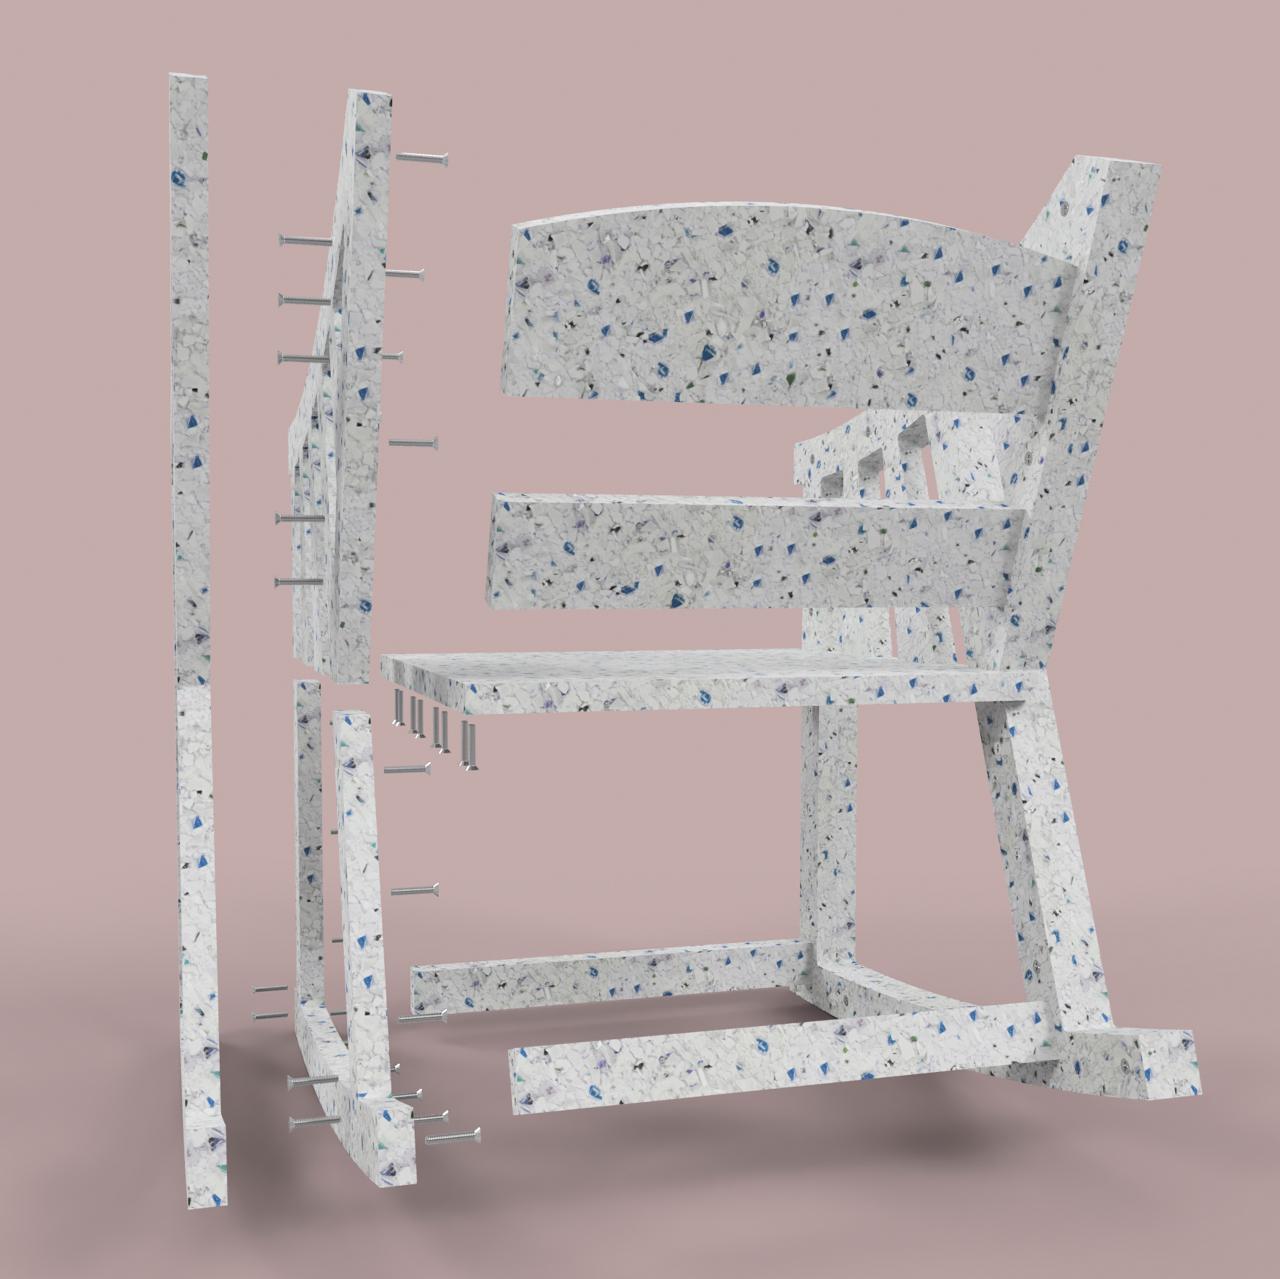
Hidding screws and fixings is a good idea if you are willing to make your product look like a monolithic item. An important design decision is whether to choose between different screw materials and head types. For the purpose of this furniture, it was decided to use stainless steel flathead socket screws.
It is worth spending some time thinking through and deciding where to locate the screws so that they are hidden or not visible when the product is in use (as much as possible). In this case, it was decided to divide the sides of the rocking chairs into two profiles so that the structural screws would be hidden by a second profile, which is intended to reinforce the mechanical stresses of the chairs and show a screwless finish from an exterior perspective.

Step 8 - Screws installation.
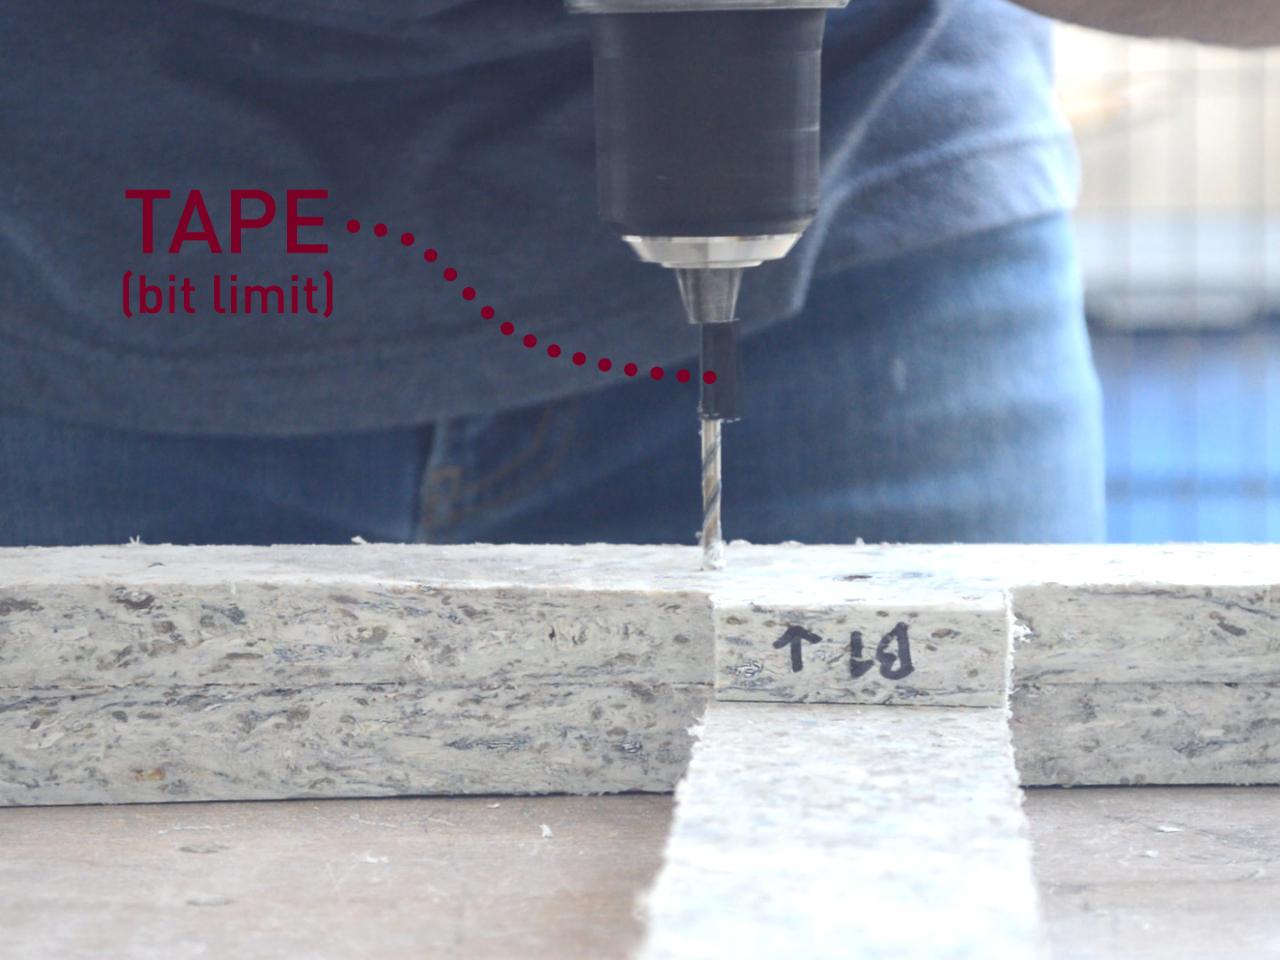
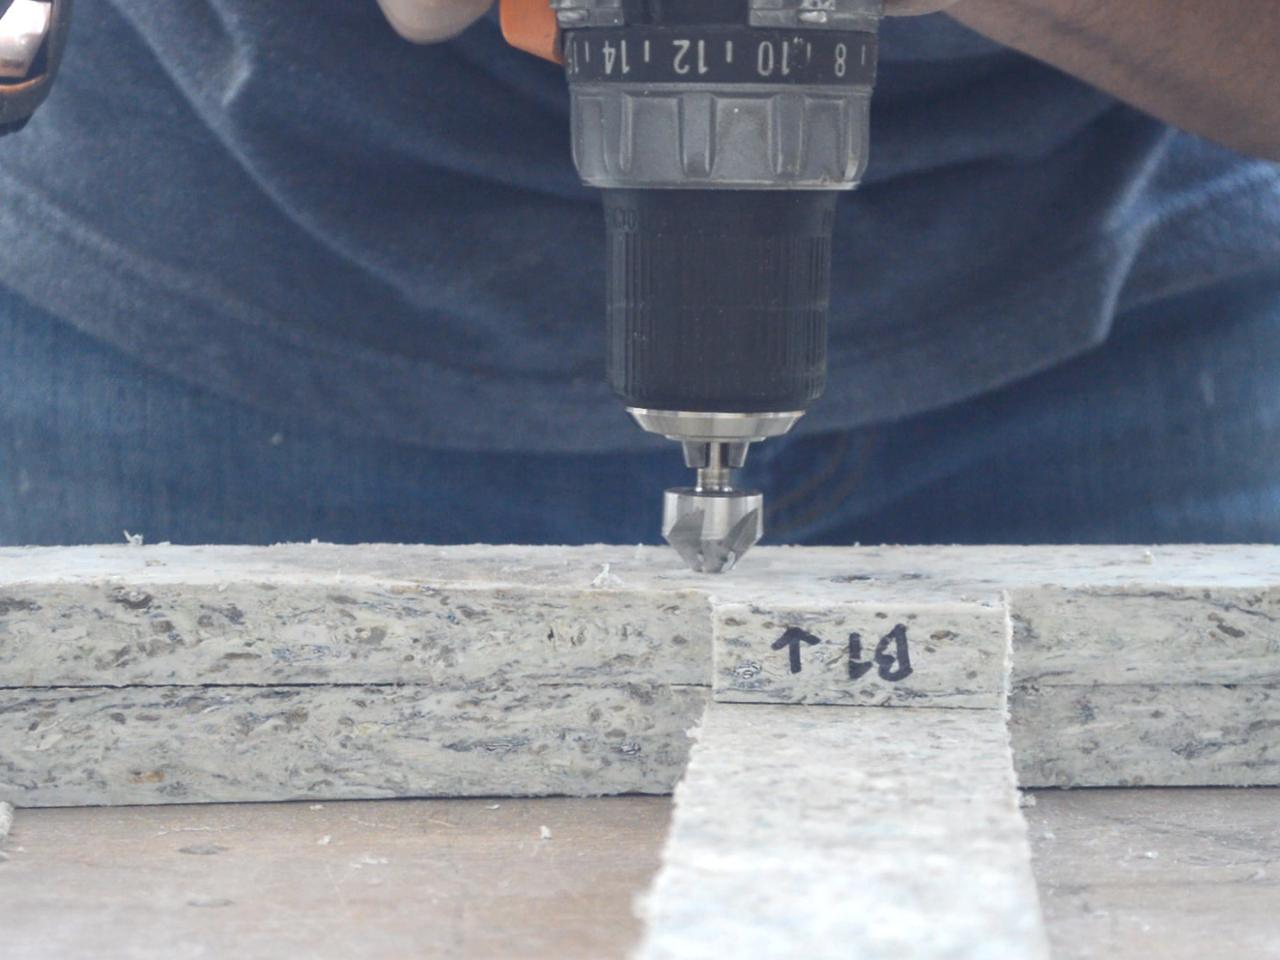
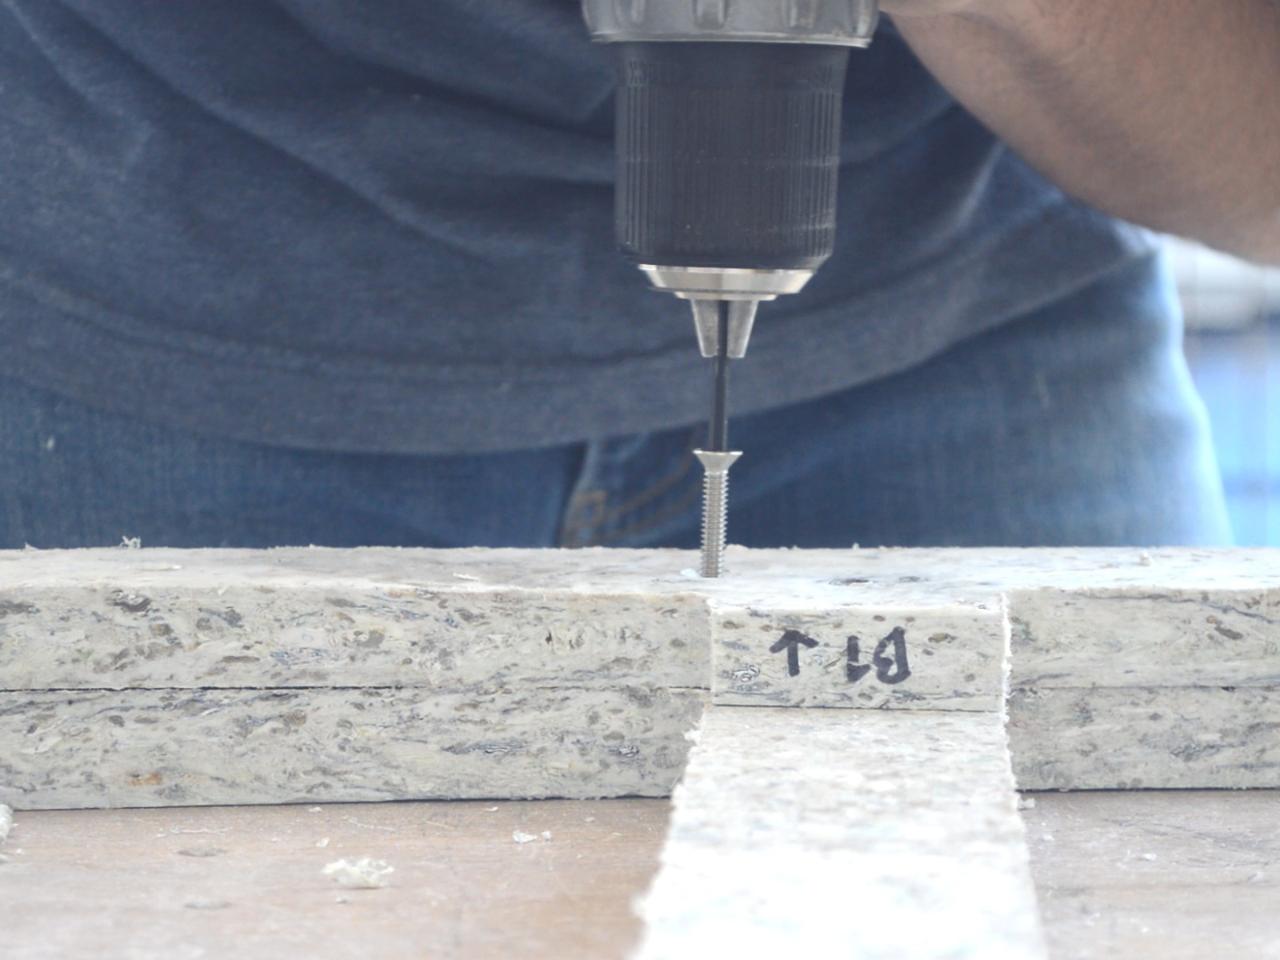
This process can be done by a CNC. However, as we knew that the thickness varies on recycled plastic sheets, it was decided to do it by hand.
A countersink bit was used to make room for the screw head to be flush (same level as the sheet).
A countersink bit was used to make room for the screw head to be flush (same level as the sheet).
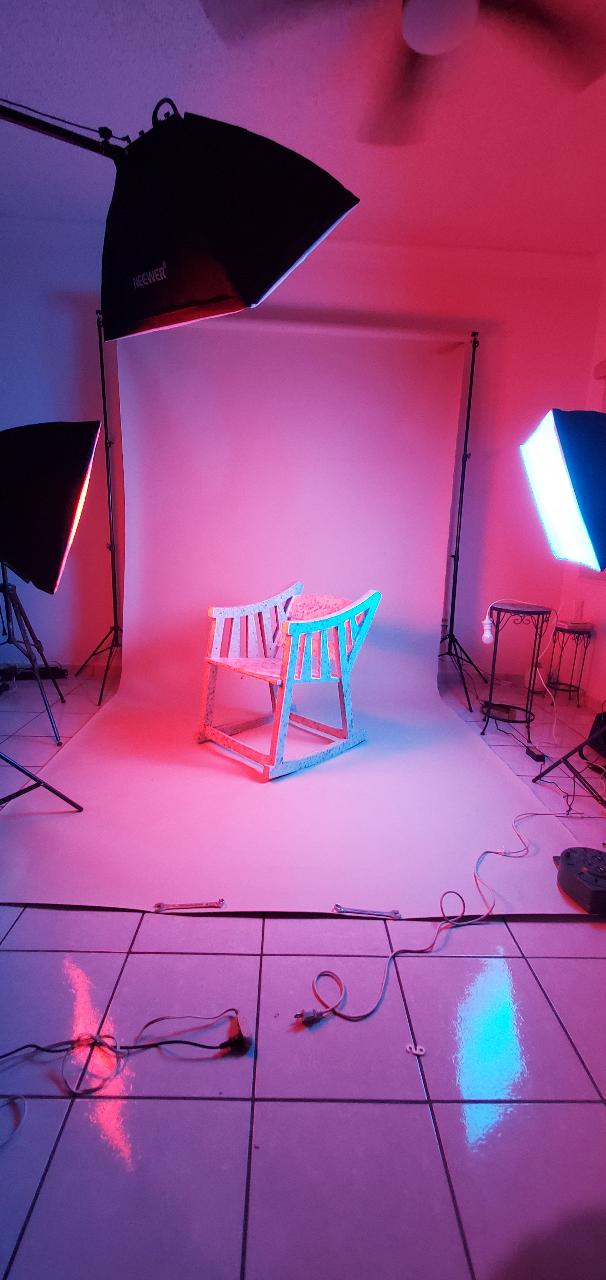
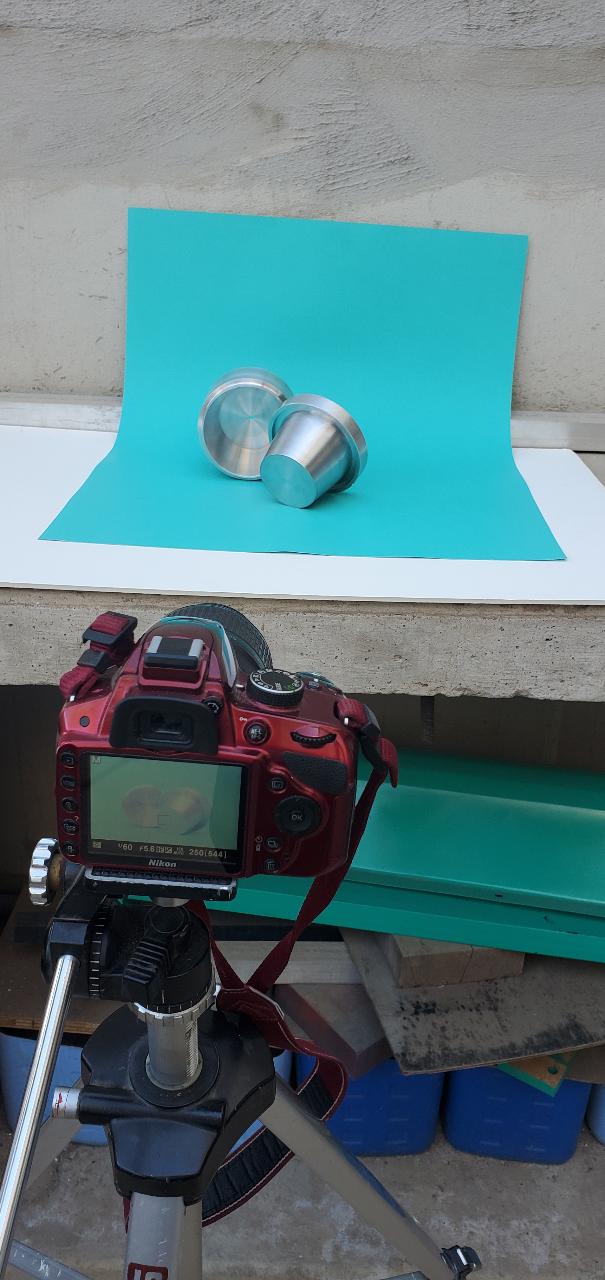
Step 9 - Photo shoot.
A precious plastic product deserves attractive photos so that the community and the people can appreciate the hard work behind it.
Lighting is by far the most important thing when taking photos, even above the camera's quality.
If you have a small product you want to photograph, get a colorful cardboard, look for an outdoor space with good lighting, and take as many photos from different angles as you can. It is better to have options.
You can see an instagram reel of a photo shoot we did for a screwless plant mould here: https://www.instagram.com/p/CbCgXJClI3f/

—
—
—
Comments