Waist bag from Plastic Bags
.jpg)
Here you will find step by step overview of the process of making a custom fashionable fanny pack / waist bag by fusing plastic bags and a bit of sewing.
—
Attachments
Resources
Step 1 - Preparation: Gather Materials and Tools
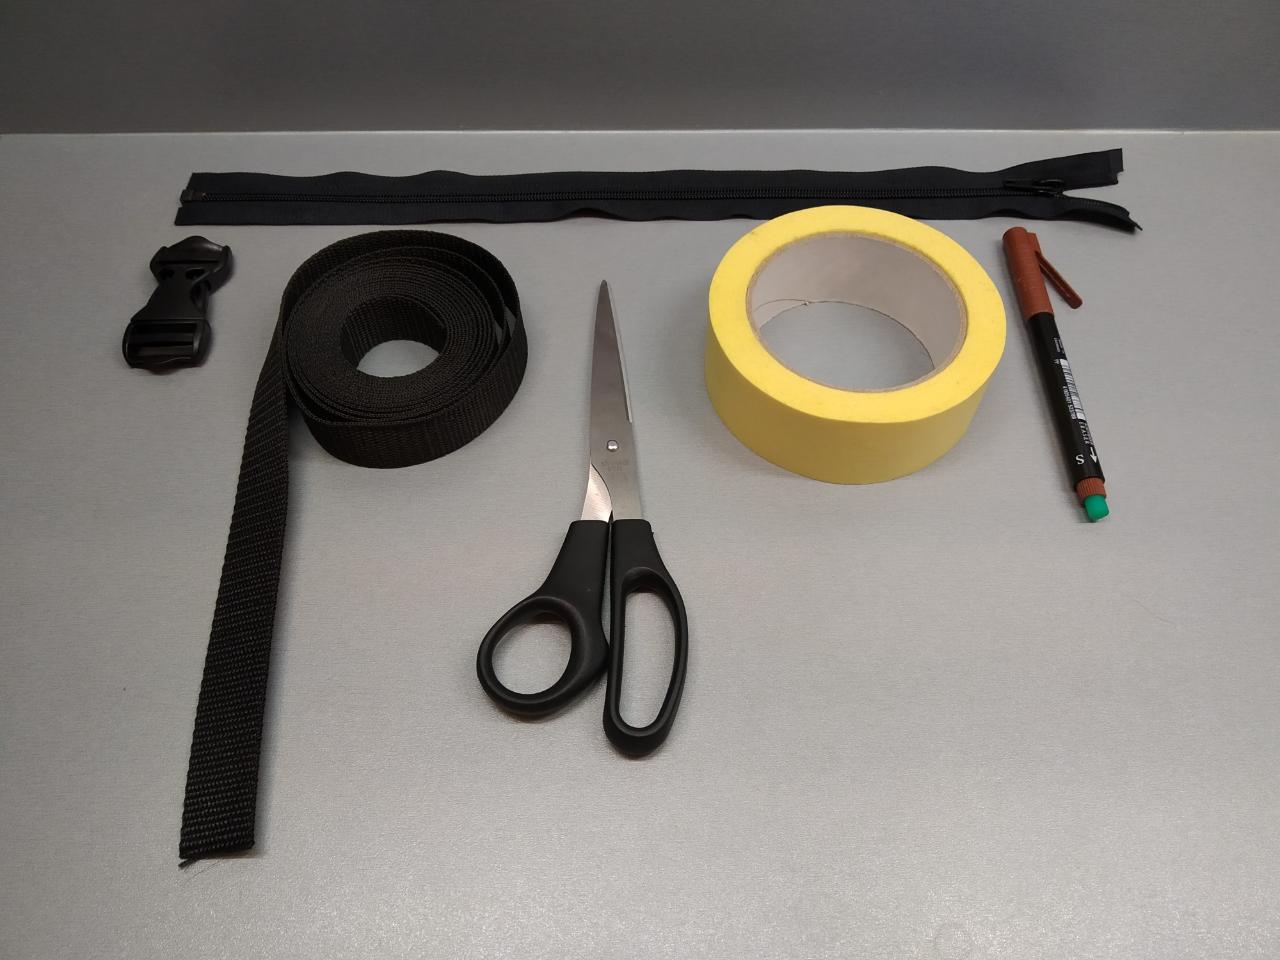
Materials:
Plastic shopping bags
Strap - 1.5m
Zipper - 0.4m
Snap-fit buckle
Baking paper
Tape
Tools:
Iron
Ironing board
Sewing machine
Sewing pins
Scissors
Marker
Lighter
Plastic shopping bags
Strap - 1.5m
Zipper - 0.4m
Snap-fit buckle
Baking paper
Tape
Tools:
Iron
Ironing board
Sewing machine
Sewing pins
Scissors
Marker
Lighter
Step 2 - Material Selection
The process starts with plastic bag selection. Plastic comes in different types and shapes and it is important to work with similar material. As various types have their own physical properties, mixing material types in one project could be ineffective and lead to a non-recyclable waste.
At the bottom of the bags there is usually a plastic type symbol (a number in triangle of arrows). While they look and feel the same, the type could be different so we need to sort them.
In this project we will used LDPE (Light Density Poly Ethylene) - number 4 in the material type symbol. Hence, we will use a red and a yellow bags, shown in the photos.
.jpg)
.jpg)
.jpg)
Step 3 - Material Preparation
In order to get material ready, we need to fuse layers of plastic bags together using a home iron. This could easily be done at home with no risk of messing up the iron or anything around.
The setup requires baking paper to be placed on an ironing board, two layers of bags placed over it and another layer of baking paper to be placed on top. Plastic bags should not stick out, otherwise there is a risk of melting them onto the board or the iron.
The layers of bags are then ironed at the temperature somewhere between COTTON and LINEN settings. The iron has to be always moving and not stopping on any spot for too long as it might overheat the plastic. Plastic is to be ironed until it is completely fused. The more pressure you put into ironing, the more flat will the surface of the material be. This process to be repeated until you have 3-4 layers of plastic bags to allow for material durability.
Given that the instructions are followed properly, no smell or fumes will be released, but for safety measures it is advised to work in a well ventilated room.
.jpg)
.jpg)
.jpg)
Step 4 - Parts Preparation
Now that all the plastic material is ready, we can make the parts. For this we use the parts outline PDF file above. The file needs to be printed (or hand drawn if you're into that). All dimensions in millimeters [mm].
Process flow: paper template part outline is cut out, traced onto the plastic. Part is then cut out.
NB! One of the following steps (Step 6) could be skipped if the Top and Back parts are not cut separately, but rather combined into one part with markings.
The photos attached (in order) Front Part, Top Part, Back.
.jpg)
.jpg)
.jpg)
Step 5 - Sewing the Top Part to Zipper
Mark the middle of the curve of the top part of the bag and arrange the middle of the zipper to align with the mark. To sew the parts, put the face of the zipper side with the side that you would want to keep as the outside of the bag together and sew them together with your favourite type of stitch.
.jpg)
.jpg)
.jpg)
Step 6 - Attach the Back Part
With a simple straight stitch, connect the Top and the Back parts together. This step could be avoided if both parts came combined at the preparation stage. Sewing the parts together does help set the shape of the bag and will keep it more sturdy.
.jpg)
.jpg)
.jpg)
Step 7 - Front Part + Zipper
After choosing the face side of the front part, marking the middle and aligning the center of the zipper with the mark, sew the parts together. It would be helpful if the zipper can be taken apart and easily put back together as it will ease the sewing process.
.jpg)
.jpg)
.jpg)
Step 8 - Attaching the Strap
Next we need to prepare the straps.
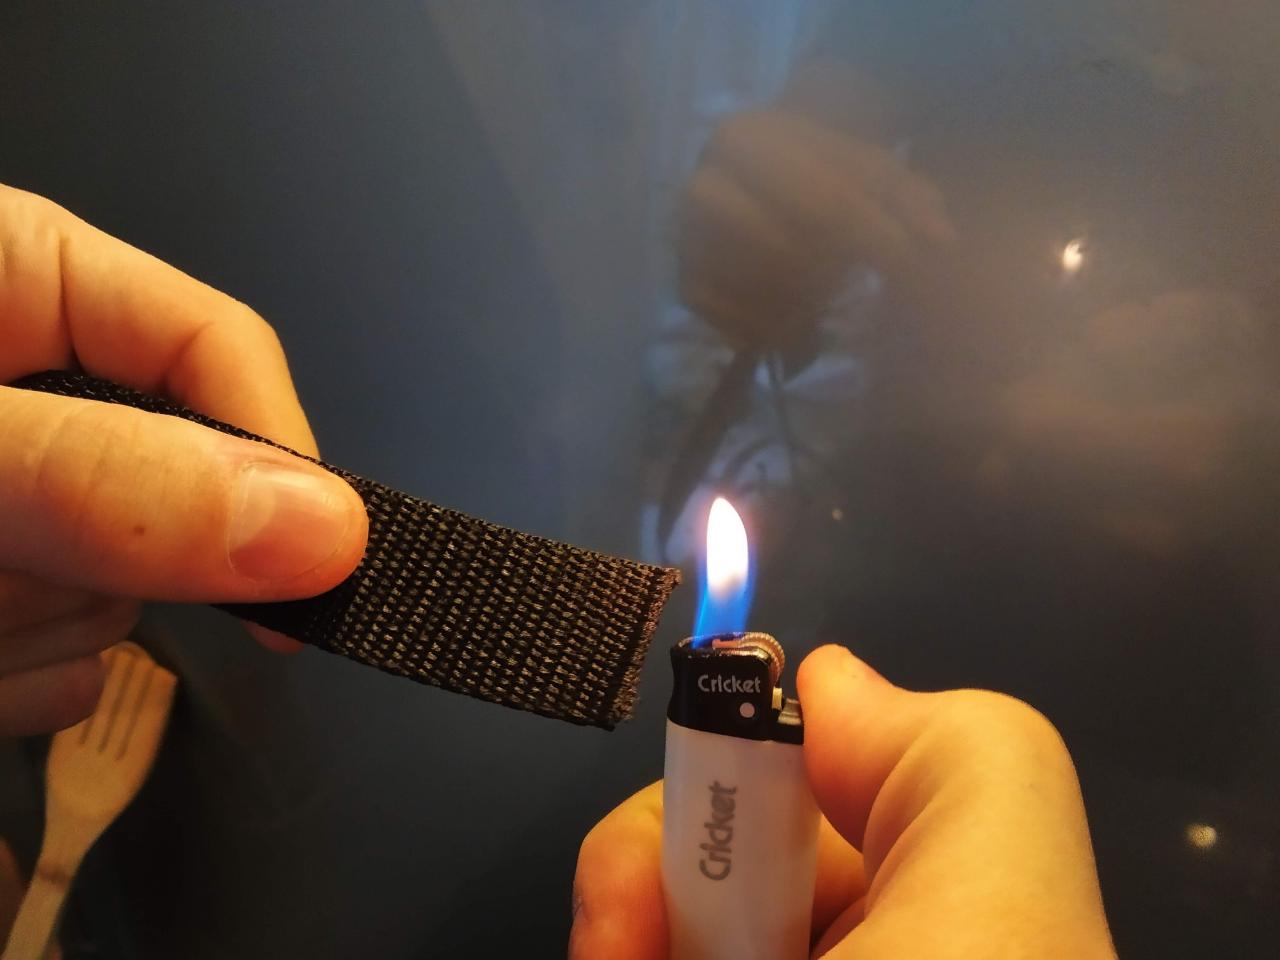
The strap is cut into two equal pieces. Before we sew them on, it is necessary to make sure they do not come loose. To do that use the lighter, accurately heat up the ends of the strap. Do not put fire directly on the strap but rather have it close by.
When the straps preparation is done, sew them to the inside of the Back part of the bag. The more threads you put at this point the stronger the bag will be.
.jpg)
.jpg)
Step 9 - Sew the Bag Together
The hardest step so far. As all the necessary parts are all sewn together, we need to close the bag. This is done while the bag is turned inside out. Mark the middles of the Front part and the Back part. Align the parts together. The zipper has to be open to allow to turn the bag outside in. Make sure the straps end up on the right side of the bag (inside the bag during this step and outside after it is sewn).
After sewing, turn the bag inside out / outside in. Make sure that all the corners are fully twisted out because it sets the overall shape of the bag. If everything is correct, the straps are outside and the bag looks like something on the photo.
After sewing, turn the bag inside out / outside in. Make sure that all the corners are fully twisted out because it sets the overall shape of the bag. If everything is correct, the straps are outside and the bag looks like something on the photo.
Step 10 - Finish the Straps
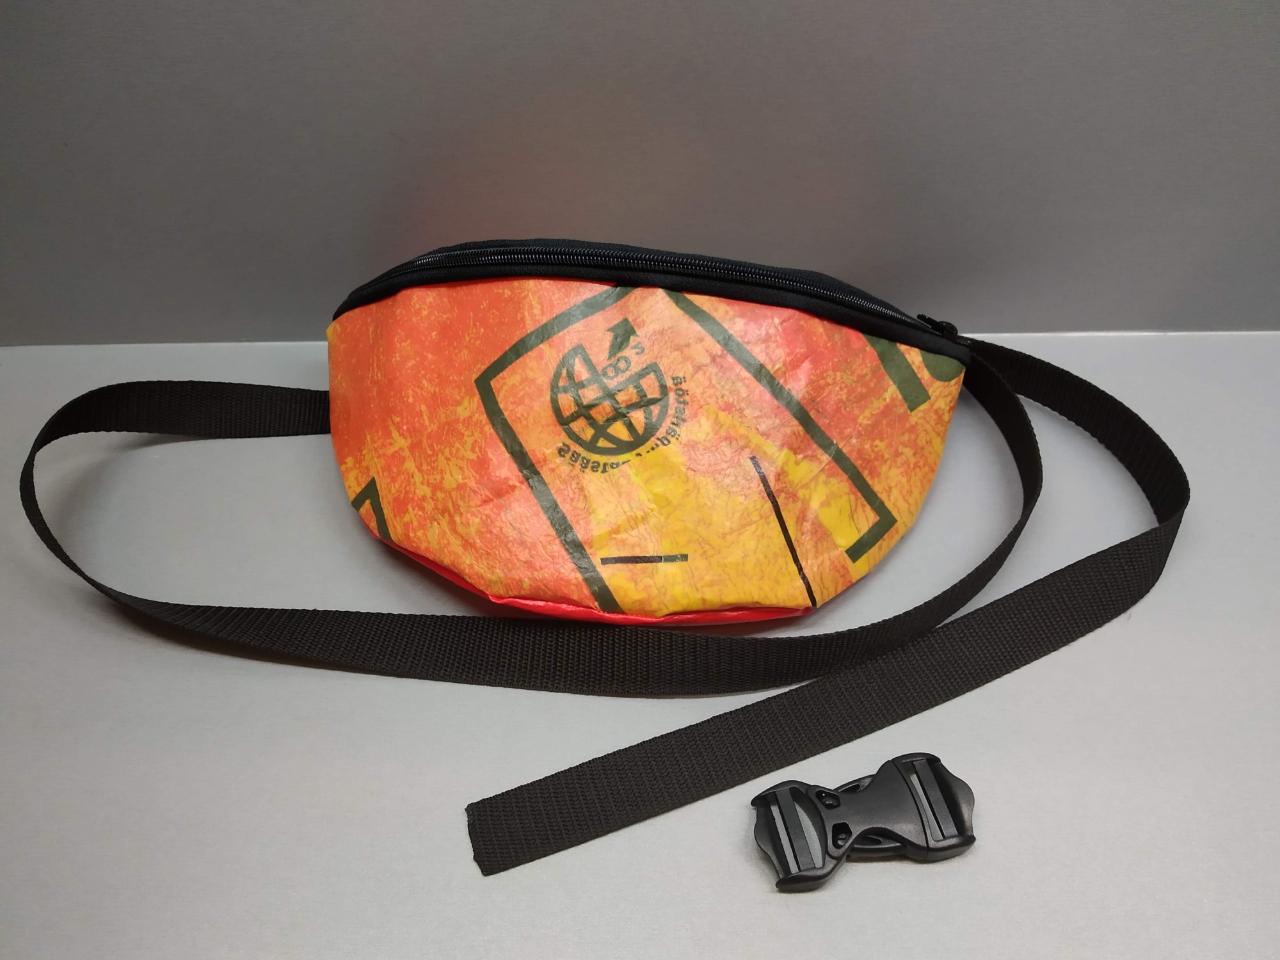
Using the sewing pins roll the strap to make the ends. Make sure to put the snap-fit buckle on the strap first!
To the best of your abilities sew the end. At this point the bag is ready, yay!
To the best of your abilities sew the end. At this point the bag is ready, yay!
.jpg)
.jpg)
.jpg)
Step 11 - Final Notes
The bag is now ready to use. Adjust the straps and wear this fashionable bag with pride cause you made it yourself! The bag should be ok with a few raindrops but I would not advise carrying it in the rain or similar situations. Be ready also for all the questions about how you made it.
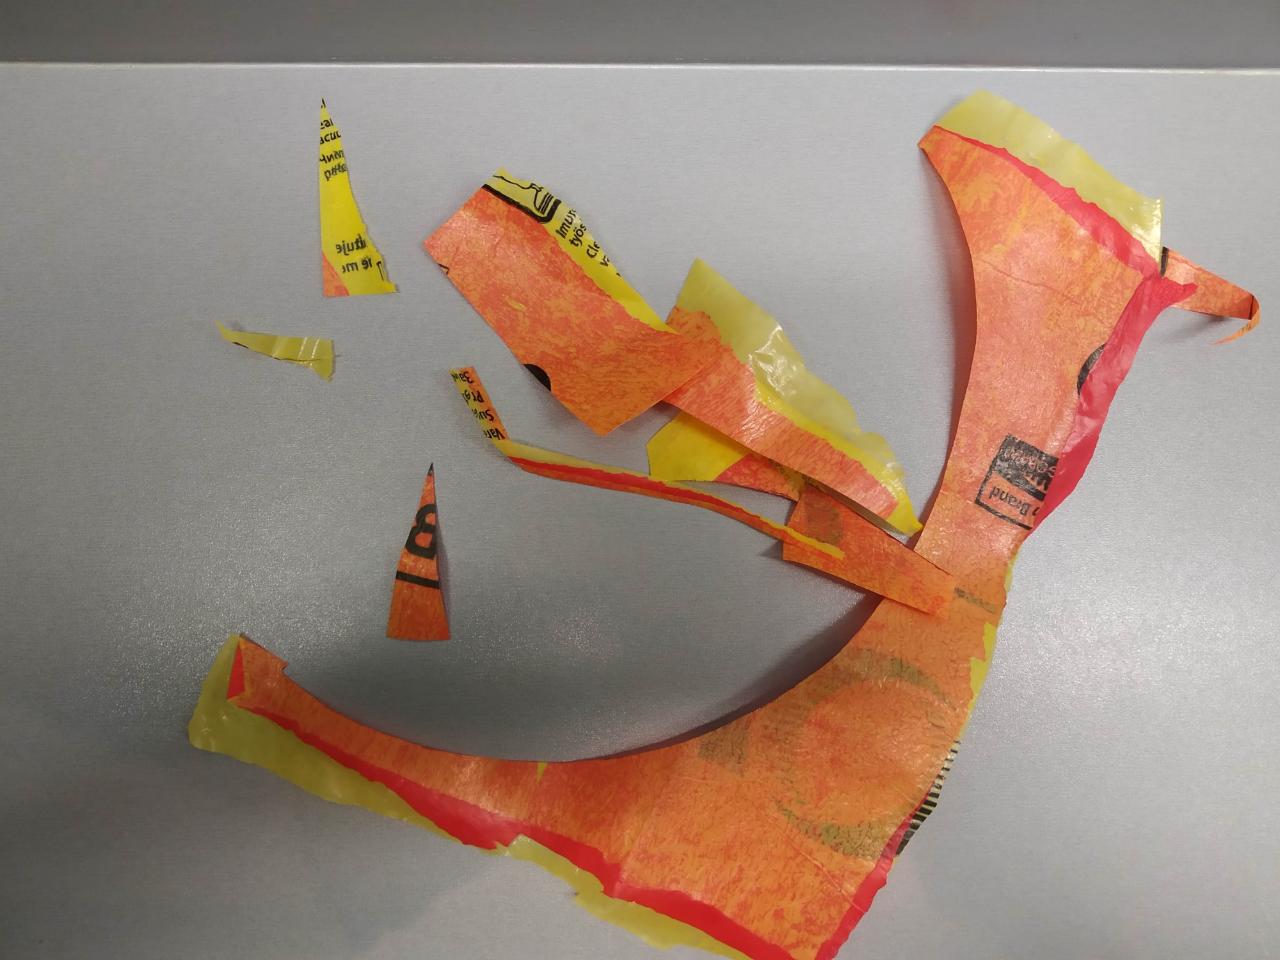
Also to note, the cool thing about the plastic bag leftovers is that these could be used again in the next plastic bag project.
Thank you for following this tutorial, hope to see your versions of the bags.
Also to note, the cool thing about the plastic bag leftovers is that these could be used again in the next plastic bag project.
Thank you for following this tutorial, hope to see your versions of the bags.
.jpg)
.jpg)
—
—
—
Comments