Beyond Plastic
Researching biodegradable alternatives to plastic 🍊
Making stuff from recycled plastic is pretty cool, but we know we need to break up with plastic in the long run. That’s why we’ve created Beyond Plastic, a project researching biodegradable alternatives to plastic as well as different methods to produce products.
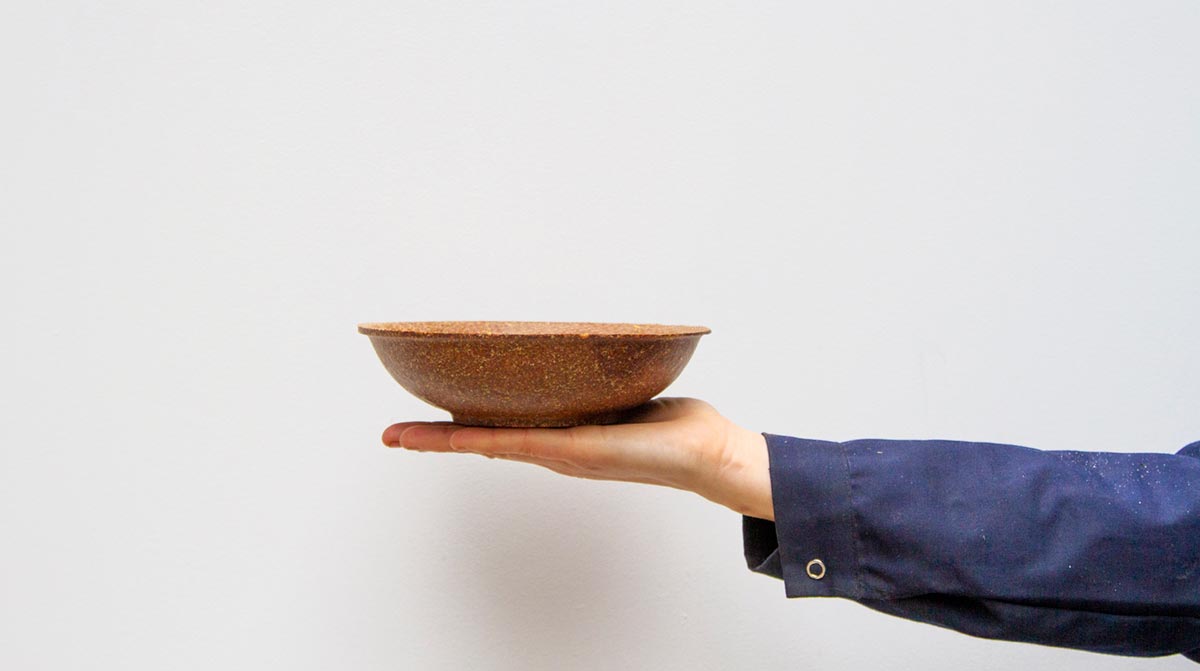
In this section we introduce the Beyond Plastic Bio Press - a strong heat press that allows you to turn a lot of different organic materials (like food waste) into biodegradable products like plates, bowls or cups. We set out to make single-use objects as we want to get rid of single-use plastics first. Woohoo!
Video Chapters
- 00:07 Introduction
- 00:43 Upsides
- 02:29 Start experiment
- 04:13 Downsides
- 06:56 Finish experiment
- 09:42 bio vs biodegradable
- 11:12 Beyond plastic explained
- 12:57 Grandpa
Let’s get started
There are three parts to making amazing things with the Beyond Plastic Bio Press. First the heat press itself (of course), second the moulds, and third the materials. We’ll go through each one in this text and everything is available in the download kit.
Tip : getting to know your bio materials is a process. It often doesn’t work on the first (or second) try - this is normal! Be persistent and patient, as soon as you and your material know each other, you’ll have a friend for life!
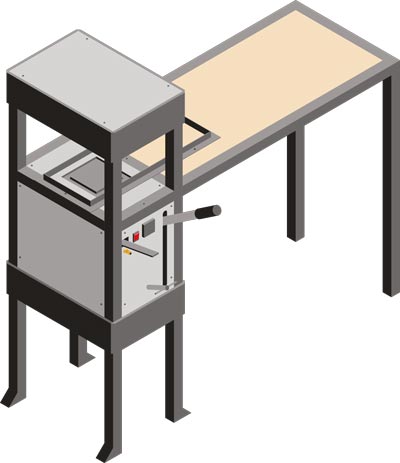
The Heat Press
Building the Bio Press is not as complicated as other machines, but if you have never built a machine before it’s definitely not simple. It really helps to have people around you that can help if you get stuck. So make sure to ask your friends or find someone on the map!
General specifications
| Type | Heat Press |
|---|---|
| Version | 1 |
| Material Needed | A lot of metal, a 20tf hydraulic jack, some cartridge heater, a PID controller and some wiring |
| Price in Netherlands | 280 € (+ not including moulds) |
| Weight | 110kg |
| Dimensions | HxWxD): 1300x320x480mm (with fold-out table: 1300x1360x480mm) |
| Possible Pressure | 20tf |
| Maximum Pressing Area | Width 240mm; D 400mm (space between legs) |
| Energy used | 2 x 400W heating elements |
Required machinery & skills
| Bio Press | Machines needed | Skills needed |
| ————————————————————————————– | ————————————————————————————————————————————————————————————— | ——————————————————————————————————————————— |
|  | - Angle grinder
- Welding machine
- Drill press
- Drill bits
- Tap set
- Allen keys
-
Electronic assembly kit (crimping tool, screwdriver for electronics - Cutting/grinding (intermediate) - Welding (intermediate)
- Assembling (intermediate)
-
Electronics (intermediate)
Machine hacks not included in the video:
This is the first version of the Bio Press and we’ve already figured out some hacks that will make working with it even easier:
-
First is to build a rail and gliding system for your moulds- this makes it much easier to slide the moulds in and align them with their counterpart. The way we built it is a pretty simple frame from some L-profiles with wooden boxes around the moulds. Check out our plans in the download kit!
-
Secondly we outlined a workspace layout and build a pretty simple dehydrator, a neat sorting system from glass jars that we rescued from the waste of the restaurants around us and even spent some time thinking about how to collect fresh material from your neighbourhood. If you are interested, make sure to check out our How-To-Use-Video and the information in the download kit!
Moulds
In the download kit you can find three different moulds:
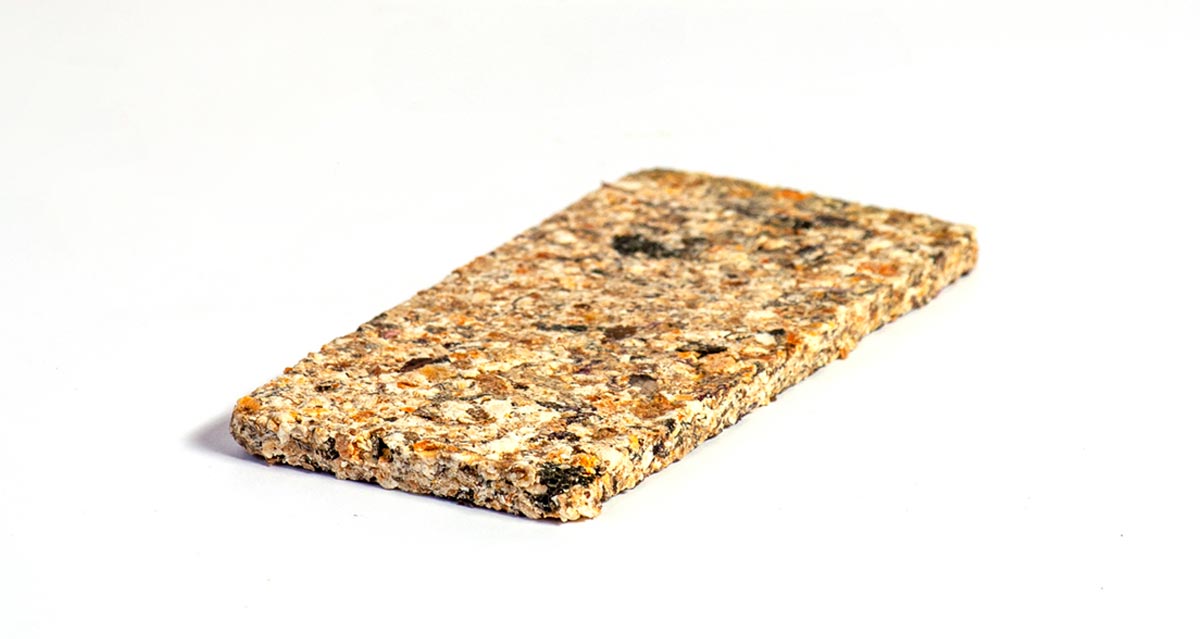
- A small sheet mould, which is useful for testing materials and nice for creating your own visual library
- A cup mould
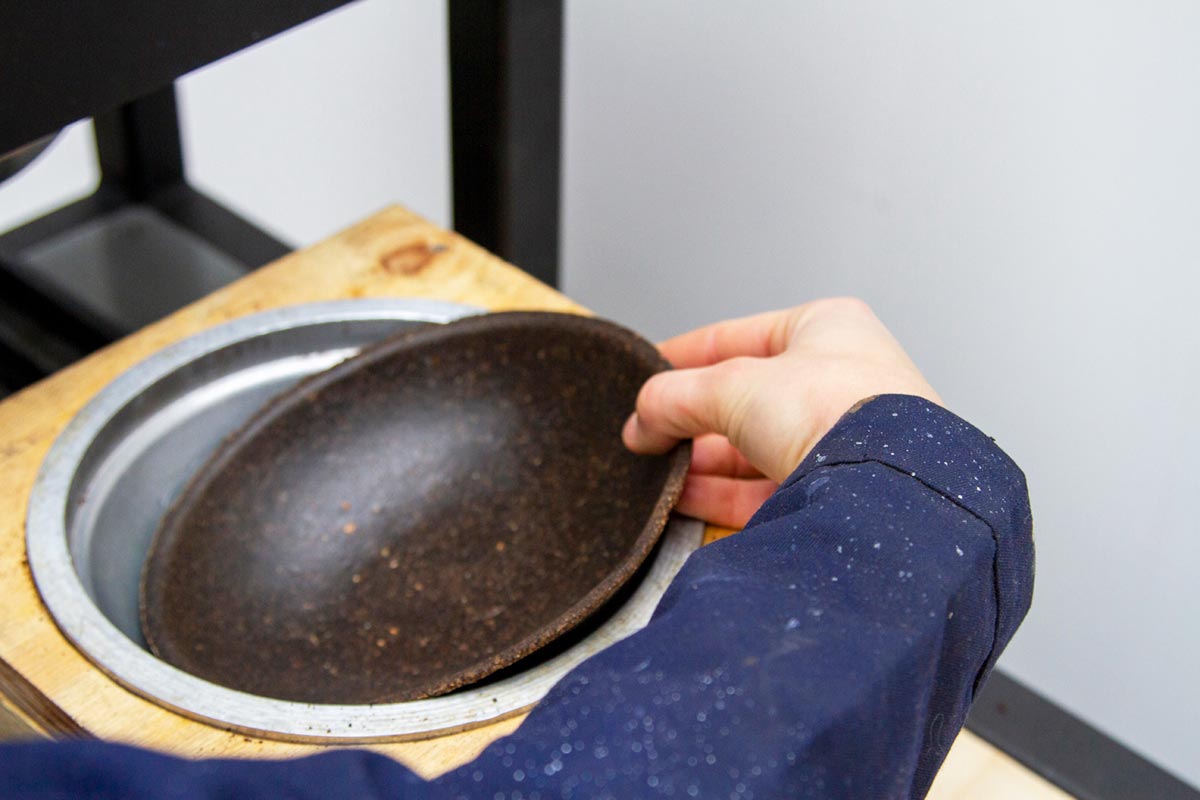
- A bowl mould
The cup and bowl moulds are a little more complex to make, but we did try to make them applicable for most situations out there. That’s why we developed one mould that you can simply order to be CNC-cut and another that can be made on a lathe. You might actually be able to make both on the lathe, but for the bowl mould you probably need a pretty big lathe. The one we have at the PP workshop in Eindhoven is not big enough for it
You can find all of the files and drawings for the moulds in our download kit. Feel free to use them, change them and develop them as much as you want.
Tip : if you want a more durable object, make the walls thicker. If you want a lighter object, make the walls thinner
Mould Specs:
| Type | Dimensions | Price Aluminium in the Netherlands | How it’s made |
|---|---|---|---|
| Sample Mould | 100 x 200 x 50mm | 41 € | CNC-cut |
| Bowl Mould | Ø 220 x 90 mm | 116 € | CNC-cut |
| Cup Mould | Ø 100 x 125 mm | 40 € | Lathed |
Machines used for Moulds:
- CNC / Lathe
- Drill press
- Drill bits
- Tap set
- Allen keys
Materials
We already tested a few materials in the press and so far we feel like anything that has cellulose should work in principle. However, when it comes to the bigger products, they definitely get stronger if you add a natural binder to the mix. These can for example be starch, agar agar, xanthan gum or gelatine. If you don’t want to use fresh materials, be creative: there is starch in basically any root vegetable and it’s peel. You can also find binding agents in stale bread or some kinds of algae! Even dead insects can be a source for natural binders (you can find a way for this at plasticula.com).
We’ll say this again, getting to know materials is a lengthy process. Don’t get frustrated if it doesn’t work on the first few tries!
Here are the materials we have tested so far:
- Wheat Bran
- Spent Coffee Grounds
- Spent Tea Leaves and Powders
- Potato Peels
- Orange Peels
- Stale Bread
- Ginger Peels
- Black Beans
- Avocado Seeds
- Sesame Seeds
- Pine needles
- Leaves
- Bamboo Leaves (stitched together)
- Eggshells (decorative)
- Flowers (decorative)
- Onion Peels (experimental)
- Hair (experimental)
How it works
More specific (chemically, but for dummies)
This is for anyone who is interested in the chemistry behind the process we are using. But please correct me if I’m wrong! I’m not a chemist, but a designer, and this is only what I understood so far.
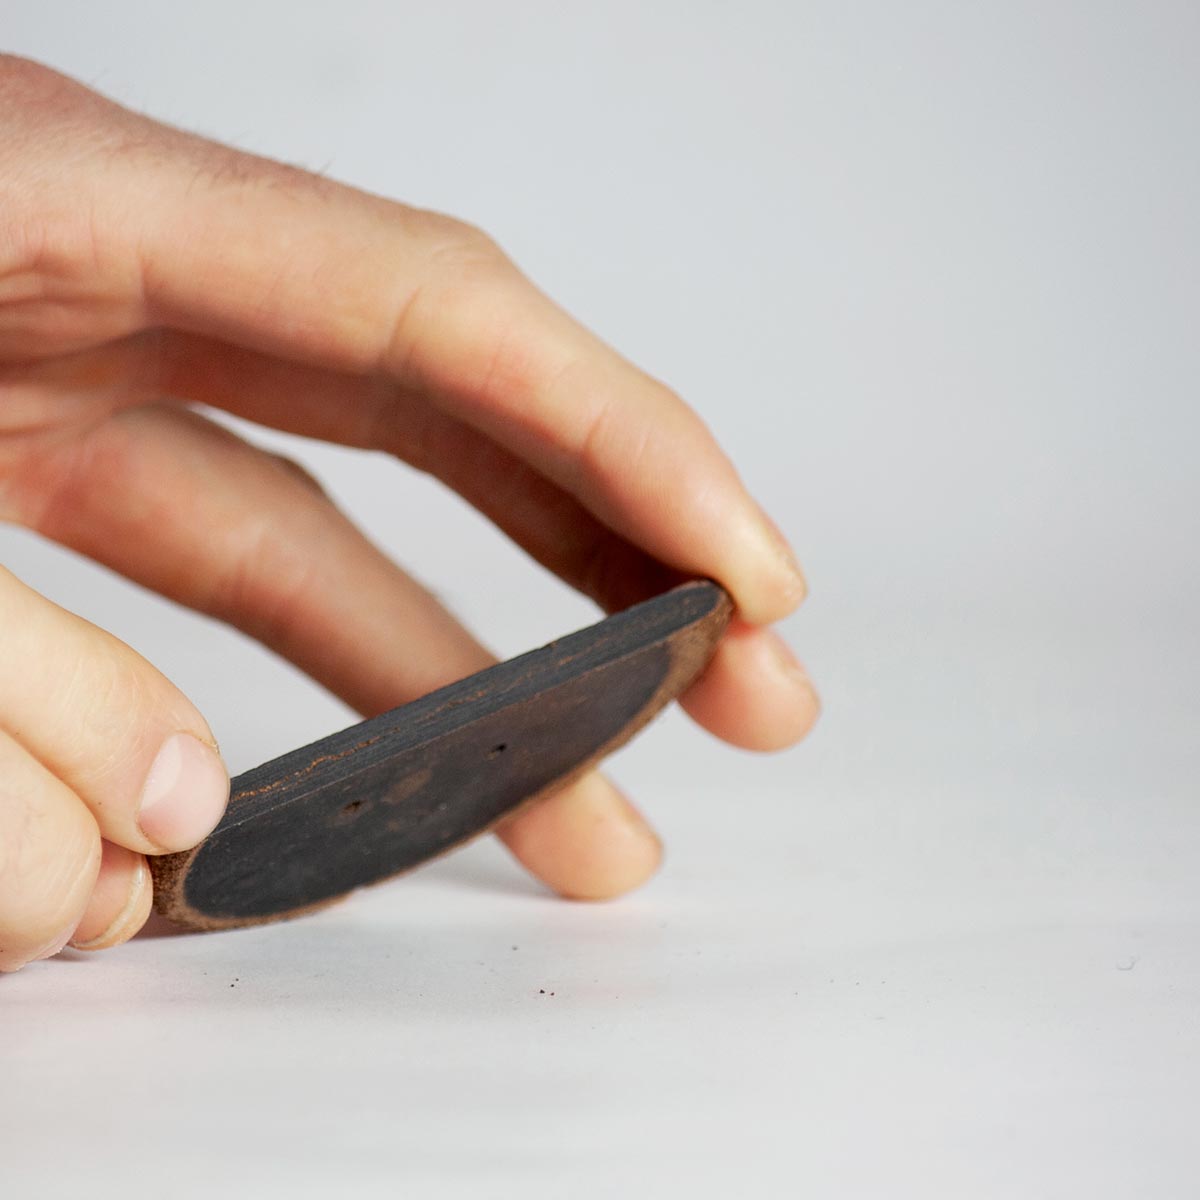
If you heat and press a material that includes cellulose in a closed mould, the energy of the water molecules inside the material, which would usually go into creating steam, goes into creating new bonds between the cellulose. That’s why a material like coffee grounds, which is high in cellulose, starts binding without the help of any other natural binding agents and we get something that actually looks pretty stone-like:
However for this to work, it’s important to have a closed mould, as the energy might wander off with the steam otherwise and leave you with unbound material. That’s why all of our moulds have a pretty tight fit and a straight part in which the mould is already closed, but leaves space for compression.
For all of the other natural binders mentioned above: all of them bind at a pretty low temperature (eg. starch at 60°C) and usually in combination with water. That’s why they can help your materials to bind, in case your mould doesn’t close properly or anything else that may make binding the cellulose difficult.
Tip : mix fine grain materials with materials with longer fibers to get a smooth but rigid material!
What we’re thinking about next
- Biodegradable glazings / coatings
- Natural colorings and dyes
- Other applications of materials (eg. for furniture)
Comments