Extrude different textures

We used the extruder to make a bench, shelving unit and beams. We already covered the qualities about the beam made from Polystyrene in a separate how to here:
In this How to you will learn how we achieved the different textures for the shelf and bench.
—
Attachments
Resources
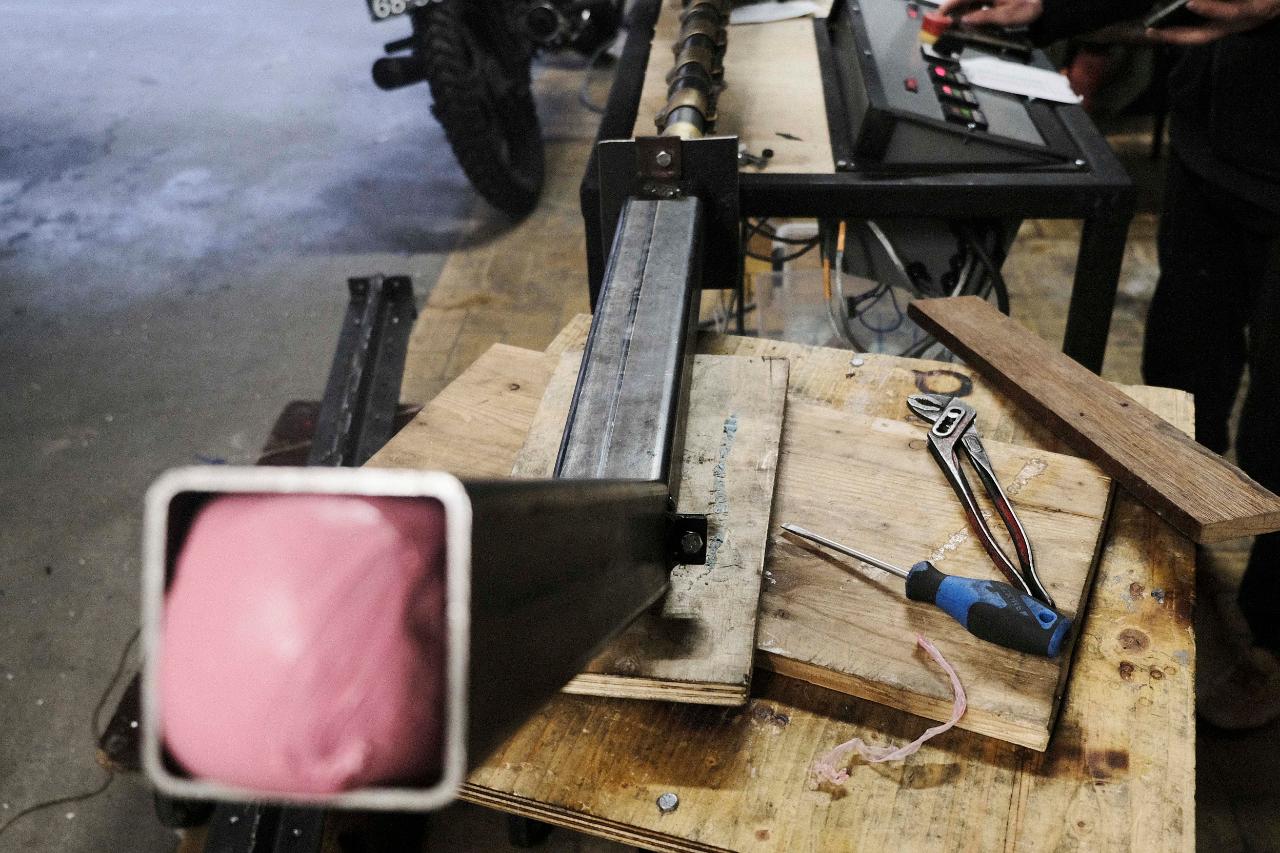
Step 1 - Start by gathering your tools
For this technique you will need
- your Extrusion machine
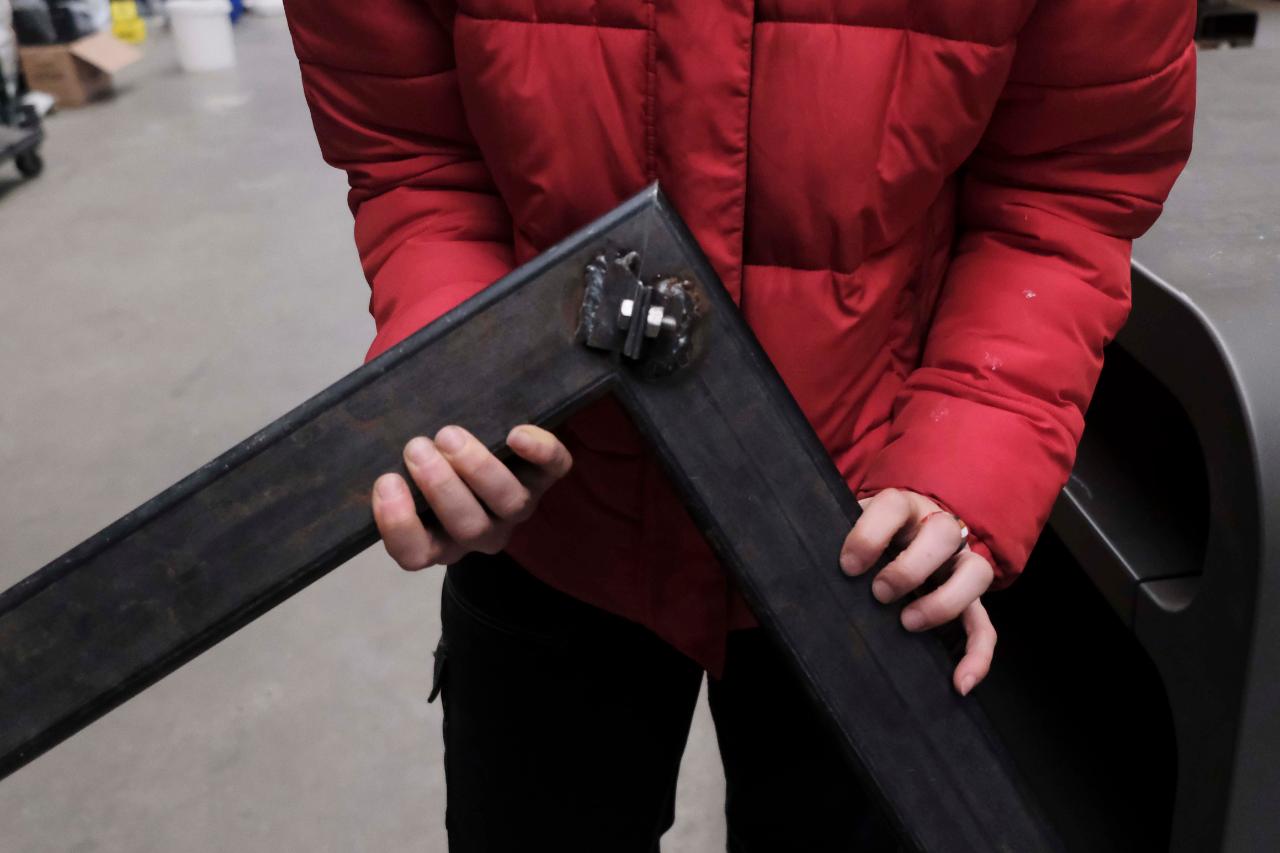
- a beam mould and the tools to attach it
- and shredded plastic - what else? :)
- your Extrusion machine
- a beam mould and the tools to attach it
- and shredded plastic - what else? :)

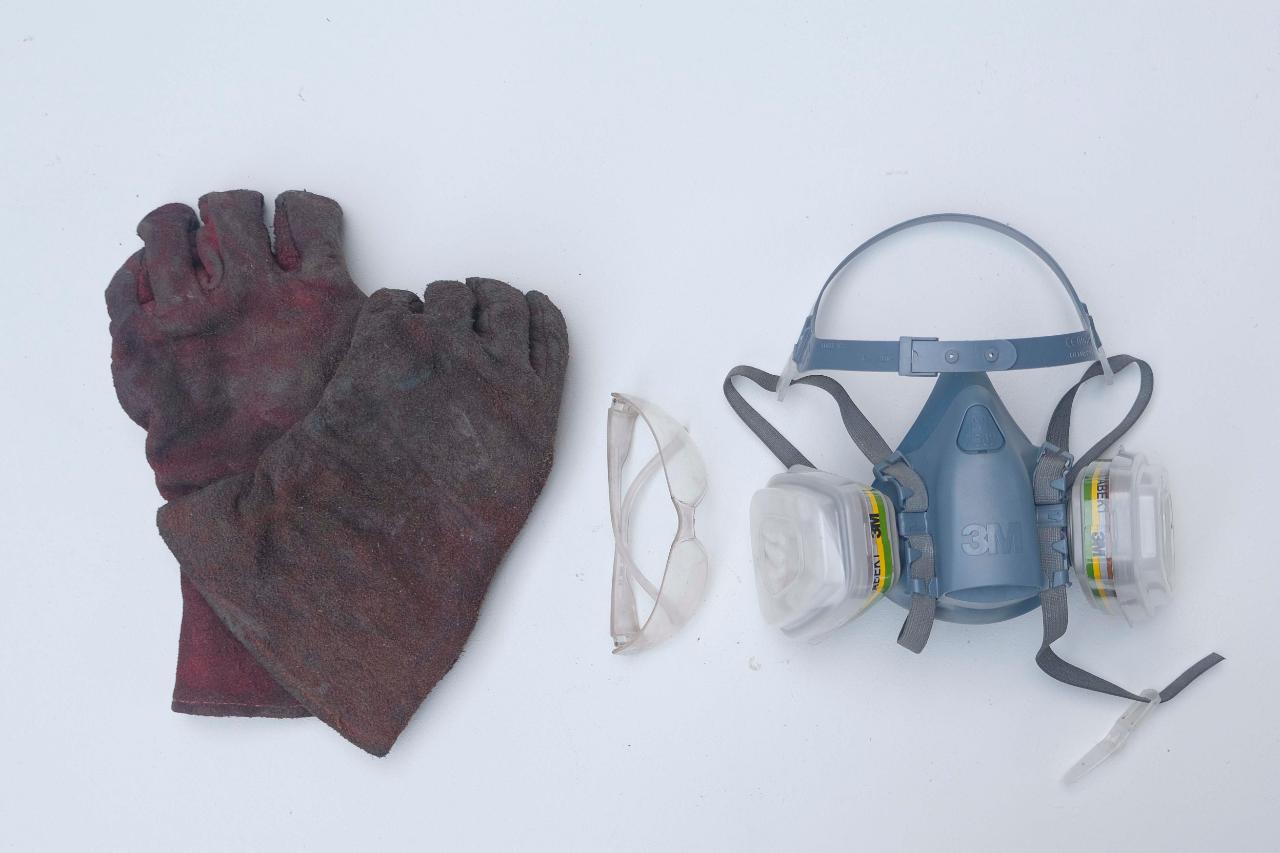
Step 2 - Stay safe
When melting plastic, bad fumes can be released. In order to work safer, make sure to use a breathing mask with ABEK filters to prevent inhaling possibly toxic fumes. Special attention on plastics like PS (polystyrene) and PVC. Also when handling with heated elements and plastic we recommend to wear working gloves.
Recommended safety equipment:
- ABEK mask
- gloves
Recommended safety equipment:
- ABEK mask
- gloves
Step 3 - Textured beam, material
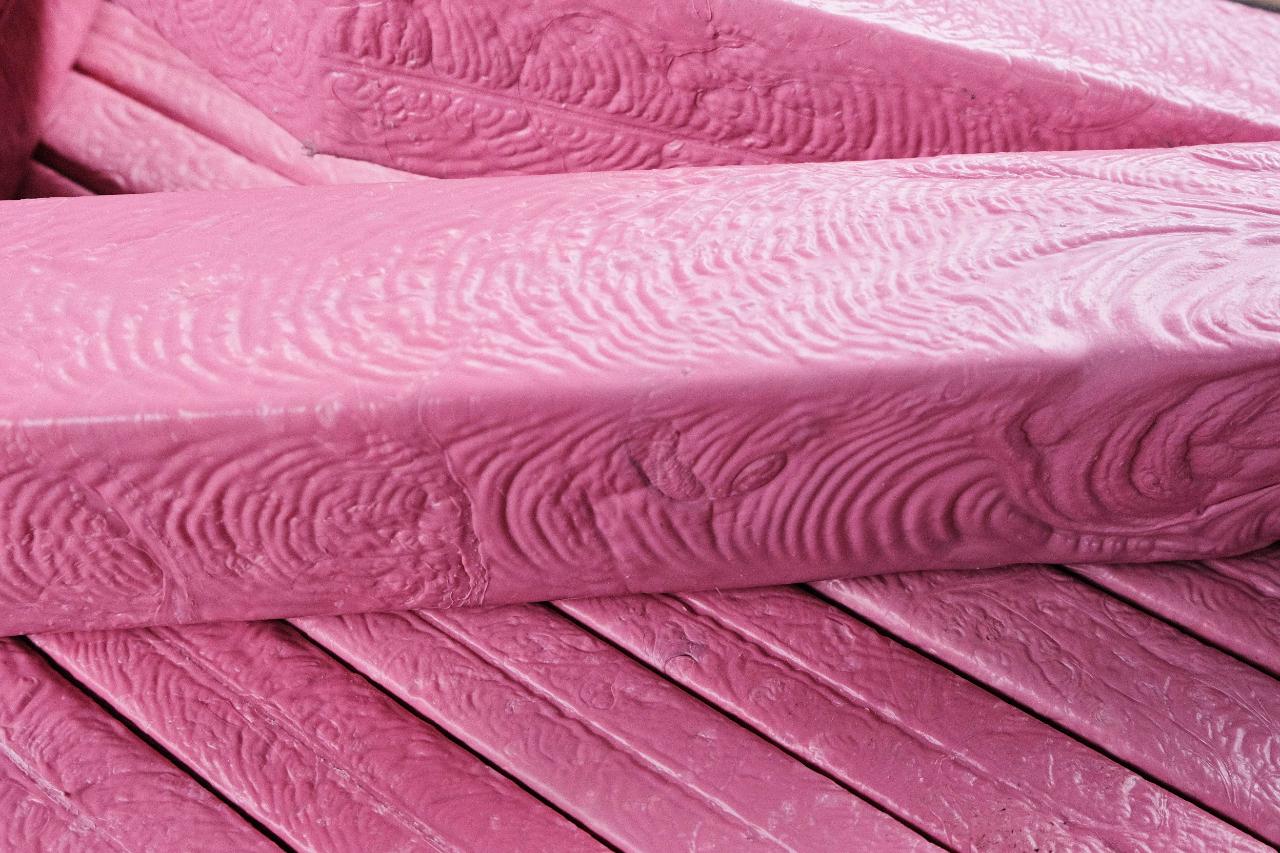
In step 3 - 6 we will talk you through how to embrace the natural textured effect you can achieve when using the extruder machine. We used HDPE / PP for a textured beam to make an outdoor bench, using the same process of extrusion, with the intention of making a textured pattern on the surface, which you can achieve easily with HDPE / PP. The choice of keeping the textured effect which is a natural occurrence from the extrusion process suits outdoor furniture well, therefore we used this to our advantage.
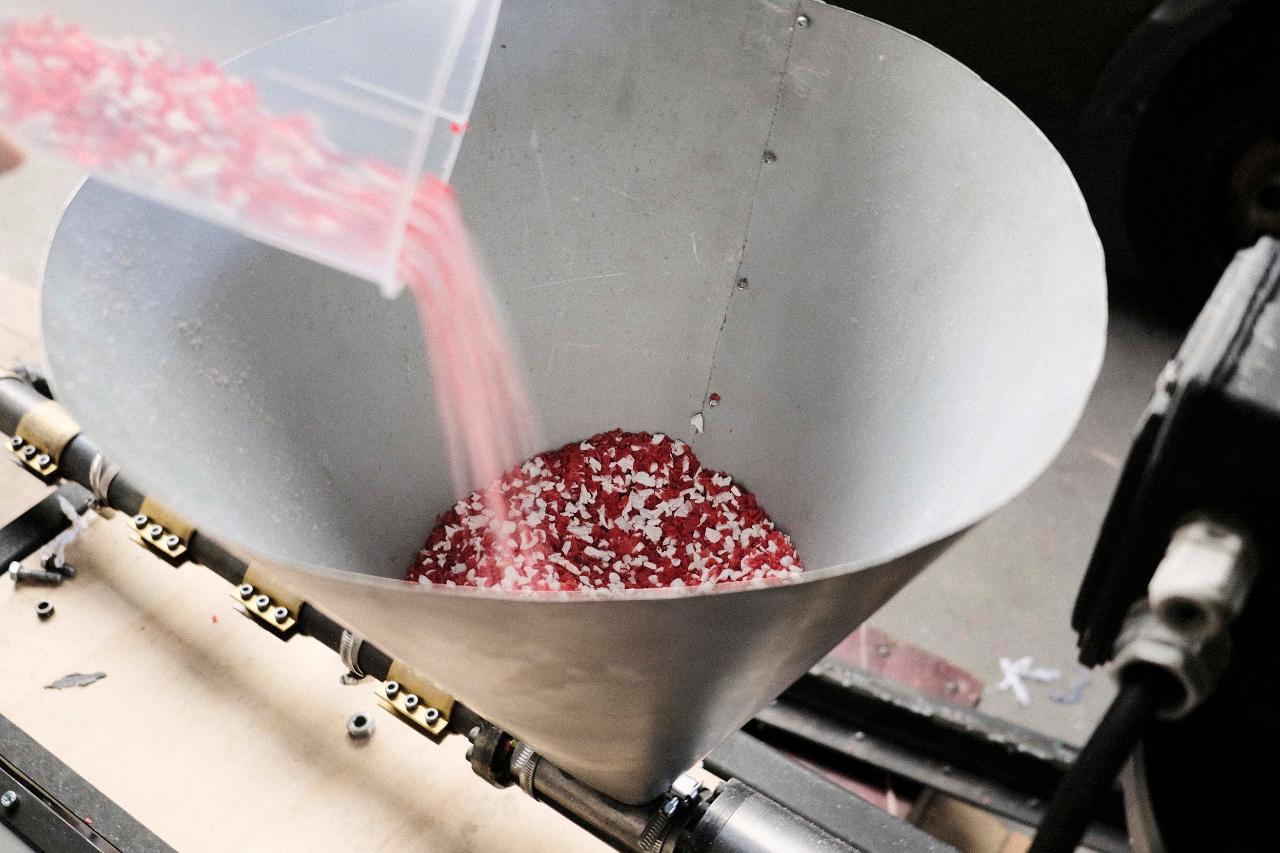
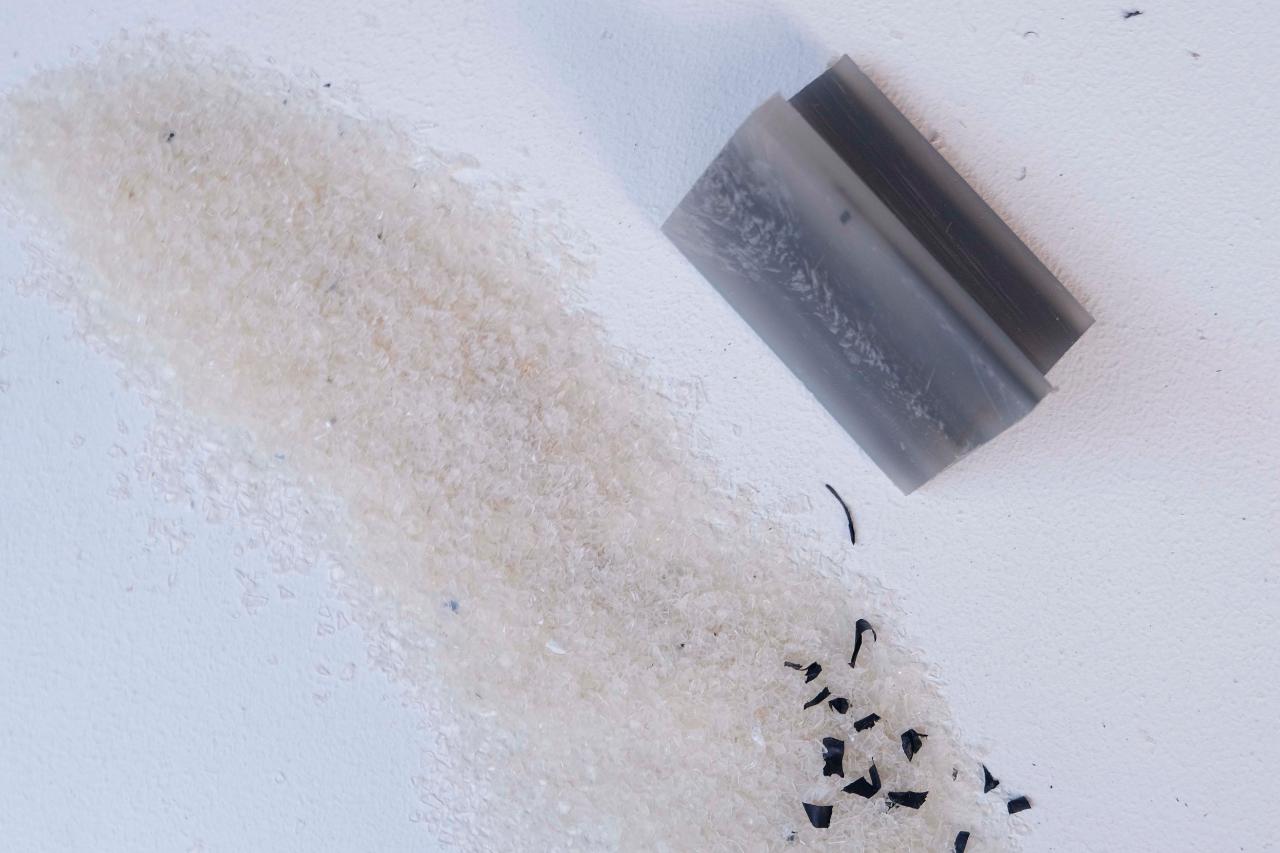
So first things first: Start by shredding your material from medium to small shreds. The easiest way to measure how much material you will need is to test the first mould, and weigh the outcome thats the weight of the material that you will need each time.
So first things first: Start by shredding your material from medium to small shreds. The easiest way to measure how much material you will need is to test the first mould, and weigh the outcome thats the weight of the material that you will need each time.

Step 4 - Cool mould
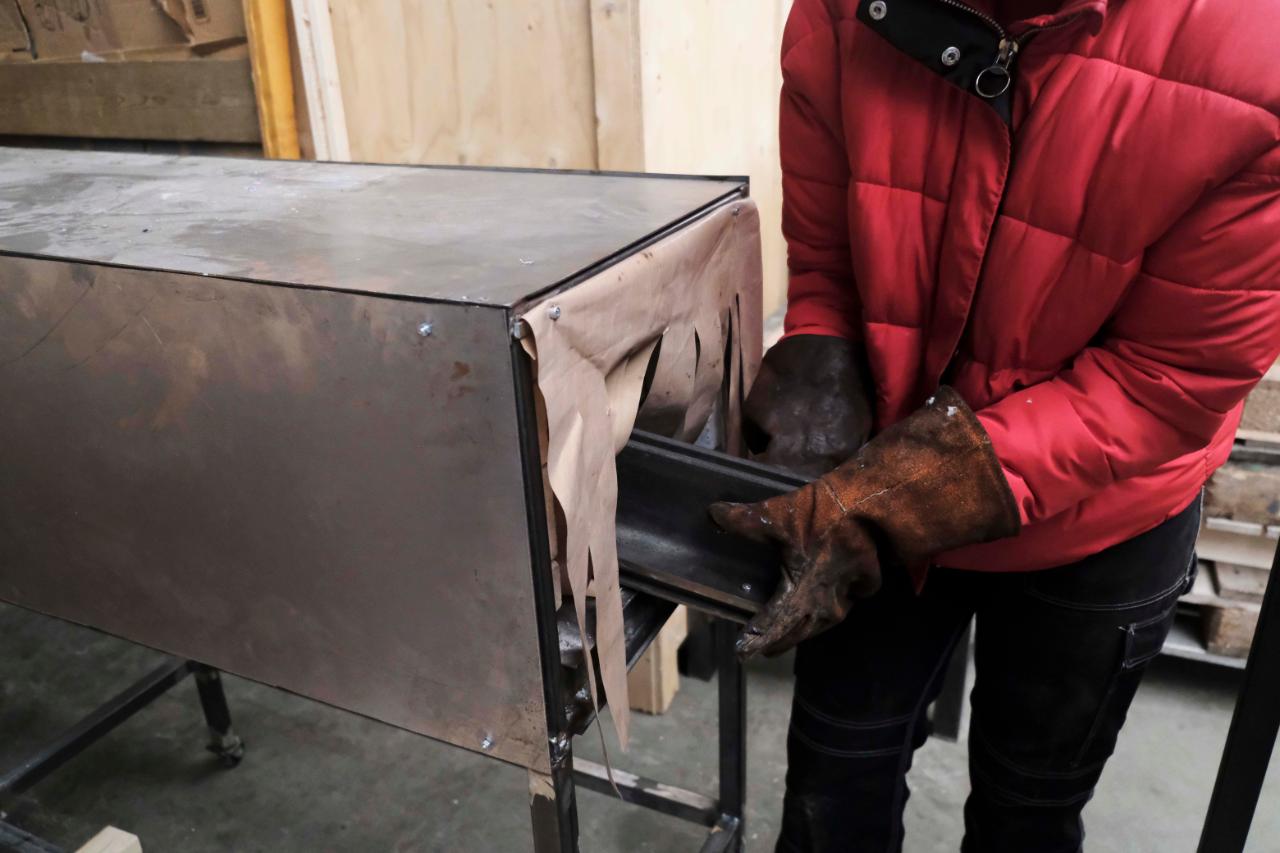
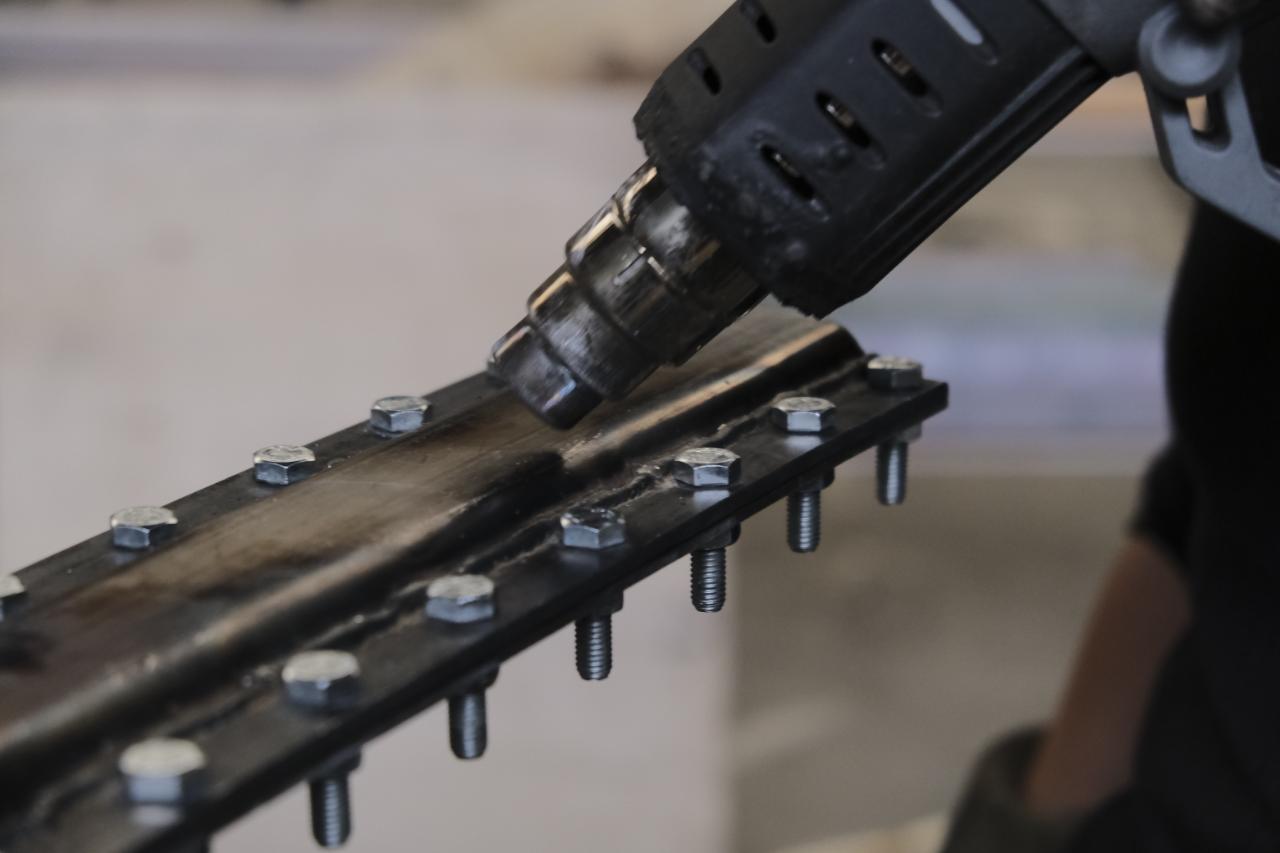
Now you have your material ready you are nearly ready to extrude. Next turn on the extruder to ___ degrees. Before you start extruding obviously make sure your mould is on correctly. Once heated and mould on, your ready to extrude! Start by putting your material in one bit at a time, try to avoid putting too much in at once. Keep an eye out to make sure the hopper always has material in it. Your mould is better if it’s cooler to achieve the texture because it’s the rapid cooling that creates this effect. So depending on the room temperature, unless your mould is somewhere in the burning sun or sauna, it should be cool enough! You can cool it down by placing it into a water container.
Pro Tip: make sure if your washing the material before putting it into the extruder, always dry it out first because the steam created when extruding can cause the material to sink and create hollow, weaker areas.
Pro Tip: make sure if your washing the material before putting it into the extruder, always dry it out first because the steam created when extruding can cause the material to sink and create hollow, weaker areas.
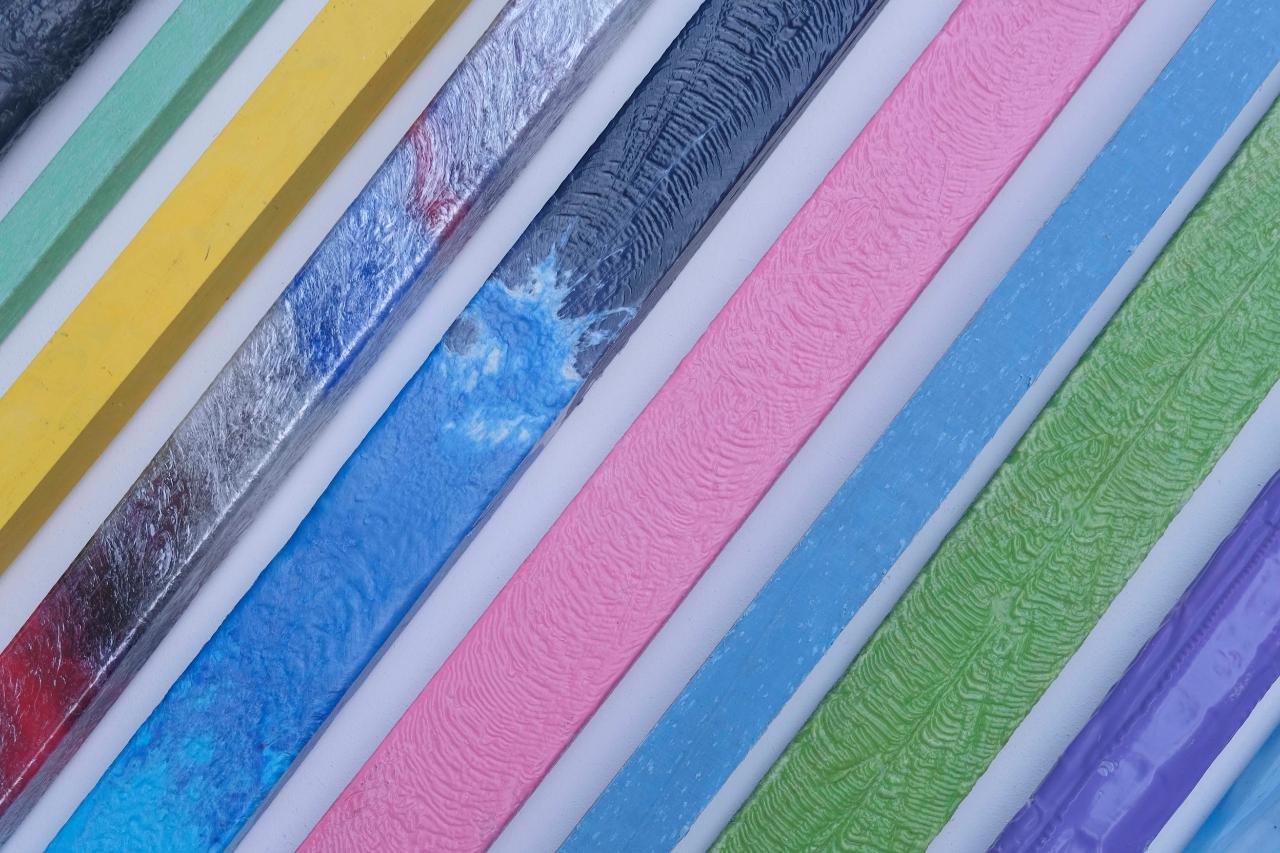
Step 5 - Explore textures extrusion speed
The speed can also affect the outcome: slower speed, deeper texture, faster less texture and the pattern is slightly different also. We have shown you an example of how we made the texture for the bubblegum bench, this is just one way of achieving this particular texture. In the pictures you can see different textures achieved by playing with the settings.
Make sure to check the related how to's to know more about the technique.
Related links:
How to make a bench with beams 👉 https://community.preciousplastic.com/how-to/make-a-bench-with-beams
Make sure to check the related how to's to know more about the technique.
Related links:
How to make a bench with beams 👉 https://community.preciousplastic.com/how-to/make-a-bench-with-beams

Step 6 - Smooth beam material
Another one of our products has a different aesthetic to the outdoor bench: the indoor modular shelving unit made with PP (Polypropylene). In step 6 - 8 we will talk you through how to achieve a smooth finish with no extra sanding needed to be done to do this. Using recycled PP for extrusion has many advantages, it doesn’t shrink as much as HDPE in the mould and is also flexible, these qualities work well for the shape and texture achieved.
Like the same as before prepare your material, shred, weigh and organise. And remember to make sure its dry!
Like the same as before prepare your material, shred, weigh and organise. And remember to make sure its dry!
Step 7 - Process heated mould
Now how to make it smooth… using a slightly higher temperature than firstly Coat your mould with silicone oil for quicker release before screwing it onto the end of the extruder. The key to a smooth beam is heating the mould, you can do this in many ways which you choose depends on the size of your mould. Using heating elements or preheating in an oven will work. Preheat the mould in the oven for 30 mins at over 100 degrees, then extrude using the same process as stage 4. If your mould is really long or narrow, you will need heating elements, or use a heat gun at the end to maintain the temperature as if your mould cools too quickly, you will experience a change in texture on the surface, or mould may deform due to rapid material cooling.
Step 8 - Explore the possibilities!
So now you have had an insight from our experience how to achieve these two textures, but keep in mind that the beauty of using recycled plastic is that the outcome of each product is unique in its own way each product will come out differently. It really takes some time and testing to get used to the sensitivities of these methods so be sure to test and get stuck in!
We also would advise to keep documenting your results. If you altered the temperature, speed, material or the size of your mould. All these variables when changed around will affect the outcome. Labelling your material outcomes and collating a material library can also really help to have a reference when designing.
Get experimenting!
—
—
—
Comments