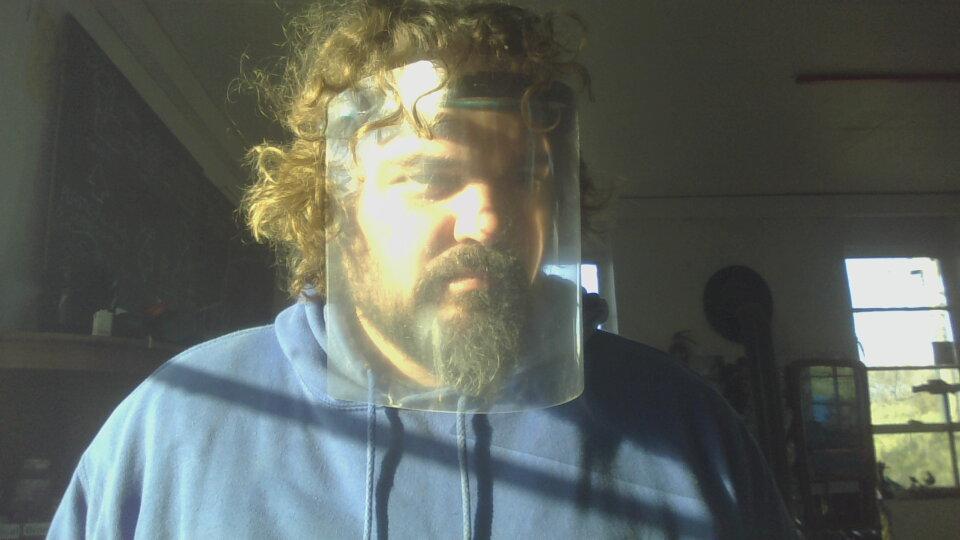
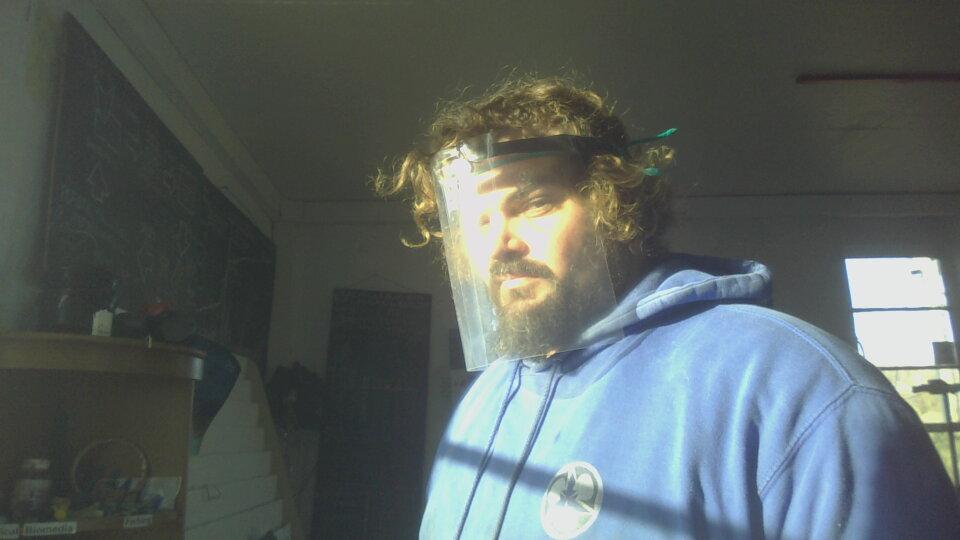
Faceshield with extrusion die and A4 clear sheet
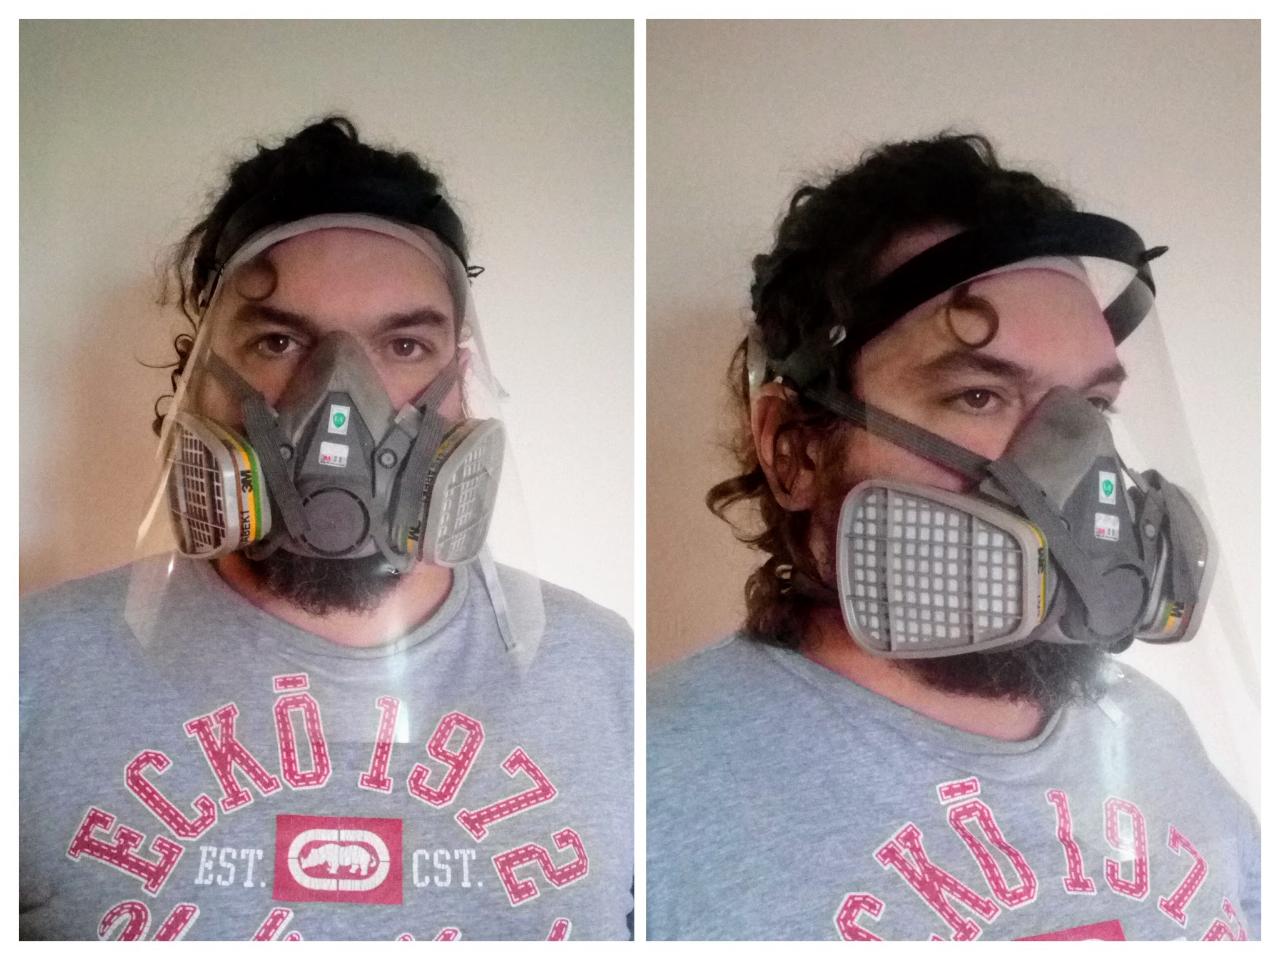
We make a face shield from basic elements and the extrusion machine. Face shields are critically lacking in many countries affected by COVID-19. You need up to 22 per patient. We need a DIY way of making these and making these fast..
Remember face shields are only a complement to googles and masks and are meant to reduce the viral charge.
—
Attachments
Resources
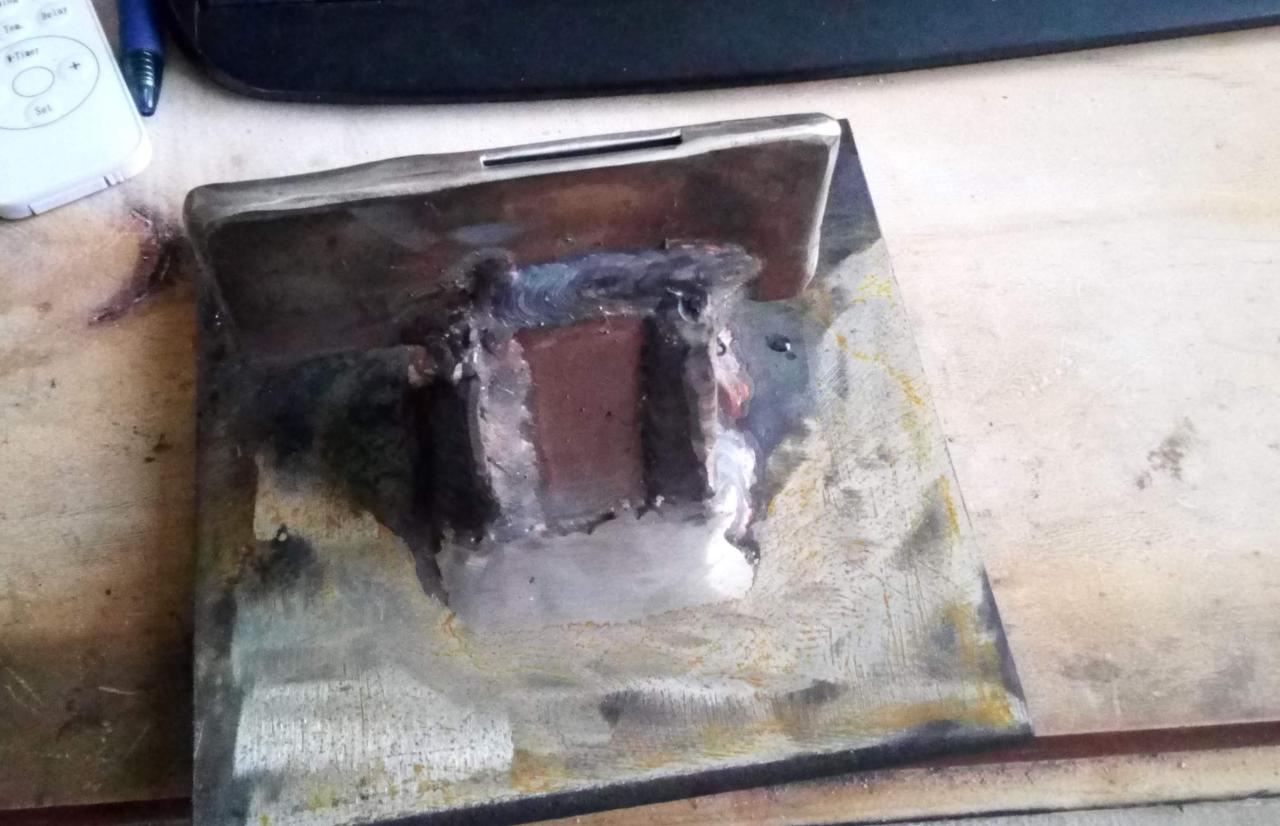
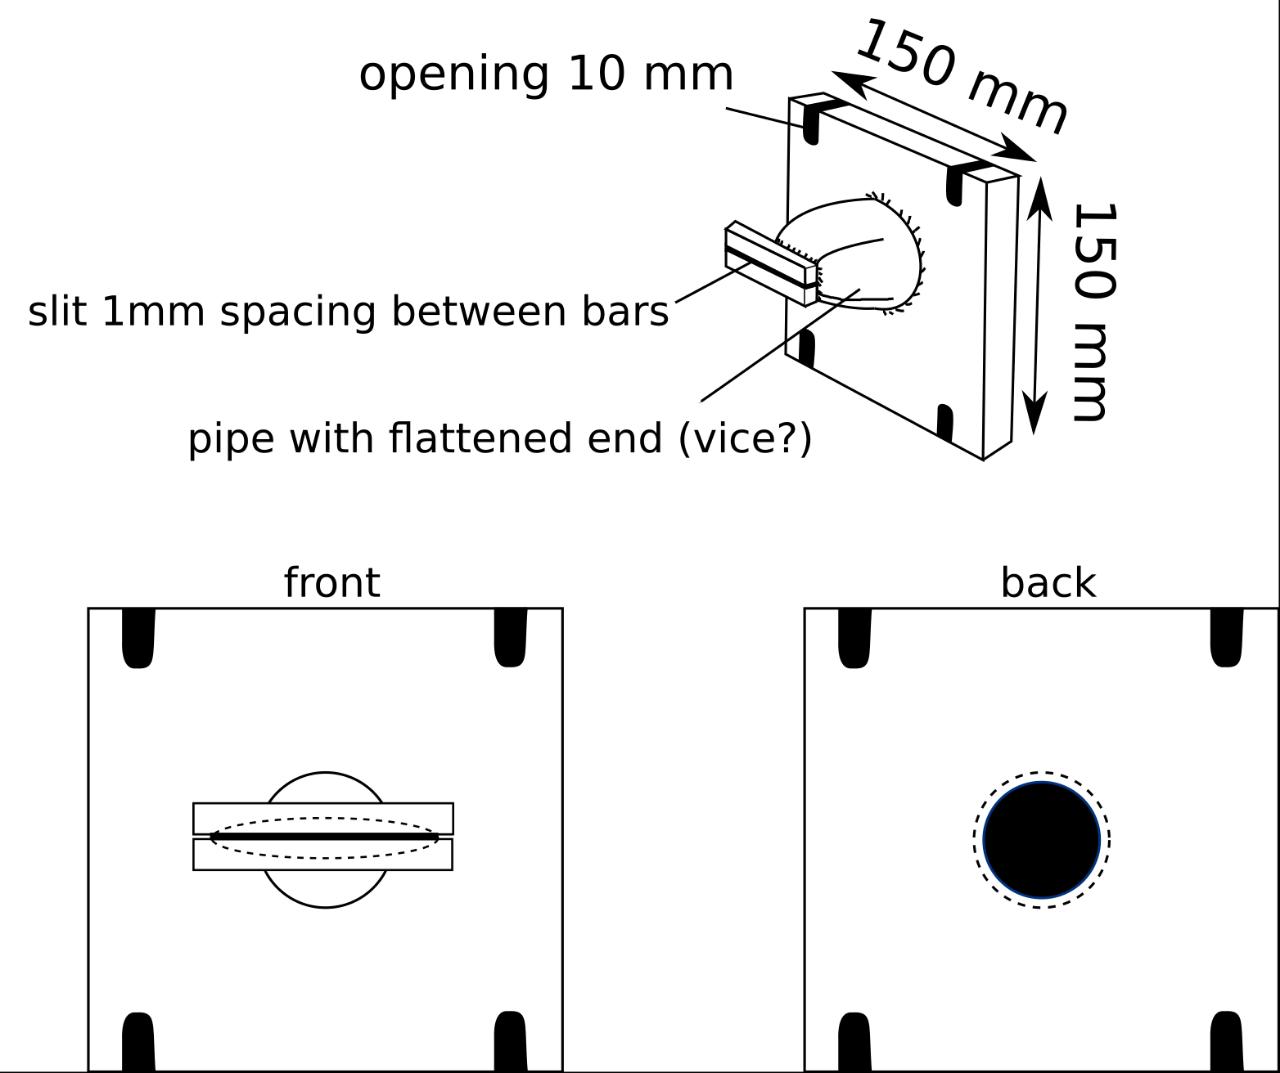
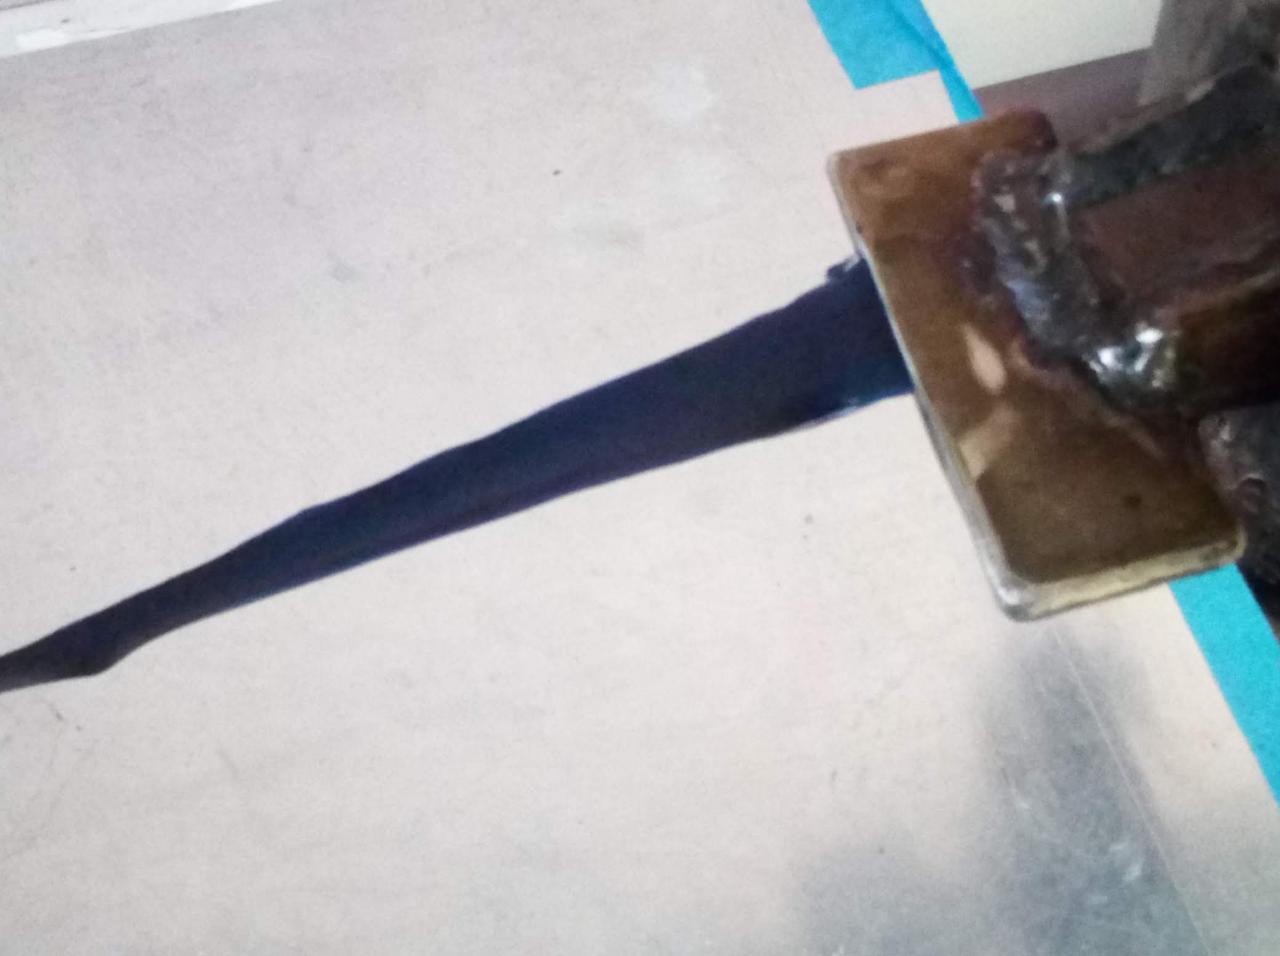
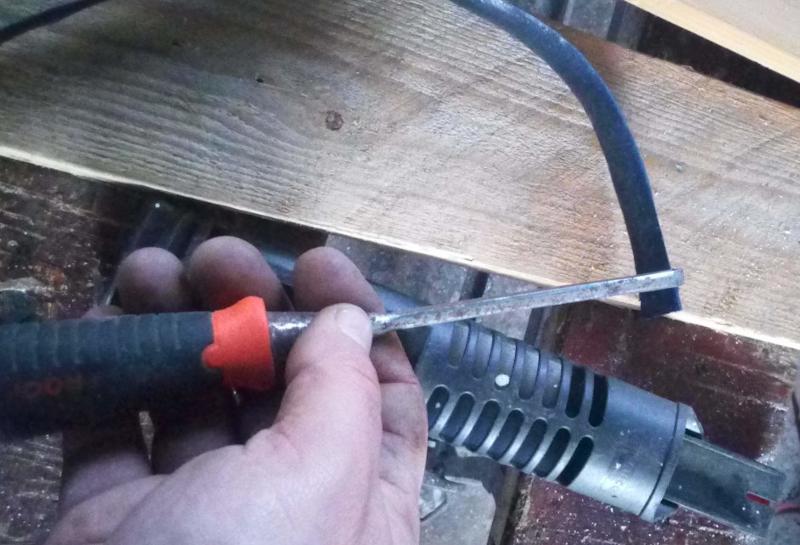
Step 1 - Make a nozzle to attach to the extruder.
The nozzle needs to have a relatively large entry and a tapering end.
The best is to have some bars to cool down a bit the plastic and funnel it towards the exit.
To activate the nozzle we heat it up with hot air gun
The outside plates are only 1mm apart
You can also do it without nozzle but it is even more complicated to control the thickness and elasticity of the future band
https://www.youtube.com/watch?v=BTiQqPFE9vs
Step 2 - Extrude the stripe
This is a delicate part and needs improvement as you need to pull the plastic out so that the thickness and flow is even. Make your motor rotate at the slowest speed possible.
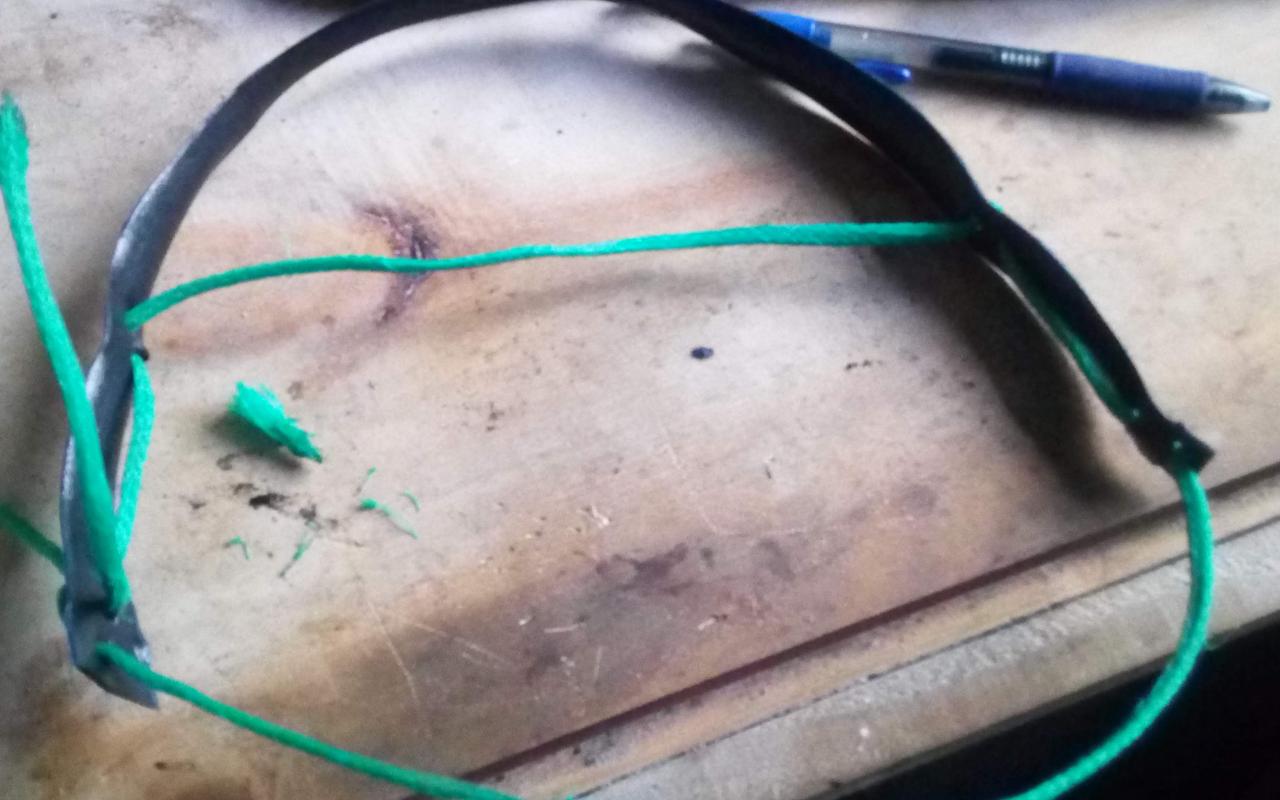
Because of changes in the thickness and rate of cooling your stripe might twist
We heat it up back with the hot air gun and pass it inside our metal mangle. This will straighten the band. Don#t expect miracles, you will keep the concave shape. Although in the end it makes no difference with our design
Based on the work on the Badger shield
https://www.delve.com/assets/documents/OPEN-SOURCE-FACE-SHIELD-DRAWING-v1.PDF
We can see that ideally the contact with the head should be 13"/ 33 cm. Cut to length
Here we have used HDPE from ocean plastic we regularly recover on the local beaches. We recommend HDPE as it is easier to source and also low temperature to melt.

Step 3 - Punch holes for the attachment
The best for the attachment is an elastic band for clothes but we didn't have any so made with a rope like in the example of https://menorplastic.com/tutorial-para-fabricarte-tu-protector-facial-casero/
however to avoid making knots and for an easy attachment you can simply punch a set of holes
A square wood chisel size 10 is perfect for that.
You have to make 3 sets of 2 holes and one set of 3 holes at one end (could be two if you use rope)
however to avoid making knots and for an easy attachment you can simply punch a set of holes
A square wood chisel size 10 is perfect for that.
You have to make 3 sets of 2 holes and one set of 3 holes at one end (could be two if you use rope)

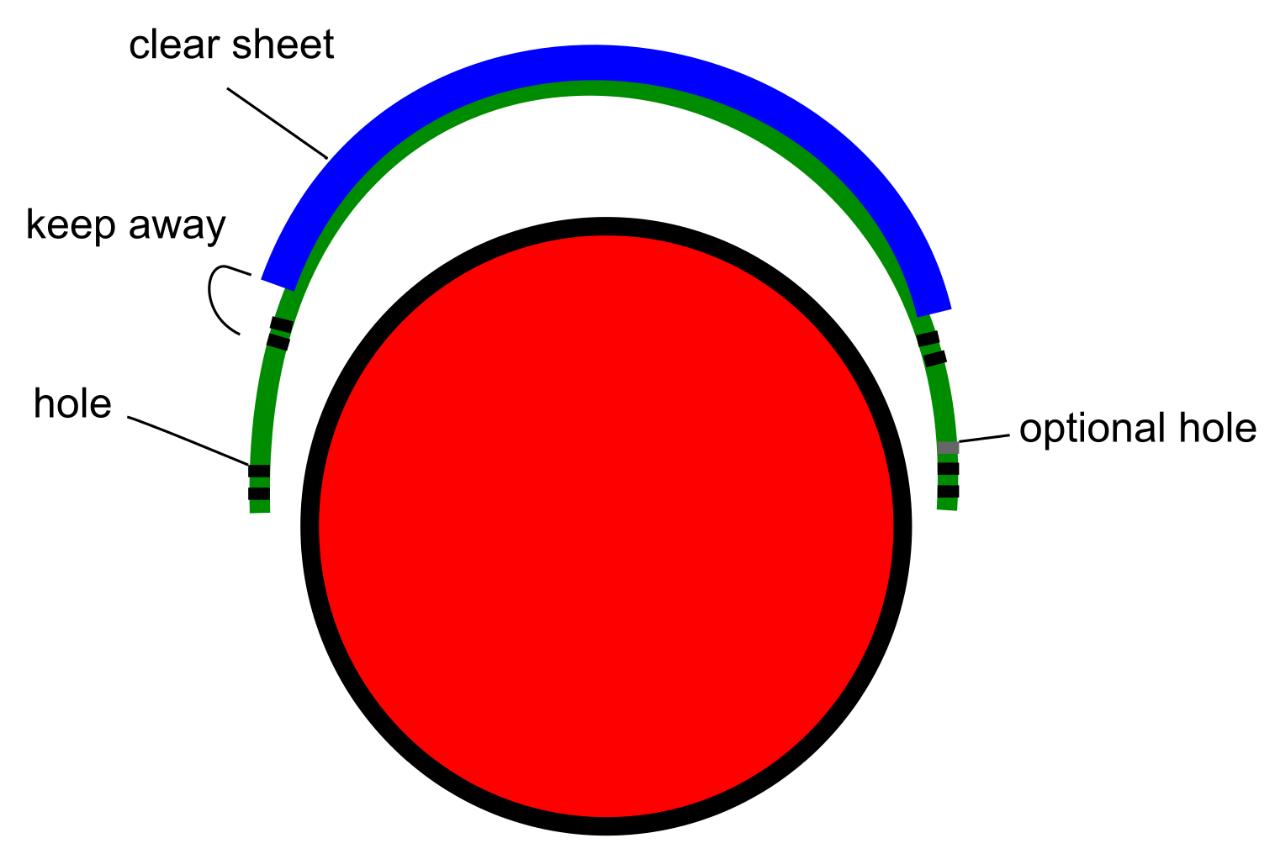
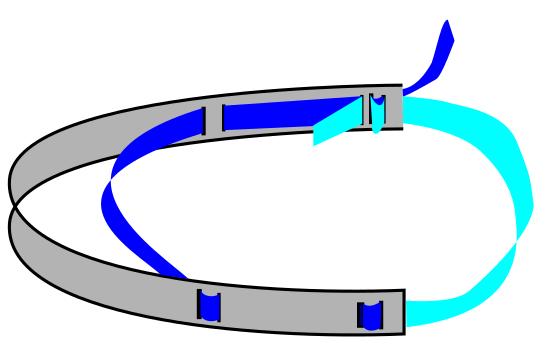
Step 4 - lace the plastic band
Follow the right order for comfort, according to drawing
The 2-hole design allows to tighten at any size of head quickly.
The third hole design is to pass the elastic band in a very secure latch.
You can also make a similar knot as in the third figure for easier adjustment.
The 2-hole design allows to tighten at any size of head quickly.
The third hole design is to pass the elastic band in a very secure latch.
You can also make a similar knot as in the third figure for easier adjustment.

Step 5 - Staple the screen
Try to center the screen with your attachment then staple from one end.
3 staples suffice one on each end and one in the middle, going progressively from one side to the other.
Keep the staples open until the screen is really tight on the plastic stripe you extruded. You can repunch the screen to tighten if needed.
The plastic sheets can be sourced from overhead or like here from a lamination machine where we stuck two ends together.
The shield is only to be used in extreme cases where no other alternatives are possible. However it takes on most of the designs of approved PPE with a minimum of resource
You can get more details and updates if you follow this link. We cannot update both websites at the same times at the moment. Sorry for the inconvenience
https://www.plasticatbay.org/2020/03/29/plasticbay-faceshield-design

—
—
—
Comments