Organise a Precious Plastic Meetup

A meetup is a great opportunity to get to know your local recycling community, introduce Precious Plastic to people who don’t know it yet and find ways to help each other and work together to grow and succeed together.
Here we’ll give you some tips to organise and run this meetup.
Meetups are a very useful tool for Community Points - if you haven’t seen it yet, you might want to check out our Community Point Starter Kit!
Step 1-6: Get ready
Step 8-10: Meet up!
—
Attachments
Resources
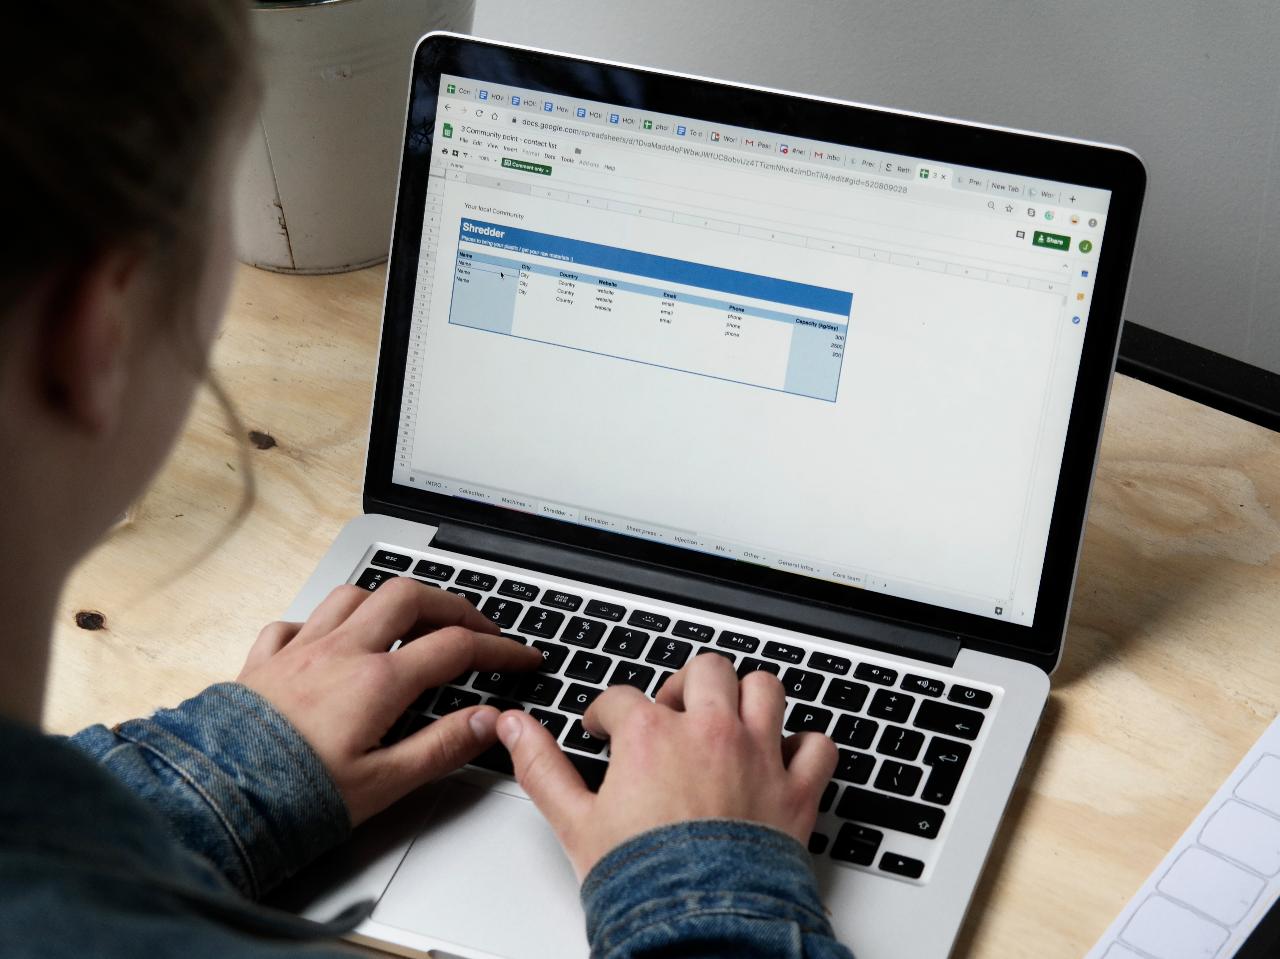
Step 1 - Get your contacts ready
Alright, let’s start thinking about the people who should join the meetup. Especially for the first meetup you probably want to bring together people who already know or work with Precious Plastic as well as potentially interested ones.
Best is if you already made a search in your area and set up a communication channel for the people who are involved in the local (Precious Plastic) recycling or interested in it.
If not done yet, follow the steps 4-9 from the Community Point Starter Kit to get some tips to start the conversation in your local community.
👉 community.preciousplastic.com/how-to/set-up-a-community-point/edit

Step 2 - Find a good place
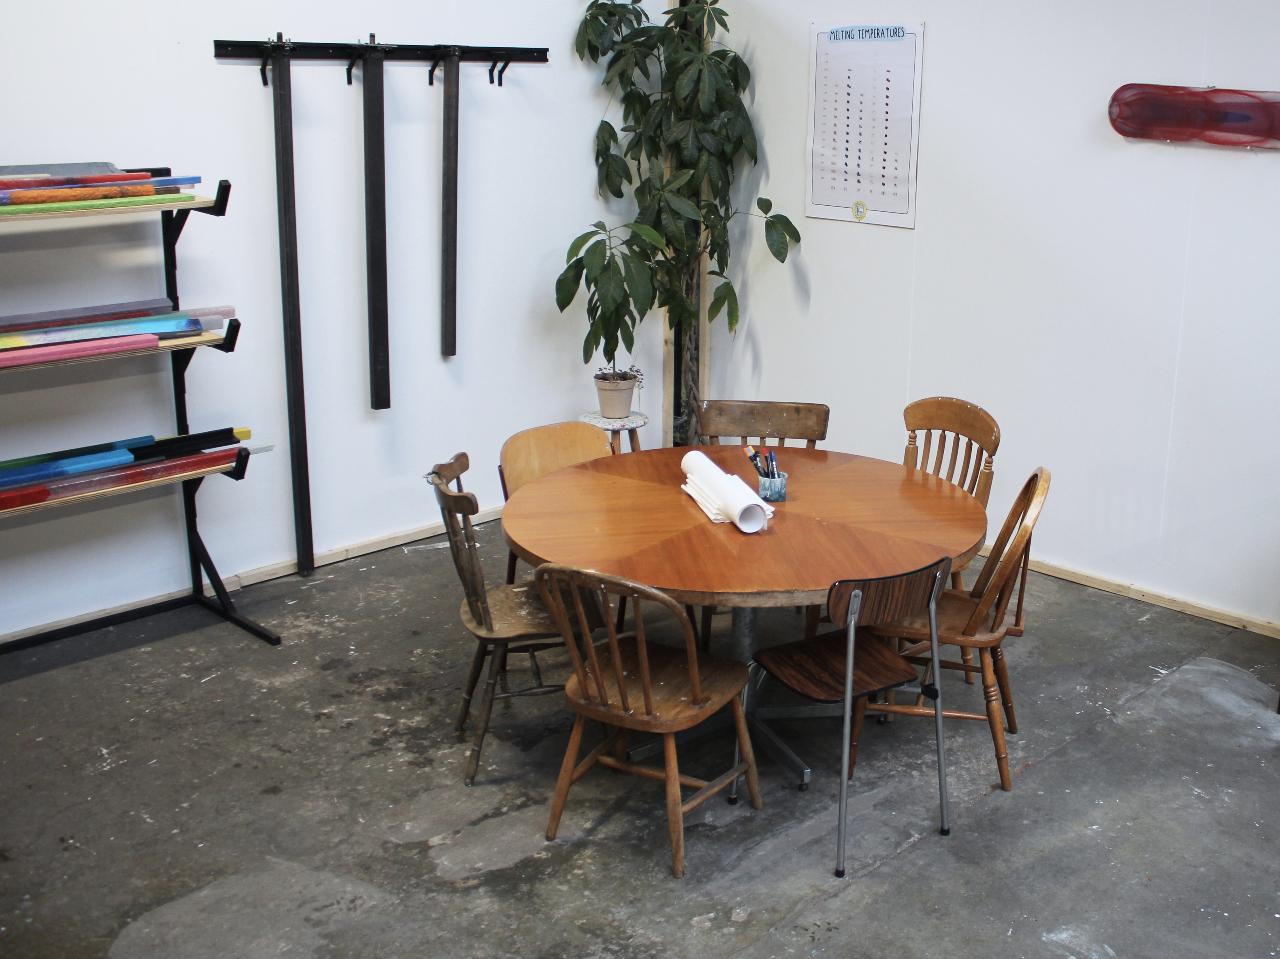
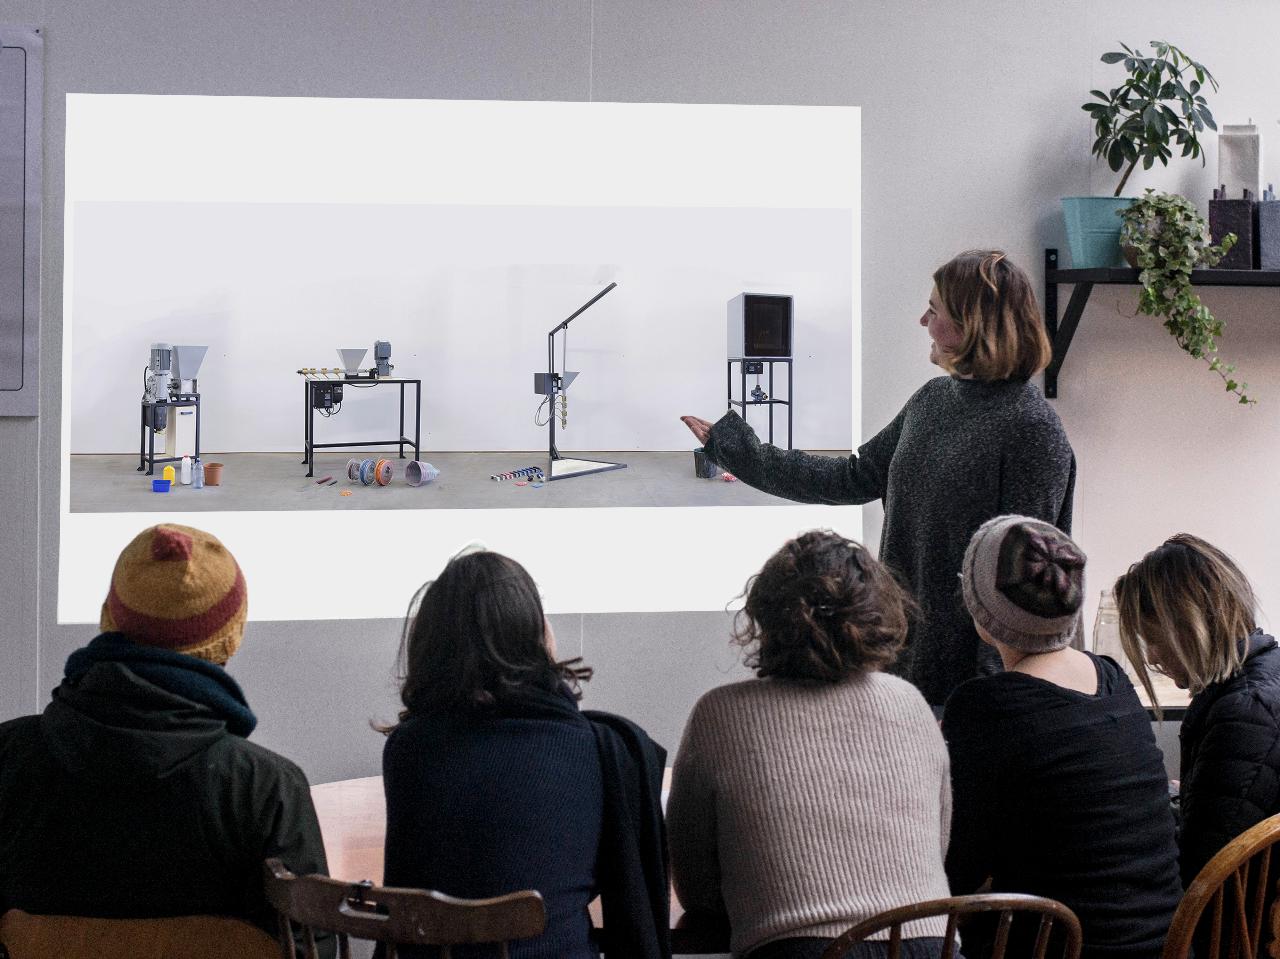
Now think of a place where you can meet. Consider that it should be somewhere rather central and accessible and have enough space for the number of people who will probably join the meeting. Ideally find a place where you can show a presentation and videos (on a laptop or even better with a projector) and can comfortably sit and exchange ideas and thoughts.
Ask in your group, maybe they have ideas or even a good space for this meeting in their own collection point, workspace, design office, fablab etc. - this could also give the group the opportunity to see and understand how other members of the community operate.
Ask in your group, maybe they have ideas or even a good space for this meeting in their own collection point, workspace, design office, fablab etc. - this could also give the group the opportunity to see and understand how other members of the community operate.
Step 3 - Find a good time
Next step is to find a date and time which work for as many people as possible.
As you are the one organising, the first step is to see when it would work for yourself. Often it helps to suggest a few options to choose from (you can also do this with help of websites like doodle.com). Pick some dates which are a few weeks away, so you have time to promote it and people have time to plan it into their schedules.
Sidenote: Don’t worry if you can’t find a common date for everyone - it’s just the first meetup of (hopefully) many more, so there will be more opportunities to join.

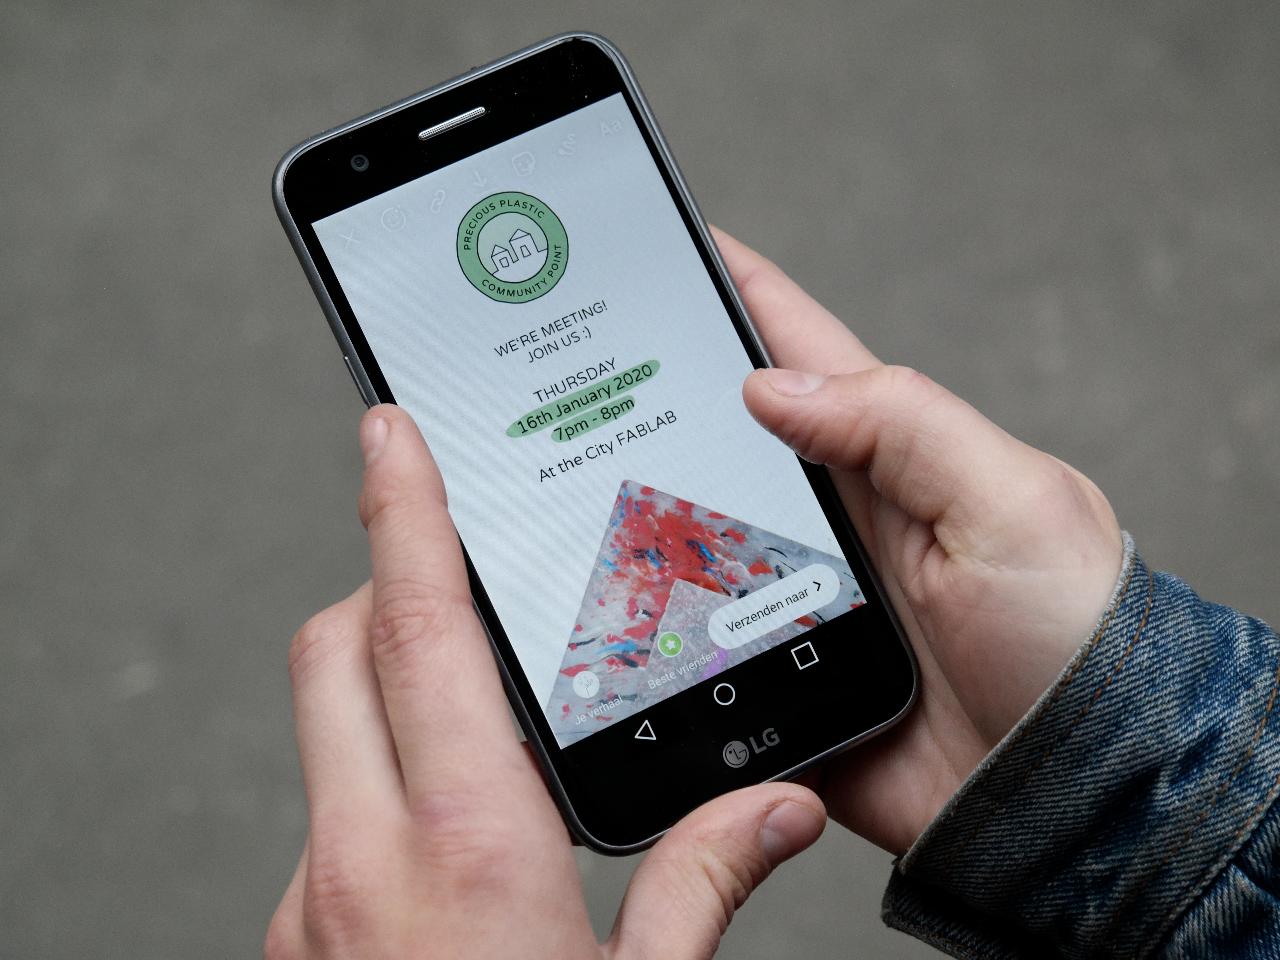
Step 4 - Share your event
Once you have the date and place for your meetup, let your group know about it!
If you want to keep the meetup only for the contacts you already have, it’s probably enough to announce it in your communication channel.
If it will be open for newcomers to join, it’s important to spread the word: You can create an event online and share it on social media or your local news.
And you can add your meetup as an event to the Precious Plastic event page, so the community can find you more easily.
👉 community.preciousplastic.com/events

Step 5 - Make a plan
Now it’s time to make a more detailed plan for your meetup. Write down what you want to find out and achieve and think about what you will do with your group.
This will depend a lot on the number and kind of people coming. Newcomers will need more explanations about Precious Plastic, more experienced people will probably focus more on figuring out how to work together to build a stronger network.
This will depend a lot on the number and kind of people coming. Newcomers will need more explanations about Precious Plastic, more experienced people will probably focus more on figuring out how to work together to build a stronger network.
Step 6 - Prepare materials
Prepare everything you need to make your plan happen.
Organise a computer (and if available projector) for presentations and videos.
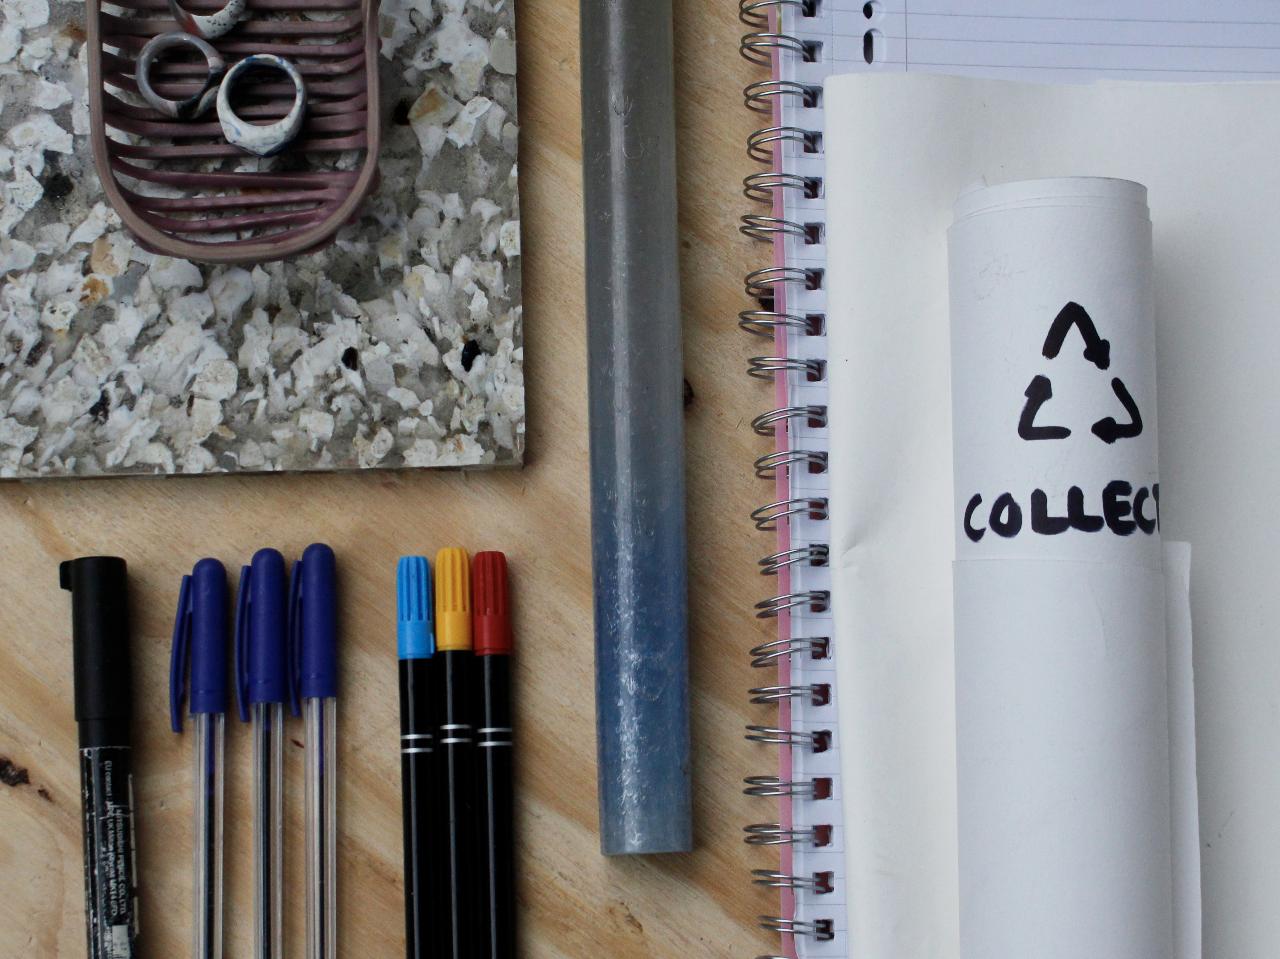
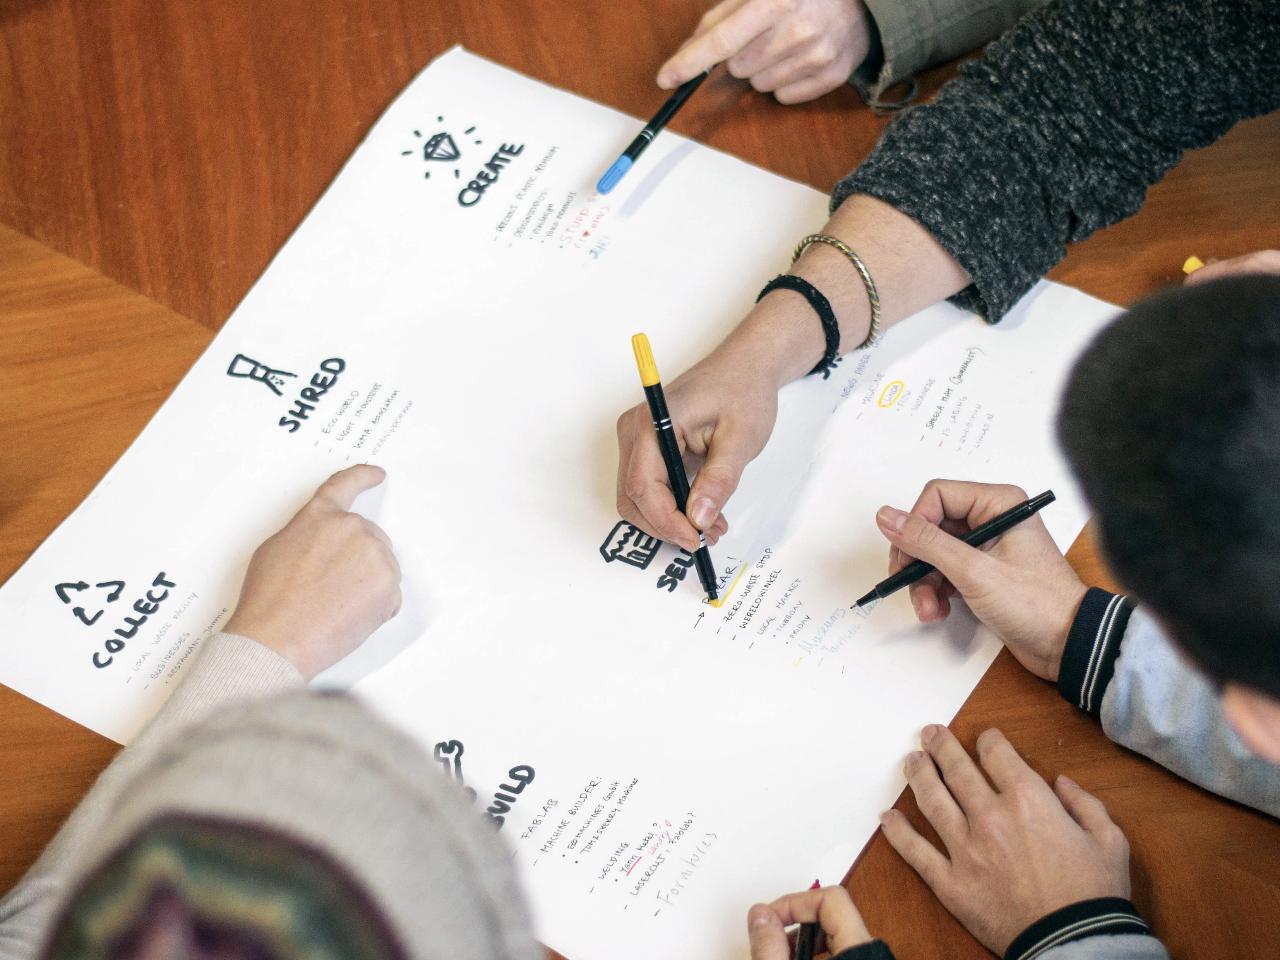
Get paper and pencils (maybe post-its) if you want to brainstorm together and write down ideas and questions, and print if you have questionnaires to fill out or exercises to print out.
And think of any games or activities which could be nice icebreakers to get to know the group.
If possible, also bring or ask someone to bring a camera to document your meetup and maybe even take notes of what’s being discussed. It’s always nice to capture and share these moments!
Organise a computer (and if available projector) for presentations and videos.
Get paper and pencils (maybe post-its) if you want to brainstorm together and write down ideas and questions, and print if you have questionnaires to fill out or exercises to print out.
And think of any games or activities which could be nice icebreakers to get to know the group.
If possible, also bring or ask someone to bring a camera to document your meetup and maybe even take notes of what’s being discussed. It’s always nice to capture and share these moments!
Step 7 - Extra: Prepare samples
It’s always nice to bring some Precious Plastic material samples and products to help people understand the process and get them excited about the results.
If you can’t find anything locally, you can have a look at the Bazar and get some community creations.
👉 bazar.preciousplastic.com
If you can’t find anything locally, you can have a look at the Bazar and get some community creations.
👉 bazar.preciousplastic.com

Step 8 - Prepare food
Food connects people in a very positive way, it’s a small thing which makes everyone happy!
Maybe you can prepare something yourself, or talk in the group that everyone brings a bit or maybe even organise the meeting at a time that you can end it with a shared meal. (Also a good thing to make people come.)
Maybe you can prepare something yourself, or talk in the group that everyone brings a bit or maybe even organise the meeting at a time that you can end it with a shared meal. (Also a good thing to make people come.)

Step 9 - Meet up time!
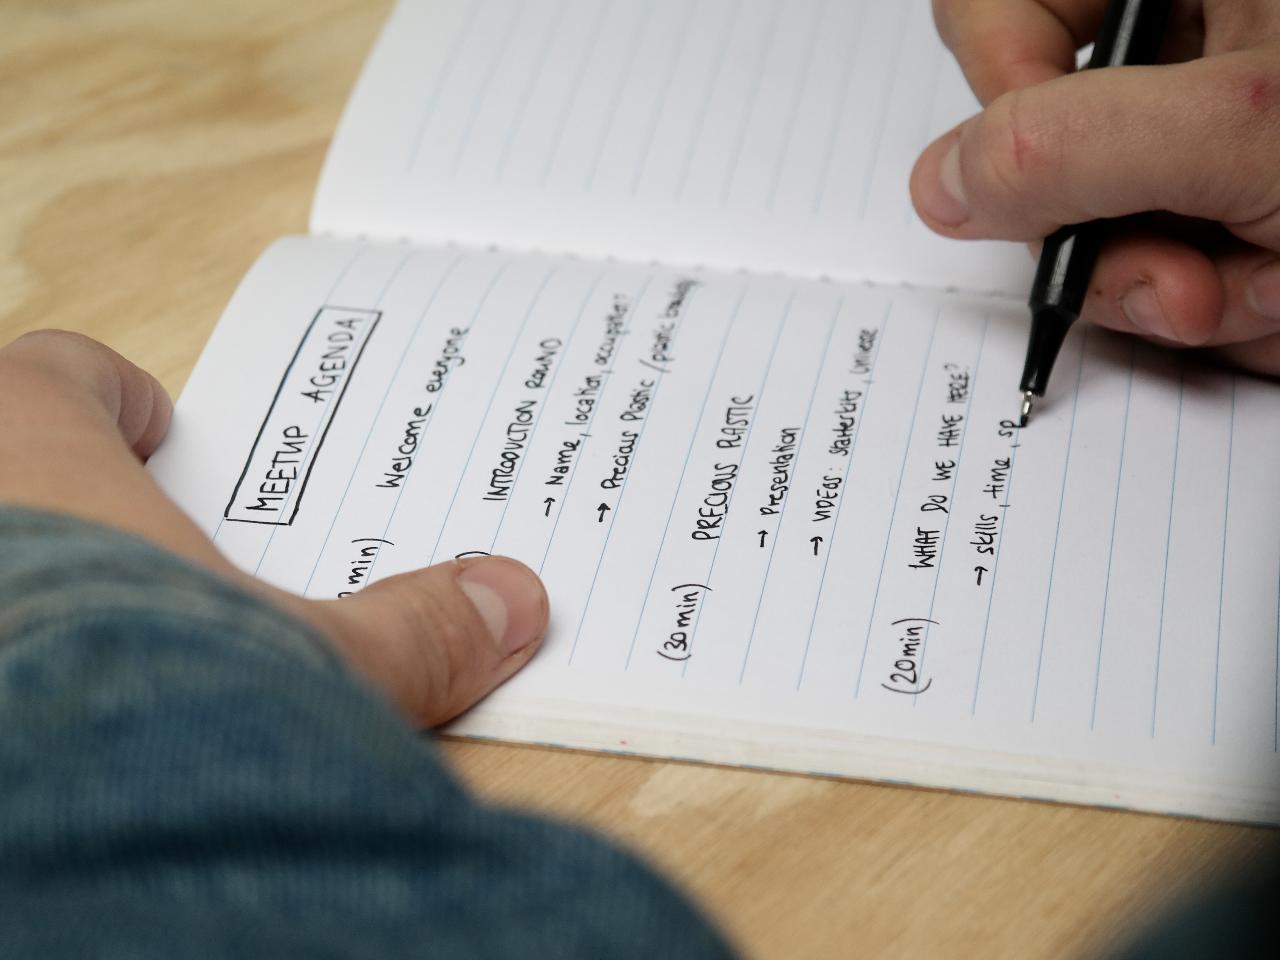
Time to meet! The following steps are based on the agenda we added in the download files. You can do exactly the same, but feel free to change it or add your own ideas so it fits to your context.
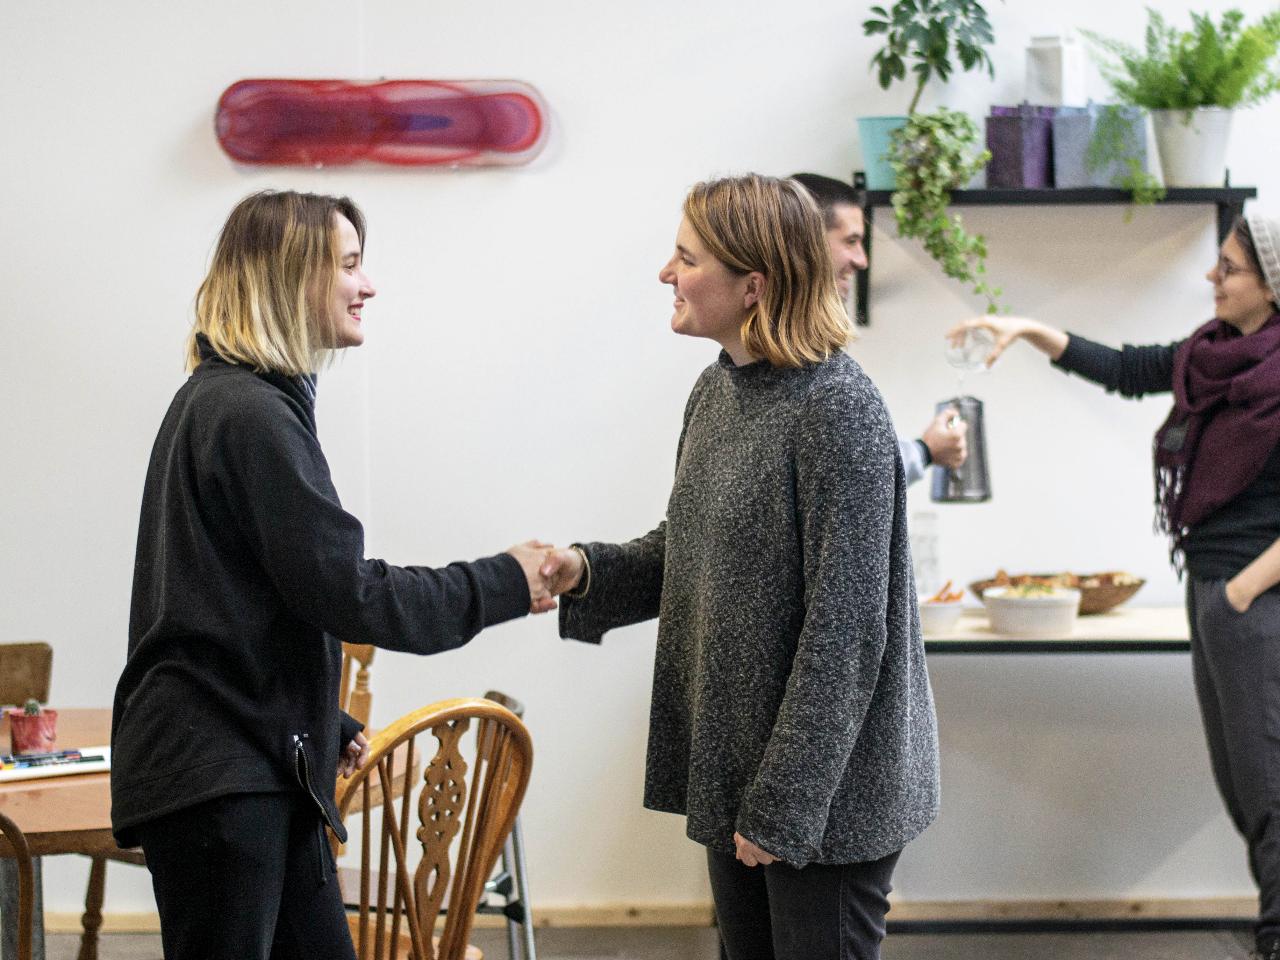
Try to be there earlier than the meetup time so you can already prepare a bit. Greet the people when they arrive, introduce yourself and make sure they feel comfortable.
When everyone is there, welcome everyone and give an overview of the agenda, the purpose of the meeting and how long it will probably take, so they know what to expect.
Step 10 - Introduction
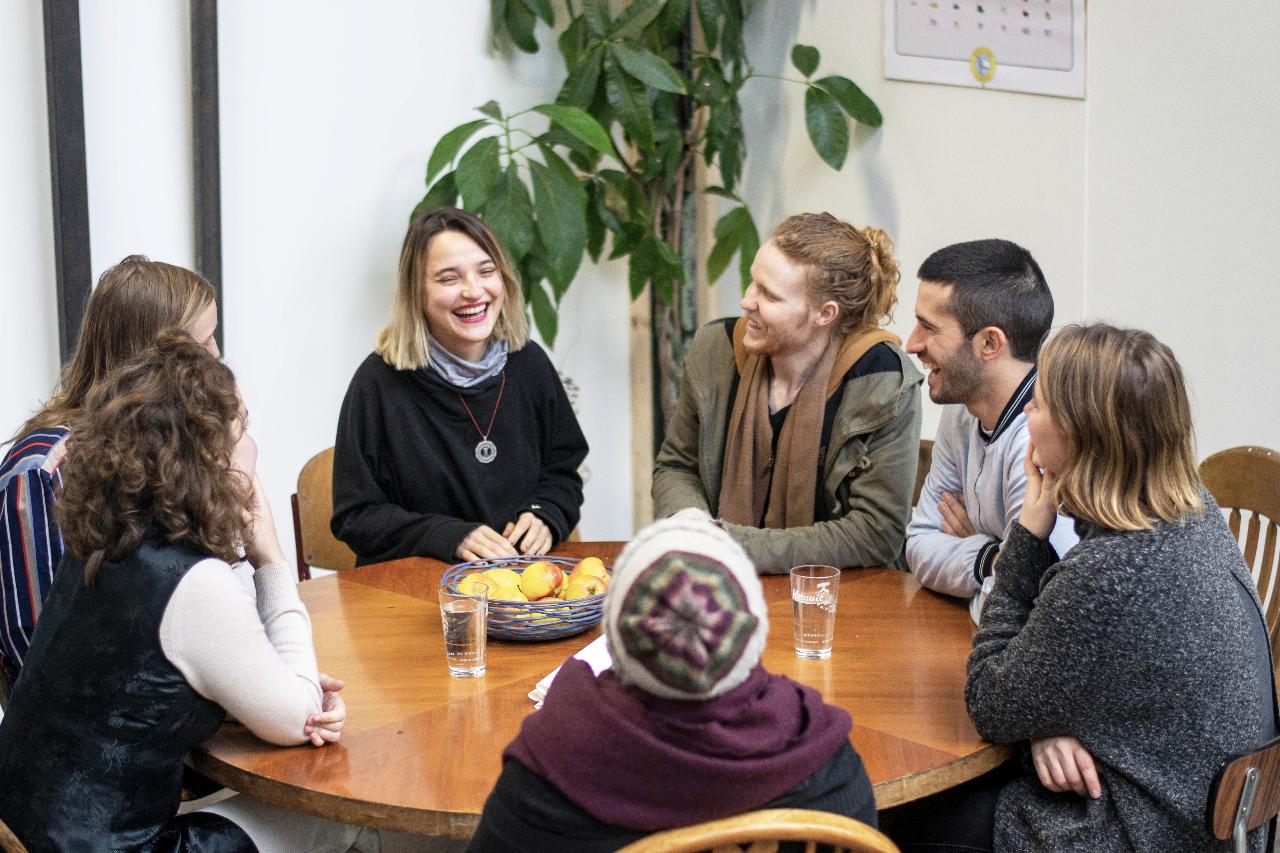
Start with a starter round for the group to give everyone the chance to introduce themselves, so everyone has an idea what the background of the group is.
It helps to prepare some questions: Ask for their name, where they live, what they do (occupation), and how much they've been involved in Precious Plastic already.
You can also add a fun question like: What’s your favorite icecream flavor or what animal would you like to be?
It helps to prepare some questions: Ask for their name, where they live, what they do (occupation), and how much they've been involved in Precious Plastic already.
You can also add a fun question like: What’s your favorite icecream flavor or what animal would you like to be?
Step 11 - Talk about Precious Plastic
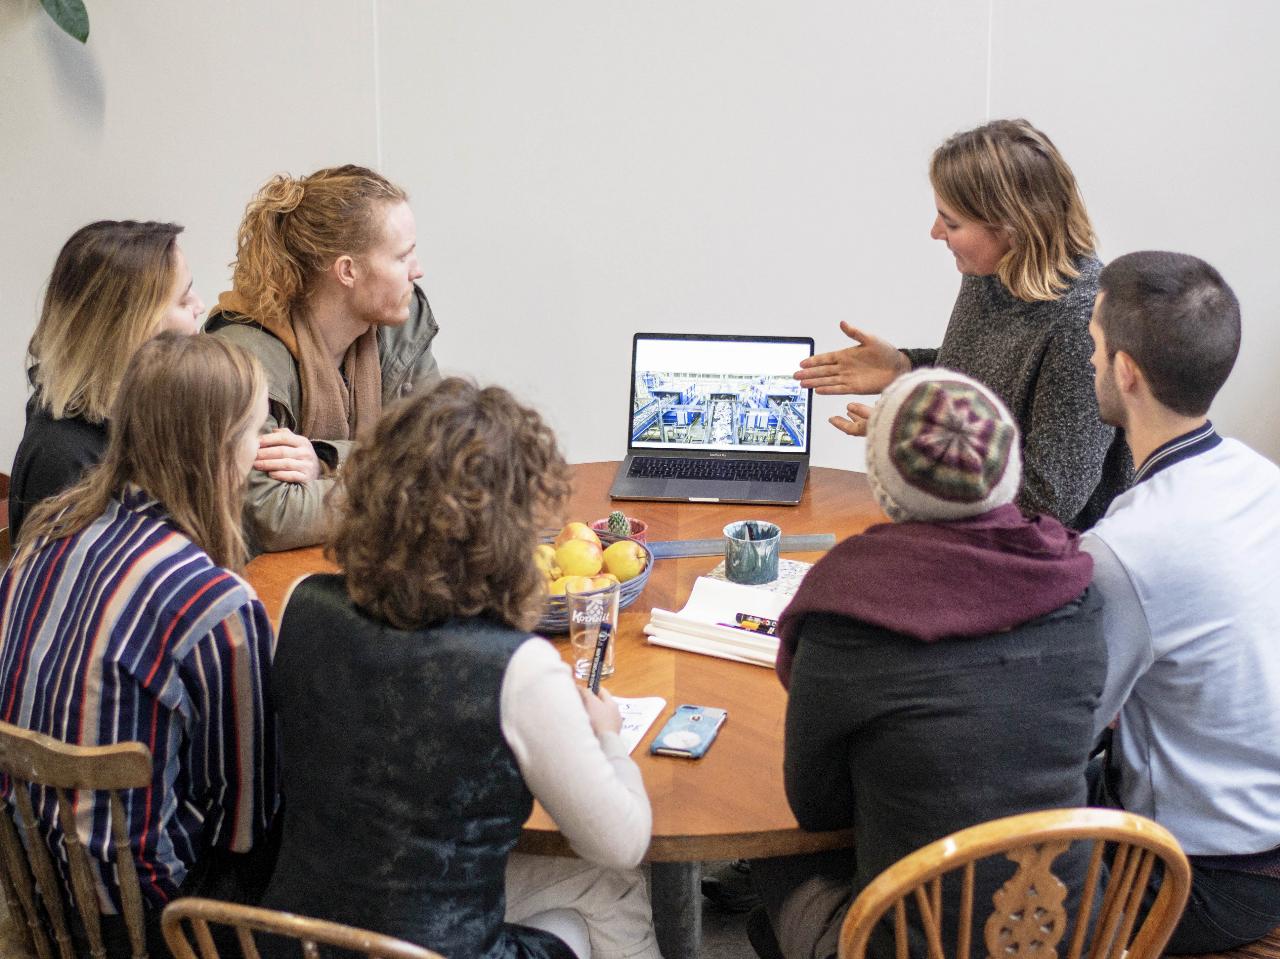
Now make sure everyone knows and understands Precious Plastic.
You can use the presentation from the download files and change it for your context, or you create your own.
We also recommend showing the 1 min Starter Kit showcase videos to help understand the machines and possibilities.
👉 Collection Point: https://www.youtube.com/watch?v=c-K0ir3uUm0
👉 Shredder Workspace: https://www.youtube.com/watch?v=Lj4TUYdUAYQ
👉 Sheetpress Workspace: https://www.youtube.com/watch?v=GwNW8XOjBP0&t=3s
👉 Extrusion Workspace: https://www.youtube.com/watch?v=MR-CNopHNlU
👉 Injection Workspace: https://www.youtube.com/watch?v=Iu6vh75Th2M
👉 Mix Workspace: https://www.youtube.com/watch?v=gHeyKUcYFto
Adjust the length and level of detail of your presentation to the level of knowledge and involvement of your group, so that newcomers get an understanding, and experienced recyclers don’t get too bored.
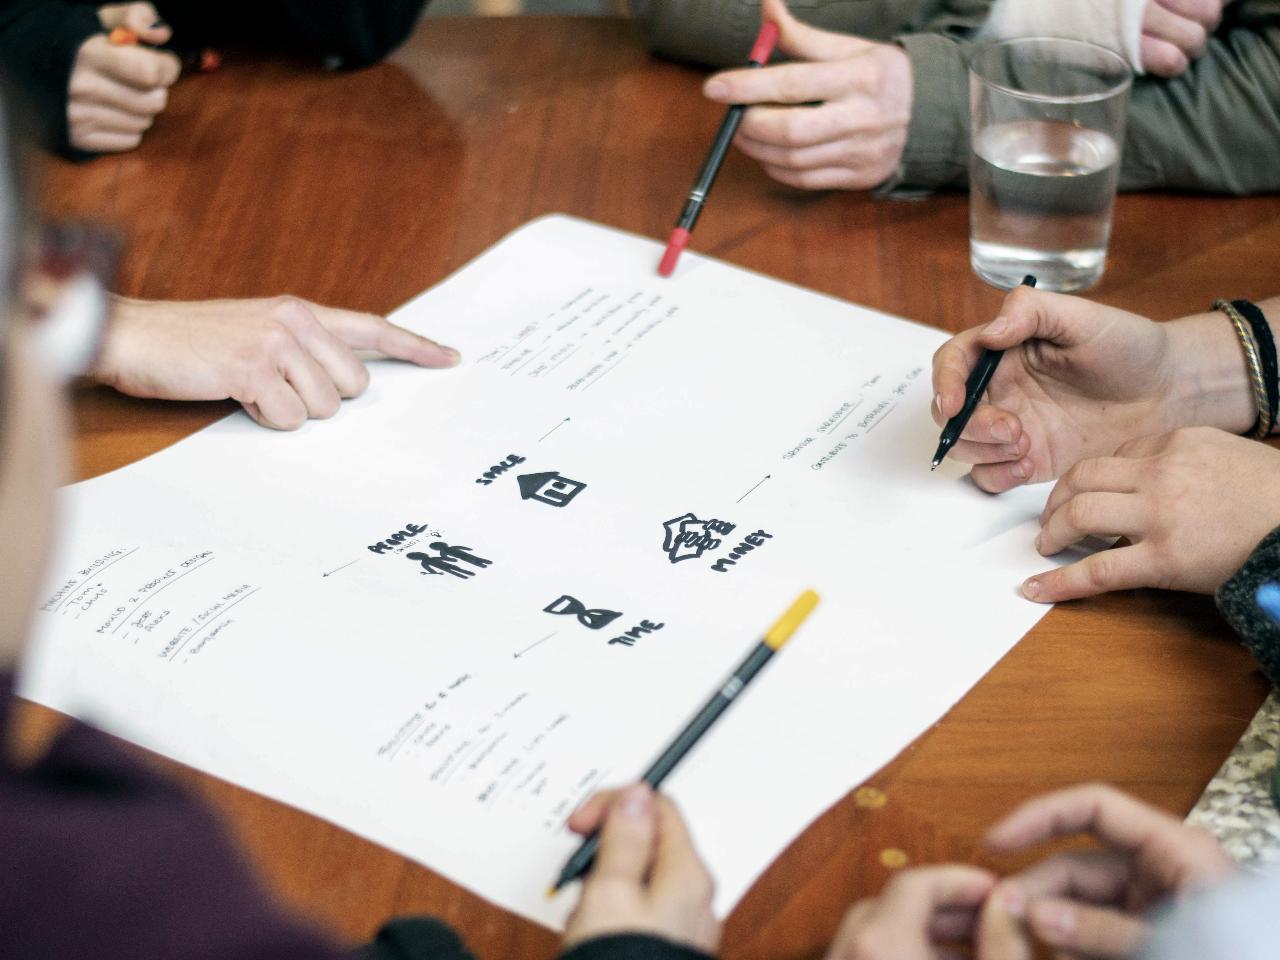
Step 12 - Group your group
Now let’s analyse the potential and interests in your group.
Let the group answer the following questions:
Which area would you be interested to start/contribute/offer? (collection, machine building, working with machines, funding, following/sharing)
What resources do we have available? (space, time, money, people)
Who would be volunteering, charging or investing money?
How much time could you invest (per day, per week, per month)?
In bigger groups it can be fun to do this as a grouping exercise where they have to position themselves to a certain category.
Make sure to document this on a paper/digital document, so you can share it and refer to it when needed.
Step 13 - Network brainstorm
After finding out about the people and potential within your group, also brainstorm about more people, projects, companies, places etc. which might be useful for your local recycling network. This can be collection points or services, machine builders, recycling places, designers, shops, media etc.
In best case, directly add new contacts to your contact list, so they don’t get lost.
In best case, directly add new contacts to your contact list, so they don’t get lost.
Step 14 - Next steps
Time to proceed! Summarise what you learned about the group, and discuss how you can start collaborating. Note what’s existing and what is still needed (money, space, people...), and what questions need to be answered.
Decide who will take care of which topic, so everyone knows what they can do. If you have a bigger group, you might have to make working groups, which can communicate within their topic.
Decide who will take care of which topic, so everyone knows what they can do. If you have a bigger group, you might have to make working groups, which can communicate within their topic.
Step 15 - Keep meeting
Once people know what to do and are excited to dive into it, meeting regularly can help a lot to keep them motivated, to stay updated and to keep strengthening the connections. Try to find a time, an interval and place which works for the team (or for at least one representing person of each working group).
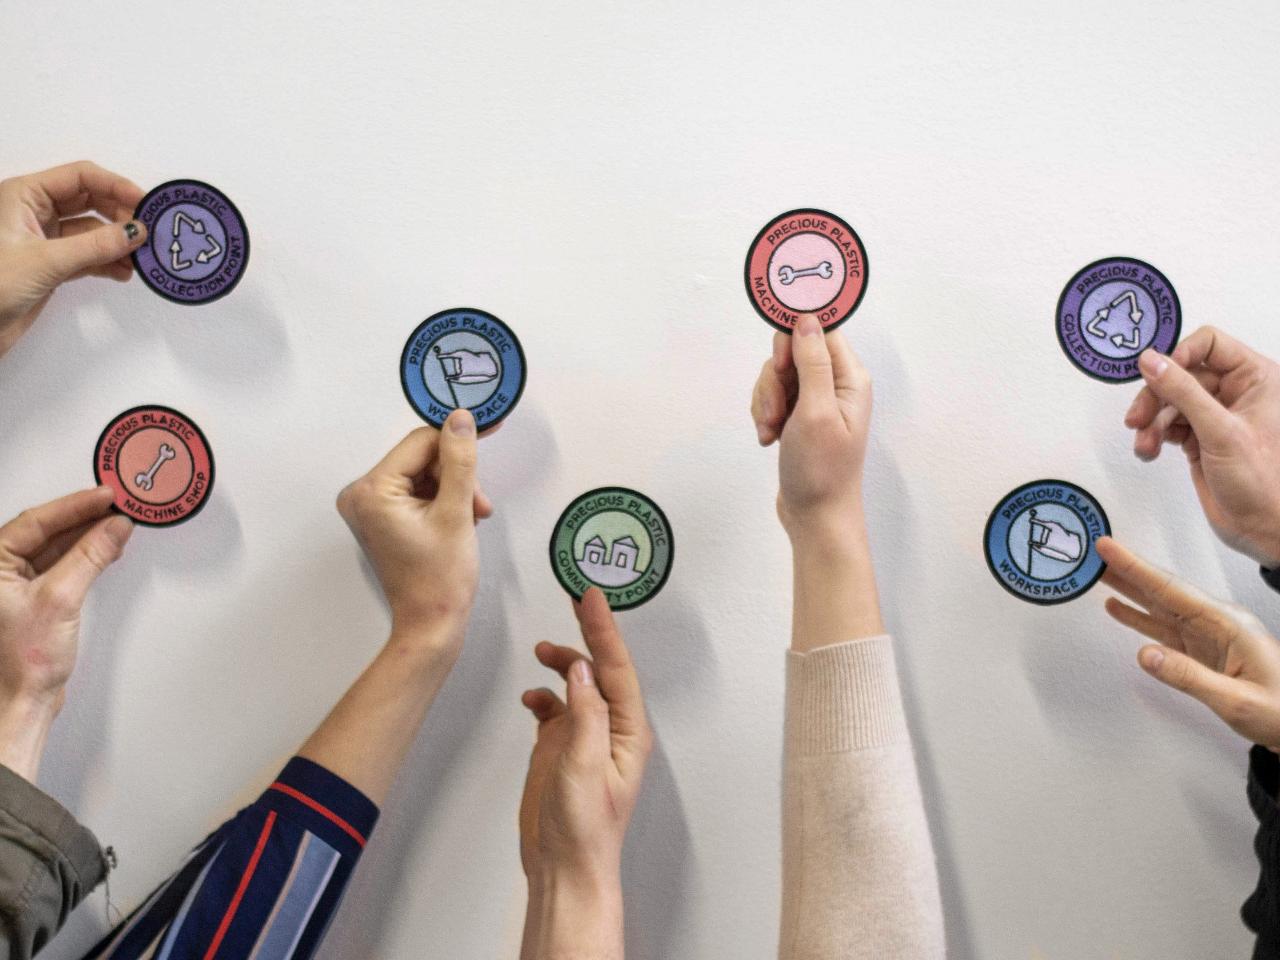
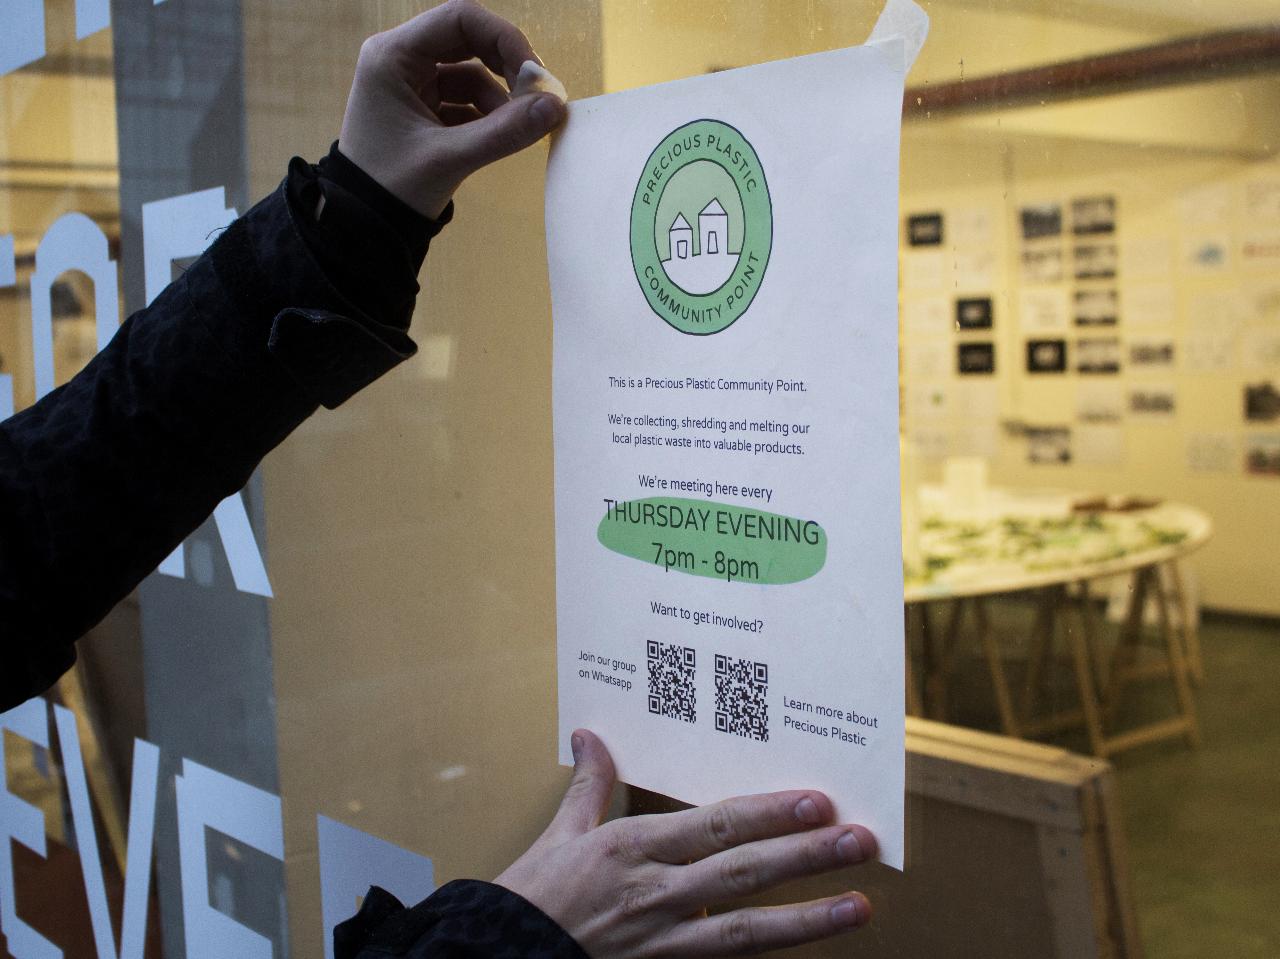
If you have a fixed place, you could install a sign somewhere visually there.
And (if not there yet), add a Community Point pin on the Precious Plastic map, so people can find this pin and get in touch with your group.
👉 community.preciousplastic.com/signup
If you have a fixed place, you could install a sign somewhere visually there.
And (if not there yet), add a Community Point pin on the Precious Plastic map, so people can find this pin and get in touch with your group.
👉 community.preciousplastic.com/signup
—
—
—
Comments